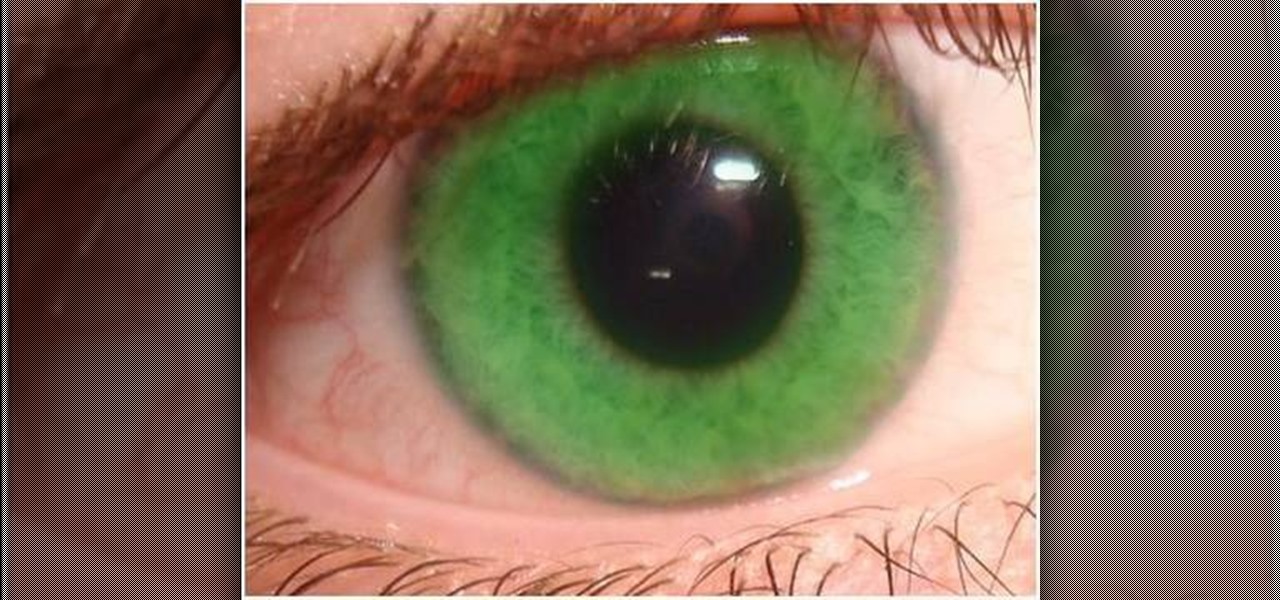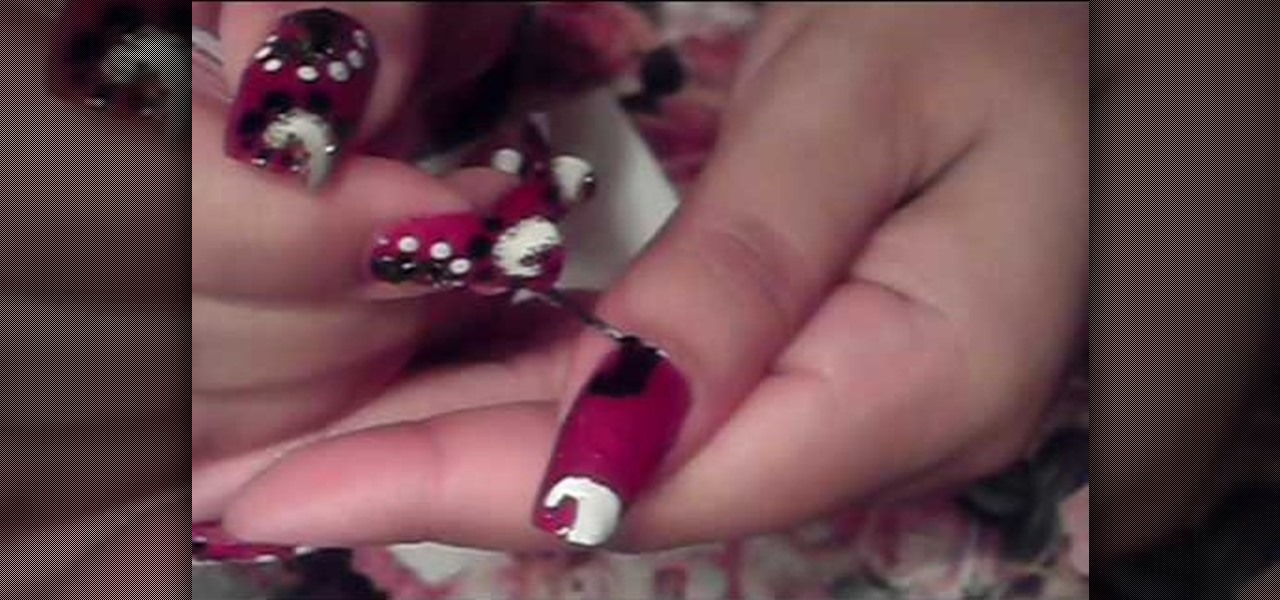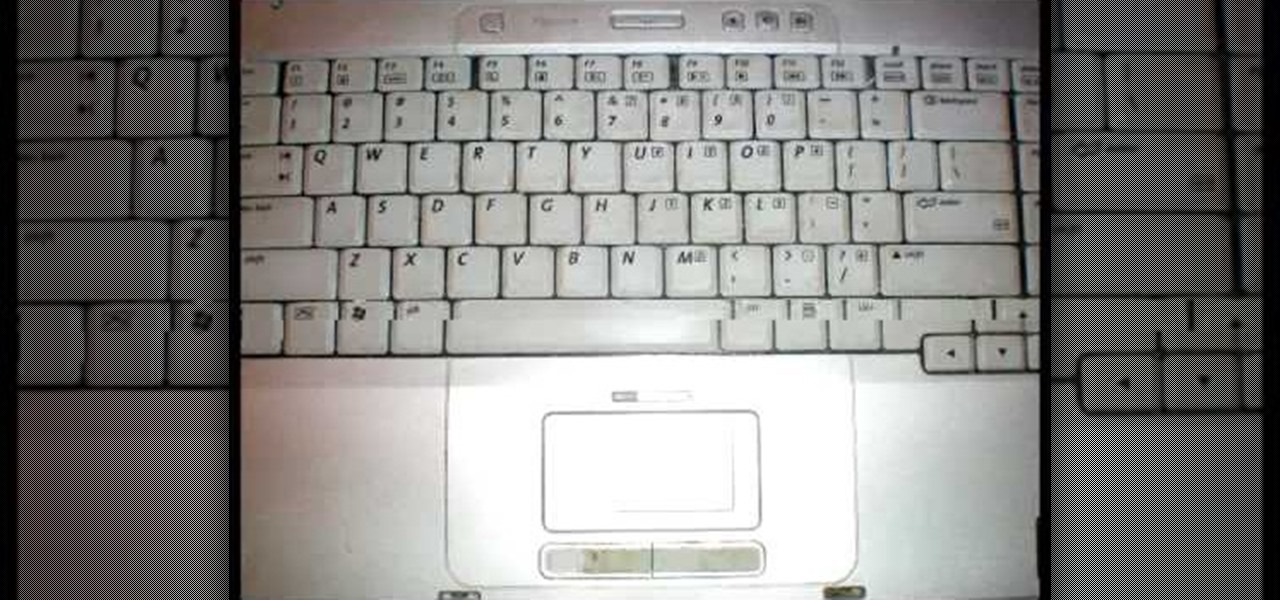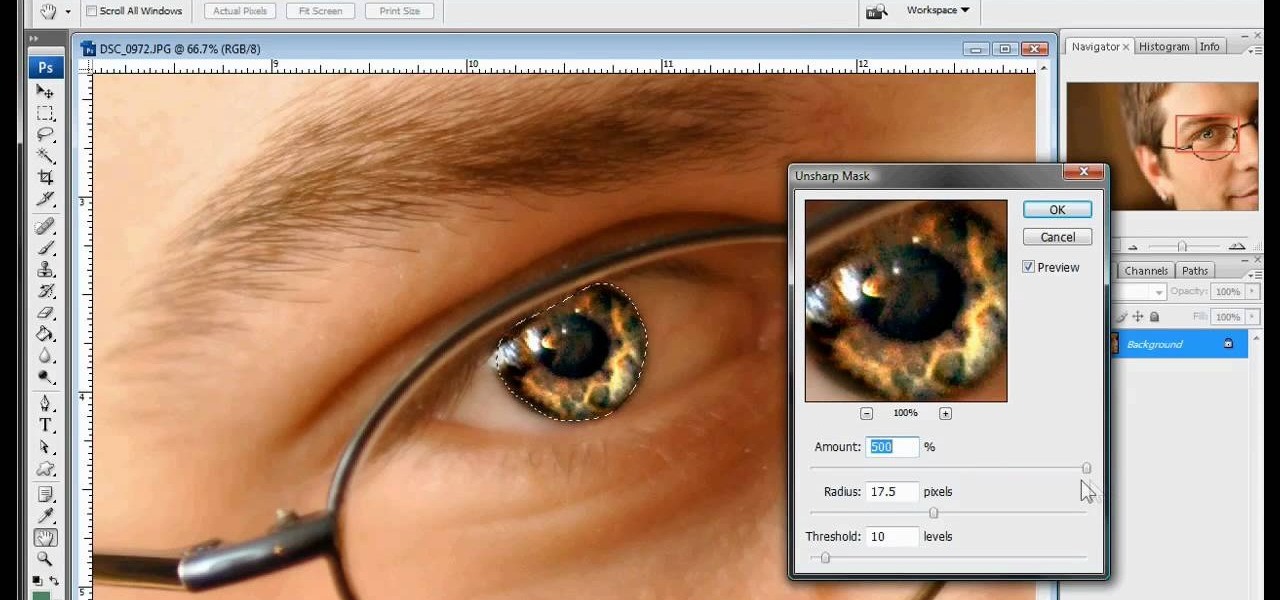
The white bits on a person's face are often what make them appear healthiest and happiest. In this tutorial, learn how to enhance someone's face by improving the white areas of their faces. In it, you will learn how to focus on the eyes and teeth of your subject to whiten and enhance them. With this trick, your subject will appear cleaner, healthier and more alert.
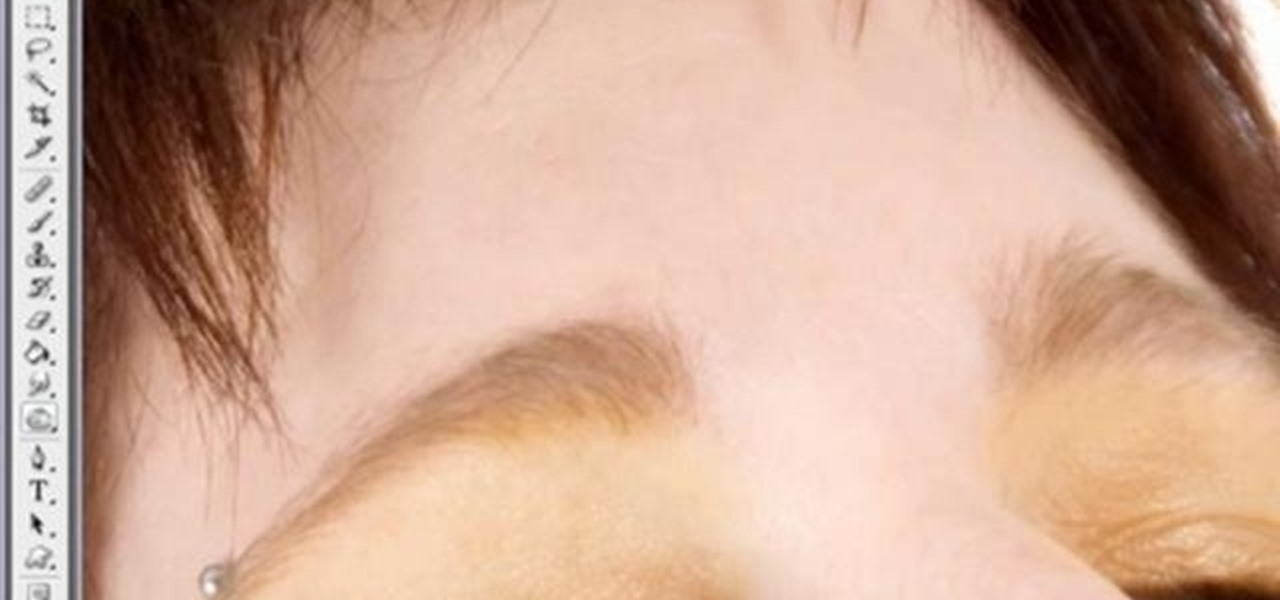
There are so many ways to enhance your photos in Photoshop these days, it is amazing we need actual models at all! In this video, learn how to add or change the makeup on your model. If you have changed your artistic idea after shooting, or feel like your subject could just use a little something, check out this tutorial and learn how to add color to your photos.

In this video, we learn how to sketch a photo in PhotoShop. First, open up PhotoShop and open up the picture you want to convert. Then, click "image", "adjustments" and "desaturate". You will now copy this layer by dragging it down to the "new layer" button. Now click on your copied layer and go to "image", "adjustments" then "invert". Now click the "blend" option which will change your layer to completely white. Now, click "filter" then "other" then "minimum". You will now see your image sho...
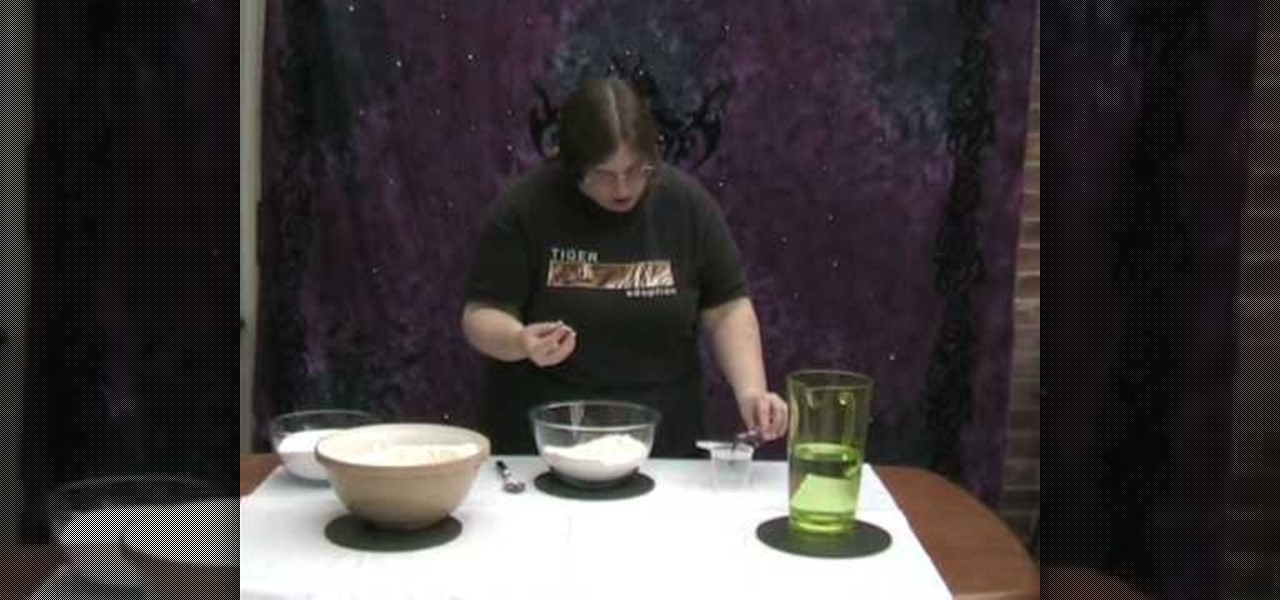
Salt dough can be used like clay for craft. This video demonstrates how to make salt dough. The ingredients required to make salt dough are a cup of salt, two cups of flour, a cup of water and food coloring. Make sure to cover your working surface with old newspaper and use a painting apron as this can get messy. Add the salt and flour in a bowl and mix with a spoon. Then measure one cup of water and add quite a good amount of food color to get the desired color and mix it into the salt-flour...
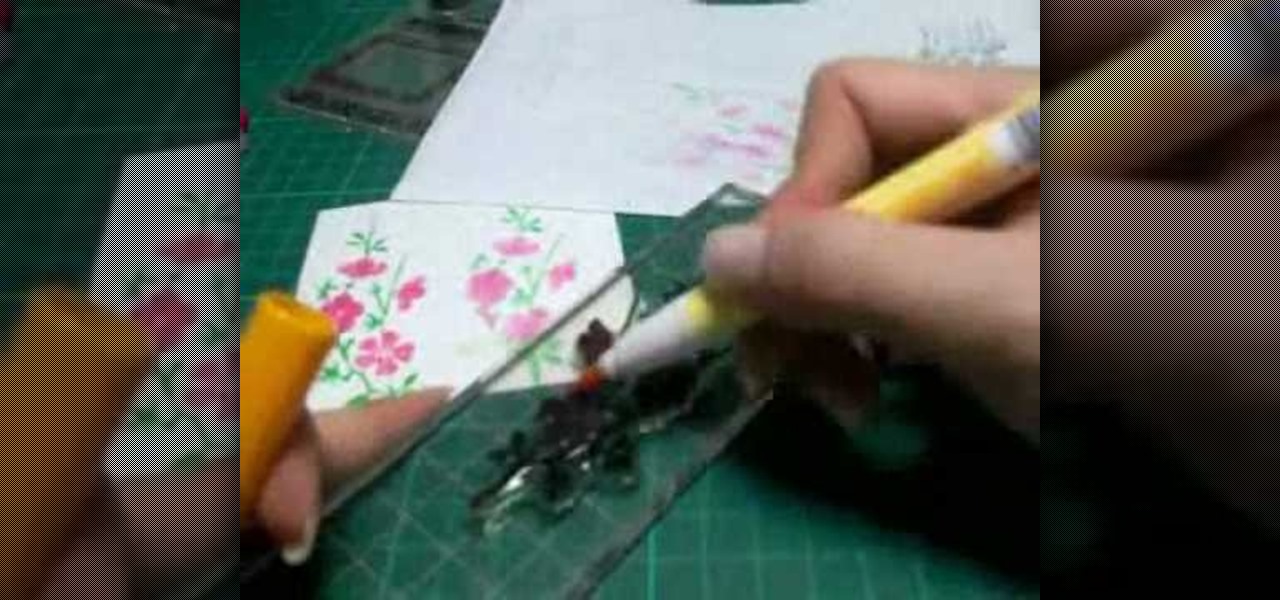
In this Arts & Crafts video tutorial you will learn how to use markers & water to create a watercolor stamp look. You can use rubber and acrylic stamp for this. You will need water based markers, minimister and card stock. Select you stamp and color it with markers as you would do in a painting. For example, you can color the leaves green and flowers red. You can also apply different shades. Then spray water with the minimister and stamp the image. Just stamp and lift, don't keep it too long ...
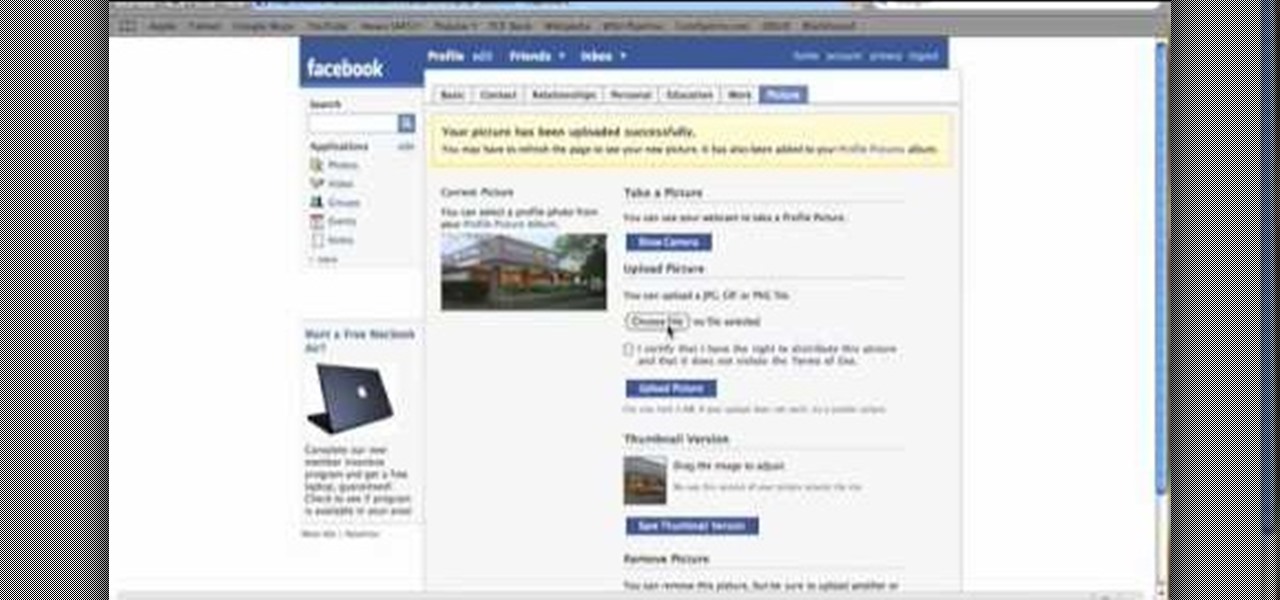
In this tutorial, we learn how to join and use Facebook. First, go to www.Facebook.com and sign up with the website, you will have to enter some personal information as well as your e-mail address. Once you've confirmed your account, log into Facebook. Once in your account, you can click edit and change your personal settings. This includes birthday, hometown, sex, relationship status and more. You can also click on the photos button and upload photos of you and your friends. If you want to f...

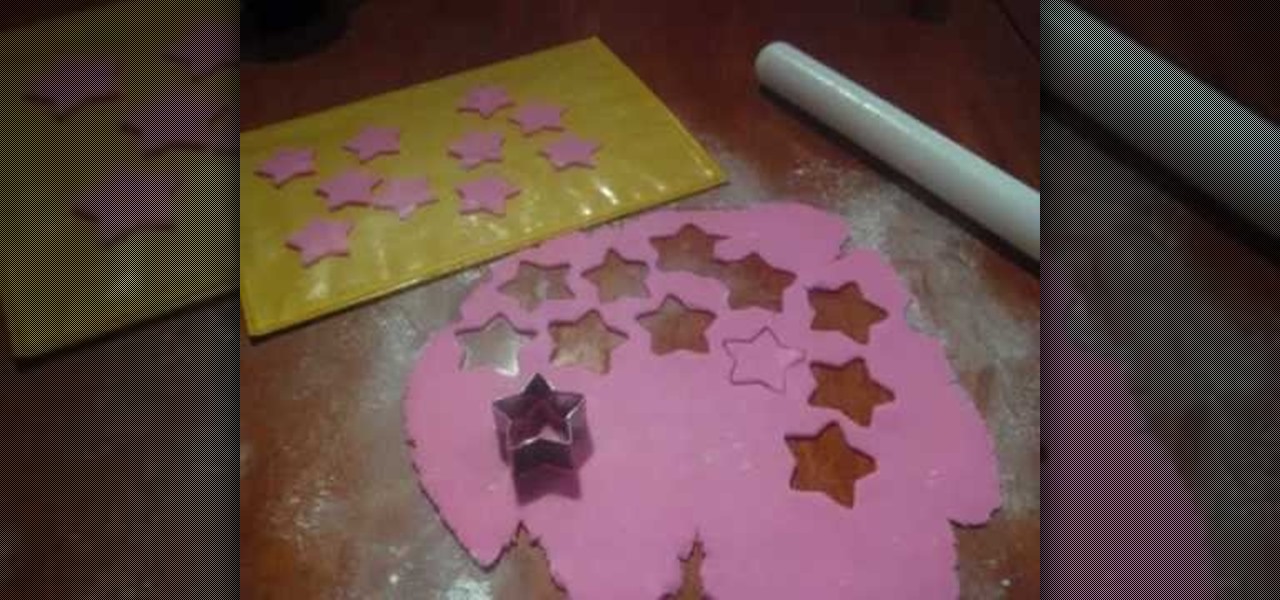
In order to make Shooting Stars for Cakes made from Fondant Icing, you will need the following ingredients and supplies: fondant cookie cutters, wire cutters, gumpaste, a pastry brush, icing spatula, glue (or gumpaste with water), a paint brush, a fondant rolling pin, powdered sugar, floral wire, and a cookie sheet lined with wax paper.

In this video, we learn how to create a picture frame on a photo using PhotoShop. First, open up the program and open the picture that you want to change. Next, select the rectangular marquee tool from the toolbar on the side. Now, create a selection of what you want to frame. Then, click with the right key and select "inverse". Click again with the right key and choose "layer via copy". Now, click 2 times on the layer to open and the layer style menu will show up. Now put the contour to crea...

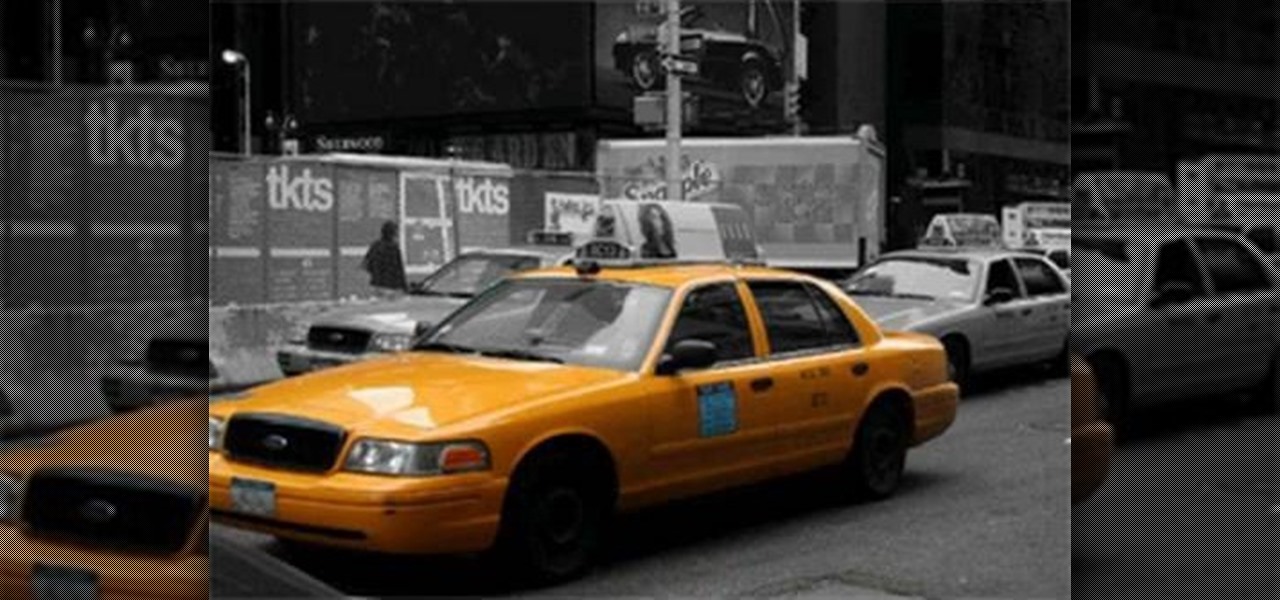
In this video, we learn how to turn a photo partially black and white using PhotoShop. First, open up the program and open up the picture you'd like to change. Now, click with the right key above the layer and choose duplicate "layer". Now click above the eye icon to hide the layer, then select the layer. Now you can go to image, adjustments, then black and white. Now make the second layer visible and select the eraser tool. Wave your brush over everything but what you want to keep colorful. ...

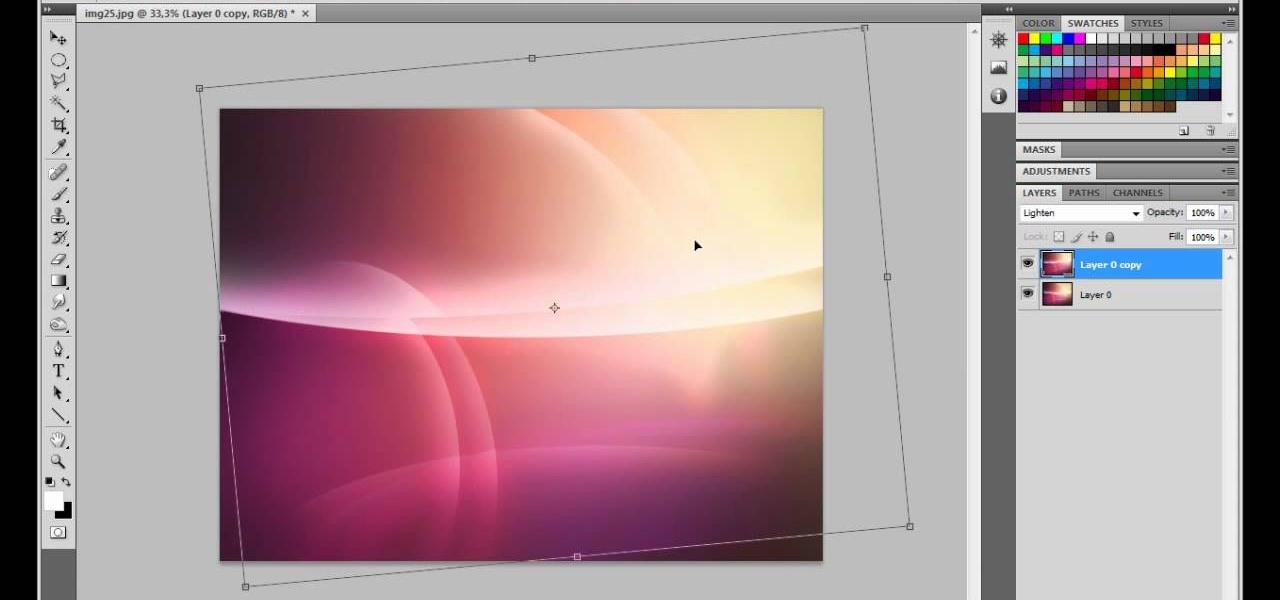
This is a video tutorial that is showing its audience how to make a glossy Vista wallpaper in the program Photoshop. The first step is to open Photoshop. Photoshop is a very large program so it might take a few minutes to open fully. The second step is to go to file open and open up your wallpaper folder that is on your computer. Choose one of the images and click okay. Then you should select different parts of the wallpaper that you chose and use the elliptical tool and the paint brush tool ...

This video shows us how to turn parts of a color photo into black and white and keep the colors for the parts we choose. Start by choosing the polygonal asso tool in the tool box. Now create borders for the parts of the image that you want to keep the colors. Hold the ALT key while clicking to draw borders around a second or third object. Once all the borders are created, right click on your selection and click "select inverse". Now go to "image menu, highlight "adjustment", and then click "b...

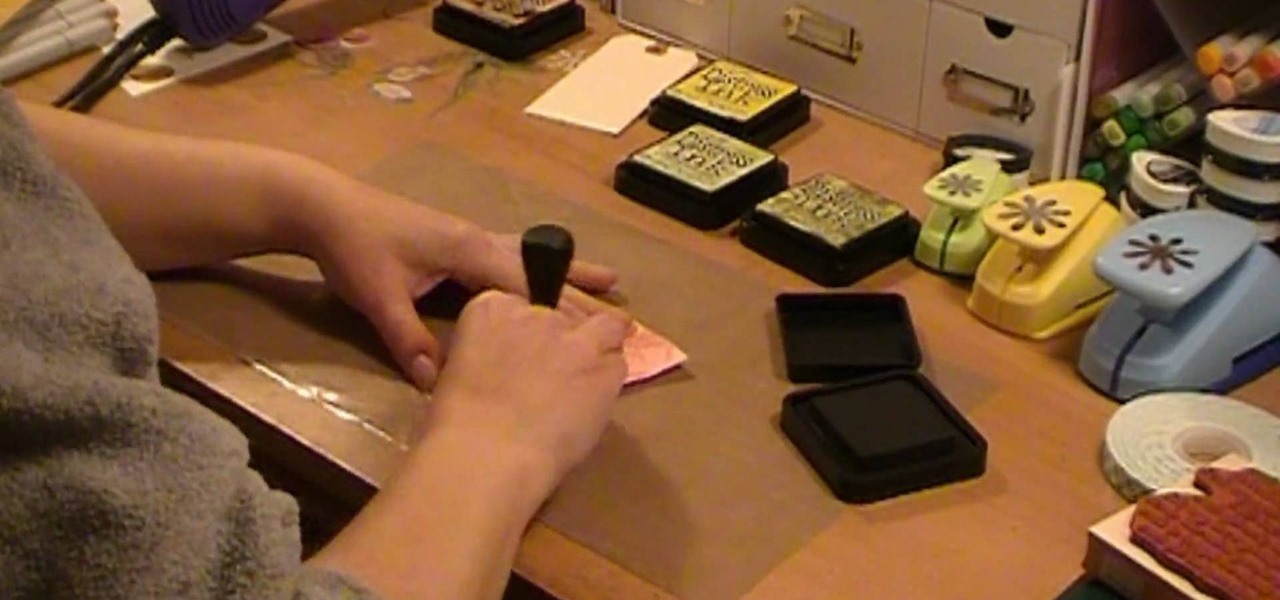
Donna50242 shows us how to make an amazing looking tag to use on different things. This video is in response to another one posted earlier. This tag is made be crinkling up an ordinary brown paper tag and then flattening it out to create the worn out wrinkle effect. Using a distressing inking tool with a foam pad, we apply the ink in a swirling motion. using different colors from the ink set (Mahogany, Mustard seeds, green etc), we can create amazing effects. And that's it, your done! Try exp...

In this how-to video, you will learn how to see high quality pictures of your own house. First, go to your web browser and click on Maps and Directions in the directory on the MSN website. Next, click on locations and type the address of your house or whatever place you want to see. Once this is done, click on bird's eye to get a closer photo of the area. Next, click zoom in until you get an even larger image. You can also click on the picture and drag to move around the image. This video sho...

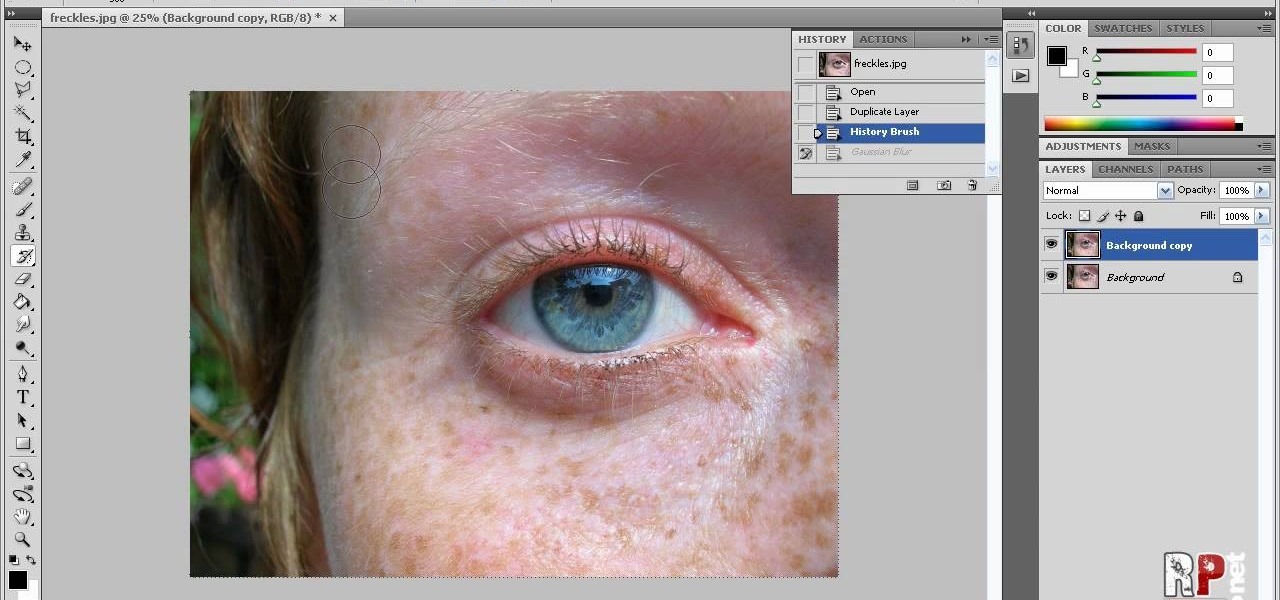
In this how-to video, you will learn how to reduce freckles in Photoshop. This is useful for editing people who have a lot of freckles. First, open the file in Photoshop and copy the background layer. Apply a Gaussian blur to the layer. Adjust it so that the freckles are no longer visible. Click okay and then open up the history palette. Click on the duplicate layer in the history window. Set the source for the history brush. Set the mode to light. Next, paint over the freckles. Now the freck...

Every time you download a game, movie, etc to your computer, you make changes to the computer. Sometimes, these downloads can make your computer unstable. By default, Windows Vista creates restore points in the background. What this means is every time you make these changes to your computer, Vista takes a snapshot of your computer before the changes are made. This enables you to go back in time and restore your computer to an earlier time. Documents, photo's and emails will still be saved. O...

In this how to video, you will learn how to draw a violin. First, start off with the shape of the basic shape of the body. Next, draw the neck of the violin and the tuning pegs at the top. From here, you can draw the bridge, shoulder pad, and the F holes of the body. Next, fill in the outlines of the body. Color in the bridge and the neck with a black color. Now you can fill in the body with a brown color. Create highlights by selecting a lighter shade of brown and painting it at the right sp...

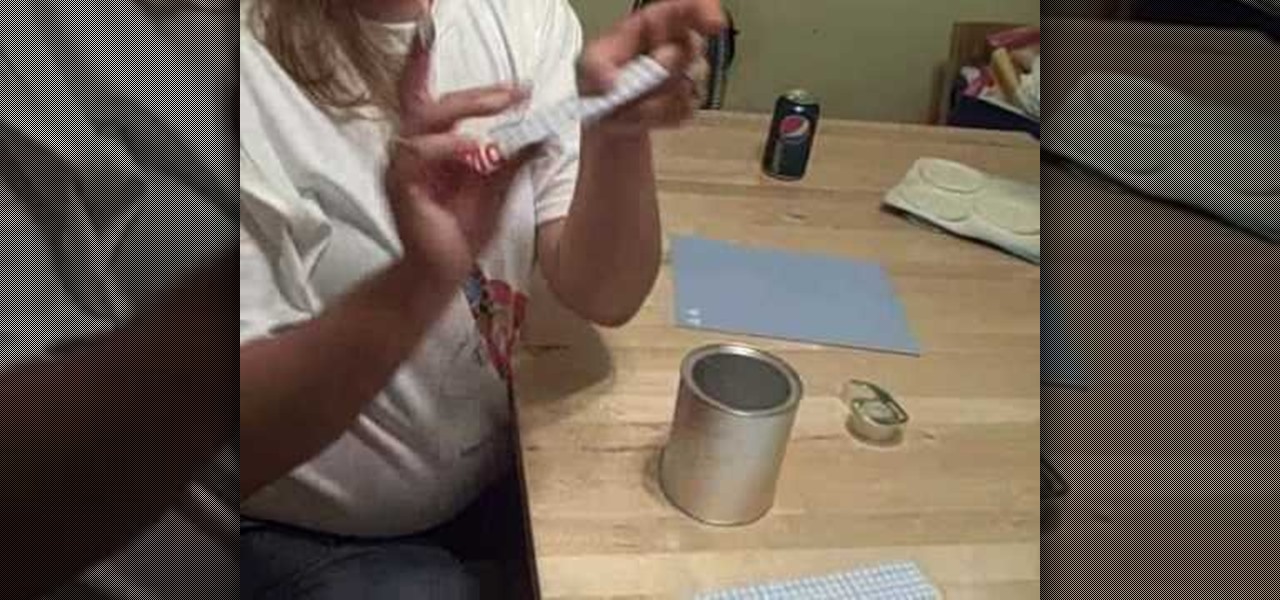
Box Tops are a great way to help your kids school generate more money. A formula can could help you keep your box tops neat and Tidy. Take paper off of can then tape paper to the side of the can. Then you can decorate as you please to match the decor of the room your putting it in. Scrap book paper works as a great paper. You can also use stickers to complete this. For the lid you can spray paint them but first you should cut a hole in the lid so the box tops can slide right in. You can make ...

This illustrate us how to make paper mache mirror. Here are the following steps.Step 1:Take a piece of cardboard and make two circle on it with two different circumference.Step 2: Now cut through the outer circle as well as the inner circle to obtain the rim.Step 3 : Now take a sheet of cardboard and cut it in shape of a flower.Step 4: In the center of the sheet place the rim.Step 5: Now along the petals of the flower stick a pile of rounded newspaper.Step 6 : On this newspaper and cardboard ...

This video shows the viewer how to caulk a bathroom floor – this is where some type of sealant is used to fill the joint between the surface of the floor and the side of the bath. The first stage is to select a suitable sealant, the video recommends a sealant that can be painted as it is useful if you every need to redecorate. Squeeze a liberal amount of sealant into the crack. Then using a dampened finger press the sealant into the corner whilst simultaneously scraping the excess away. Final...

Love4Nails shows step by step tips for achieving this look. Begin by choosing a background color. On top of the base, apply white polish. Then apply a smile line on the top portion of the nail as you would when doing a French manicure. Then fill in the nail. If its not perfectly straight its ok because it will be covered. Next, apply glitter polish on the white area of the nail. With the white polish make three dot and use a dotting tool to extend them, creating flowers. With the original blu...

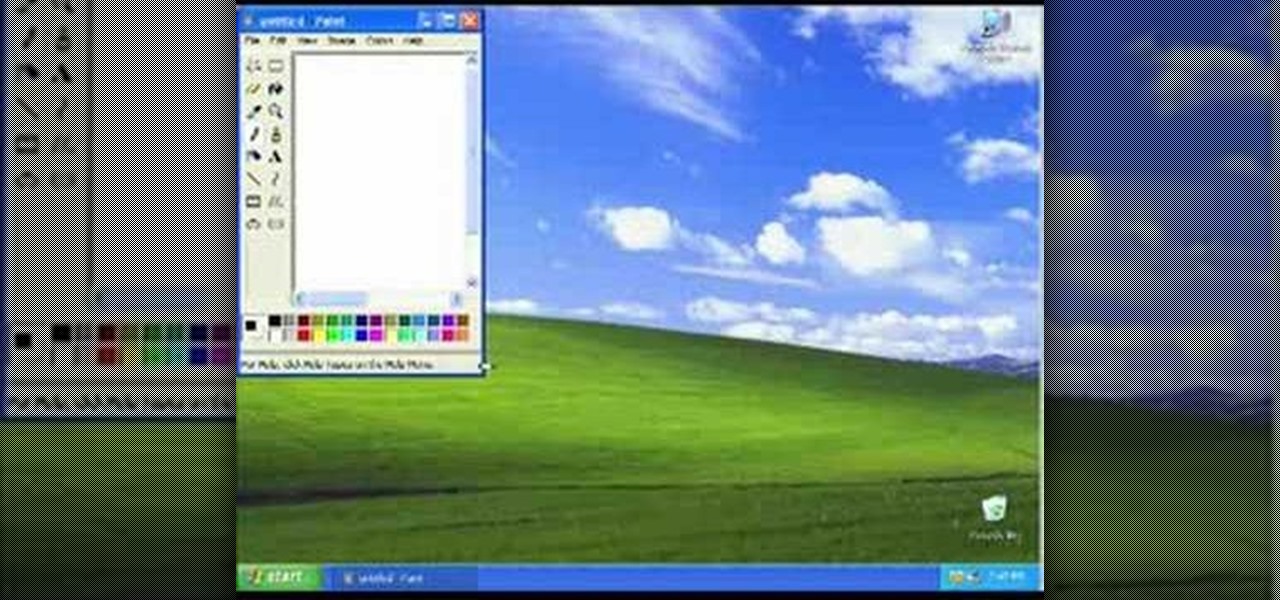
In this video, the instructor shows us how to take a screen shot off of Windows XP. First, you will want to pull up the screen that you want to take a screen shot of. After you have this up, you will hit the "Alt" and "Prnt Scrn" button at the same time. Nothing will show up on your computer, but it will have saved the image. Next, open up the program "Paint" and click "edit" on the top toolbar, then click "paste". The image will then show up on your screen. To save, click "File -> Save As", ...

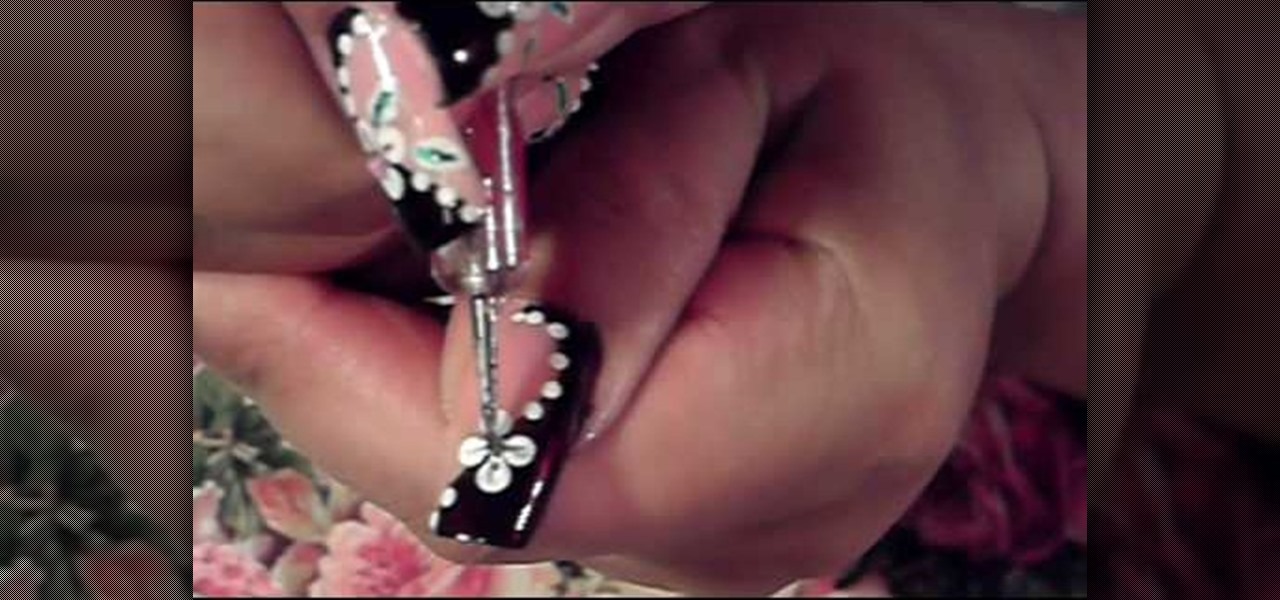
dark brown and pink white flowersdark and rich colors are used: brown, pink, white and green. firstly lightest color is used for the base polish then dark colors applied. first, with dark brown polish a simple curved line drawn on the nail from bottom to top then dark brown polish applied to fill the back part of the previous line. then put some white polish onto a white paper and use it with dotting tool to put flowers petals as a dot on to your nail. then with another dotting tool put dots ...

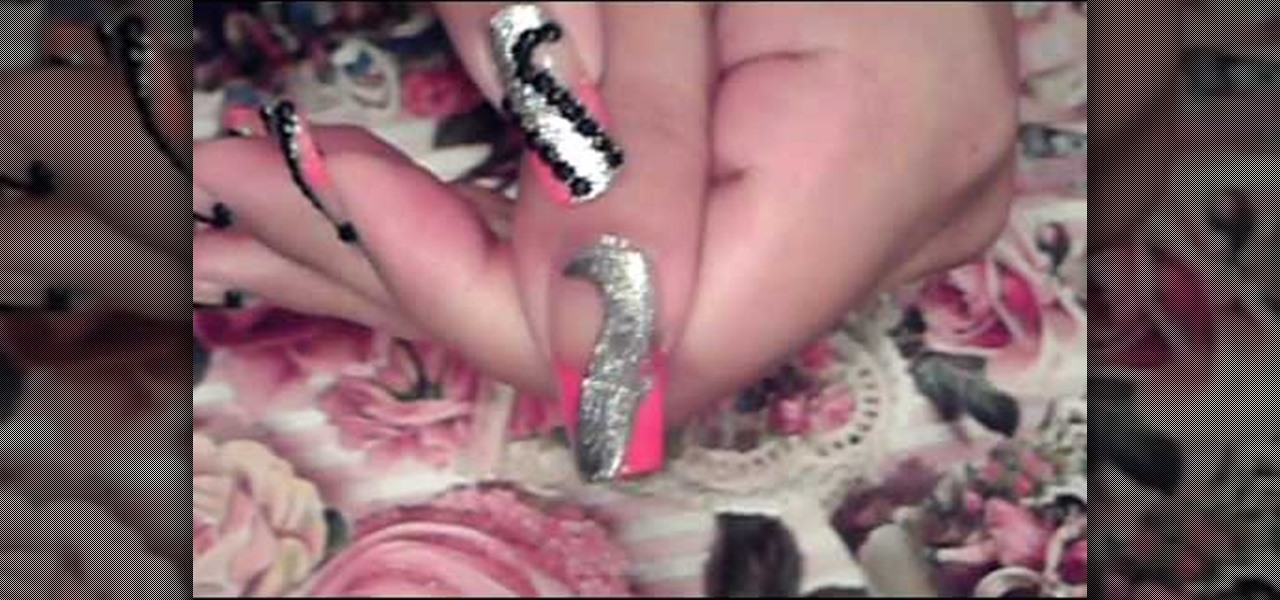
Love4Nails starts off with pink, silver, and black nail polish. First choose one of your colors to create a French tip manicure. She next takes the silver polish, starts at the bottom and creates a swirl around the nail. Swerve the silver in a way that it covers the French tip part of the nail. Then get the pink glitter and apply only on pink polished area. Place black rhinestones on the swirled area of the nail. Because you're using the pink glitter polish, if you choose not to add rhineston...

This video teaches you how to achieve an eye catching stained glass nail art effect without attending a nail salon. To achieve the striking effect, one needs between 4-7 nail polish colors, and a fine lined nail art nail polish in black. Beginning with the base color, one applies the desired outlines for the "panes" using the nail art brush. Once that is dry and you are satisfied with the outlines, you can begin applying your desired colors to the "panes" achieving the effect of pieces of sta...

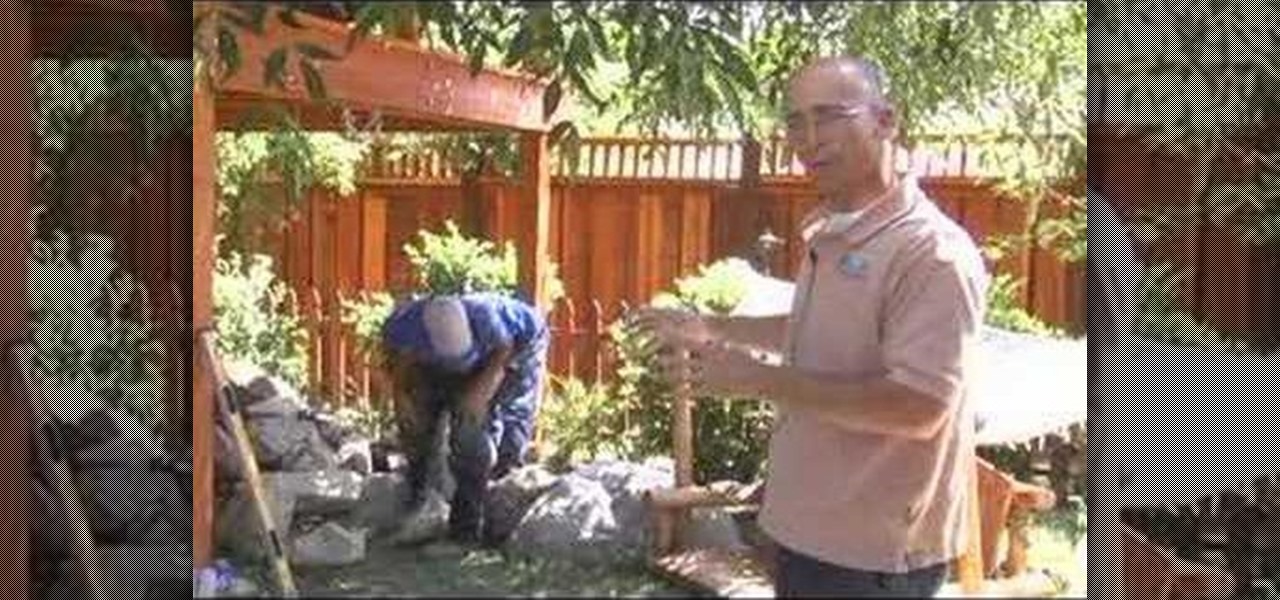
Chad from California Waterscapes takes you through the steps of installing a backyard pond. He begins by marking the location for the pond and stream using spray paint on the ground and by laying out the necessary equipment: the skimmer box and the waterfall unit. After digging out the pond Chad uses a laser level to determine the water level and place the skimmer box at this level. After all debris has been removed from the pond the underlayment and liner is placed in the pond followed by ro...

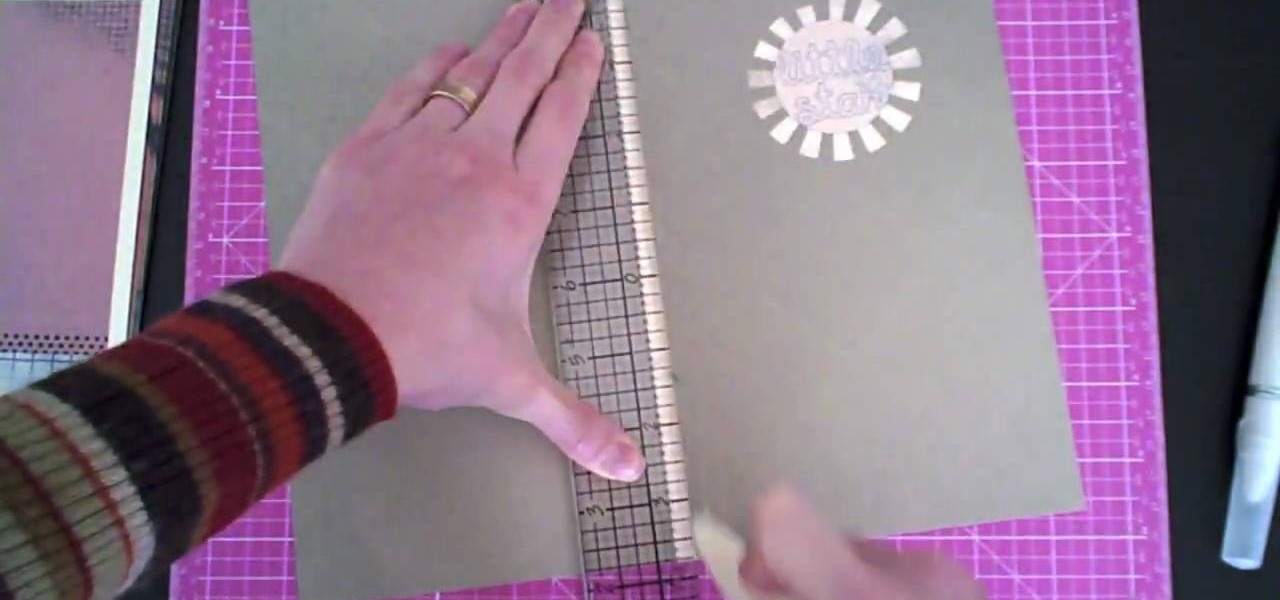
Creativity Prompt demonstrates how to make a hybrid board book. First, select printed paper of your choosing. Cut off the excess paper with a cutting blade and crease the paper for the spine. Fold and burnish the paper. Apply a generous glue stick layer to a recycled board book and adhere the paper to it. Burnish the paper with a brayer to strengthen the adhesion. Let the glue dry and trim off the excess paper. Cut the rest of the paper for the board book pages. Cut out photos and titles for ...

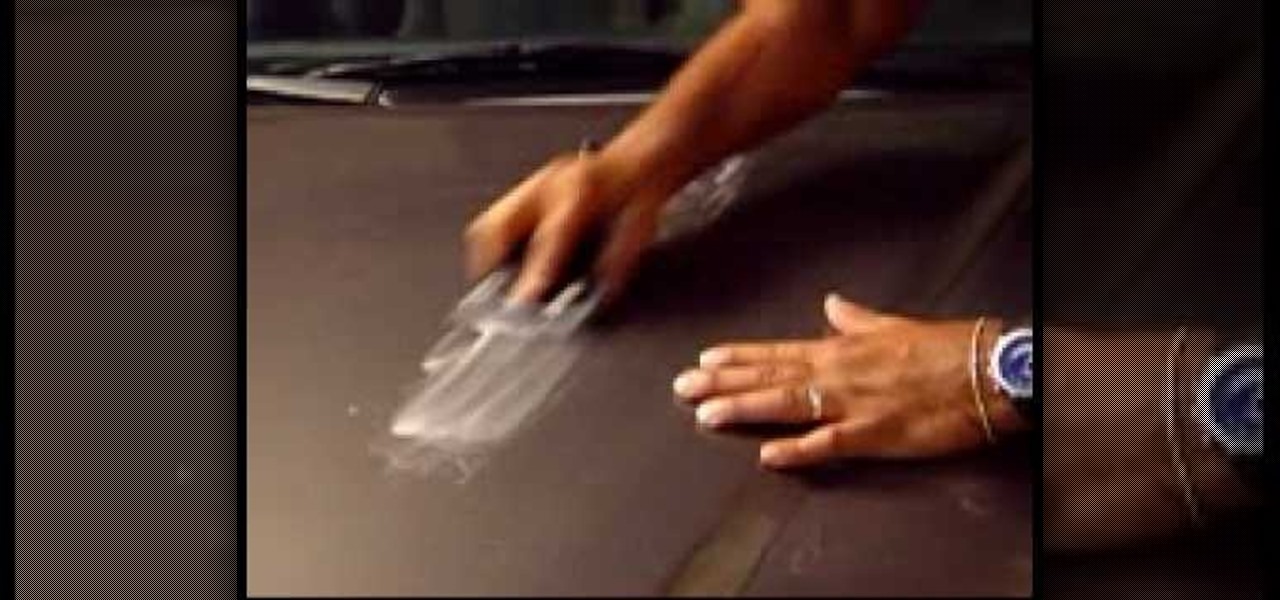
Final Touch TV shows viewers how to remove scratches from the car with wet sanding. This is for fine scratches that may be on your vehicle. First, you need to use 3,000 grit sand paper with a block and scuff up the clear coat first with this. You should dip your block in some soap and water in and up and down motion. You need to make sure you do not go all the way through the paint. Most scratches are on the clear unless it appears deep. Now, take a 3 compound, spray it on and rub it in. Next...

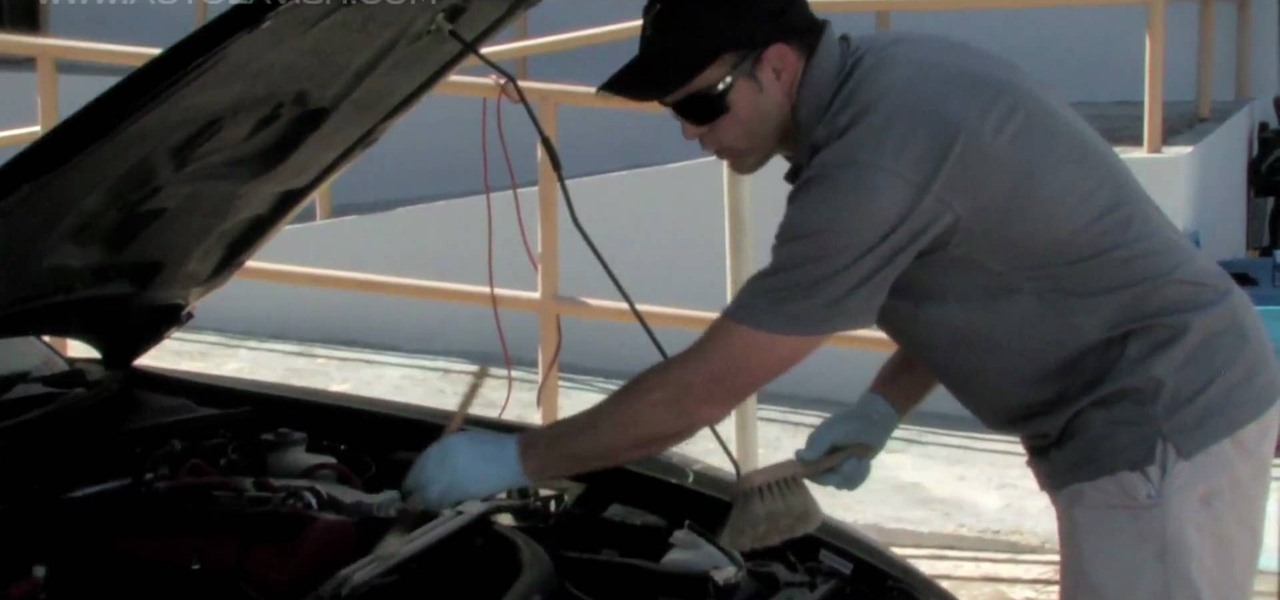
This video tutorial in Autos, Motorcycles & Planes category will show you how to wash your car's engine bay. Open the hood and check the temperature by touching with your hand and a thermometer. If it is cool enough you can proceed. Look over the engine bay to see if there is any area that needs more attention. Then spray the cleaning solution and use brushes for cleaning the areas that you can reach. Softer brush for areas that are painted and hard one for powder coated surfaces. Then use wa...

Make sure you nails are already clean and dry. Choose you colors. Add the lightest color first. Using a makeup sponge works great to apply the fading effect. Apply to French manicure area not straight. Reapply pink polish just at the tip of the nail. Apply glitter polish over the pink on the tip of the nail. After applying the shimmer get the nail art polish and make your deign. Make sure your brush is thinned out. Add your design then you can add your gem stones and finish it off with some c...

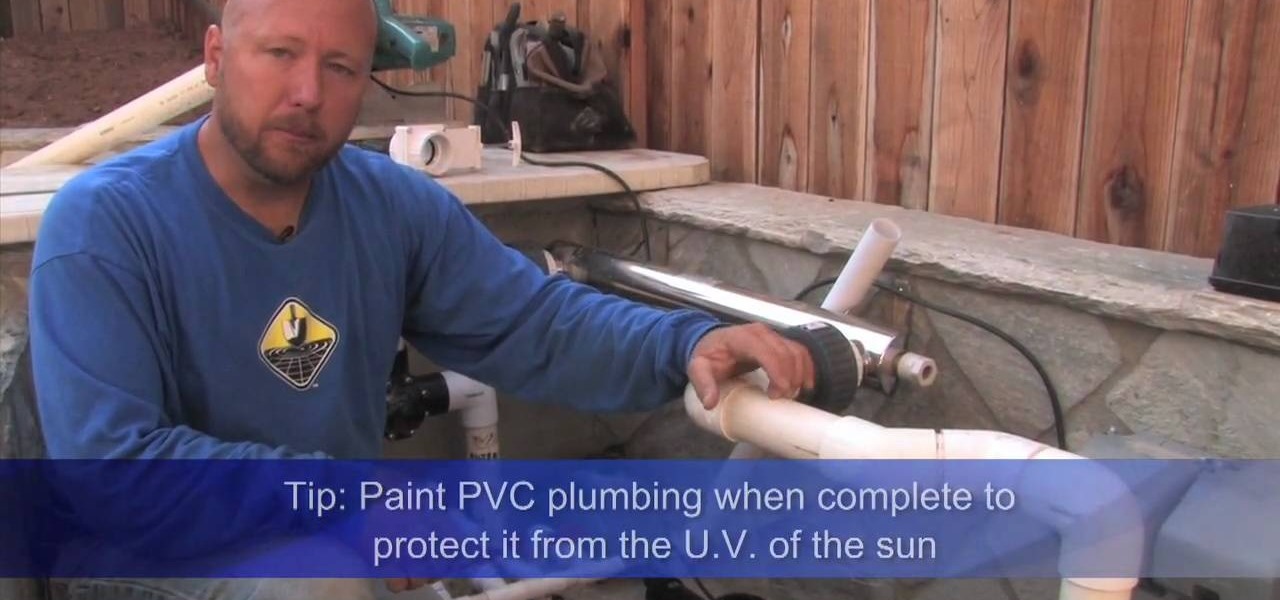
The Pond Digger demonstrates how to set up plumbing for a pond. First, sleeve all pipes coming through the cement foundation to protect the plumbing from elemental stress and provide additional flexibility. Next, use a clear primer and a clear glue to seal areas where you need a clean, finished looking product. Paint the PVC piping to protect it from the sun's UV rays and prevent from becoming brittle. If you need to do cutting, use a chop saw for a quick, clean and efficient cut. Extend the ...

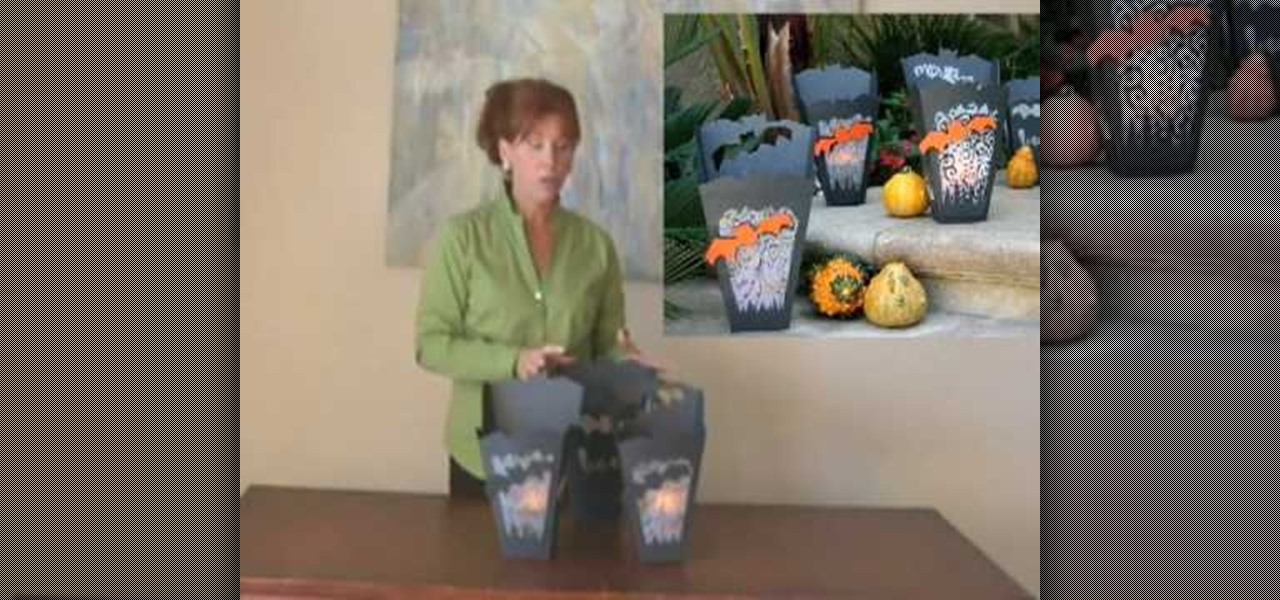
In this video tutorial, viewers learn how to make a Halloween lanterns. Users will need to visit this website: jennadeangeles/] and download the Halloween template. The materials required for this project are: download template, vellum, poster, rubber stamps, metal ruler, glue and orange card stock. Begin by cutting out the lantern with the openings as well. Now stamp the vellum with some black acrylic paint. Finish by closing the lantern with glue. This video i...

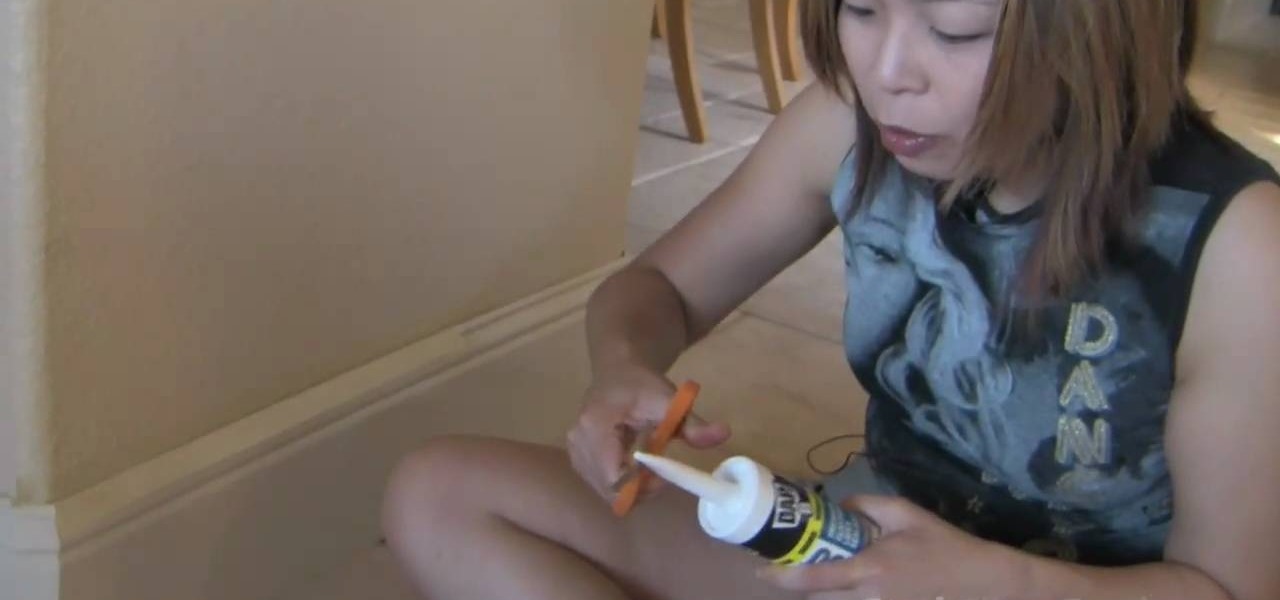
How to caulk the baseboards in your home

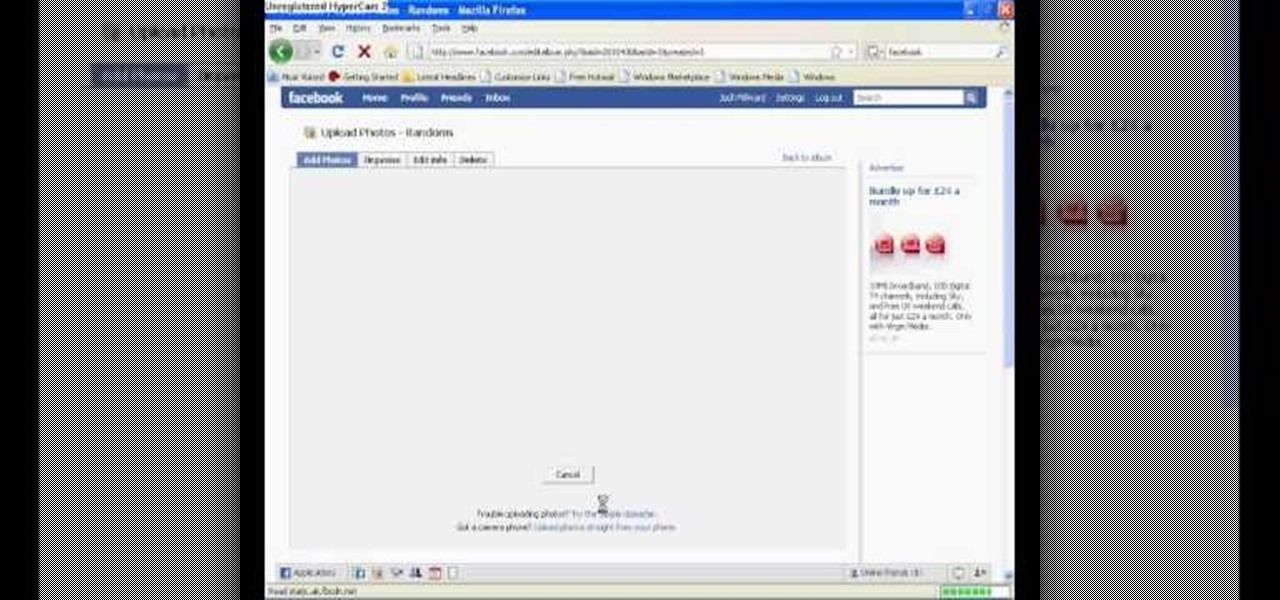
In this tutorial, Josh Millward teaches us how to post pictures onto a Facebook account. First, log into your Facebook account. Once you're logged in, click on your profile and click "photos". Choose where you want to upload the photo to, you can upload it to an existing album or you can upload to a new album. You can choose which uploading tool you'd like to use. Browse through your files and choose the pictures you want to load into your album. Now click "upload" after agreeing to the terms...

Stevmay09 will be teaching you how to digitally modify your eye color for free using GIMP. First you need to zoom in on the eyeball then click on the free select tool. Then start on the corner of the eye and make your way around the entire eye. Once you have the area around the eye selected you need to create a new layer. Make sure its filled with transparency then select the color you would like the eye to be. Then get the paint brush tool and select the icon shown then increase the scale an...

This video shows how to use a wire wheel brush on an angle grinder to remove rust or old paint from metal so that it looks practically brand new. The brush is easy to find at any hardware store and costs $15-$20. He shows how to attach the brush to an angle grinder. He then demonstrates how to use it with a rusty metal finial which has been clamped down to his work bench. The brush works very quickly to remove all the rust from the finial, revealing the shiny metal. Following the instructions...

Love4Nails demonstrates a nail design consisting of black and white swirls and dots on a red background. She has already applied a base coat and two coats of red polish. The first step in making the design is the white swirl on the tip. Using the pointed end of a nail dotter, she dips it in the white polish and draws the outline of the swirl, and then fills it in. Next she does the black swirl at the bottom in the same manner.

In this two-part tutorial, learn how to use a stencil on a shirt to create a screen printing effect. Although this does not show you how to do real screenprinting, by using a stencil you will create the look of a screenprinted shirt and be able to transfer your image. Materials you will need include: A blank t-shirt, a high contrast image, acetate, Scotch tape, a sponge, a Sharpie, Exacto knife, some acrylic paint, and glue adhesive. Get your favorite image on a t-shirt you can wear with help...

To make mini cupcake earrings first take a piece of sculpey and make a cylinder. Make vertical indentations around the cylinder, similar to those an the edge of a quarter. this forms the bottom of the cupcake. Next take another small piece of sculpy and role it into a line like a piece of yarn. starting at the edge of the top of your cylinder coil the line of sculpy around the edge and up, similar to a piece of novelty poop. this forms the cupcake. stick a earring finding through the top of t...

This Software video tutorial shows how to create a glass text effect in Photoshop CS3/CS4. Download a free trial version of Photoshop CS4 from Adobe. Open Photoshop, go to ‘file’ and click ‘open’. In the next box, give it a name, select width and height at 90 pixels, background contents to ‘transparent’ and click OK. Select the color palette and choose the background color and click OK. Now open ‘paint bucket tool’ and fill in the color. Then go to ‘text tool’, select the font, size and posit...

This helpful tutorial will show you how to take a screenshot on your laptop computer. To take a screenshot on your laptop, follow these steps: 1. Locate the 'FN' key. (Bottom left of your keyboard.) 2. Find the 'sys rq' key. It is also known as the delete button. (Top right of keyboard.) 3. Hold both keys in at the same time. 4. The image has now been copied to your clipboard, and you can open it through a program such as Paint. ( Press 'ctrl + V'. )


