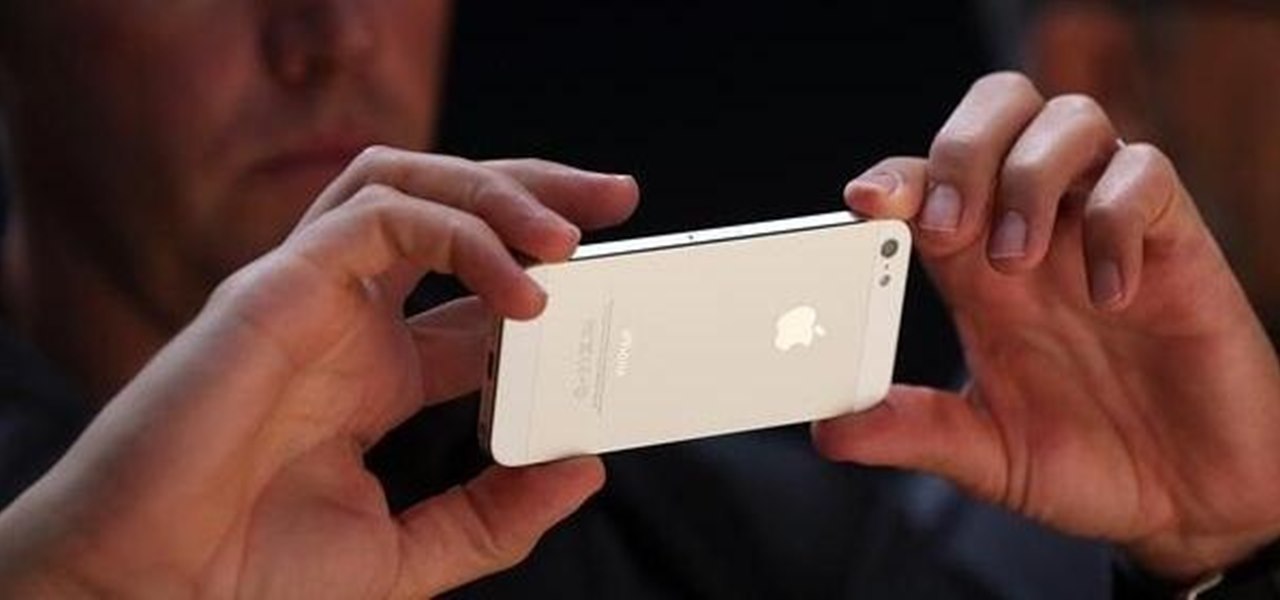
Do you ever wonder how all these celebrities continue to have their private photos spread all over the internet? While celebrities' phones and computers are forever vulnerable to attacks, the common folk must also be wary. No matter how careful you think you were went you sent those "candid" photos to your ex, with a little effort and access to public information, your pictures can be snagged, too. Here's how.
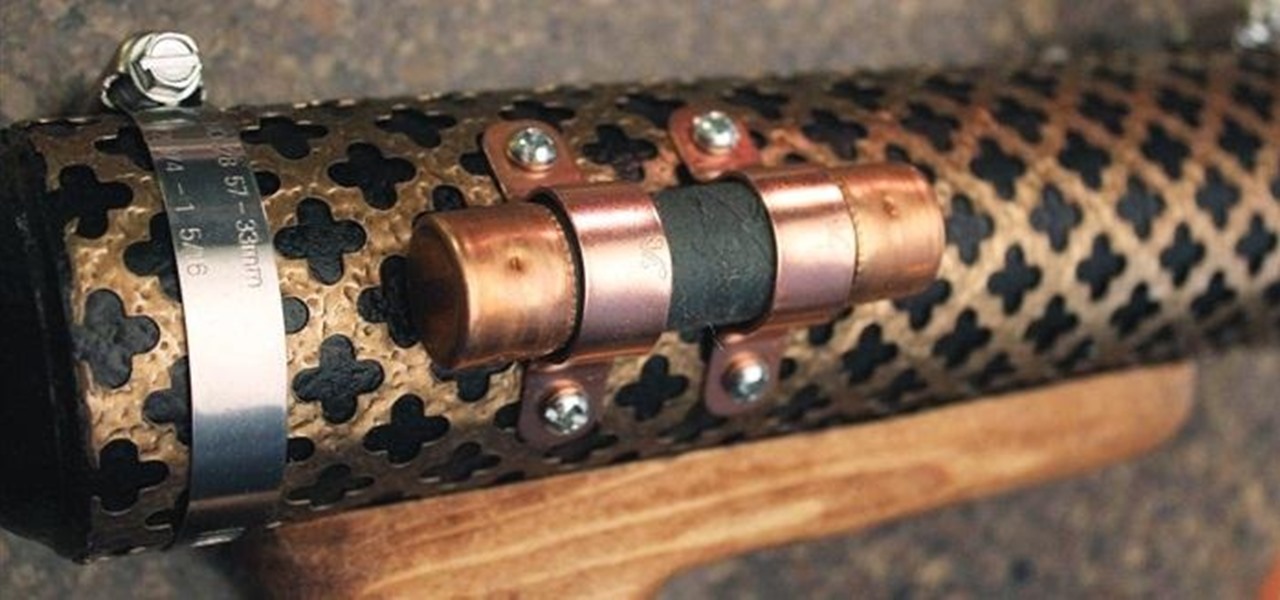
As I said in this earlier post, there's no easy way to explain or define the Steampunk aesthetic. There are a large number of Steampunk tropes or "cues", as I call them, that bring to mind the feeling of Steampunk. These cues combine to push past the "not-Steampunk" threshold into firmly "Steampunk" territory.

There are several ways to send pictures to others on your smartphone—picture message, email, Bluetooth, and even by bumping phones together. Now there's an even more unique way to transfer pictures from one Apple device to another—with sound. Chirp for iPad, iPhone, and iPod touch
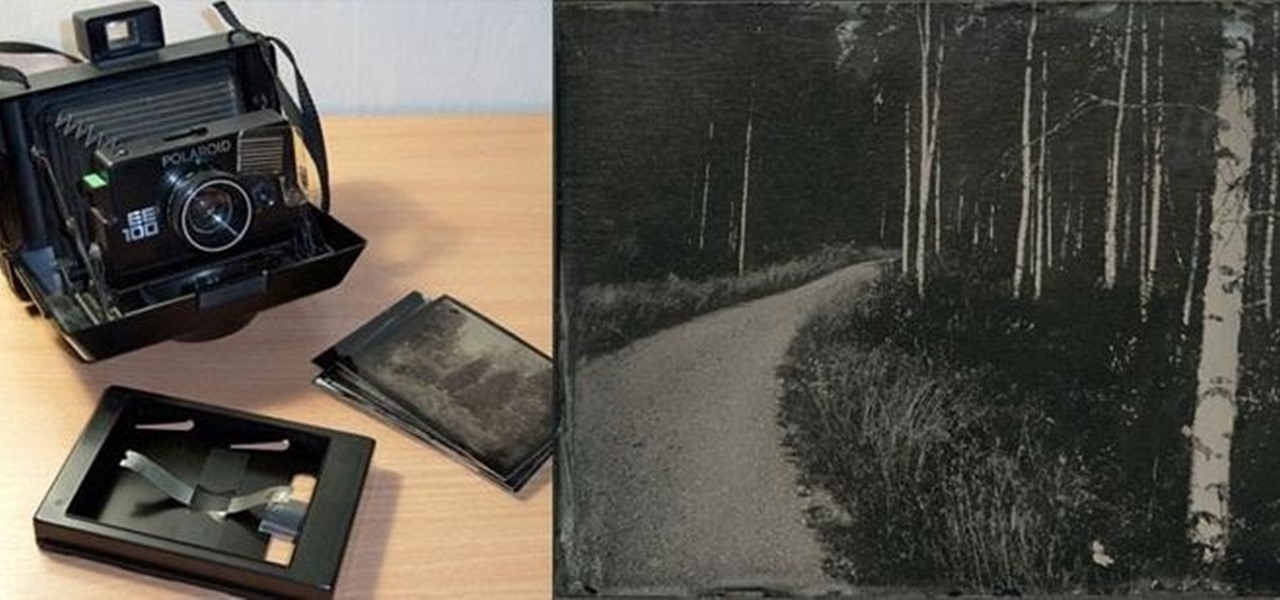
Wet-plate collodion photography is a process that lets you develop a photo onto a piece of glass. It has some neat applications, but it's not a simple process, and most people use a special camera to do it because the silver nitrate used to process usually ends up leaking, which would ruin a regular camera.
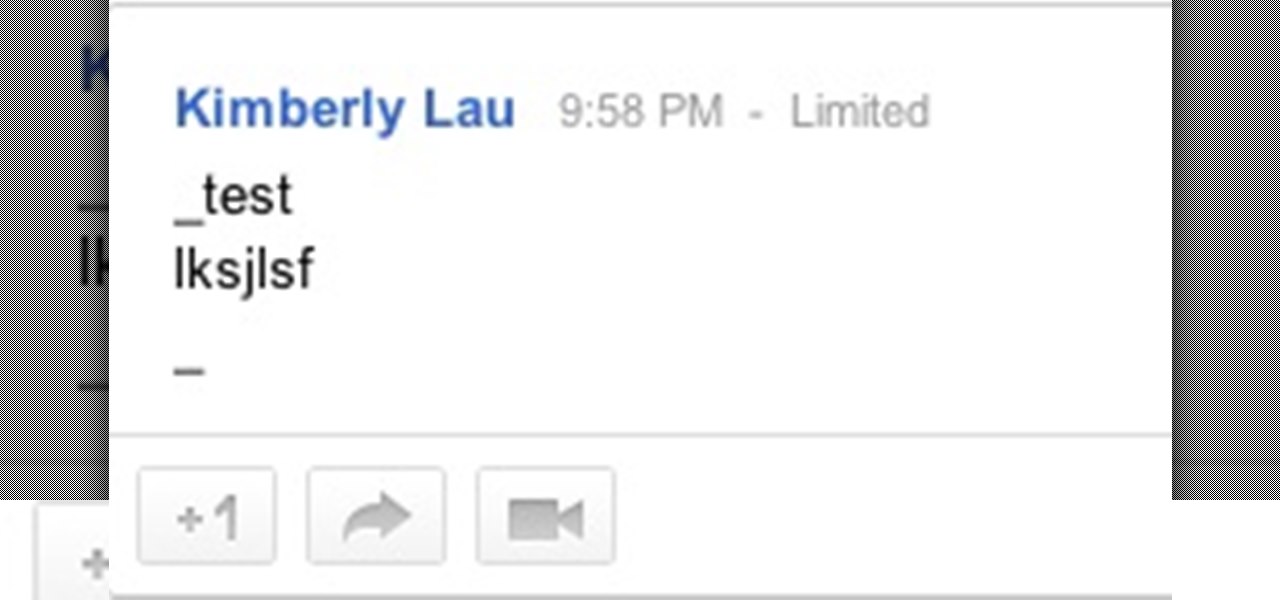
Are you feeling like you've got the hang of Google+? Or do you, as I do sometimes, feel like there are just a few too many quirks to keep track of? Here, I've given you 15 quick tips you should know about Google+ so you can maximize the way you want to use it.
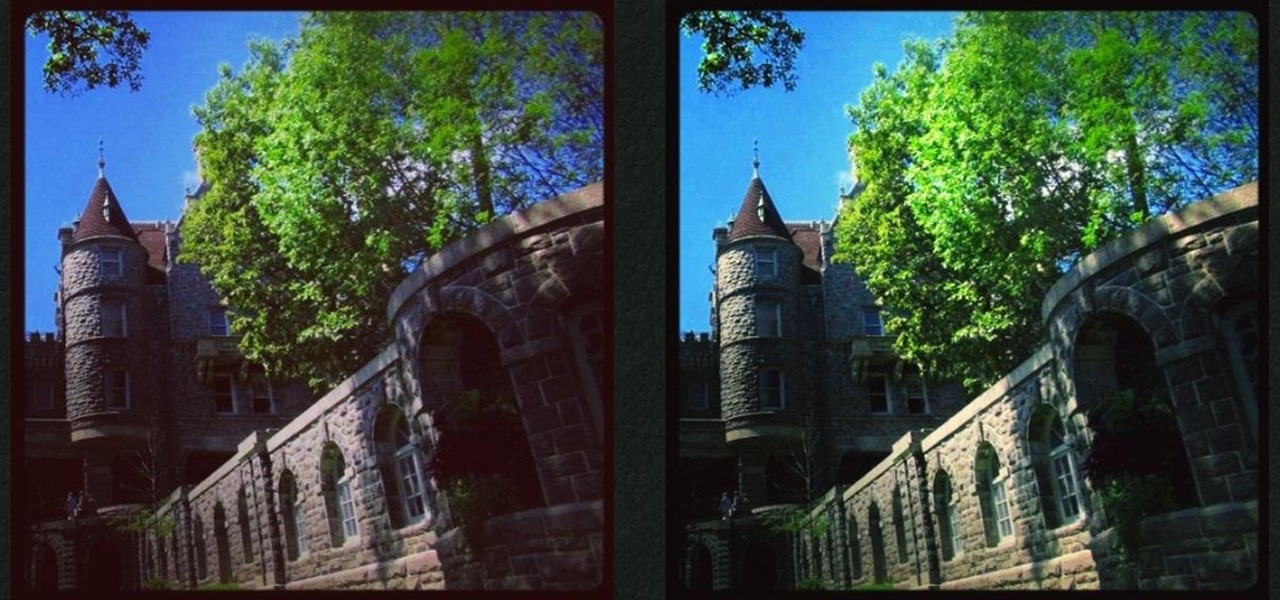
Tired of the Instagram wave? If you're sick of having to view the world through low-contrast and sepia-toned filters, there's a way to get them back to how they're supposed to look, and it's called Normalize, which undoes the magic filtering that Instagram and similar photo filter apps provide. The process of un-Instagramming your (or anyone else's) photos with Normalize is perhaps easier than Instagramming them in the first place. All you need to do is copy and paste them into the app and wa...

You probably already know that your digital pictures have quite a bit of information embedded in them. What you might not know is just how much personal information is included in that metadata, including your camera information, and in some cases, even the precise GPS coordinates of where you took the picture.

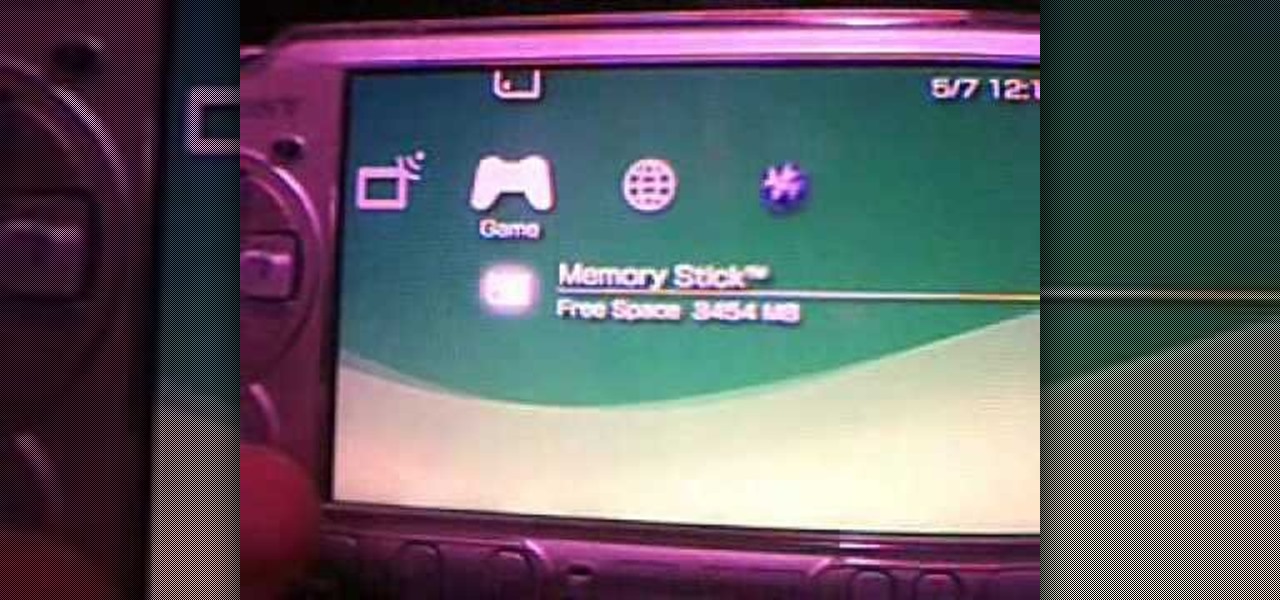
When Sony released the new versions of the PSP Slim and 3000 in 2009, it thought that it had solved the PSP's rampant hacking problem. They hadn't. This video will show you how to load the popular exploit / CFW installer ChickHEN R2 onto a slim or 3000 PSP, leaving it ready and waiting for whatever homebrew hacks and games you'd like to put on it.

This is a video about how to make the photo display board. You just need foam display board, fabric to cover the board, batting paper, pins, and some ribbons. First you have to cut the fabric about one half inch extra of the board to cover the board. Next you have to cut the ribbons upto 6 to approximately 21 inches long and cut one ribbon to hang the photo board. Next laying out the fabric on the table first. Next place the batting on the top of the fabric. Next take the foam board and place...

If you want to learn how to add a fake depth of field in Photoshop this is for you. First start off with a picture that has clarity throughout the picture. The first thing to do is add another layer. To do this you must grab your first layer and drag it to the bottom right where it says new layer. You will now have two layers to choose from. The next step is to blur the top layer of the photo. To do this select the top layer go to filter at the top of your window and scroll down to blur. Sele...

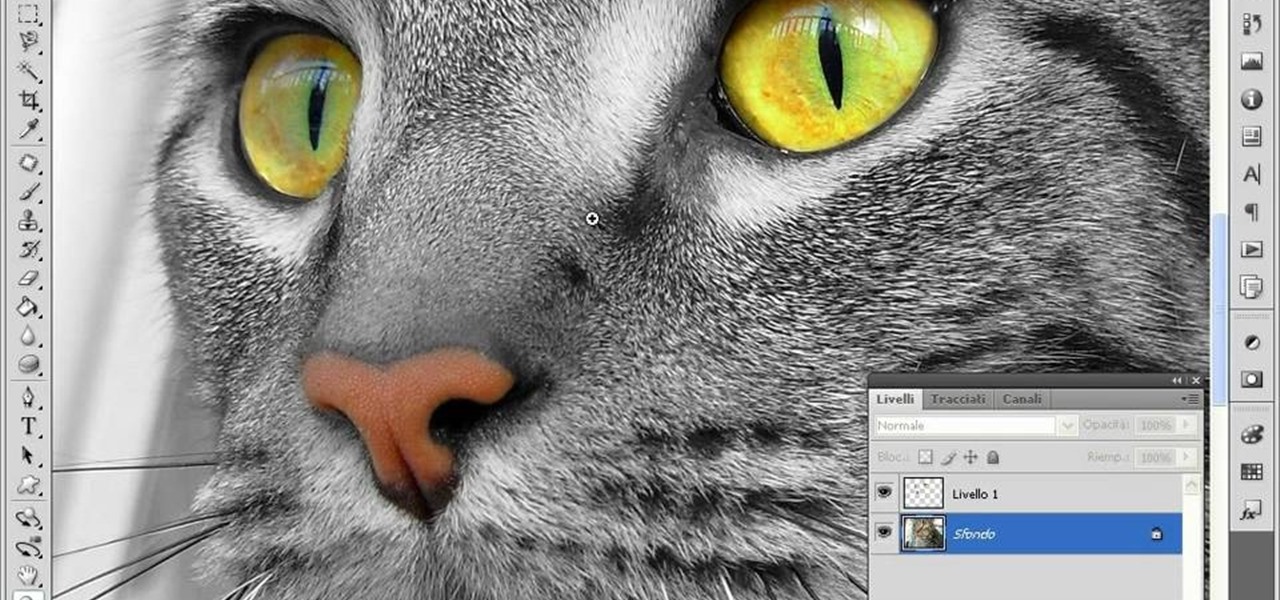
This video teaches us to make a photo black and white with coloured parts in Photoshop. This procedure consists of many steps. In the first step, we choose the magnetic lasso tool from the application. This is followed by the second step. In the second step, we draw the contours of the places we want to stay colored in the photo. Press the 'Shift' key to keep the contours selected while drawing contours across multiple places in the image. After drawing the contours, go to step three. Right c...

In this how to video, you will learn how to liquify an image using Photoshop. First, open the image in Photoshop. Next, go to filter and select liquify. Use the forward warp tool to press pieces of the photo. Use the reconstruct tool to bring the image back to the original state. The twirl clockwise tool can be used to twirl pieces in the photo. You can adjust the pressure to twirl more. The pucker tool can be used to push sections into the image. The bloat tool can be used to pinch sections ...

In this how to video, you will learn how to make a reflection in water using Photoshop. First, open the image in Photoshop. Select the crop tool and select the whole photo. Click and drag the lower part down. Select the rectangular marquee tool and select the picture. Click on the selection and select layer via copy. Click the move tool and drag the upper point in the picture to the bottom of the document. Go to filter, blur, and select motion blur. Choose a -90 degree angle with a 35 pixel d...

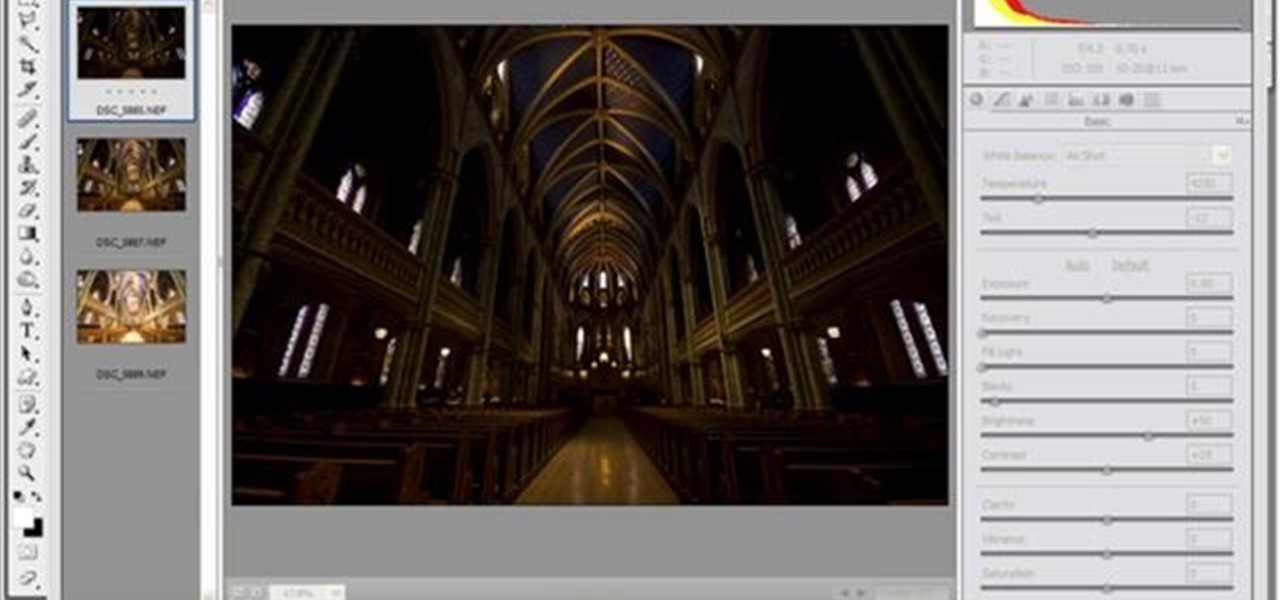
Yanick's Photo School demonstrates how to use Photoshop to make HDR images in Photoshop CS3. This tutorial first explains that HDR means "High Dynamic Range" which is a process to get details from a photo from both the highlights and shadows of a particular scene. The first thing that is necessary is to take multiple views of the same image with different exposures. To start off, you will take three exposures: one that is two stops down, one that is normal exposure, and one that is two stops ...

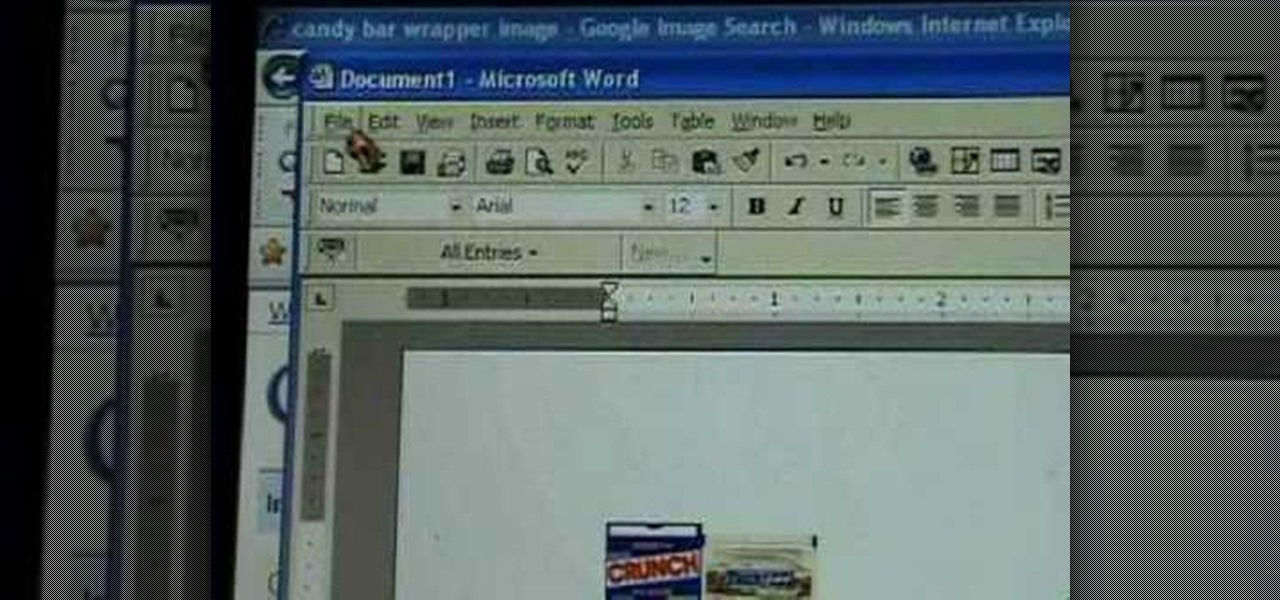
First of all go to Google and then type in 'candy bar wrapper image' and then enter and go to image results. Select the 'crunch' image and right click and then 'copy' and then go to word document and paste it there. But if the image is big then right click and select 'hyperlink' and select 'remove hyperlink' to remove it. Now select the image again by clicking on to it and you can change the size of the image. Pick out the corner of the box that appears on the image and drag it inside to make...

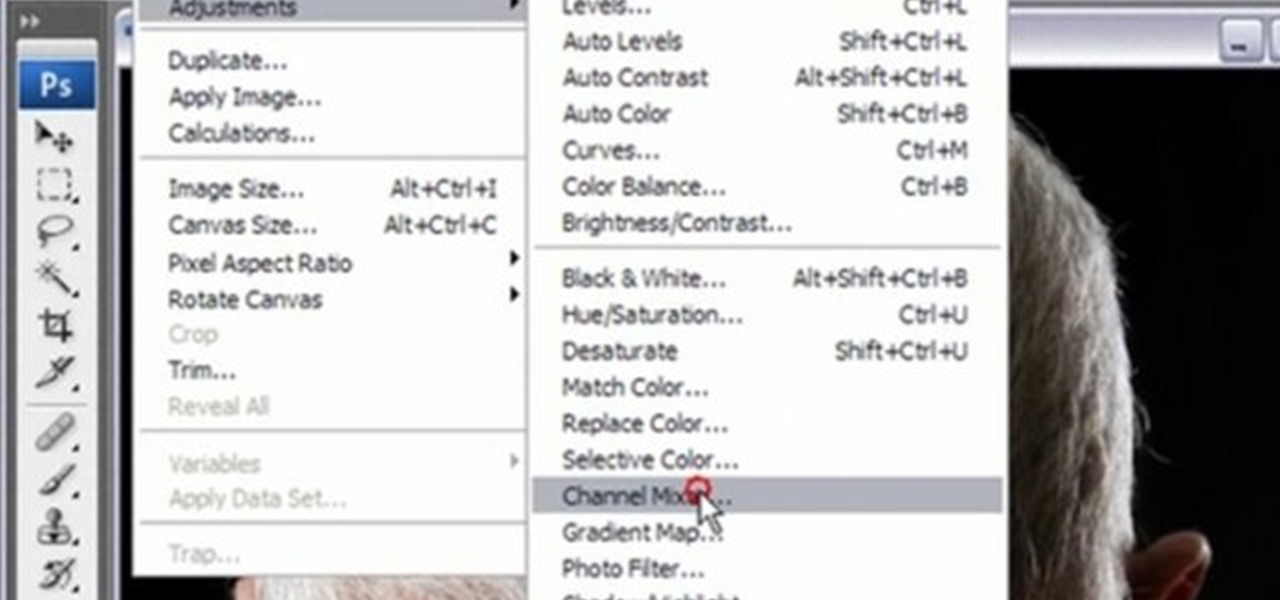
You can convert any color photo to black and white photo. In Photoshop CS3, There are 4 ways to do it.

This video shows us how to burn files to a disc using Windows Vista. Insert the blank disc in your computer's recordable disk drive. Autoplay will automatically appear. Choose "Burn Files to disc using Windows". Click next when "Burn a disc" dialog box appears. Empty folder window appears. Choose files that you want to copy and drag them to the window. For example, if you want to copy a photo, click Start menu and open the Pictures folder. Select photos and drag them to the window. Photos are...

This video tutorial is about removing makeup in a photo using Photoshop. To do this, first of all, open the photo. Then zoom in on the area where you want to remove the makeup. The tool that is to be used to remove makeup is the brush tool. It can be selected from the left pane. After that, on top there will be an option which says mode. Click on the option just near to that and a drop down menu appears. From that list, select the hue option or color option. Both the options serve the same pu...

The citizenship card is a document that naturalized Canadian citizens use to prove that they are Canadian citizens. This card is needed to get certain documents such as a Canadian passport. It never expires but it can be updated to include a new picture or name change. Citizens born in Canada do not use the card, they use their birth certificate to prove citizenship. Naturalized citizens can apply for this card and so can people with parents of Canadian descent. People who have previously had...

You have many great memories to share. Why not collect them all in one book? Learn the fun and meaningful craft of scrapbooking. In this video how-to, learn how to get started on your scrapbooking adventure.

Hak5 isn't your ordinary tech show. It's hacking in the old-school sense, covering everything from network security, open source and forensics, to DIY modding and the homebrew scene. Damn the warranties, it's time to Trust your Technolust. In this episode, see how to hide secret data inside a photo.

Hak5 isn't your ordinary tech show. It's hacking in the old-school sense, covering everything from network security, open source and forensics, to DIY modding and the homebrew scene. Damn the warranties, it's time to Trust your Technolust. In this episode, see how to build a mini multi-touch table and photo stitch.

Need to make a PCB quick? Well, this video tutorial will show you how to create a PCB with the toner transfer method using photo laser paper.

Paint stripper works wonders for removing paint. Tim Carter shares some paint removal pointers to help you get rid of your paint quickly and safely.

This tutorial talks you through the vital processes of painting: color mixing and color choice. Although the artist is about to paint an oil, this tutorial is applicable to all color mediums from pastel to watercolor, acrylic, and gauche.

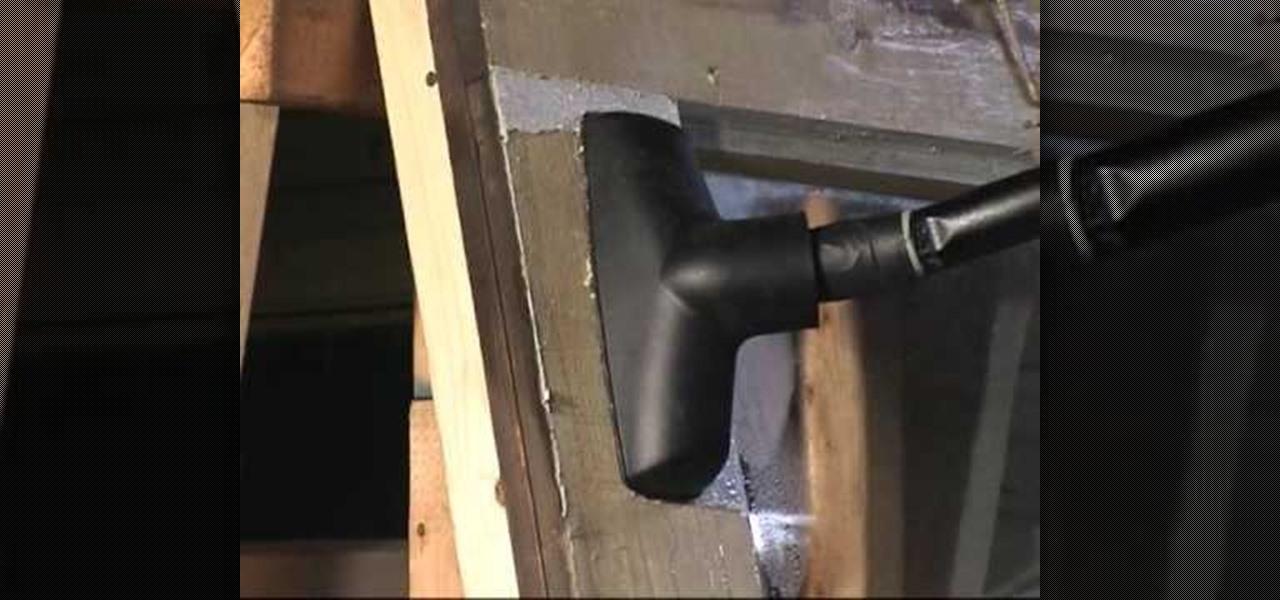
John Leeke demonstrates using steam to remove heavy paint build up from wood surfaces in this five minute video. Steam paint removal softens the paint film so it can be more easily scraped away. It works well with the heavy paint buildup commonly found on the exterior of older buildings during house restoration and historic preservation projects.

Check out this video to learn how to draw a beetle and eggplant in the traditional Japanese Sumi-e ink method.

In this online video series, learn how to paint your car bumper, from car painting expert Marcel Porter. This experienced auto technician will show you how to sand your car bumper, how to mix the primer for your car and how to apply the primer, how to prepare the car paint and pour it into the paint gun, how to apply the various coats of paint, and how the newly painted bumper should look.

CONTEST ENDED: WINNERS ANNOUNCED This contest has ended and winners have been announced. To see who won, check out our quick winners post. Thanks to everyone for submitting their ideas!

It's not always an easy task to paint used furniture, especially when you're dealing with Formica, which is a hard durable plastic laminate used on countertops, cupboards and some furniture pieces. This video will show you the steps required to start painting a Formica surface. Also, you'll learn how to properly prepare metal hardware to be painted.

In this tutorial, we learn how to draw a vintage car. This car will take a lot of detail, so make sure you take your time with it. Start out by drawing the hood of the car, then work your way to the back of it. Once you have the basic outline of the car finished, add in the details! Don't forget the windshield, side mirrors, paint, wheels, tires, etc while drawing. To finish this up, start to shade with the pencil and then use the eraser to create a shined appearance as well. Add in colors if...

In this tutorial, we learn how to draw a gangster M&M graffiti character. Start out by drawing the eyes and the mouth for the character. Fill in the eyes and the mouth, then add in more details. Next, add in eyebrows to the M&M, then draw the body around the face. Draw a beanie hat on top of the head, then draw arms with a spray paint can in one of the hands. Add in the additional details for the hands and arms, then draw in the legs on the bottom. Add in the shoes, then finish with additiona...

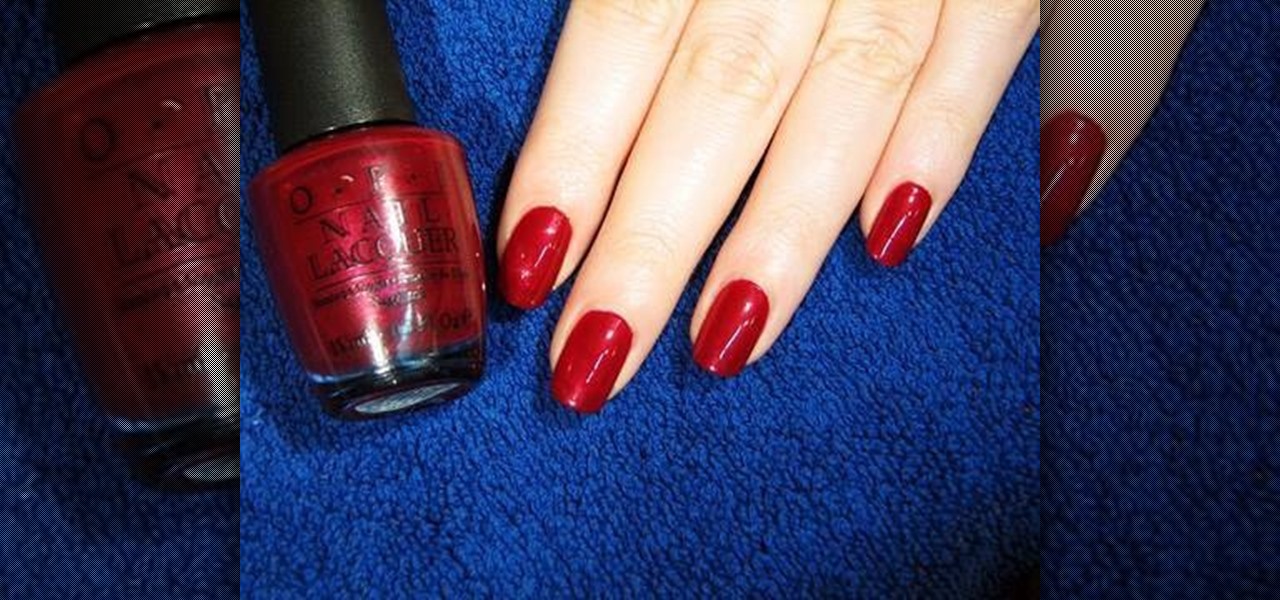
In this tutorial, we learn how to achieve a perfect at home manicure. First, remove all the nail polish from the nails and then file them down. Use a buffer to buff the top of the nail and push down the cuticles. Clean out underneath the nails and then wash your hands thoroughly with soap, then let dry. After this, use instant cuticle remover on all of your nails to remove your cuticles completely. Use a wooden pick to push these back and remove them just to make sure you have it all gone. Af...

In this tutorial, we learn how to mix and make paper mache. To do this, you will need: flour, water, and a large mixing bowl. Start off by pouring the flour into the mixing bowl, then adding in warm water in the same amount as the flour. After this, mix it together until you have a thick consistency. It should not be like water, more like a thick soup. Add more of the ingredients until you have this consistency. After this, dip your strips of paper into the mixture. Use them to place on your ...

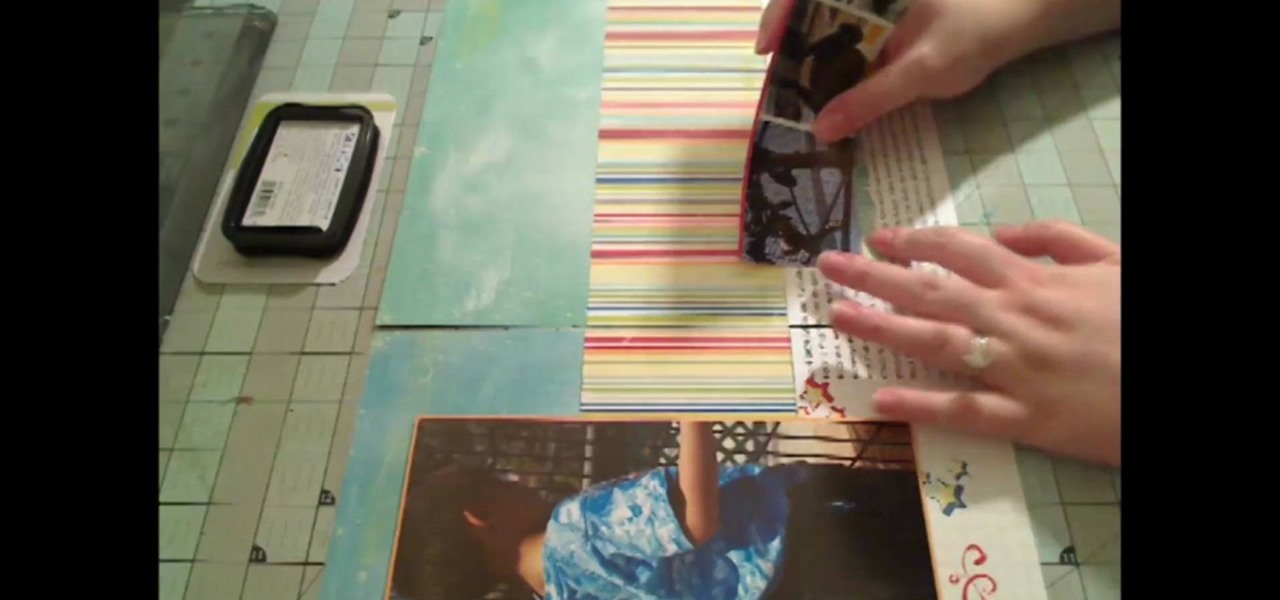
In this tutorial, we learn how to make a 12" by 24" two-page scrapbook layout. First, you will need to gather all of your papers and stickers that you want on your pages. Also, grab your pictures you want to use. Next, figure out where you want to place your photo, then glue it down. After you do this, add on an additional photo in another space of the paper. Place a background underneath the picture first if you want to give it a matted look. Also make sure to place in any stickers that you ...

In this video, we learn how to make a pi–ata, step-by-step. First, you need to soften up the balloon and then blow it up until it's the size that you want it to be. After this, set the balloon aside and then make the glue for the pi–ata. Take flour and put it in a bowl with warm water. Mix this together until it's well combined and is a thick liquid. Next, grab a newspaper and use strips of it to dip into the liquid and paste onto the balloon. After this has dried, decorate the paper by paint...

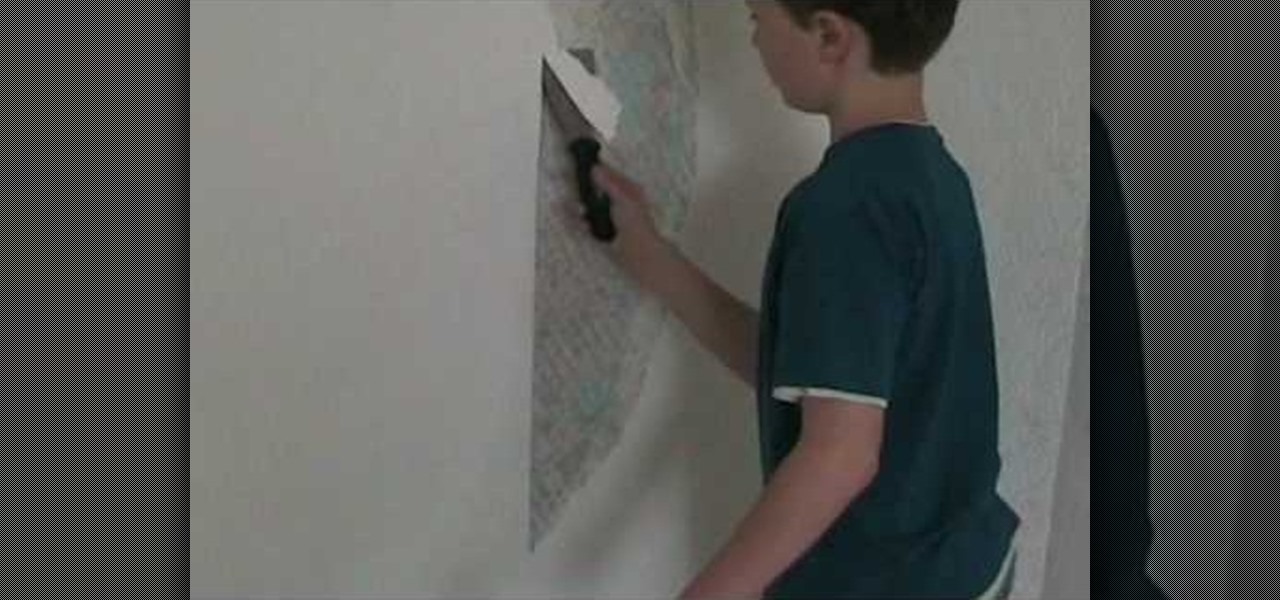
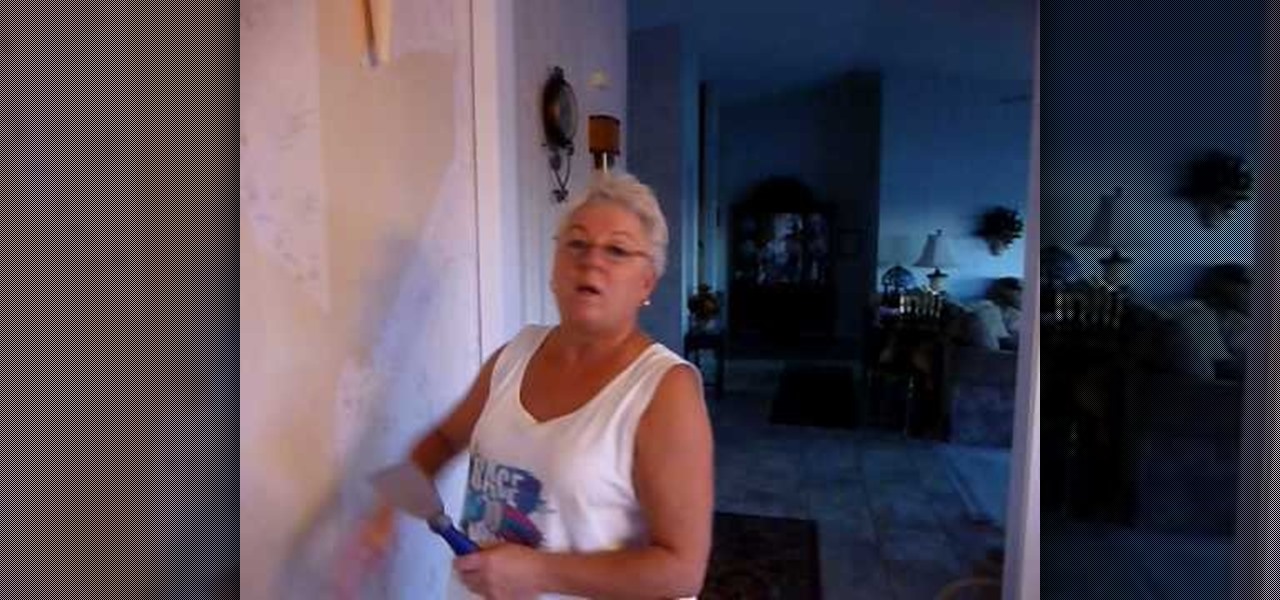
In this tutorial, we learn how to strip wallpaper easily. First, you will need to take a wallpaper stripper and run it along the wall so you cover all of the spots that it touches. After you have done this, run the stripper diagonally along the wall, then spray the wall with some warm water mixed with dish washing soap. Once finished spraying, use a flat metal putty tool to pry the wallpaper from the walls. Once you tear it off in one spot, you should be able to remove larger pieces. Once fin...

In this tutorial, we learn how to remove vinyl wallpaper. First, take your putty knife and slide it underneath the wallpaper. Once you do this, you will be able to see the paper and put water on the wall to help remove the paper. Tear the wallpaper down in large chunks until it's all completely gone from the wall. Make sure you wet the wallpaper as well, because this will help it come off more easily. Let the wall dry before you paint it or add on new wallpaper, then you can decorate how you ...

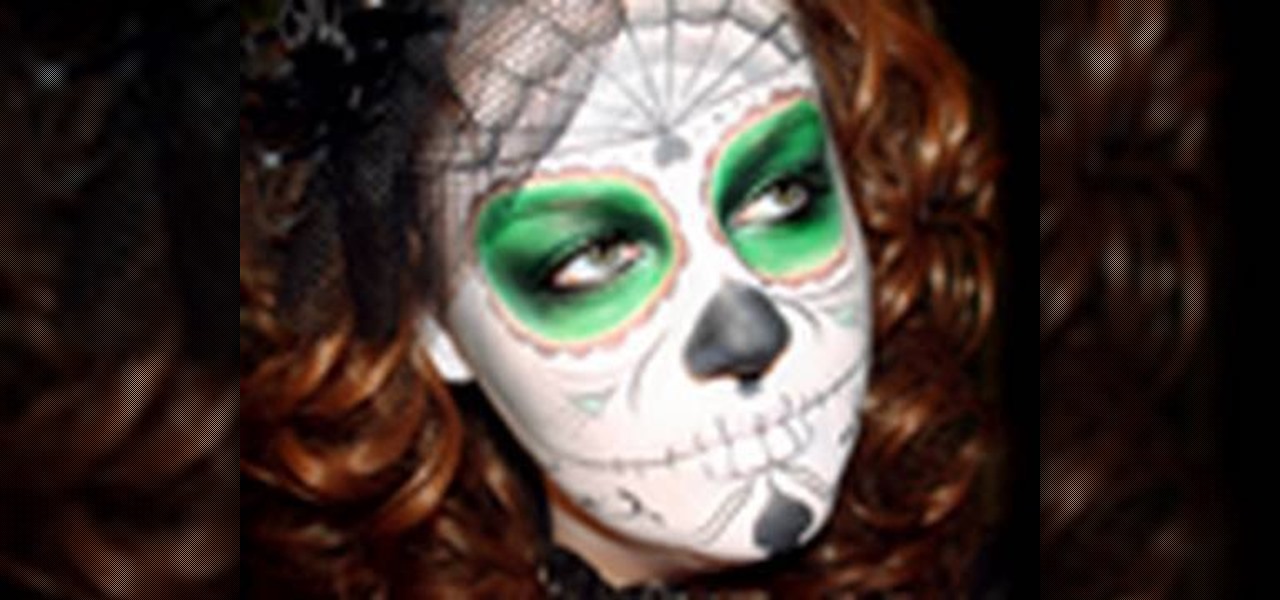
Sarah teaches us how to do a Dias de las Muerto look for Halloween in this tutorial. First, apply a pure white makeup to the entire face, including the lips. After this, wipe makeup off from around the eyes and draw a circle around them, including the top of the eyebrows down to the top of the cheeks. Next, apply a black flower like shape over the circles you just created. After this, apply a dark green paint to the inside of the eyes, covering everything in them. Next, apply dots at the top ...

No more do you have to buy additional equipment just to send a quick fax out. And no more going to the local copy store to pay for faxes. Windows 7 has a great feature built right in called Windows Fax and Scan. See how it works.


