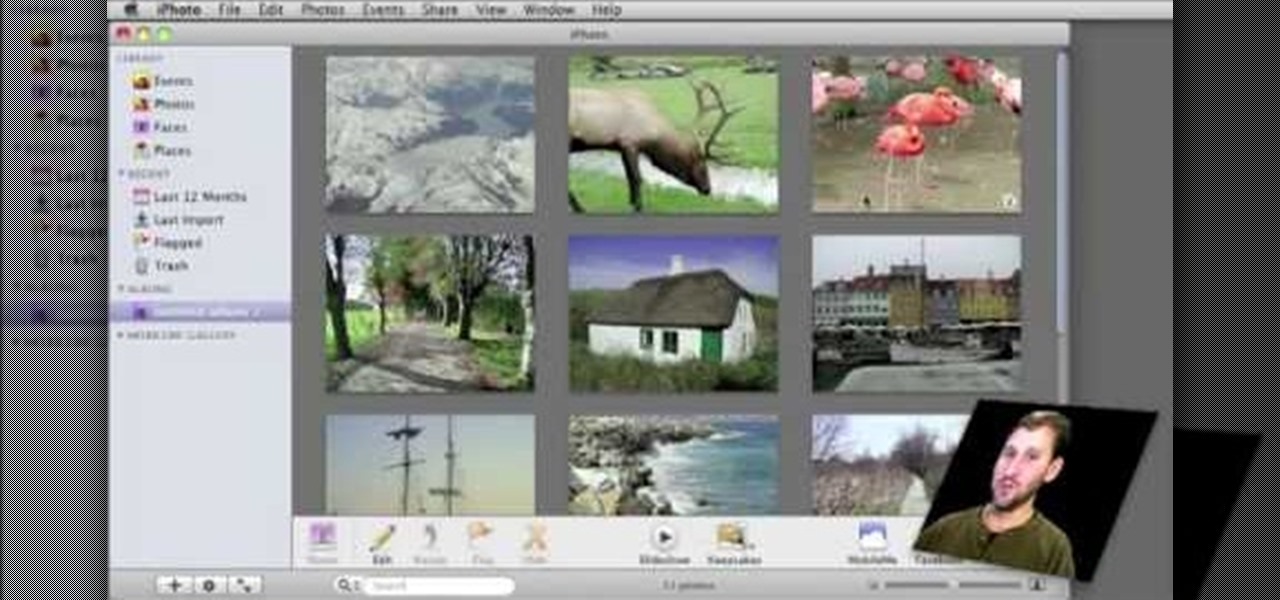
Clip Art from Microsoft Office allows you to insert stock photos into you PowerPoint, Word, Excel and Entourage documents easily. You can gain access to the Office Clip Art site easily in any of the mentioned applications. The Microsoft Office for Mac team shows you just how to download and use clipart from Office Online in this how-to video. You can get free stock images of low-priced professional quality photos.

How to make artistic emails using Mac.First open up email then click on new message, then on top right hand corner we can see ‘Show stationary’ button. Click it to see the templates made by apple. He selects the template of vacation to make up an email about his trip to Sydney. Then the template of vacation to Europe appears with photos. He clicks on the photo browser and opens his trip to Sydney folder by double clicking and dragging the required photo to set the photo for the photo in the t...
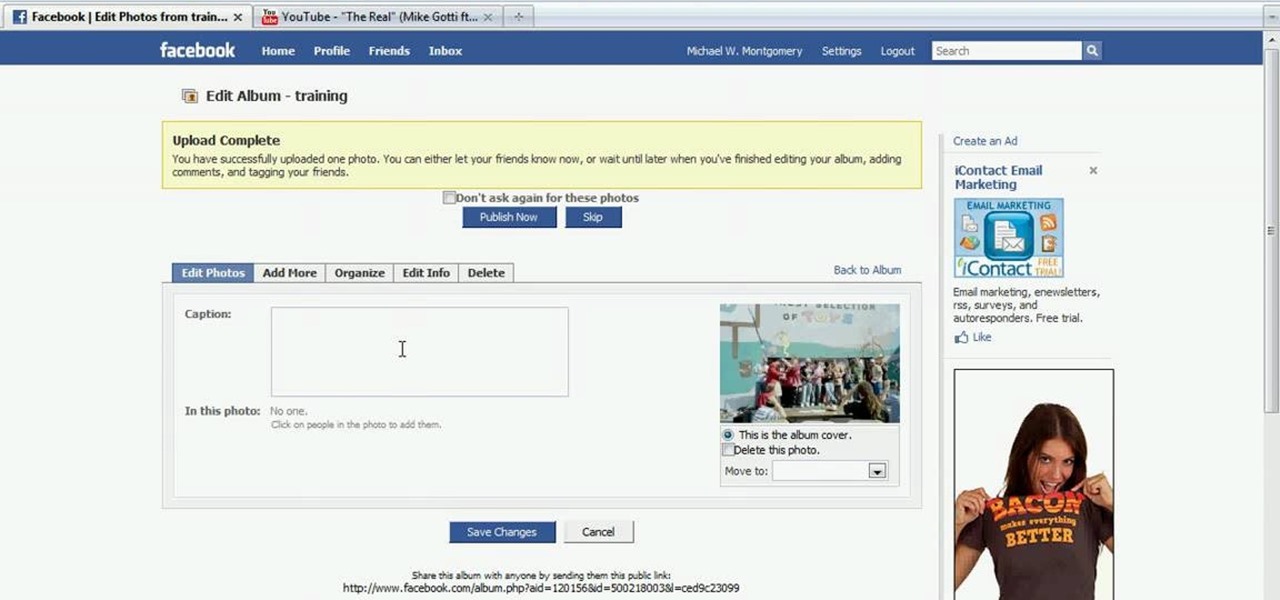
In this tutorial, Mike Montgomery shows up how to tag a friend in a picture on Facebook. First, log into Facebook and click your photos and upload your photo to the desired photo album, or create a new one. Once it's uploaded you can add a caption to the picture as you wish, then click on "publish now". If you would like to involve your friends in the picture that have Facebook, click on the "tag this photo" button. You can click on their faces in the photo, then a drop down menu of your frie...

This video will show you how to use the camera of Nokia N97. To use the camera of Nokia N97: Turn on the camera and open the lens cover or press the Capture key. In your view finder, you can see: Exit icon, Camera icon, Flash icon ,Expand Toolbar and Options icon. Tap the screen to use the Zoom Slider. You can zoom in or out by scrolling the Zoom Slider. To take a photo, tap the Camera icon. Once a photo is taken, another icons appear: Back icon, Message icon, Email icon, Trash Can icon, and ...
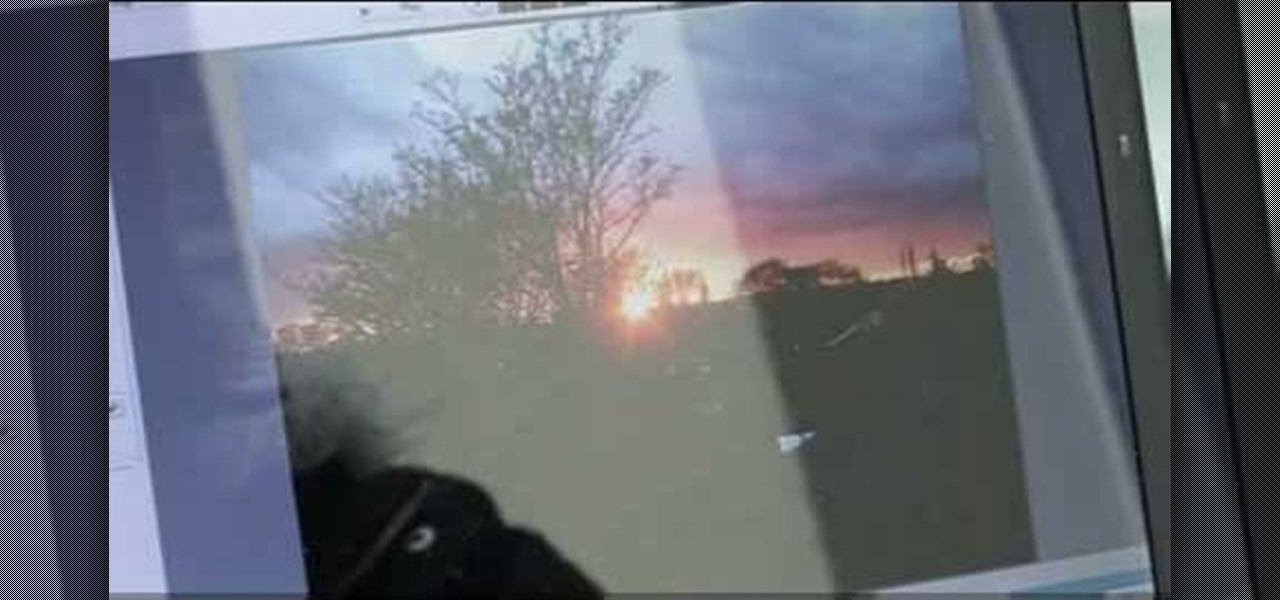
In this video Dionne from the Gadget show explains how to improve your digital photos easily using widely available free software. The first thing she instructs us to do is to download and install Google's free photo editing software Picasa. Next, once Picasa is installed you can use it's one click settings to easily remove red eyes from photographs or increase the brightness of a photo. The next thing we learn to do is to adjust the white balance of a photograph. This makes the photo appear ...
See how to take an HDR photo set (three photos, each with different exposures) using a Nikon D50 digital SLR camera. This how-to video includes a walk through of the settings you should use to take the high dynamic range imaging photo. It pretty much works the same on most digital SLR cameras, so pay attention to this video tutorial.

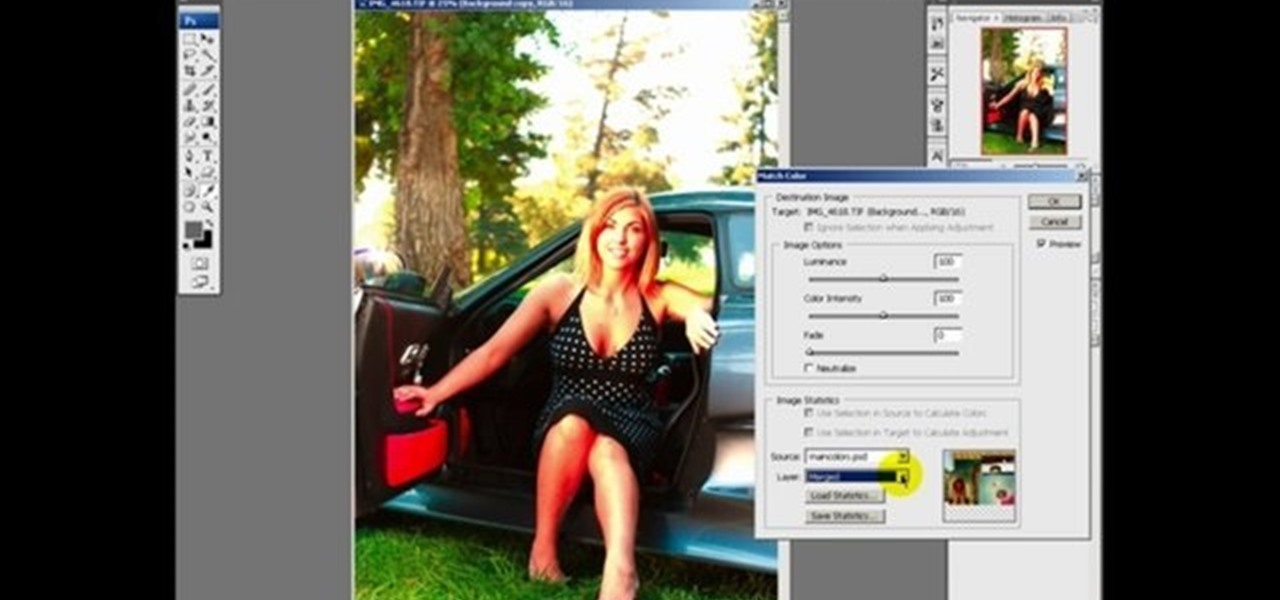
This Photoshop tutorial explaine the simple use of Match Color Adjustment in any version of Photoshop. Before starting this tutorial please create a .PSD file and add at least a dozen or more high res, high quality, vivid color photos and place each photo into it's own layer inside the .PSD file. Once you have your Photoshop file ready, follow along with this tutorial and learn how to use the Match Color adjustment tool in Photoshop on color photos and black and white photos.

Picasa 2 is a free image editing software from google. This software tutorial shows you how to use the basics of Picasa 2 for photo shorting, fixing and sharing. Learn how to navigate the interface and use the basic editing controls of Picasa 2.

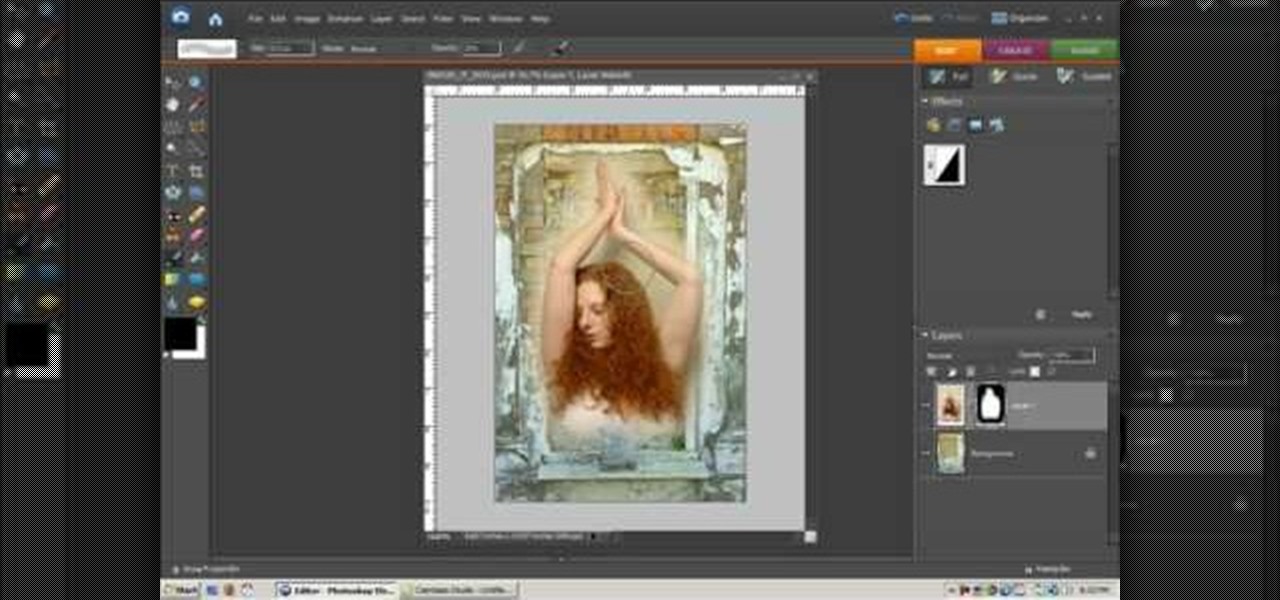
This photo retouching Photoshop tutorial is not cleaning up blemishes, but modifying the overall look of a photo. Bert's example in this episode takes a snow covered window eave and adds some children and their reflections to the inside along with falling snow on the outside. Change a photo to any scene or look you need with this Photoshop tutorial.

In this software tutorial you will learn how to turn a regular photo into a 3D looking image or make the photo pop out in a pseudo-3-dimensional way using Inkscape. This is a clever way to use Inkscape to play with photos and could be used for graphic design or scrapebooking type applications.

Got a boring blank wall? Hate framing your photos, but still want to put them out on display? Why not build a photo wall. This impressive effect will showcase your loved ones and artistic attempts, and in any case, is something to look at. Watch this video interior design tutorial and learn how to build a photo wall in your own home.

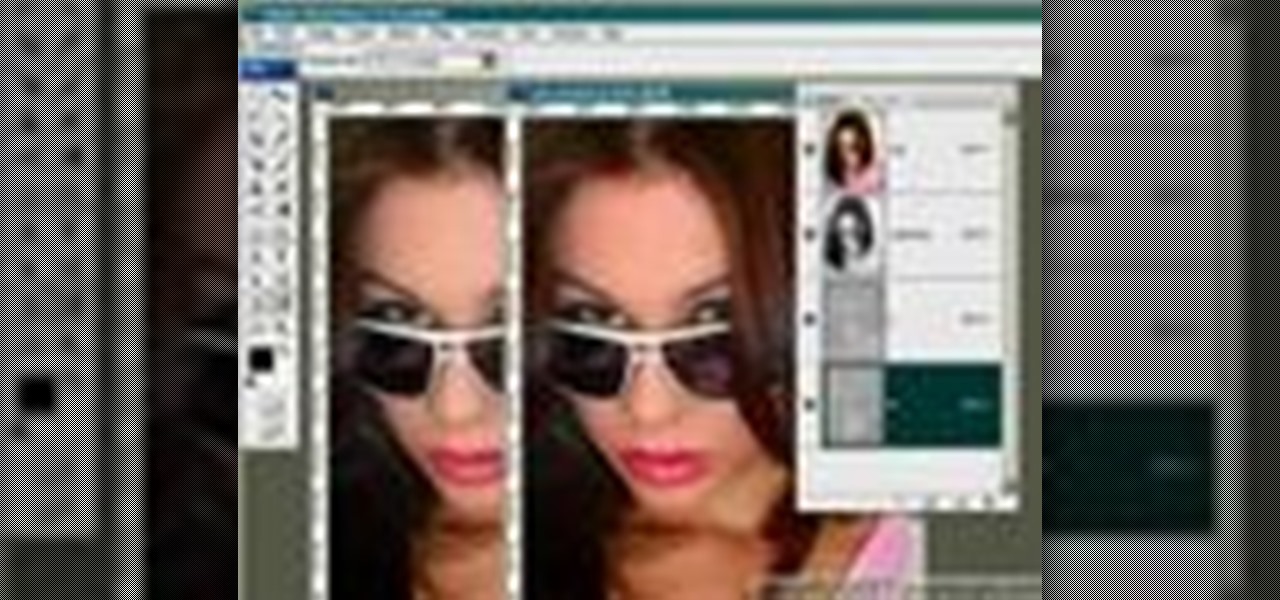
This video gives another iteration of a digital makeover, using Mama's Powder w/sharpen action. This series will highlight some advanced masking techniques; rubilith and quick mask modes, and adjust makeup colors using Levels Adjustments rather than Curves. Hopefully this will broaden your understanding of mixing color using a different type of adjustment, in Photoshop or Photoshop Elements.

In this video, Chad West does some experimenting with blending modes in Photoshop to create an aged look to a new photo. Those of you who already know your way around Photoshop should probably not waste your time watching this video. It's meant for beginners.

In this clip, learn how to go into your iPhone photo library and find out where your photos were actually taken. This is a cool feature that will allow you to keep track of where you go on your travels and jog your memory if you can't remember.

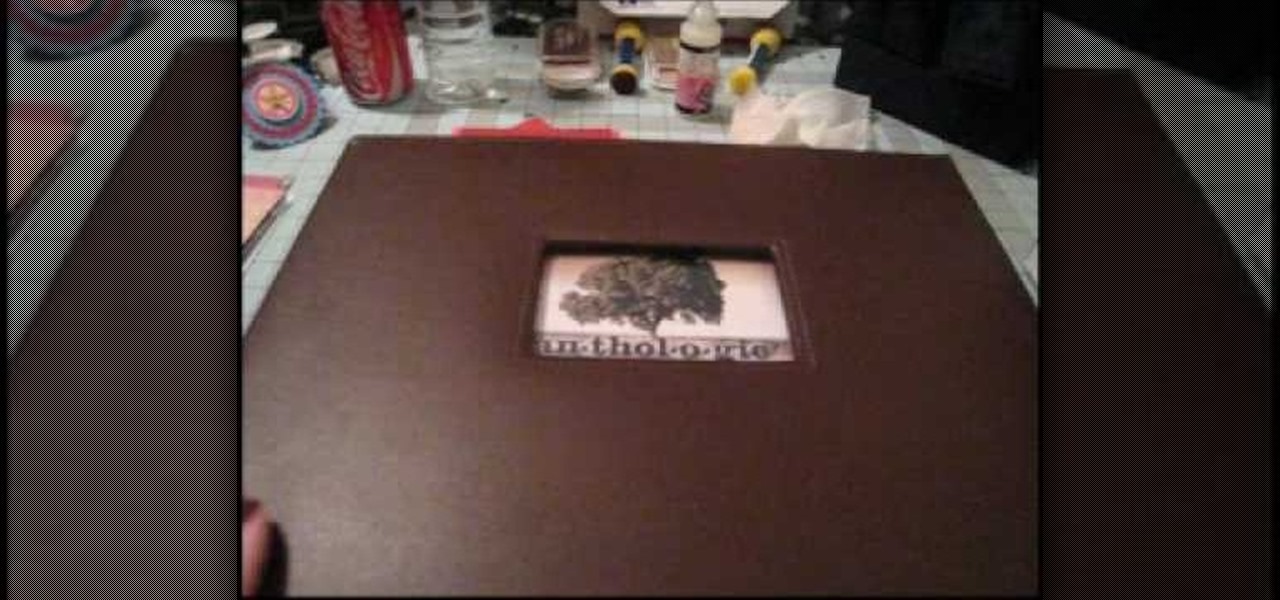
In this Arts & Crafts video tutorial you will learn how to use non-standard page protectors when scrapbooking. It is a tip on getting a large number of photos in an album without taking up too much space or using too many supplies. You can get 12 x 12 page protectors in terms of size but with pockets for 4 x 6 photos. This way you will have 6 photos on each side of the protector. Or maybe you put 5 photos and a card on one side. If you don't want to mess around with extra page protectors, you...

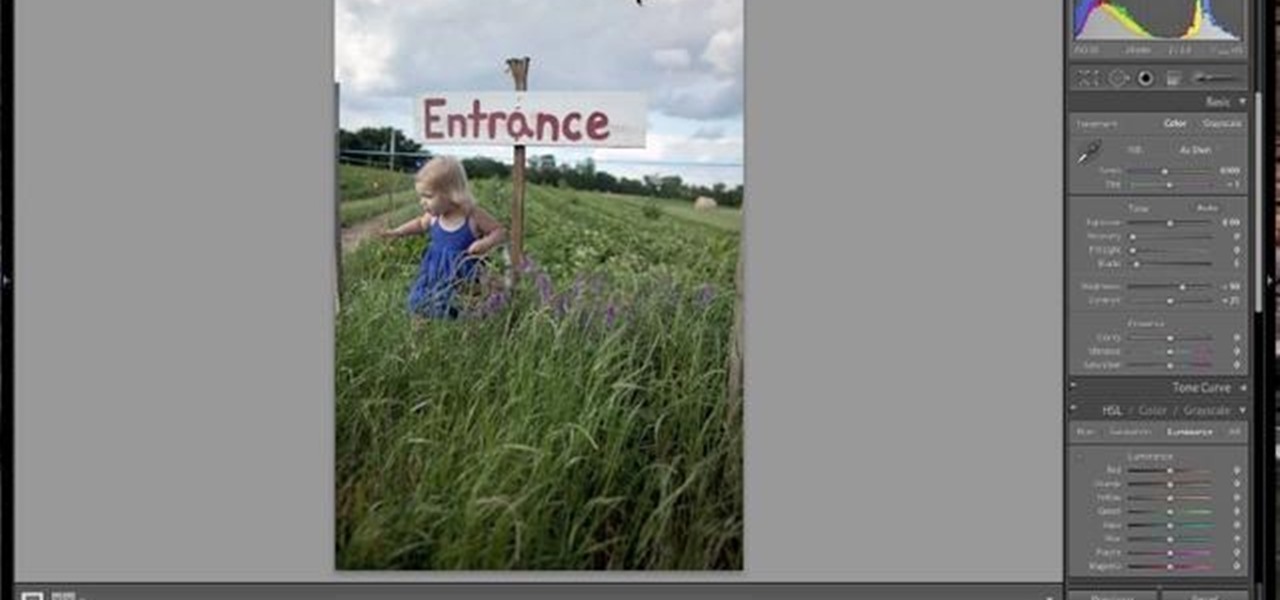
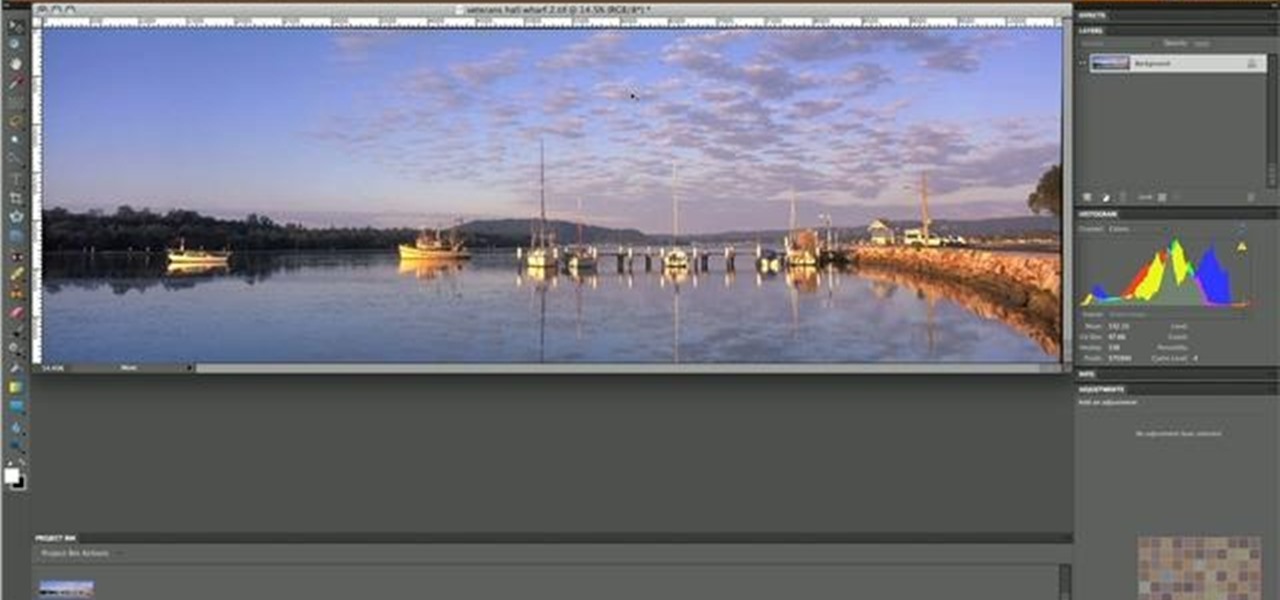
Sometimes there is a part of the photo that needs a little more emphasis than other bits. In this tutorial, you will learn how to use the photo editing program, Lightroom, to add focus and emphasis to certain parts of your images. Learn how to strategically darken and lighten areas of your photos to highlight whatever you choose. This clip is hosted by a professional and you will get tons of great advice.

Create stunning montages the easy way. Whether you're new to Adobe's popular image editing software or simply looking to pick up a few new tips and tricks, you're sure to benefit from this free video tutorial from Pro Photo Life. For more information, including step-by-step instructions on how to create your own custom photo montages, watch this graphic designer's guide.

Color correct your digital photos in Adobe Photoshop Elements! Whether you're new to Adobe's popular image editing software or simply looking to pick up a few new tips and tricks, you're sure to benefit from this free video tutorial from the folks at IT Stuff TV. For more information, including step-by-step instructions on how to adjust an image's color balance using a levels adjustment layer in Photoshop Elements, watch this PSE guide.

Want to digitally preserve an old photograph without also preserving the imperfections of the physical photo paper? With Adobe Photoshpo, it's easy. Whether you're new to Adobe's popular image editing software or simply looking to pick up a few new tips and tricks, you're sure to benefit from this free video tutorial from the folks at Britec Computer Systems. This video offers a step-by-step guide on how to remove unwanted physical textures from your digital images.

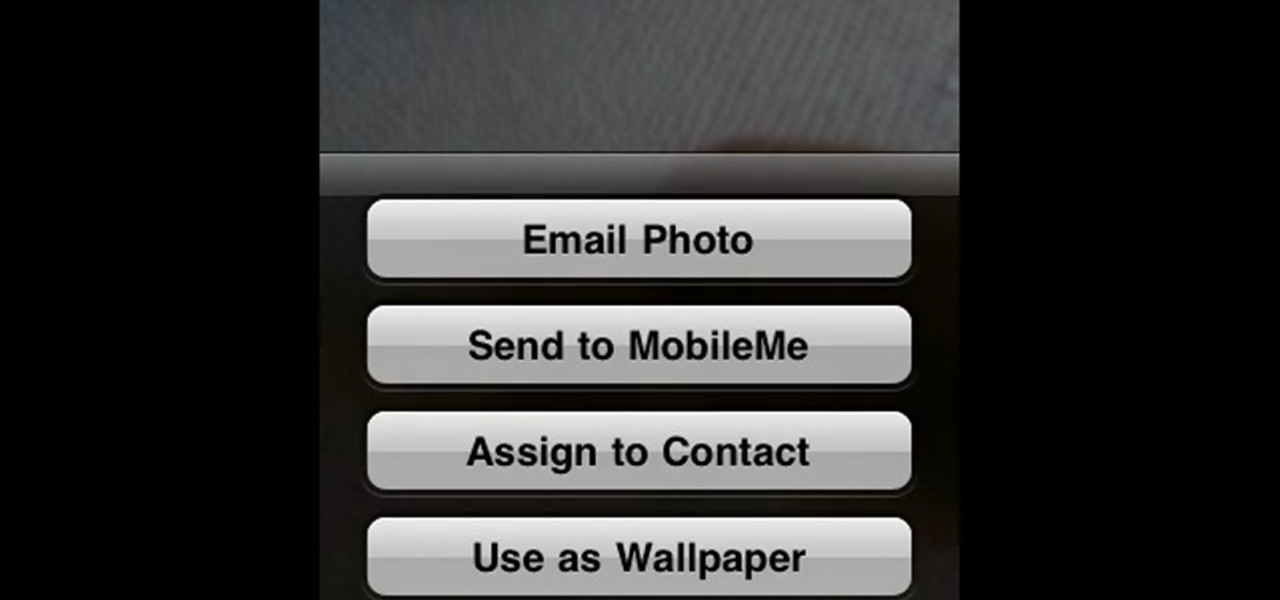
In this Electronics video tutorial you will learn how to Email photos from your iPhone. This is really very easy and simple to do and takes practically no time. On your iPhone go to the camera icon and tap on it. Then find a picture that you want to email. Then tap on the little icon on the lower left of the screen as shown in the video and then select email photo. Then you put in you want to send the photo to, type in a subject and add some text if you want. And the final step is to tap ‘s...

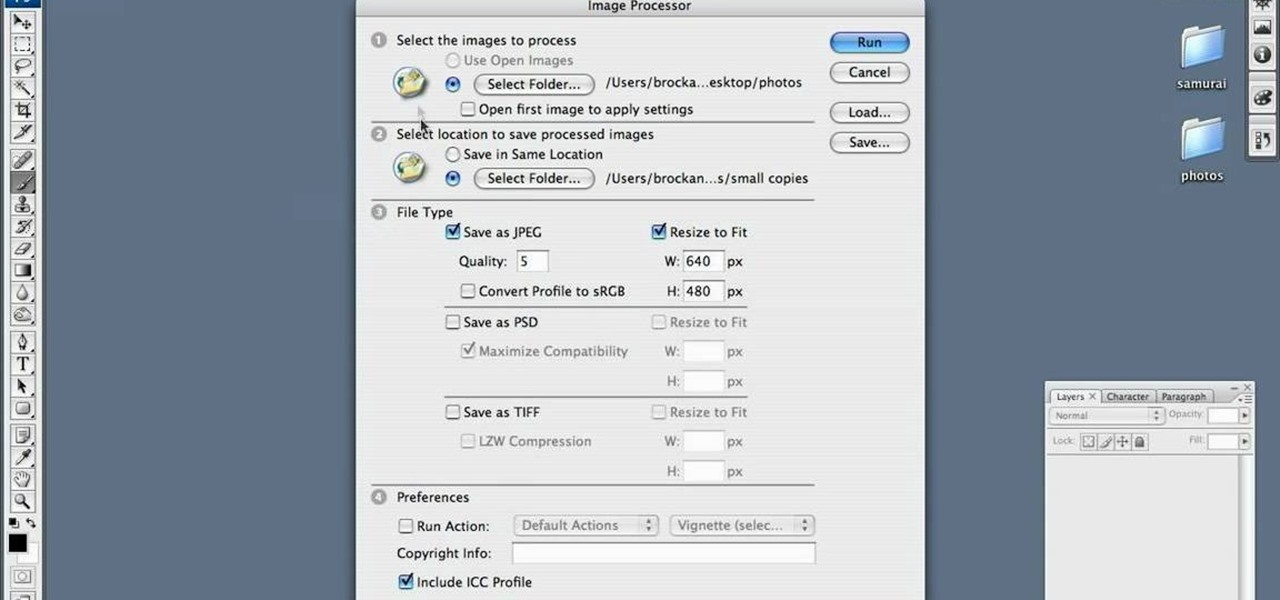
Are your high resolution photos taking too much space on your hard drive? Tired of getting file too large error when emailing photos? Don't worry Photoshop Samurai will help you batch resize your photos as fast as a ninja! You will need: Photoshop (Not Elements version), photos that need to be resized Go to file, then scripts and select image processor. Select the source folder (where your pictures are stored on your computer). Then select a destination location (where you would like the proc...

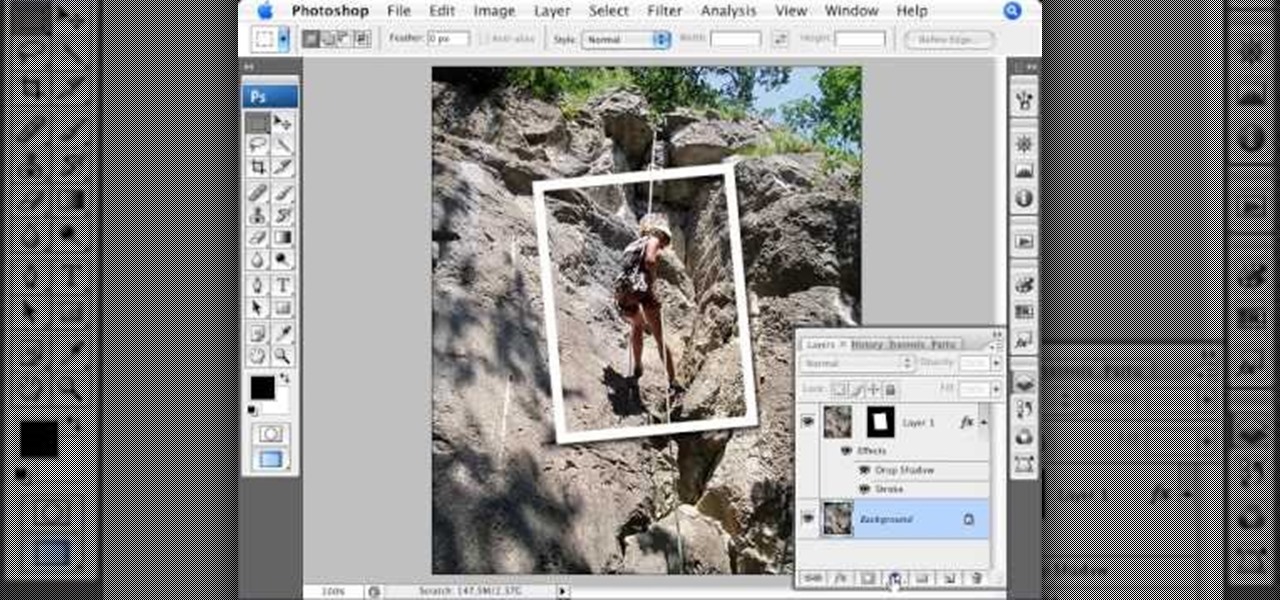
This video shows you how to form an eye-catching border around any photograph by placing a photo within (or on top of) itself using Photoshop. The process includes duplicating the image, adding a layer mask, adding an inside layer stroke and drop shadow, changing hue or saturation, and using a blur effect. If your vacation photos or family pictures are putting your visitors to sleep, try this easy and fascinating technique that will be sure to draw attention.

This Adobe Photoshop CS3 tutorial teaches you how perform slight photo retouching to supersaturate a photo without the distortion and bleeding. This adds a slight but noticeable saturated look of a photo which enhances the color quality. First the graphic artist adjusts the saturation. Then he creates a version copy using the lab mode versus the RGB mode. He then adjusts the contrast of the Lab mode image. Once you return the photo back to the RGB mode, you can continue altering the photo.

Tetiana from Best Buy Tips and Tricks shows you how to upload a photo on your mobile phone to your Facebook account directly from your mobile phone. For this you need to select the photo from your media, choose the option "upload to Facebook" and insert a suitable caption as shown in the video. The photo will be uploaded to your Facebook account for all your friends to see. Now you can share photos with your friends via Facebook on the go, using your mobile phone.

If you have a MobileMe account, use your MobileMe gallery to share your favorite photos with others online. This Apple iLife tutorial shows you how to load your photos into iPhoto and organize them and prepare them to put them in a web gallery. Once you have your photos ready in iPhoto, you will learn how to create a web gallery with MobileMe and upload everything to your MobileMe gallery.

Photo albums and cards can get to be a boring way to display or share photos. This tutorial shows you how to create a calendar out of your photos using iPhoto '08. Hang it on your own wall at work or home, or send it to grandparents and family members. You will have to pay for Apple to print and ship your finished product.

iWeb '08 introduces my albums templates. My album templates is a fast way to create and navigate web photo galleries. This tutorial shows you how to use the my albums templates and create a photo album page for your website in iWeb.

How to wrap picture wire around the hangers you've installed on your picture frame; learn this and more in this free online photography video about framing taught by expert Minnie Bell.

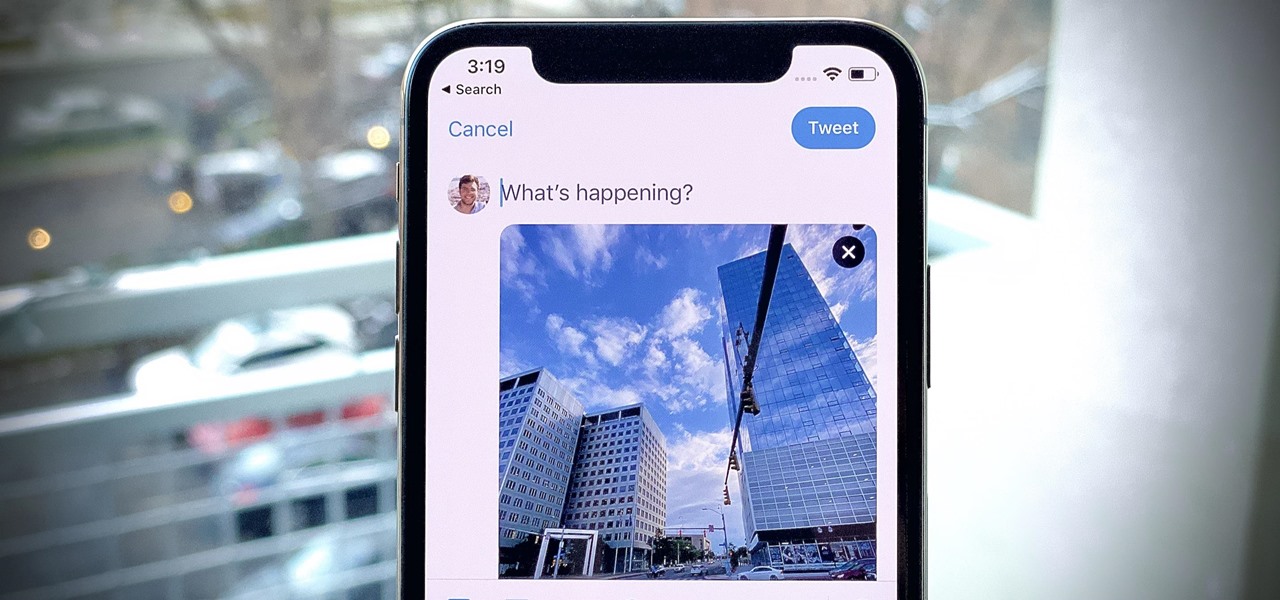
While Apple's Live Photos feature was introduced back on the iPhone 6S, the rest of the world hasn't entirely caught up. Many apps don't accept the feature, making it difficult to share your fun memories with friends, family, or followers. You can strike Twitter off that list, though, as the app now completely supports Live Photo sharing.

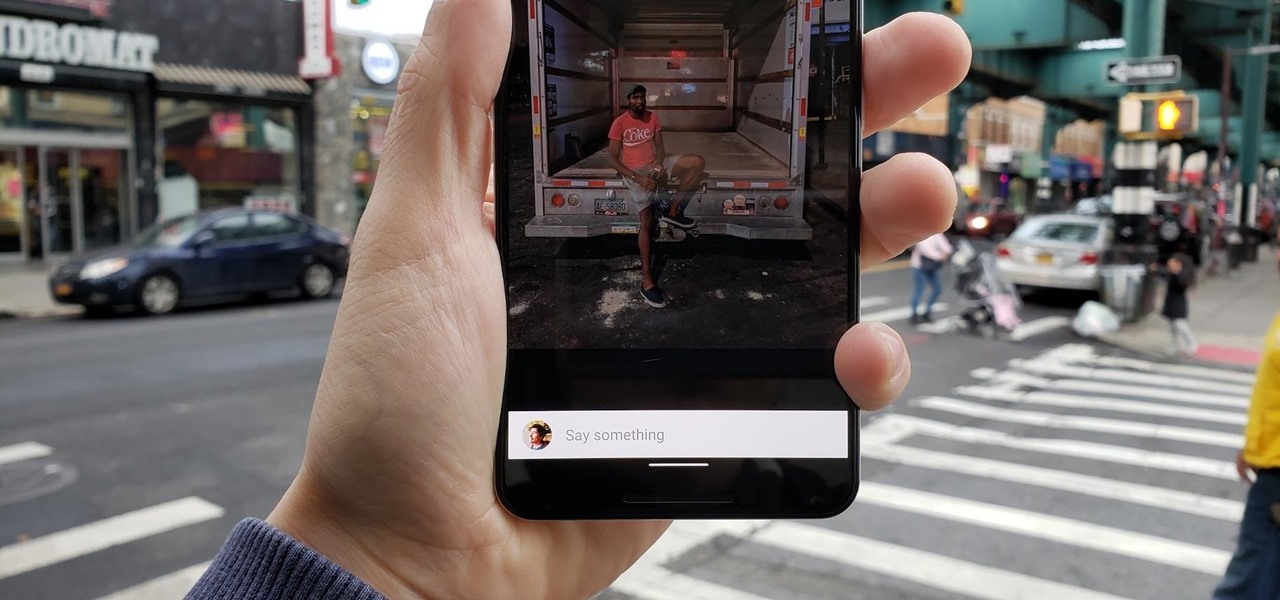
Commenting on Facebook pictures is a commonality. But you may not want to share your private and personal pictures on Facebook. Maybe you just want a select few to comment on your photos. Fear no more, you can send your pics and get private comments using Google Photos.

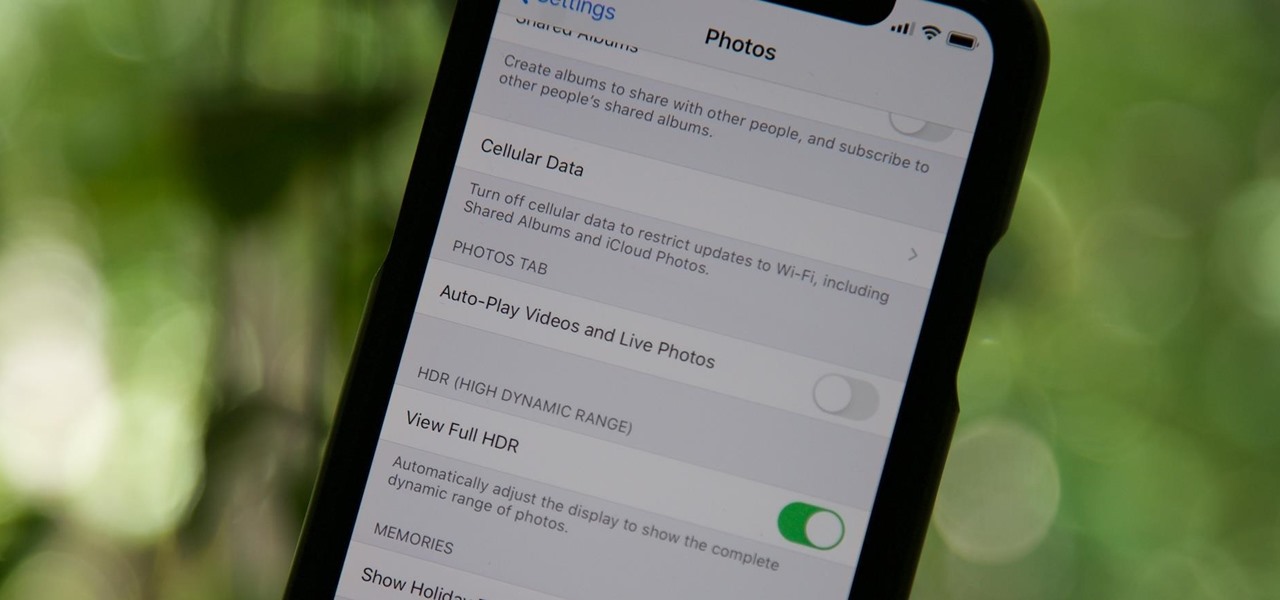
By default, videos in the Photos app auto-play in several instances on iOS 13, making it a great way to get a quick, extended glimpse when you're browsing. But this isn't always ideal — especially when you're flipping through private or embarrassing videos and other eyes are on your screen. Fortunately, Apple has an easy way to disable this feature.

Google has started to release a Go line of Android apps. These apps offer a minimalistic version of their major app counterpart. So far, we have Go versions of Maps, Photos, Gmail, and more. Who are these apps for and why would you want to use them? Here's a quick overview of Google Photos and Gallery Go.

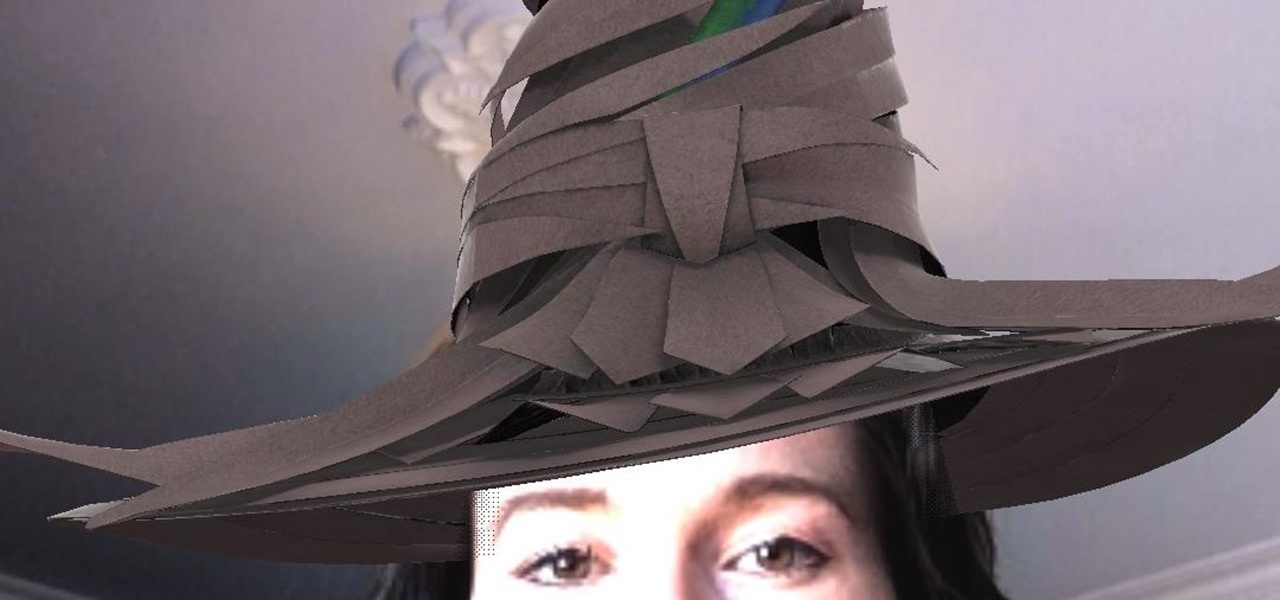
If you need to know whether you are really a Hufflepuff or a Gryffindor, then it's time to get yourself an augmented reality sorting hat.

While it may not be an obvious feature, Apple actually built a way into iOS that lets you hide specific pictures and videos in the Photos app that you want to keep on the down-low, for your eyes only. If you show off your photos a lot or stream slideshows to your TV, this is a great way to keep less appealing content private.

Chances are, you just point, shoot, and share photos and videos on your iPhone without a second thought about how your privacy is affected. It's fairly easy to do so since the Camera and Photos apps that Apple provides seem so innocent. But there are a few things you need to know when it comes to shooting media, sharing it, and even deleting it.

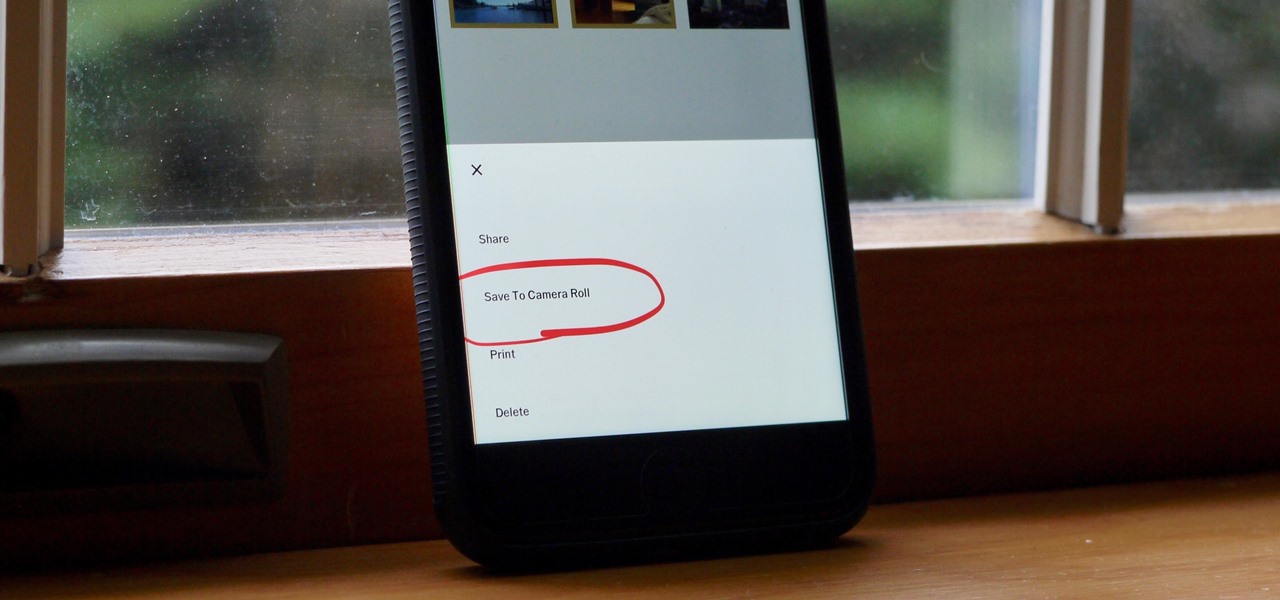
Whether you use VSCO to take all of your photos or you use it primarily to edit photos you take with others apps on your iOS or Android phone, you're at some point going to want your VSCO pics to end up in your Camera Roll or Gallery. VSCO doesn't add them there by default, but there's a couple of ways to get them there.

At IFA in Berlin today, Sony introduced the latest models of the Xperia line, with new features in tow that should appeal to creators of augmented and virtual reality content.

If you've ever wanted to turn your favorite GIF into a live wallpaper for your iPhone or even just make it a 3D Touch-friendly Live Photo that you can share, there's a super simple way to do so.

If you've gone through the process of refilling your ink cartridges and your printer still isn't printing, don't get your hair in a bunch, watch this video! This video will give you some tips on how to get that old print cartridge working again for your Brother MFC-240C. This video uses rubbing alcohol and soft cloth.

In this video, we learn how to use iPhoto Smart Albums. These are useful for organizing your photos to see what you have. First, create a smart album on the file menu, then name it and go through the drop down menus to choose how you want to categorize your pictures. Choose the type of camera model you used, then you can see what photos you have that are taken with the type of camera that you used. This is very easy if you have a lot of photos and want to go through them easily. It also separ...


