Corinne from crafts beautiful magazine teaches how to make a photo wallet. Get an A4 colored paper. Fold about an inch on both short edge and one of the remaining 2 longer edges. Bring the top part to the bottom of the longer edge and tuck it inside the fold. Divide into three. Put a ribbon around it and decorate the way You want it. Follow these steps and You'll be able to make Your own photo wallet.
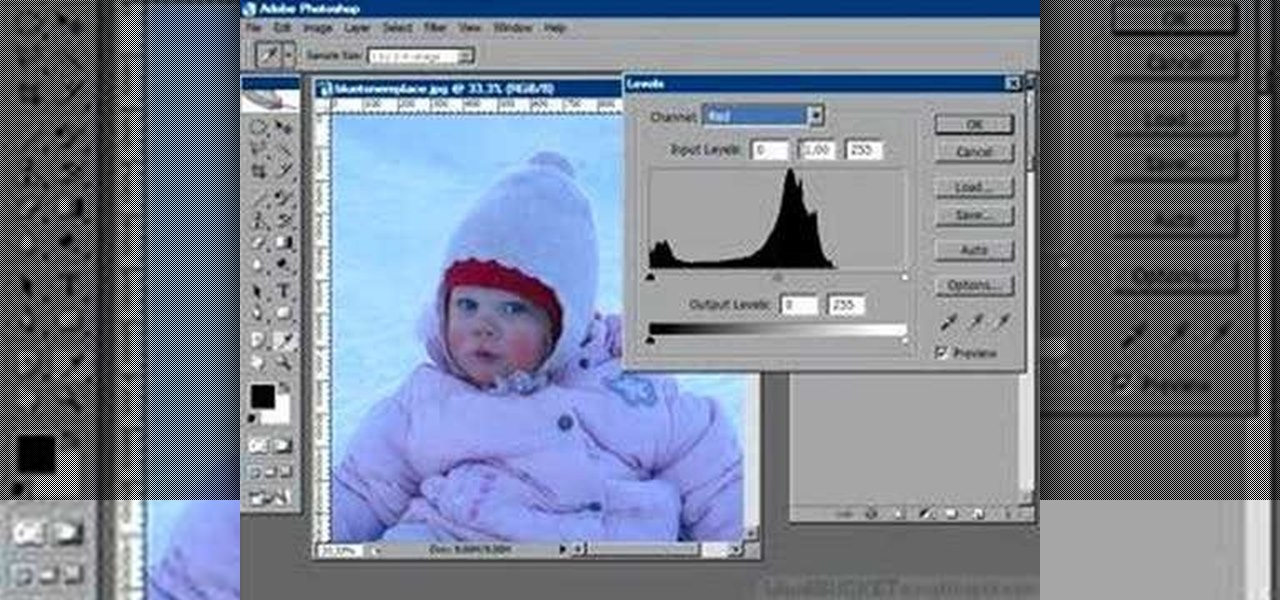
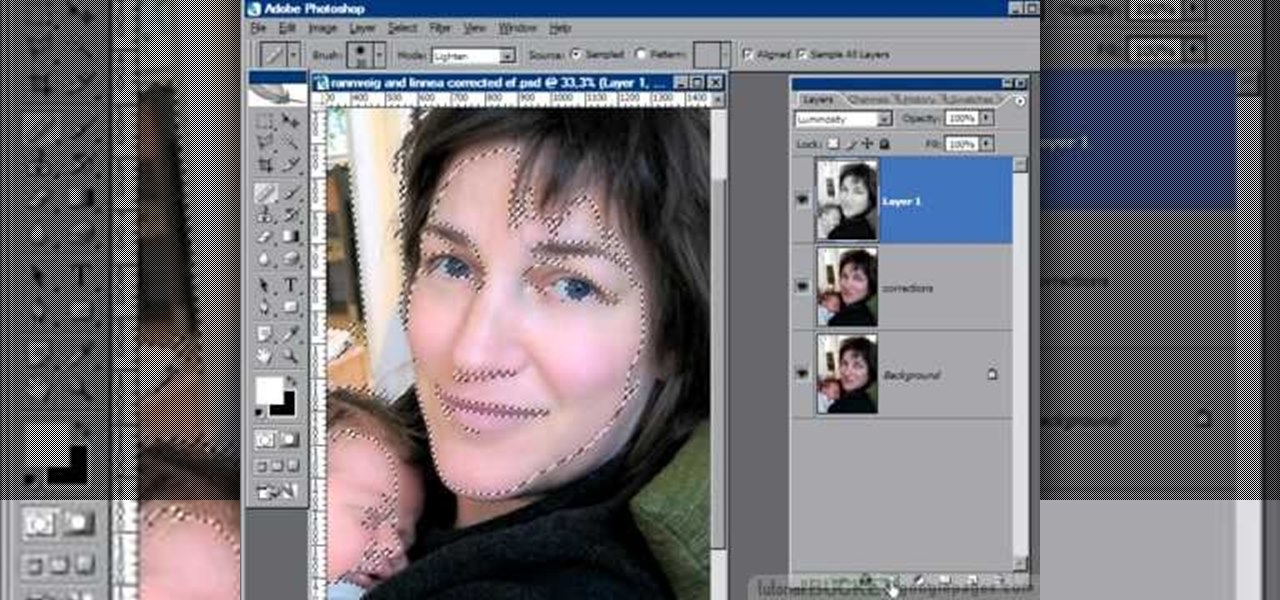
This how-to video is about how to color correct photos using Photoshop levels.
Correct the midtones (the coloring) of your photos with this easy to follow guide on using the Photoshop program. Make the true colors shine through and brighten those washed out photos with just a few simple steps. He shows you how to make the improper colors show themselves with just a few clicks of the mouse and then how to fix them with ease. Don't waste precious money having a professional retouch your photos when you can do it from the comfort of your own home by calibrating the color o...
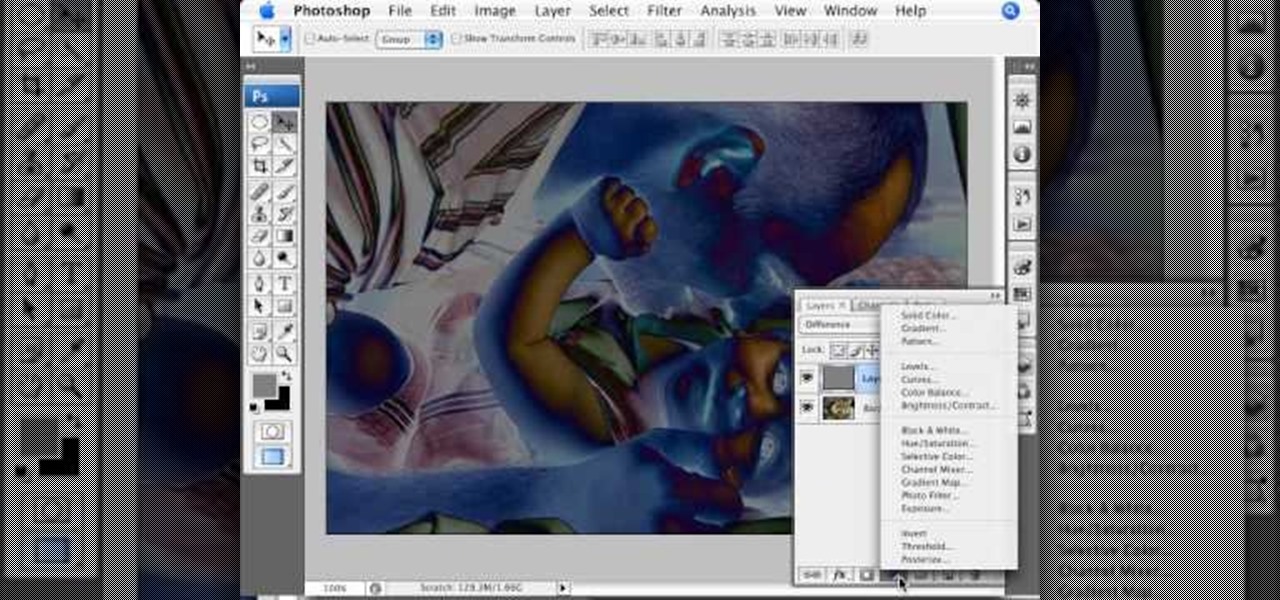
Oftentimes, a photo may not capture the true vibrancy of color in real life, but Photoshop can fix that. Photos with lots of color can be given even greater hue saturation by adding extreme contrast in Photoshop. By using multiple effects, including overlay blend modes and noise across multiple layers, a picture's color intensity can be made more bold with these techniques. By following the steps in this video, colors can be made more vibrant using extreme contrast with Photoshop software.
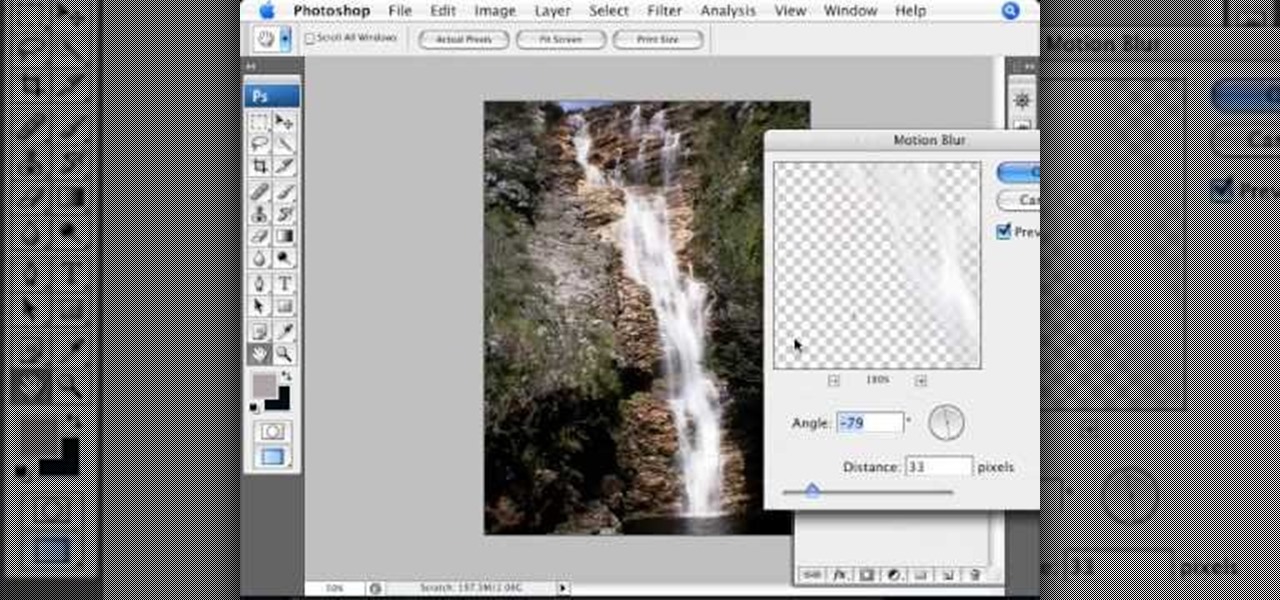
Photoshop is a wonderful tool for photographers, from amateur to professional. If you have photos of waterfalls that you would like to tweak to make the water appear smoother, this video will walk you through the process step by step. If you are using a digital camera or don't want to use a tripod, then the only way to smooth out the waterfall is to use editing software like Photoshop. By following the easy to understand instructions in this video, you can edit your photos to look exactly how...
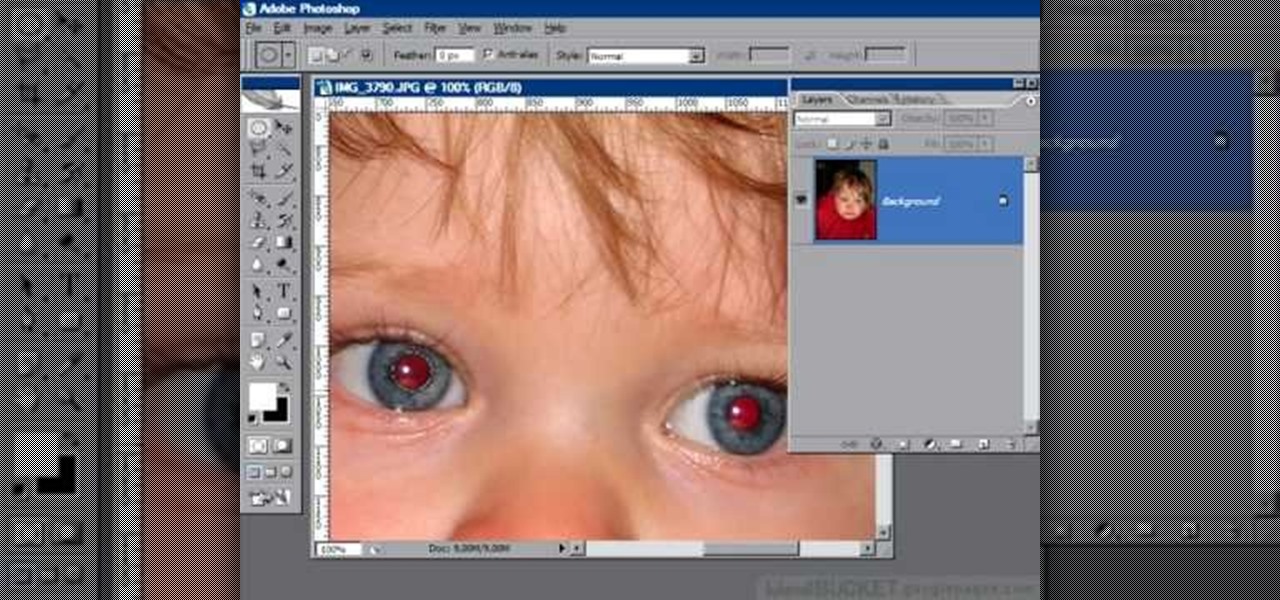
If you or someone you know has light eyes, then you are no stranger to red eye sneaking into your photos. Red eye is an annoying addition to most photos taken with a flash camera. Luckily, if you have Photoshop, this is easy to fix. With this tutorial, learn how to use the Channel Mixer tool in Photoshop to edit your prints, and make it look like the red eye never existed. None will be the wiser when you display these altered photos. Using the channel mixer is an all time classic red eye remo...

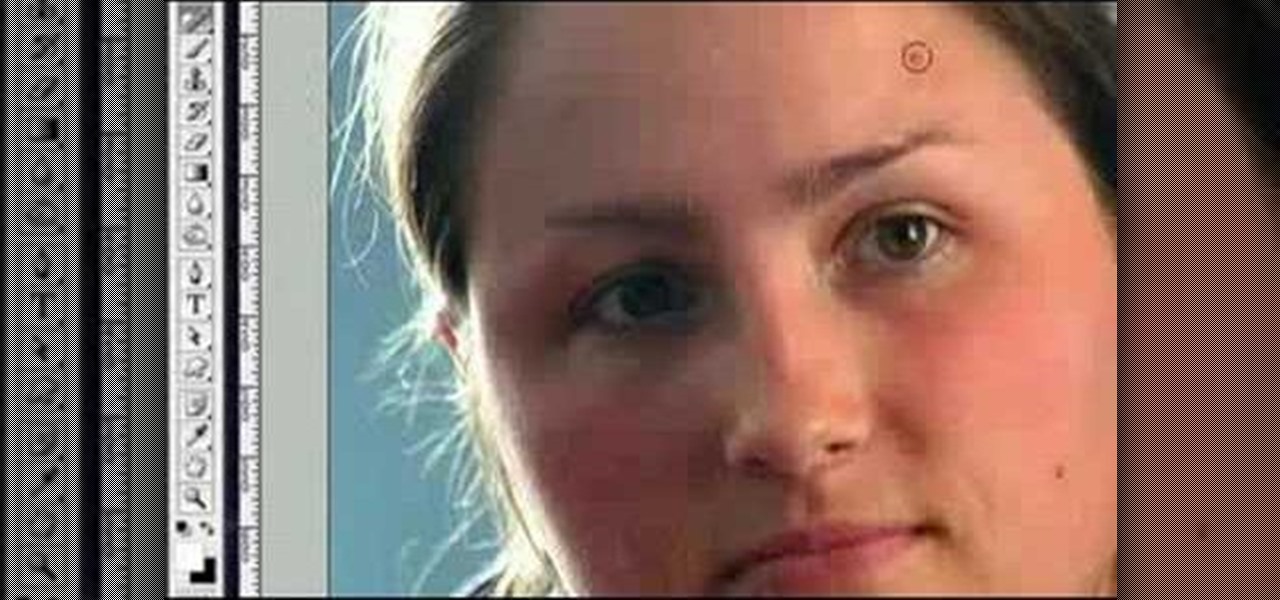
Oftentimes a subject in a photo will want to remove certain blemishes or correct his or her skin tone, and it is simple thing to do in Photoshop. This video takes us through the process of what is known as "facial scrubbing" using Photoshop software that can automatically give a person a flawless appearance like that in magazines. Retouching can be done by editing certain layers of a photo's subject. By following the steps in this video you can touch up the complexion of anyone in Photoshop.
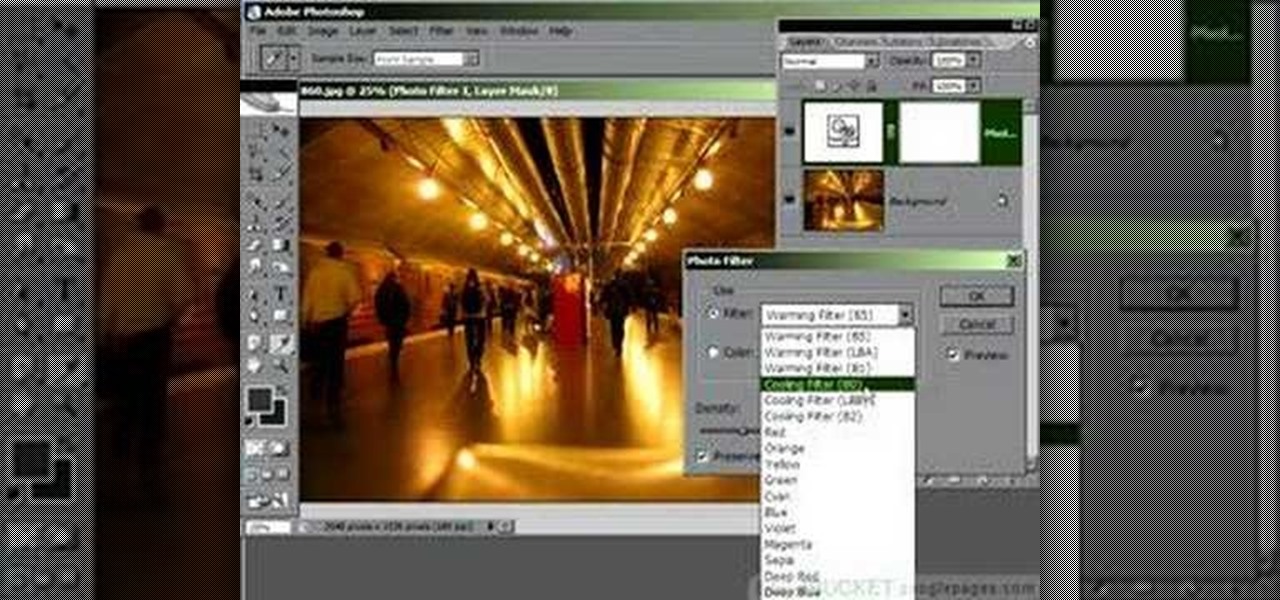
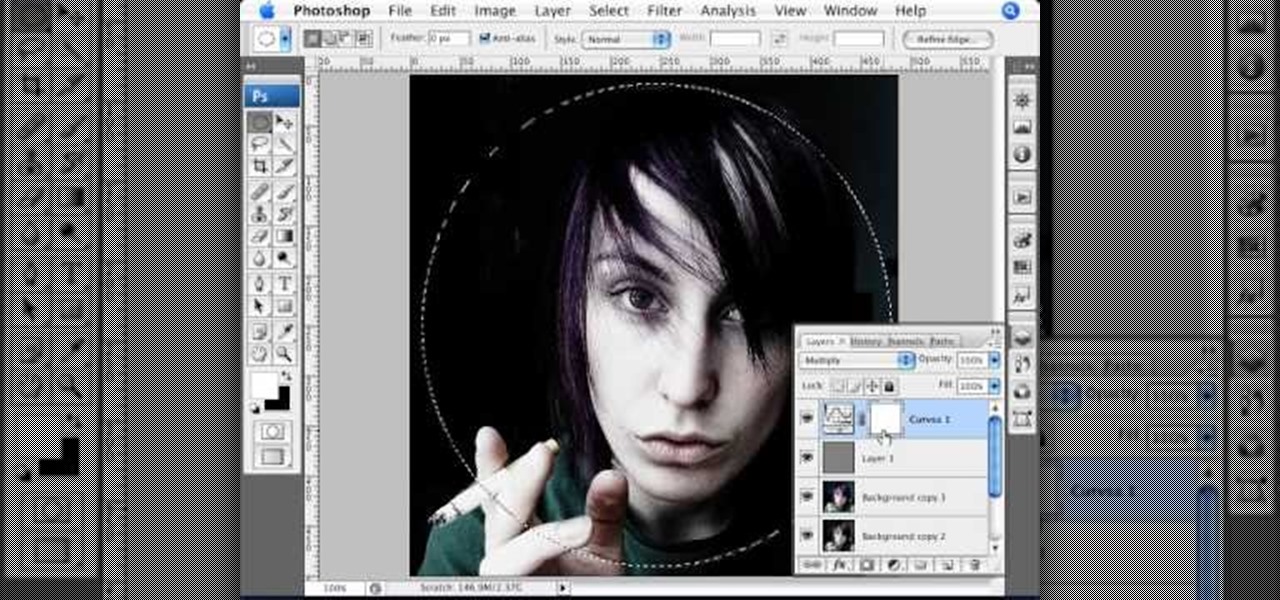
Photoshop is a place where we can edit the image in different styles. One of the features is adjustment layer of a photo that is also called as filter correction. It is an easy step to color filtering of a photo. Open a picture in a Photoshop, and select add layer option that present at the right bottom of the screen, then a pop up menu appears. Select filters from the options available, then dialogue box appears consisting of sub options filters and colors. then select the main color from fi...
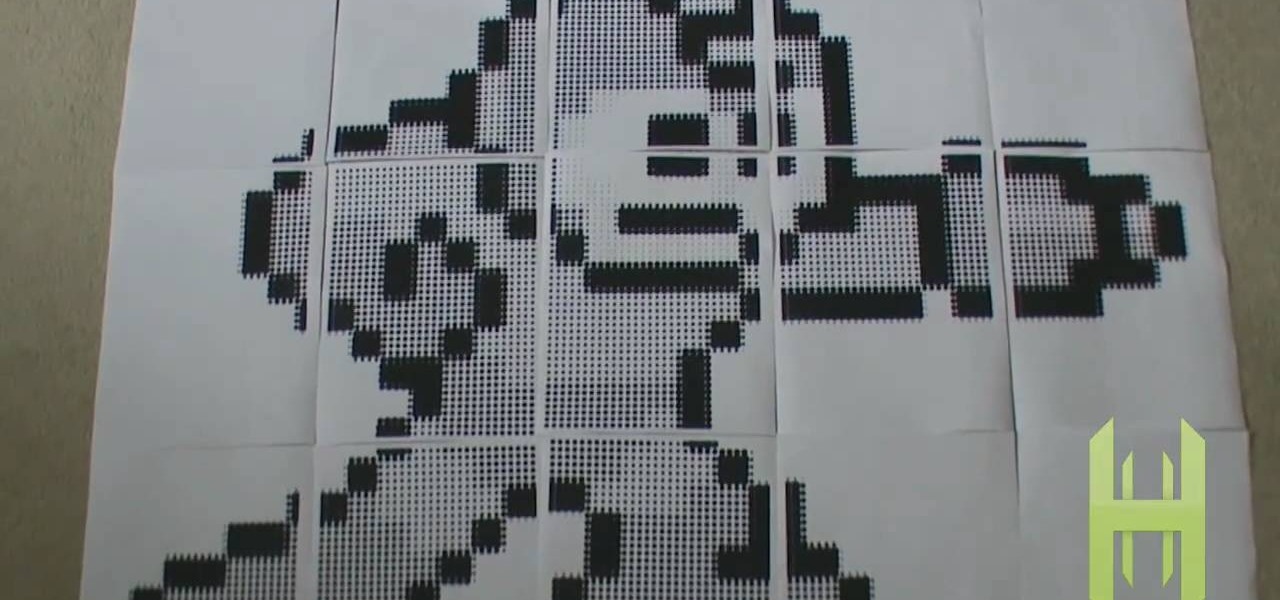
Empty walls? This is the perfect solution. The Rasterbator creates huge, rasterized images from any picture. Upload an image, print the resulting multi-page pdf file and assemble the pages into extremely cool looking poster up to 20 meters in size. Rasterbating is when you make a photo out of several photos.
Instead of using Photoshop, why not give Apple's Aperture a try? Aperture is designed more for post-production work for professional photographers, letting you cull through shoots, enhance images, manage massive libraries, and deliver stunning photos.
This image editing software tutorial shows you how to use the healing brush tools in Photoshop CS3. Think of them as first aid for your photos! Watch and learn how to use The Clone Stamp, Spot Healing Brush, Healing Brush, and Patch Tool to retouch photos in Photoshop CS3.
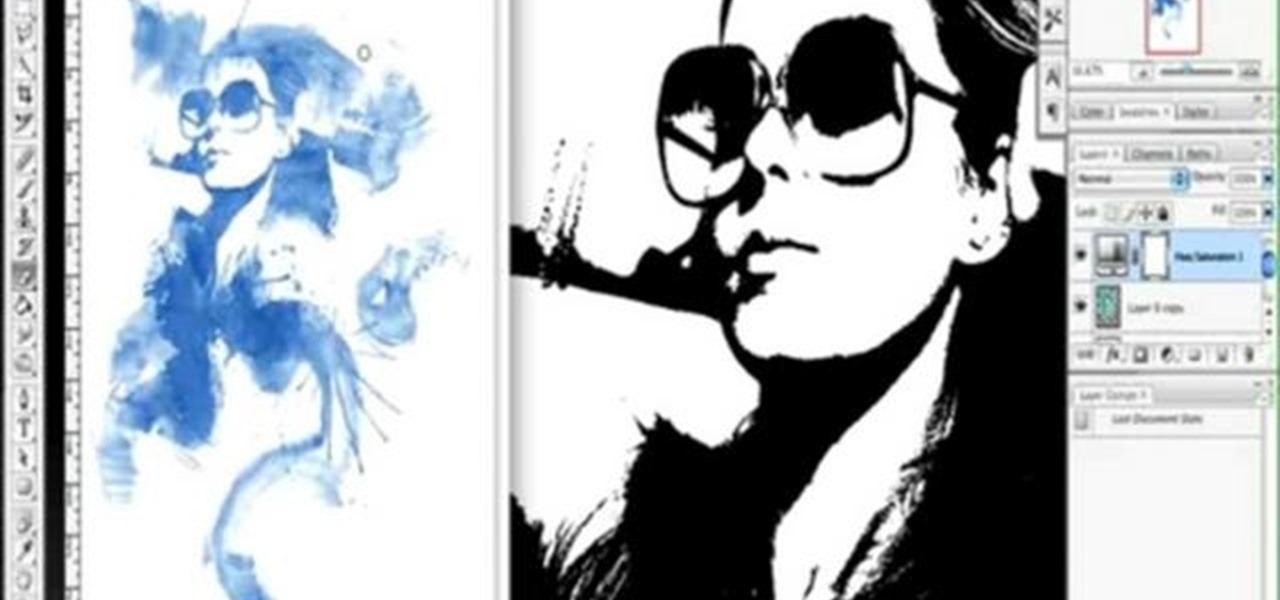
This image editing software tutorial shows you how to create a cool watercolor or ink blot effect on photos in Photoshop. This is a simple and cool effect to make your photos look like they have been painted or made out of an ink/watercolour mark. See how to get painterly in Photoshop.
If you're out and about, and you take a great photo with your Apple iPhone, you can add it to your MobileMe Gallery with just a few taps. This video tutorial from Apple will show you it's as simple as clicking "Send to MobileMe". Then there will be beautiful pictures for all your loved ones to see, right from the Internet.
On your MobileMe Gallery Homepage, your visitors can see all of the albums that you posted for them to view, but if there are photo albums that you don't want everyone to see, you can simply hide the album from Apple's MobileMe Gallery Homepage. This video tutorial will show you how to do it, right from your Mac or PC, with Internet of course.
All digital cameras automatically record the date and time each photo was taken and store this time stamp as metadata within each image file. In Aperture 2, you can change these time stamps. This is particularly useful if the clock in your camera is set incorrectly or if you're trying to synchronize photos taken by multiple cameras at a single event.
Once you've taken some photos, you'll need to move them from your digital camera to your Mac. Just connect your camera to the USB or Firewire port on your Mac with a cable. iPhoto will open automatically.
In iPhoto, you'll use album to organize and arrange your photos the way you want, kind of like a playlist in iTunes. You can also use albums to publish webpages, create slideshows, and produce photobooks, calendars, and greeting cards.
Adding ratings, titles, or comments to your photos can help you easily find them later. It can also help to remember important information about each photo.
Using a MobileMe account and iPhoto, it's easy to publish your photos on the internet, whether to a webpage or a blog. NOTE: MobileMe is the replacement for .mac accounts.
Network sharing lets other iPhoto users view your photos and albums from their computers.
You can use iPhoto to create and purchase calendars so you can showcase your photo year-round. Calendars contain photos that are relevant to certain months, so start by creating an album for the calendar project.
With iDVD, you can use your digital photos to create a DVD slideshow that will play in virtually any DVD player.
In this video tutorial we are going to take a look at how we can change the color of an object that is in a photograph in two different ways using Photoshop. We will also convert a black and white photo and color it.
In this tutorial, we learn how to receive Exchange emails on an Apple computer running the Mac OS X operating system. It's an easy process and this video presents a complete guide. For more information, including a full demonstration and detailed, step-by-step instructions, watch this helpful home-computing how-to.
In this clip, you'll learn how to set up and receive new email notifications on a Mac OS X computer with the Growl notifier app. For more information, including a complete demonstration, and detailed, step-by-step instructions, as well as to get started using Growl yourself, take a look.
More and more jurisdictions are mandating drivers use hands-free sets when they make or receive cell phone calls. This tutorial shows you how you can use a Bluetooth or hands-free headset to make and receive calls, or how to use the hands free functionality in some cars.
Whether you're a proud owner of the Samsung Fascinate Google Android smartphone or are merely considering picking one up, you're sure to benefit from this video tutorial, which presents a brief overview of the device's myriad messaging features. For more information, including detailed, step-by-step instructions on how to send and receive SMS, MMS and email messages, take a look.
The Voda Phone Help Center's video provides you how to hints and tips to get your email onto your Blackberry Storm. This video will help you send and receive emails. To receive emails, click the main message button, which looks like an envelope, you will then see you inbox where all your messages are stored. Next if you wish to send a message, click the compose button in the lower left hand corner and select which type of message you want to send. Enter in the email address in the top box, wh...
Make a great online dating profile with this tutorial! Having a good profile is very important because when it comes to catching someone's eye and getting them to contact you. You have maybe a few seconds so your profile has to stand out, be interesting, and personable. Photos are also very important. You need 3-5 nice solo photos to put on your profile. Photos will help a person decide if they are interested in you. Posting good head and shoulder and full body photos is important. Do not use...
Can't make it to a computer to open up some important documents? Fortunately, the BlackBerry is basically a mini-computer that can get those open for you. BlackBerry can be a little tricky while trying to send and receive files through Bluetooth, but with the right help, you can get the hang of it. This video cell phone tutorial shows how to do it step by step.
Today's word is "inheritance". This is a noun which means an asset such as money received from someone, often one's parents or relatives, after their death.
This video shows you how to receive an Aliyah when at the synagog. Learn everything you'll need to know before you get there, and what to expect during this Jewish ritual.
Mia Hamm illustrates techniques for receiving the ball out of the air. Drills are shown and Ian Sawyers gives teaching tips during the video. A recap appears at the end.
If you're looking to do some cross-stitching to customize your current furniture bed sheets, or what have you, then you might be thinking about taking a design straight out of a family photo! In this video you'll get tips on how to take a photo, crop it down and turn it into a cross-stitch picture that you can print out to use as a guide.
In this video, we learn how to upload pictures and set a profile picture onto Facebook. First, you will need to locate the pictures you want to use on your computer. After this, log into your Facebook account and click on your profile, then the tab that says photos. Now you will be on a new screen where you can browse your computer to find the photos you want to upload. After you click on all these, click the "upload" link and then wait for the photos to load. After this, you will be able to ...
This tutorial will show you how easy it is to create panoramic images from your photos in Windows Live Photo Gallery for Windows XP or Vista. All you need is a digital camera and a PC.
Do you know how to delete a photo from your Canon PowerShot SD600 digital camera? Watch this photography tutorial video to learn three way to delete old photos from an SD600 camera.
In this video you will get tips on setting up lights for a photo shoot and then editing the photos in Photoshop to create an image with dramatic Rembrandt styled lighting.
This video explains how to organize your photos into folders on the Pictage Photo Lab website.
Not sure what a "glamor" look is? Well, it's making your photos look more vibrant and more suited for the magazine and fashion industry. This video helps you get started in retouching your photos using Photoshop.