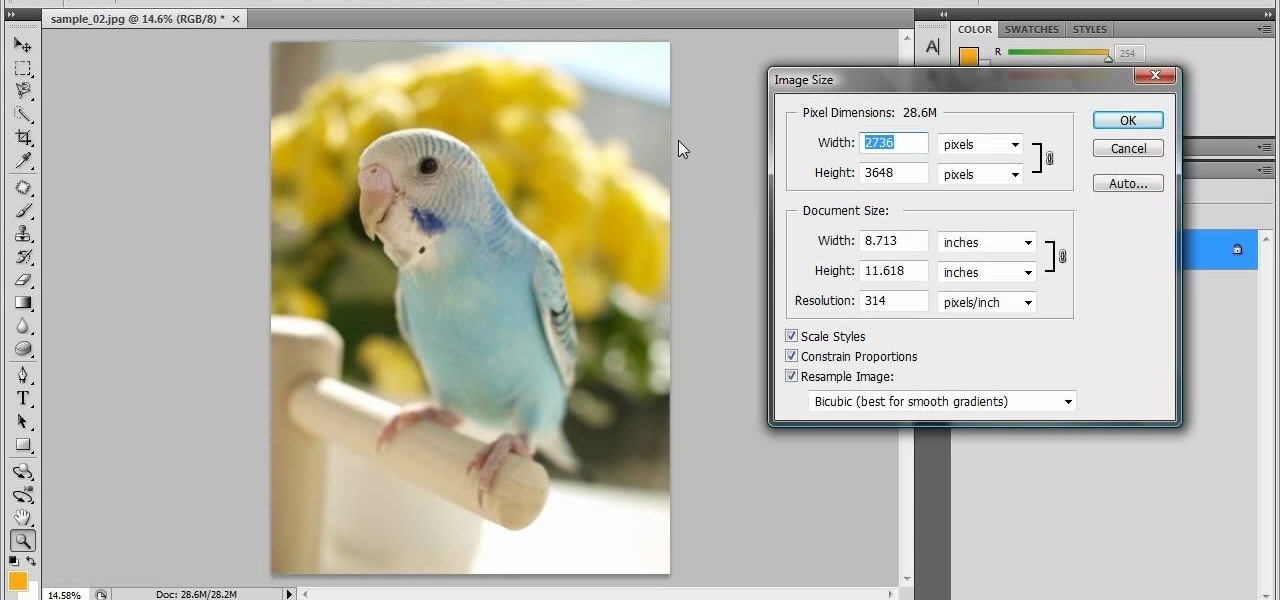
In this tutorial, we learn how to resize photos in Photoshop CS4. First, open up Photoshop and then open up your picture. The quality of your picture will effect the outcome of what it looks like when you resize, so use a high resolution picture for the best outcome. Now, go to image and then image size. From here you will change the width and height to what you need it to be. Then, you will need to click on the boxes at the bottom, click on all of them. When finished, you will save this and ...
In this tutorial, we learn how to isolate your subject to get better photos. If you are taking a picture in an area with a lot of people or surroundings in the background, have your subject stand up on something. After you do this, you can take the shot and have nothing in the picture with your subject but the background. You can also have a child go on a playground and zoom in on them if you are taking a picture of a child. On the playground, you can find tons of spots where the child can be...
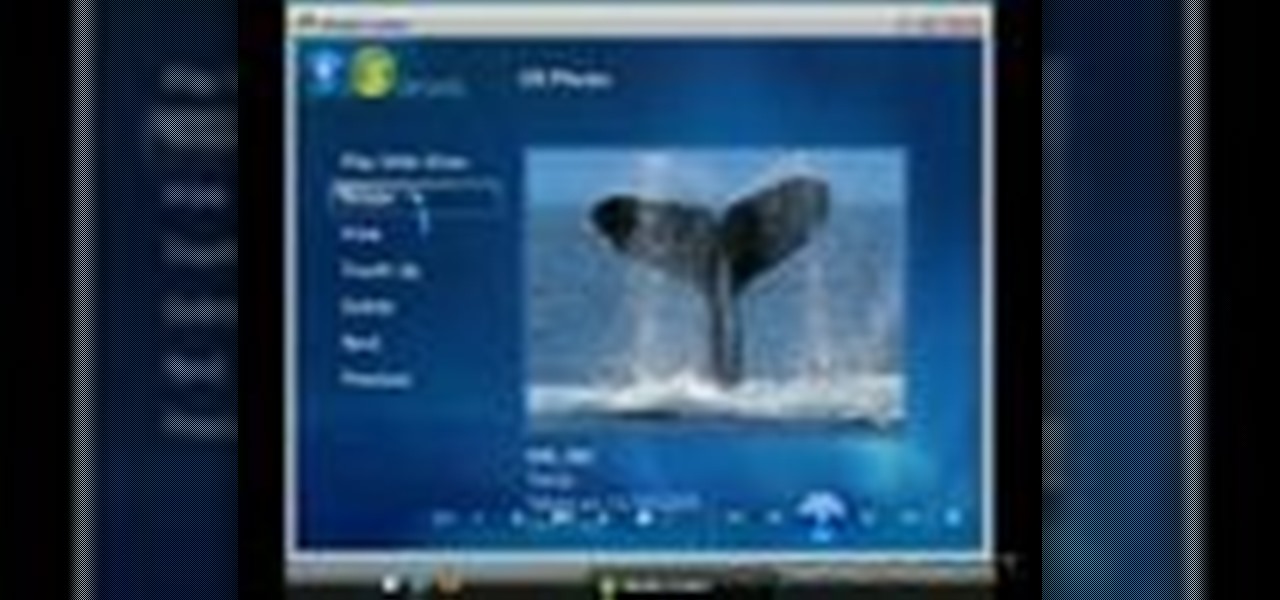
This video shows you what you can be done with digital photos in the Windows Vista Media Center. To access your digital pictures, just go to the Picture Library in Media Center, and see the many options available, such as Play Slide Show, Rotate, Print, Touch Up and Delete. Touch Up is probably the most useful function, to help you quickly edit your photos.

In this tutorial, we learn how to use R1C1 speedlight when shooting photos. First you will want to place the attachment ring and adapter ring to the camera. After this, grab the remote flashes and the built-in flash panel. After you have installed all of these things on your camera, you will be ready to start taking pictures. Find the object you want to take pictures of, then start to use the wireless flash system to take quick picture that look great. As you click the remote, the flash will ...
This video will show you some methods to create a fake Loch Ness monster photo. You will need a camera or a camera phone for this project. One method of faking a sea monster picture involves creating a clay model of a head and a neck of a sea monster and holding it underwater. The outline of your hand holding the clay will serve as the body of the monster. Another method which can be used to fake a sea monster can be done using a clothes hanger and holding it underwater. The hook of the hange...
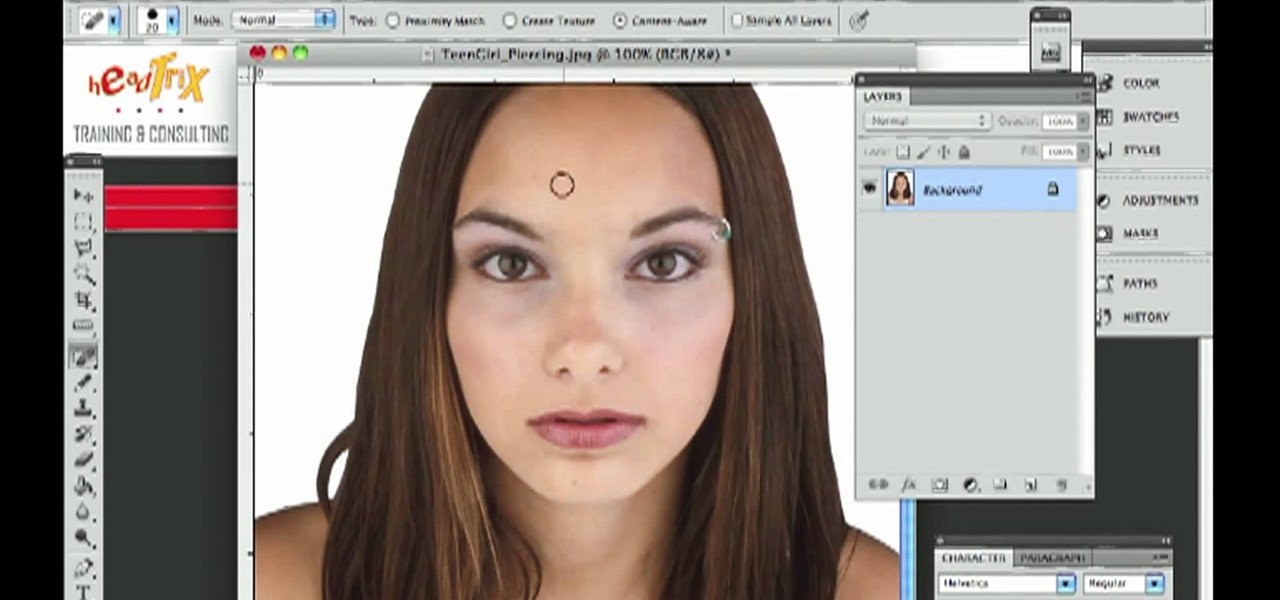
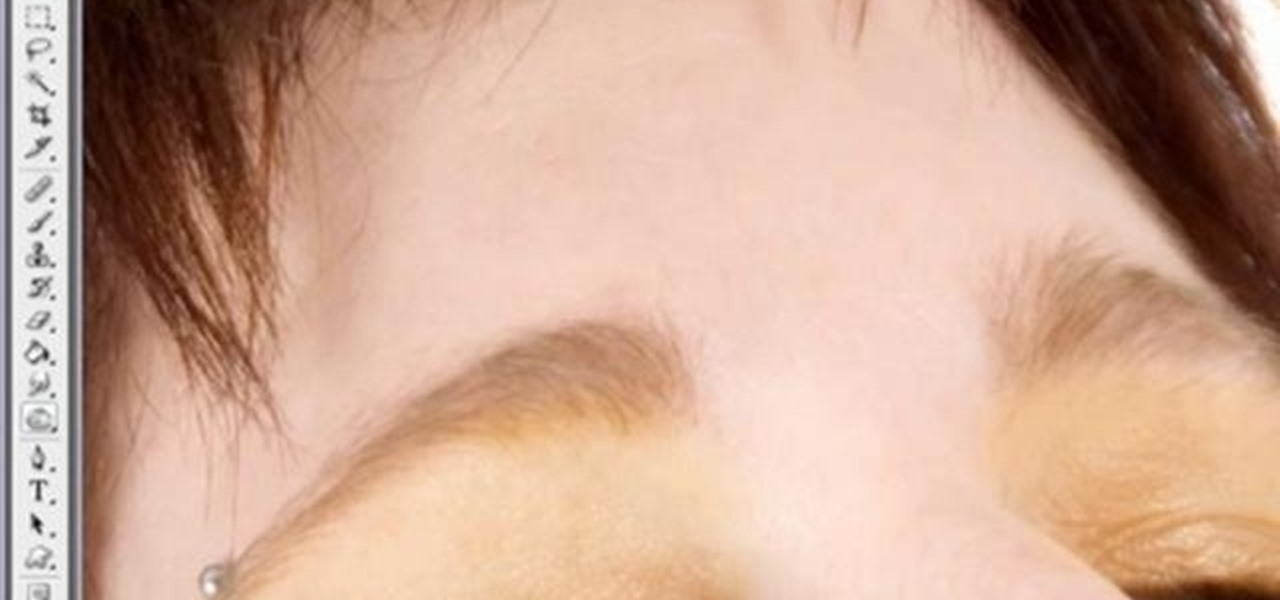
Want to remove pimples, wrinkles and other blemishes from a portrait? With Photoshop, it's easy! And this clip will show you precisely how it's done. Whether you're new to Adobe's popular raster graphics editor or a seasoned designer looking to better acquaint yourself with the new features and functions of the latest iteration of the application, you're sure to benefit from this free software tutorial. For more information, and to get started removing blemishes from your own digital photos, ...

In this video, we learn how to convert an image into a sketch in Photoshop. First, open up Photoshop and open the picture you want to convert. Now, click the layer and unlock the background. After this, go to "image", "adjustments", and remove all the saturation from the photo so it's black and white. Then, duplicate this and invert it by going back to the adjustments section. Now, go on the top of the layers tab and select "color dodge" from the drop down menu. Now, go to "filter", "other", ...

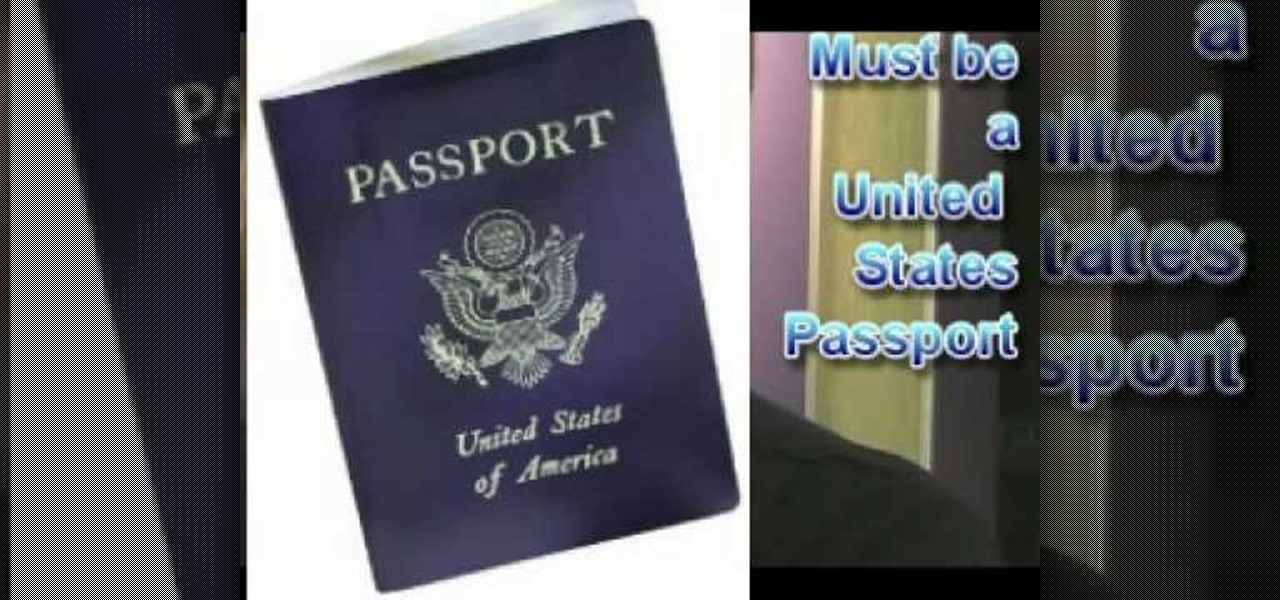
In this tutorial, Laurie Lee-Partner teaches us how to renew a US passport. First, you can only renew your passport if you have the current one and it expired less than five days ago. You will first need government form ds-82 and remember to sign it in black or blue ink, then send it in. Next, you will have to send in your passport that has already expired or is going to expire. Next, you will need two identical passport photos that have been taken in the last six months. They must be in colo...

Protect your privacy. No one else is going to do it for you. Especially on Facebook. This clip will teach you how to alter privacy settings for your photo albums. This clip will show you how it's done. It's easy! So easy, that this video tutorial can present a complete, step-by-step overview of the process in about twominutes. For more information, including detailed, step-by-step instructions, watch this video guide.

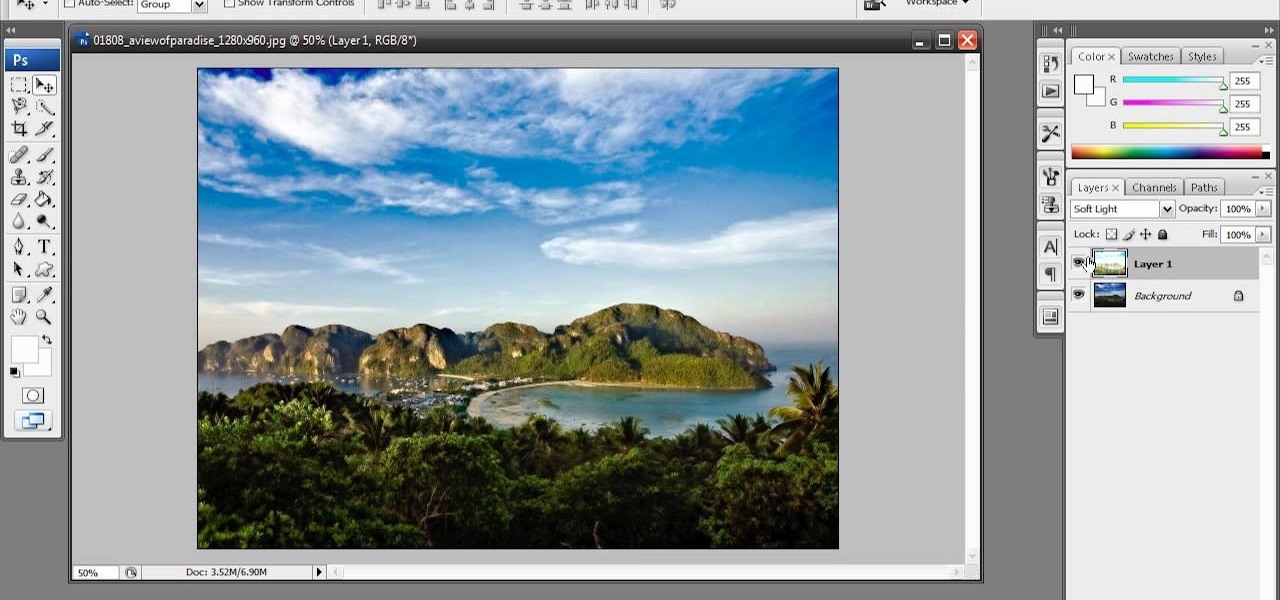
In this video tutorial, viewers learn how to enhance an image in Adobe Photoshop. Begin by duplicating the layer by press the Control and J buttons. Then change the blending mode to Soft Light. Now press the Control and M keys to open Curves, and drag the curves up to brighten the image. Then click on Filter, go to Blur and select Gaussian Blur. Set the Radius at 2.7 pixels and click OK. This video will benefit those viewers who enjoy editing images, and would like to learn how to enhance a p...

In this Electronics video tutorial you will learn how to take a picture with your LG GW620. First you got to press and hold the camera key on the side of your phone. This will open up the camera options. If you tap the screen you will see the options icons on the side. The various icons are zoom, exposure, flash, macro and settings. On the right hand side you have the back, camera mode and the gallery icons. To take a photo, tap on the camera mode icon. The photo will be clicked and then a li...

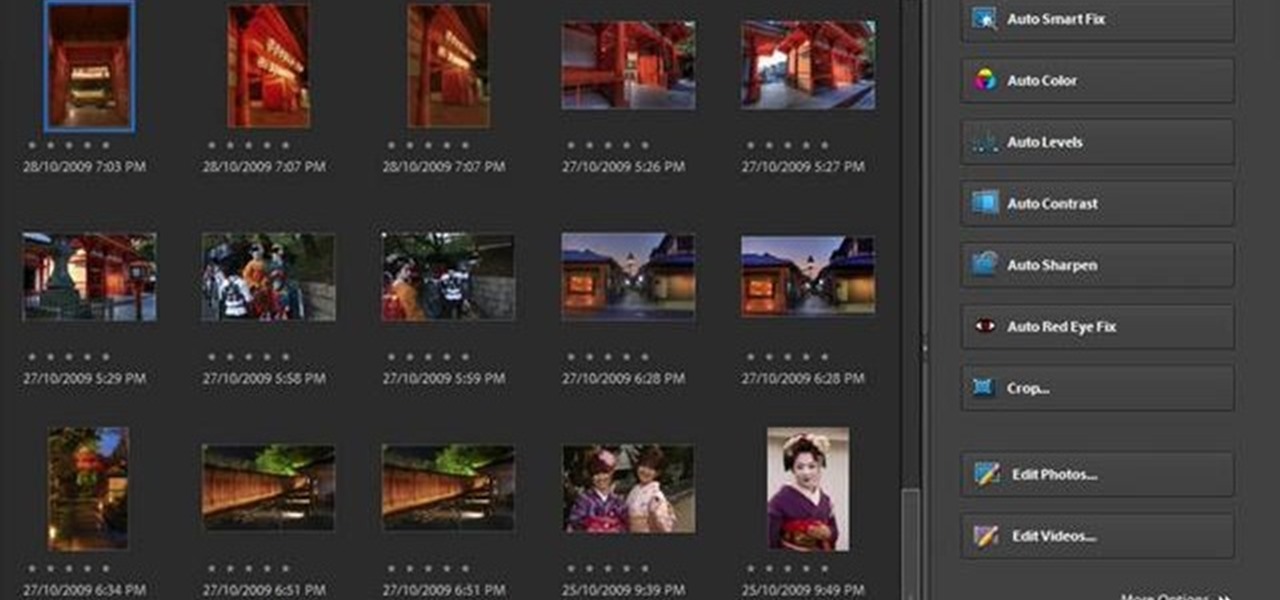
One of the most frustrating things about learning Adobe Photoshop is that there are multiple ways to do the same thing. Here are the six most obvious ways to open a photo in Photoshop Elements, CS4 or CS5. Whether you're new to Adobe's popular raster graphics editing software or a seasoned professional just looking to better acquaint yourself with the program and its various features and filters, you're sure to be well served by this video tutorial. For more information, including detailed, s...

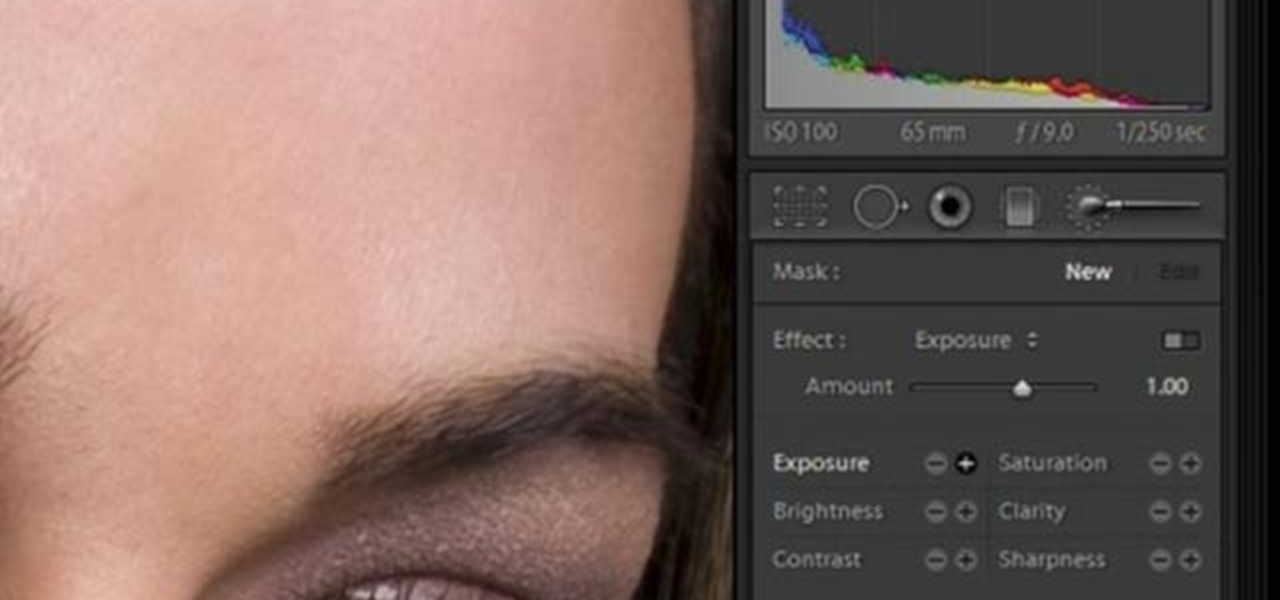
In this software video tutorial you will learn how to soften skin feature in Lightroom 2 in Yanik's Photo School. Select a photo and zoom in to the skin area. Click on the adjustment brush, or ctrl K. Here you can adjust 7 features; exposure, brightness, contrast, saturation, clarity, sharpness and color. But, if you click on the other 'exposure' dropdown menu, you will get these 7 options and additionally a 'soften skin' option. Click on 'soften skin' and it gives you the options to add nega...

There are a few ways to bring pictures into a Flash file. This tutorial shows one simple way to do that. You can work with the photos in many ways, which will be discuss in later tutorials. Importing a .psd directly into Flash can be very useful because it maintains the layers in CS3, making it easy to animate or apply action script later to the layer. Whether you're new to Adobe's popular Flash-development platform or a seasoned web developer looking to better acquaint yourself with Flash CS...

It's obviously important to look better than everyone else on your wedding day (sorry, but you know it's true), but even more vital to look great in wedding photos since you'll be looking back at them 10, 20 years down the road and you want to know you looked your best on your special day!

Getting the perfect shot is difficult, so when you finally get that perfect picture of yourself, you want to enhance it as much as possible. But if this perfect picture took place in a humdrum location like the bathroom or your living room and you want to glorify your face even more by surrounding it with, say, an island paradise, you can transplant your head (and body) using Photoshop.

Pitch perfect magazine photos don't just happen - they're made. Even the most beautiful model in the world needs airbrushing on her abs to soften them, undereye concealing, and shadow reduction. And backgrounds are often added in digitally if the current one doesn't work.

Learn how to use the Gaussian blur tool to add mood to your digital photos while maintaining sharpness and detail. Meet the Adobe Photoshop pen tool! Whether you're new to Adobe's popular image editing software or simply looking to pick up a few new tips and tricks, you're sure to benefit from this free video tutorial, which presents a complete overview of how to use the Gaussian blur filter when touching up a photo. For more information, and to get started using the Gaussian blur tool yourse...

Photoshop is a useful software program that allows its users to make any photo look better or different using a couple of easy techniques. You can turn one of your favorite photos into a comic book, add some clouds in a cloud free sky, and even show you and your favorite celebrity sitting next to each other side by side. In this video you'll be taught the steps of making stencils using the tracing method and brush tool in Adobe Photoshop, version CS3. Enjoy!

Do you enjoy taking pictures of bodies of water such as lakes, rivers, adn even oceans? Do you find imperfection in these photos such as bubbles, dust, and other thigs? Do you wish that there was something out there where you could get rid of it all? Well there is! Photoshop is a piece of software that enables you to edit photos at your pleasure. You can take things out or add them to it, whatever you like. So in this tutorial you'll find out just what it takes to clean up murky water using t...

Photoshop is one of the most well known and used pieces of software available for your computer. It has revolutionized the way photographs are printed and is an excellent way to perform easy touch ups without having the subject need plastic surgery. Many publications use it to make celebs looke even better, and sometimes unreal, and is responsible for many fake and scrutinized pics. But despite all of its flaws, it's great to use if you're interested in giving your picture a little bit of som...

There's nothing like a greeting card to turn a frown upside down. In this day and age of emails and text messages, making your own greeting cards for someone can mean so much. From Valentine's Day to Christmas, greeting cards are a way to thank, welcome, congratulate, and even apologize to family or friends. So in this video tutorial, find out how to make greeting cards using a photo and the program Photoshop. Enjoy!

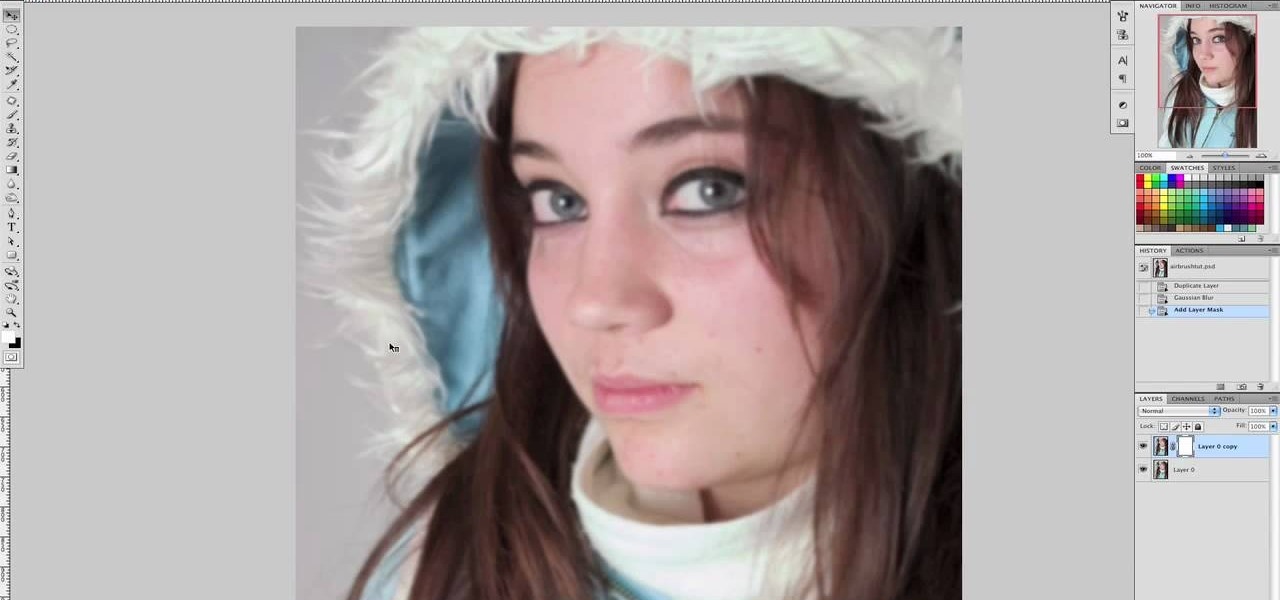
Since the introduction of photoshop, some have argued that the software has led to great strides in perfecting images while others say it gets in the way of natural beauty. Some say touch ups are nothing more than cheap ways to make someone look completely different from what they originally look like in real life. Many well known magazines, movie studios and other froms of media, use photoshop to make some quick touch ups. This video is one of those types and shows you how to airbrush photos...

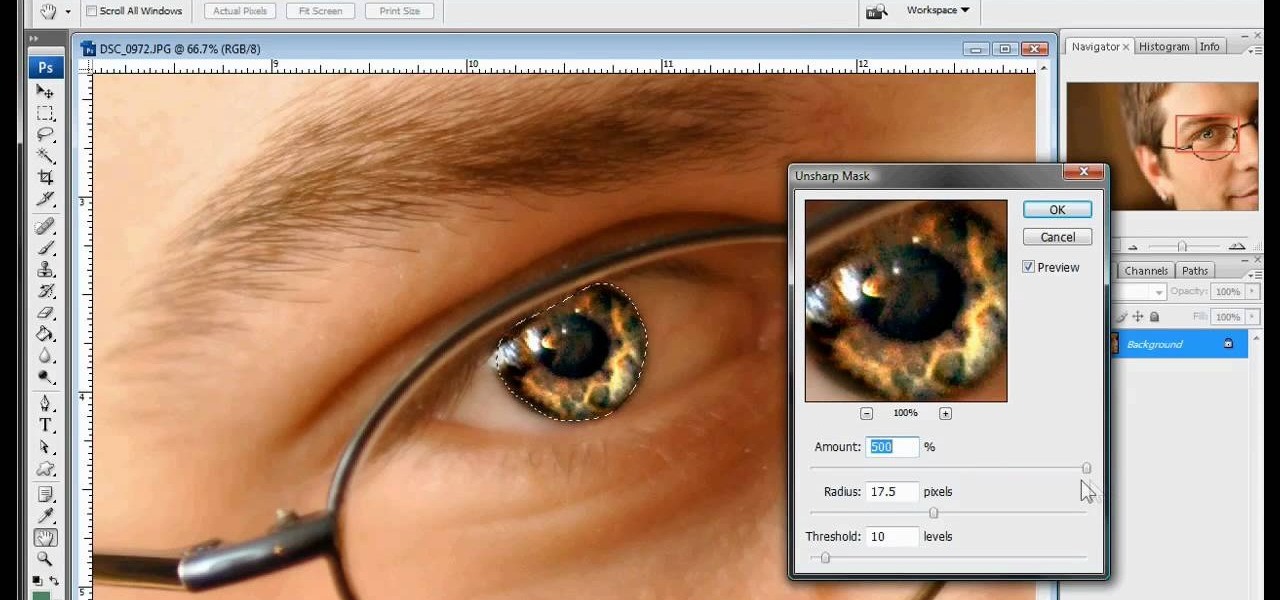
The white bits on a person's face are often what make them appear healthiest and happiest. In this tutorial, learn how to enhance someone's face by improving the white areas of their faces. In it, you will learn how to focus on the eyes and teeth of your subject to whiten and enhance them. With this trick, your subject will appear cleaner, healthier and more alert.

There are so many ways to enhance your photos in Photoshop these days, it is amazing we need actual models at all! In this video, learn how to add or change the makeup on your model. If you have changed your artistic idea after shooting, or feel like your subject could just use a little something, check out this tutorial and learn how to add color to your photos.

In this video, we learn how to sketch a photo in PhotoShop. First, open up PhotoShop and open up the picture you want to convert. Then, click "image", "adjustments" and "desaturate". You will now copy this layer by dragging it down to the "new layer" button. Now click on your copied layer and go to "image", "adjustments" then "invert". Now click the "blend" option which will change your layer to completely white. Now, click "filter" then "other" then "minimum". You will now see your image sho...

In this tutorial, we learn how to join and use Facebook. First, go to www.Facebook.com and sign up with the website, you will have to enter some personal information as well as your e-mail address. Once you've confirmed your account, log into Facebook. Once in your account, you can click edit and change your personal settings. This includes birthday, hometown, sex, relationship status and more. You can also click on the photos button and upload photos of you and your friends. If you want to f...

In this video, we learn how to create a picture frame on a photo using PhotoShop. First, open up the program and open the picture that you want to change. Next, select the rectangular marquee tool from the toolbar on the side. Now, create a selection of what you want to frame. Then, click with the right key and select "inverse". Click again with the right key and choose "layer via copy". Now, click 2 times on the layer to open and the layer style menu will show up. Now put the contour to crea...

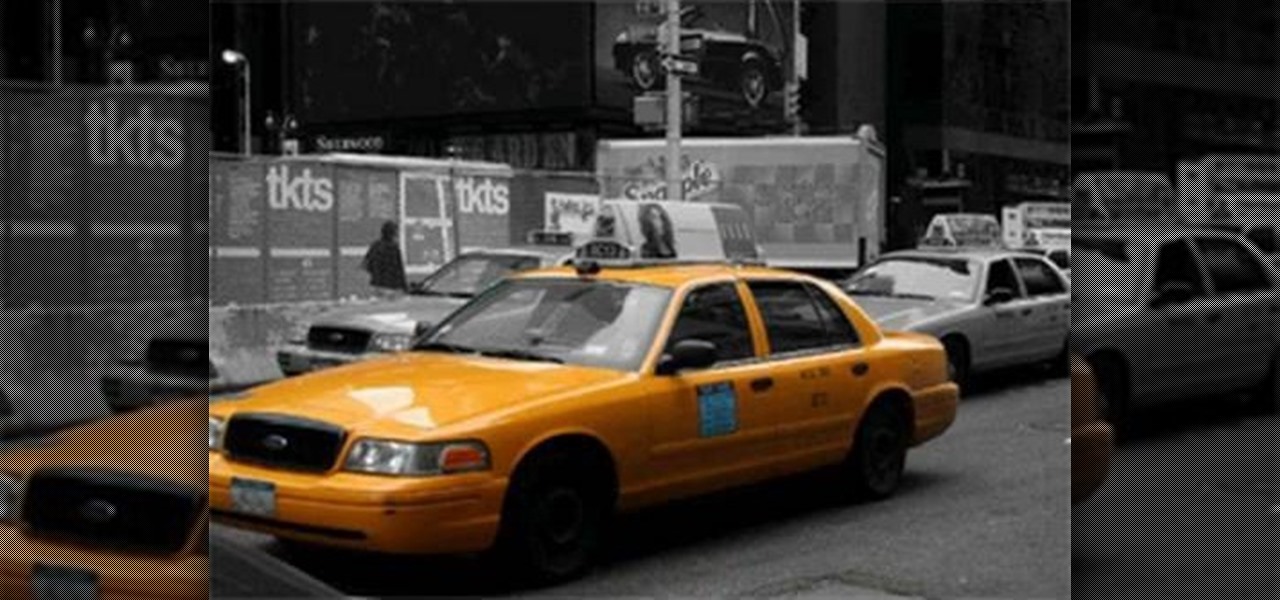
In this video, we learn how to turn a photo partially black and white using PhotoShop. First, open up the program and open up the picture you'd like to change. Now, click with the right key above the layer and choose duplicate "layer". Now click above the eye icon to hide the layer, then select the layer. Now you can go to image, adjustments, then black and white. Now make the second layer visible and select the eraser tool. Wave your brush over everything but what you want to keep colorful. ...

This video shows us how to turn parts of a color photo into black and white and keep the colors for the parts we choose. Start by choosing the polygonal asso tool in the tool box. Now create borders for the parts of the image that you want to keep the colors. Hold the ALT key while clicking to draw borders around a second or third object. Once all the borders are created, right click on your selection and click "select inverse". Now go to "image menu, highlight "adjustment", and then click "b...

In this how-to video, you will learn how to see high quality pictures of your own house. First, go to your web browser and click on Maps and Directions in the directory on the MSN website. Next, click on locations and type the address of your house or whatever place you want to see. Once this is done, click on bird's eye to get a closer photo of the area. Next, click zoom in until you get an even larger image. You can also click on the picture and drag to move around the image. This video sho...

Every time you download a game, movie, etc to your computer, you make changes to the computer. Sometimes, these downloads can make your computer unstable. By default, Windows Vista creates restore points in the background. What this means is every time you make these changes to your computer, Vista takes a snapshot of your computer before the changes are made. This enables you to go back in time and restore your computer to an earlier time. Documents, photo's and emails will still be saved. O...

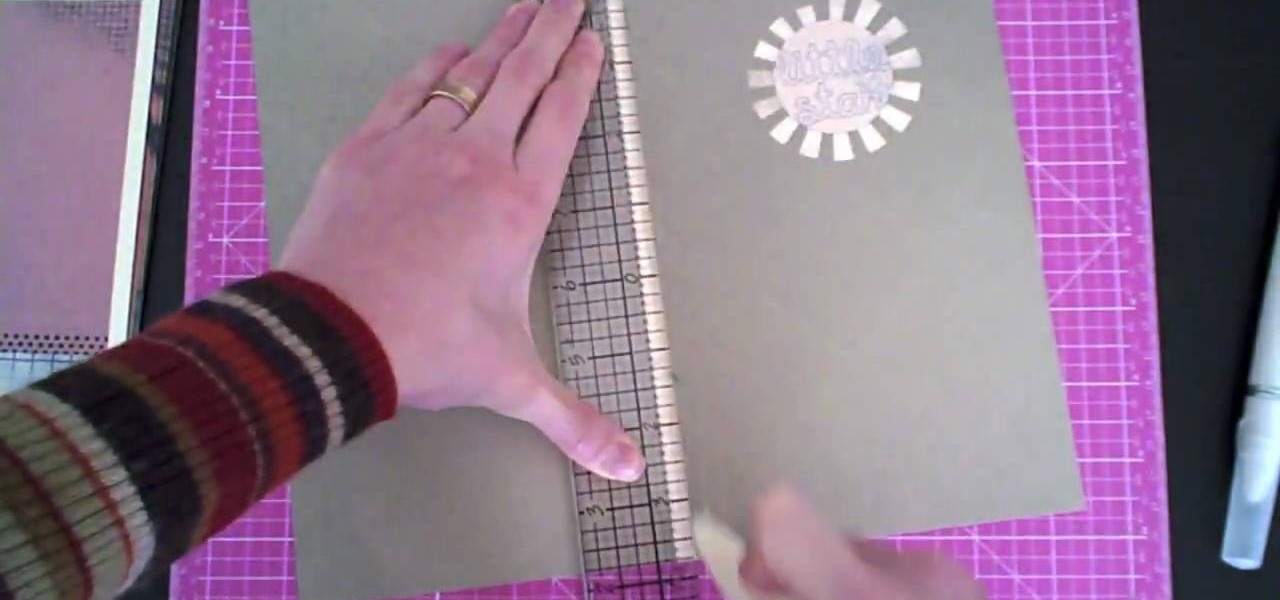
Creativity Prompt demonstrates how to make a hybrid board book. First, select printed paper of your choosing. Cut off the excess paper with a cutting blade and crease the paper for the spine. Fold and burnish the paper. Apply a generous glue stick layer to a recycled board book and adhere the paper to it. Burnish the paper with a brayer to strengthen the adhesion. Let the glue dry and trim off the excess paper. Cut the rest of the paper for the board book pages. Cut out photos and titles for ...

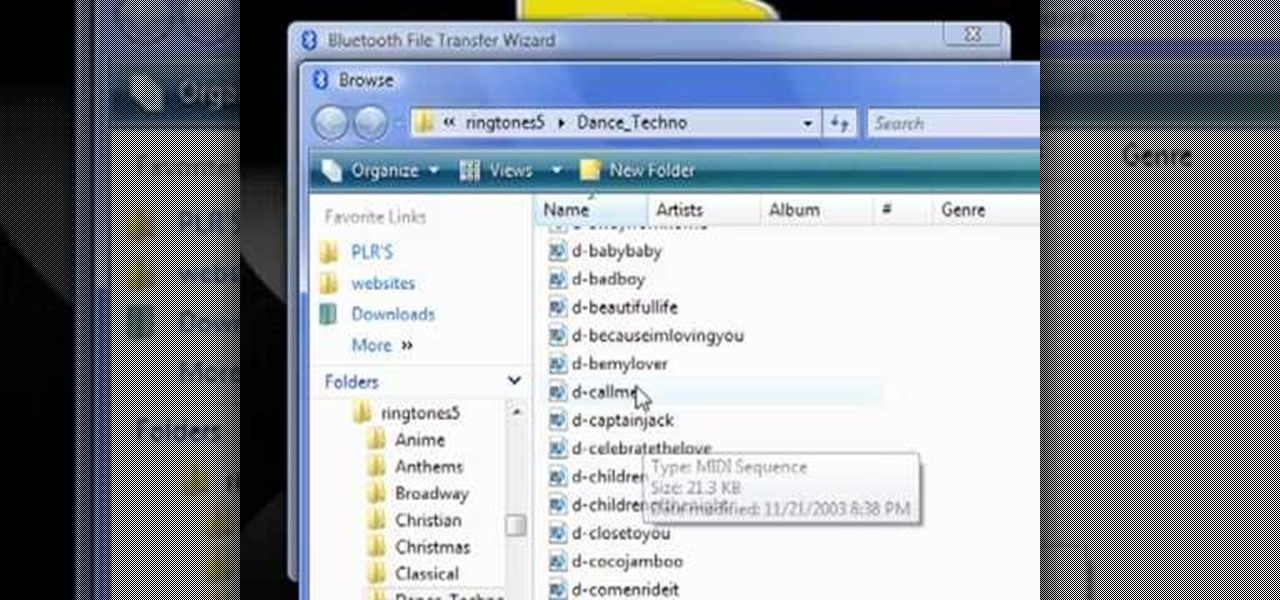
The video demonstrates how to connect your Bluetooth phone to your computer and send/receive files between them through Bluetooth. You need to first switch on Bluetooth in your phone and then click on the icon for Bluetooth connectivity in the computer. Then click on the option called 'Add a Bluetooth Device'. You can see a setup wizard pop up in your computer screen where you have click on the check box and then click on Next button. Once the phone is detected, select it and click on Next. T...

In this tutorial, Josh Millward teaches us how to post pictures onto a Facebook account. First, log into your Facebook account. Once you're logged in, click on your profile and click "photos". Choose where you want to upload the photo to, you can upload it to an existing album or you can upload to a new album. You can choose which uploading tool you'd like to use. Browse through your files and choose the pictures you want to load into your album. Now click "upload" after agreeing to the terms...

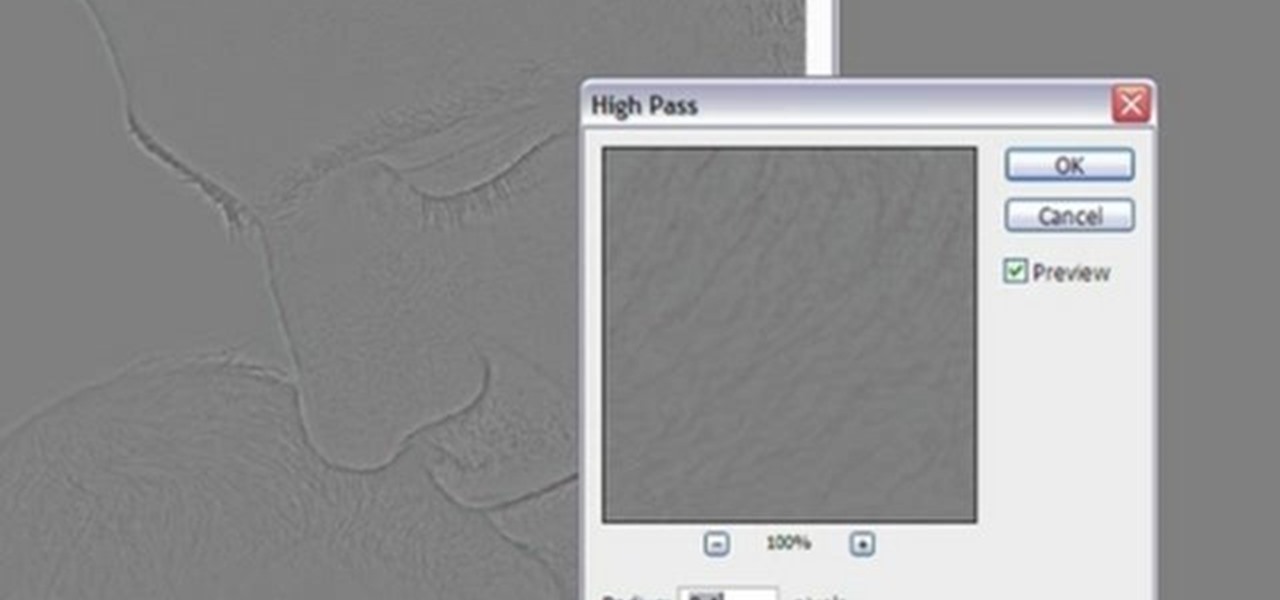
In this video tutorial, viewers learn how to sharpen photos in Adobe Photoshop CS3. Begin by opening the image in the program and duplicate the image layer. To duplicate, press the control and J button. With that images, go to Filter, choose Other and select High Pass. The images will now be covered entirely of gray. It is recommended to set the radius as 5-6 pixels and then press OK. Change the layer blending mode to overlay, soft light, hard light, vivid light or linear light. This video wi...

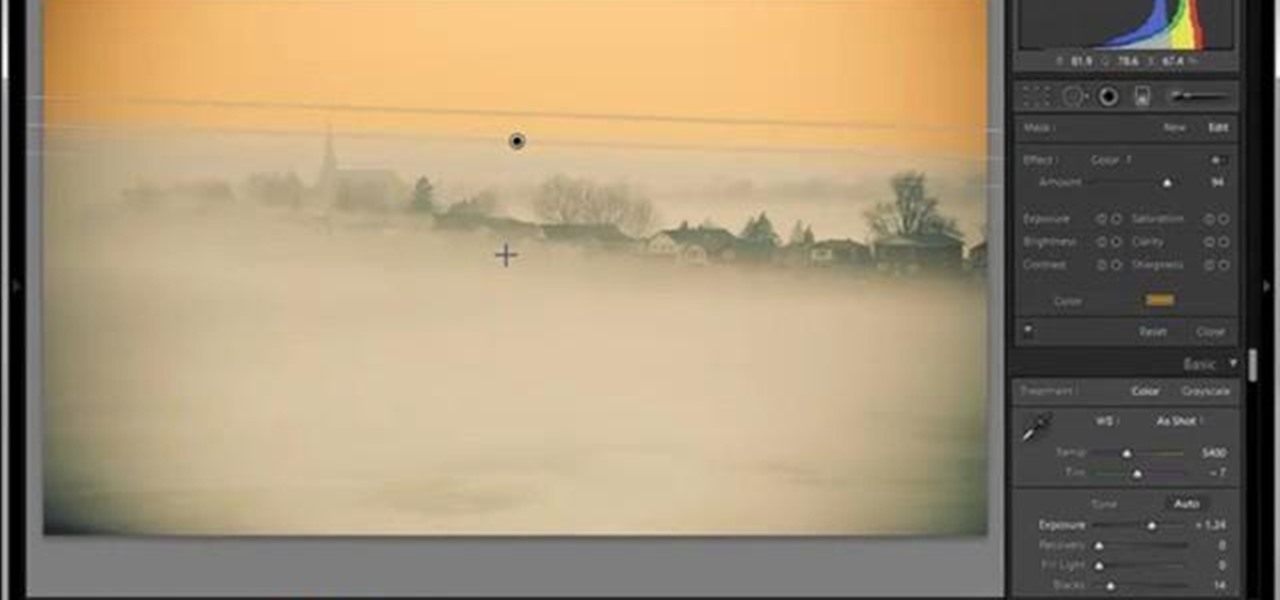
In this tutorial, Yanik Chauvin teaches us how to create an old-style looking photo starting from a grayish, underexposed one, using the software "Lightroom". He starts by creating a virtual copy of it, and then he adds a Camera Calibration preset named Camera Landscape and increases the exposure. After that, he crops the image removing the blank parts of the photo, and adjusts Contrast, Blacks and Clarity to strength the image borders.

In this video tutorial, viewers learn how to take pictures with an iPod Touch. iPod Touch is a portable media player, personal digital assistant, and Wi-Fi mobile platform. The iPod Touch does not have a built-in camera, but it is able to take screenshots. Begin by going to any option or application that you want to take a screen shot of. Then hold power and home button at the same time until you see a white flash. The picture is located in the Saves Photos folder in the Photos application. T...

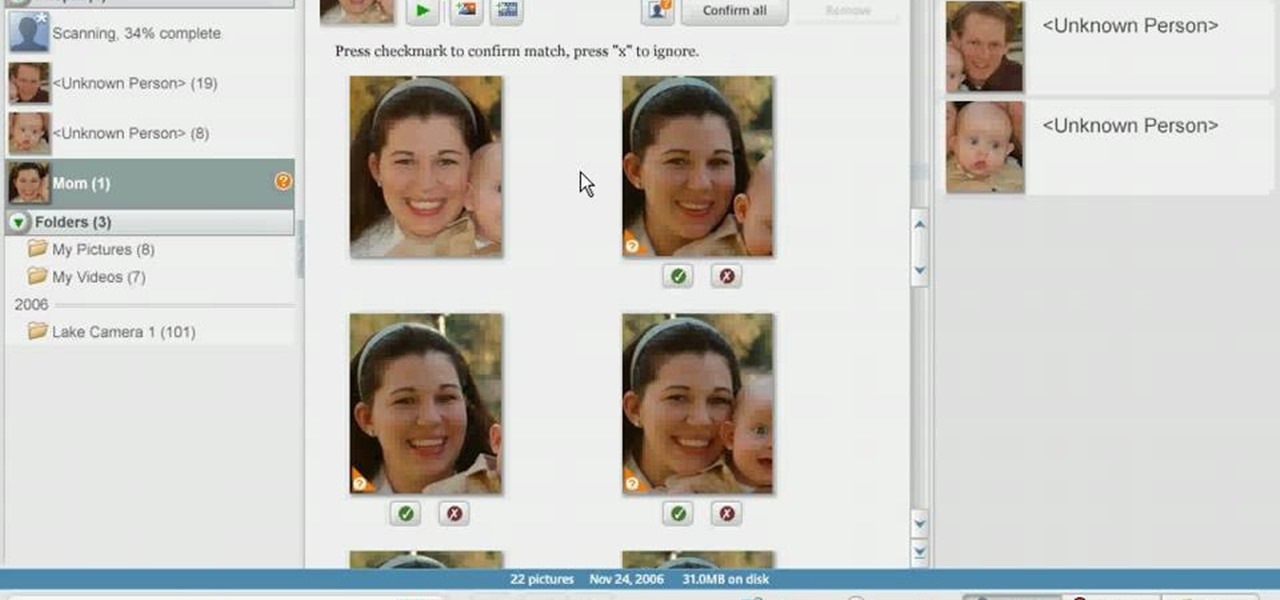
In order to use Picasa's face recognition feature double click on an image that you would like to edit. It will automatically identify each person. Then label the first person that it identifies. Then hit the enter key, and click on the new person button then click on the okay button. Now go back to your library and on the left hand side of your library you should see the label that you made for your first photo. Click on that label and Picasa will automatically find all of the photos that th...

This Software video tutorial shows how to create scrapbooks in Photoshop. This video is presented by Ash Davies from PhotoGuides. This tutorial has 4 components including how to tear the paper, how to add sticky tape, how to hand draw and how to spill ink. To complete this tutorial you will need to download the Paper file and the Sticky Tape file from PhotoGuides. It is available to all members. Open up the paper fie in Photoshop. Open the photos you want in your scrapbook and drag them onto ...


