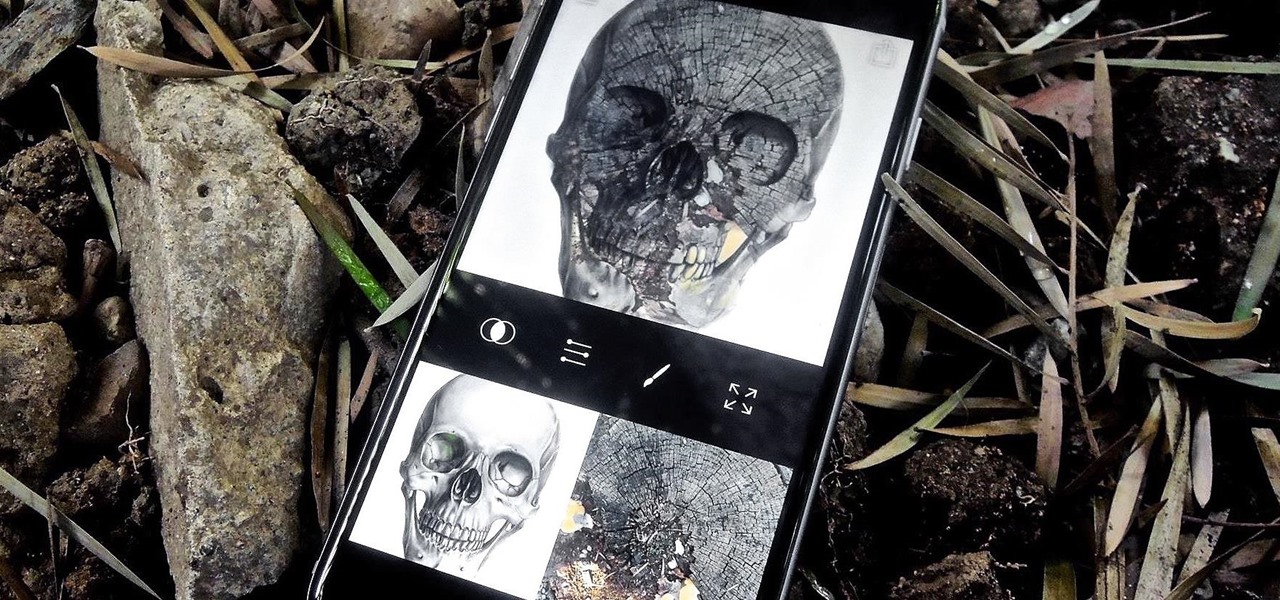
Snapseed is an app that you should definitely be using not only if you're really serious about photography, but also if you want to ensure that your online work sets the standard for social media. It's a great companion app to Instagram and VSCO, and it will save your day many times over when you find yourself on your phone, on-the-go, needing to edit an image beyond the typical everyday filters.
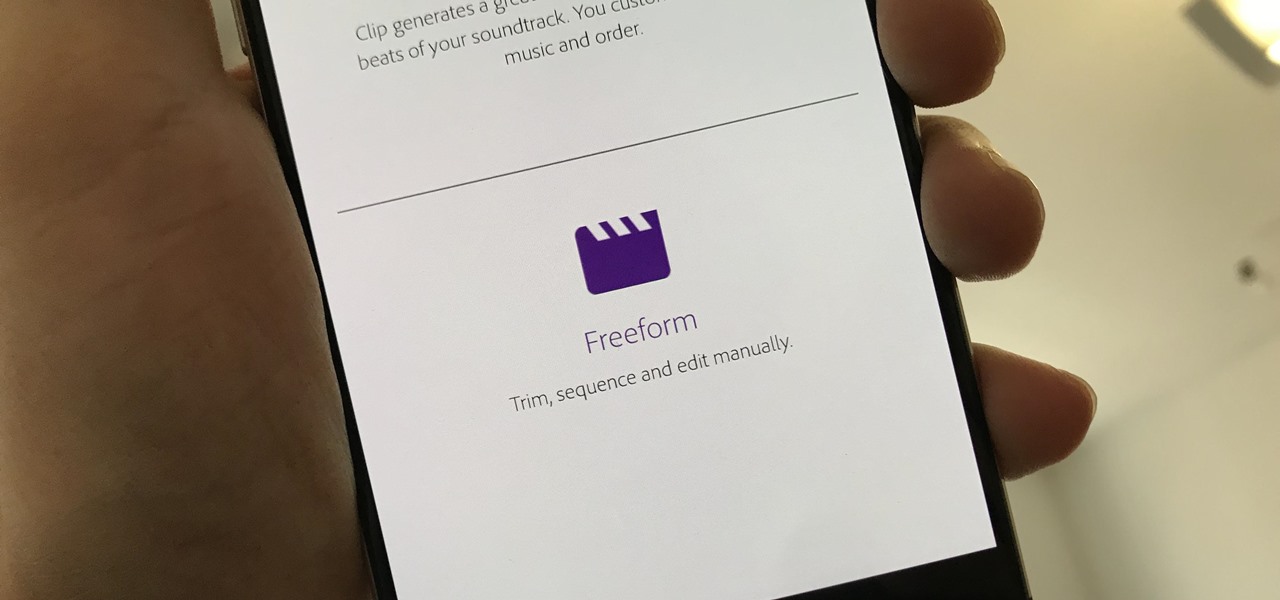
Adobe Premiere Clip is a great mobile app for users with little to no editing experience. Its automatic editor will sort your clips into a fun video in seconds, leaving you to just choose the music. But what if you're looking for more than automatic settings? What if you want some serious control over your project, from the editing to the way the image looks?
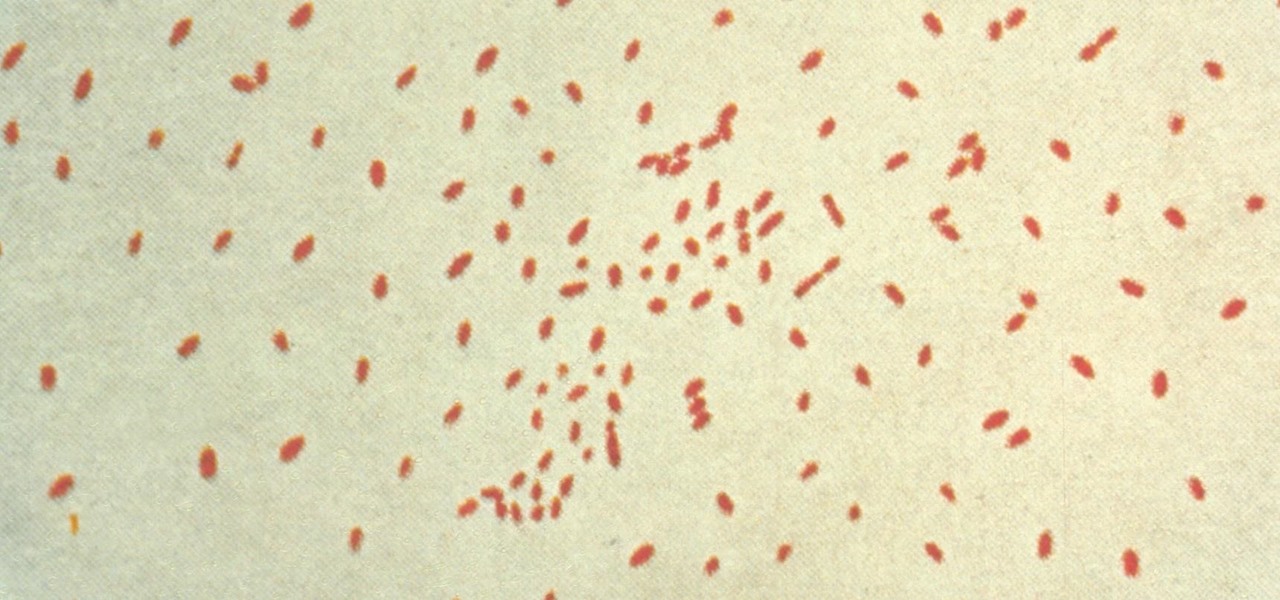
Pertussis, or whooping cough, is a highly contagious disease that can be life-threatening for young children. New research backs a recommendation that all pregnant women receive a pertussis booster with each pregnancy, as it can help their infants fight off the infection.

Here's another workday distraction for all you social media lovers out there: Pasted, launching out of beta today on iOS, is a simple collage and photo editing app mixing iconic '90s imagery with a love of the The Shins.
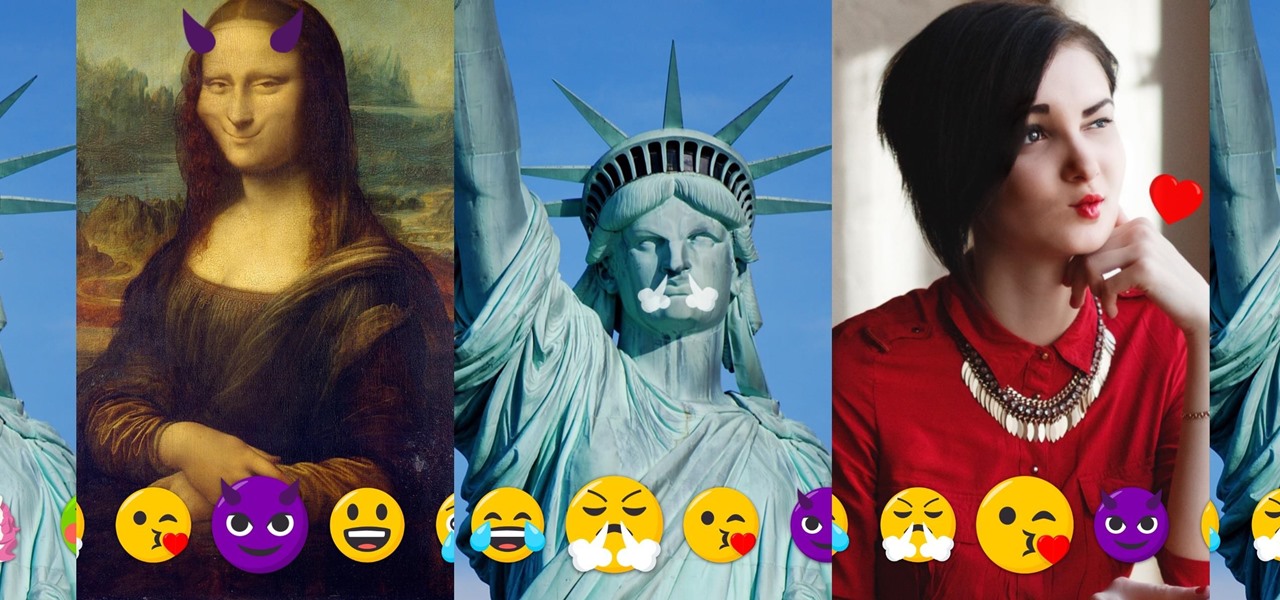
As a society, we seem to be moving backwards toward communicating by pictures only. Emojis and GIFs are today's cave paintings, and I, for one, am totally okay with that. To make this transition even more amazing, photo-editing app Facetune created a tool that lets us change our very own faces into moving emojis.
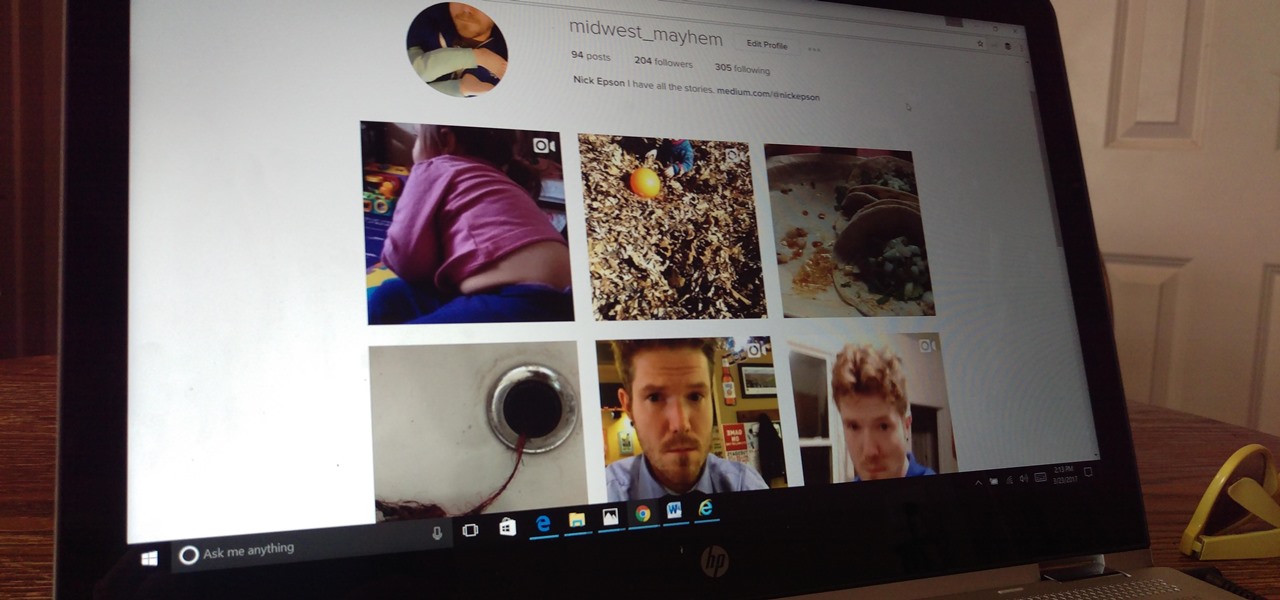
The photo-centric Instagram app is a great way to share "evergreen" pictures and videos when compared to Snapchat and Facebook's new Messenger Day feature. But like all social media, keeping the account secure is an essential aspect, as it restricts unwanted viewers from seeing your content and can prevent unauthorized users from accessing your account. Instagram has several methods for locking down the account including a new two-factor authentication (2FA) mechanism.

Ever since QuickPic was sold to a known adware company, there's been a glaring need for lightweight and fast third-party gallery apps on Android. For the folks that don't want to use Google Photos and other cloud-based solutions, a gallery app that loads your locally-stored pictures quickly without taking up much storage space is the best possible fit.
Google Drive has a very simple way to switch from iOS to Android. iPhone users who want to take the plunge into the wonderful world of Android, but were hesitant to do so in the past because of the laborious process of backing up their data, can back up their contacts, photos, videos, and calendars with the tap of a button.
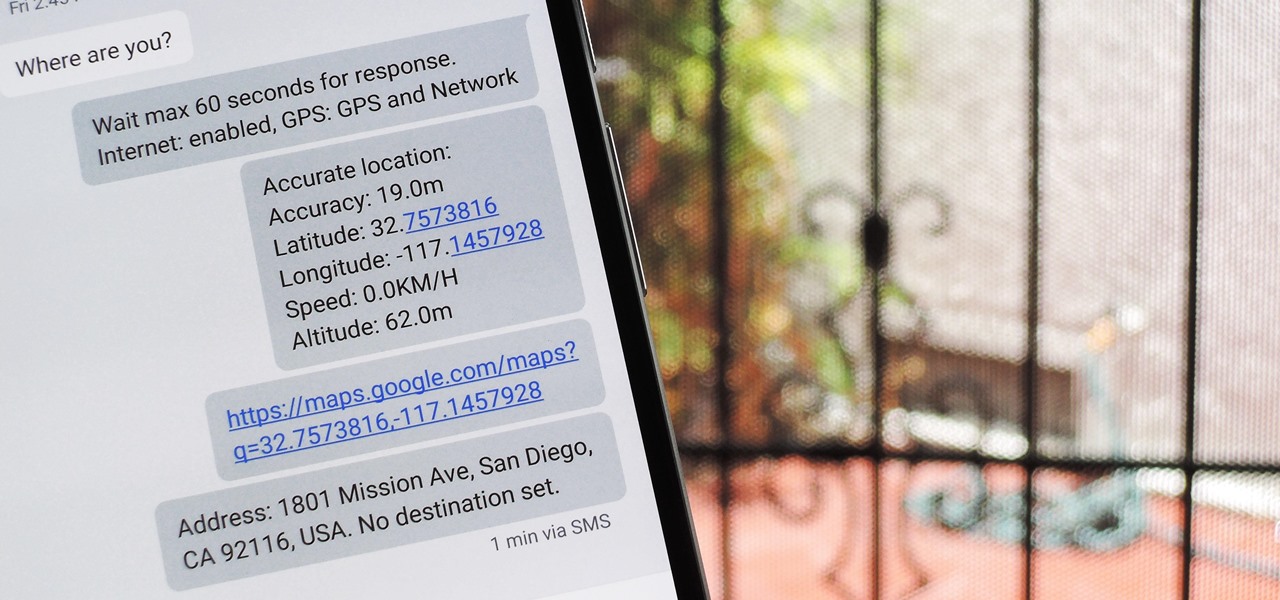
When you're driving, the last thing you need to be doing is messing around with your phone. But these days, people expect you to be available at all times, so the text messages continue to flow in while you're on the road. It's a terrible distraction, and one that is responsible for 25% of all car wrecks in the United States.
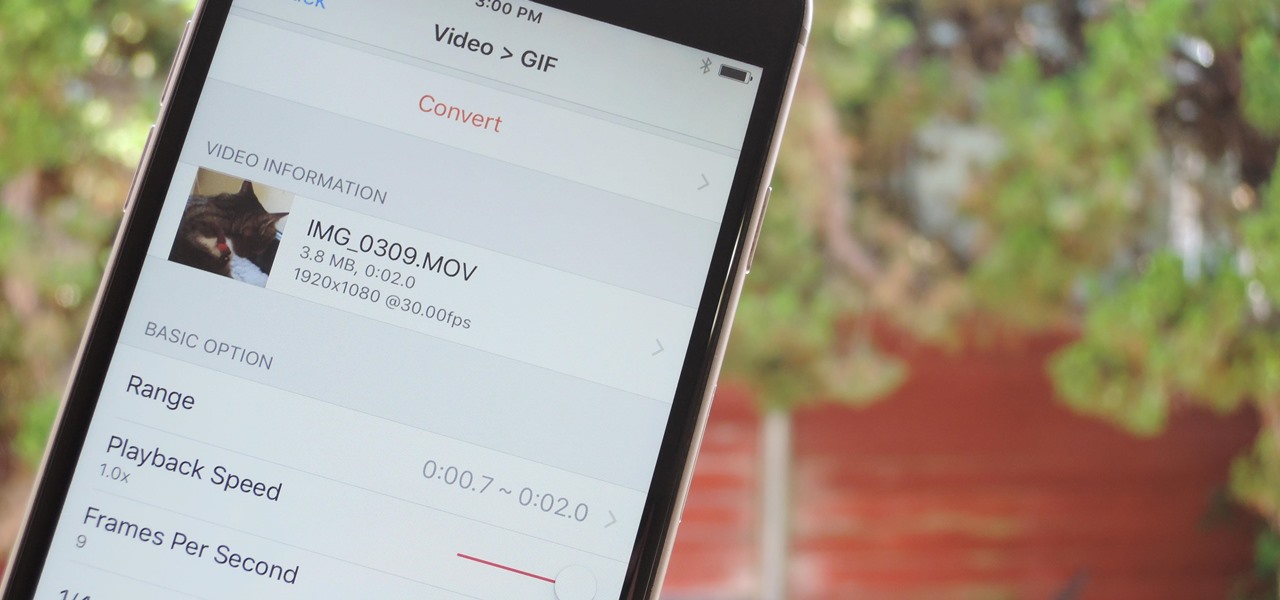
The internet has officially been taken over by GIFs—they're everybody's favorite method of communication these days, and nary a meme would exist without them. But even with the abundance of GIF-sharing websites, and even GIF keyboards, we're still a bit lacking in regard to creating GIFs on a mobile device.
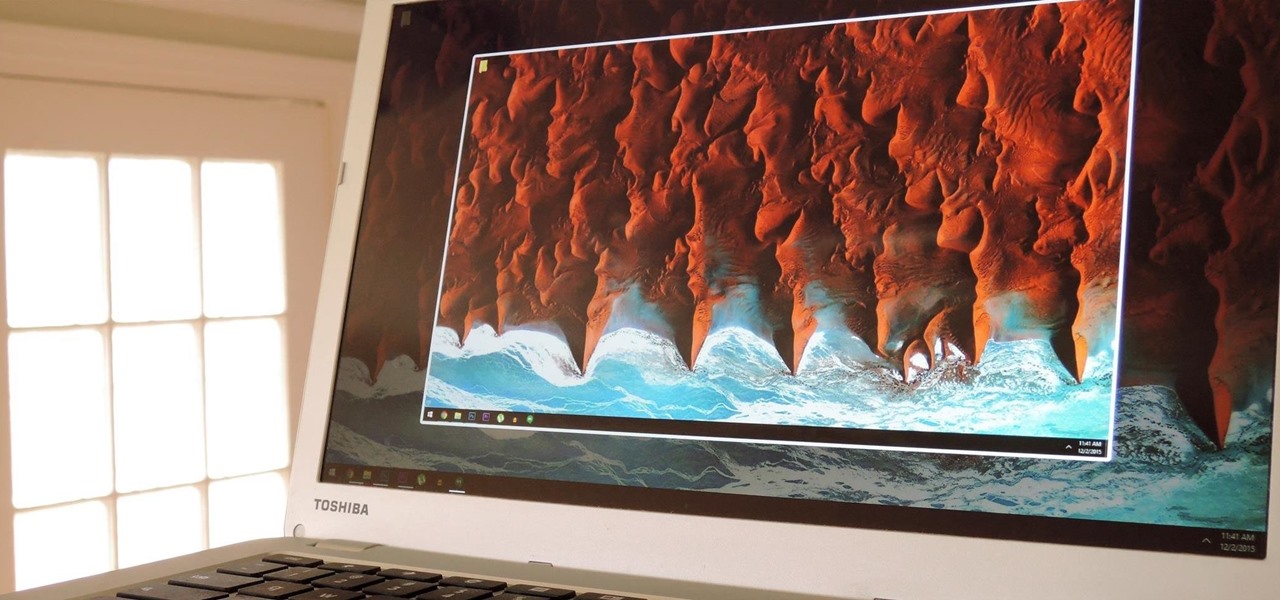
Screenshots are an indispensable tool when it comes to relaying information about what's currently showing on your monitor. Whether you need help troubleshooting an issue or you just want to save and share a protected image, screenshots are often your best bet.
The art of taking secret photos is one that requires keen awareness and skill. Not only do you need to ensure that your subject remains oblivious, but you also need to make sure that no one near you notices what you're attempting to do. It's great when you buddy is acting a fool, but sucks when they stop their shenanigans when they notice you pulling out your camera phone in an effort to evade your picture.
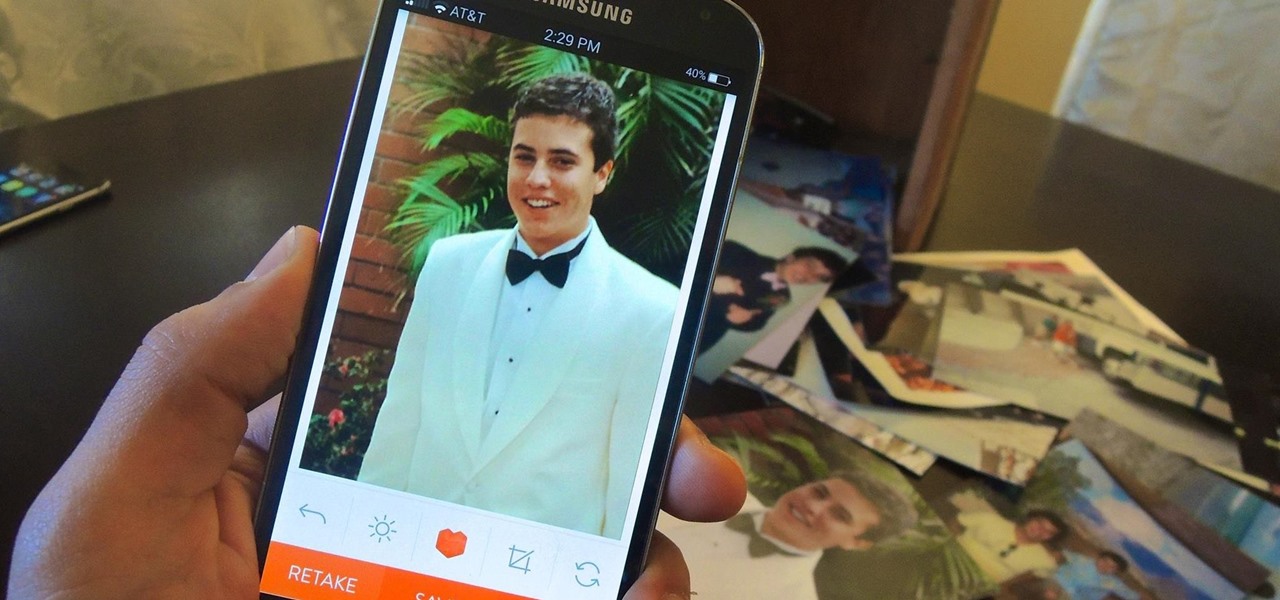
Believe it or not, there was a time when smartphones weren't the primary tool for taking photos. People actually walked around with bulky film-based cameras on their necks, and some even used cheap disposables. While photography wasn't introduced to the world when smartphones came out, it's definitely more accessible—and everyone is a photographer now.
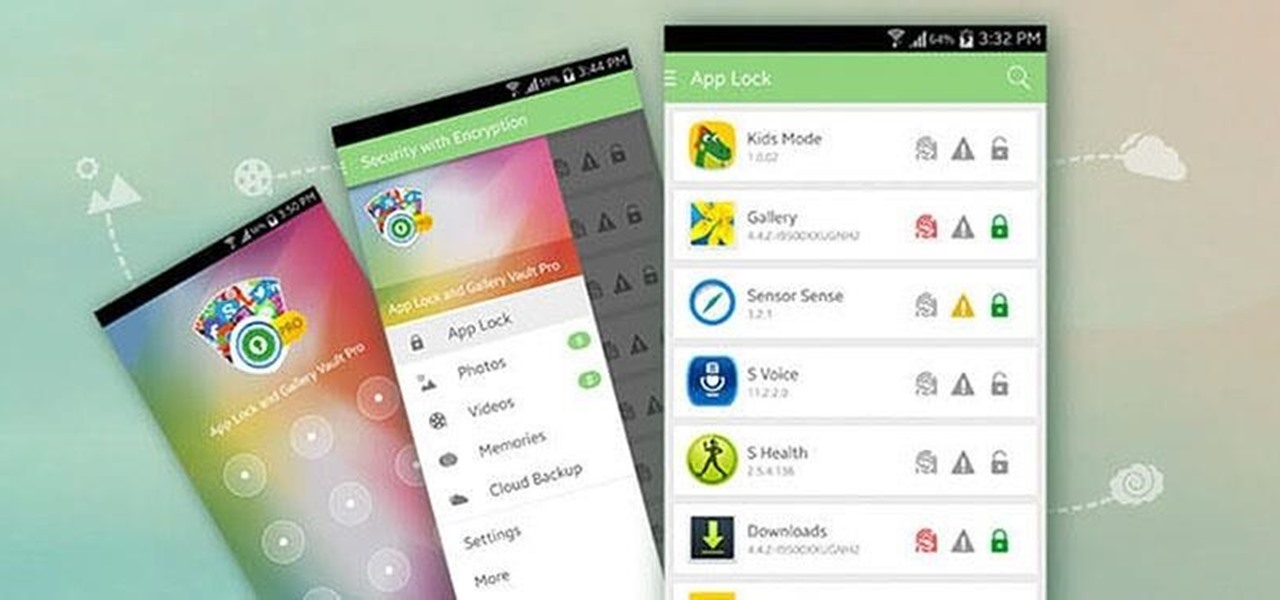
Smartphone users often wish for a privacy, where no one is able to poke his/her nose in their personal stuff. Unfortunately, none of the smartphones have been able to guard their privacy in this fashion. Smartphones usually come up with none or almost negligible built-in security to serve your purpose.
In places like underground bars or national parks, your phone's Internet service is sure to slow down to a very sluggish pace, making it difficult to surf the web. Or worst case, data will be non-existent, leaving you with only low-level network support for calls and SMS text messages.
Aside from the occasional "creative" collage, most of your friends on social media are content with pretty basic image and video posts. You can easily one-up them with celebrity cameos or awesome time-lapse videos, but to truly outshine them, try your hands at some creative double exposures.
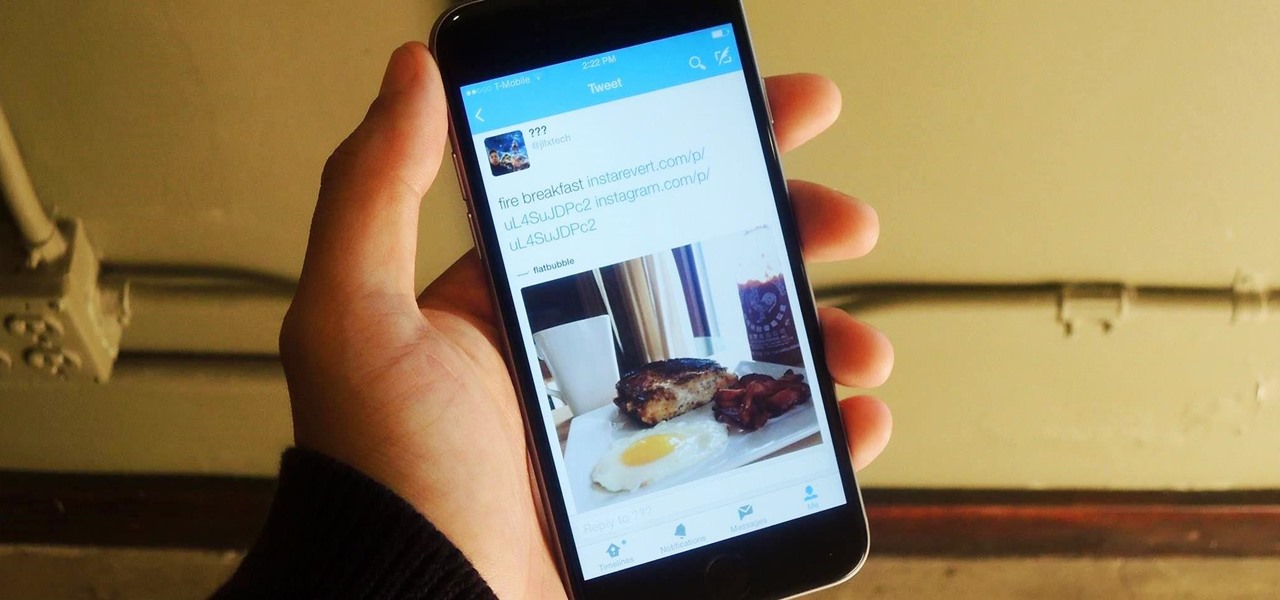
In late 2012, Instagram CEO Kevin Systrom made a sudden and controversial change to his social media service when he removed Twitter Card support.
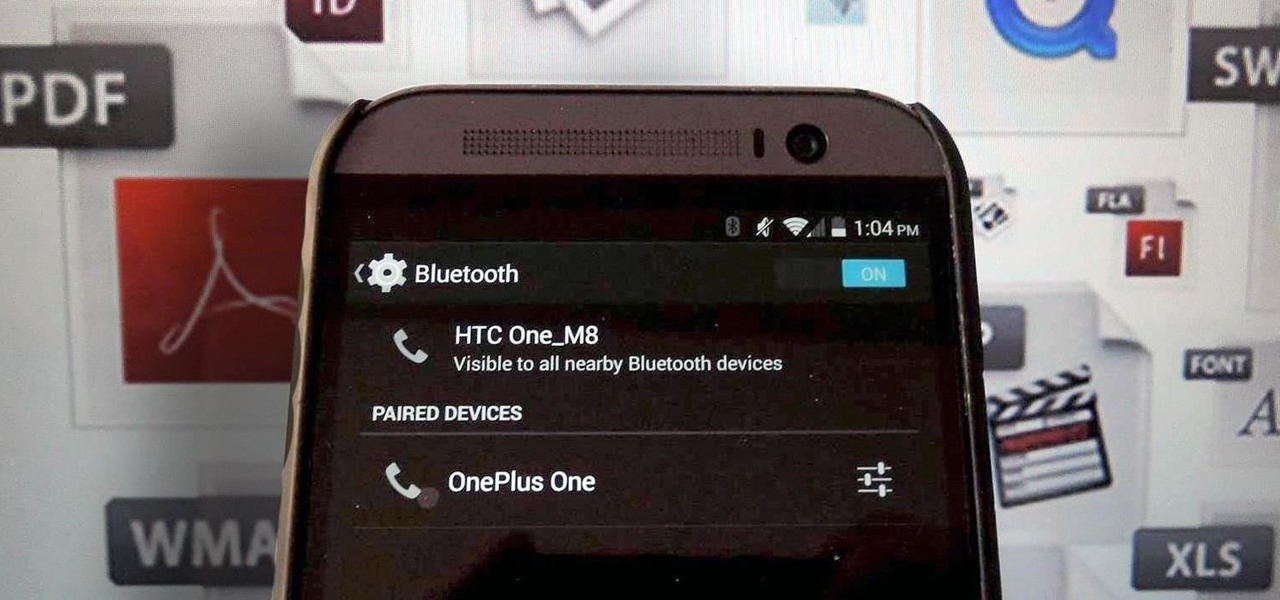
Bluetooth has been a staple on every Android smartphone ever since they began taking over our lives. Despite the fact that every device seems to have the ability to share files with one another, there is a limit to the types of files that can be shared between them.
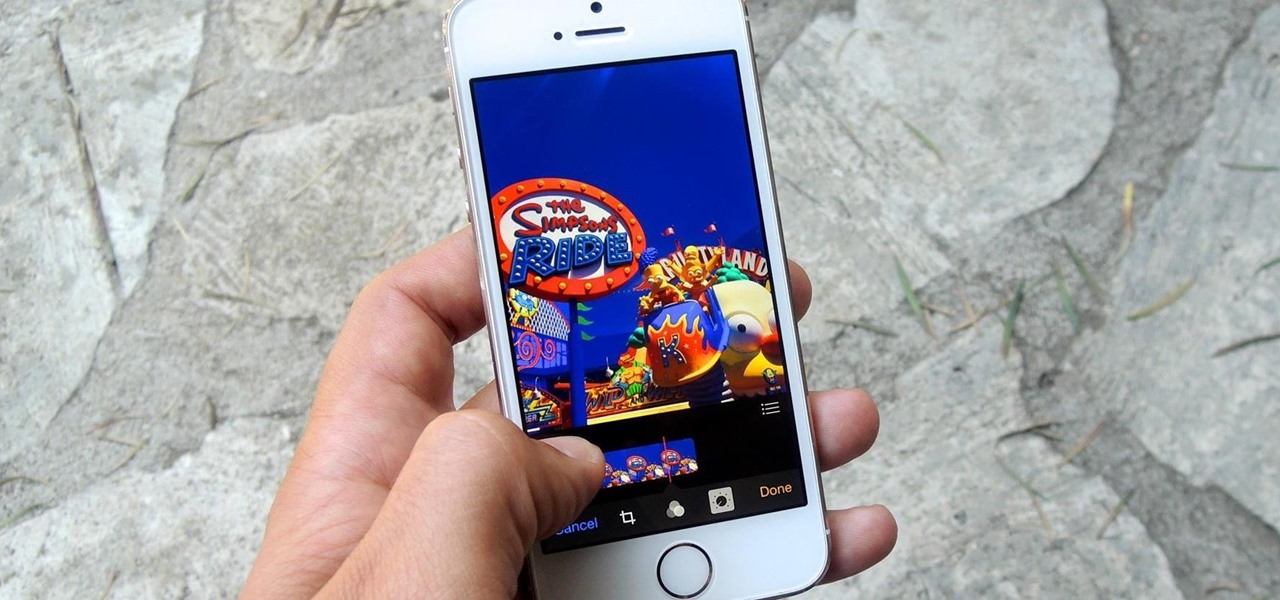
The new Camera app in iOS 8 has a few really great features, but some of the best photo-centric features were packed into the iPhone's photo editing tools. These new editing features can create even more dynamic images than before, no Instagram required.
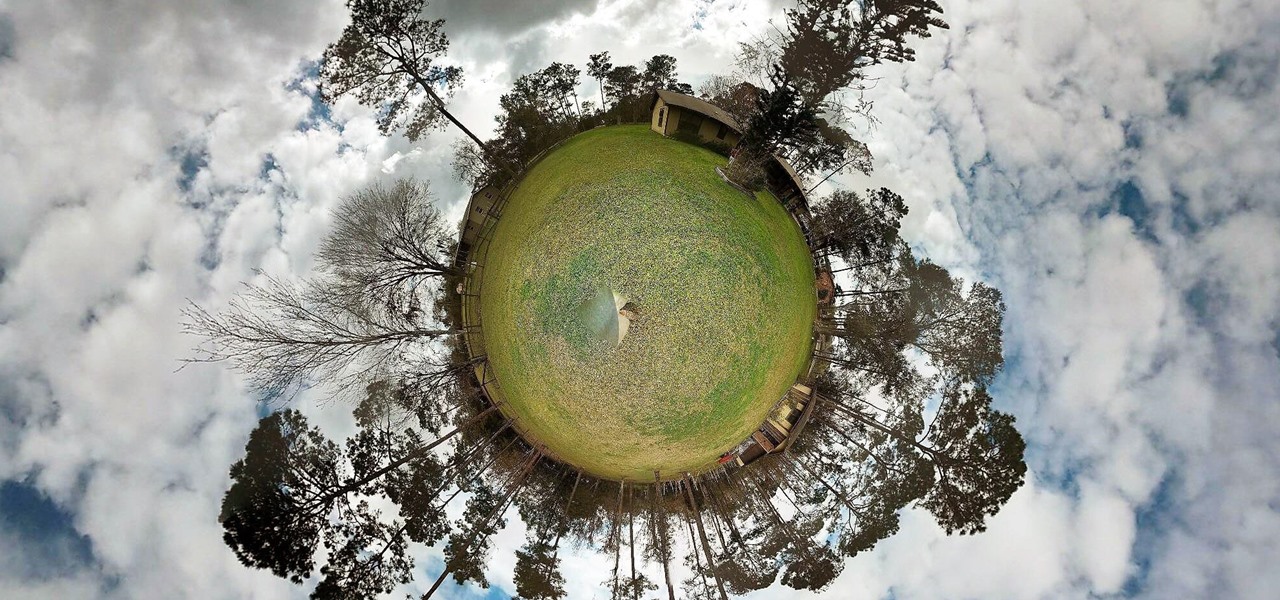
In photography, stereographic projection is a geometric technique that projects a sphere onto a plane, which is mostly used in the mapping of spherical panoramas.
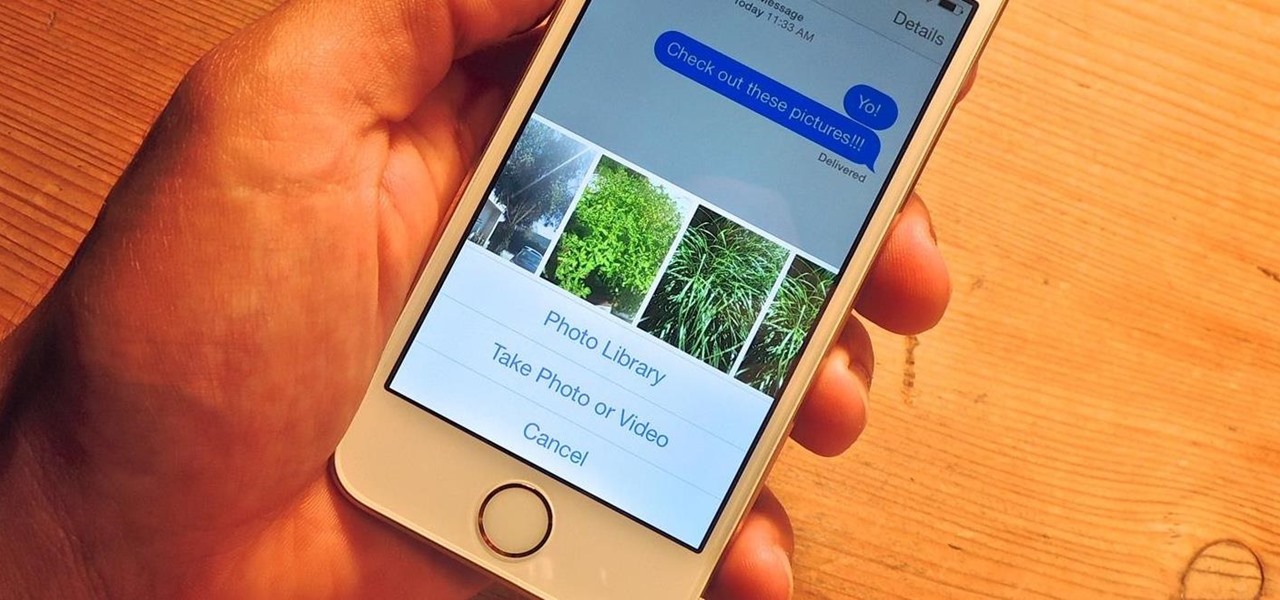
As it is right now, you can only send 5 images by email at the same time from your Camera Roll in iOS 7. There are some workarounds to increase that number, but a new feature in iOS 8 is finally making them unnecessary.
Safari has some cool new features in iOS 8, but the app that seems to have gotten the biggest update so far is Messages. A lot of the new Messages features were discussed during Apple's developers conference, but we found many others and picked out our favorite hidden ones below.
Long-exposure photography gives us the ability the capture some pretty amazing shots by delicately capturing moving elements in an image while keeping the shutter open at a slow speed. While that's great for things like traffic, scenery, and carnival rides, it can come in especially handy for 4th of July fireworks.
Whether it's bad timing, or some trying-to-be-funny photobomber, it sucks having a photo ruined by someone or something getting in the way. While you can always retake the photo, it's simply impossible to capture the moment you intended, no matter how much restaging you do. But with an HTC One, there's no need to retake anything, as we have access to built-in features that will remove those photo intruders.
Not many people use film cameras anymore, so it can be hard to find the materials to develop your own photos at home since most local camera stores are closing. But it's actually relatively easy to make homemade developer, and you can make it with a few relatively common ingredients.
Let's be honest for a second; we all have sensitive material on our phones that we wouldn't want anyone else to ever see. Maybe it's to protect ourselves or someone else, or maybe it's none of your business why I don't want you to see pictures of my bachelor party. Regardless, sometimes we need to keep things hidden and safe.
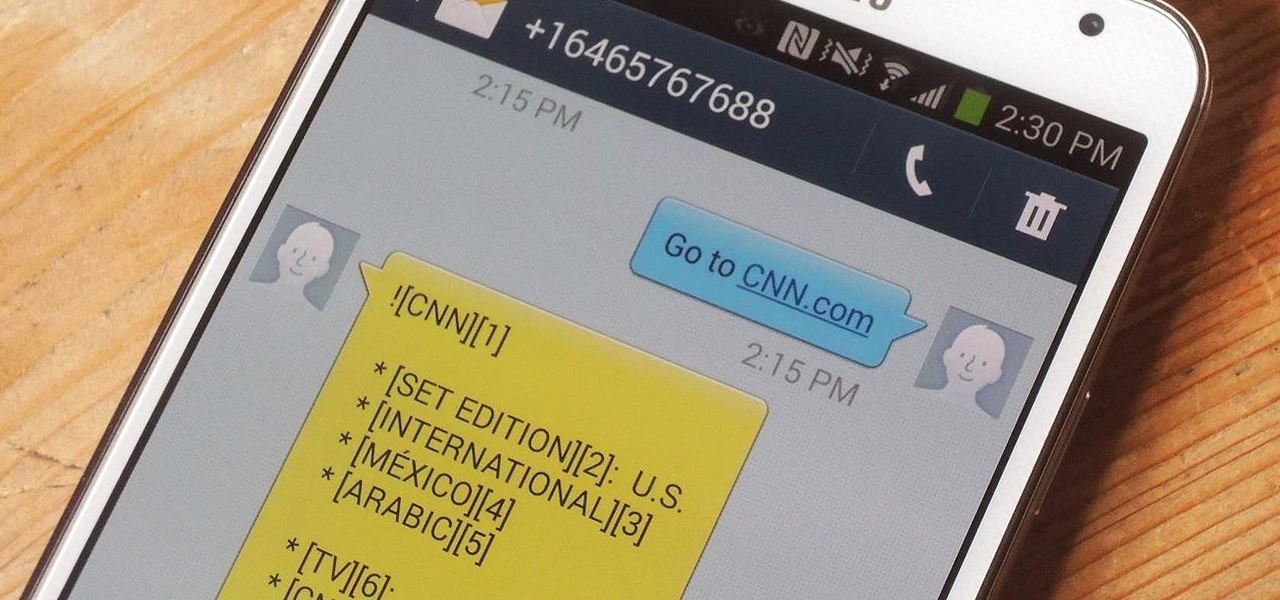
I wonder if Best Buy has any Note 3's for sale?? When trying to figure out when something is in stock, we usually either check online or call the store to talk to someone. If certain products are out of stock the process might be tedious, with having to find phone numbers and calling several stores.
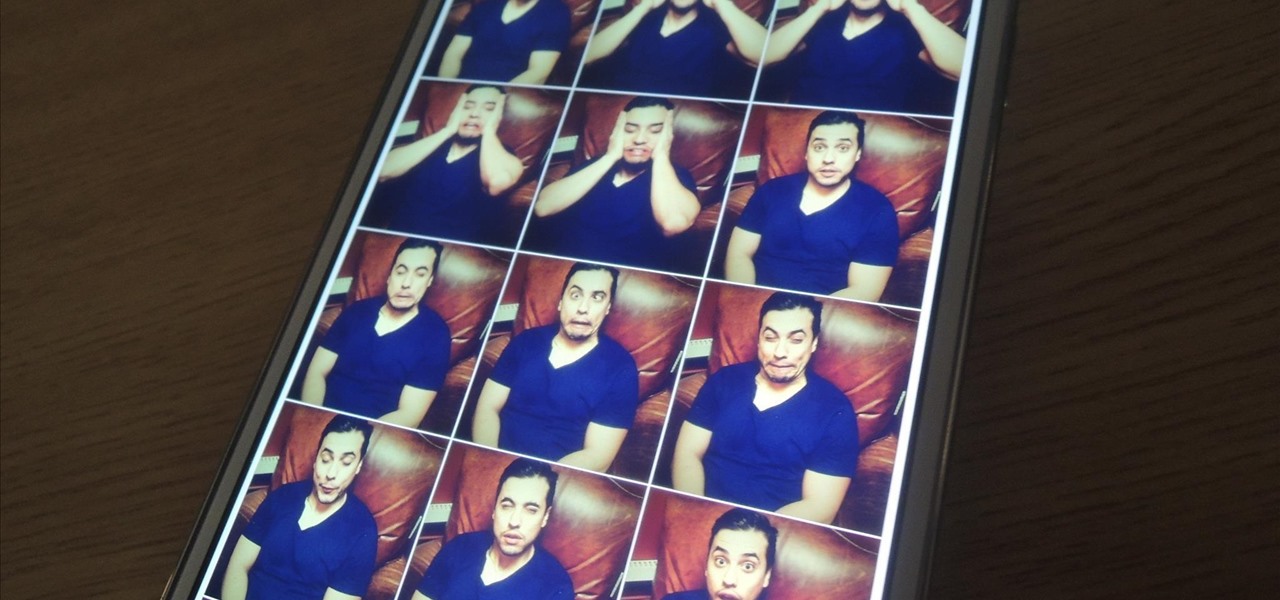
When we take pictures with our smartphones, it’s safe to assume we’re taking more than one. We're either trying to capture the right light, look, or expression… or maybe a slight nod to the right to show off your good side.
Are you feeling like you've got the hang of Google+? Or do you, as I do sometimes, feel like there are just a few too many quirks to keep track of? Here, I've given you 15 quick tips you should know about Google+ so you can maximize the way you want to use it.
The introduction of smartphones has been what some may see as a step backwards in technology regarding batteries. The first cell phone that I had would last 3-4 days on a single charge; however, the lack of functions minimized the use that is saw.
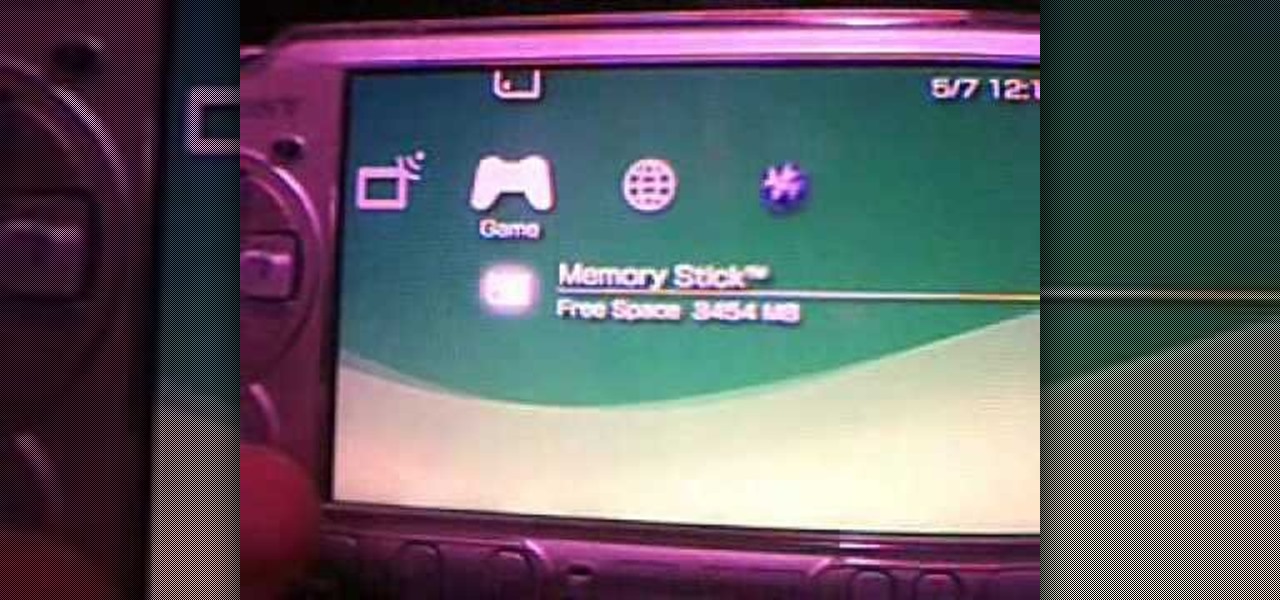
When Sony released the new versions of the PSP Slim and 3000 in 2009, it thought that it had solved the PSP's rampant hacking problem. They hadn't. This video will show you how to load the popular exploit / CFW installer ChickHEN R2 onto a slim or 3000 PSP, leaving it ready and waiting for whatever homebrew hacks and games you'd like to put on it.
This is a video about how to make the photo display board. You just need foam display board, fabric to cover the board, batting paper, pins, and some ribbons. First you have to cut the fabric about one half inch extra of the board to cover the board. Next you have to cut the ribbons upto 6 to approximately 21 inches long and cut one ribbon to hang the photo board. Next laying out the fabric on the table first. Next place the batting on the top of the fabric. Next take the foam board and place...
If you want to learn how to add a fake depth of field in Photoshop this is for you. First start off with a picture that has clarity throughout the picture. The first thing to do is add another layer. To do this you must grab your first layer and drag it to the bottom right where it says new layer. You will now have two layers to choose from. The next step is to blur the top layer of the photo. To do this select the top layer go to filter at the top of your window and scroll down to blur. Sele...
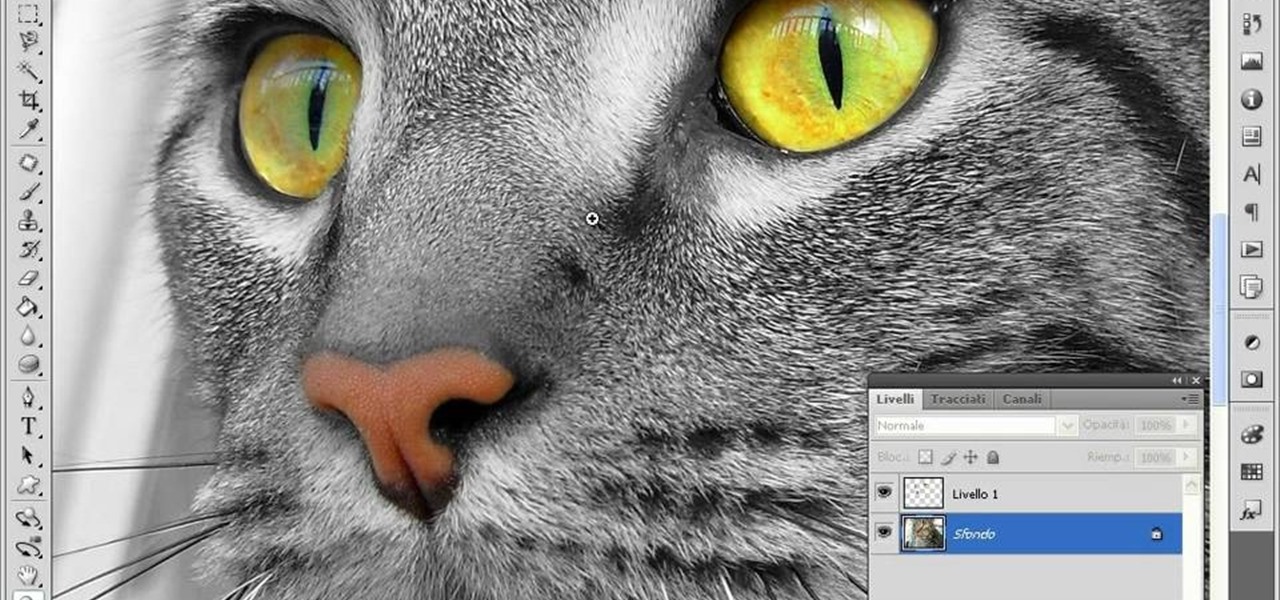
This video teaches us to make a photo black and white with coloured parts in Photoshop. This procedure consists of many steps. In the first step, we choose the magnetic lasso tool from the application. This is followed by the second step. In the second step, we draw the contours of the places we want to stay colored in the photo. Press the 'Shift' key to keep the contours selected while drawing contours across multiple places in the image. After drawing the contours, go to step three. Right c...
In this how to video, you will learn how to liquify an image using Photoshop. First, open the image in Photoshop. Next, go to filter and select liquify. Use the forward warp tool to press pieces of the photo. Use the reconstruct tool to bring the image back to the original state. The twirl clockwise tool can be used to twirl pieces in the photo. You can adjust the pressure to twirl more. The pucker tool can be used to push sections into the image. The bloat tool can be used to pinch sections ...
In this how to video, you will learn how to make a reflection in water using Photoshop. First, open the image in Photoshop. Select the crop tool and select the whole photo. Click and drag the lower part down. Select the rectangular marquee tool and select the picture. Click on the selection and select layer via copy. Click the move tool and drag the upper point in the picture to the bottom of the document. Go to filter, blur, and select motion blur. Choose a -90 degree angle with a 35 pixel d...
In this Arts & Crafts video tutorial you will learn how to make a stained glass picture frame. This video is from Artists Resource. You will need a Marabu GlasArt kit, some white spirit, a china graph pencil, scissors, a ruler, sheets of scrap paper, lead tape and a picture frame. Take the frame and remove the clips. With the ruler and china graph pencil mark off and draw 6” squares. Rub off the center lines with a tissue. This is where the photo will fit. Next you fill the squares with the g...
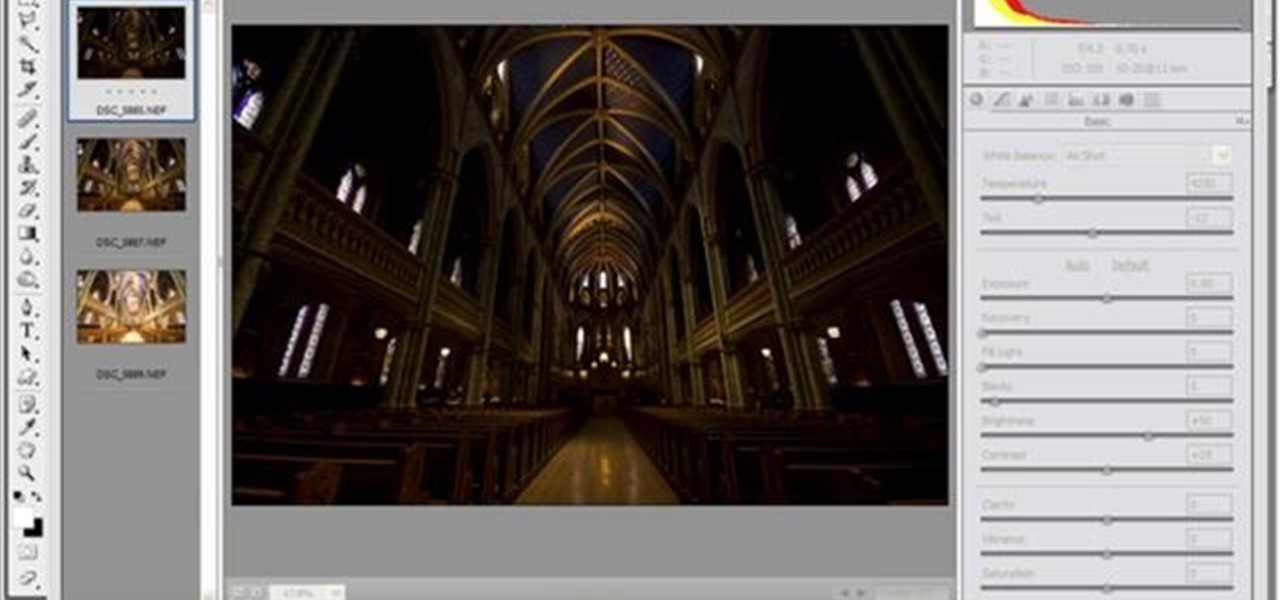
Yanick's Photo School demonstrates how to use Photoshop to make HDR images in Photoshop CS3. This tutorial first explains that HDR means "High Dynamic Range" which is a process to get details from a photo from both the highlights and shadows of a particular scene. The first thing that is necessary is to take multiple views of the same image with different exposures. To start off, you will take three exposures: one that is two stops down, one that is normal exposure, and one that is two stops ...
First of all go to Google and then type in 'candy bar wrapper image' and then enter and go to image results. Select the 'crunch' image and right click and then 'copy' and then go to word document and paste it there. But if the image is big then right click and select 'hyperlink' and select 'remove hyperlink' to remove it. Now select the image again by clicking on to it and you can change the size of the image. Pick out the corner of the box that appears on the image and drag it inside to make...