In this video tutorial, we learn how to make simple tweaks in Camera Raw when retouching a sports photograph in Adobe Photoshop CS5. Whether you're new to Adobe's popular raster graphics editor or a seasoned designer looking to better acquaint yourself with the new features and functions of the latest iteration of the application, you're sure to benefit from this free software tutorial. For more information, watch this video guide.

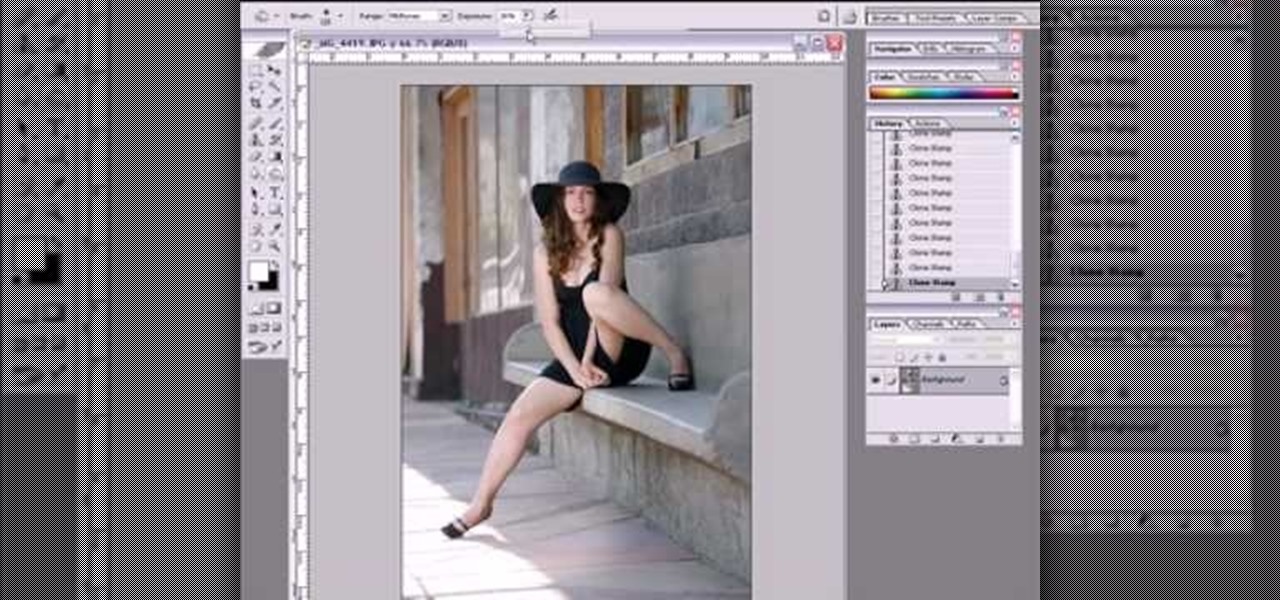
In this clip, you'll learn how to clean up the background of a fashion photograph when retouching it within Adobe Photoshop CS5. Whether you're new to Adobe's popular raster graphics editor or a seasoned designer looking to better acquaint yourself with the new features and functions of the latest iteration of the application, you're sure to benefit from this free software tutorial. For more information, watch this video guide.
In this clip, you'll learn how to artificially age a digital photograph within Adobe Photoshop CS5. Whether you're new to Adobe's popular raster graphics editor or just looking to pick up a few new tips and tricks, you're sure to enjoy this free video software tutorial. Take a look.
One of the new features of Adobe Photoshop CS5 is the content-aware fill feature. For instance, if your photograph was taken at an angle, but you want to level it out without losing any of the image, this tutorial will demonstrate how you can achieve this effect.
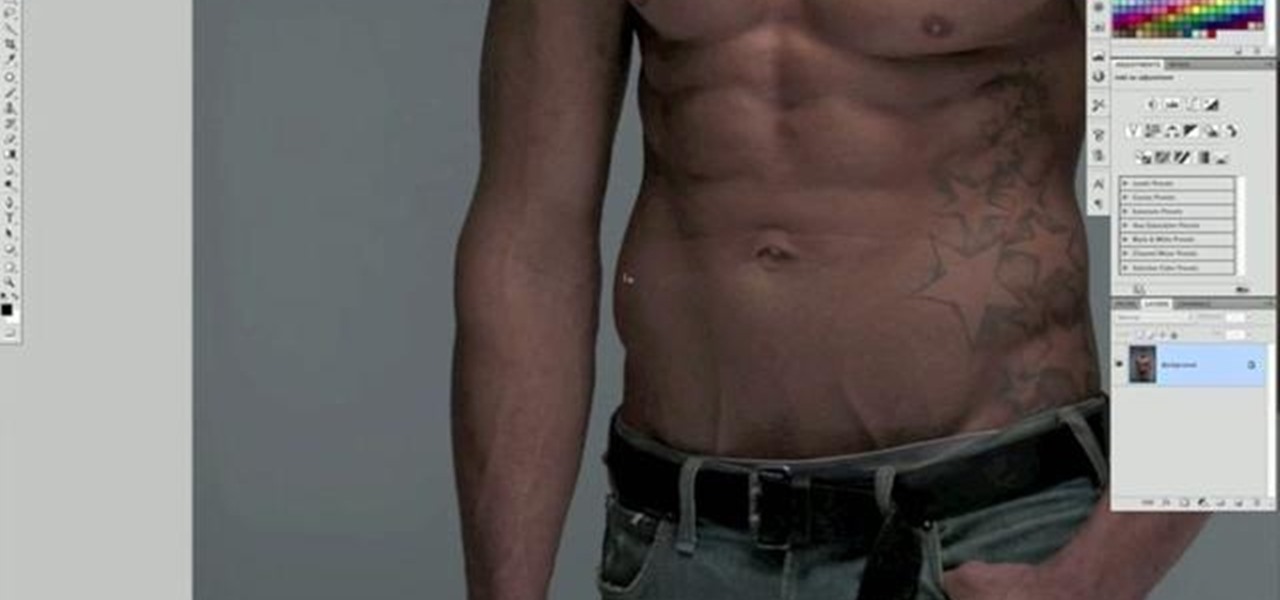
This clip demonstrates how how Photoshop's Desaturate and High Pass Filter tools can be used together to give a photograph a moody, edgy feel. Whether you're new to Adobe's popular graphics editor or a seasoned design professional looking to get better acquainted with the industry-standard app, you're sure to benefit from this free software tutorial. For more information, watch this designer's guide.
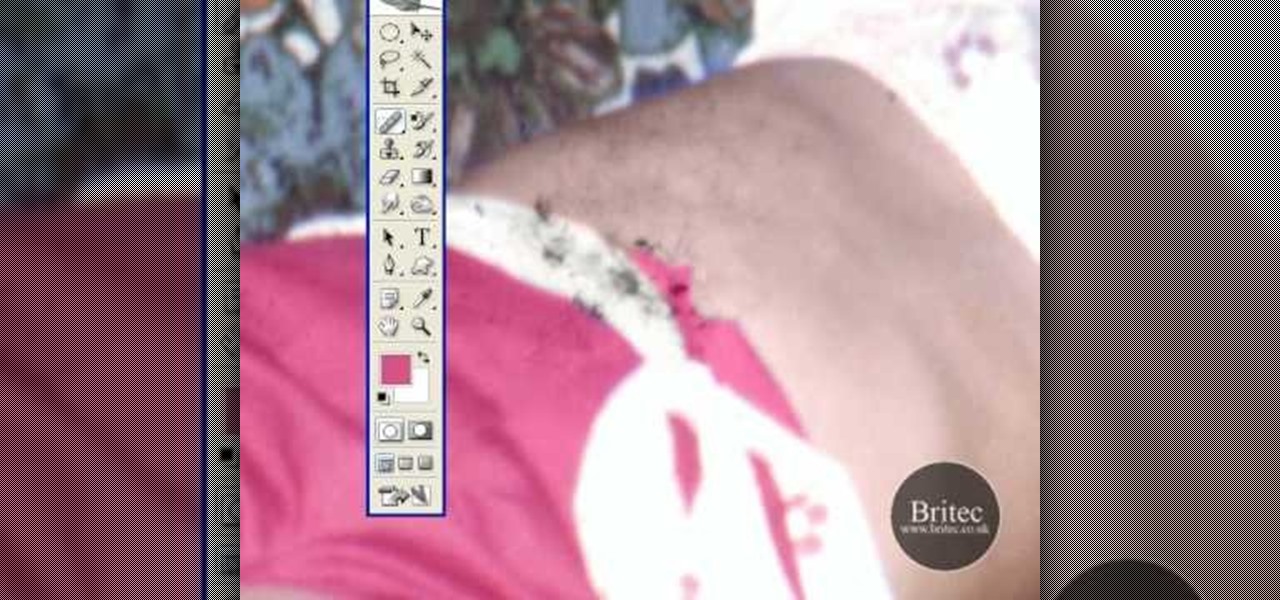
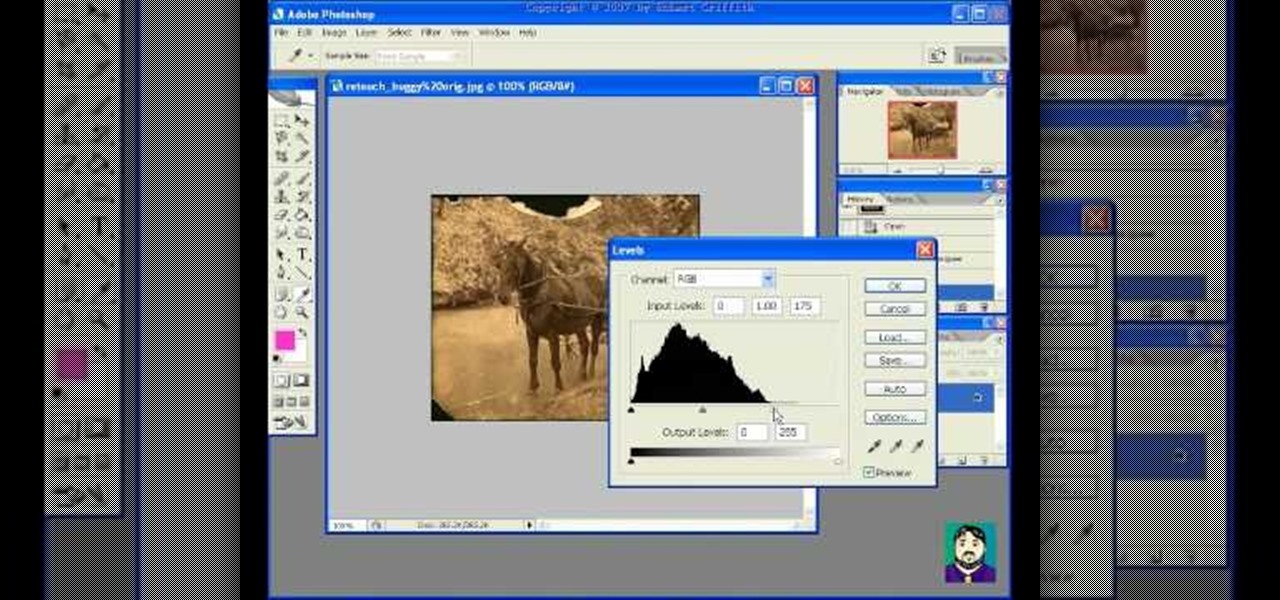
Want to touch up an old printed photograph? Whether you're new to Adobe's popular image editing software or simply looking to pick up a few new tips and tricks, you're sure to benefit from this free video tutorial from the folks at Britec Computer Systems. This video offers a step-by-step guide on how to get rid of unwanted stains, dirt and discoloration using Adobe Photoshop.

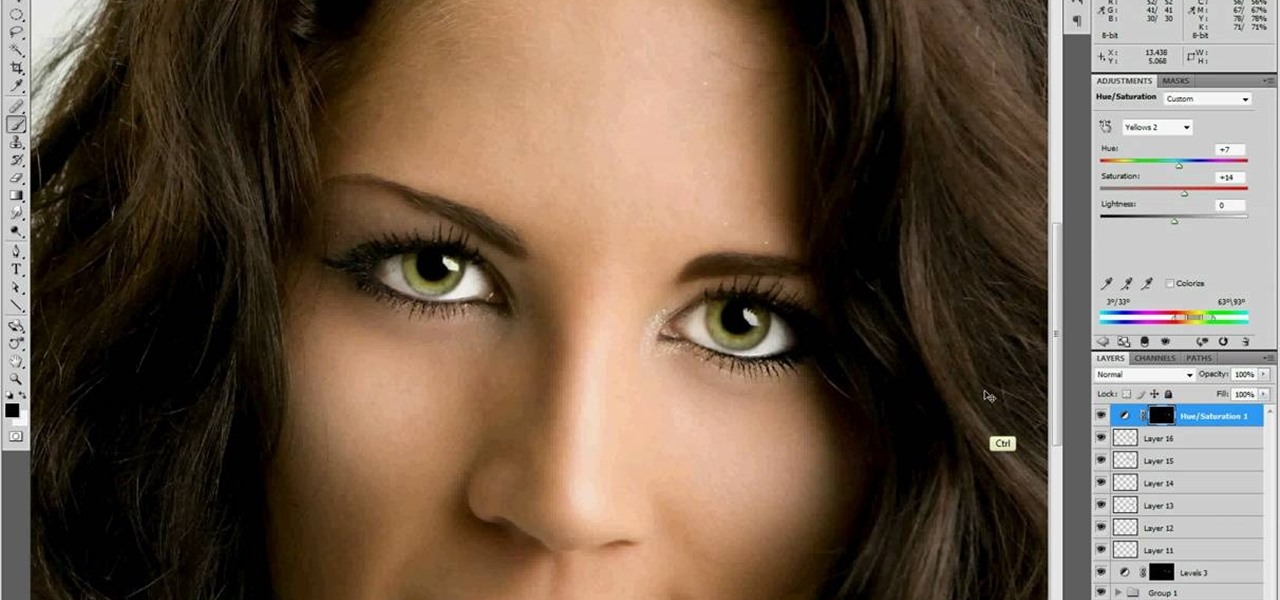
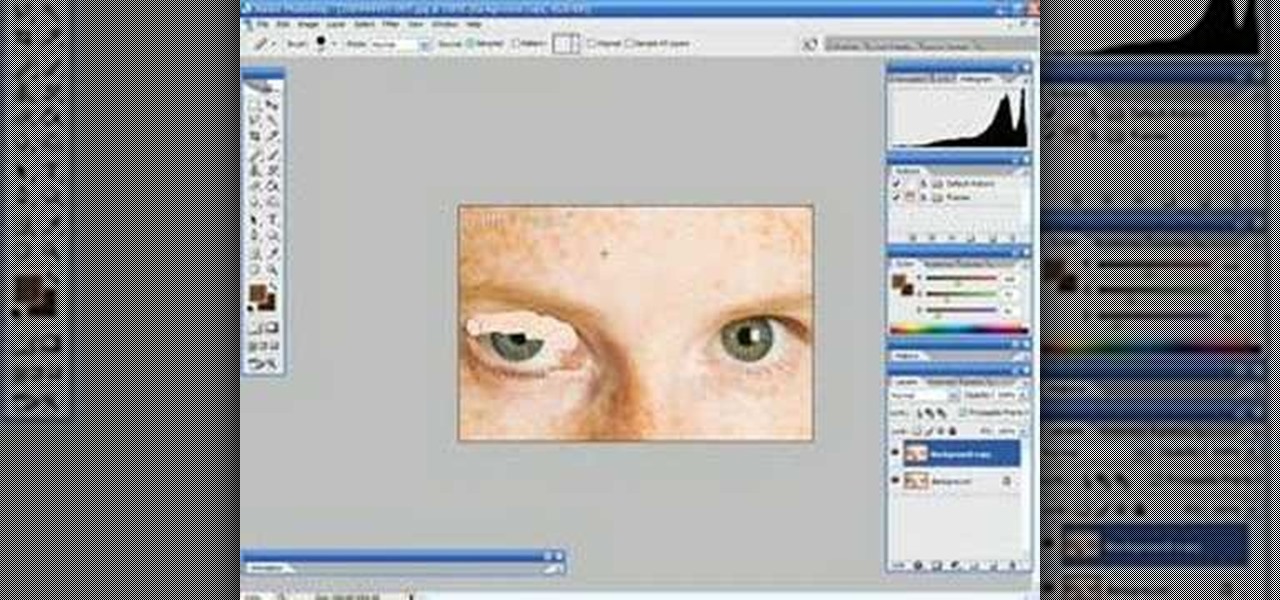
Think the eyes in your photograph could pop a little more? In this Photoshop tutorial from Adam Bonilla, learn one process for enhancing the eyes in Photoshop. Get tips and tricks on how to retouch the eyes for a commercial client.

In this tutorial, learn some basic sketching techniques and draw a baby panda bear. This little guy is adorable and easy to draw, and will look so polished you'd think you took a photograph at the zoo.

The Avatar craze continues to spread like wild fire as everybody wants to know how they can replicate the Na'vi look with their own photos. With this tutorial, learn how to make your own Avatar Movie poster using your photograph in Photoshop.

This is a great video that shows you how to transform a photograph of yourself into a creepy blue person from James Cameron's "Avatar". In a few simple steps, you'll be radioactive.

This video teaches viewers on how to inspect a motorcycle for damage after an accident as well as documenting it. The most important thing you need to do after an accident is to document all parts of the damage by taking photos of the damaged parts. Start by verifying the VIN number or Vehicle Identification Number and take a picture of it, take a photo of it. After that, get a photograph of the mileage on the dash area of the motorcycle. If there is other important information that needs to ...

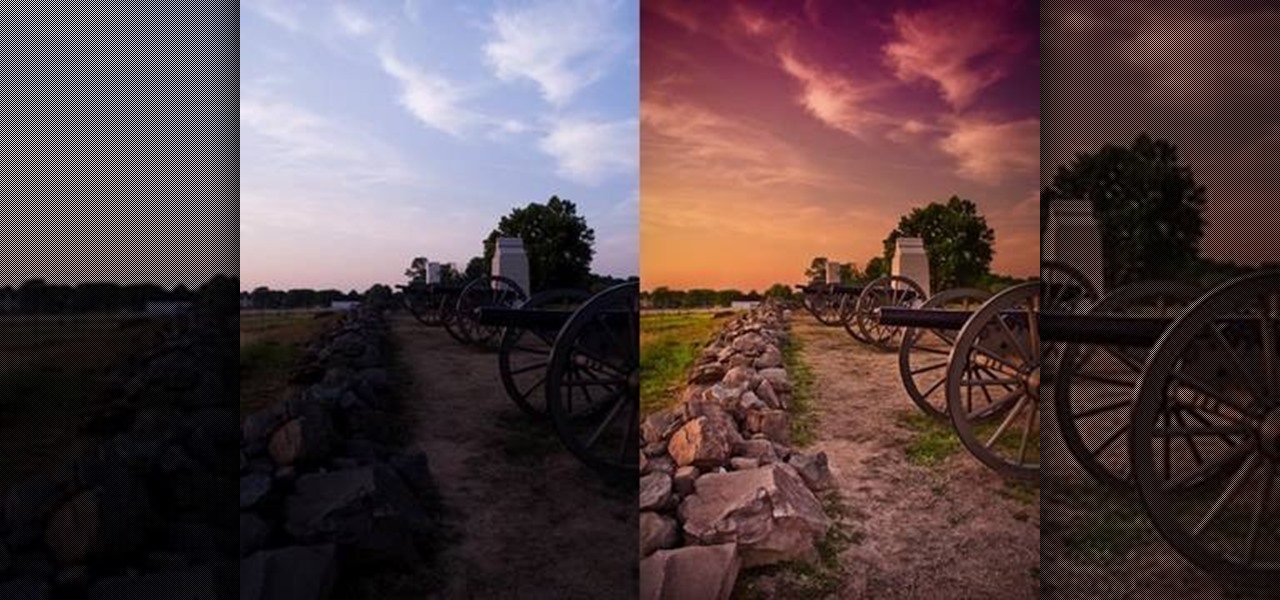
Tutvid shows you how to add flare and dramatic color to your raw camera images (usually the format of a DSLR). In a step-by-step guide with narration, Tutvid takes you through the process of using CameraRaw (used as an extension of Photoshop but never really brings it in photoshop) to add desired colors to your picture. Pull up your raw file in CameraRaw, and press "Command" or "Ctrl + R" to open up the editing panel. With an example, he shows you how to bring out lights in underexposed (dark...

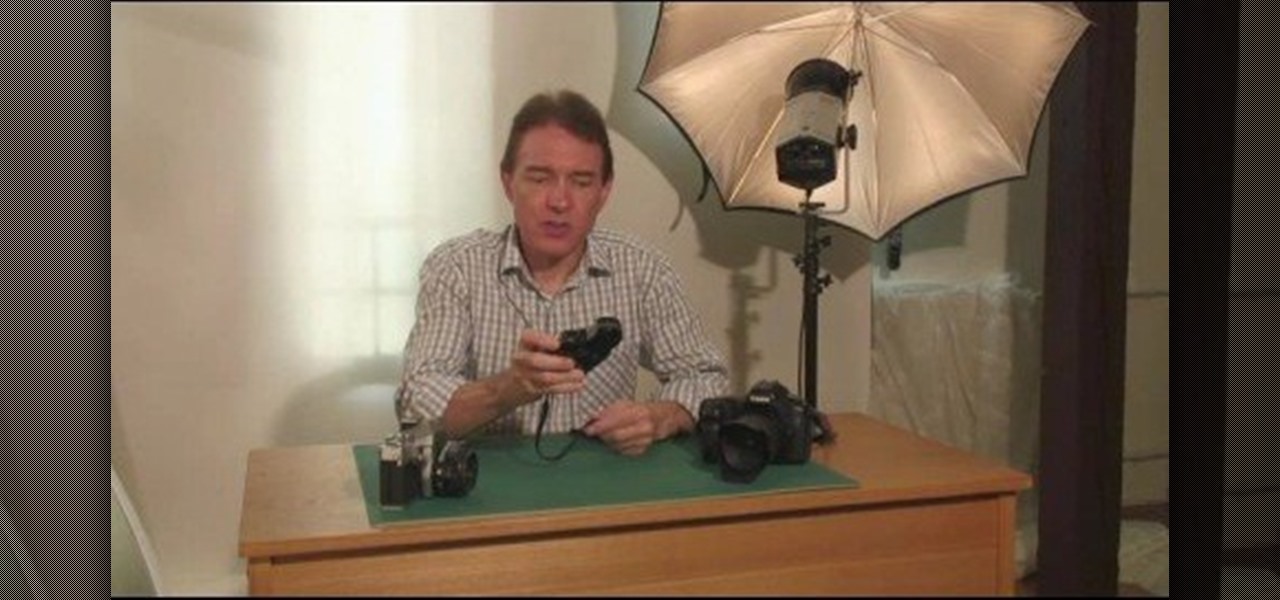
When setting the shutter speed and aperture of a camera, use a light meter to take a reading, then set the aperture or shutter speed, depending on which is more important for the photograph. Set the shutter speed and aperture of a camera with the tips in this free instructional video on photography tips from a professional photographer. For novice photographers, setting the shutter speed and aperture is an important first step in mastering the art of photography.

Watch this instructional drawing video to draw a portrait from a photograph in chalk pastels. First draw the outline and fill in a basic skin tone. Build up color and tone by adding layers of pastel, working from light to dark. don't worry too much about blending until you have put down most of the color. Always pay close attention while drawing the eyes to make sure your portraits are accurate and convincing.

How do you choose colors for a drawing without it looking like a child's drawing? Watch this instructional drawing video to use a digital color palette effectively. Examine a photograph to choose accurate, subtle colors based on limited perspectives.

This tutorial will show you how to draw a chrome rim. Watch this step by step instructional video to draw chromium surfaces with just a few pencils. It helps to draw from a photograph to better understand the way that light hits metal.

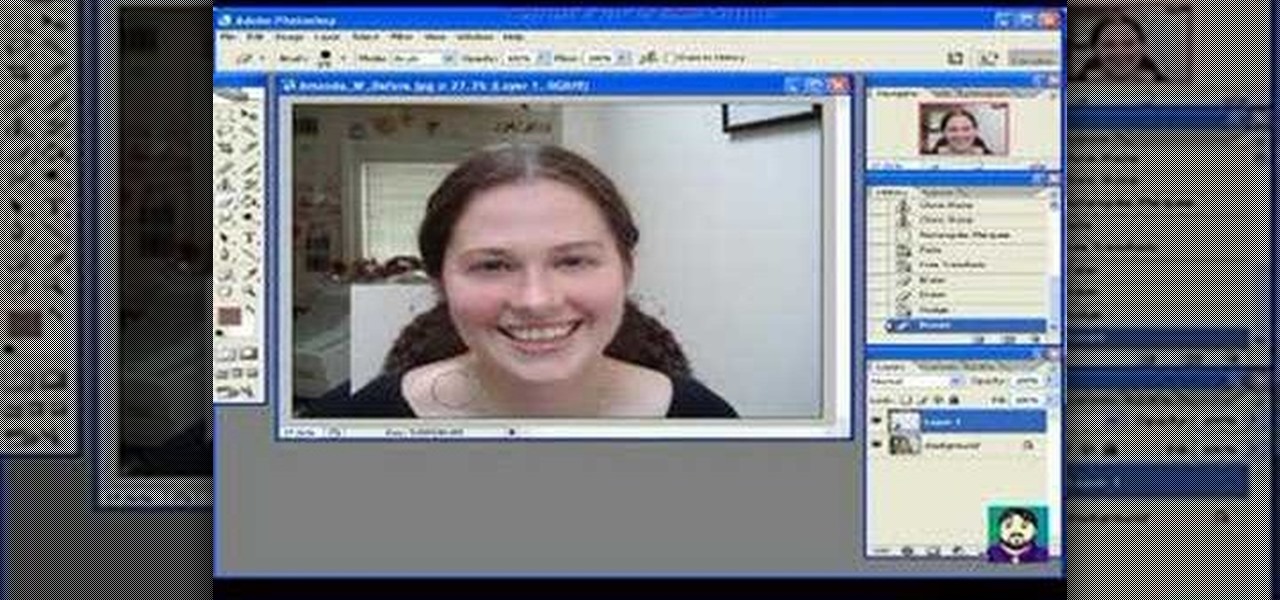
Using Photoshop CS2, we demonstrate how to take facial features from one photograph and drop them into another. Learn how to use layer masks to do some creative face swapping in Photoshop CS2.

This painting tutorial demonstrates how to make a painting of an eye with acrylic paint. Use a photograph as a reference. Begin with light washes of paint, and slowly lay down more paint mixed with liquid medium or drying retardant. Use small amounts of blending color as a final layer.

Tim Carter shows you how to make an arbor from a photograph in a catalog. His tips will enable you to create your own garden arbor plans.

Steal someone else's fingerprints, use identity thief powders, & photograph the prints. Print the 3d prints & adhere to your fingers!

How to take photograph and do some "touch ups" and photo editing tricks to get a good base for "virtual makeup" using Adobe Photoshop.

This tutorial is a start-to-finish walkthrough of restoring and repairing a damaged photograph that has been scanned into Adobe Photoshop.

Nobody wants to look bad in their bridal photos. But what if you have really bad teeth? In this video tutorial you will learn to whiten teeth or fix teeth for a perfect pearly white smile in every photograph.

In this video you will learn to use Photoshop to turn a photograph into a wall painting. Learn to use cutout filter to enhance the effect. Remember to experiment with different blending modes for your own project!

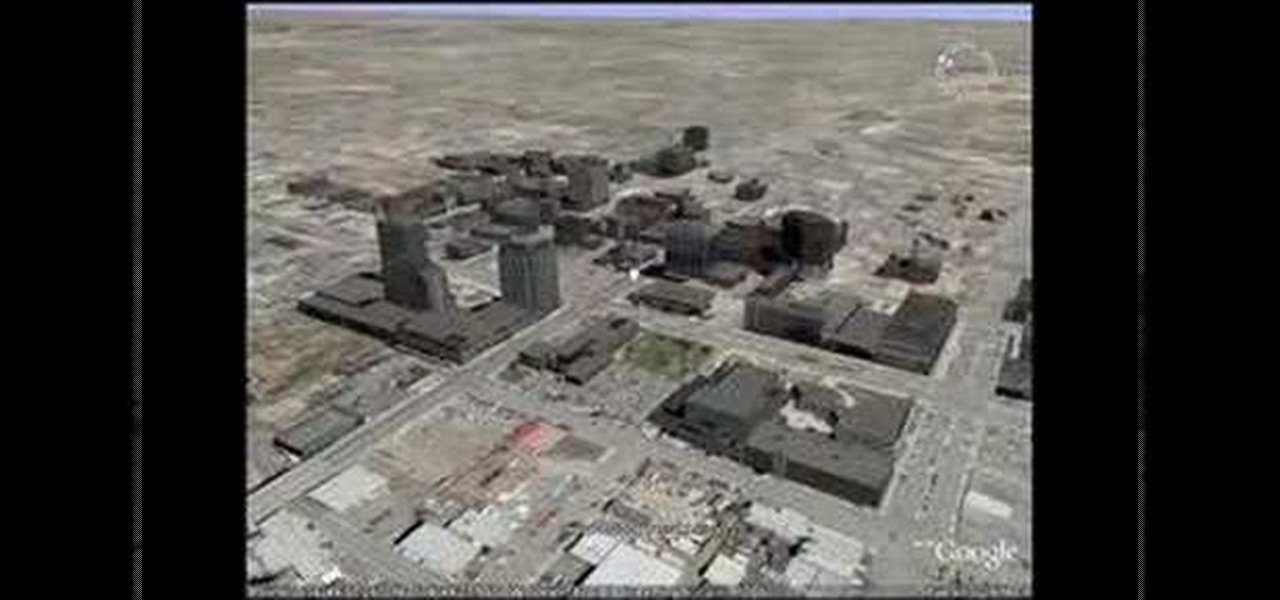
This 3D software modeling tutorial series shows you step by step how to create a suitable model for Google Earth within SketchUp. The series will start by showing you how to export data from Google Earth to use for reference, how to build and optimize the modle, texture it in Photoshop or Picasa and export and load it to Google Earth.

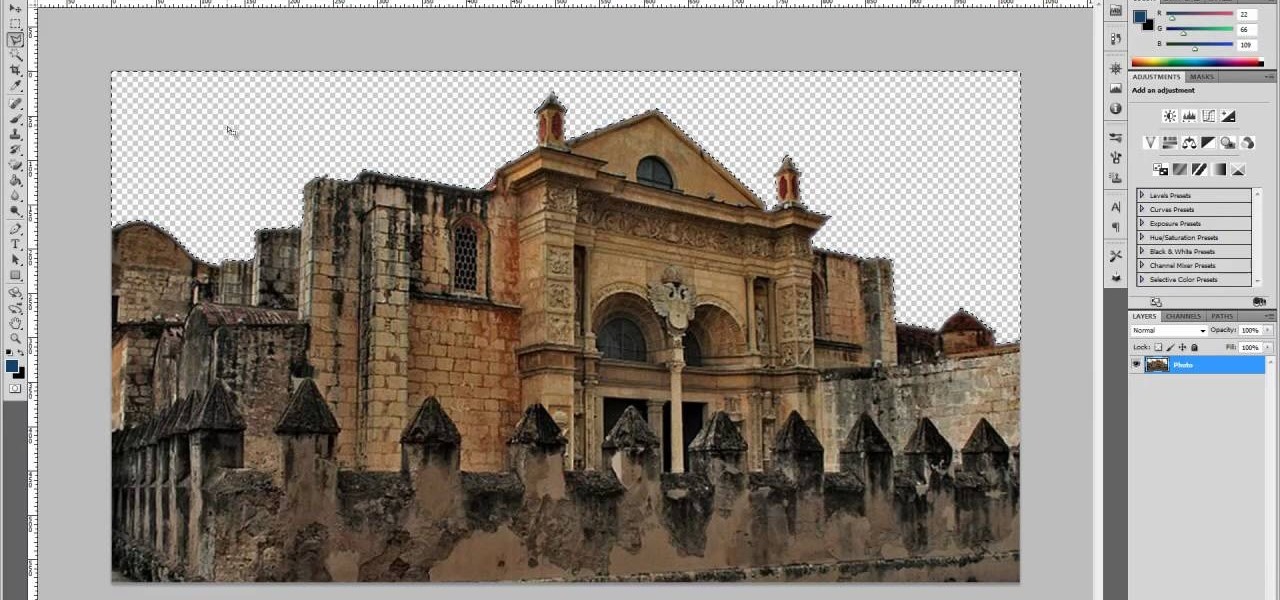
This four-part Adobe After Effects tutorial from Laurence Grayson shows how to take an ordinary photograph of a building (in this case, a cathedral) and turn it into a spooky looking house from hell. The majority of the work done uses the standard toolset in After Effects CS3, CS4, and CS5. Adobe Photoshop is used for the sky replacement section. Create hellish clouds, eery flickering windows, sheet lightning, color correction, 3D motion and depth of field effects for your next Halloween spec...

In this Fine Art video tutorial, you will learn how varying your lens Aperture can affect Depth of Field. Depth of Field is defined as the range of the photograph that appears to be in focus. This can be controlled by using the aperture settings. With a wide aperture like f/1.4, f/2 or f/2.8, only a small range of the image will be in focus. This is used to isolate the subject from the background. But, if you have a smaller aperture opening like f/8, f/11 or f/16, you will get a large depth o...

Dislike the color of the sky in a certain digital photograph? Change it with Photoshop. Whether you're new to Adobe's popular image editing software or simply looking to pick up a few new tips and tricks, you're sure to benefit from this free video tutorial, which presents an overview of how to turn unwelcoming skies a deep, saturated blue. For more information, and to get started adding dark blue skies to your own digital photos, watch this graphic designer's guide.

The only thing that can get in the way of your creativity being used in Photoshop is yourself. The software has so many different tools that can be used to add color to a lifeless photograph or remove unwanted imperfections such as moles and body fat. Another thing it can do is blend images together. And that's exactly what this tutorial is about. Find out how to blend and merge faces together using Photoshop. Enjoy!

This video shows you how to remove a tattoo from a photograph using Photoshop. First, select the tattoo using the pen tool, to get a very accurate line around the tattoo. Make sure the "Paths" button is punched in. Drag the mouse and click several times to make a path around the tattoo. Right click on the path and choose "make selection". Feather the selection with a feather radius of about 8 pixels. Use the clone stamp tool and a large size brush. Hover outside the selection and click to sam...

In this Software video tutorial you will learn how to make a winking animated GIF in Adobe Photoshop. Select a photograph of two eyes and duplicate the layer. Now copy the top eyelashes and paste them on top of the bottom eyelashes. Go to the eye drop tool and select a dark color. Then go to paint brush, choose a brush with size 1 and select darken in the ‘mode’ dropdown menu. Reduce opacity to 50%. Now darken the lower eyelashes as shown in the video. Then go to healing brush tool and se...

Robert with Roberts Productions demonstrates how to give your photos depth of field with Photoshop. You can create this effect by having a clear foreground and a gradually blurry background. First, duplicate the background layer. Then, go to filter and select Gaussian blur. Set it to a believable radius like 12 pixels. Create a mask by clicking on the mask icon. Then, make sure the foreground is set to black while the background is set to white. Next, go to the gradient tool and make sure tha...

The video shows how artists enlarge and copy from photographs. First grid lines are drawn on the reference photo. Then grid lines are drawn on the paper with enlarged or reduced grids. Now draw the lines from the reference photo to the drawing paper one square at a time. Now complete the outlines from the reference photo. Erase all the grids and you have only the outlines. Add details and area of tone. Darken the dark areas and you have a replica of the reference photograph. The same techniqu...

Don from Lighting-Essentials.com explains the steps of cross processing in Photoshop. Using this he shows you that you can take great photographs of models without a lot of equipment. He starts by touching up his photograph before-hand; then he goes on to using an action called Cross Process. Cross Process is an action available from a link on his website. Acidify is the exact action he uses to make a unique effect on photographs.

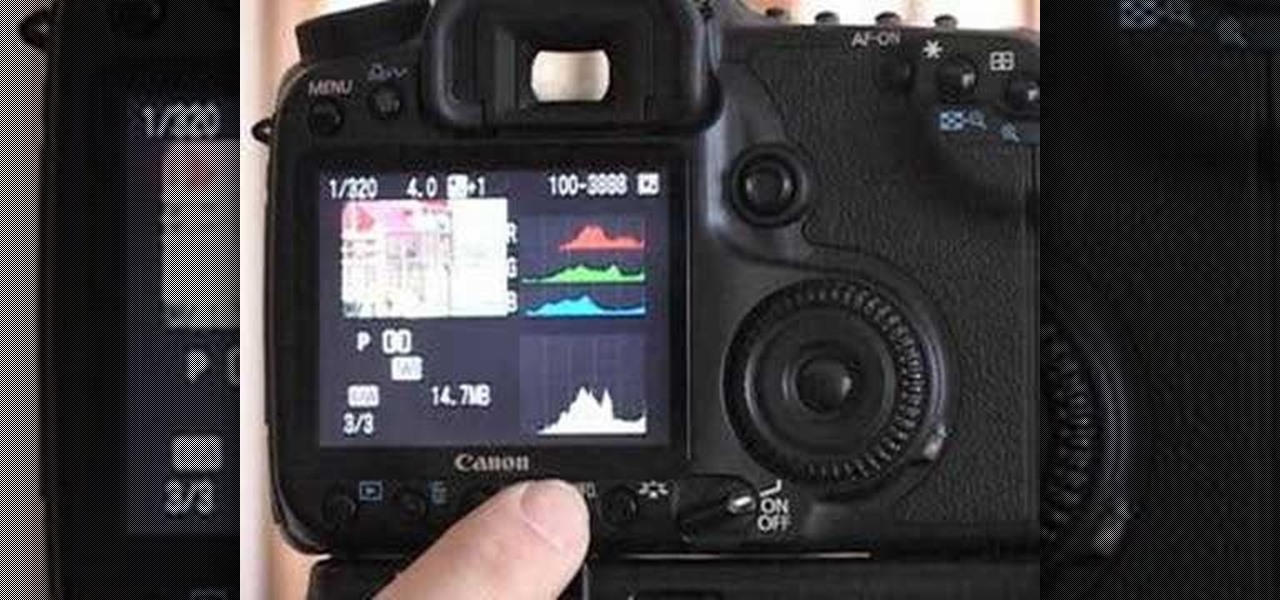
A video from Graham River Productions, presented by Shannon Smith, explains how to interpret Histograms on modern Digital Cameras. Just because a captured image looks nice on the camera screen does not mean that it is really good. One of the better checks for quality of a photograph is the histogram display that is available on many modern cameras. Histograms accurately tell whether the full potential of the the camera's optical sensor has been utilized or not; and are the tools of choice for...

CreativeIceDesigns shows all the steps it takes to give any photograph a nice, vintage look using Adobe Photoshop. The image must first be unlocked. You then select the grunge paper brush. Normally you should keep the aspect ratio of your image the same, but in this case, you should resize it to the same height as your paper surface. After changing the blend mode to multiply and adjusting the brightness, you then change the opacity and you'll have the "wrinkled paper" effect you're looking fo...

In this video tutorial the author Chris Orwig shows how to perform image enhancements using Adobe Photoshop. Chris Orwig is a photographer and a Adobe Photoshop power user who explains how to use Photoshop to bring the best in photographs. He takes a real photo and shows how to add little color to a photograph and make it more lively and attractive. He also shows how to apply some vintage effects. He shows some images and points out to the wide angle distortion present in the images and how t...

In this Adobe Photoshop tutorial the instructor shows how to make a torn image effect. He shows you a sample image of what it is going to look like after producing that effect. It basically looks like as if the photograph was torn to pieces and then put back together with the cracks visible. To do this first open the image in Photoshop. Now make a rough outline of the tear with the polygonal lasso. After generating the tear go to filter and in the distort sub menu choose the ripple. Now it ap...

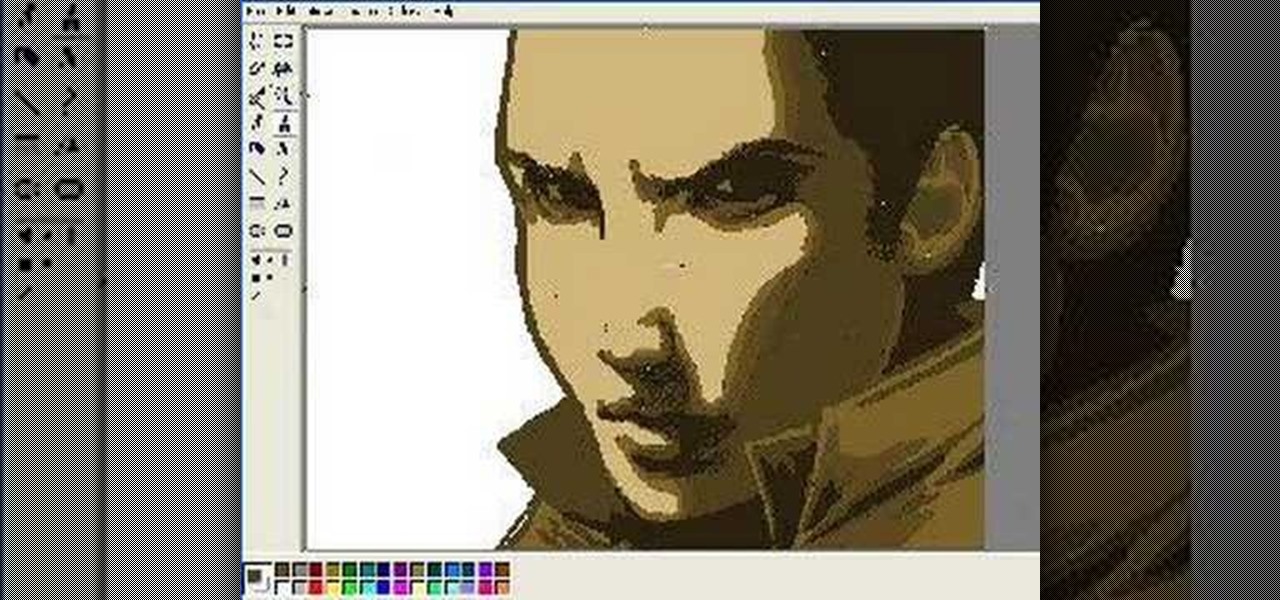
How to draw a face in MS Paint. The video is obviously made by a professional, it shows a sped up replay of a man using MS Paint to draw a very well done face. He starts with the basic outlines, then moves into coloration and shading. Notice all of the shading is done in unison and correlates with a particular direction that remains the same with all shading properties. Also take note of the fact, that the colors and lines are blending together, that the detail isn't as sharp as a high resolu...

Learn how to play "Your Universe" by Rico Blanco, an acoustic guitar tutorial. Follow along with this demonstration, tabs and lyrics here:


