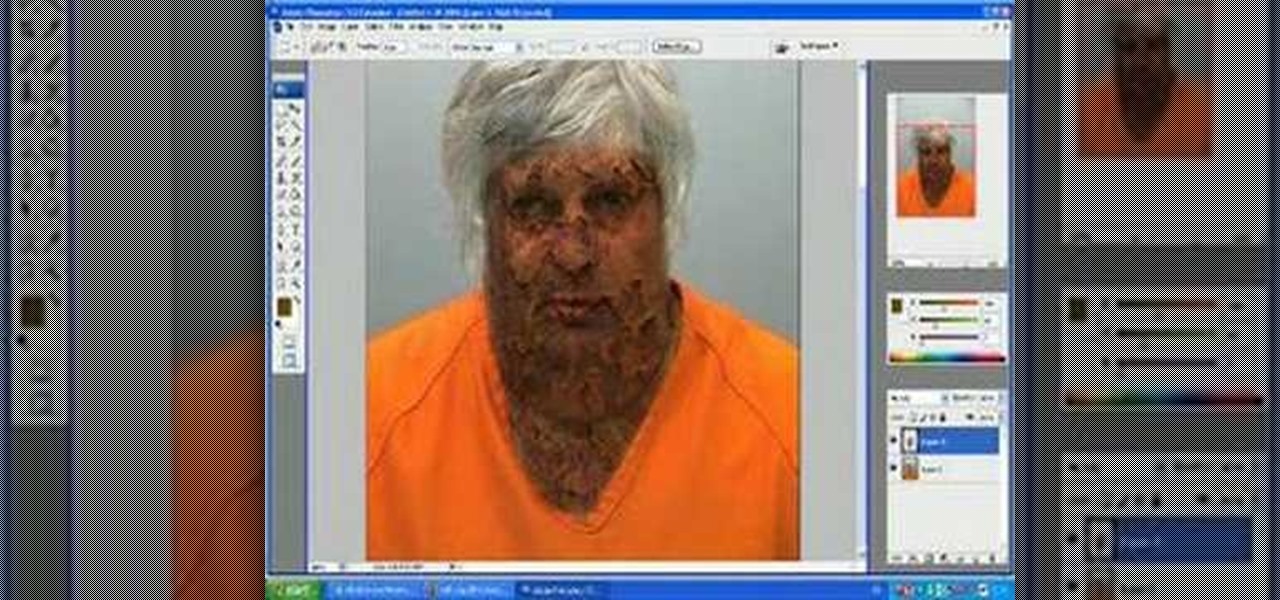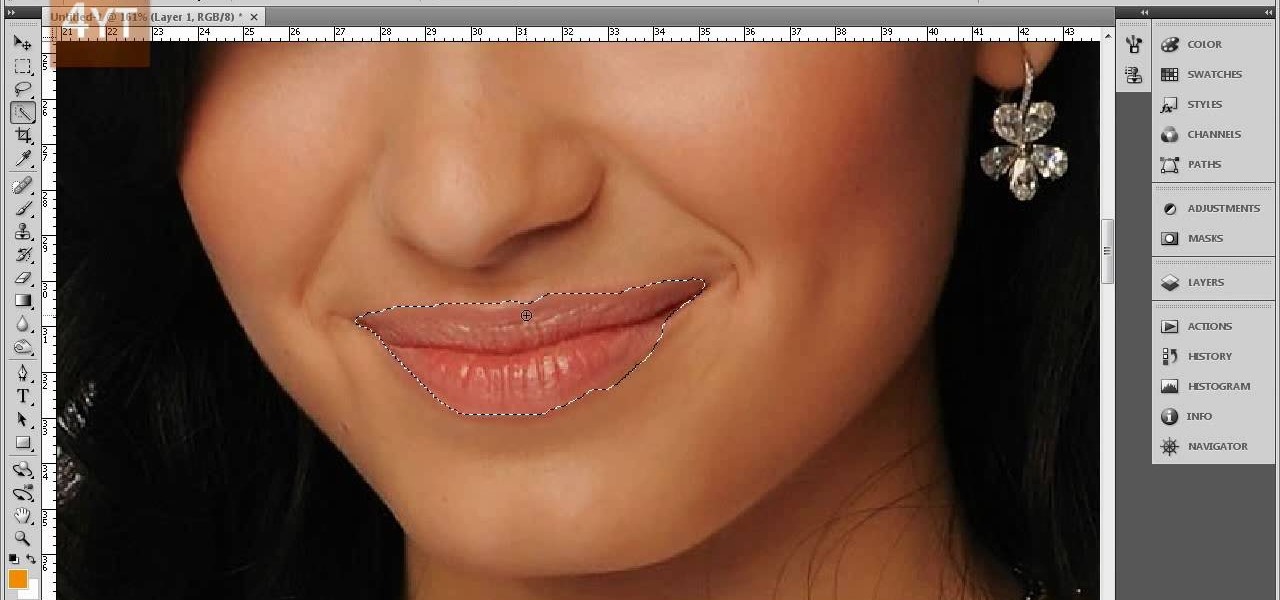
Forget to put on lipstick before a photo? Or perhaps you want to spice up an old photo of someone you love. Well their is a way, as 4YouTutorial demonstrates step by step using Photoshop CS4. First upload a photo or image into Photoshop. Next access your Photoshop layers and delete the default locked layer. After, activate the zoom tool and zoom in on the photo where the lips are located. Next choose the quick selection tool (make sure it's on plus) and drag it over her lips. This process can...
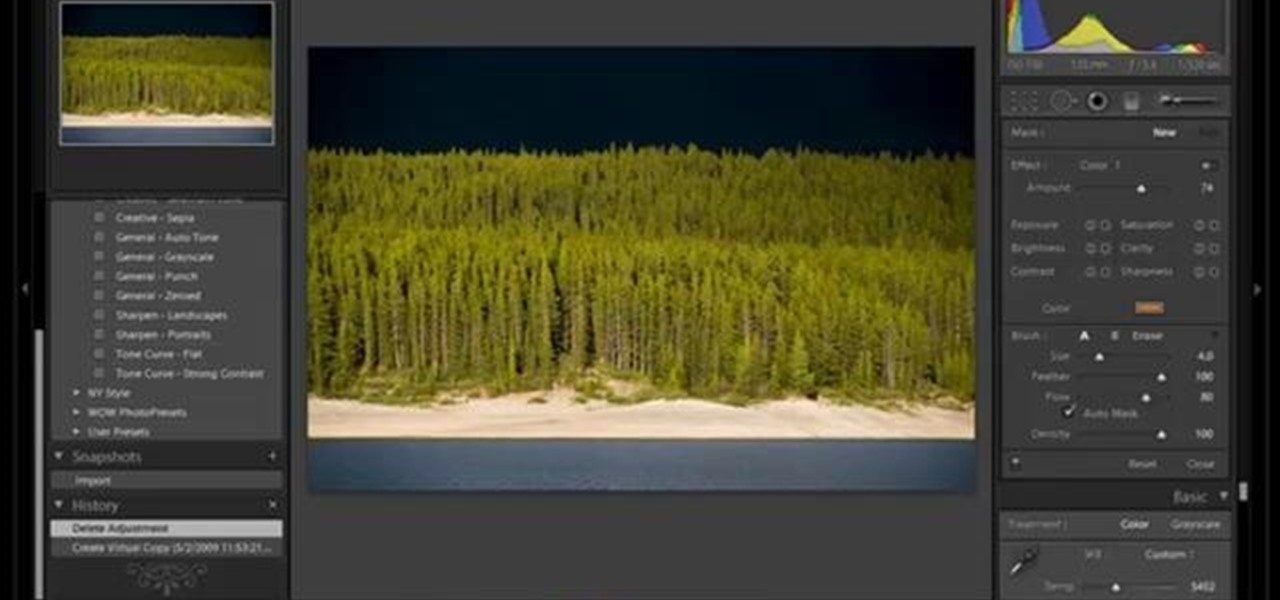
In this video tutorial Yanik Chauvin of Yanik's Photo School shares a discovery he made while using the software Lightroom. This quite simple technique of adding hints of color to black and white photos can make them striking. By adding a color screen on top of your photo, using either the adjustment brush or a gradient filter, you can create a lovely conversation piece for your home that will confound your visitors. "Is this photo black and white or sepia or ... what?" He also shows a trick ...
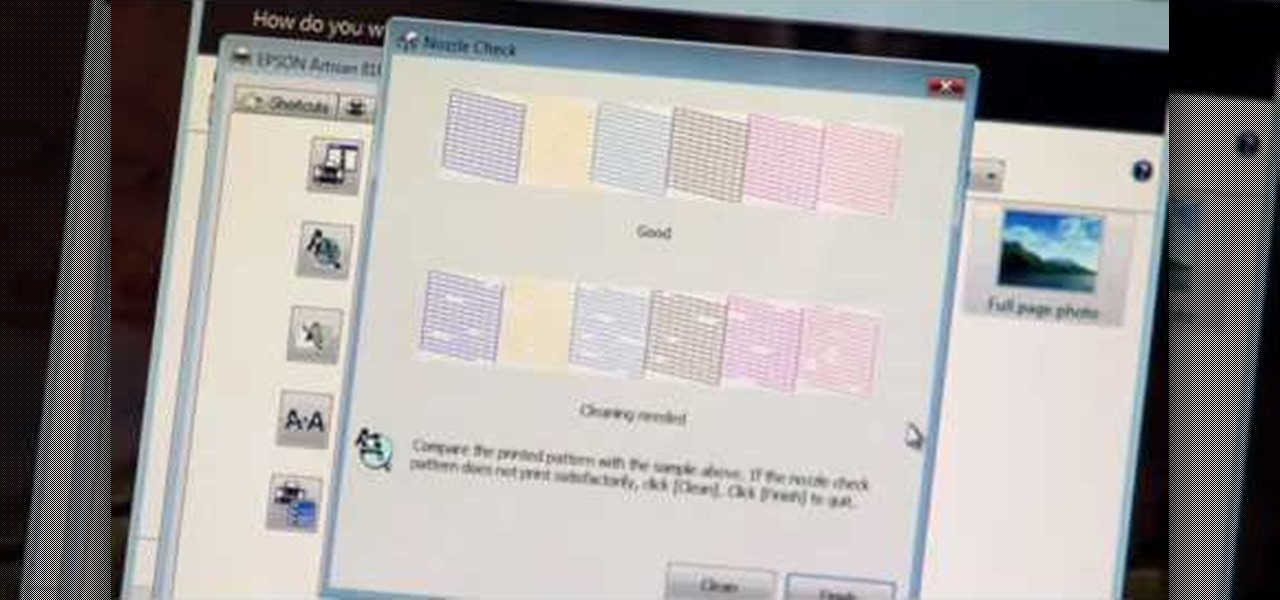
If you're printed pictures and photos aren't coming out the way you expected, then something might be wrong with your printer, specifically, the printhead might be dirty and might need to be cleaned. This is an easy troubleshooting step for Epson printers.
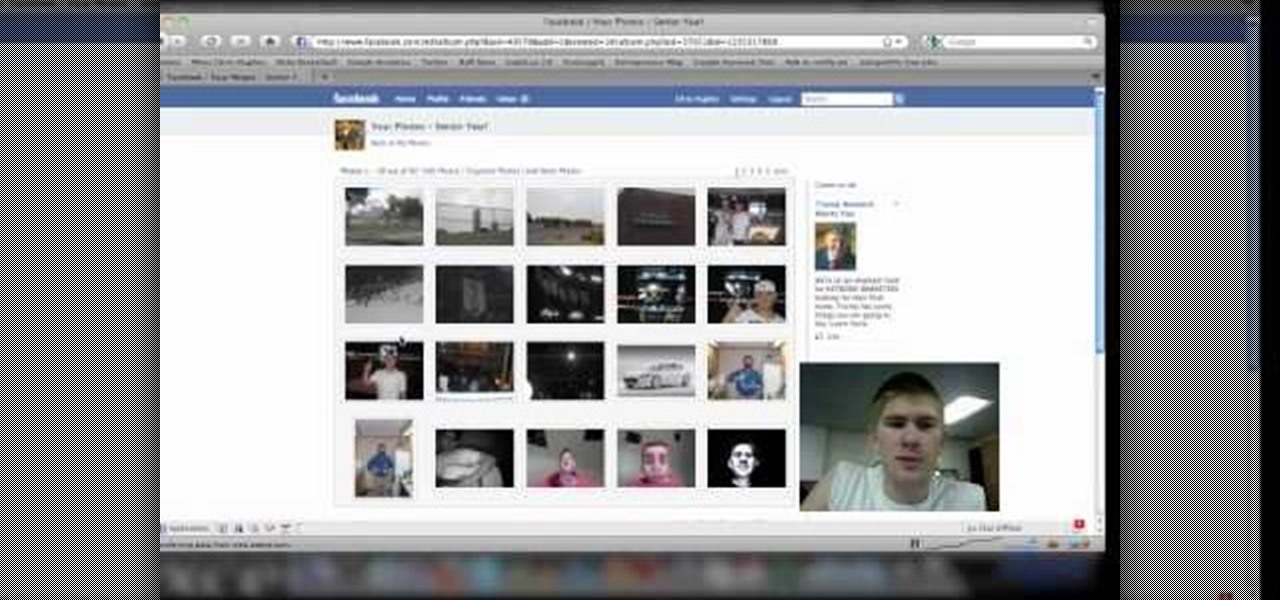
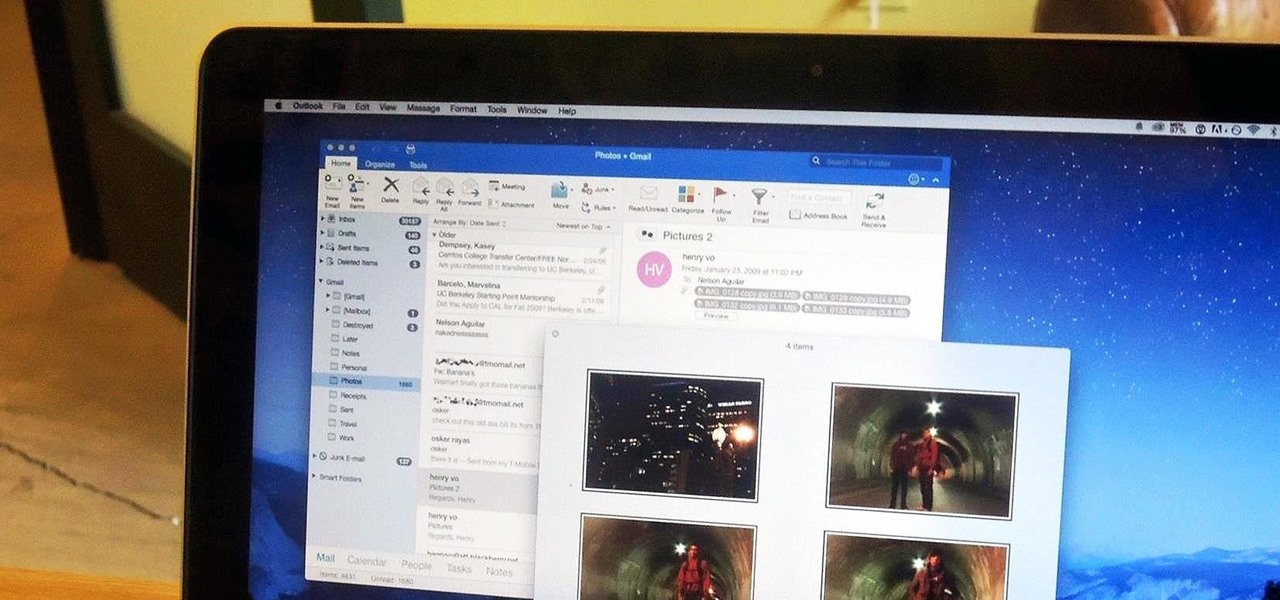
Are you new to the social networking scene? Struggling to figure out how to upload your photos to Facebook? This easy step by step tutorial will show you the exact steps that you need to take to upload your photos to your Facebook page. Before watching the video you will need to upload your pictures to your computer so that you can browse through them and then choose the ones that you want. You can also learn how to "tag" other people in your photos and link the picture to their Facebook acco...

To create a web photo gallery on Photoshop, first go to file show all menu items if you have then automate go to Web photo gallery then to changes the styles click on the style to see them the description on thee right then set up email address after Source images on (use) choose a folder, click all sub folders if you do not have any sub folders in Your folder. Go to options select one that you choose then click OK then in Photoshop it resizes all photos quickly after open up a web browser an...
What if your computer just crashed and you've suddenly lost of your personal photos? Those are memories you can never get back in the digital world, unless...

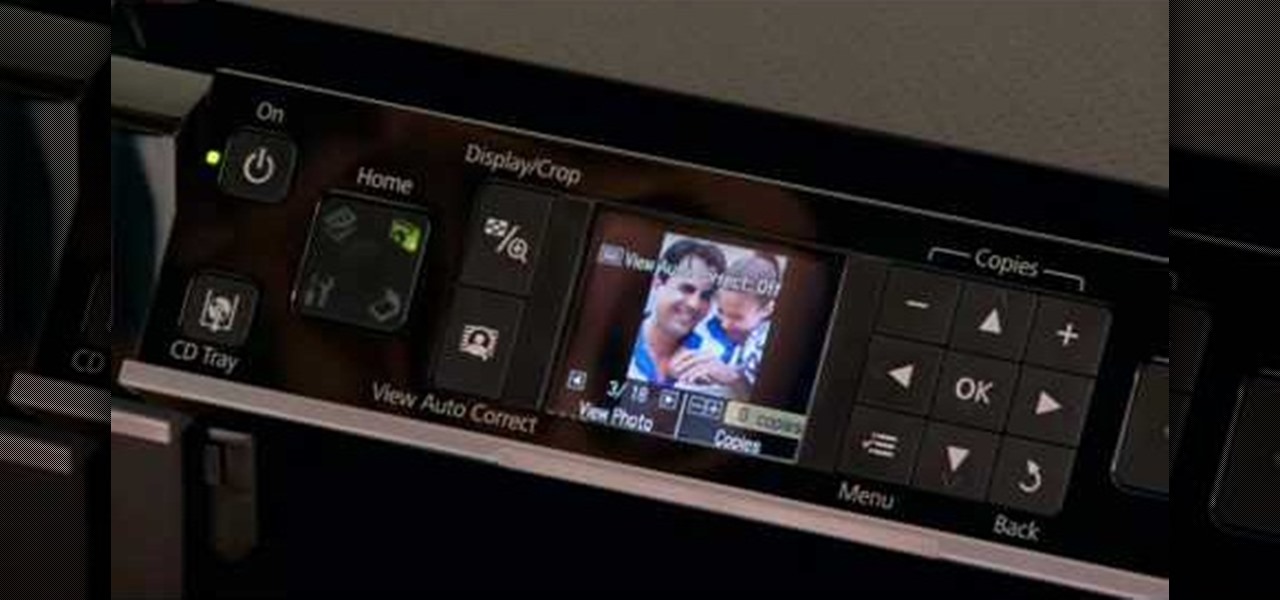
This all-in-one printer's versatility will help you in any aspect of home office printing, whether it's business documents or family photos. Learn how to print photos without even turning on your computer. Printing and organizing photos will now be a breeze!
Having a boring Facebook profile is lame! Impress your friends and flaunt your social networking skills by sprucing up your Facebook profile.
Backing up your digital photos with Apple iPhoto while running Mac OS X can give you peace of mind of knowing that you will not accidentally lose your precious photos. In this video tutorial, you'll learn how. For more, or to get started backing up your own photos in Apple iPhoto, watch this how-to.
Deleting photos may not be glamorous, but we bet you don't know the tricks. Watch this photography tutorial video to learn how to quickly delete old photos you don't want anymore from your Canon A550. Deleting photos will be easy once you've watched this instructional video.
This two part tutorial shows you how to retouch a sailing photo in Photoshop. Part 1 of 2 - How to Retouch a sailboat photo in Photoshop.
This is a practical introduction to the photo equipment used in professional photography studios. Part 1 of 2 - How to Equip your photo studio.
Photo Smasher is a quick and easy way to animate photos and this tutorial will show you how. NOTE: This software is no longer available for download.
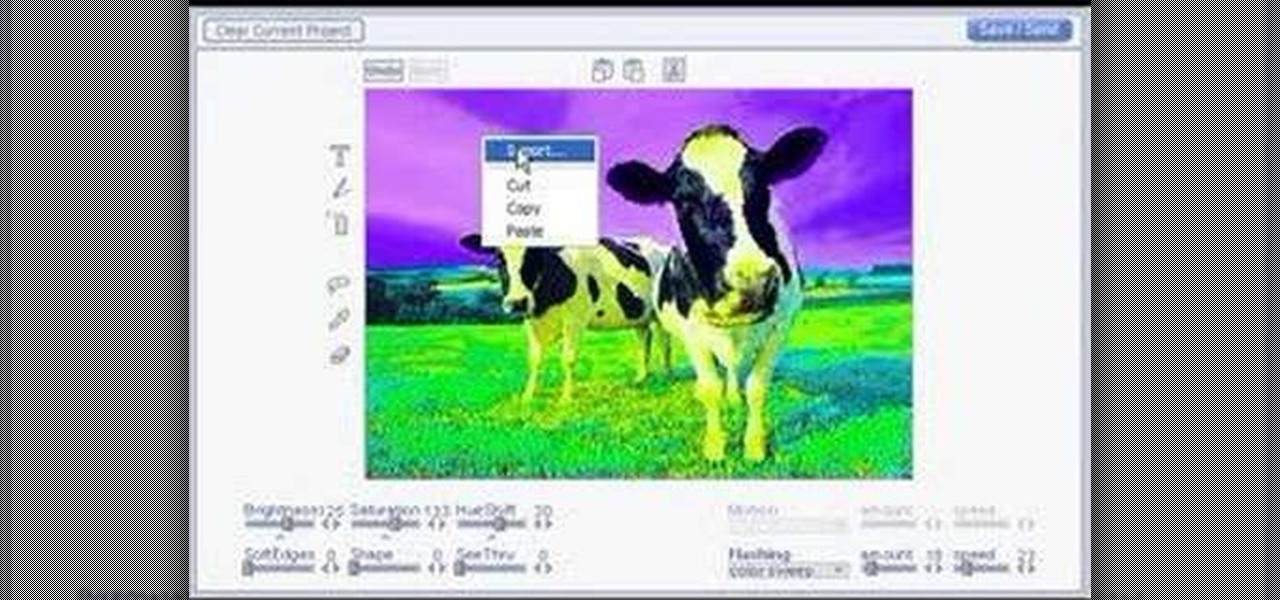
This is a quick tutorial on producing gritty, disgusting photos, which have a Halloween feel to them. Learn how to make someone look scary like a monster in Photoshop. The second video shows another method making use of the liquefy tool, the rust method again, as well as lighting effects. This tutorial is not intended for newbies who do not understand Photoshop's interface.
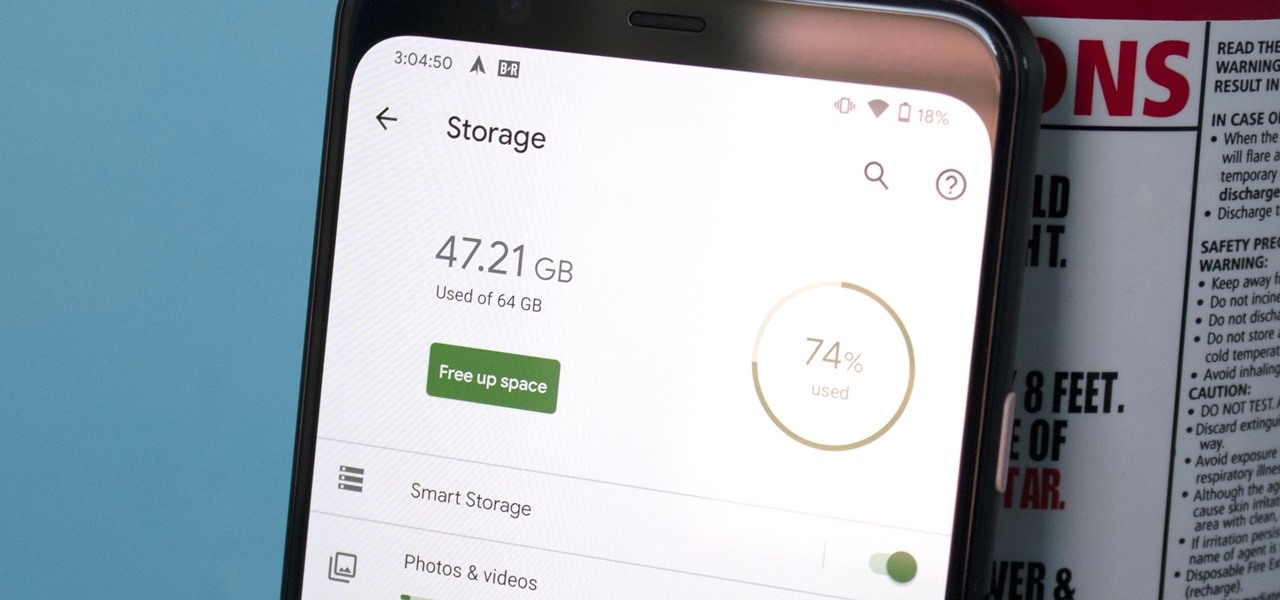
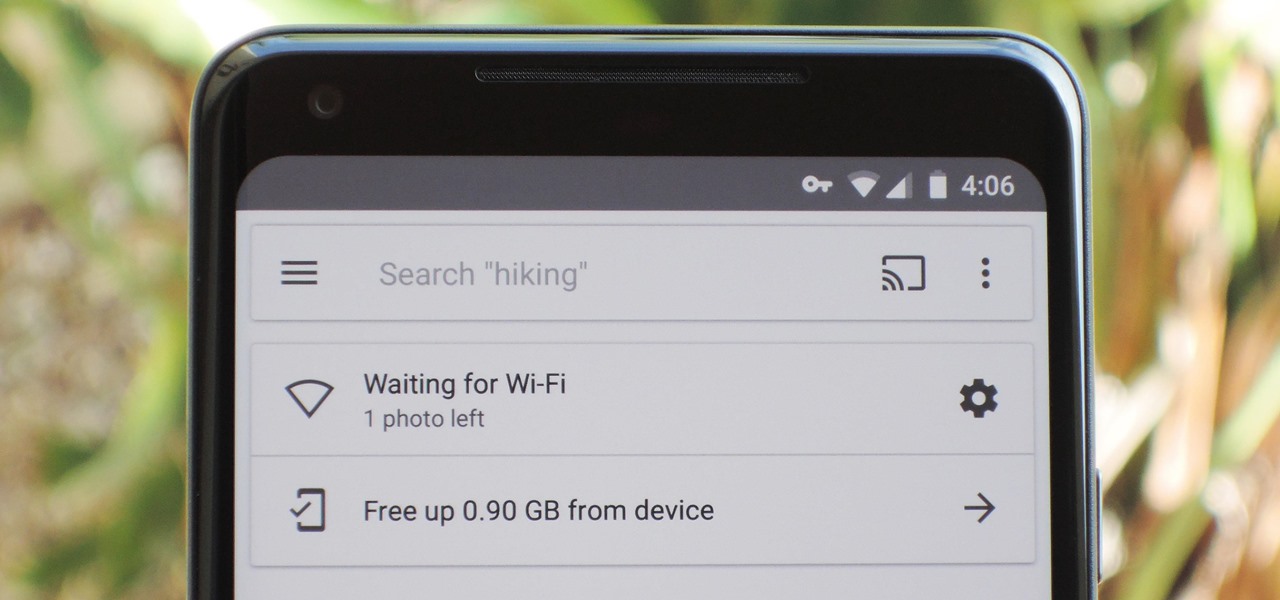
Even with Pixels now coming with 128 GB of internal storage, many folks still struggle with low storage. The culprit is usually photos and videos, which can quickly eat away the space. Thankfully, there's a feature that solves this problem.
If you don't want to be found on Twitter, there are several ways to do that without making your account private. For instance, you can choose an obscure username, omit your real name, or pick a random avatar. But there are lesser-known features deep in your settings that can also protect your privacy online, including preventing photo tags.
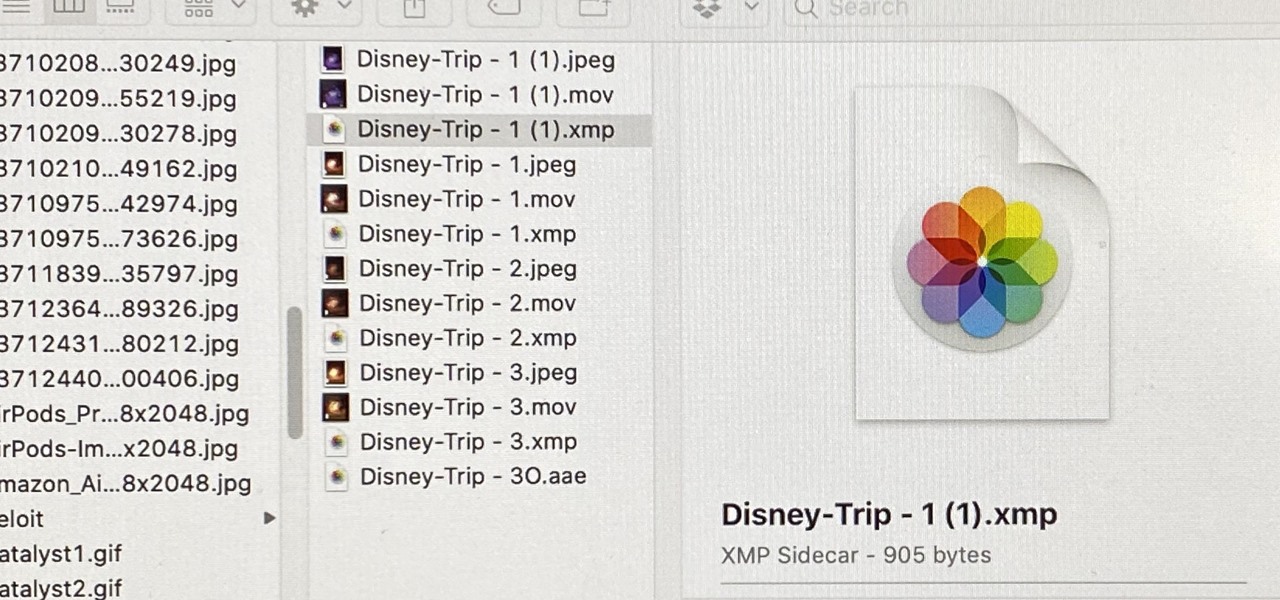
When you export an image from the Photos app in macOS, you may not be getting the whole deal. In the export menu, you need to select either JPEG, TIFF, or PNG, and if you don't make any adjustments to the quality settings, it'll likely be compressed. If you need the original full-resolution file or want to get the video that's attached to a Live Photo, there's a simple way to do it.
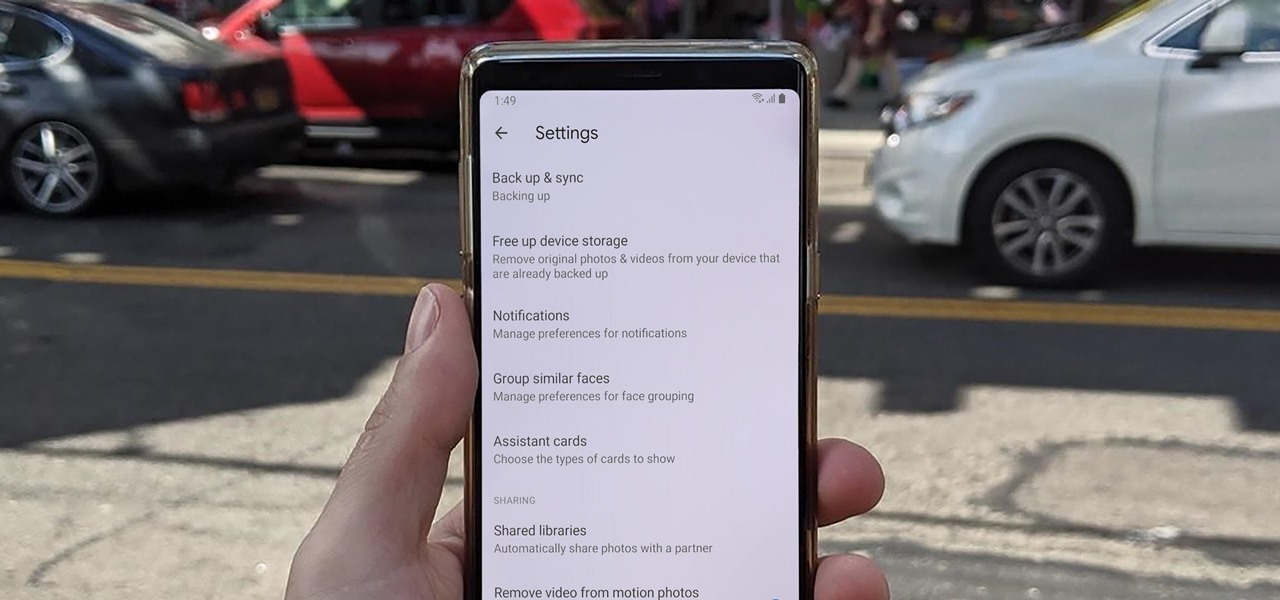
Smartphones have so much sensitive information attached to them. If you share your home with others, then you know the pains of trying to keep anything private. Photos are surely among the things you'd prefer to keep to yourself, so OnePlus has you covered.
Sharing pictures from Google Photos by sending a link saves time because you don't have to download the image from Google, then reupload it somewhere else. But anyone who has your link can access your pictures, and baked into every file is metadata that you may not want prying eyes to know about.
The photos and videos you take with your iPhone contain bits of information, known as metadata, including the location where they were taken. This metadata makes it easier for Photos to organize your media, but put these photos and videos in the wrong hands and anyone can find out where you live or work. Luckily, iOS 13 makes it easy to wipe the geotag from images and videos before sharing.
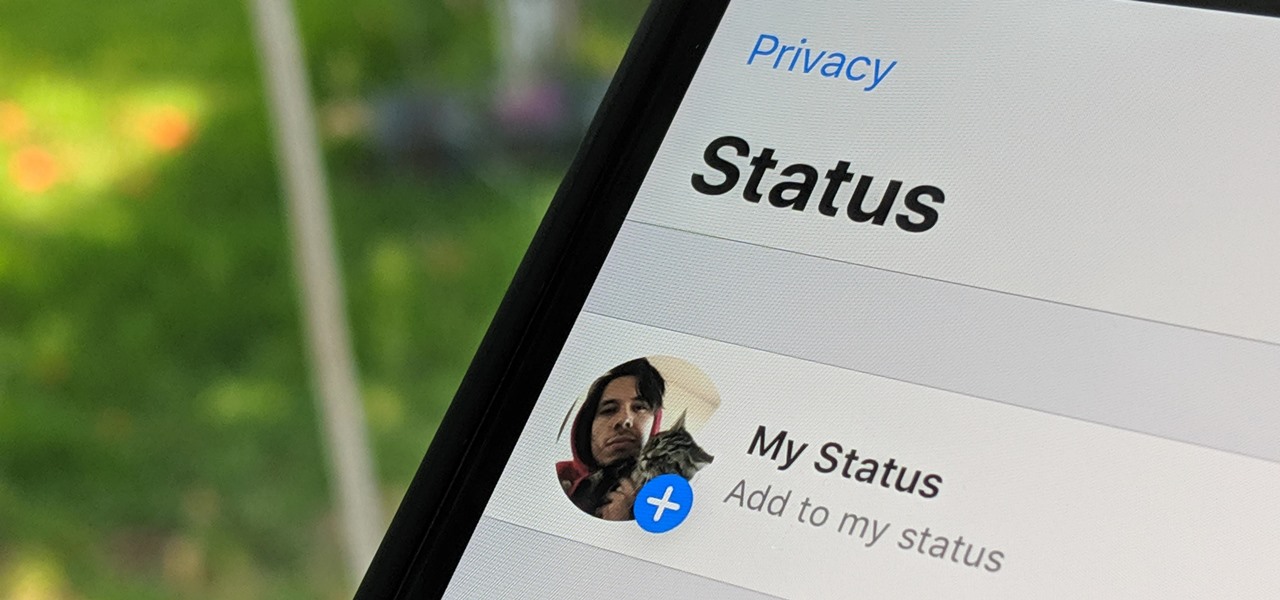
WhatsApp, the popular messaging app owned by Facebook, has several important privacy and security-related features, including end-to-end encryption, screen lock, read receipts, and two-step verification. If you're an avid WhatsApp user, you'll be happy to know there are more privacy features you might not know, such as hiding your profile photo from other users.
Every photo you take is brimming with metadata such as iPhone model, date and time, shooting modes, focal length, shutter speed, flash use, and geolocation information. Share these pictures with friends, family, or acquaintances via texts, emails, or another direct share method, and you unwittingly share your location data. Even sharing via apps and social media sites can compromise your privacy.
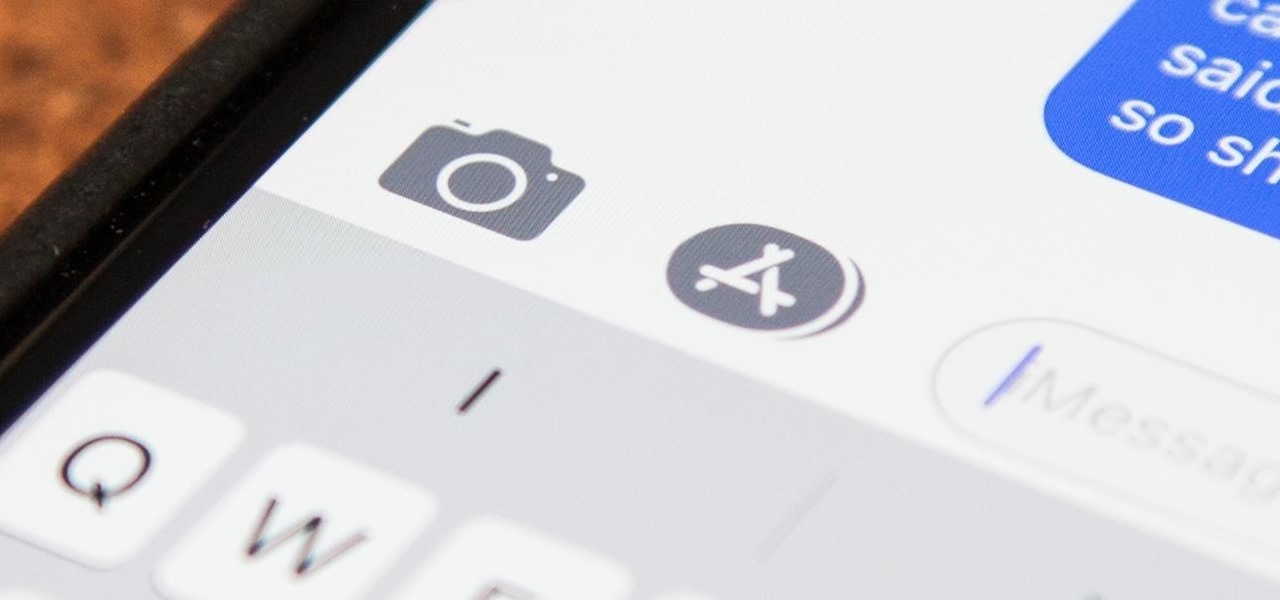
While there are many awesome features in iOS 12, there's one that has got the best of me and my patience. Sending photos and videos in a text or iMessage. Yes, there are a few ways the process remains the same, but if you select pics and vids right from within the Message app, be prepared to be annoyed ... highly annoyed.
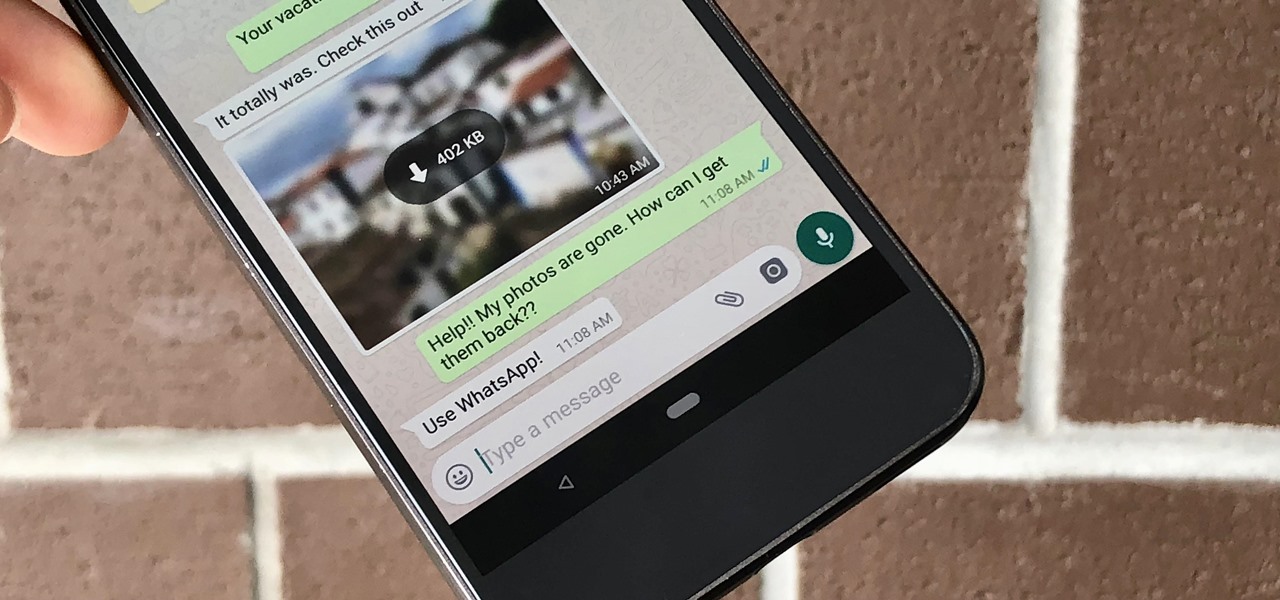
Thanks to cloud storage's increasing accessibility, permanently losing photos is becoming less and less common. Still, if you accidentally delete a picture from your smartphone without first making a backup of some sort, that data is pretty much toast — unless we're talking about photos from WhatsApp.
If you're on a limited data plan, you no doubt set Google Photos to only back up over Wi-Fi on your Android device. In recent months, however, there have been many complaints that Photos won't actually back up your pictures when you get back home and connect to your network. Thankfully, the fix is fairly simple.
Whether you mean to or not, taking burst photos is super easy on the iPhone. In the Camera app, just compose your photo, tap-and-hold the shutter button, and watch the number of pics go up and up until you take your finger off the screen. However, finding that one special keeper out of all of them in the Photos app isn't as intuitive as taking them in the first place.
Apple didn't invent the concept of photos with videos embedded (that credit goes to HTC and their Zoe feature), but they sure did popularize this functionality when they came out with Live Photos. If you're jealous of iPhone users, you certainly don't need to be — there are several great ways to recreate Live Photos on Android.
If you've ever wondered how to import your photos in Snapseed, then you've come to the right place. Snapseed is a wonderful photo-editing app and will provide you with many tools to take your photos to the next level. But you can't get to that next level if you don't know how to get your images into Snapseed in the first place.
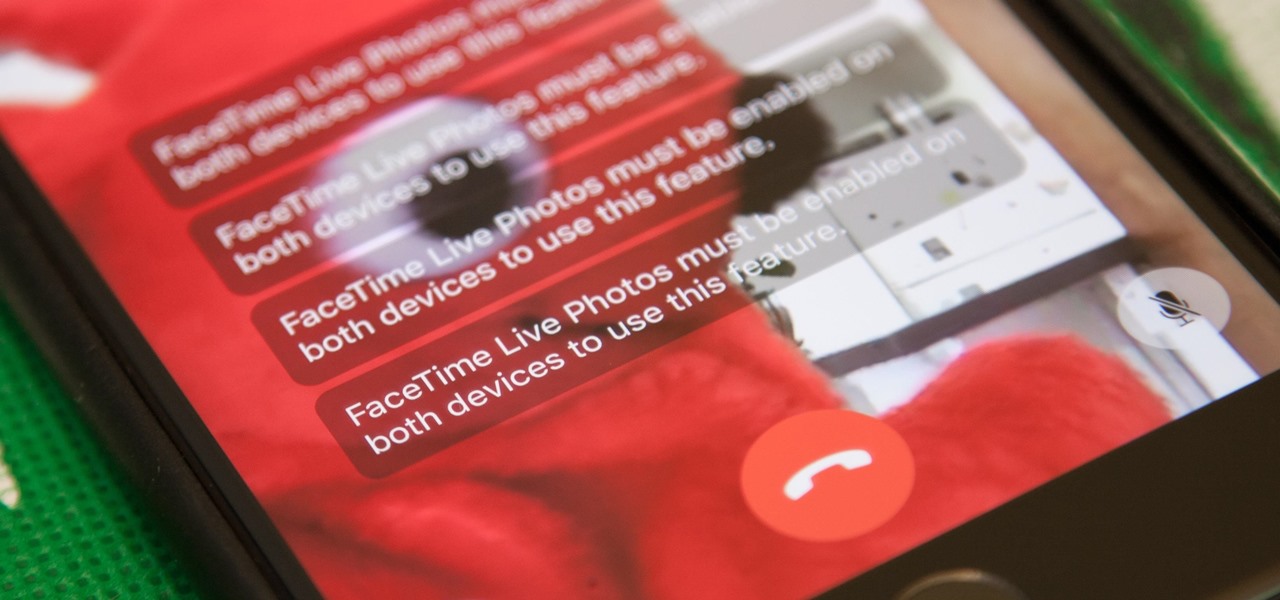
Nothing has stopped you from taking a screenshot of a funny moment in a FaceTime video call before, and nothing probably will. But screenshots are old news. Apple has made it even easier to take capture FaceTime moments on your iPhone, and the results are more lively.
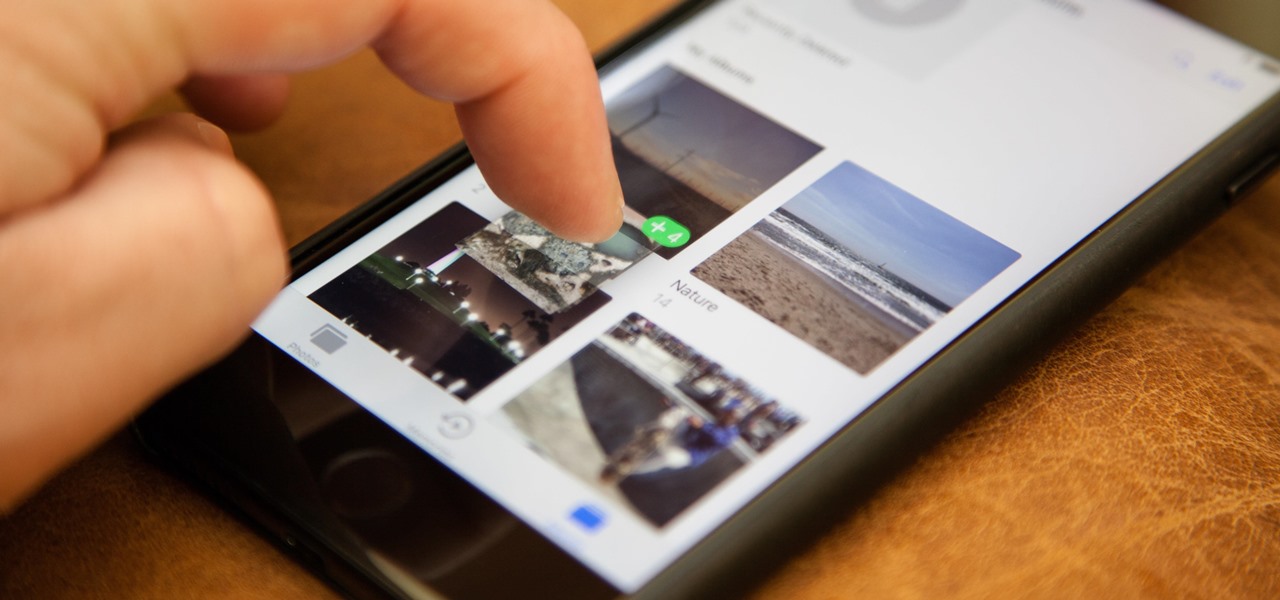
One of the more interesting improvements to the Photos app in iOS 11 includes a way to drag and drop a photo from one album into another album. In fact, you could even drag and drop multiple photos at the same time. And this is not an iPad-only feature — it works just as well on an iPhone.
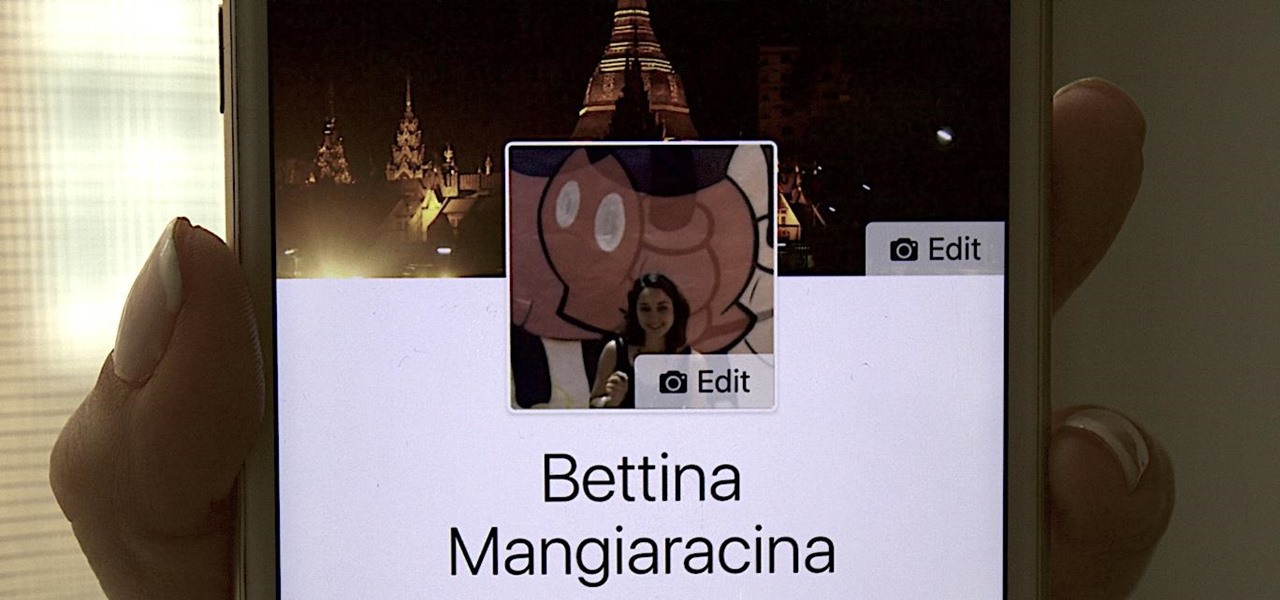
Changing your Facebook profile picture to a video is a great way to stand out from the crowd. A regular video file isn't the only option, though — if you're an iPhone user, you can also upload a Live Photo as your new profile picture to add more pizzazz to your Facebook page.
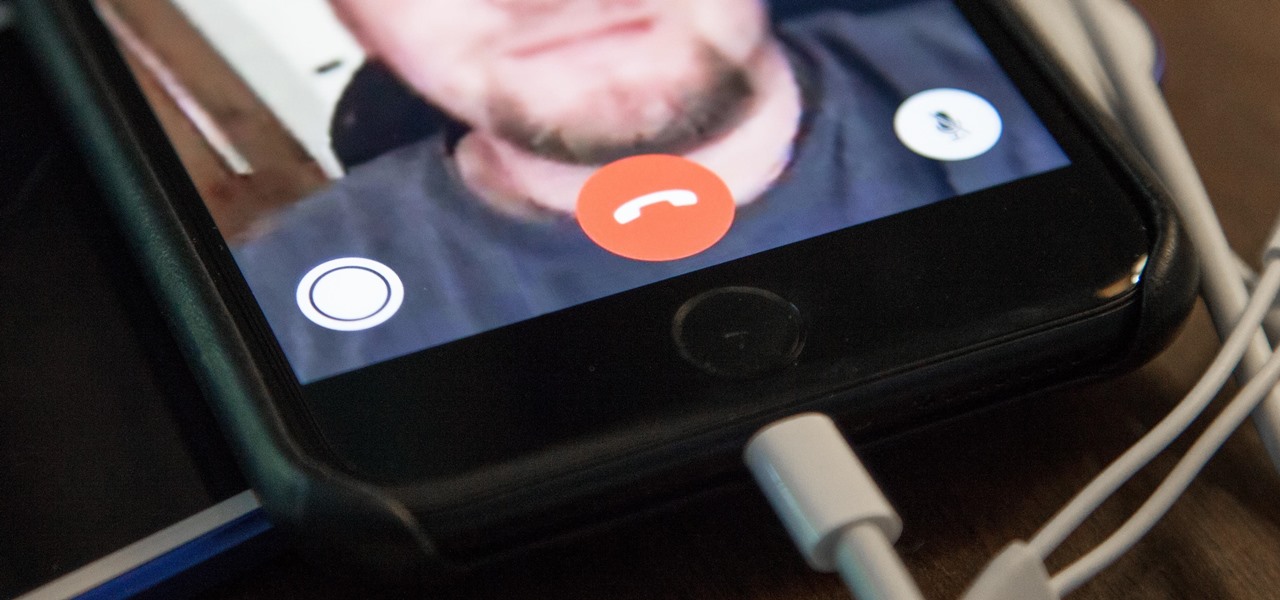
When you're taking a video in the Camera app on your iPhone, there's a little white shutter button in the corner that lets you take a still image while you're filming. Apple brought that same concept over to the FaceTime app in iOS 11, iOS 12, and higher, so you can take Live Photos of your friends during video chats.
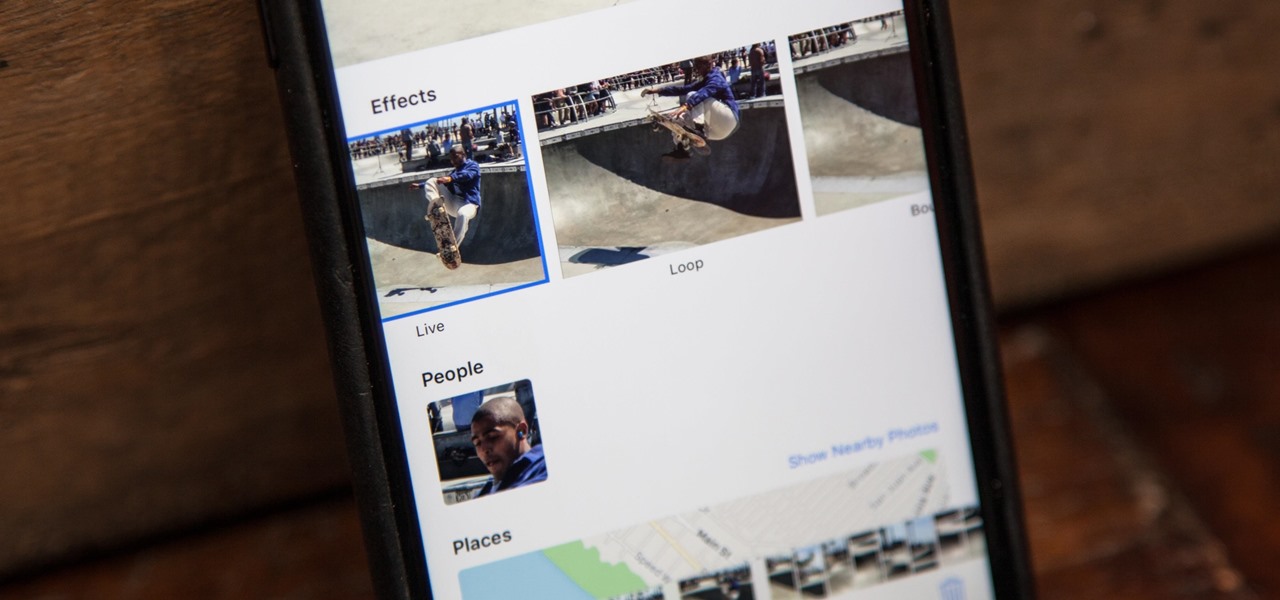
When Apple first introduced Live Photos in iOS 9, it was a big hit for those who had 3D Touch devices — but one thing this cool feature was sorely missing was editing options. Thankfully, Apple has fixed that in iOS 11 by turning Live Photos into a complete package with editing tools and new effects right within the Photos app.
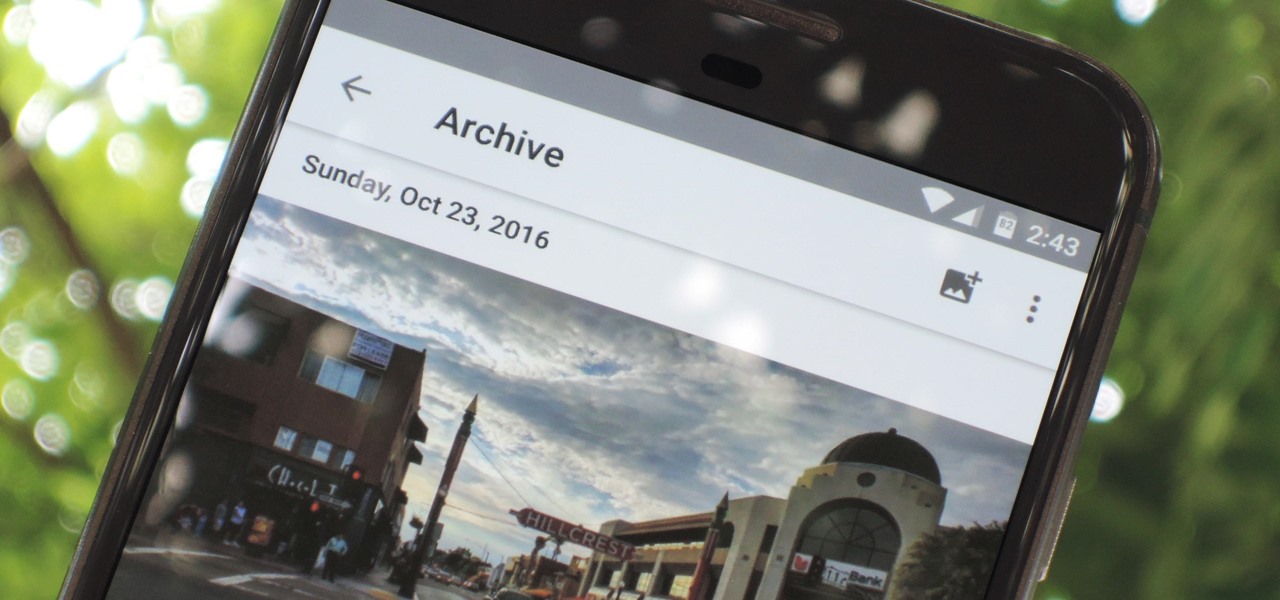
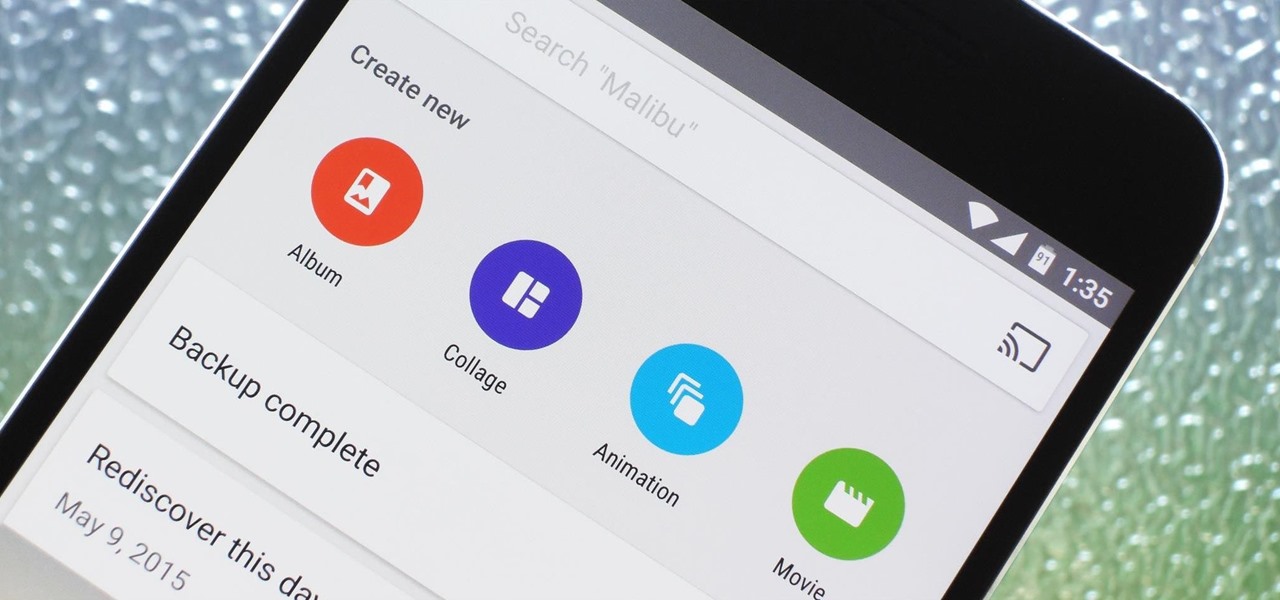
Google Photos just got a killer new feature that everyone should know about. Instead of one endless stream of every picture you've ever uploaded, there's now an "Archive" section where you can stash select shots.
Microsoft, even being Apple's fierce competitor, is no stranger to producing iOS apps—in fact, they've made 94 of them. But their latest iOS app may be their silliest yet: a goofy photo editor named Sprinkles.
If your Android phone was made by Samsung, LG, HTC, or any other manufacturer that likes to apply skins on top of stock Android, then your camera app is tied to the custom gallery app that was preinstalled on your device. In other words, when you tap that little image preview icon after taking a picture, you'll be taken to a camera roll interface that was made by an electronics manufacturer.
Apple's Live Photos is a cool feature that lets you turn ordinary pictures into a GIF-like animated photos. However, these images have some pretty big drawbacks: they live only in the iOS universe and can be shaky without a tripod.
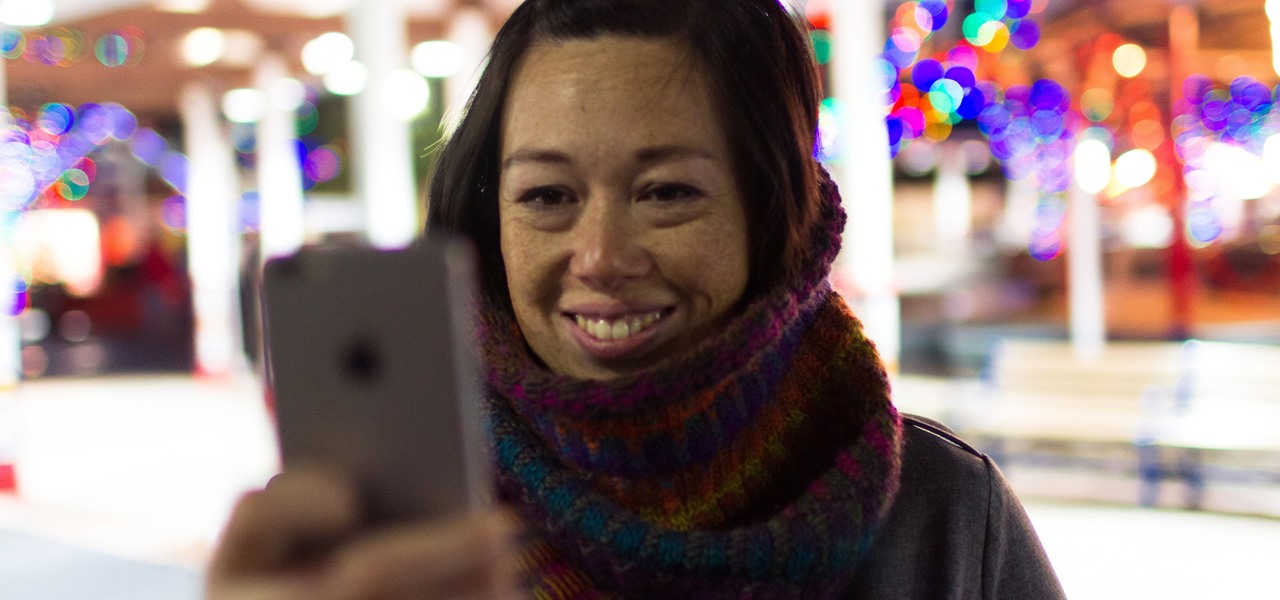
Google Photos is one of the best photo management services out there. It allows you to back up an unlimited amount of high-quality images without ever paying a dime, the photos and videos sync flawlessly across all of your devices, and its neural network-powered visual search feature seems like something that was pulled directly out of a Sci-Fi movie.
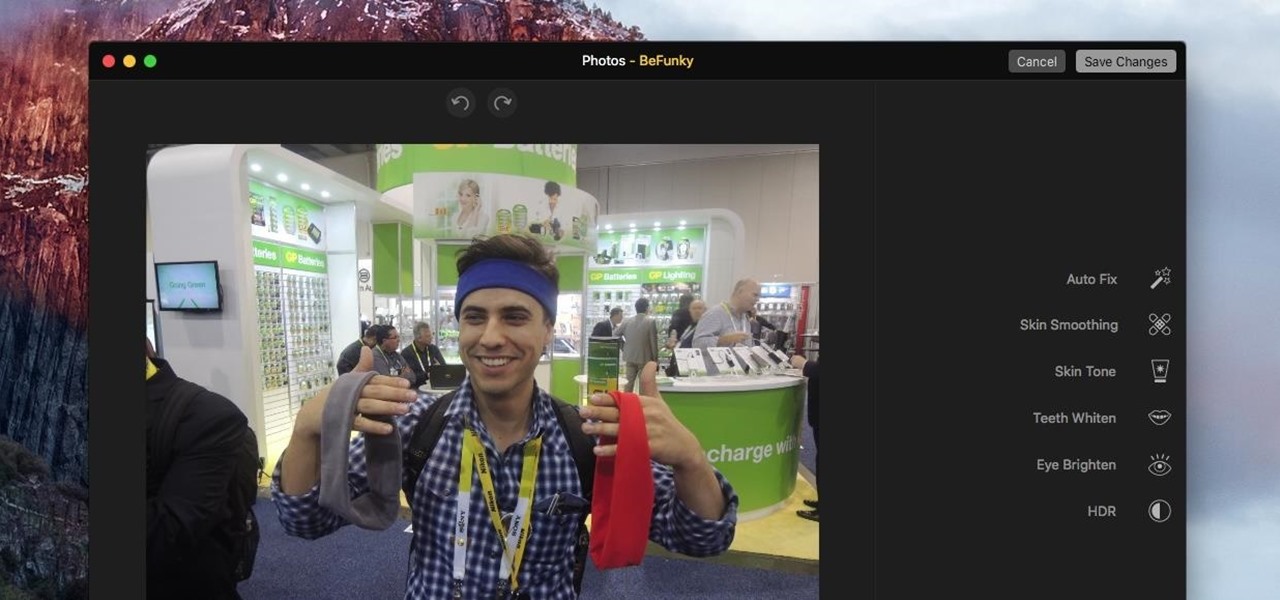
For minor adjustments and color-correction, the Photos app is extremely useful, but its capabilities are limited to just the basics. Now, with Mac OS X El Capitan, Apple is opening the door for third-party extensions, meaning we can utilize additional, unique tools when editing pictures in Photos.
After my hard drive crashed recently, I lost everything. Old college essays, half-written stories, short films, and most importantly, all of the photos that I had saved from the past five years... all gone.