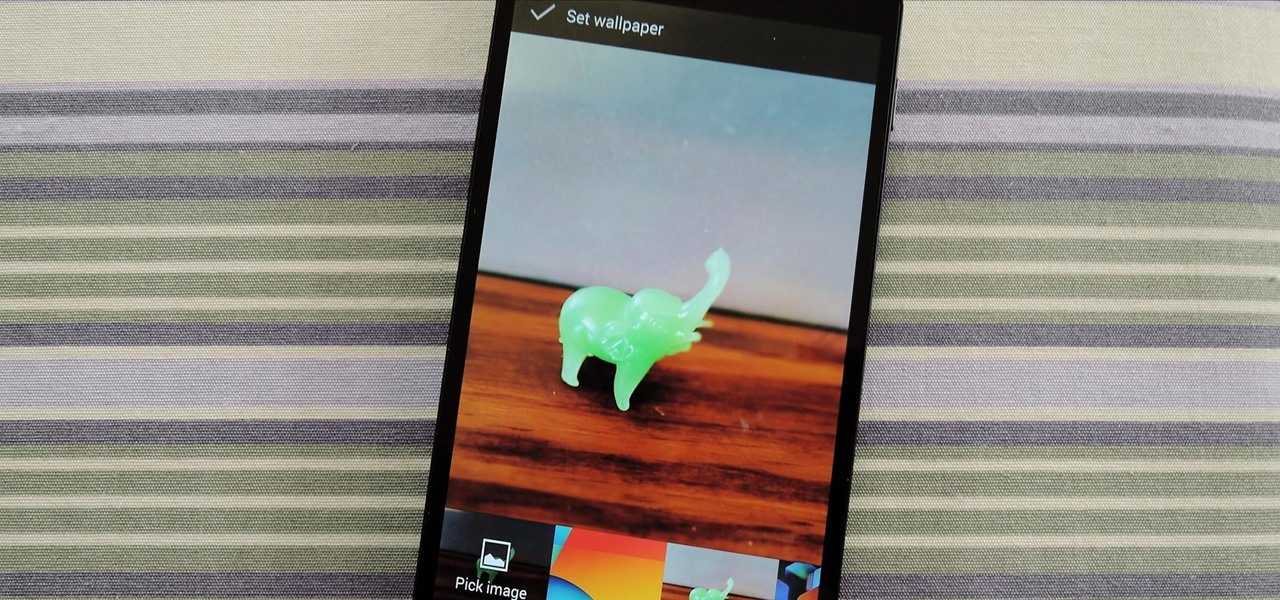
Google made a huge splash this year in their annual Google I/O with an awesome announcement regarding their Photos app. Although I was primarily interested in the details surrounding Android M, my ears instantly perked up when Google announced that their Photos app will now offer free, unlimited, high-quality storage.
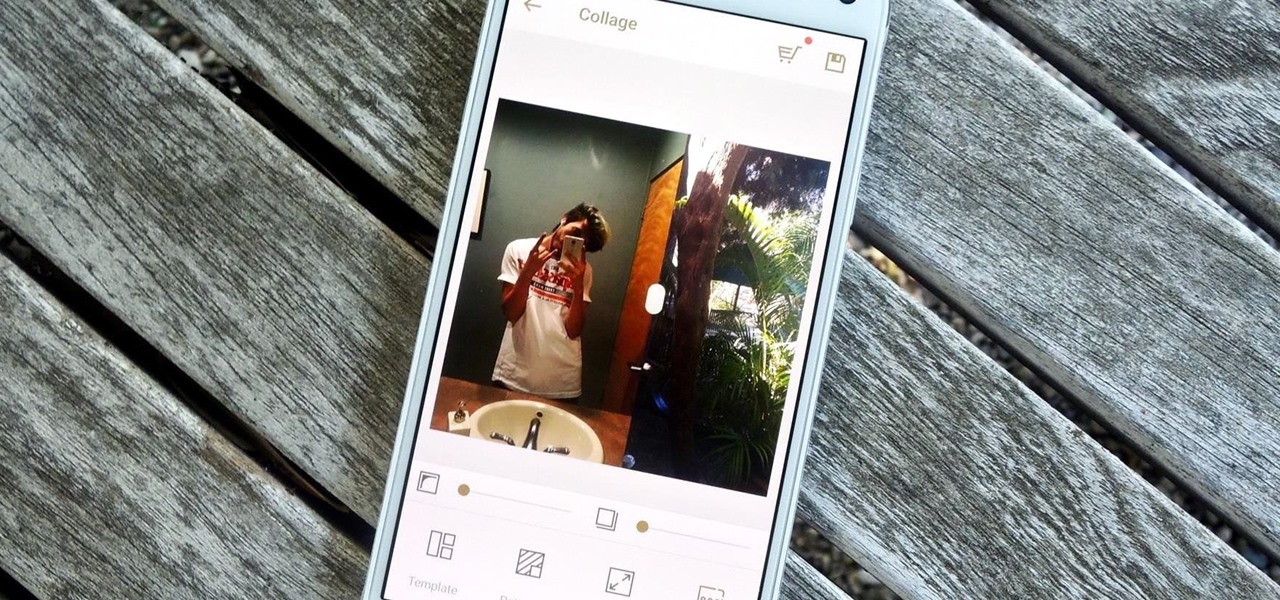
Instagram recently rolled out their new Layout app that helps users build photo collages more easily, and it's quick and easy to use with great results. Unfortunately, only those with an iOS device can enjoy Layout at the moment, with the Android version slated for release "in the coming months." Luckily, there are a trove of alternatives that you can use right now, and here are the three we like best.
If you're one of the many that likes to upload collages to Instagram, the Facebook company has a new tool for you. Instagram released a brand new app in March called Layout to help facilitate the process of creating photo layouts to post onto social media or just share with friends.
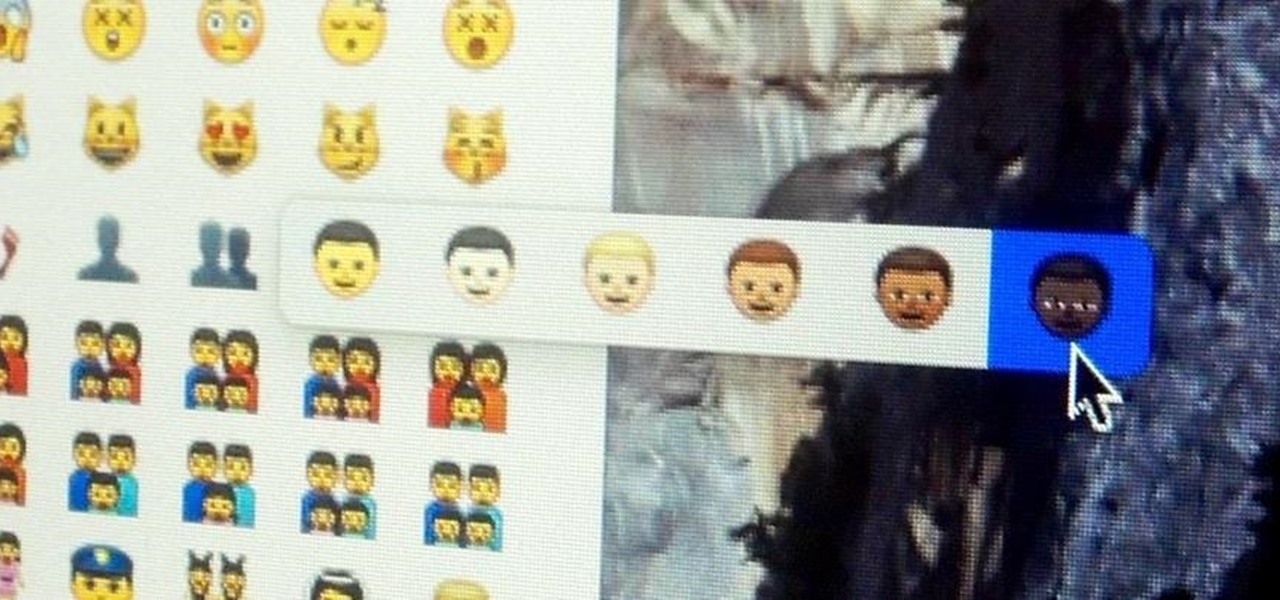
Apple just recently launched its 10.10.3 Public Beta for Mac OS X Yosemite, and while it comes with mostly bug fixes for 10.10.2, it also includes a brand new Photos application that's meant to replace iPhoto and Aperture, as well as the inclusion of more diverse emojis.
If you're struggling with freeing up space on your iPhone thanks to your massive collection of photos and videos, there's a feature in iOS 8 that could help you get some of that much-needed internal storage back while giving you more room in the future.
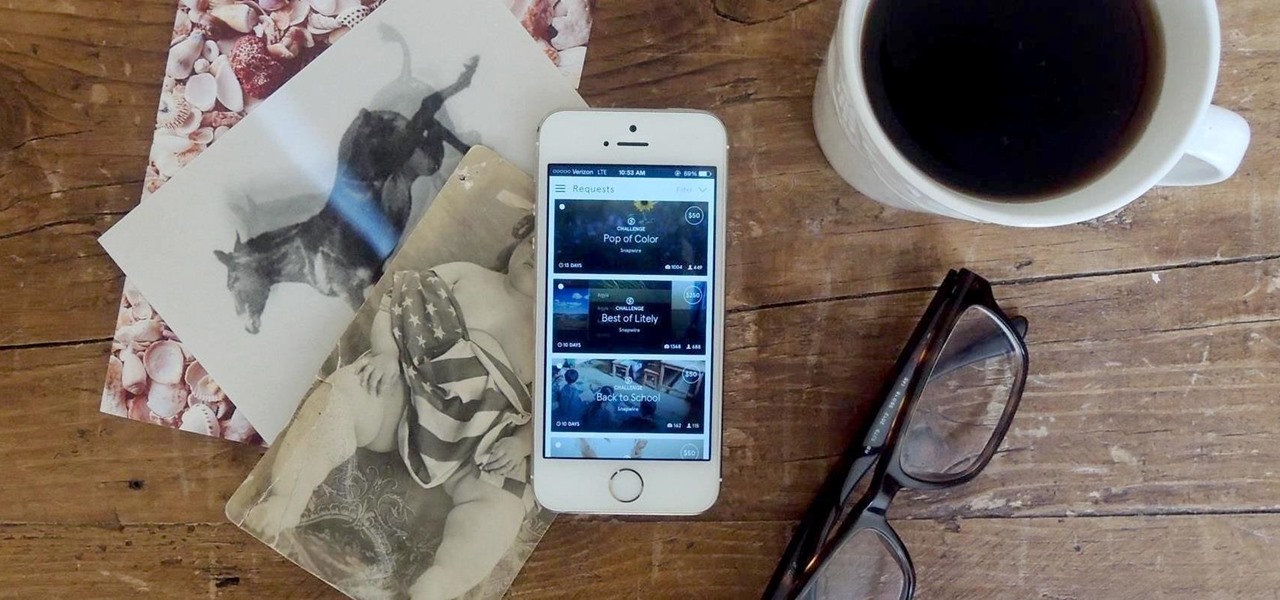
While the majority of photos taken on phones are used for personal reasons, mediums like Instagram and Flickr offer a means to show them off to the world. But those pictures of your brunch or beach day can actually go beyond that to make you some money.

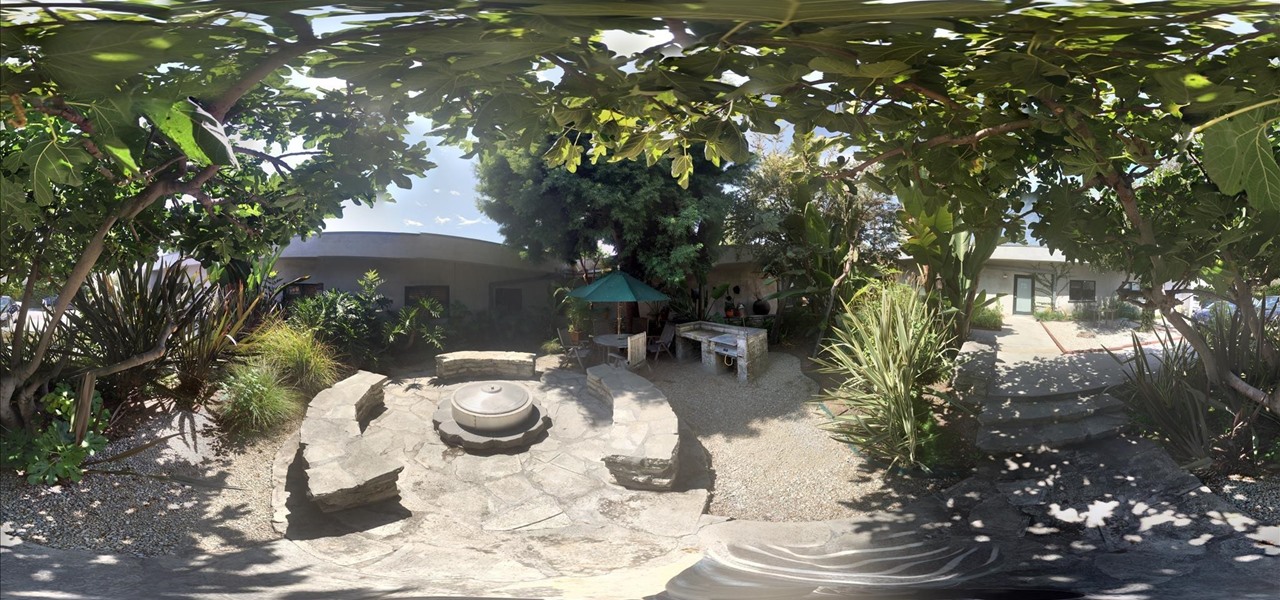
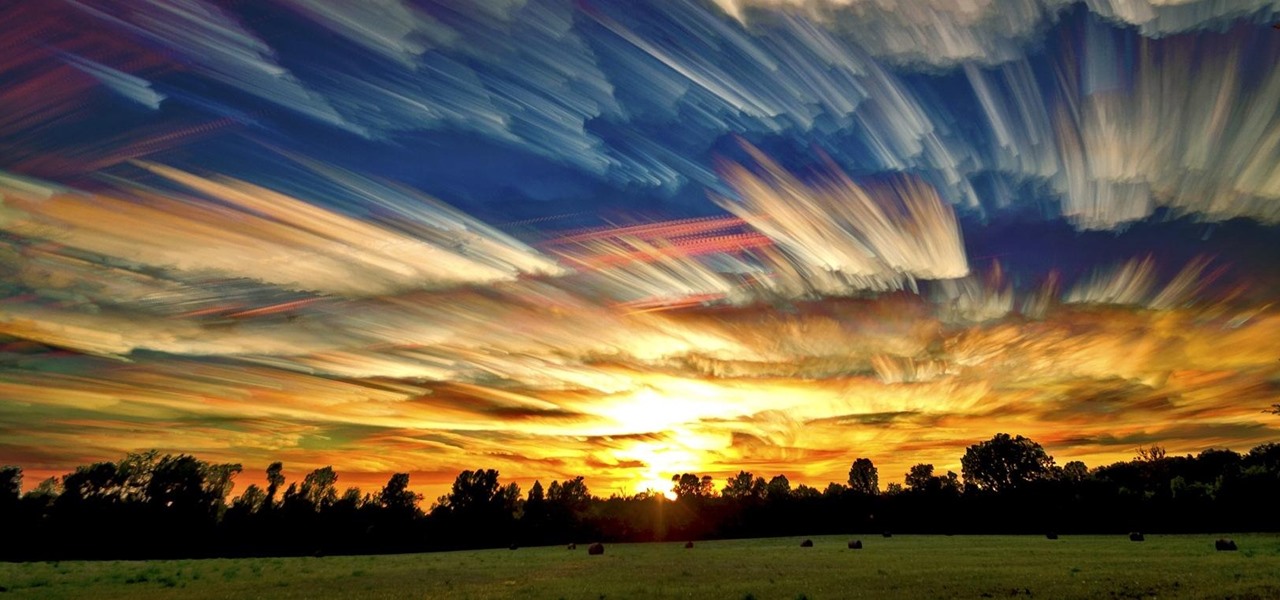
I've been using the Photo Sphere Camera from Google on all of my Android devices ever since it came out on Jelly Bean 4.2, which lets me create riveting 360° panoramic images.
Google's new camera app has a highly innovative and unique feature dubbed Lens Blur, and the most interesting thing about it is not necessarily what it does, so much as how it does it.
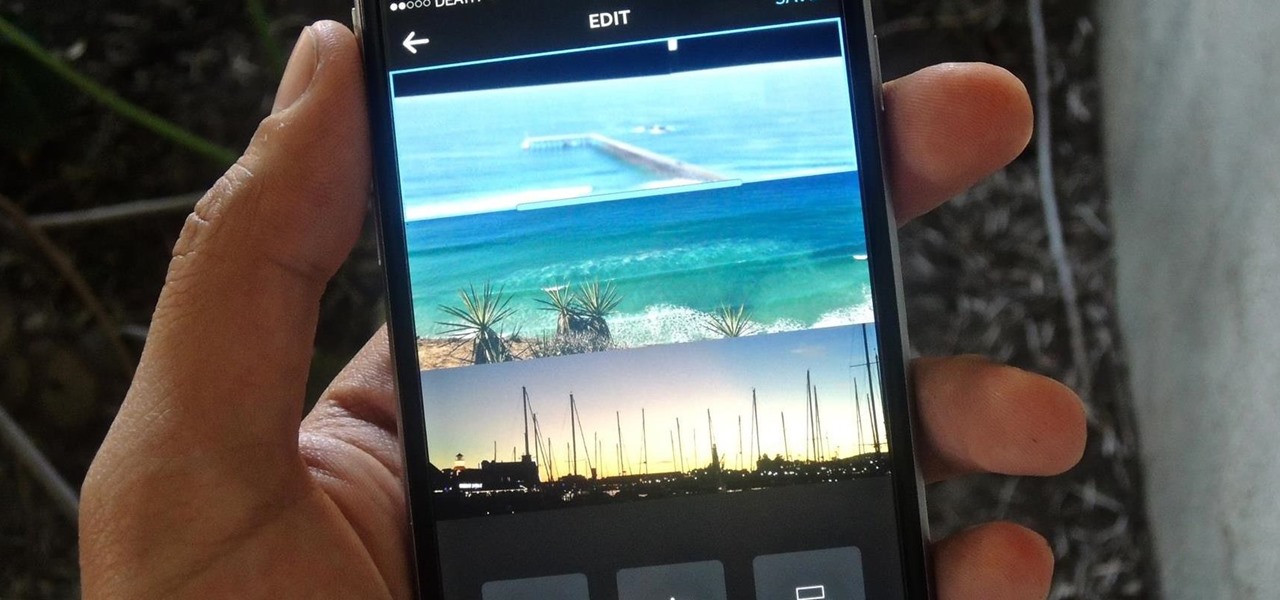
Known for its easily recognizable filters—and coining the hashtag #nofilter—Instagram has long been an app that focused more on photo posting rather than photo editing. Yet today, Instagram released an upgrade for both Android and iOS users that edges the app towards becoming a full-fledged photo editor.
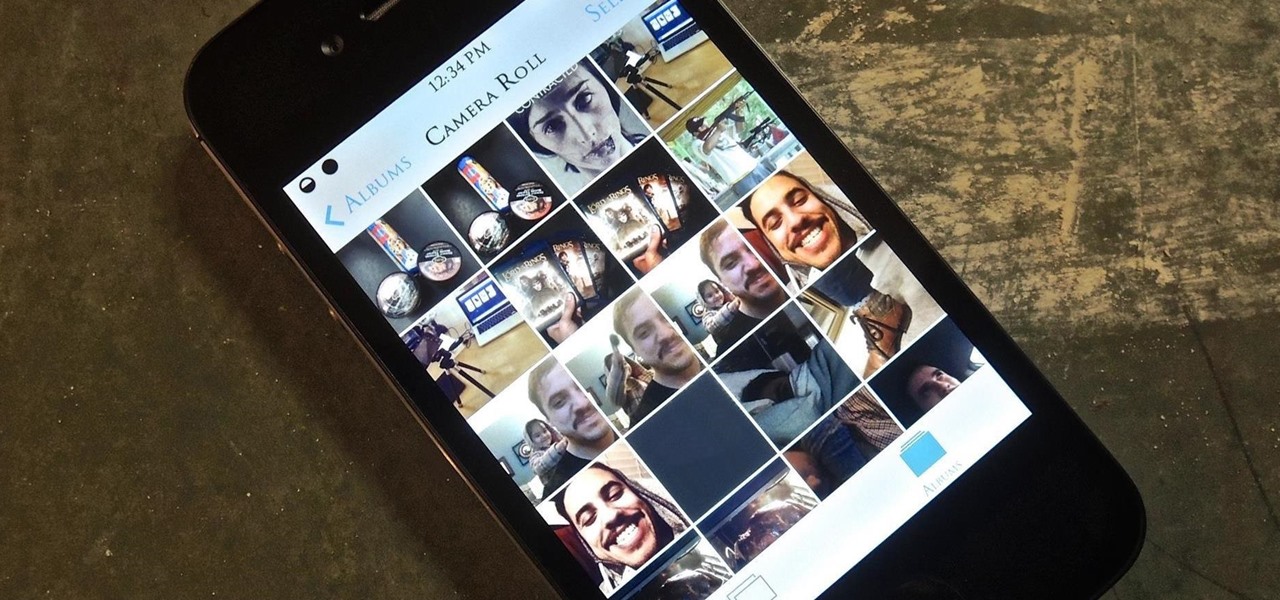
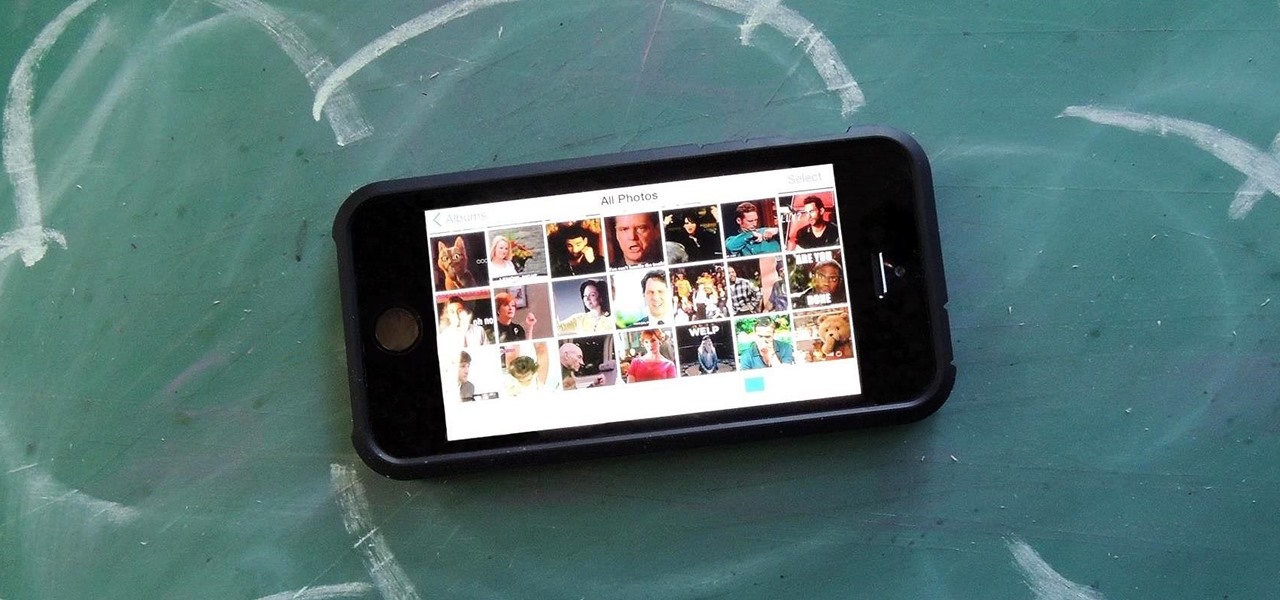
I have over 400 photos on my iPhone, and I don't even know where half of them came from. Scrolling through all of those pictures is a pain in the ass, but it's not nearly as bad as trying to actually find an old image. Organization is not my strong suit, so I'm definitely not the type to create new albums to sort through my 400+ photos.
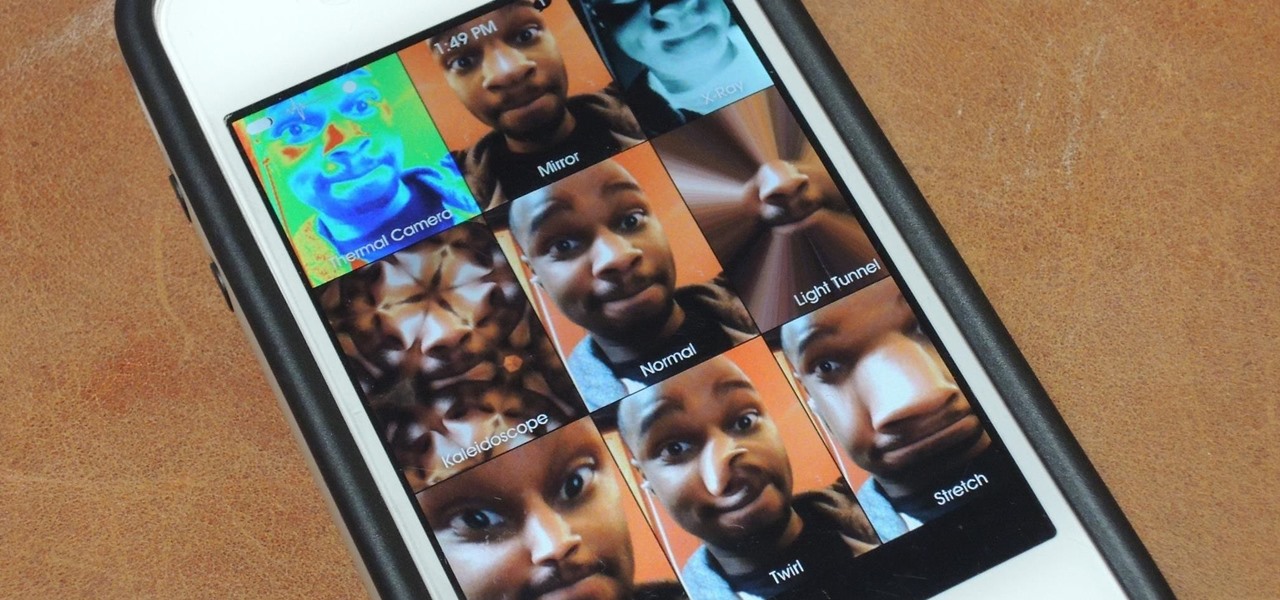
If you've got a MacBook, I'm sure you've spent some time messing around with the Photo Booth app. Who would have thought that adding simple effects like Comic Book or Stretch could make a selfie look so hilarious. Photo Booth is available for all Mac OS X computers running 10.4 or higher with an iSight camera, and it's also available on a few of Apple's iOS devices. Actually, it's only for the iPad 2 and all newer iPads since. It is NOT available on the iPhone, don't ask me why.
I know it's a very first-world problem, but I really can't stand it. Email was invented to speed up communications between people across the world, even just across the office, yet when I'm on my super awesome iPhone running iOS 7, I have to go back and forth between my gallery and my email to send more than five photos at one time.
In this web design tutorial learn how to use web design clip tool to crop photos in Xara Web Designer. Also this web design tutorial will cover how to add photos to text panels as well.
You can create a lot of impressive effects by stacking or layering photos, whether you do it in a darkroom or with Photoshop. The Harris shutter effect makes your photos super colorful, and double exposing or stacking negatives makes for some crazy looking portraits.
In order to add a Next or a Previous buttons in Photoshop, you will need to begin by selecting a photo. Double clip into MasterclipMC. Create Films Layer and make a new layer. Name it Next and previous. Create a rectangle. Use the Polystar options. Adjust the size to the appropriate size. Make a triangle. Place it in front of your rectangle. This is your arrow. Make a copy of it. Rotate one to point in the opposite direction. Name them Previous and Next. Drag them into position. Rename the bu...
Check out this informative video tutorial from Apple on how to reduce red-eye in iPhoto '09.
Check out this informative video tutorial from Apple on how to brush out or retouch problem areas in iPhoto '09.
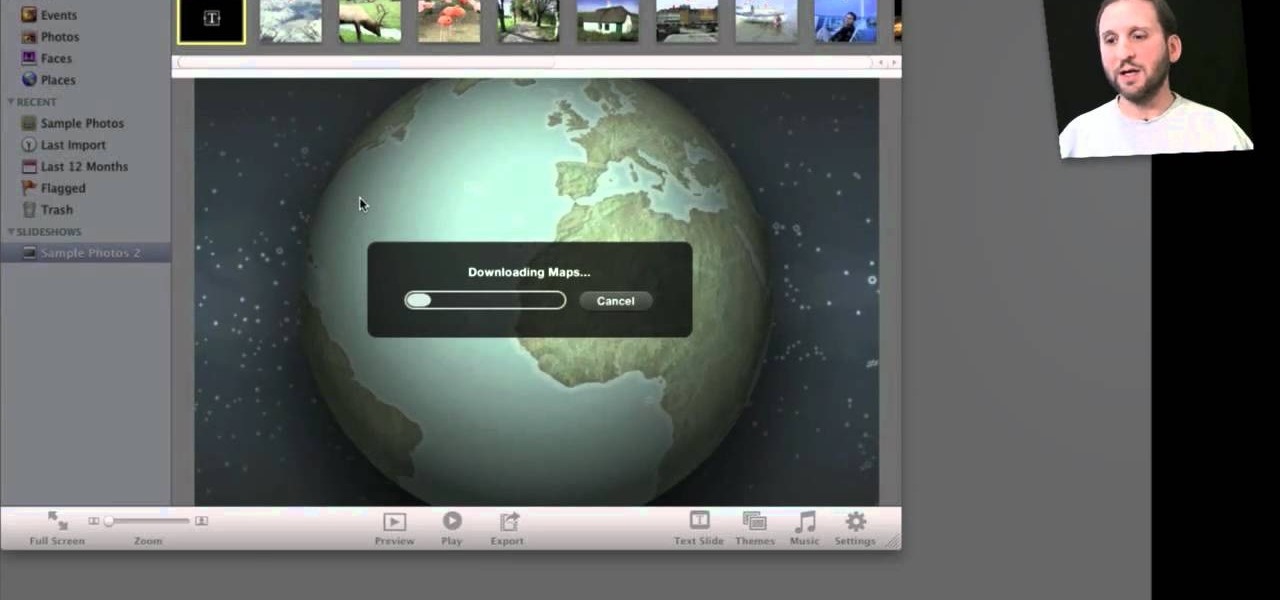
Check out this informative video tutorial from Apple on how to create and share a slideshow in iPhoto '09.
Check out this informative video tutorial from Apple on how to create your own greeting cards in iPhoto '09.
Check out this informative video tutorial from Apple on how to create your own calendar in iPhoto '09.
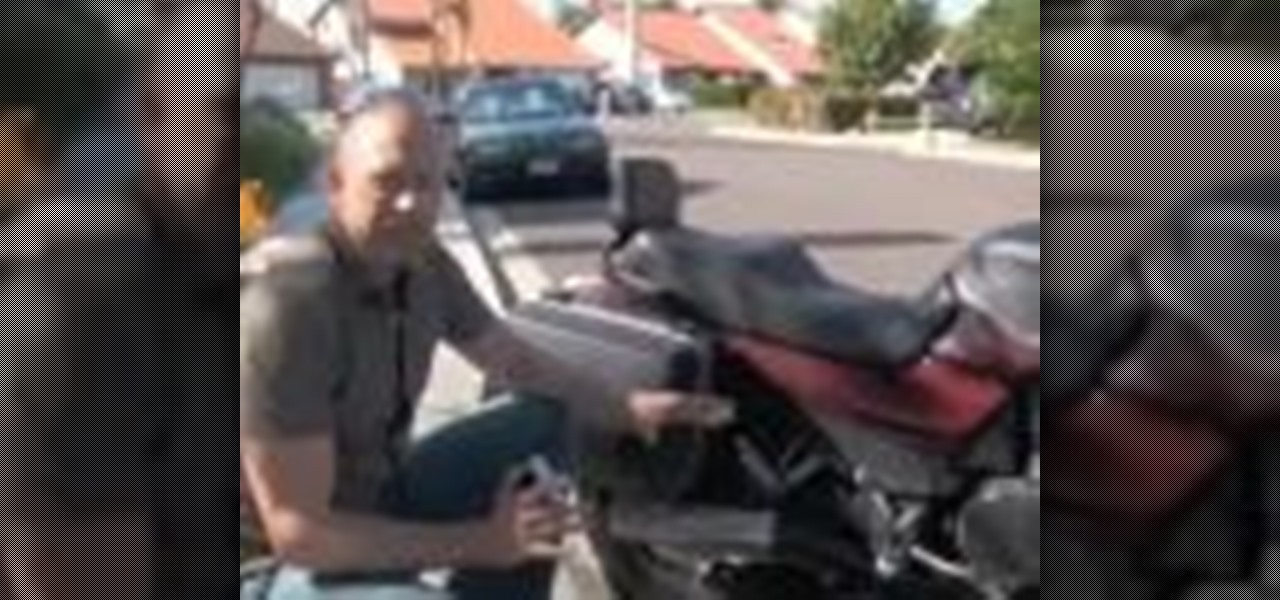
This video teaches viewers on how to inspect a motorcycle for damage after an accident as well as documenting it. The most important thing you need to do after an accident is to document all parts of the damage by taking photos of the damaged parts. Start by verifying the VIN number or Vehicle Identification Number and take a picture of it, take a photo of it. After that, get a photograph of the mileage on the dash area of the motorcycle. If there is other important information that needs to ...
Wondering how to show your family the 26,000 photos of recent trip to Mauritius? Well, it's easy with Apple's iPhoto 11, and this step-by-step tutorial. Select the photos you want, choose your delay time, add music and it's showtime! You won't have the overheating projector lights and the click-clack of the slide carousel, but you WILL have a much happier audience.
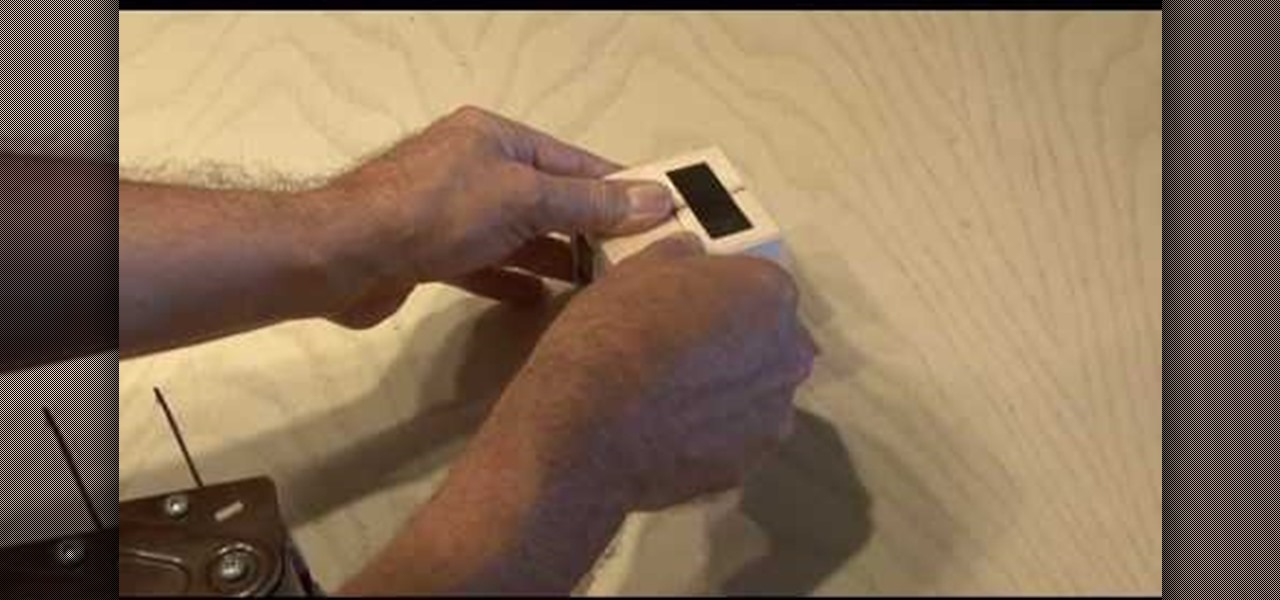
In this tutorial, we learn how to make a photo cube. This project can be done in a couple of hours and only costs a couple of dollars! To start, you will first get an exact measurement of the width of your wood. After marking these, you will cut the wood using a band saw. After the eight blocks are finished, line them up in a cube and use clear packing tape to secure them together. Use a sharp blade to trip the tape. You can then open up the cube to show six different sides and tape your phot...
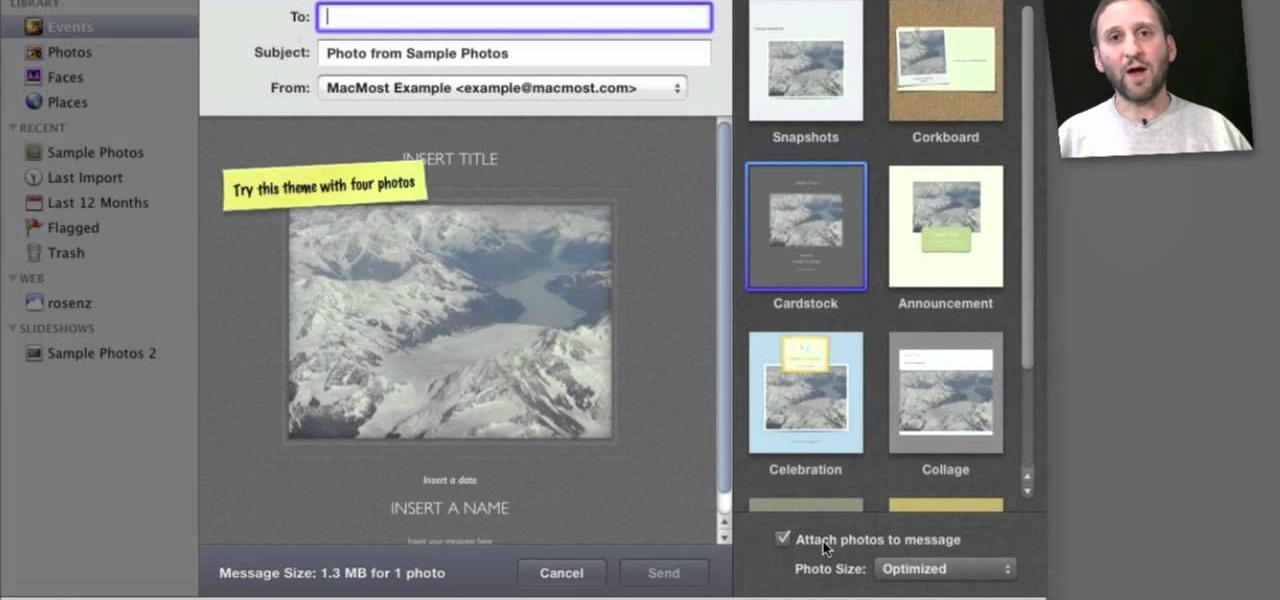
Looking for a quick primer on how to email someone a photo from within Apple's iPhoto 11? It's easy! And this brief home-computing how-to from MacMost presents a complete, step-by-step overview of the process. Get started sharing pictures and photos within iPhoto 11 with this video guide.
Lady GaGa can't wear the same look twice and she can't wear anything without being emulated (except maybe the meat dress). If you saw her Hello Kitty photo shoot you probably remember the crazy makeup anime eyes she had drawn on her face. Watch this video to learn how to give yourself makeup anime eyes for Halloween or just to get some more GaGa in your life.
Want to browse pictures in a Flickr photo gallery like they were photos on your Windows XP/Vista/7 hard drive? This clip will show you how it's done. It's easy! So easy, in fact, that this handy home-computing how-to from the folks at Tekzilla can present a complete overview of the process in about two minutes' time. For more information, including detailed, step-by-step instructions, take a look.
In this tutorial, you'll learn how to digitally enhance makeup within Adobe Lightroom 3. Whether you're new to Adobe's popular photo application or a digital photography professional just looking to better acquaint yourself with Photoshop Lightroom 3, you're sure to be well served by this free video software tutorial. For more information, as well as to get started using Lightroom 3 yourself, take a look!
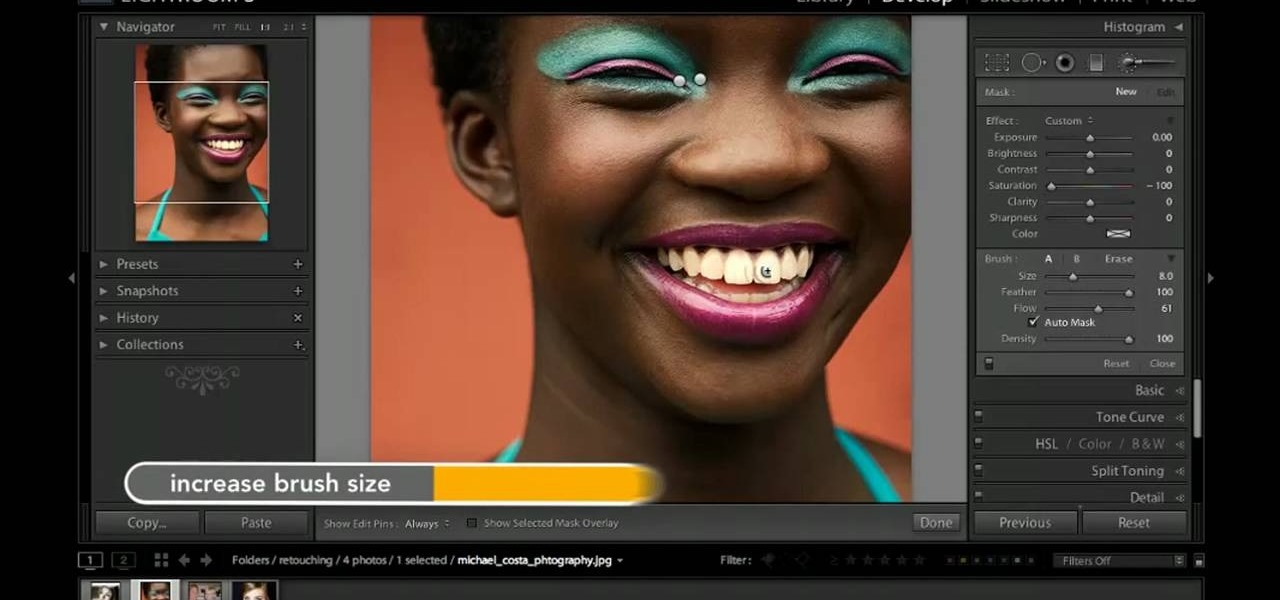
In this clip, you'll see how to utilize Adobe Lightroom to brighten someone's smile. Whether you're new to Adobe's popular photo application or a digital photography professional just looking to better acquaint yourself with Photoshop Lightroom 3, you're sure to be well served by this free video software tutorial. For more information, as well as to get started using Lightroom 3 yourself, take a look!
If you've taken some great looking panorama shots, but have no idea what to do with them, this tutorial may have something in mind. In this tutorial, you'll be finding out how to take a cool looking panorama and trasnfer it onto a lamp shade. It will not only give use to your photo, but add an interesting piece of furniture to your home as well.
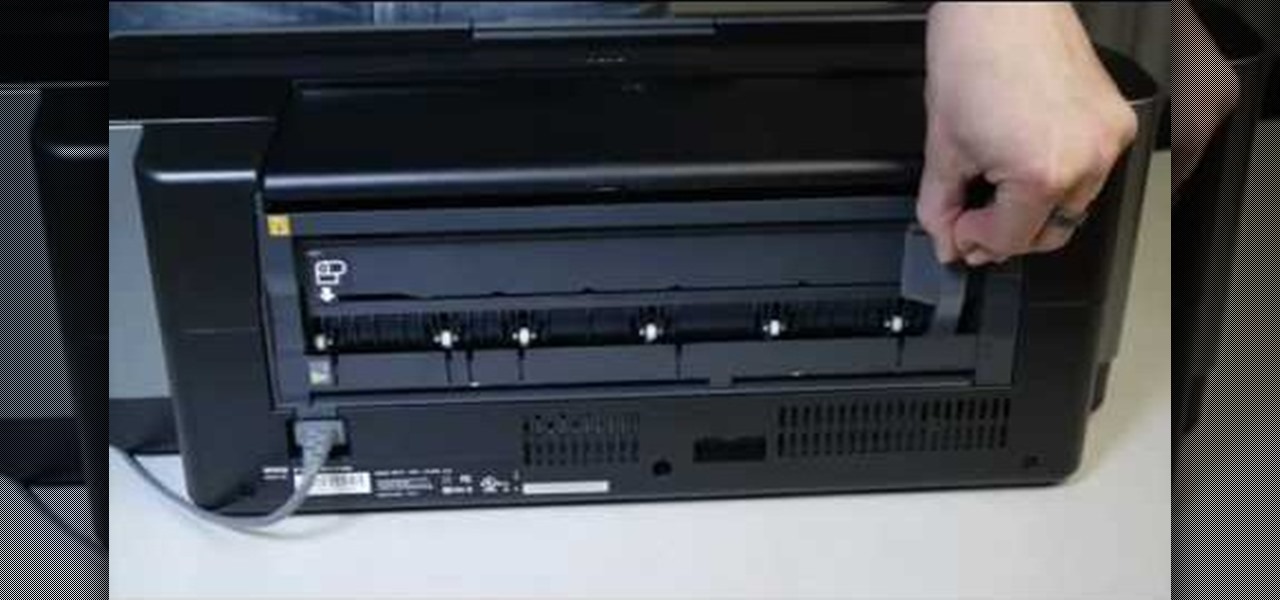
If you have the Stylus Photo Printer (R2880) from Epson at home, you probably figured out how easy it is to load paper into the printer. But what about fine art paper? Paper such as Velvet Fine Art and Hot Press and Cold Press loads into the printer slightly different. This video, straight from Epson, will show you how to load these kinds of papers using the rear single sheet guide.
Learn how to easily create a CSS photo gallery with a unordered list and a little bit of CSS. Whether you're using a fancy WYSIWYG (or what-you-see-is-what-you-get) page editor like Adobe Dreamweaver CS5 or a barebones text editor like Notepad, if you want to build websites, you'll need to have some understanding of HTML (for the structure of your web pages) and CSS (for their style). And this free coder's guide will get you started along that path.
How does taking photographs outside differ from taking photos inside? Well, unlike indoor photography, which boast easily adjustable artificial lighting and lighting effects, with outdoor photography the light you get is the light you use.
Need a primer on how to filter your images when working within Adobe Photoshop Lightroom 3? You're in luck! Whether you're new to Adobe's popular photo application or a digital photography professional just looking to better acquaint yourself with Photoshop Lightroom 3, you're sure to be well served by this free video software tutorial. For more information, as well as to get started using Lightroom 3 yourself, take a look!
See how to add and import digital images into Adobe Lightroom 3 from a system folder. Whether you're new to Adobe's popular photo application or a digital photography professional just looking to better acquaint yourself with Photoshop Lightroom 3, you're sure to be well served by this free video software tutorial. For more information, as well as to get started using Lightroom 3 yourself, take a look!
Have a beautiful photo that needs some help? In this video learn how to correct grass and sky color and contrast with a little revolutionary software program called Adobe Photoshop. Transforming brown/yellow grass to bright saturated grass and converting a dull sky to a bright blue wonderfully vivid sky with help take your photo from "just okay" to "superb".
This video tells us the method to transfer photos from your iPhone to your Mac. In the first step, launch the image capture. Connect your iPhone to Mac via a USB cable. 'Download To' option is used for specifying the folder in which you want the downloaded files. 'Automatic Task' specifies the task which the application must do after the transfer of files is over. Go to the 'Download Some' option. Select the file(video or photos) you want to transfer. Choose the download folder and click 'Ope...
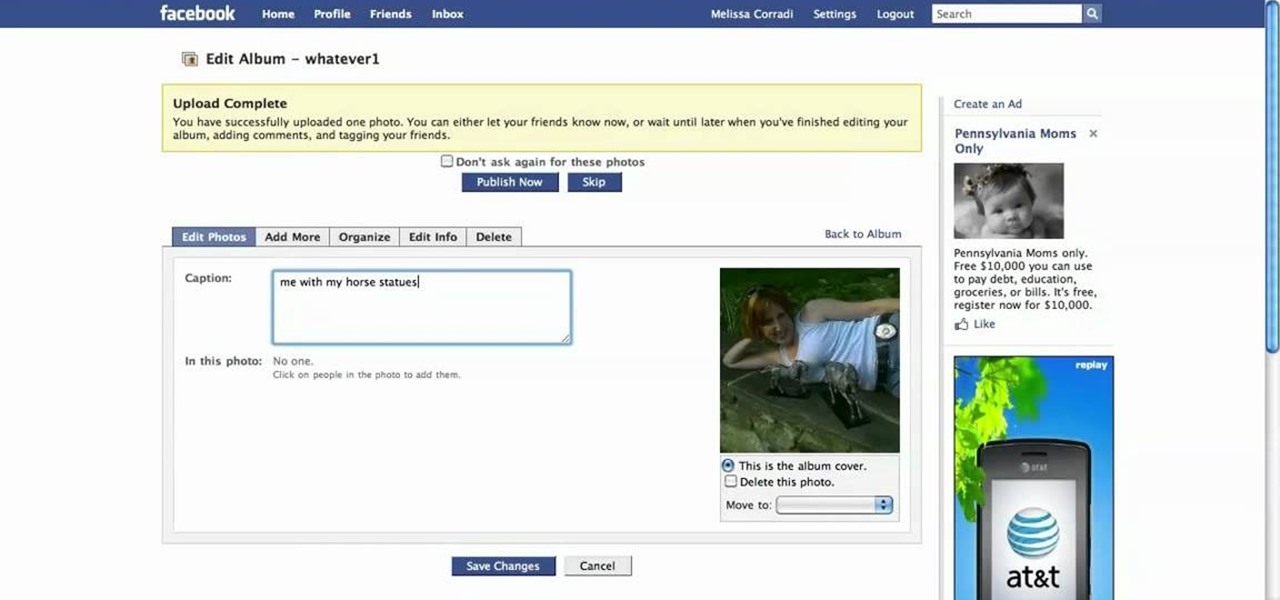
First log into your Facebook account and sign in. Then when you sign in click under your "profile". You will be redirected to another page. This will be your main page, with all of your information that you have put in and what not. Next click on 'Photos'. It will take you to another page. Once in your in there, you will click on 'create a photo album'. You need to name the new album and then create album. Next it will ask the location of the files. It will be located on your computer. Usuall...
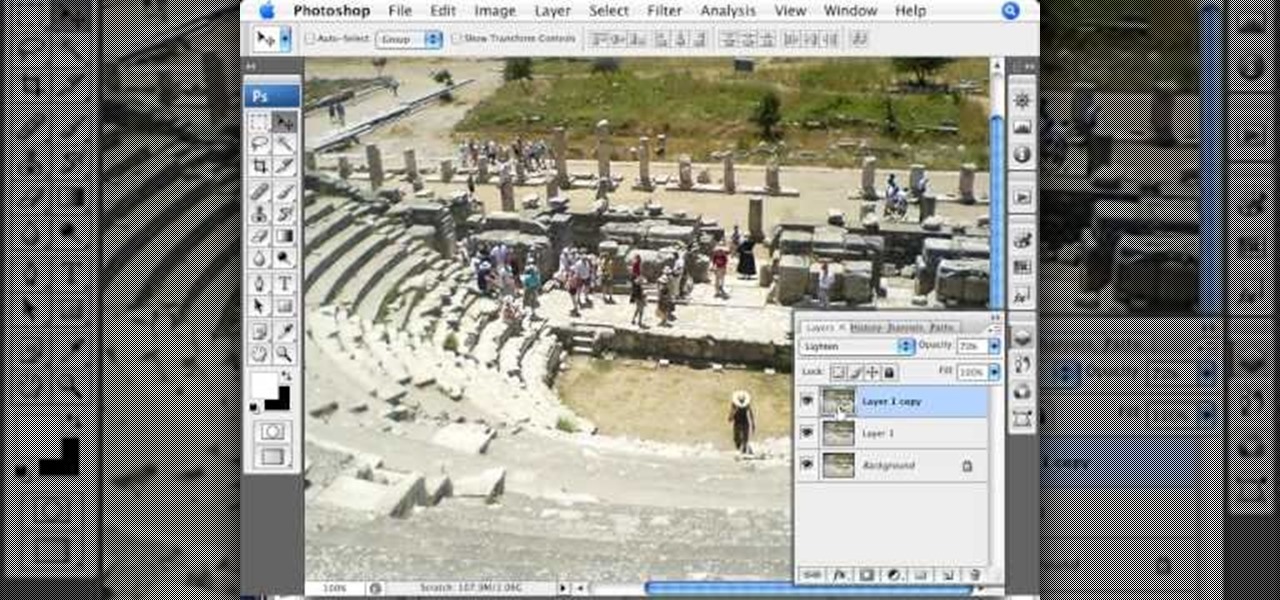
Photoshopuniverse teaches you how to enhance the colors of photos using Adobe Photoshop. You get a photo and duplicate that layer. Set the blending mode to Soft Light. You repeat that step, only the blend mode should be Lighten. The shadows are now darker. You can change the blend mode opacities to 60%-70%, but both layers should have about the same opacity. Also make sure that the white values are not to white and that details, like faces, are still OK to see.
When editing your photos in Photoshop, there are many different things you can do to manipulate your original image. One of those things is to add shadows. Using Photoshop you can cast a shadow within any photo, on any object. In this tutorial, learn exactly how to accomplish this. You will also learn how to use the extraction tool and distort mode to cast a realistic shadow on just about anything.
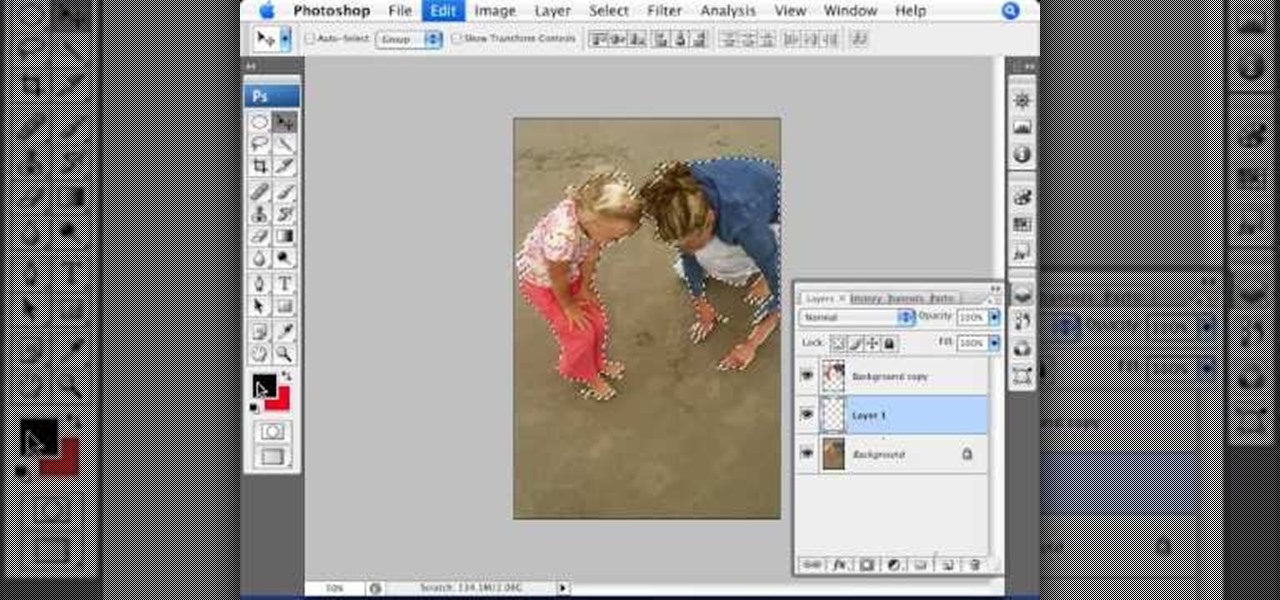
This video tutorial by photoshopuniverse, is to tele-transport people in photos using Photoshop. For this you will need two photos, one with a person and another of a suitable scene. Select the image with the person and extract the person using the extract tool by marking the edges. Make sure to change the brush size so that you can mark the edges with a bit of the border to be included and a bit of the outside to be excluded. Fill in the retaining area and extract the image. Using the move t...