Clicks are made on "Image",then "Adjustments", followed by "Brightness/Contrast" ; contrast is set to 30 and brightness is set to 60 to add more light to the picture. "Adjustment", "Variations" are clicked in that order and both yellow and red are increased. "Filter", "Render", "Lightening Effects" are chosen in that order and a new window appears; within which the style is set to "Soft Omni". The brightness is decreased ;similar to the way it was increased, and contrast is increased to 60. T...
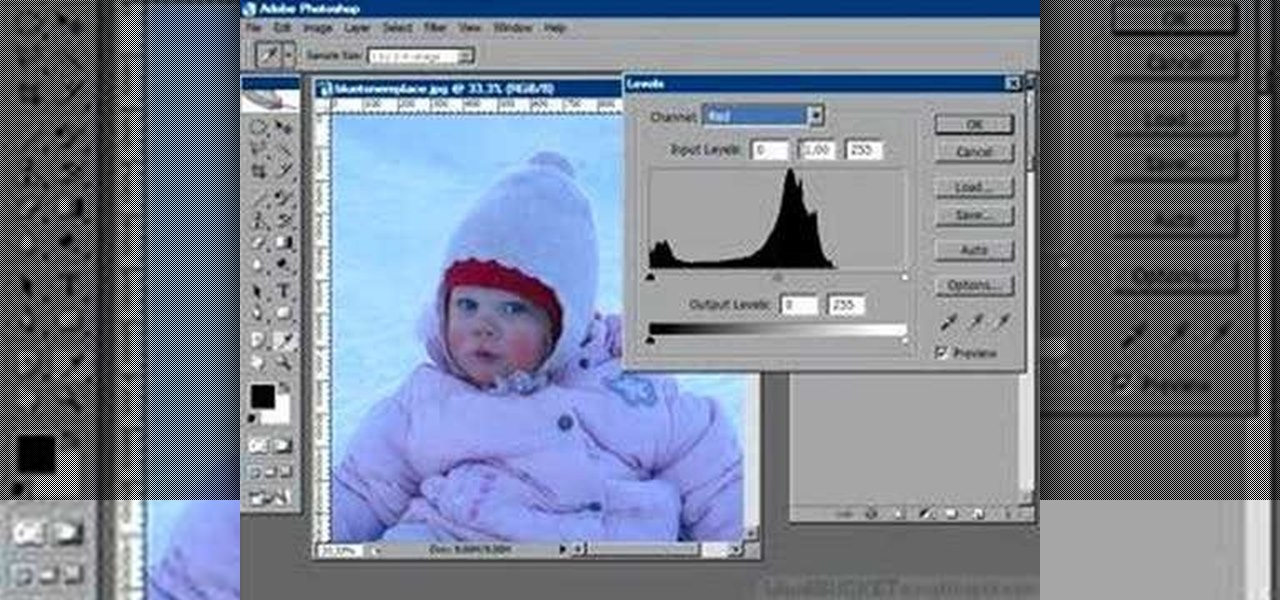
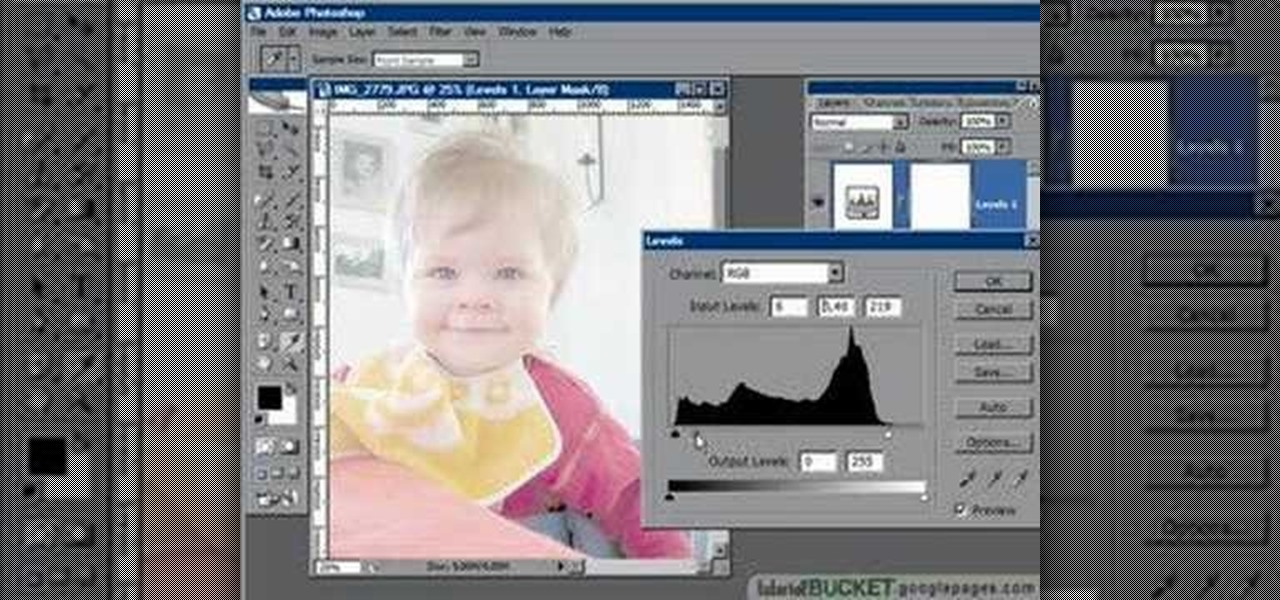
This how-to video is about how to color correct photos using Photoshop levels.
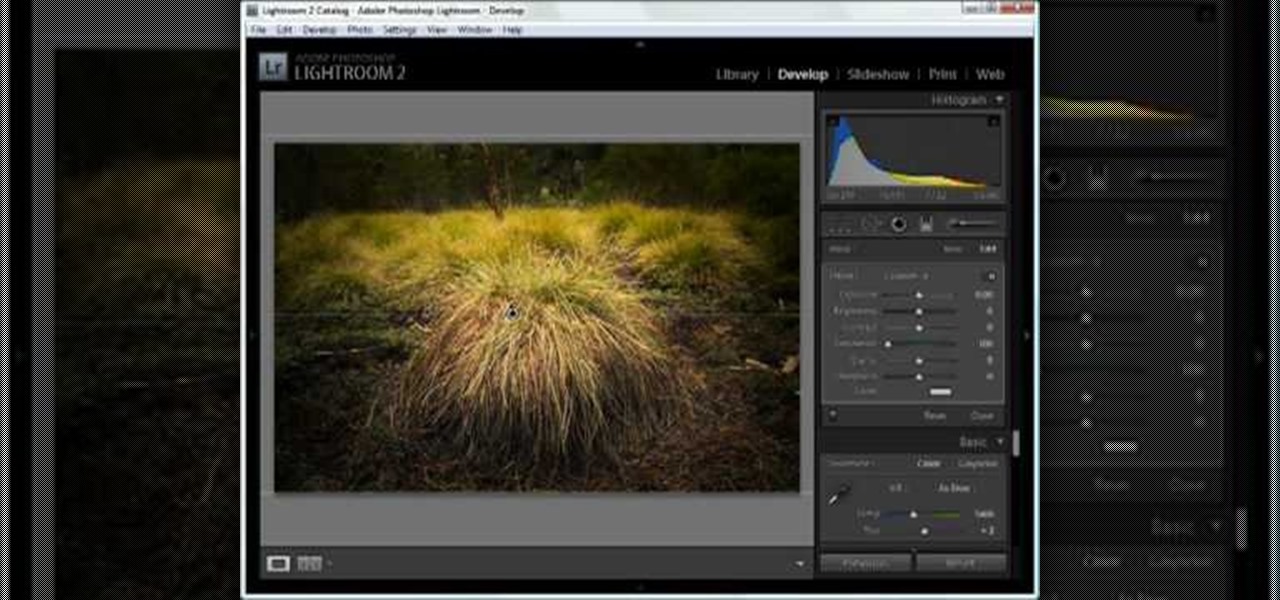
This video tutorial speaks about how to create a dramatic effect to an image using only Camera Raw in the Bridge program of Photoshop. In this example, the picture was first brought into the program and the fill light was turned upwards in order to lighten up the dark foreground. The white balance of the picture was changed to cloudy to add a nice effect and the color temperature was changed to make the picture appear warmer. The various parts of the picture can then be changed individually b...
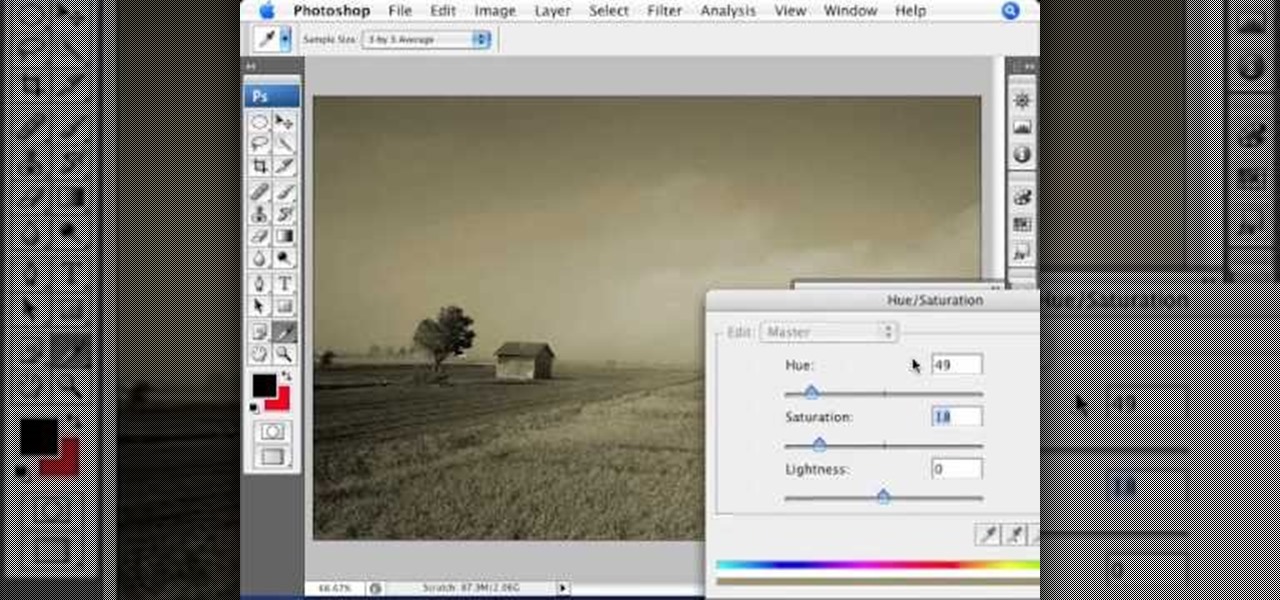
This how-to video is about how to add a color tint to photos in Photoshop.
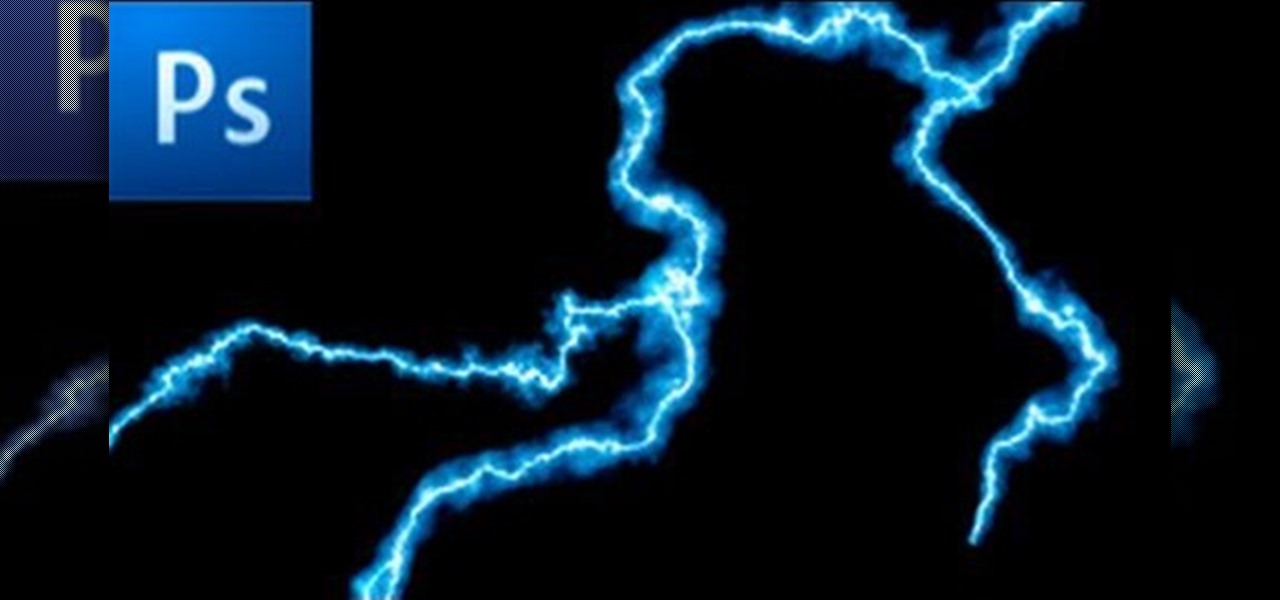
This is a tutorial showing how to make a lightening effect on Photoshop. First click on the gradient tools and then click on the colors. Check to see if there is black on one side and white on the other, if there is then click the ok button. Then hold the shift key while dragging the mouse across the screen. This will make a black to white gradient effect on the screen. After that, click on the filter button at the top of the screen, then click render, and then difference clouds. After the cl...
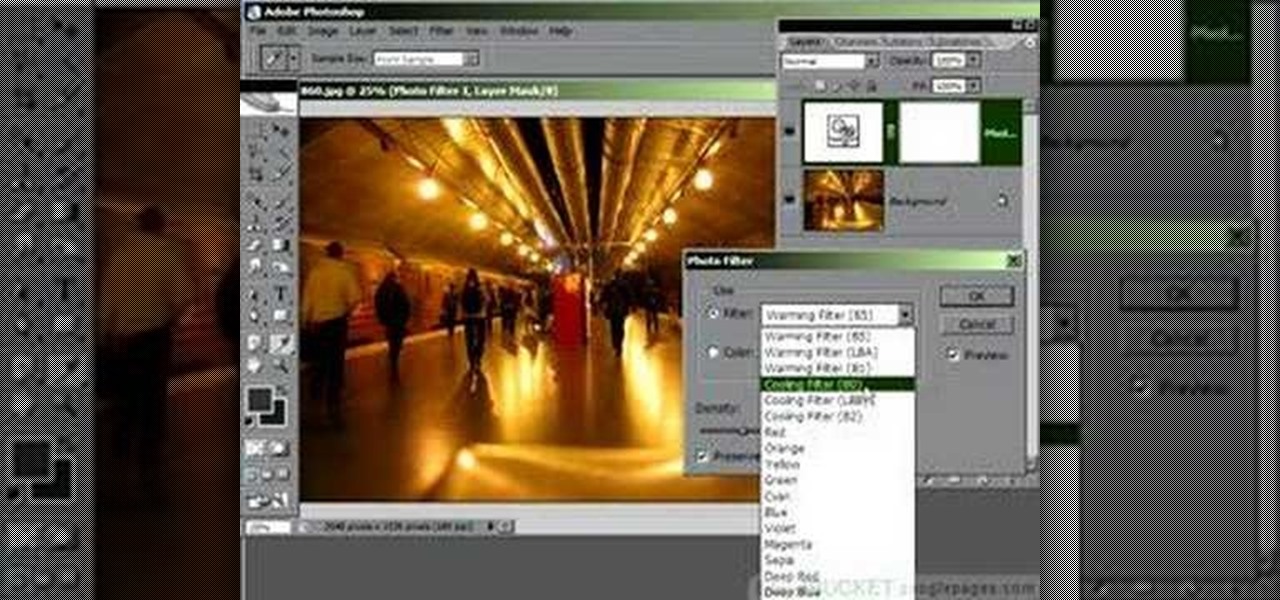
Photoshop is a place where we can edit the image in different styles. One of the features is adjustment layer of a photo that is also called as filter correction. It is an easy step to color filtering of a photo. Open a picture in a Photoshop, and select add layer option that present at the right bottom of the screen, then a pop up menu appears. Select filters from the options available, then dialogue box appears consisting of sub options filters and colors. then select the main color from fi...

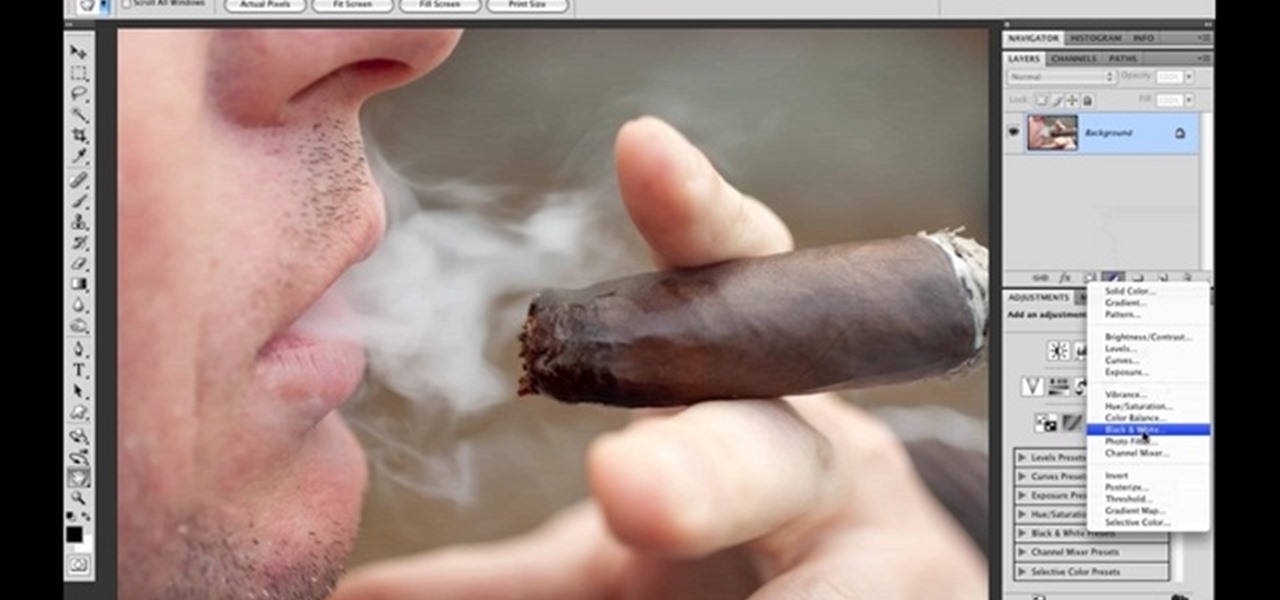
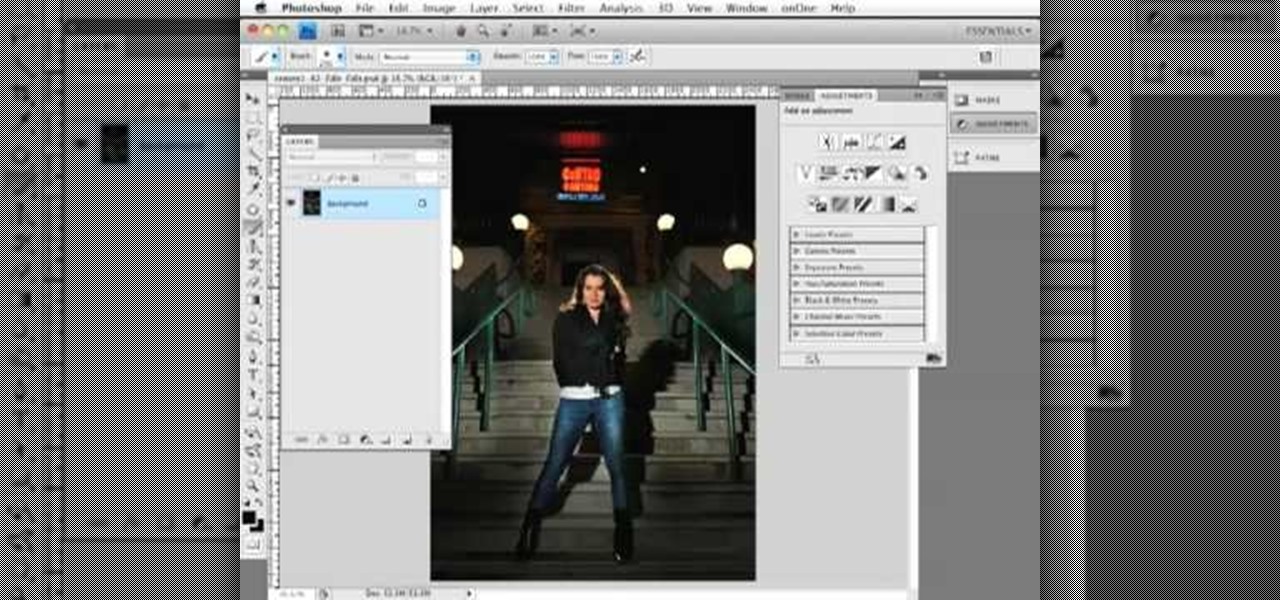
Photo Focus] contributor Nicole Young shows how to use Photoshop to introduce drama in our pictures. It requires only a few simple steps. First thing done was to add a black and white layer adjustment. This can be done in two ways. First by going down to layers panel and select black and white or if we have Photoshop cs4, we can go down to adjustment panel and click on the black and white option. This adjustment can also be done by clicking auto mode. Now the next thing...

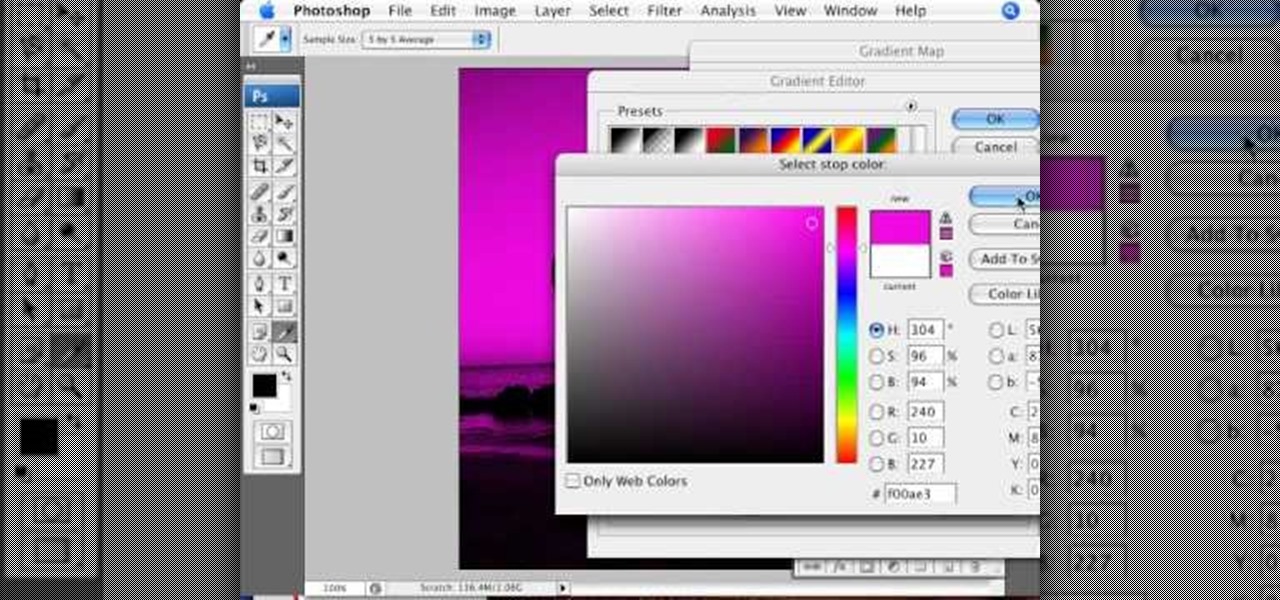
In this tutorial, we learn how to create a Lomo effect in Photoshop. This is a contrast that gives the photo a "cool" vibe and change up the effect that you see. First, load up your picture into Photoshop and then go to adjustments, then curve. From here, add a slight s-curve and then add a green channel with the same s-curve that you just created. Go to the blue channel and create the opposite s-channel from the others, then click "ok". Now, go to layer, new adjustment layer, then gradient m...

In this video, we learn how to convert an image into a sketch in Photoshop. First, open up Photoshop and open the picture you want to convert. Now, click the layer and unlock the background. After this, go to "image", "adjustments", and remove all the saturation from the photo so it's black and white. Then, duplicate this and invert it by going back to the adjustments section. Now, go on the top of the layers tab and select "color dodge" from the drop down menu. Now, go to "filter", "other", ...

This video tutorial is in the Software category which will show you how to "Photoshop' someone into an image. It is like cutting and pasting one image over another. First open both the images. Ctrl and click the person's image that you want to move over. Drag the cut out image over the other picture where you want to superimpose it. Then click "edit', resize, rotate and position the image where you desire. Then go to "Image Adjustments' and adjust the brightness and contrast to match with the...

In this video, we learn how to sketch a photo in PhotoShop. First, open up PhotoShop and open up the picture you want to convert. Then, click "image", "adjustments" and "desaturate". You will now copy this layer by dragging it down to the "new layer" button. Now click on your copied layer and go to "image", "adjustments" then "invert". Now click the "blend" option which will change your layer to completely white. Now, click "filter" then "other" then "minimum". You will now see your image sho...

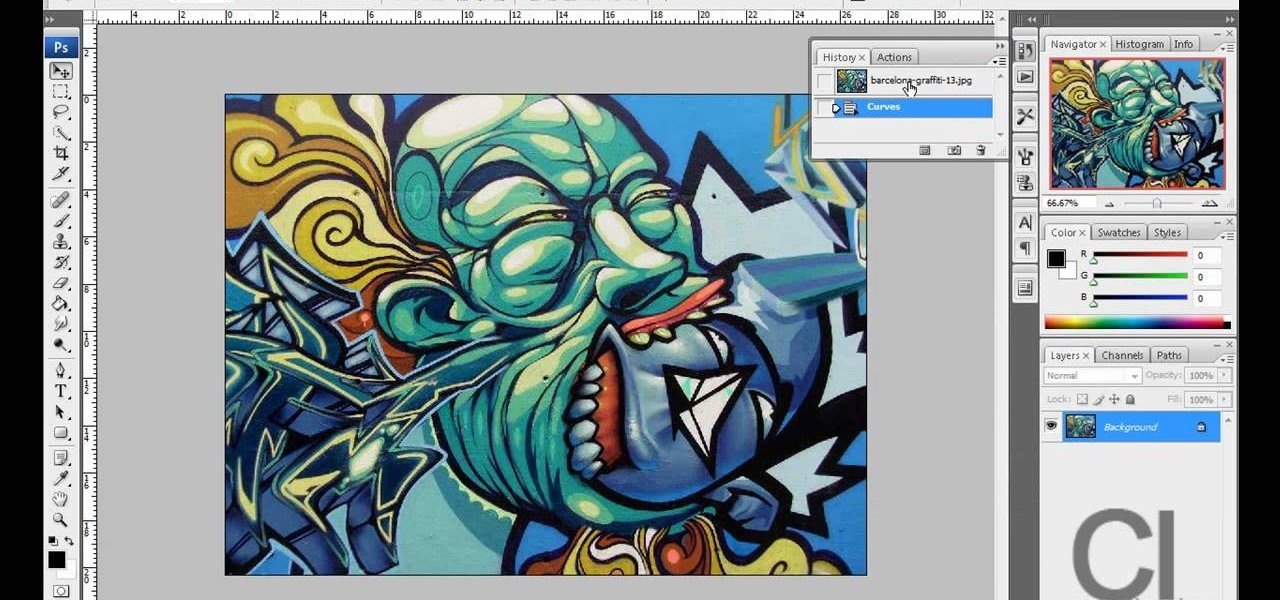
Yanik Chauvin shows you how to do basic curve manipulations in both Photoshop and Lightroom. The curves are the simple adjustments for changing contrast, exposure, and color curves.

Learn how to edit a picture to alter the color of the sky using Photoshop's selective color adjustment layer. This tool allows you to change a color in a photo. A good example of what this tool can do is to change a sunset to a sunrise in a photo. To begin with, you will need to open the selective color adjustment layer under the layer tab. Under the color menu, select the color that you want to alter. The tutorial goes over how much of each color to add or remove to get the desired effect. W...

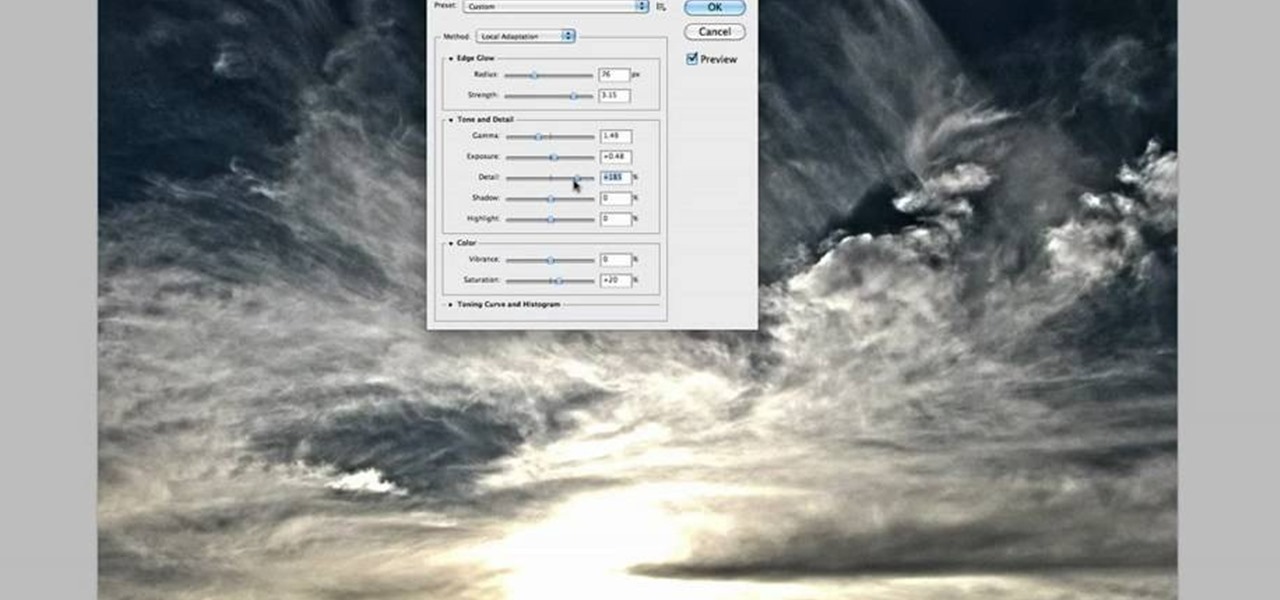
Take full of Photoshop CS5's HDR Toning Adjustment Tool with this free video lesson. Whether you're new to Adobe's Creative Suite or a seasoned graphic design professional after a general overview of Photoshop CS5's most vital new features, you're sure to be well served by this video tutorial from the folks at Brusheezy. In it, you'll learn how to take advantage of Photoshop's new HDR (high dynamic range) Toning Adjustment Tool.

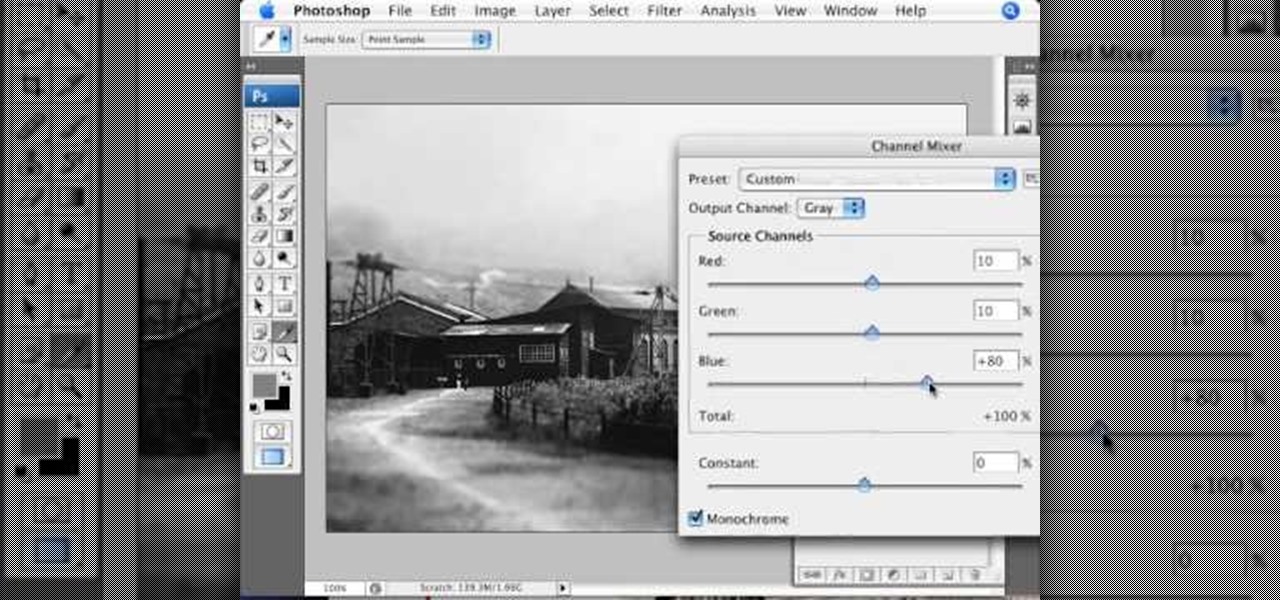
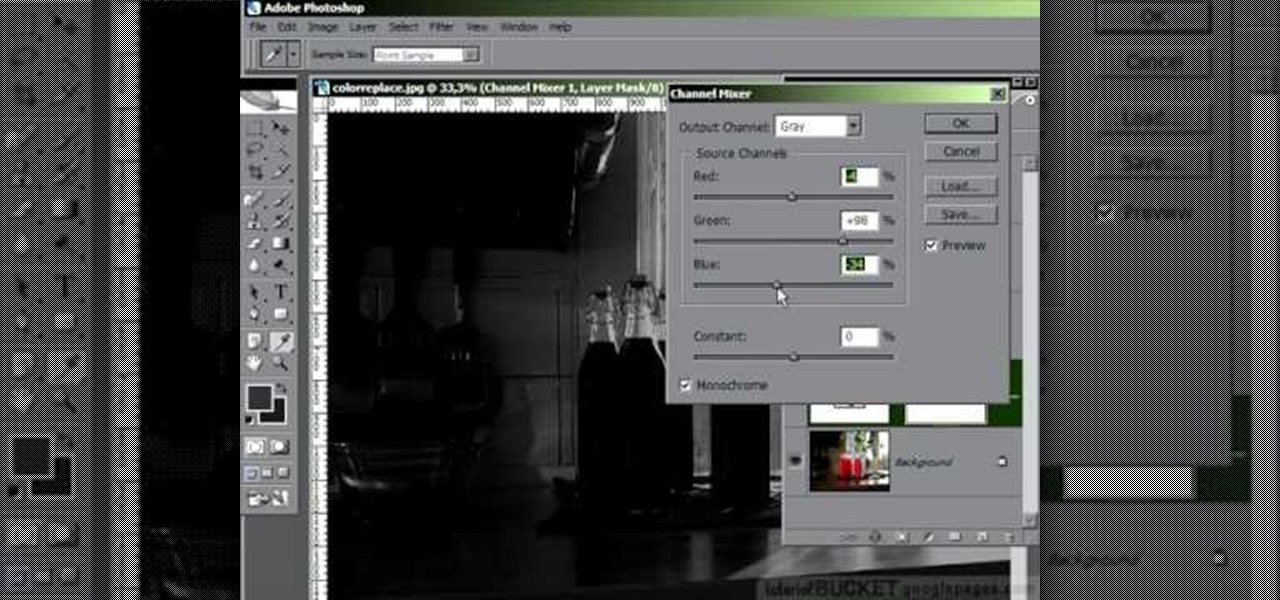
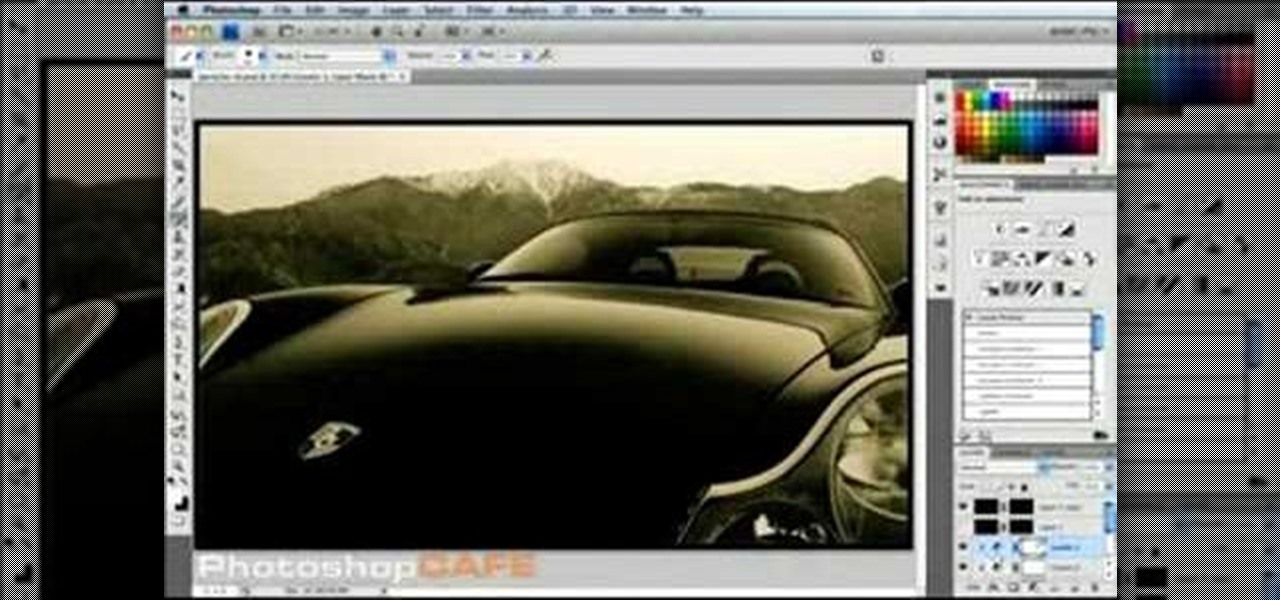
This video demonstrates the split tone effect in Photoshop. A split tone effect makes a picture look more rustic by changing the tones. First, add an adjustment layer to the picture by opening the channel mixer window. Select Monochrome and adjust the RGB values to create a black and white image to your own personal preference. Next, add another layer by opening the color balance window. Here you can change the colors of the light areas by selecting Highlights and changing the color sliders, ...

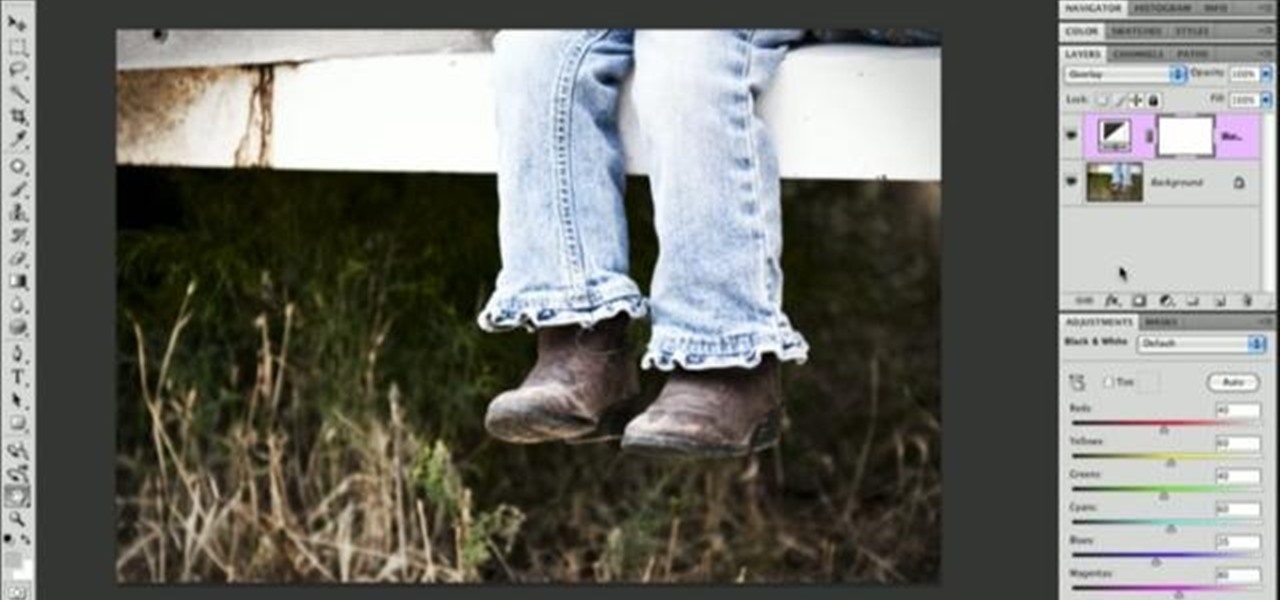
In order to add a nice contrast punch to an image using Photoshop, go to your adjustment layer and click on the black and white adjustment layer. Then go to your "blend modes" and change it to "overlay". If you find that the effect is too harsh you can adjust your opacity settings or you can switch your blend mode to "soft lights". In "overlay" using the black and white adjustment panel you can change your settings to meet your preference. If you are using a previous version of Photoshop that...

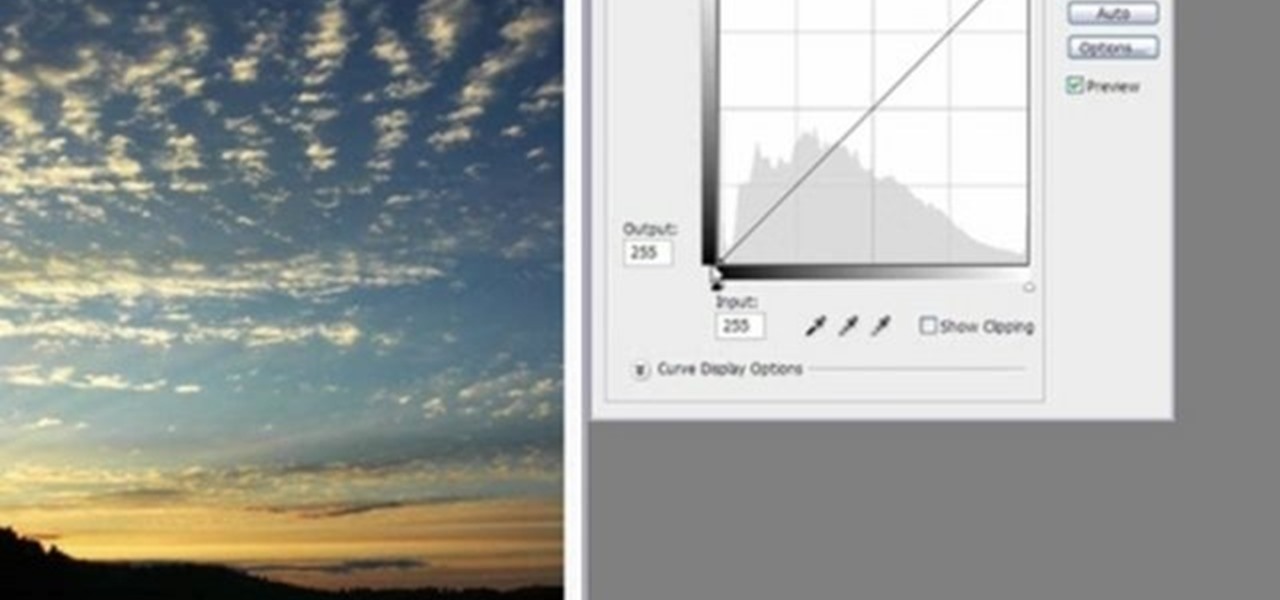
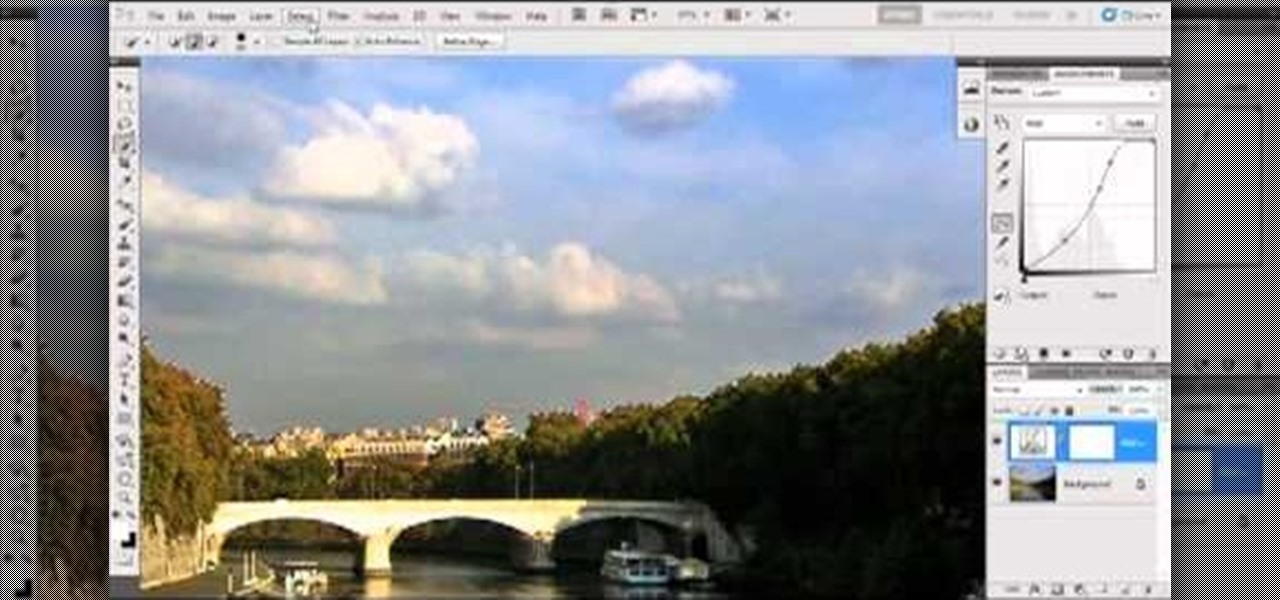
Bring out the colors in your clouds and sky images - or any other picture you want to retouch. This short tutorial shows you how to use the gradient tool in Adobe Photoshop and s-curves to adjust the color and contrast in your image.

This tutorial teaches us how to touch up eyes while using Photoshop. First, open up Photoshop and zoom into the eyes on a picture you want to touch up the eyes on. First, select the adjustment layer icon and brighten the image. Next, invert the mass and select the "v" key, then pain the eyes on both sides. Next, click "filter" and then click "blur" so you will soften the edges so the picture doesn't look fake. Now, you can click on "before and after" to see what the picture results look like....

Zacuto Letus35 Elite Backfocus DOF Tutorial

The enhance controls in Aperture's adjustments panel provide a number of tools for refining your tonal adjustments, controlling saturation, and for correcting color casts.

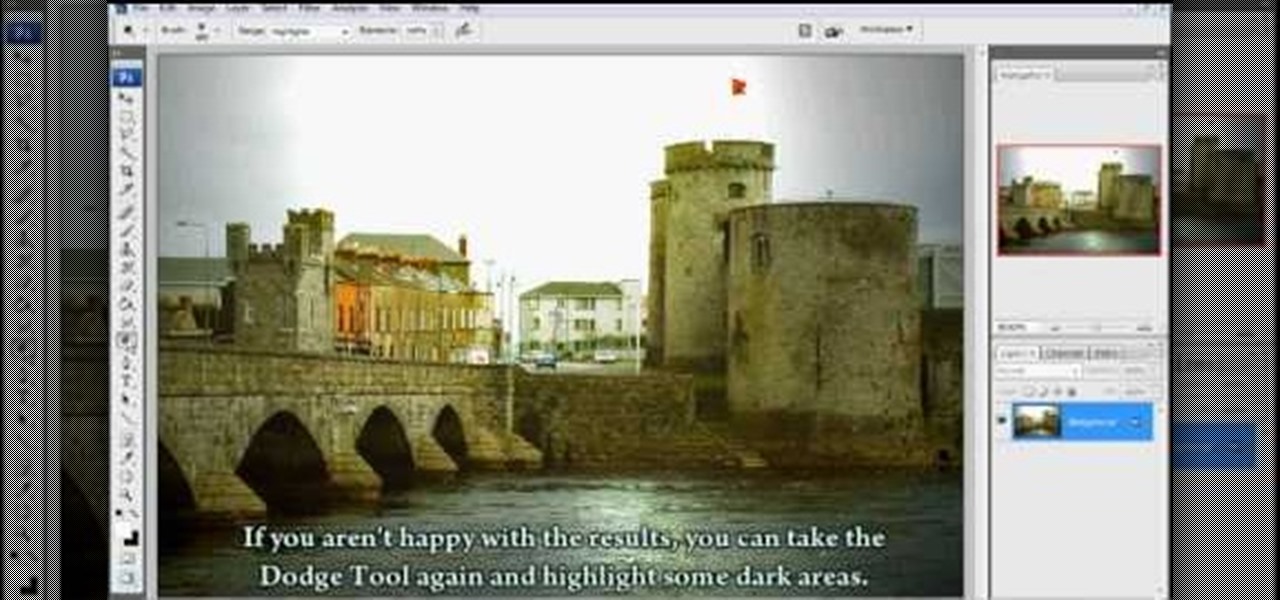
Need to lighten or darken up a digital picture? You can make most of your lightening and darkening adjustments, even before you learn more complex Photoshop features like curves and levels; It's easy. Here's how.

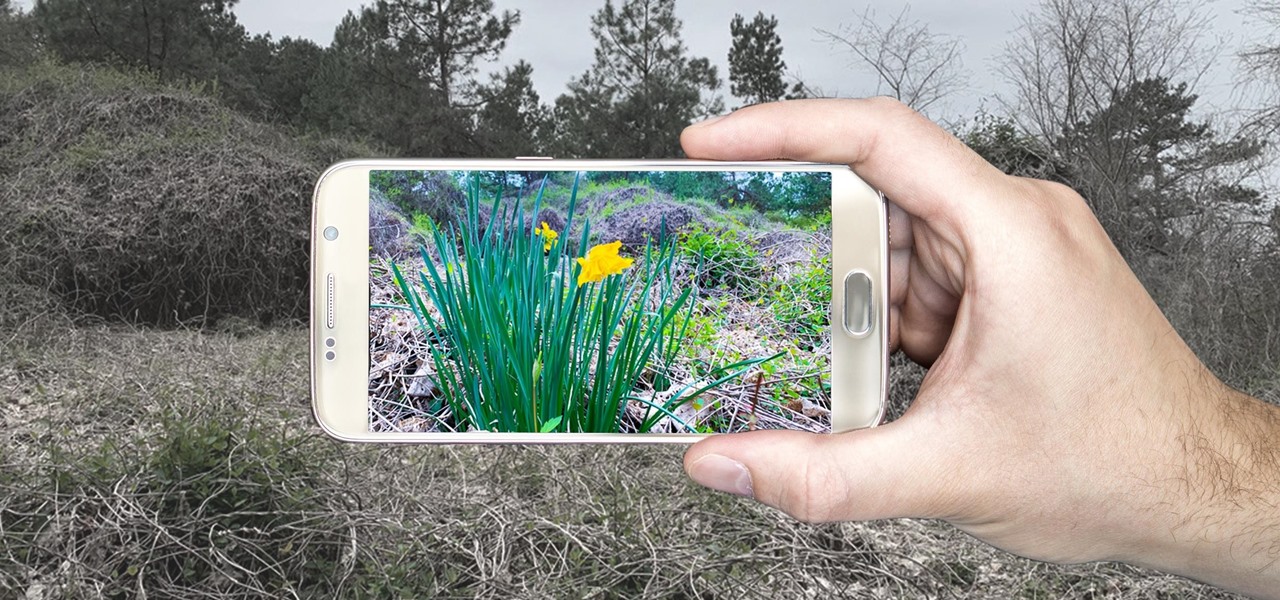
Imagine an Instagram feed filled with a wild array of vivid color. Beautiful right? But when you look at the photos in your iPhone or Android phone's albums, they're all just too dull to pull off that dynamic look. There's no doubt that colorful images are more eye-catching than dull ones, so how do you get your photos to overflow with vibrant color? The answer: Add it in post.

In this tutorial, we learn how to dodge and burn in Lightroom 2. First, open up your image in Lightroom 2 and use the brushes to change the saturation and the colors in the image. You can also use the graduated filter which you can use to apply effects across the image itself. Next, you can add a tint onto the picture and apply a second filter to make the top of the image darker, then make the middle of it brighter. Change the exposure and saturation to make the picture look more realistic. U...

This video demonstrates a way to use the lomo effect on pictures in Photoshop. The effect makes colors stand out more, thus making the picture stand out more. The first step in adding the lomo effect is to change the color curve levels of the picture by going to Image > Adjustment > Curves in Photoshop. They should be changed very slightly, from a straight line to a slight "s" shape curve. After this, the gradient map should be changed to a black to white gradient. Finally, the mode of the ne...

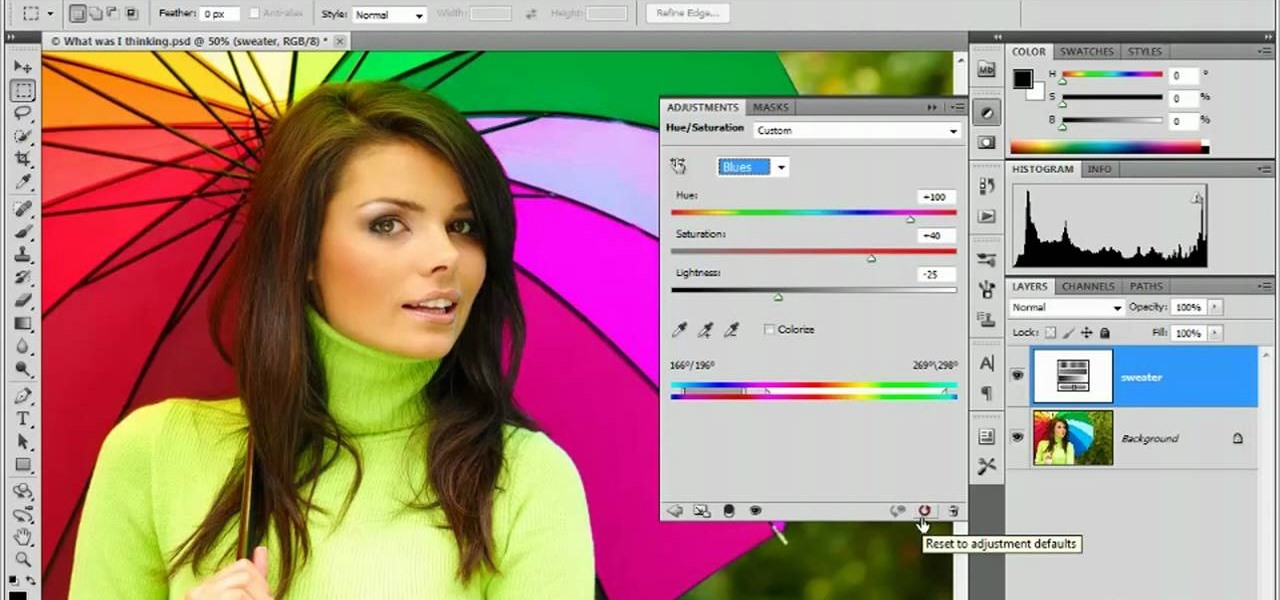
With Adobe Photoshop on your computer, it's super easy to change or adjust the skin tone of somebody in a digital photo. The process uses some basic selection and color adjustment tools, and it's a fun way to make a friend's face nauseously green or lessen the effects of overly strong, sometimes even orange, makeup.

1. To make tilt shift take one picture which is taken from high angle with any content like car and buses. Now open the picture in Photoshop and change it to quick mask mode to create and edit the selection.

In this video tutorial the instructor shows how to perform basic lighting corrections in Adobe Photoshop. The levels tool is the Photoshop's most used command which has many features to it. Its most basic function is as a lighting correction tool. In this video open an image and work on its adjustment layer so that you do not damage the original picture. Now choose the levels option by right clicking and it shows a pop up window which contains a histogram which shows the population of the col...

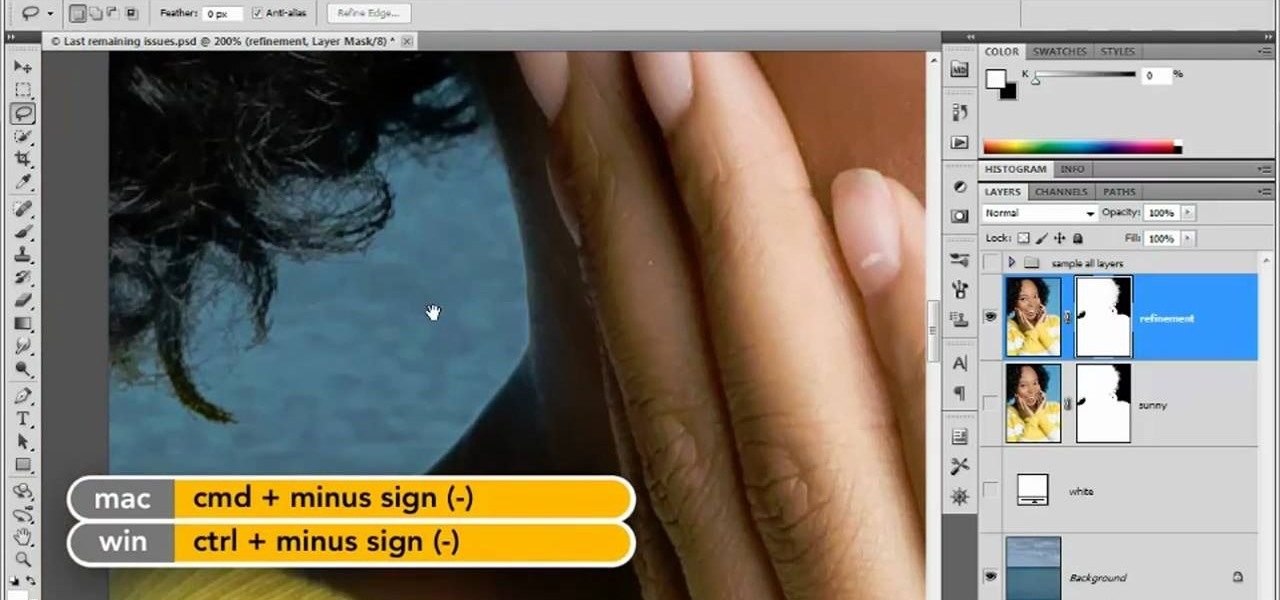
In this clip, you'll learn how to make micro adjustments to a mask when working with a digital image in Adobe Photoshop CS5. Whether you're new to Adobe's popular raster graphics editor or a seasoned designer looking to better acquaint yourself with the new features and functions of the latest iteration of the application, you're sure to benefit from this free software tutorial. For more information, and to get started making highly detailed mask edits yourself, watch this video guide.

Meet the Adobe Photoshop Lightroom 3 Adjustment Brush! Whether you're new to Adobe's popular photo application or a digital photography professional just looking to better acquaint yourself with Photoshop Lightroom 3, you're sure to be well served by this free video software tutorial. For more information, as well as to get started using Lightroom 3 yourself, take a look!

In this video tutorial brought to you by photoshopuniverse, you will learn how to apply mood lighting to images in Photoshop. This is achieved by applying an adjustment layer, called a gradient map, which allows you to adjust the color of the light in an image. You will learn how to access the gradient map from the adjustment layers menu, how to apply the gradient map, then overlay the new layer and fine tune the gradient to create more dramatic looking images.

Open the Adobe Photoshop program. Choose a picture with a head shot. This maybe something that is already in your pictures folder on your computer, downloaded from the internet or transferred from your flash drives, and those photos you may have scanned and saved in your computer.

The Photos app on iPhone has long offered basic editing features for quick edits to pictures, but iOS 13 greatly expanded them and gave the same love to videos. One of the best additions offers the ability to turn off photo and video edits without undoing them, so you can preview how your shots look with or without an effect.

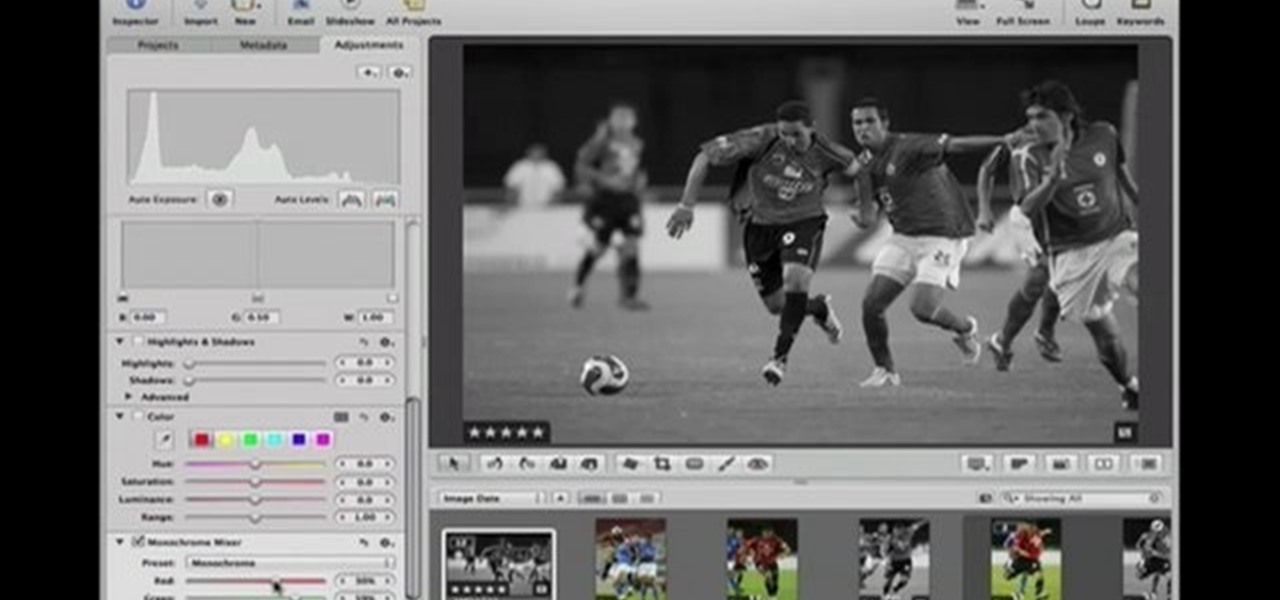
This Software video tutorial shows how to convert color images to black and white in Aperture. Scott Bourne presents this video. Open up ‘aperture’ program and select a color photo that you want to convert to black and white. Now move from the ‘projects’ page to the ‘adjustments’ page by clicking on it. Then click on the ‘+’ sign and select ‘Monochrome Mixer’. When you do this, the picture instantly turns to black and white. It’s as simple and easy as that. For editing the picture further, on...

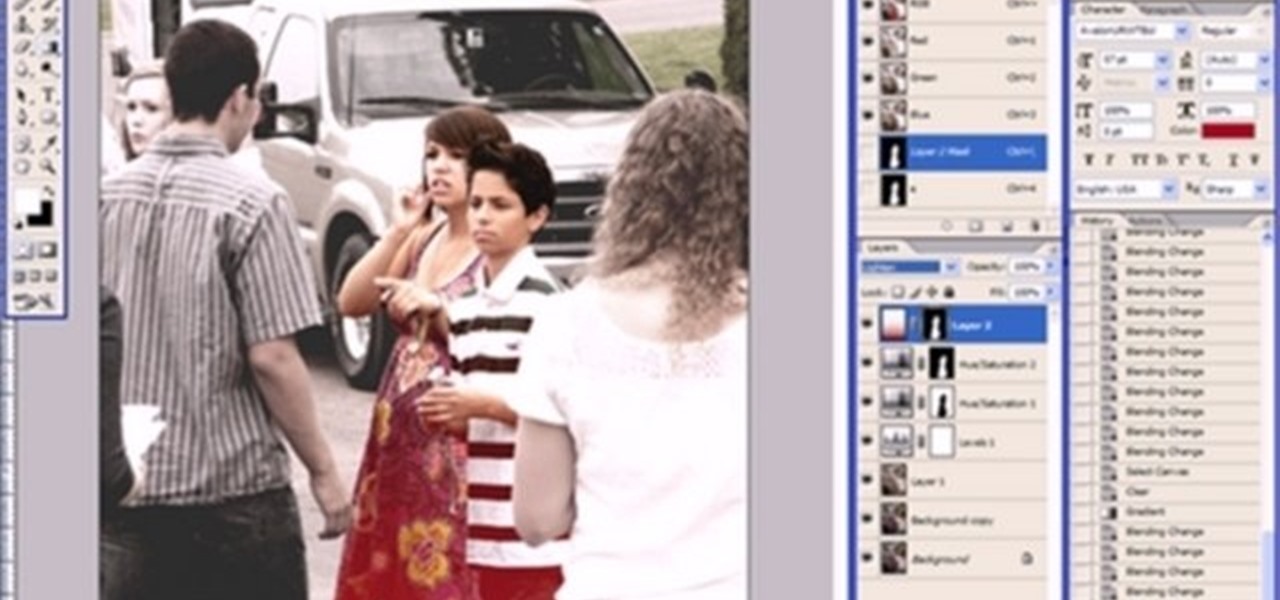
This clip presents a general overview of how to make and work with adjustment and mask layers within most versions of Adobe Photoshop, CS4 & CS5 included. hether you're new to Adobe's popular raster graphics editing software or a seasoned professional just looking to better acquaint yourself with the program and its various features and filters, you're sure to be well served by this video tutorial. For more information, including detailed, step-by-step instructions, watch this free video guide.

Learn how to use the Target Adjustment feature in Adobe Photoshop CS5. Whether you're new to Adobe's popular image editing software or a seasoned graphic design professional just looking to better acquaint yourself with the unique features of Photoshop CS5, you're sure to find something of value in this free video tutorial.

Looking for a Photoshop-style Curves tool in Aperture 3? Look no further. Whether you're new to digital photography or merely unfamiliar with Apple's Aperture 3, you're sure to benefit from this free video software tutorial from Lynda, which presents a thorough, step-by-step overview on how to use said Curves tool to make curve adjustments to your digital images.

Have a photo that could do with a little touching up? Whether you're new to digital photography or merely unfamiliar with Apple's Aperture 3, you're sure to benefit from this free video software tutorial from Lynda, which presents a thorough, step-by-step overview on how to touch up your digital photographs utilizing Aperture's built-in adjustment brushes.

In this video tutorial, learn the several methods to get black & white images from color originals in Photoshop. The first method is the simple desaturate by going to image > adjustments > desaturate and it will wipe out the color from your image. The second non-destructive way of doing this is going into the layers palette, adding a new adjustment layer, choosing hue and saturation and dragging the saturation slide all the way down to minus (-) 100. The next method is going to the channels p...

Retouching images is one of the main reasons the world loves Photoshop, and version CS4 has added some new twists and tools to your retouching options. Rediscover the Adjustment layers through the powerful Adjustments panel in Photoshop CS4. Colin Smith shows you all the main features as well as using the new Mask panel. The revamped Dodge, Burn and Sponge tools are mentioned too in this image retouching Photoshop CS4 tutorial.

This is a tutorial in Adobe Photoshop CS2 demonstrating primarily the use of the quickmask tool to make precise selections of organic shapes. Other topics covered include adjustment layers and layer masks. So watch and learn how to enhance photos using quickmasks, layer masks and adjustment layers in Photoshop CS2.


