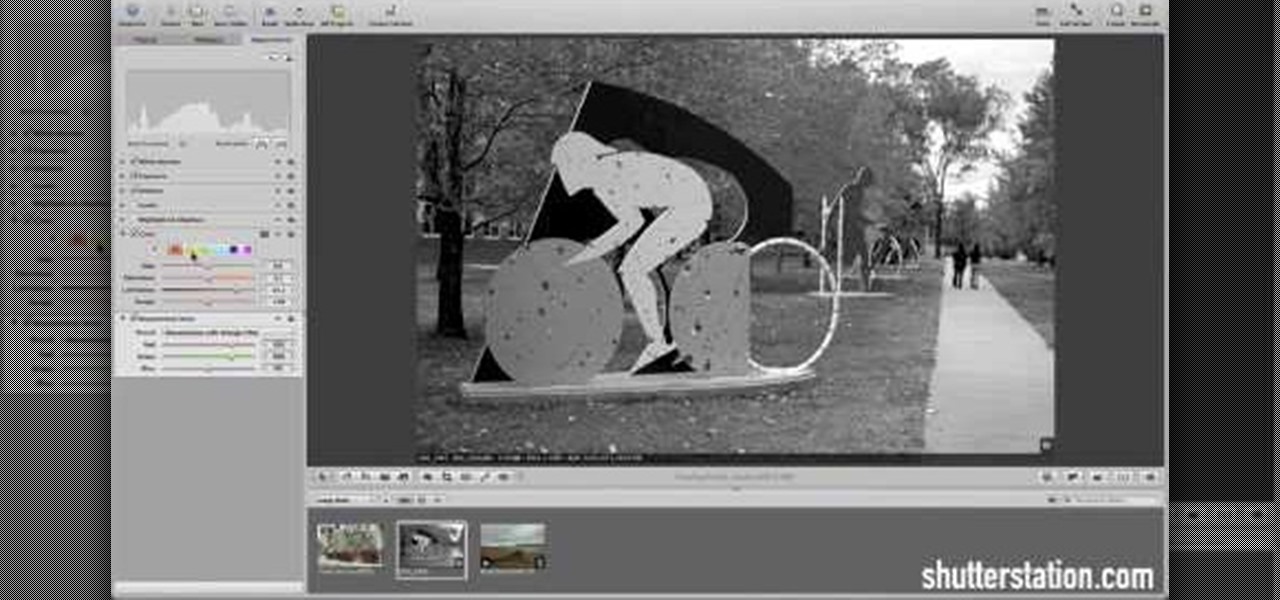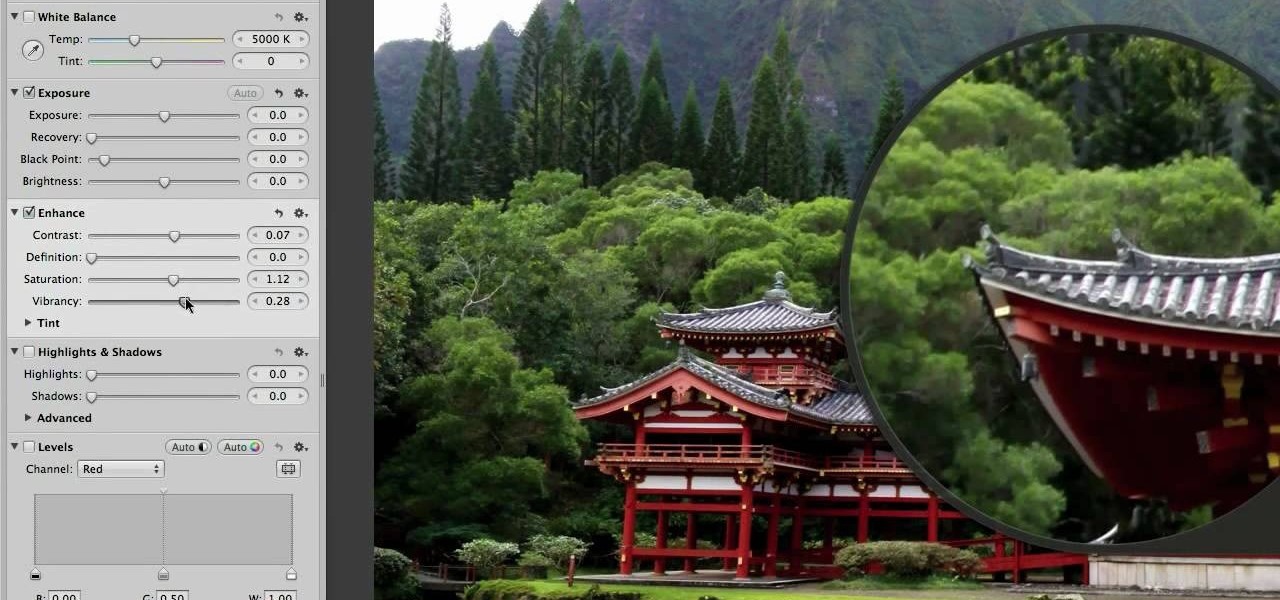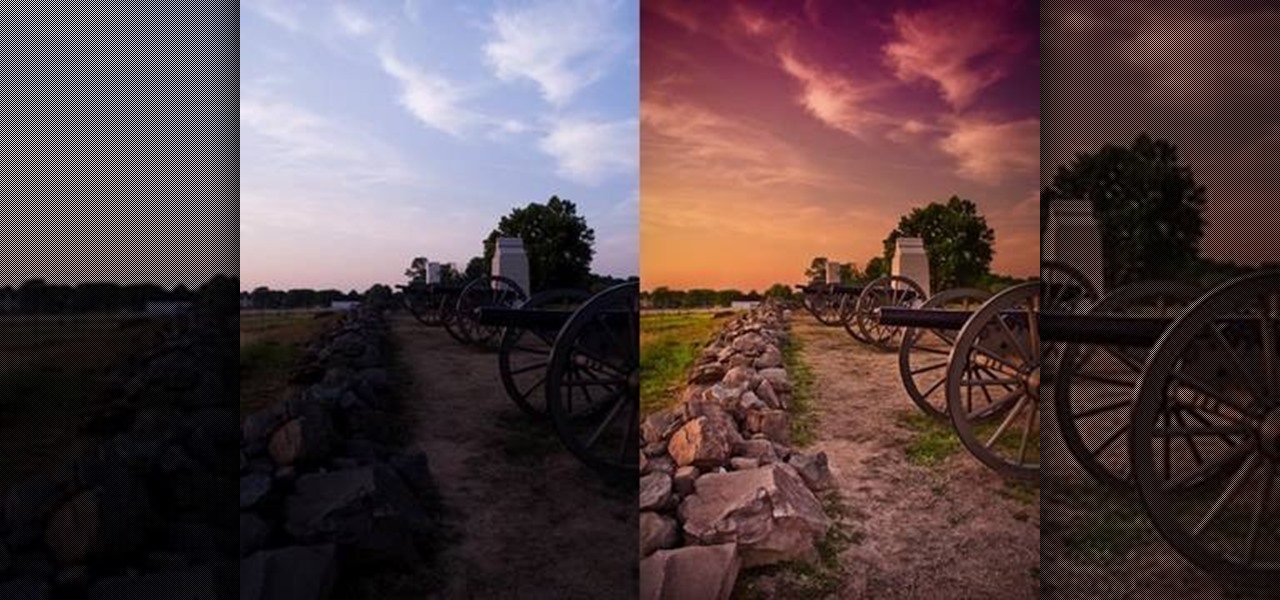
Tutvid shows you how to add flare and dramatic color to your raw camera images (usually the format of a DSLR). In a step-by-step guide with narration, Tutvid takes you through the process of using CameraRaw (used as an extension of Photoshop but never really brings it in photoshop) to add desired colors to your picture. Pull up your raw file in CameraRaw, and press "Command" or "Ctrl + R" to open up the editing panel. With an example, he shows you how to bring out lights in underexposed (dark...

Poor alignment of cabinet doors will cause a kitchen to look run-down and may be embarrassing to the homeowner. Luckily, with a single screw driver and a little ambition, the door alignment can look brand new.

This video tutorial belongs to the software category which is going to show you how to darken the background in Photoshop using the burn tool. This is an example of how to improve your dodging and burning using the adjustment layers.
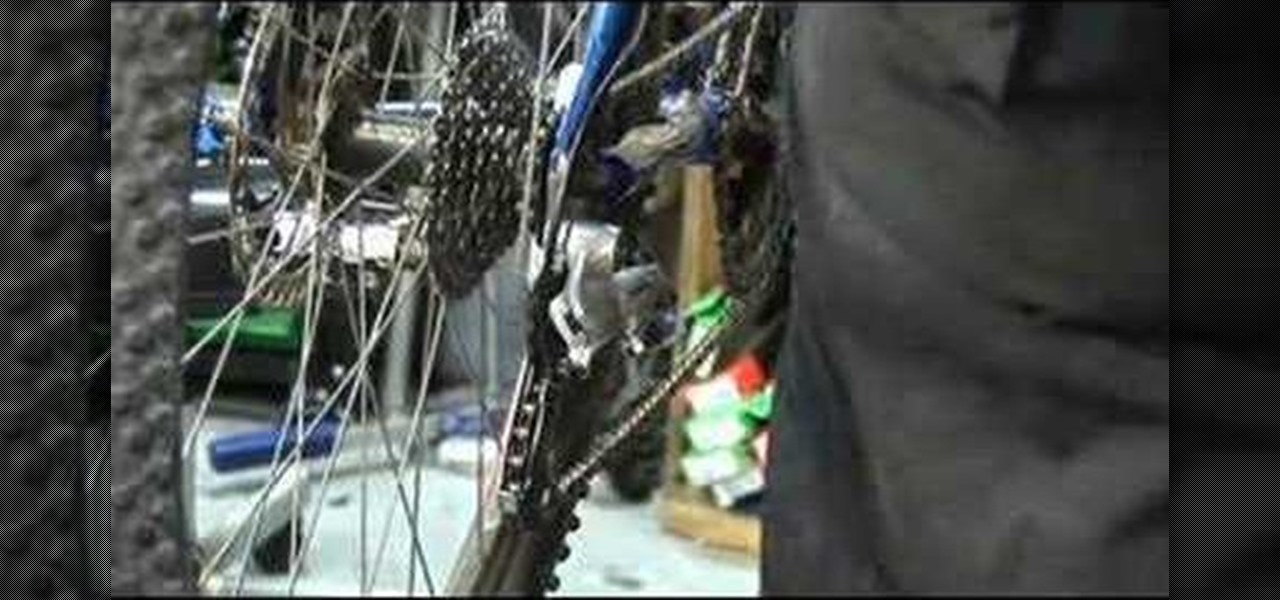
Adjusting the rear derailleur on a bike is an important way to fine-tune your bike's shifting performance, but is complicated and can vary in method and effectiveness depending on the brand of derailleur. This video features instructions on how to adjust a low-normal rear derailleur using the adjustment screws.
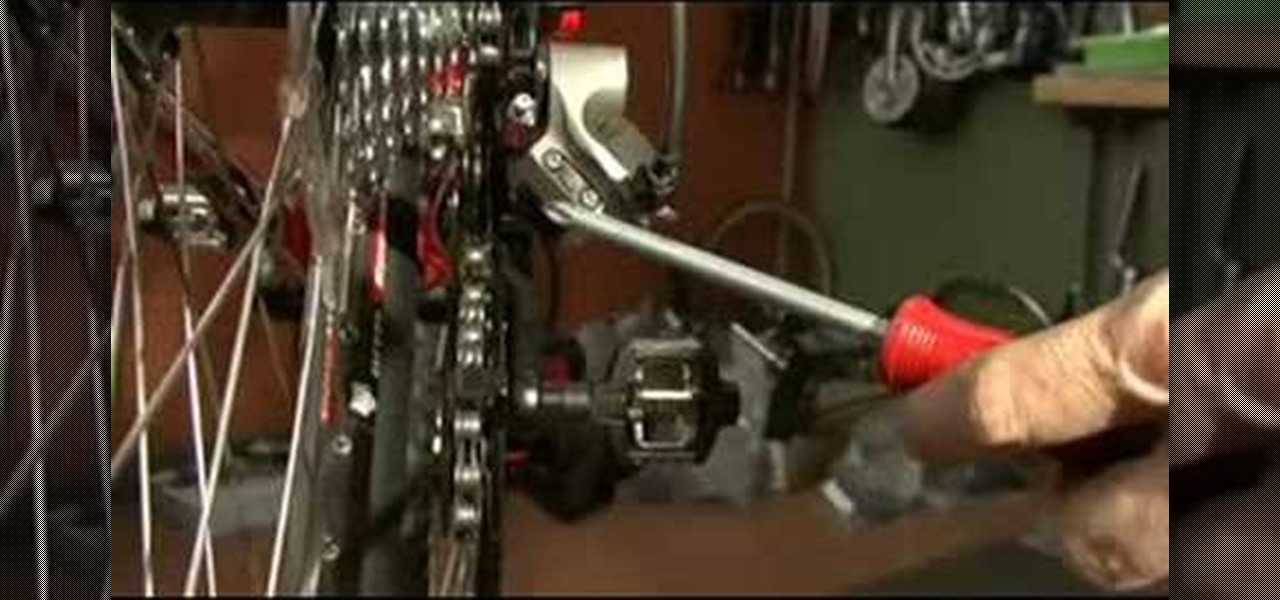
Use a 5mm Allen wrench and loosen the bolt holding the cable on the rear derailleur. Thread the shift cable through the cable stays and tighten it in the rear derailleur with as little slack as possible. Make sure that the adjustment screw on the shifter is in the mid point of the adjustment.
Team USA's Derek Eoff on making adjustments for high and light hits. Pick up some bowling tips and tricks to improve your game, whether you are a beginner or a competitive bowler in a bowling league. Learn how to make high-light adjustments with this bowling video.

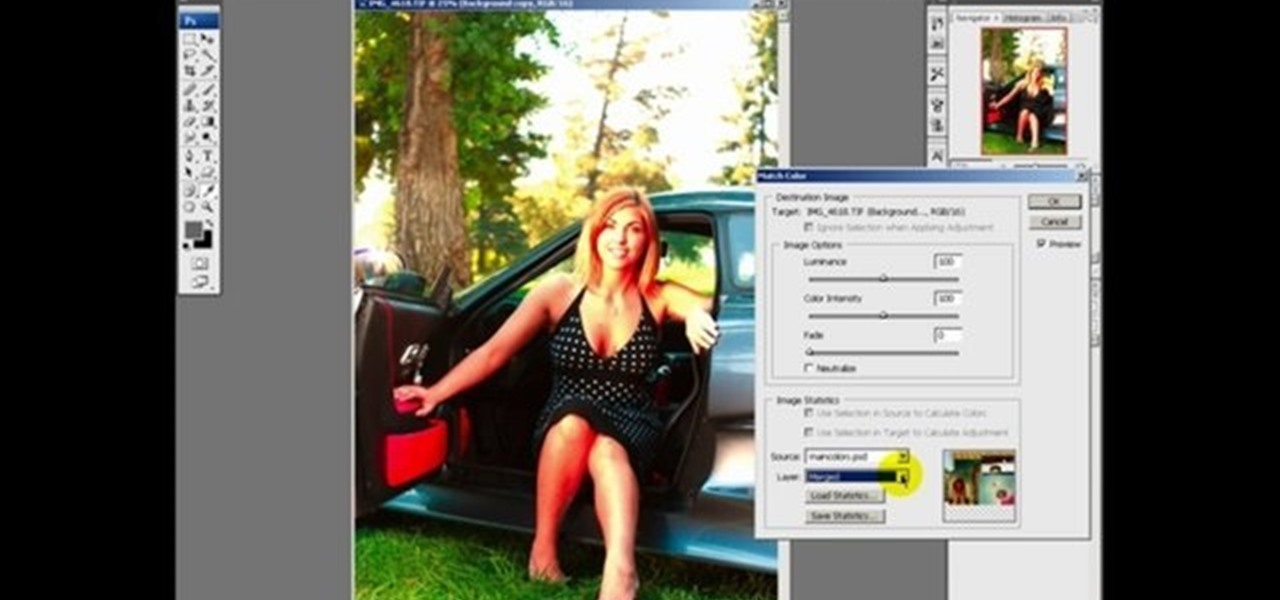
This Photoshop tutorial explaine the simple use of Match Color Adjustment in any version of Photoshop. Before starting this tutorial please create a .PSD file and add at least a dozen or more high res, high quality, vivid color photos and place each photo into it's own layer inside the .PSD file. Once you have your Photoshop file ready, follow along with this tutorial and learn how to use the Match Color adjustment tool in Photoshop on color photos and black and white photos.

Watch this instructional woodworking video to make some typical adjustments to a wooden clock. If the tick is running unevenly you can add some lead discs to the weight. You can also adjust the pendulum length.

This tutorial shows you how to use the replace color adjustment tool in Photoshop. This is used to change an entire certain group of color.

This tech tip demonstrates advanced rear derailleur adjustments in order to achieve proper shifting.

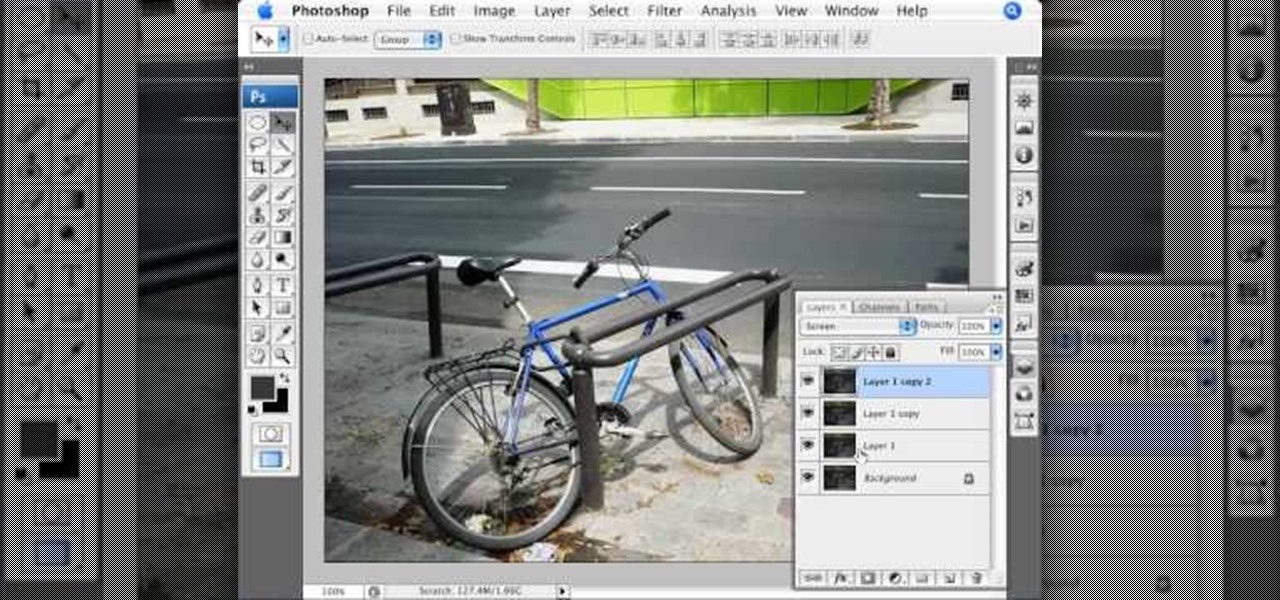
This video shows you how to use an aspect of Photoshop so that you can fix snapshot pictures that may have gotten an exposure level you did not want. This quick and easy tutorial video shows you how easy it is to adjust the layers in the screen. With different adjustment tricks for the layers to use if you are unsatisfied with the results you are getting. Each video will take moments to do and once saved you can move on to edit any other photos that did not come out with exposures that you wa...

New to Apple's Aperture 2? Aperture 2 offers photographers a streamlined way to speed through edits, make essential adjustments, and deliver photos online and in print.

Adobe Premiere Clip gives mobile video editors the tools they need to make some great looking projects from their iPhone or Android device. Editors need ways to organize and trim clips, edit the look of those clips, add music, and more. For a smartphone app, Adobe Premiere Clip has these features in spades.

In this clip, we learn a basic digital photography workflow, one which will enable you to enhance your favorite digital photos with both ease and speed. (Note: To follow along, you will need to have the application installed. Learn how to download and install the Mac App Store here.)

Learn how to create a warm, grungy background in Photoshop. - Open up a brand new document at 1280 x 720.

Pixel Perfect is the "perfect" show to help you with your Photoshop skills. Be amazed and learn as master digital artist Bert Monroy takes a stylus and a digital pad and treats it as Monet and Picasso do with oil and canvas. Learn the tips and tricks you need to whip those digital pictures into shape with Adobe Photoshop and Illustrator. In this episode, Ben shows you how to dive into new features of Photoshop CS4.

This video tutorial is in the Sports category which will show you how to adjust your front brakes on your bike. The brake pads are very adjustable. It has 360 degrees rotation which helps in installing it on the bike easily. First install the brake arms. Then loosen up the brake pad screw and lower it to bring it in line with the rim of the wheel. Now hold it in place and tighten the screw. Thereafter you can any vertical and horizontal adjustments. You can then repeat the same procedure for ...

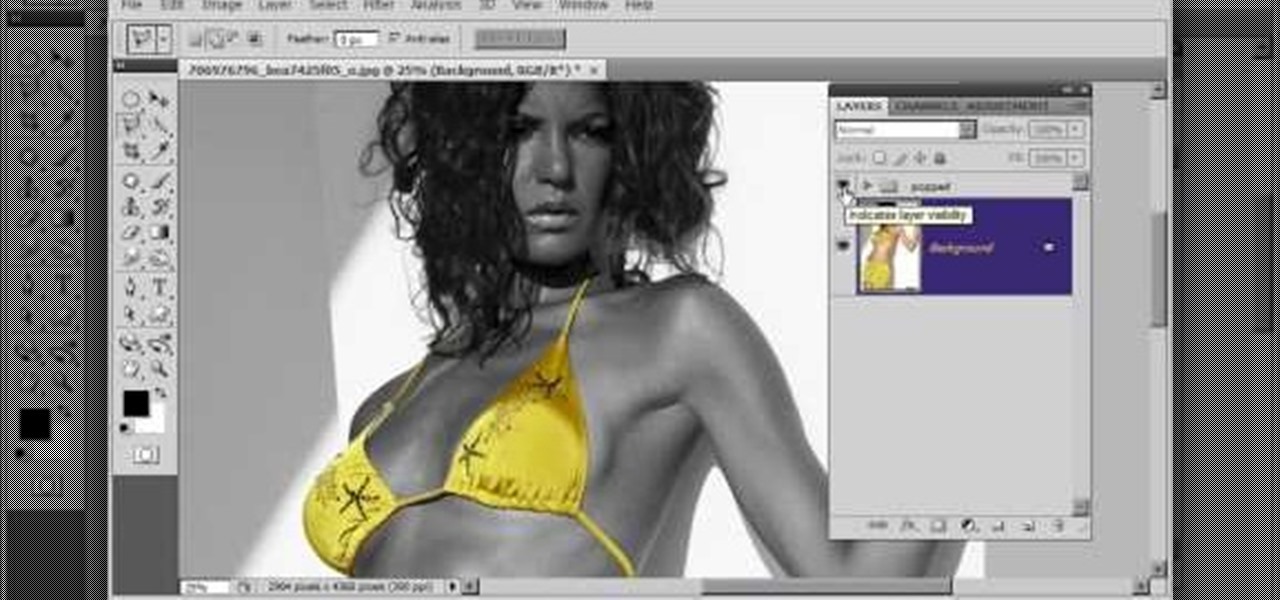
In this video, we learn how to turn a photo partially black and white using PhotoShop. First, open up the program and open up the picture you'd like to change. Now, click with the right key above the layer and choose duplicate "layer". Now click above the eye icon to hide the layer, then select the layer. Now you can go to image, adjustments, then black and white. Now make the second layer visible and select the eraser tool. Wave your brush over everything but what you want to keep colorful. ...

In the tutorial, GeorgiAnastaso shows your how to change color of an object in Photoshop. First of all open the picture which you want to change. Then make a new layer and go to make adjustment layer option. There will be three options. Hue, saturation and lightness. If you change the hue amount it will change the color of your object. Saturation will maintain the color amount. After finishing this tutorial you will be enable to change any color in photoshop.

MyFitnessPal adjusts your calorie goal for the day according to your activity level. The more active you tell the app you are, the more calories it tells you to consume — simple, right? Unfortunately, MFP doesn't tell you to consume fewer calories when you don't work out. However, an activity tracker like a FitBit or Apple Watch can help.

This video tutorial will show you how to create a seamless background texture using Photoshop using any square or rectangular portion of a picture. The narrator in the video demonstrates step-by-step how to achieve a seamless tiling of a photo through Photoshop and dictates the options that you will need to select. You first have to select a portion of the picture that you want to use. Then the narrator explains that you have adjust the sides of the square portion you chose--labeled A, A' , B...

Smartphone cameras are so good nowadays that there's almost no reason to own a point and shoot. Once the megapixel spec race was finally settled (hint: more isn't always better), manufacturers started focusing on the quality of their camera sensors, which has led to a huge jump in color accuracy, dynamic range, and image clarity.

In this tutorial, we learn how to create a warm grunge background in Photoshop. First, create a large circle on a burnt orange background in Photoshop. Now, go to layer, adjustment layer, then levels. Hit "ok" then the level's adjustment layer will be masked. Now, go grab the bottom black slider and brighten up the middle. Use the overlay to create a center glow. Next, bring in texture using a brushed metal texture from this photo. Now, even the image out by going to image, then image rotatio...

Looking for a guide on how to get the most out of the auto commands in Adobe Photoshop CS5? Whether you're new to Adobe's popular raster graphics editor or a seasoned designer looking to better acquaint yourself with the new features and functions of the latest iteration of the application, you're sure to benefit from this free software tutorial. For more information, watch this video guide.

Whether you're new to Adobe Photoshop or a seasoned graphic design professional after a general overview of CS5's most vital new features, you're sure to be well served by this official video tutorial from the folks at Adobe TV. In it, you'll learn how to automatically correct lens distortions and fix chromatic aberration and vignetting with Photoshop CS5 and Photoshop CS5 Extended, which use an image file’s EXIF data to make precise adjustments based on the type of camera and lens you used.

This video tutorial by VvCompHelpvV gives you two methods to achieve the Sin City effect in your photos using Photoshop. The Sin City effect is making the main subject of the photo appear colored while the rest of the photo looks black and white. In the first method the subject should be selected using a pen-tool using the settings mentioned. After that right click on the selected areas and make the feather radius 3, inverse the selection and go to image > adjustments and de-saturate and your...

Learn how to create a sepia effect for your images in Photoshop using both adjustment layers and using a duotone image. You will also learn how to add some dirt specks and a dark vignetting around the edges.

Aperture's white balance adjustment helps you improve the quality of colors in your images, correcting for a camera that wasn't properly calibrated for the lighting conditions under which it was used.

Aperture's levels adjustment provides a refined level of control over your tonal corrections.

Aperture's highlights and shadows adjustment tool provides an easy way for you to brighten or reduce the brightness of highlights and shadows without affecting other aspects of your images.

Aperture's color adjustment lets you make selective changes to hues within your image.

Aperture 2 includes new vignette and devignette adjustments that allow you to add soft, shadowed edges to your images for an artistic effect or to correct for unwanted darkened edges of images.

Want to play Canned Heat's "On the Road Again" but your harmonica's in the wrong key? No problem: in this elaborate instructional video you'll learn how to tune your harmonica to the key of A by raising the pitch in draw hole 6. And remember: before attempting to adjust the tuning on your favorite harp, it might be wise to practice pitch adjustments on an old, used, broken or cheap harmonica.

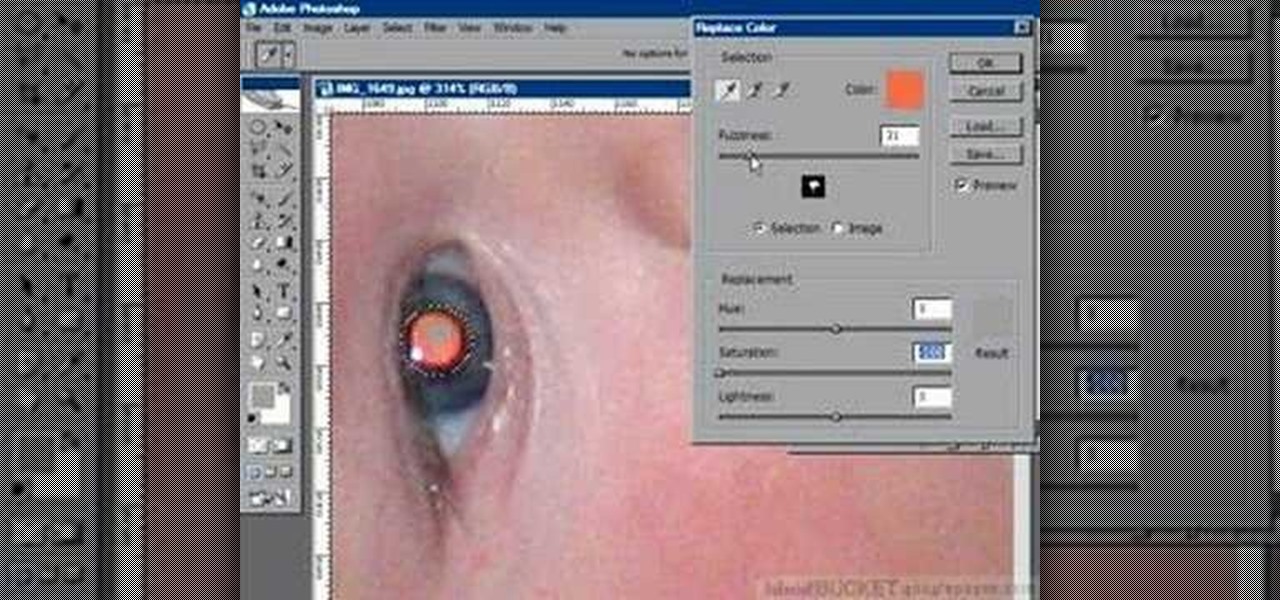
If you have a photograph with an extreme red eye problem, then you will have to take steps above and beyond using the built-in red eye reduction tool in Adobe Photoshop. In extreme cases, red eye will actually contain colors outside of the red spectrum of light. Since the red eye tool only works on this spectrum of light, you will have to manually fix extreme red eye by working on tools that are effective across all different wavelengths of light. The most effective tool at your disposal in t...

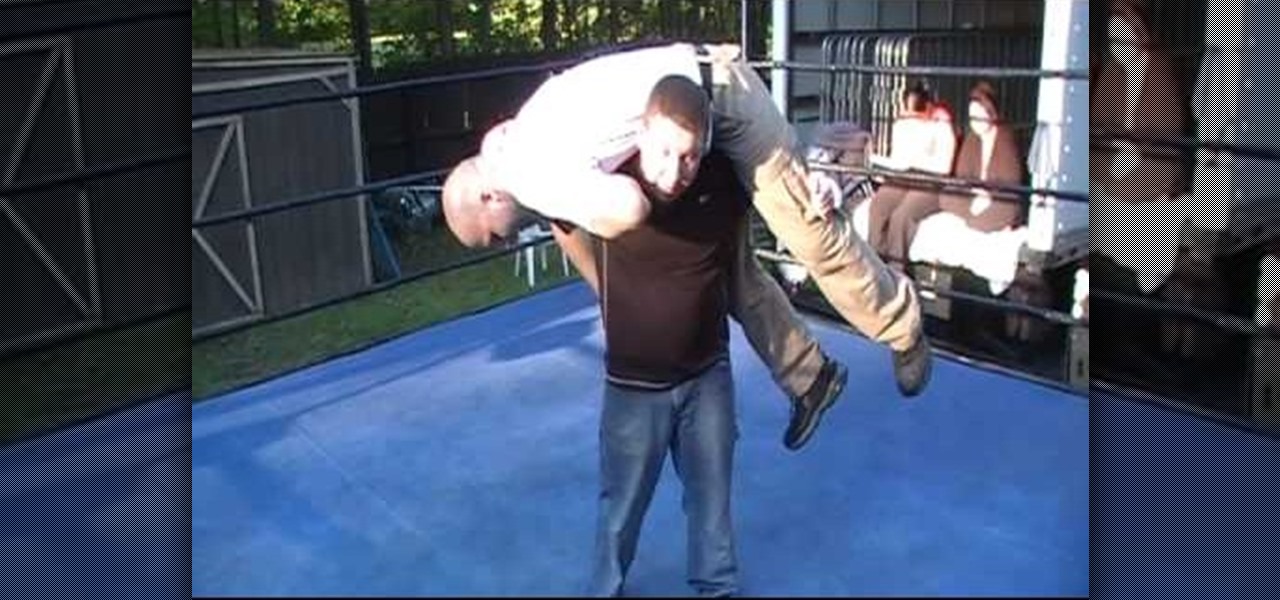
John shows us how to do the "Attitude Adjustment" pro wrestling move. Remember not to do this at home, only under the supervision of professionals! What you do, is start off by kicking them in the stomach, then throw their arm over your shoulder. Reach in under their knee to get a good grip, then carry them over your shoulders. You should have one hand on your shoulder and one on your hip. Then, when the other person gives the signal, you can throw them down to the ground. This will look like...

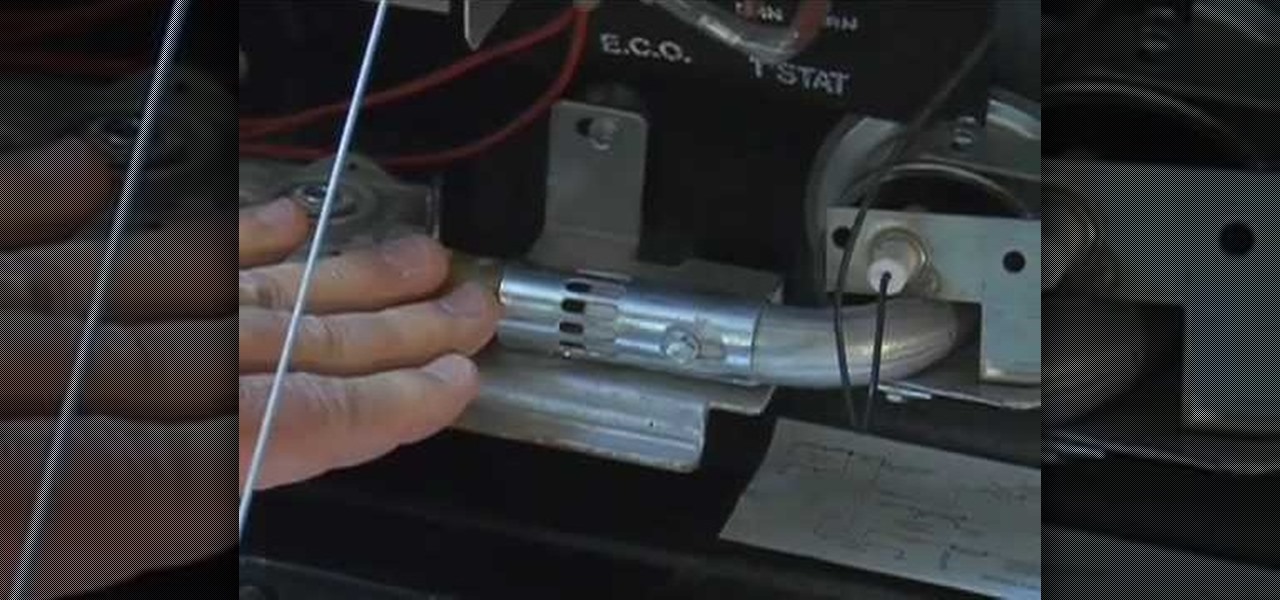
In this video, we learn how to adjust the flame on your RV water heater. First, open up the area where your gas valves are. Find the air opening to make a smaller air adjustment. The setting should be 1/4 of the way open. Snug down the locking screw when you have adjusted it properly. Now, you have to fire up the water heater by turning on the water heater switch first. Once the main flame is lit, you will see it with a nice blue color. Play with the adjustment some more until it's adjusted h...

Despite having the UltraPixel branding, the M7's camera can leave you feeling a little let down. The picture quality is clear and the low-light shots are decent, but when looking at the same shots taken on a friend's iPhone, you may feel a little inadequate.

Open the picture you want to edit. Right-click on the main picture layer in the box and then select "Duplicate Layer". Then, in the same box, go to the drop-down menu that says normal, and change it to "Overlay". Then, select Filter>Other>High Pass. In the box that comes up, set the radius to 7.4 pixels. Next, go to Layer>New Adjustment Layer>Gradient Map. Then, when the box comes up, click OK. Then click on the main gradient in the Gradient Map. In the new box, there is a bar that goes from ...

Learn to create a fashion editorial style color in Photoshop! 1. From CHANNELS button select color of the Model. It will show different colors select as per your choice. 2. Click on Levels it will show the image selected. 3. Right click and select Black&White it will open ADJUSTMENTS button adjust the color. 4. Go back to CHANNELS button they all images will look same. Copy channel Blue and Select Blue copy3 and color model's body and hair with black. 3. Click on ADJUSTMENT button and adjust ...

The first thing you probably noticed after turning on your LG G3 for the first time was its gorgeous Quad HD display. The G3 is the first device to offer the soon-to-be standard QHD screen, and it's a beauty. That being said, the colors can look flat and dull, especially when compared to my previous device, the Galaxy S4.


