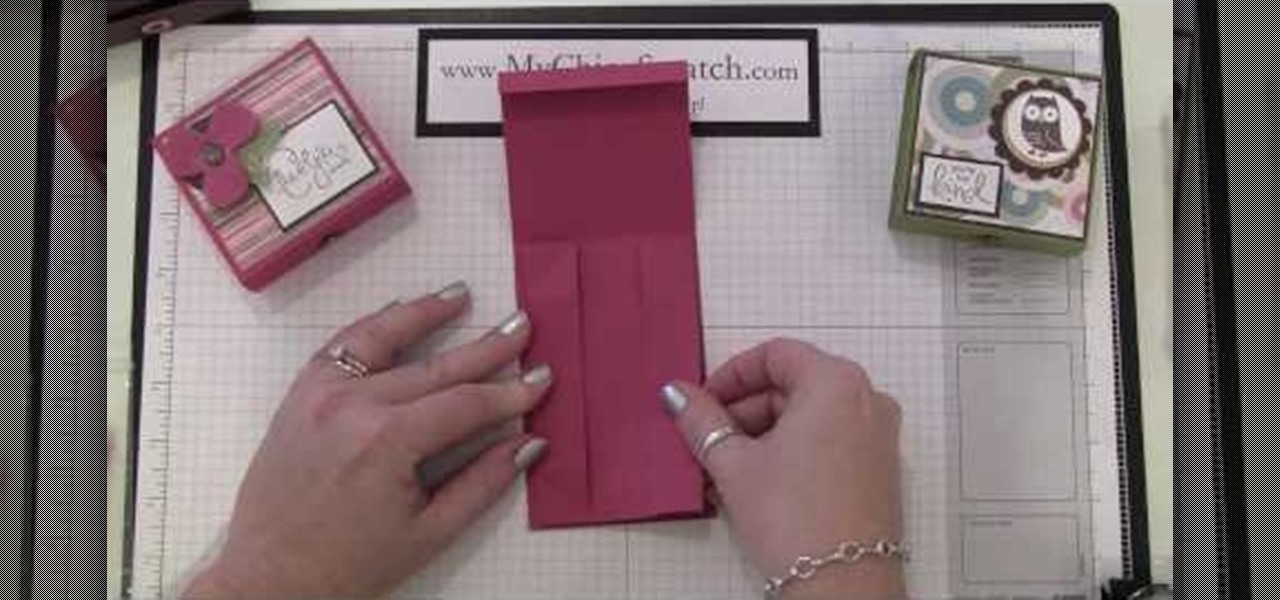
Take your mind off the dreariness of winter by crafting for spring! These sturdy and beautiful candy boxes can be made in any color and design you'd like with simple - and inexpensive - scrapbooking paper.
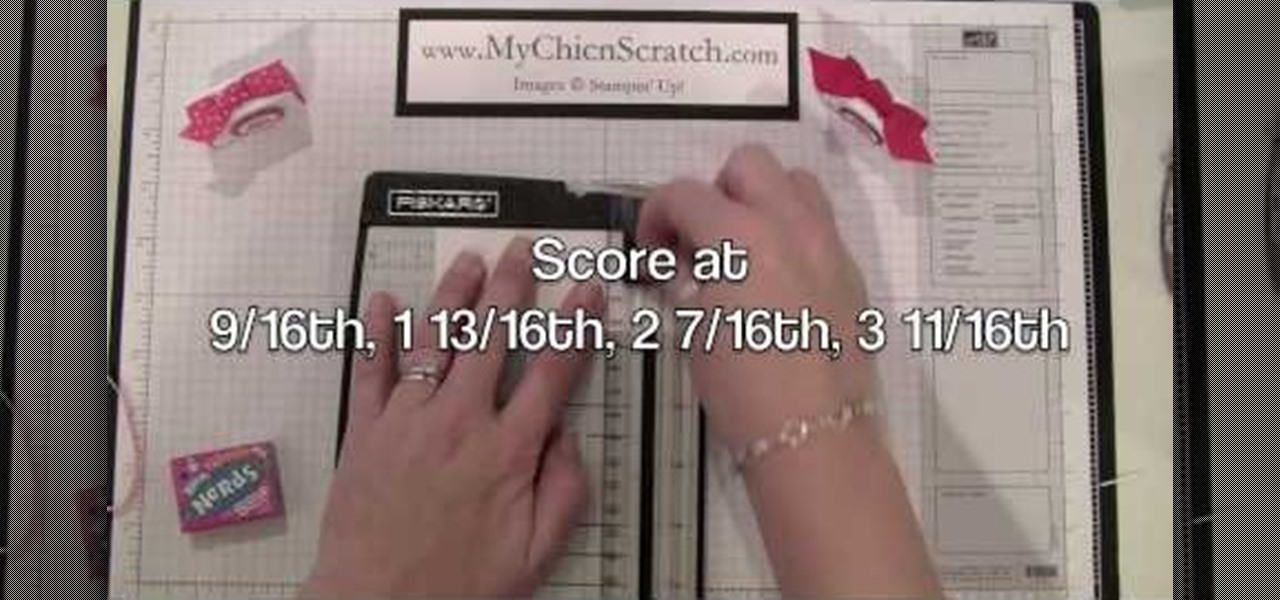
Valentine's Day is coming up in only a little more than a month (we know, it seems like it was just Christmas a few days ago), so get ready to shower your amor - or amores - with love and candy by crafting this cute candy box.
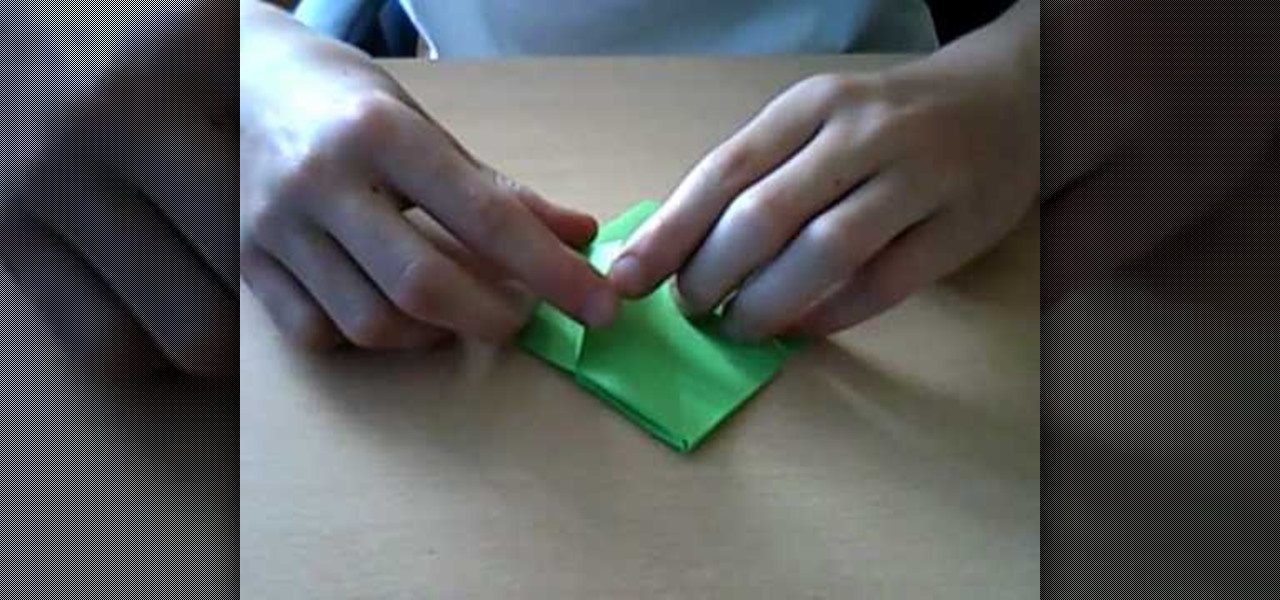
With Christmas just around the corner, it's prime time to start thinking about what gifts you're going to get, as well as how to wrap them. Even a fancy schmancy iPad isn't going to look all that appealing if haphazardly wrapped in 5-year-old Rudolph wrapping paper, right?
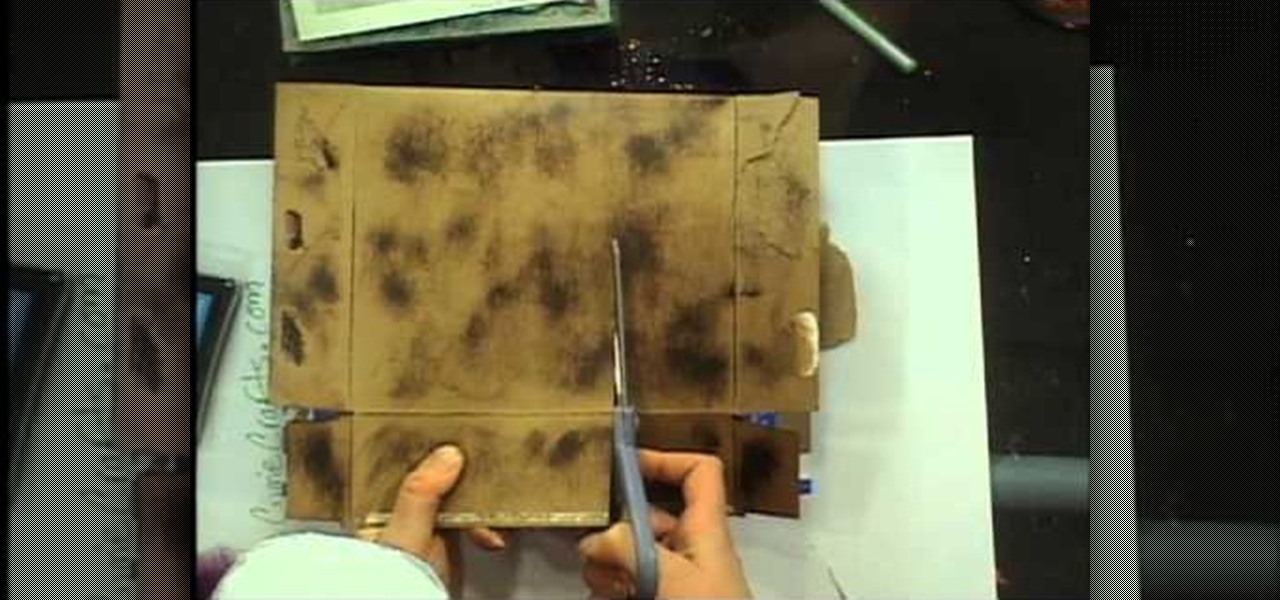
This is a fun and festive craft you can use to dress up your home or give away as a gift. All you will need are some of your favorite vintage graphics, your chosen cardboard box, a craft knife and a hot glue gun.
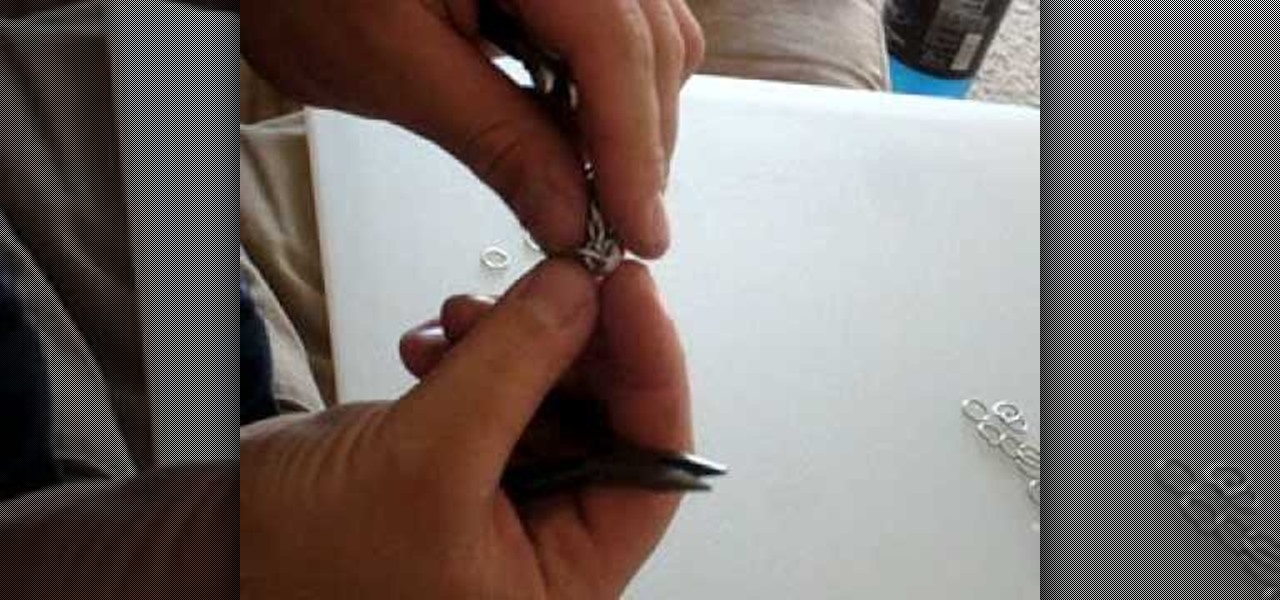
You can make jewelry out of chainmail! It will be bulky, unless you use incredibly tiny rings. This tutorial shows you how to make the box chain out of many small metal rings, which you can expand to a necklace, bracelet key chain or any other type of jewelry you can think of.
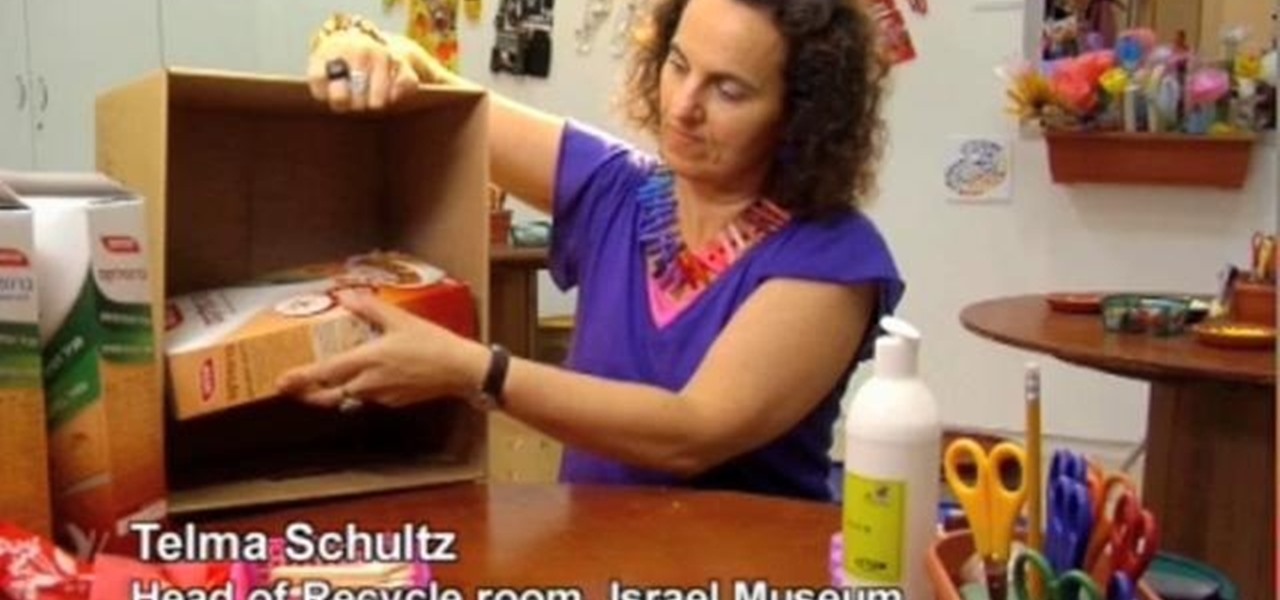
Perfect for decorating on a budget or green decorating! This tutorial shows you how to take empty cereal boxes and other cardboard materials, and transform them into a beautiful and cool chest of drawers you can use to store your small items.

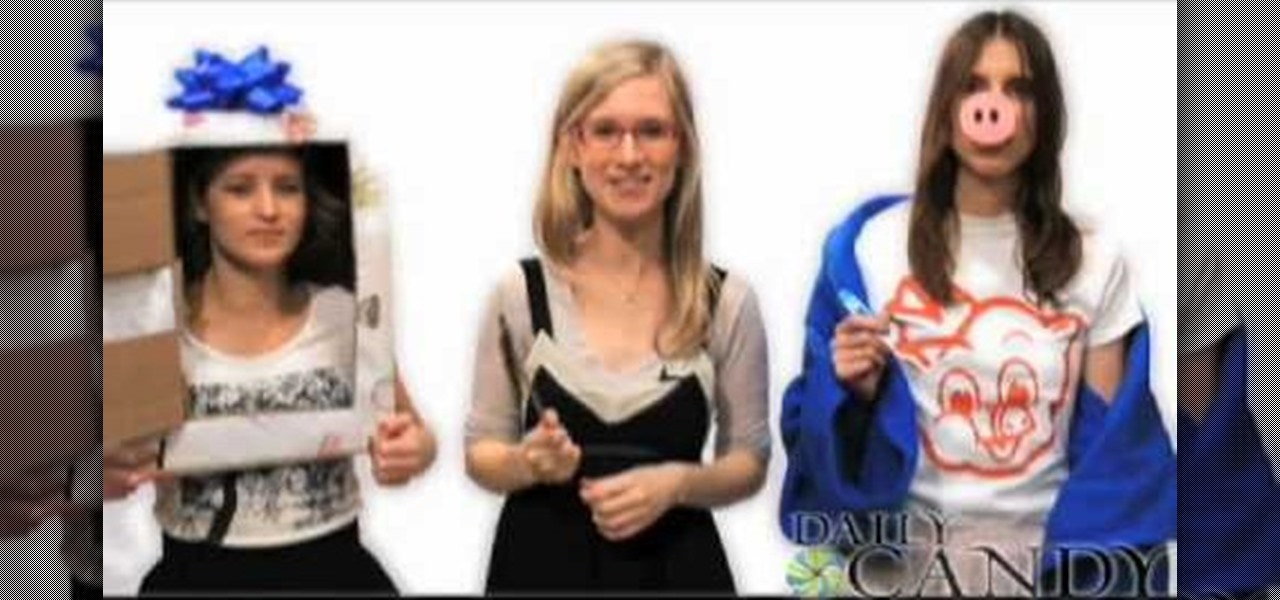
In this tutorial, we learn how to make last minute Halloween costumes. To make a Kraft singles costume, you just need a large foam mat, then spray paint each half yellow. Cover it with a tarp, then add on a Kraft logo. You can also place a box over a girl, to be a chick in a box. For a little white lies costume, you just need to write lies on tape and place it onto your shirt. Make sure the pieces of tape are large. To make a cereal killer costume, place cereal boxes on you along with glued o...

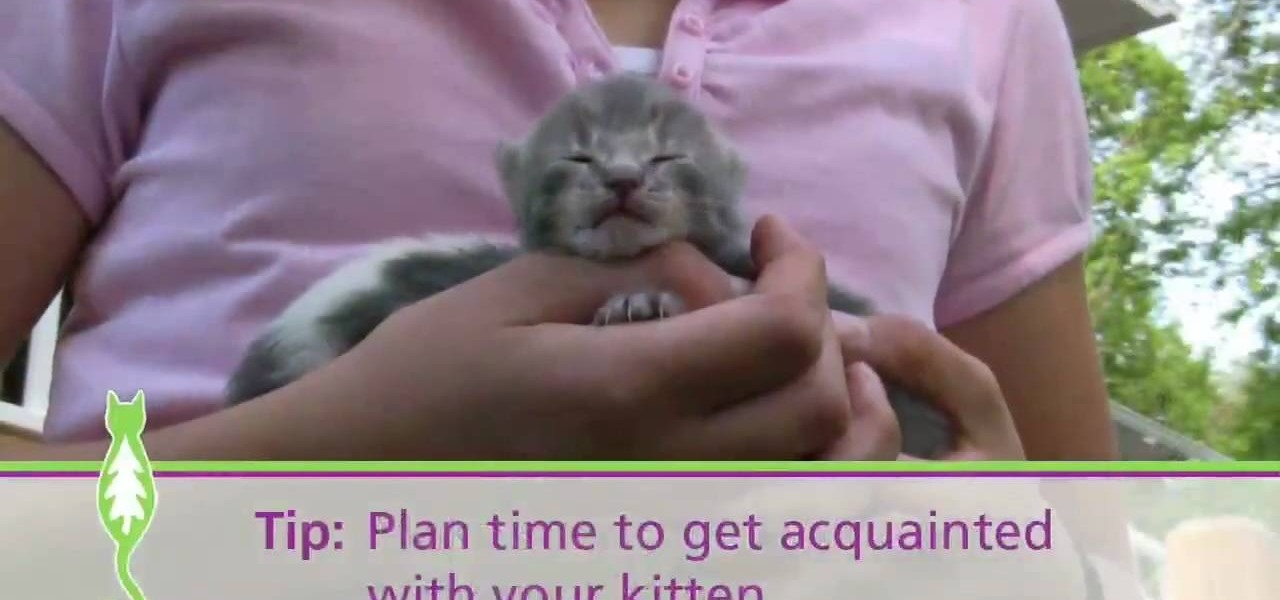
In this Pets & Animals video tutorial you will learn how to safely care for your kitten with Dr. Gaspar. Your kitten's first year life is critically important. First make sure your home is safe for your kitten. Remove anything that you wouldn't leave about in the presence of a child. Get your kitten home over the weekend so that you have plenty of time to get acquainted with the kitten. Introduce your kitten to the litter box. The box should be roomy and uncovered. Place the box in a quiet lo...

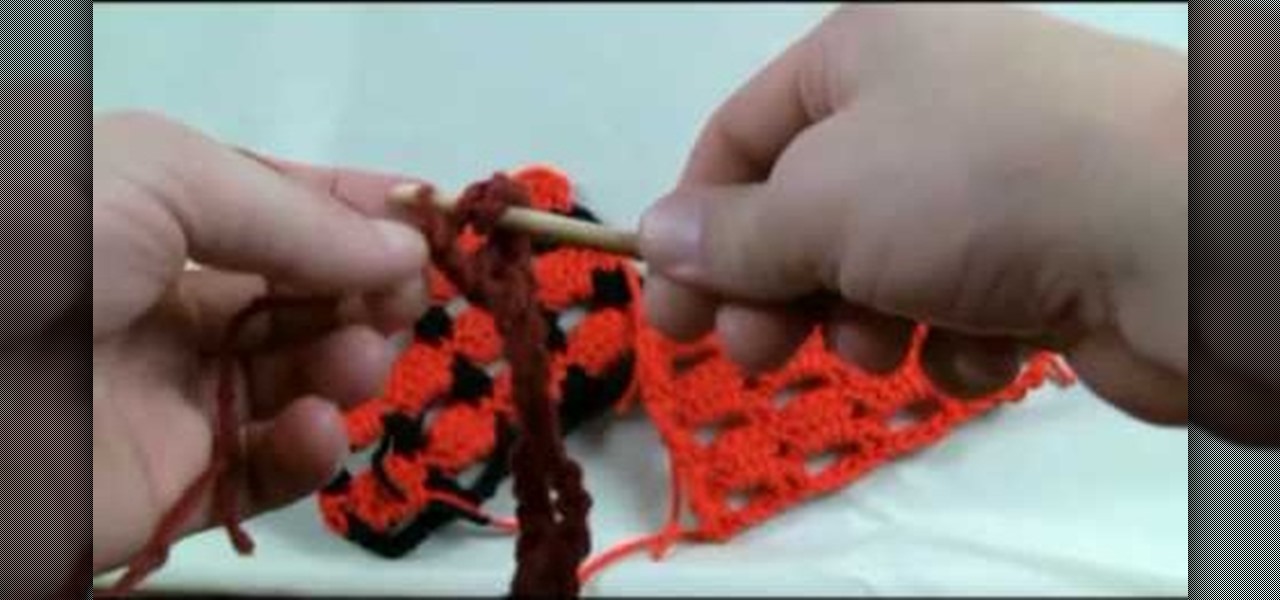
This crochet stitch tutorial is definitely not for beginner crocheters, as it involves a rather difficult pattern called the crochet boxed block stitch, but the results are fabulous if you're an advanced or intermediate knotter and approach the project with patience.

In this clip from Sean Devlin's "Full Disclojure" series of Clojure video tutorials, you'll see how to install Clojure using Clojure Box in most any version of Microsoft Windows — Vista, XP & 7 included. One of the most obvious perks of using the Clojure is the user community organized around it, which make learning the language a pleasure (and a simple one at that). For more information, including detailed, step-by-step instructions, take a look.

The iPhone 4 or iOS 4 has the ability to merge multiple e-mail addresses into one inbox. No more clicking from box to box for you, my friend! Save some time and energy by setting up multiple account on your phone. This clip will show you exactly how it is done and get you up and running.

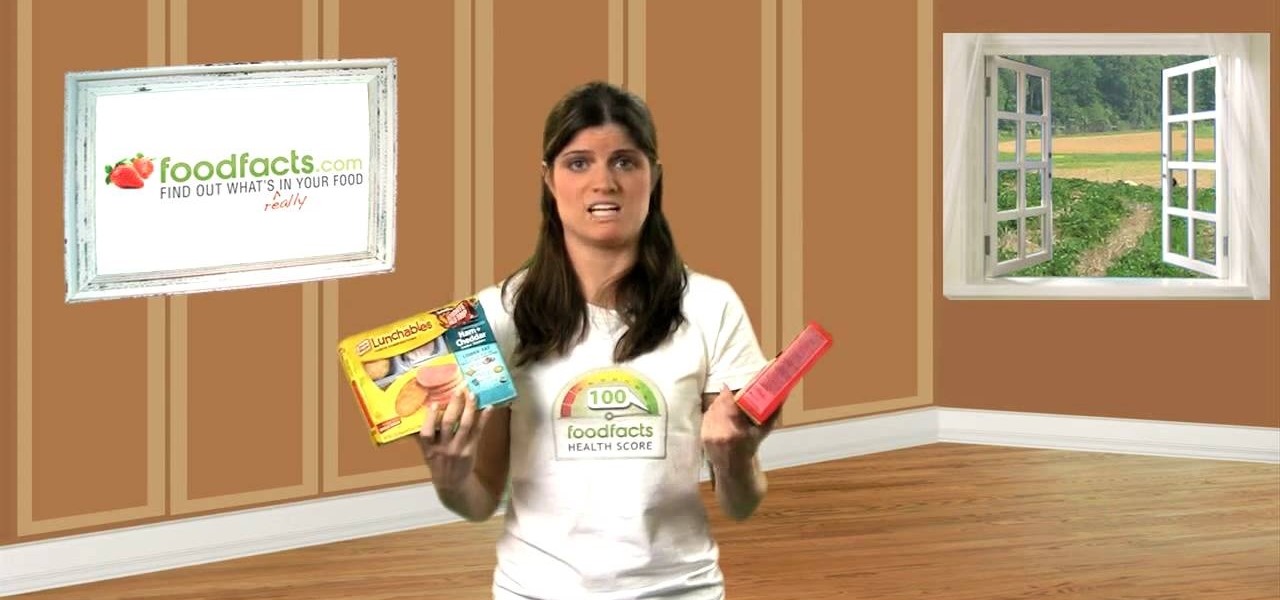
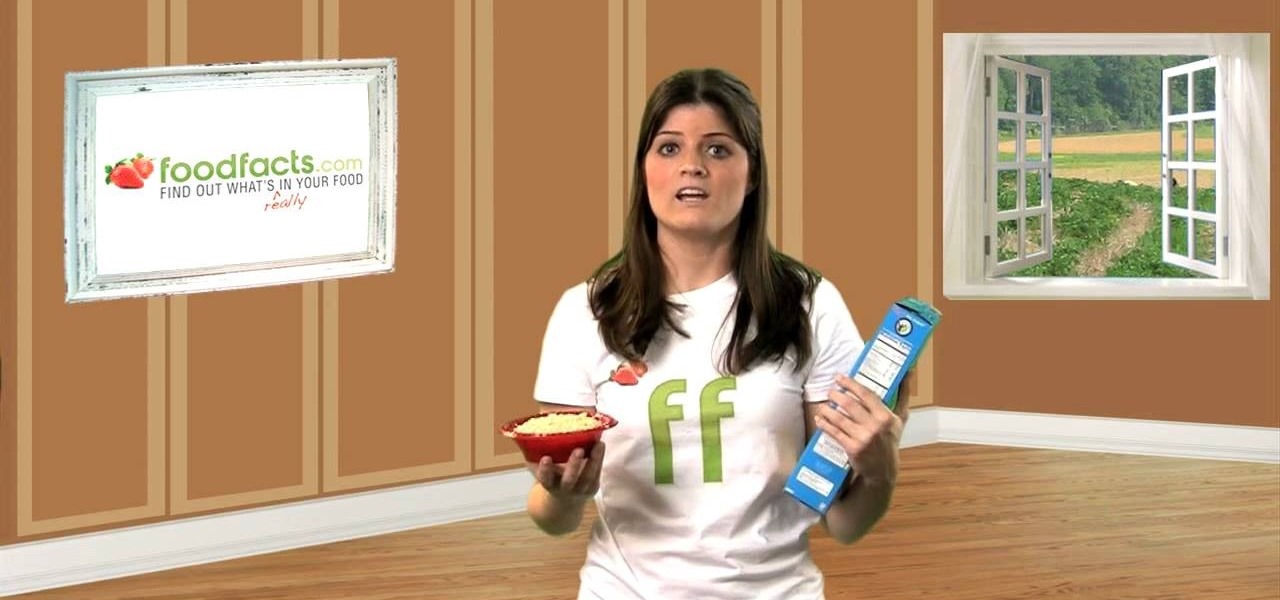
Do you feed your kids the yellow box lunch? Sure, it's easier than making a sandwich from scratch - but what's easy is usually not healthy. Check out this clip and learn all about the dangers lurking inside the iconic yellow box. Lunchables are full of chemicals, fats, sodium and calories.. watch this Food Facts clip and keep your family healthy.

Did you know that the FTC is coming down hard on Kelloggs for making false health claims on popular cereal, Rice Krispies? Check out this tutorial and know what to look for on your box and who to believe. Make sure your kids start out the day on the right foot with a healthy, honest breakfast by following the tips presented in this clip.

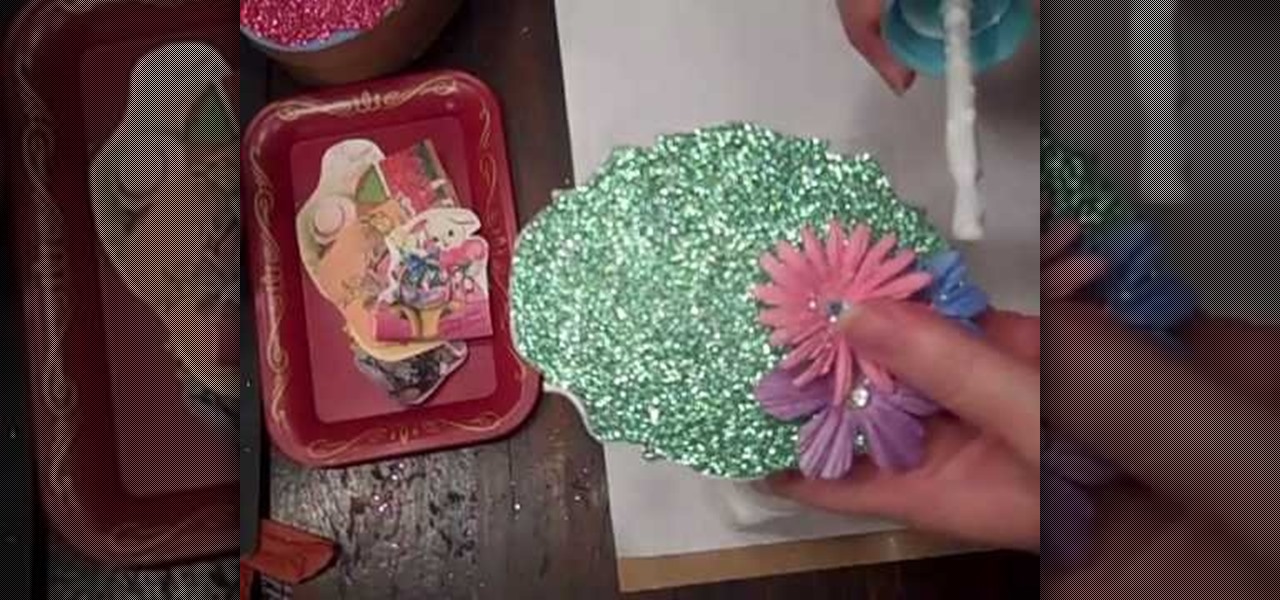
Easter is one of the best times for crafters to indulge in and even overdo pastel spring hues, vibrant flecks of glitter, and flower decals galore. Which is why this craft, a combination of all of the above, is such a perfect project for celebrating Easter.

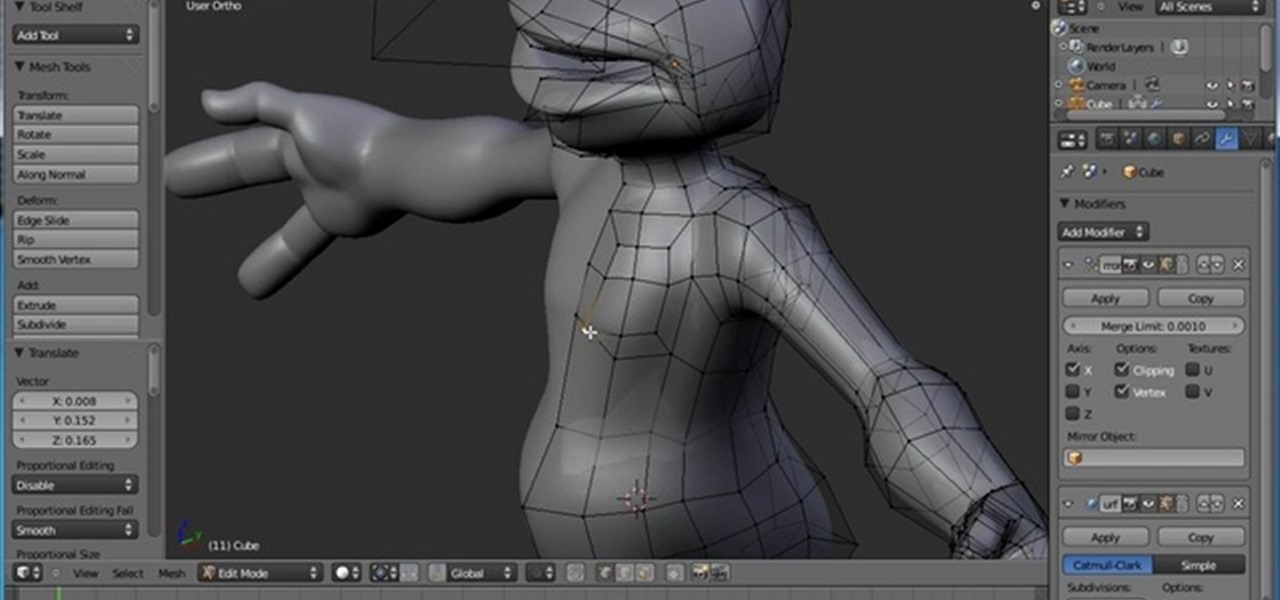
This clip demonstrates how to use the box-modeling technique to create a full character. The box-modeling technique is a good way to quickly visualize the shape of your character, rather than a creating the detail from the beginning. Whether you're new to the Blender Foundation's popular open-source 3D computer graphics application or are a seasoned digital artist merely on the lookout for new tips and tricks, you're sure to be well served by this free video software tutorial from the folks a...

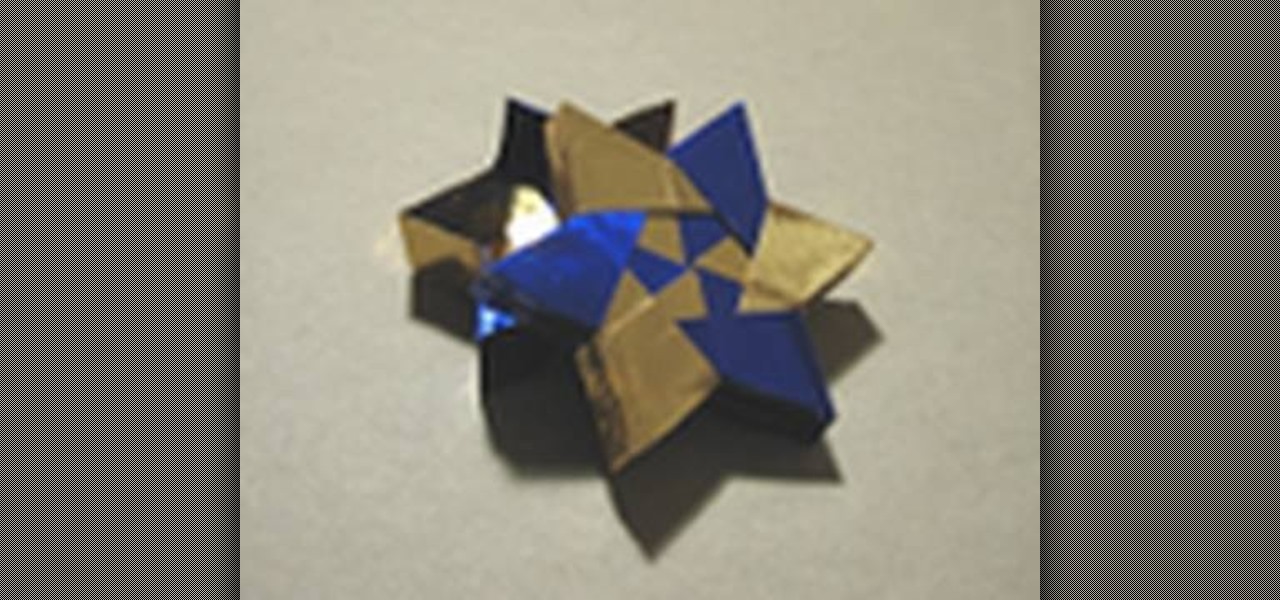
A Christmas present is not the only thing you can get crafty with. Why not put that mix tape into a homemade origami box for a truly personal touch?

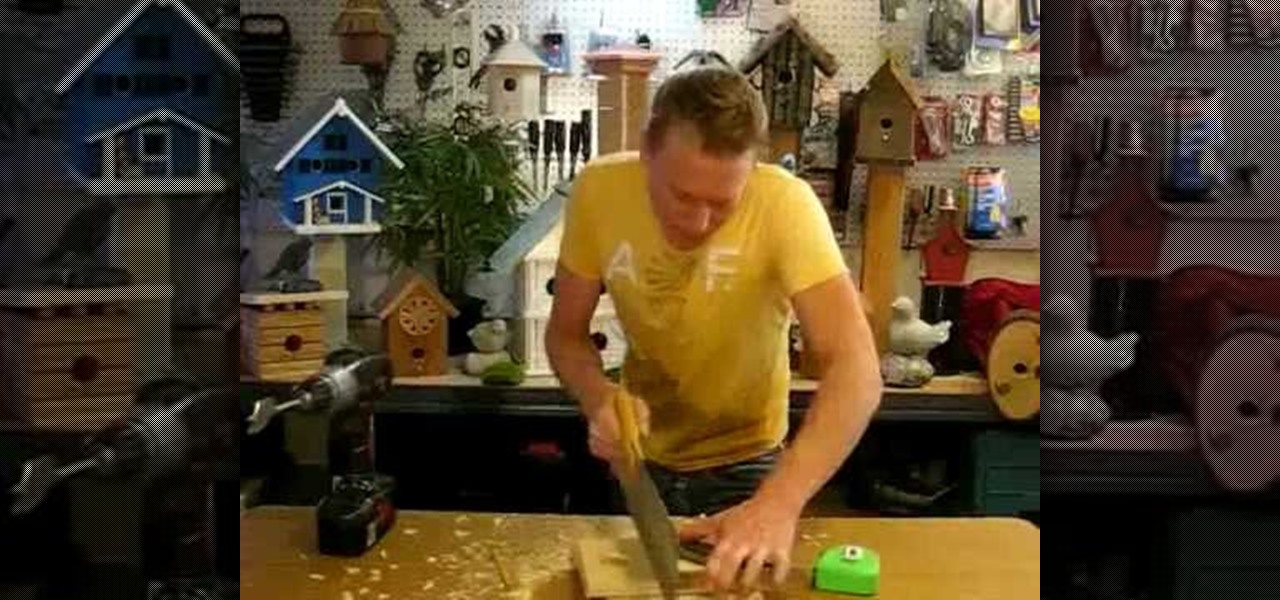
Give a bird a home with help from this handyman tutorial! Learn step-by-step how to build a professional looking Bluebird nesting box bird house. To build this nesting box you will need the following tools & materials: rough cedar or pine, a tape measure, pencil, speed square, hand saw, compound miter saw (if possible), exterior wood glue, drill bits, screw gun or drill, paddle bit, coarse thread drywall screws, deck screws, galanized finished nails, and a hammer.

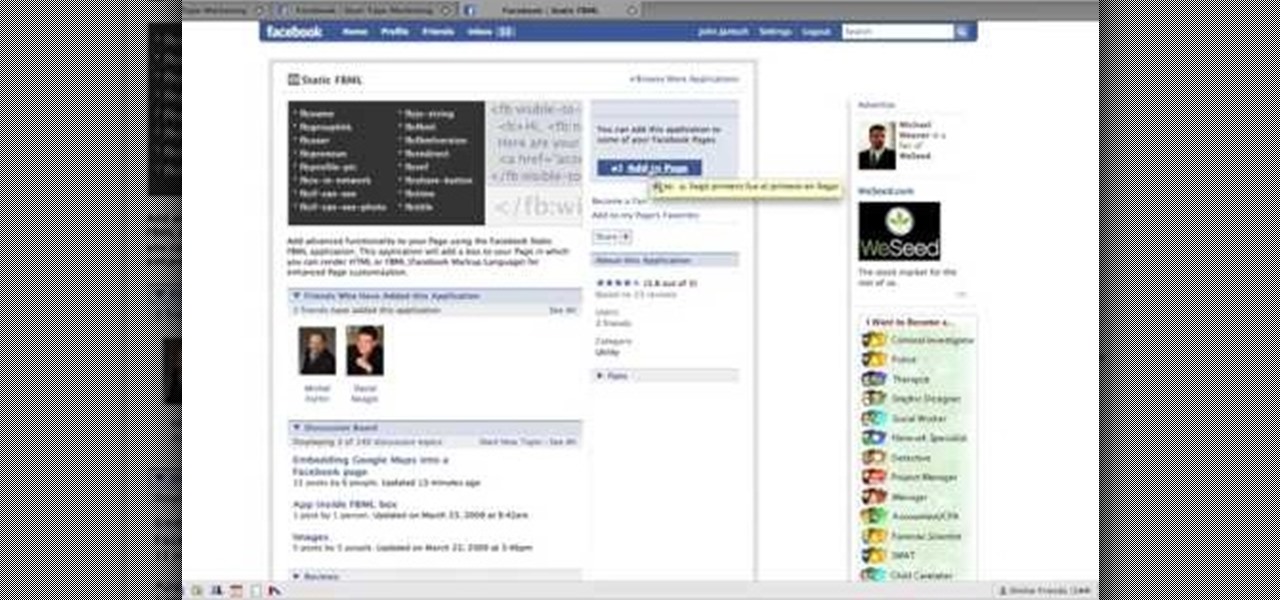
To create custom HTML elements to your facebook fan page or business page, first create a new fan page, and then click on the "boxes" tab. Now, right on the top of the page there's a grey bar, click on the button that says "fbml". Search for the application called "static fbml" and add it to your page. Go back to the homepage of your fan page, and click on "edit page" Find the fbml application and click edit. You'll now have a section where you can put html codes in to create custom web pages...

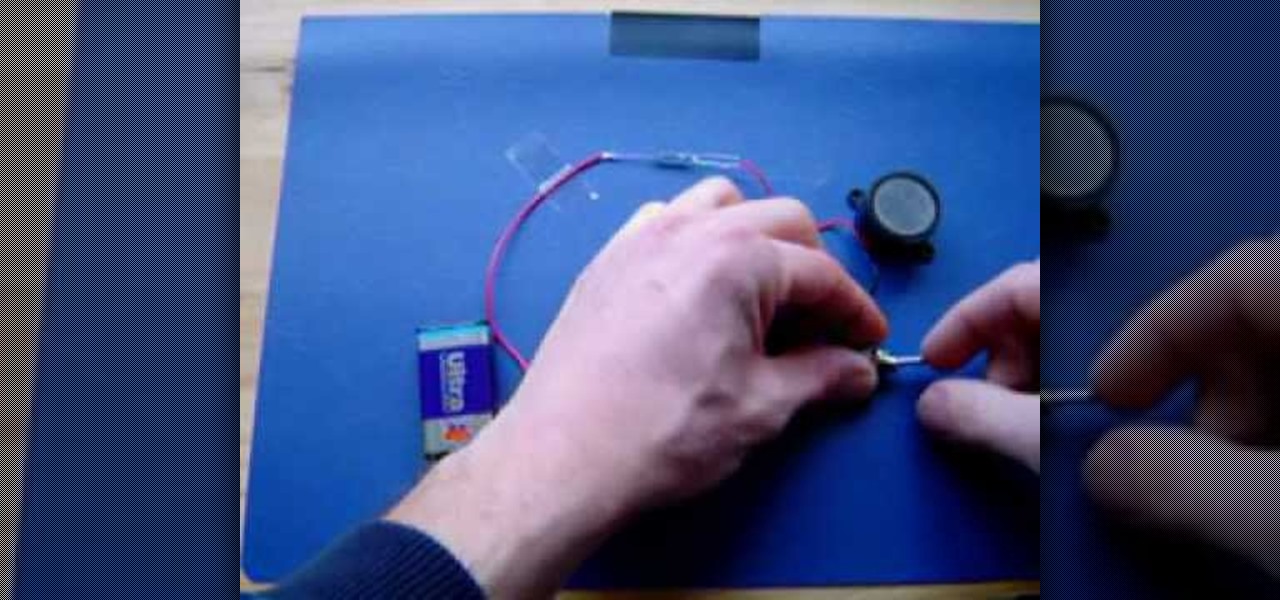
This video shows us the method to make a universal motion alarm to protect your home. You will need a reed switch with an alternating contact, a 9V battery with a battery clip, a switch, a buzzer, a small plastic box and a magnet. When a magnet is brought near the reed switch, it switches to the other contact and the switch is open. If the magnet is removed, the switch is closed and the buzzer starts ringing. Make the circuit with correct polarity for battery and the buzzer. Make a hole in th...

Open your program to a new live set. By using three keys (in Ableton Live), Command (Ctrl), Shift and t, you can create a short cut. Create two new midi tracks making one for (side chain) bass and one for (side chain) kick. To rename a track choose the two keys Command (Ctrl) and r. Next, you can load up the presets, located on the side bar list, one a bass, and, then a basic kick drum by opening up impulse, electronics and Tremor 1994. Now create a couple of patterns. To do this go an empty ...

This trick can be done anytime, anywhere, with one of the easiest props ever: a matchbox. The props couldn't be simpler: just find an empty matchbox that has the same design on both sides. Set it on the table with the inside tray facing up (we'll call that "right side up") and start making a simple game of balancing the box with one side on the edge of the table and the other on your fingertip.

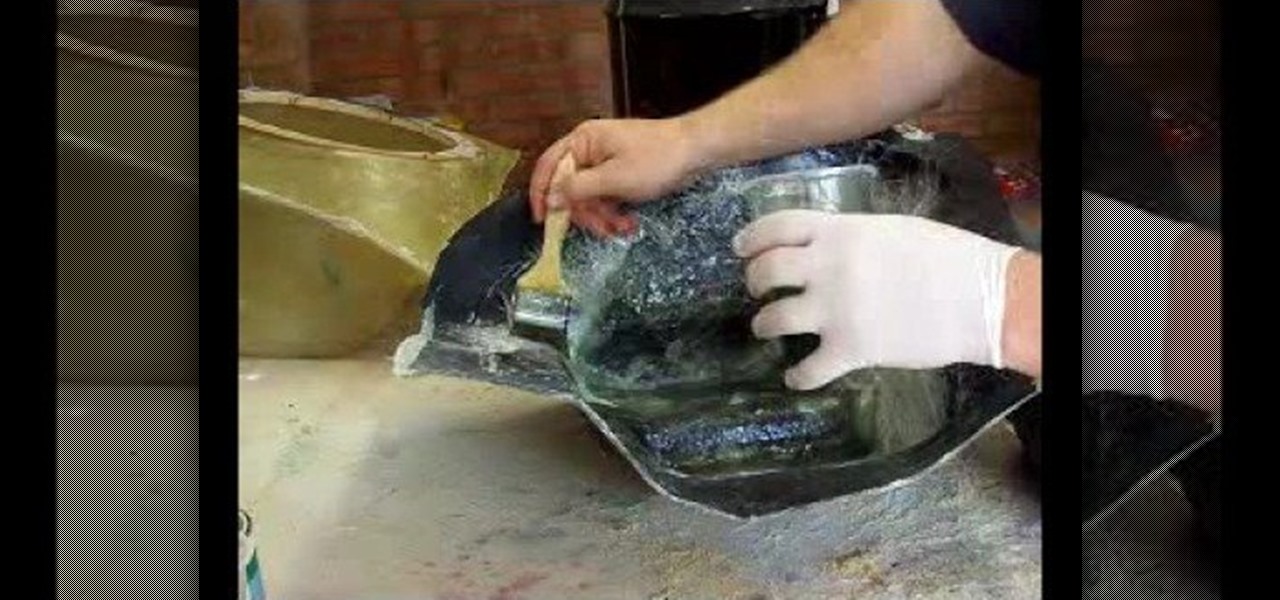
Check out this video tutorial on how to fiberglass a mold layup for car subwoofer speakers. If you want the best fiberglass subwoofer box, this mold layup will get you there. Just follow these car audio instructions to get a booming audio system in you vehicle. If you ever wanted to make your own speaker boxes, this is the way to go.

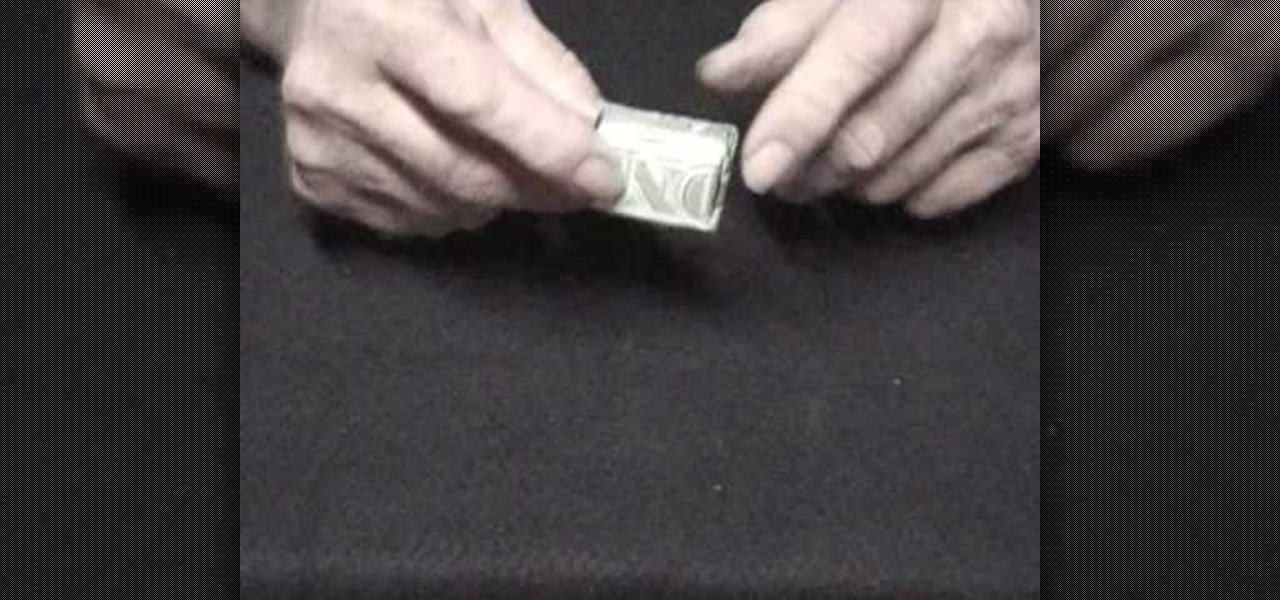
Dollar bill origami is fun, simple & cute. All you need is a dollar bill and some origami folding skills. Spend your spare dollar on some creativity... and you will end up with a cute origami figurine. Watch this origami money tutorial to learn how to fold a box with a dollar bill.

In today's time of rampant IT crimes, including identity theft, security is more important to the average computer user than ever. This tutorial, which was recorded and encoded for the Internet usingly only open source tools, demonstrates how you can use GnuPG to secure and verify data on your GNU/Linux box. Secure your Linux computer with this how-to.

Learn how to improve your speed, muscle stretch and agility for football with the help of these box jumps.

So you have a picture you're dying to get up on the wall, but don't want to risk hanging it crooked. This video is your answer! Learn a few tips and tricks to make sure that every picture you hang is perfectly straight and level.

Learn how to set your camera to automatically record the location to the pictures you take. Also learn how to edit the pictures you have just taken. It's easy and this clip will teach you everything you need to know. For all of the details, including complete, step-by-step instructions, watch this brief, official C6-01 owner's guide from the folks at Nokia!

In this clip, we learn how to make a wood picture easel using only hand tools. It's easy! So easy, in fact, that this video woodworking lesson can present a complete overview of the build in just over eight minutes. For all of the details, and to get started making your own wooden picture easels, take a a look!

In this tutorial, we learn how to isolate your subject to get better photos. If you are taking a picture in an area with a lot of people or surroundings in the background, have your subject stand up on something. After you do this, you can take the shot and have nothing in the picture with your subject but the background. You can also have a child go on a playground and zoom in on them if you are taking a picture of a child. On the playground, you can find tons of spots where the child can be...

In this tutorial, we learn how to sync iPhoto albums with Facebook. First, open up iPhoto on your computer and highlight all of the pictures that you want to import into Facebook. Once you've done this, go to the top of the window and click on "share". Next, click on "share with Facebook" and then choose who you want the pictures viewable to. After this, click on the "publish" button and wait for the program to load the pictures. After this, go to your Facebook account and see the pictures th...

In this tutorial, we learn how to use R1C1 speedlight when shooting photos. First you will want to place the attachment ring and adapter ring to the camera. After this, grab the remote flashes and the built-in flash panel. After you have installed all of these things on your camera, you will be ready to start taking pictures. Find the object you want to take pictures of, then start to use the wireless flash system to take quick picture that look great. As you click the remote, the flash will ...

Imitation is the best form of flattery, right? In the case of this picture of a roadside apartment complex, imitation will help you learn about perspective and vanishing points, and how architectural features align with these two drawing caveats to create a realistic picture.

In this video tutorial, viewers learn how to upload pictures from their cell phone to their computer. Begin by connecting the DCU60 USB cable to the cell phone and connect it to your computer/laptop. Then insert the software CD into the computer. Install the software, depending on the type of phone that you have. When the phone is ready to be used by the computer, select media transfer to upload the pictures from the phone. This video will benefit those viewers who have a cell phone, and woul...

This tutorial teaches us how to touch up eyes while using Photoshop. First, open up Photoshop and zoom into the eyes on a picture you want to touch up the eyes on. First, select the adjustment layer icon and brighten the image. Next, invert the mass and select the "v" key, then pain the eyes on both sides. Next, click "filter" and then click "blur" so you will soften the edges so the picture doesn't look fake. Now, you can click on "before and after" to see what the picture results look like....

Quinten shows us how to protect your hands in boxing using a correct hand wrap in this video. When you punch something, you put a lot of pressure on your hands and wrists so wrapping your hands before this is highly recommended. First, start on one end of the wrap and put your thumb through the loop at the end. Go over the top of the wrist first, then go over the top of the hand over the knuckles. Keep your fingers parted so the wrap doesn't become too tight at the end. Go between the knuckle...

In this video tutorial, viewers learn how to make a red-cyan anaglyphic 3D photo, using Adobe Photo-shop. Begin by taking two pictures of the same image. The second picture should be 6,5 cm to the right of the first picture. Now load both images onto Photo-shop and drag the second picture over the first one. Select Layer, click on Blending Option and uncheck Channel R. Place the red on the left side and cyan on the right side. This video will benefit those viewers who photo editing and would ...

This video will show viewers how to simply make a 3 string guitar using an empty cigar box, a piece of oak, some string, and a few eyebolts. You start with a 1 by 2 piece of oak which is about 3 feet long. First, you should begin by making some markings along one side of the oak, first at 1/2 an inch and then at 1/4 inch spacing after that. Drawing 3 symmetrical lines where the strings should go, drill holes at the intersections of the lines you have drawn. The holes should be made using a 1/...

Powerpoint is a handy go-to program for creating all sorts of presentations - if you're a high school student. Make your future picture galleries look worthy of great concert halls (or at least worthy of your friends' compliments) by watching this tutorial.

In this video, we learn how to create a picture frame on a photo using PhotoShop. First, open up the program and open the picture that you want to change. Next, select the rectangular marquee tool from the toolbar on the side. Now, create a selection of what you want to frame. Then, click with the right key and select "inverse". Click again with the right key and choose "layer via copy". Now, click 2 times on the layer to open and the layer style menu will show up. Now put the contour to crea...

In this video, we learn how to put eyeshadow onto a picture using PhotoShop. First, open up the program and open your picture. Click on layer then new the click layer again.On the new layer put as blend mode "multiply". Make the opacity 50% and choose a color. Then select the brush that is the right size for your picture. Next, you will be able to brush the mouse over the eyelid and put eyeshadow onto the lid of the eye. You can change the intensity of the eyeshadow by changing the opacity hi...


