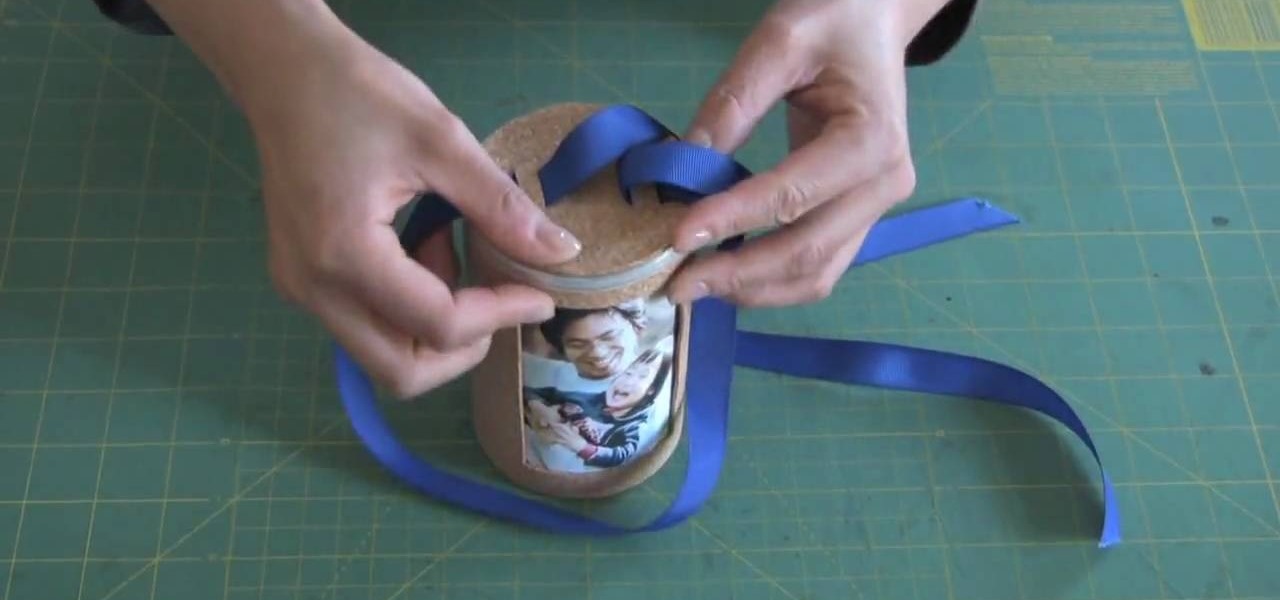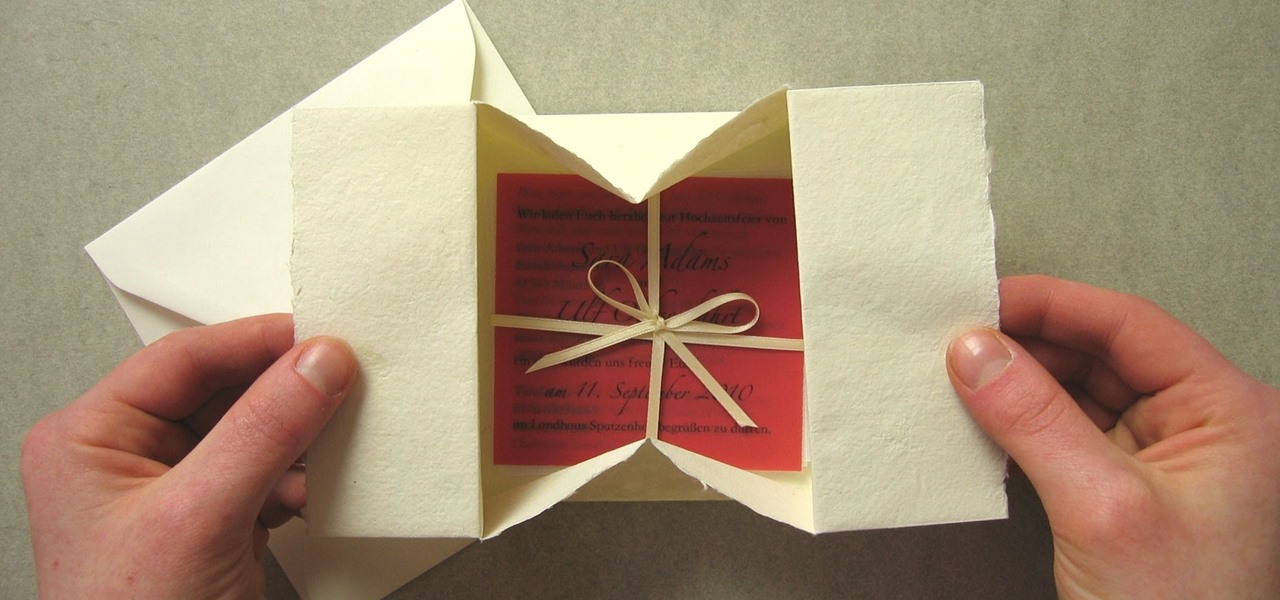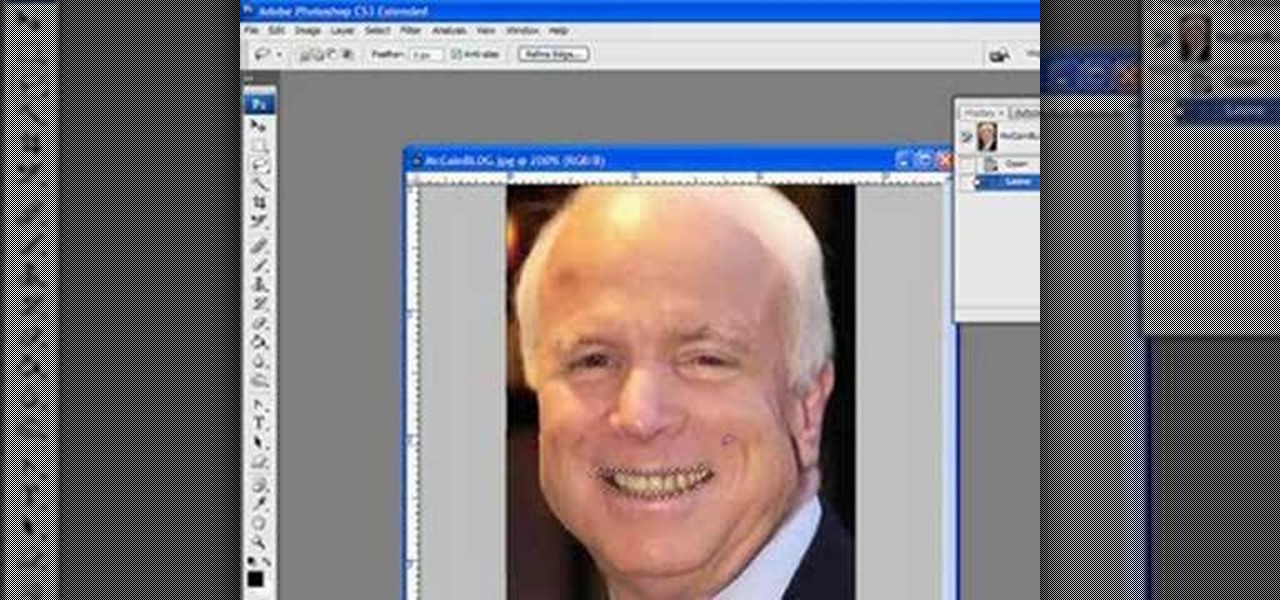
Watch this origami tutorial to make an origami box with a little window. You will need one large piece of sturdy origami paper to complete this box. You can cover the window with clear plastic to make a unique candy box. Add ribbons and decorations to personalize your paper box. These origami boxes make great gifts for bosses and teachers.
Making a shoe box wagon is a fun craft project for both child and parent. Learn how to make a shoe box wagon with expert tips in this free crafts video series.
This video crafting tutorial shows a quick and easy way to turn plain take-away containers into decorative gift and storages boxes. Paper take-out boxes are a convenient size for organizing supplies and tools, but this project can multi-task as a reusable gift box. Learn how to transform paper take-out boxes into a storage or gift box by watching this instructional video.
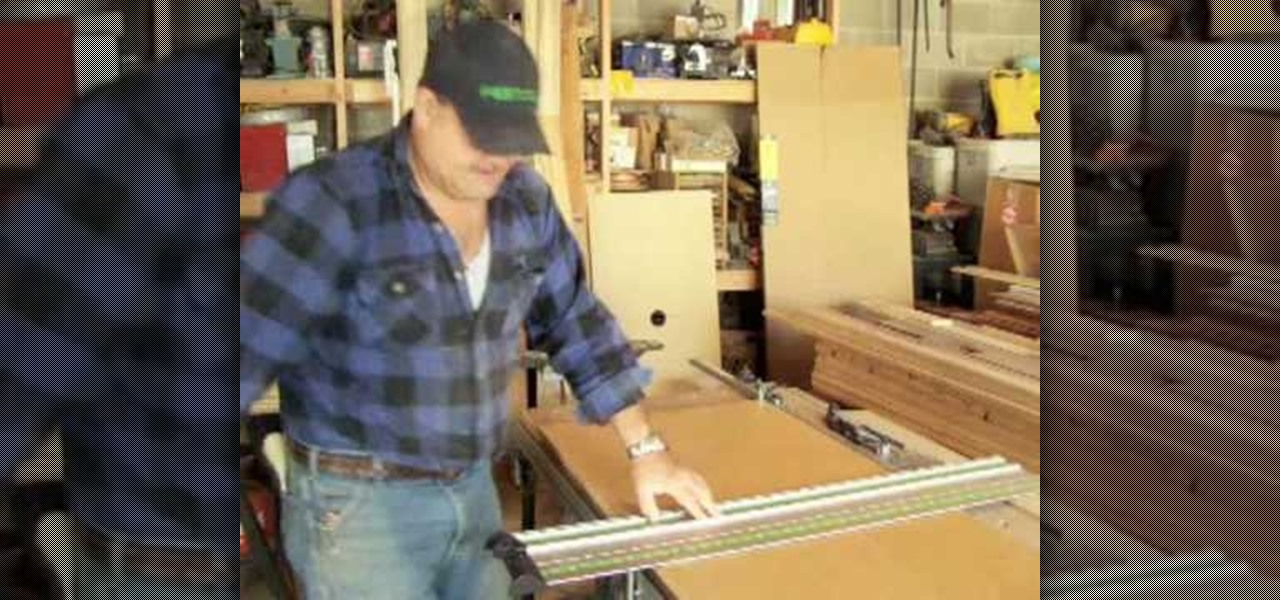
Do you want to learn how to build cabinets? Watch this five-part video tutorial for the basics of cabinet making using wood. Part one demonstrates the basics of making cabinet boxes from sheet goods while part two goes over how to cut the deck and stretchers for European-style frame less cabinets. Part three shows all the tools and some of the techniques you can use to apply edge banding. Finally, parts four and five demonstrates how to assemble to the cabinet carcass.
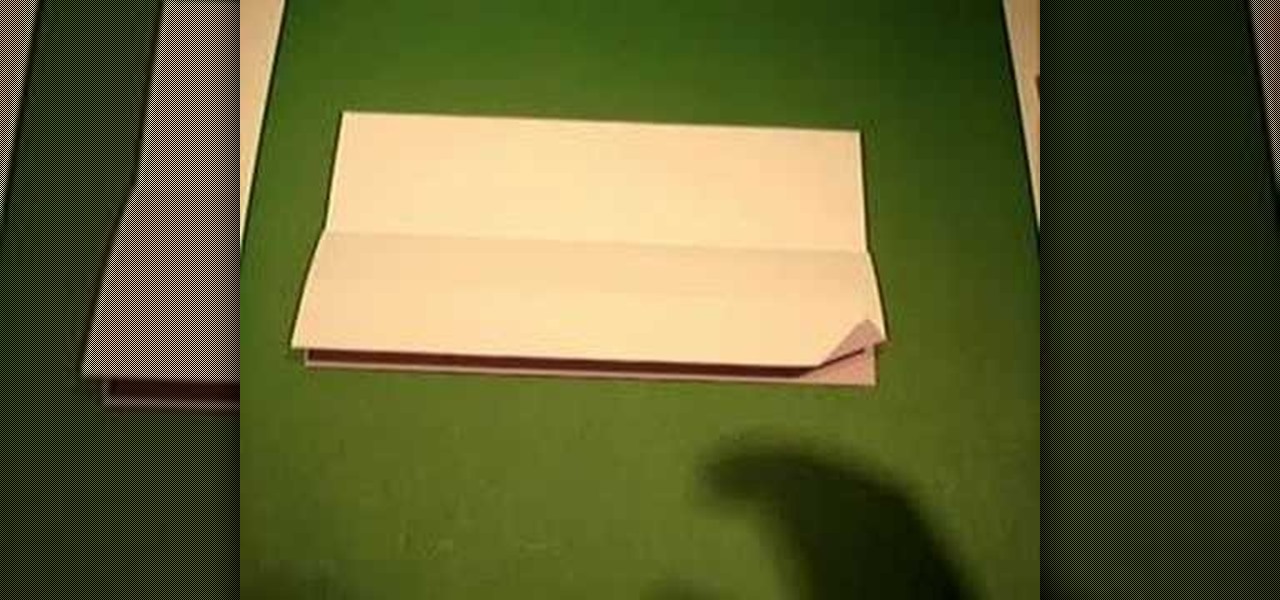
Instructions for the origami pop-up box Most folders will find this part of the model easy to fold.
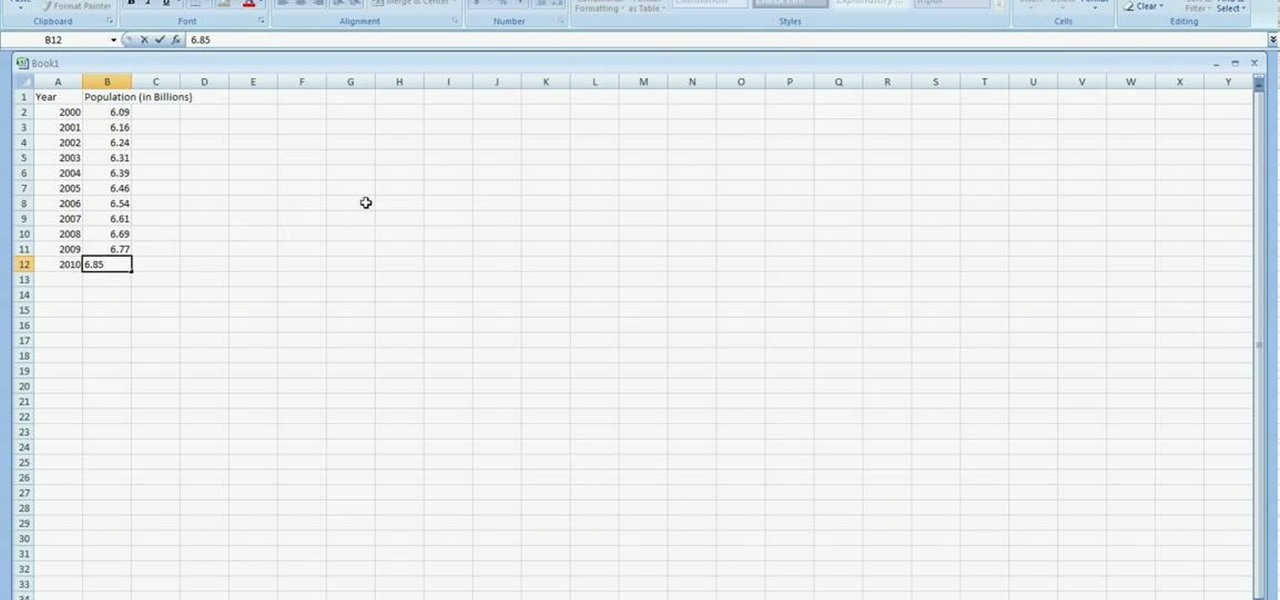
In excel a left click is made on box A1 and the X title is typed in as year. In A2 the year 2001 is typed and in A3 the year 2002. Both A2 and 3 boxes are highlighted and the bottom right hand corner is used to drag the work into a copied sequence down to A12. In B1 "population in billions" is typed. From the web site the data is copied and typed in as it appeared and the numbers are rounded off. A click is made on the "insert" tab and line is selected from the menu which appears. The upper l...

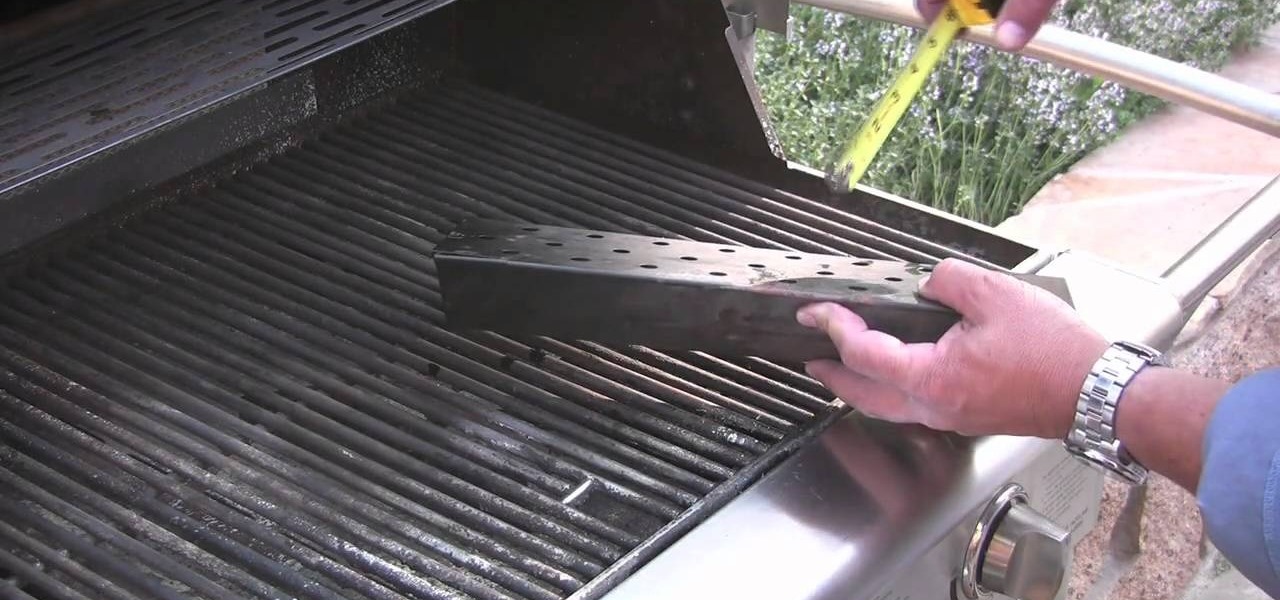
Chef Jason Hill shows how to use a grill box smoker. This box will turn your propane or gas grill into a temporary smoker. The box is used to hold wood smoking chips. Place the box over the burner to produce smoke flavored food.

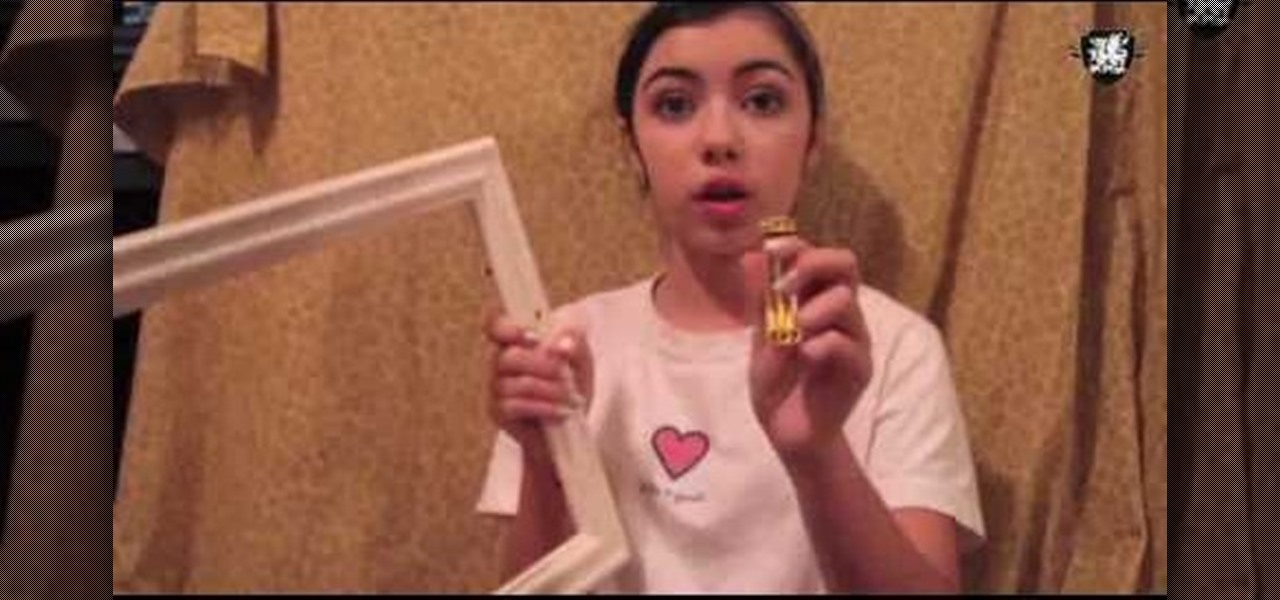
In this tutorial, we learn how to make a serving tray from a picture frame. First, grab a picture frame in a larger size that comes with glass on it and a backing. From here, you will grab some scrapbooking paper or another type of paper and cut it to size to fit on the background of your paper. Then, find two handles that you have and screw these onto the sides of the picture frame. After this, glue your favorite pictures onto the paper and then let it dry. When finished, stick this under th...

This video tutorial speaks about how to create a dramatic effect to an image using only Camera Raw in the Bridge program of Photoshop. In this example, the picture was first brought into the program and the fill light was turned upwards in order to lighten up the dark foreground. The white balance of the picture was changed to cloudy to add a nice effect and the color temperature was changed to make the picture appear warmer. The various parts of the picture can then be changed individually b...

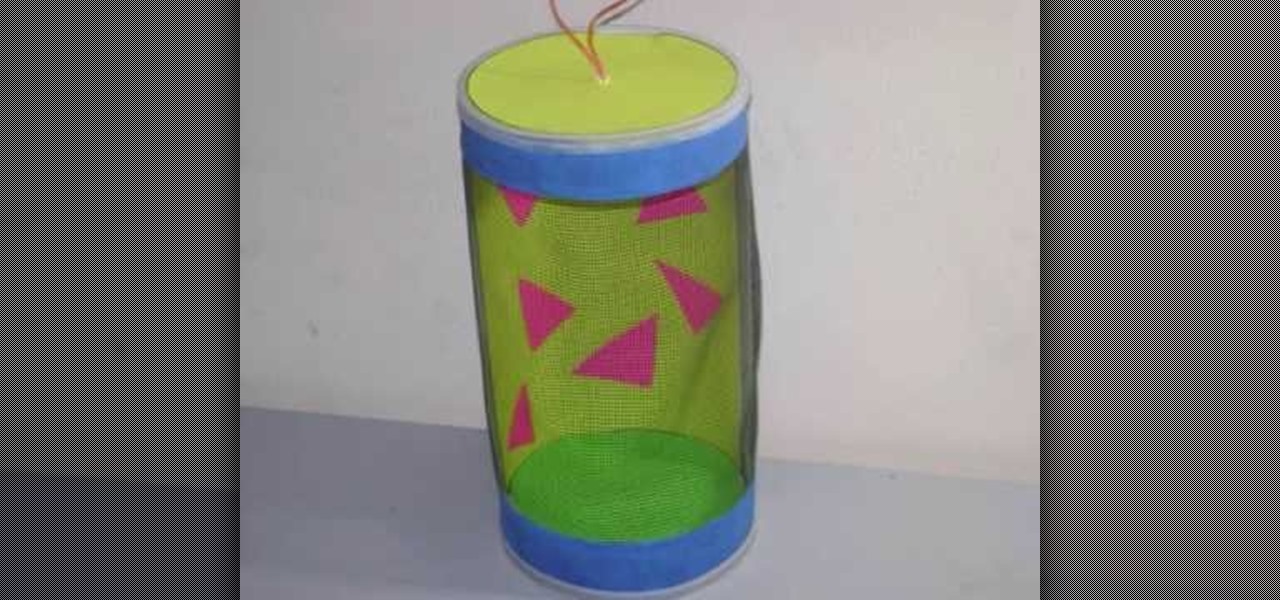
In this tutorial, we learn how to craft a bug barn or bug habitat. You will need: 1 Quaker oat box, masking tape, paint, mesh netting, poster board, ribbon, scissors, and a paint brush. First, cut one side of your box out and apply mesh over it with masking tape. Now, paint over the paint and over the entire box with your preferred colors. After this, decorate the inside of the box with paper. Cut a hole in the top of the box and place a string at the top to easily take it off. When finished ...

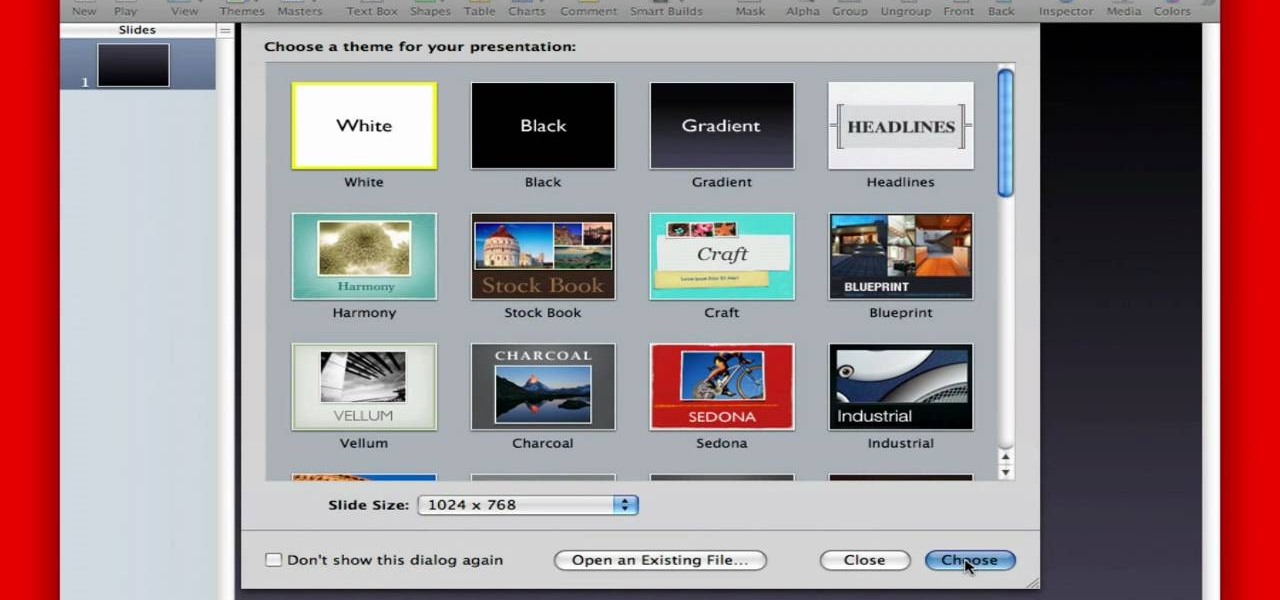
In this tutorial, we learn how to create flashcards with Keynote to use on an iPod touch. First, go into Keynote and choose the flashcard with the plain white background. To format this, click 'masters' on the toolbar. Now, choose "title-center" and make the first slide the question slide and the second slide the answer slide. Double click the text box to insert text into each different card. Next, to add a picture, click 'photos' and insert a picture you already had loaded on your computer. ...

So many gift givers are mislead into believing that it's only the gift that matters, so the gift bag or wrap can be cheaply purchased at the gas station an hour beforehand and then thrown together in a slapdash manner.

Cereal boxes make great craft materials during the winter holidays, standing in for the much harder to bake and make gingerbread for faux gingerbread houses and making excellent durable ornaments.

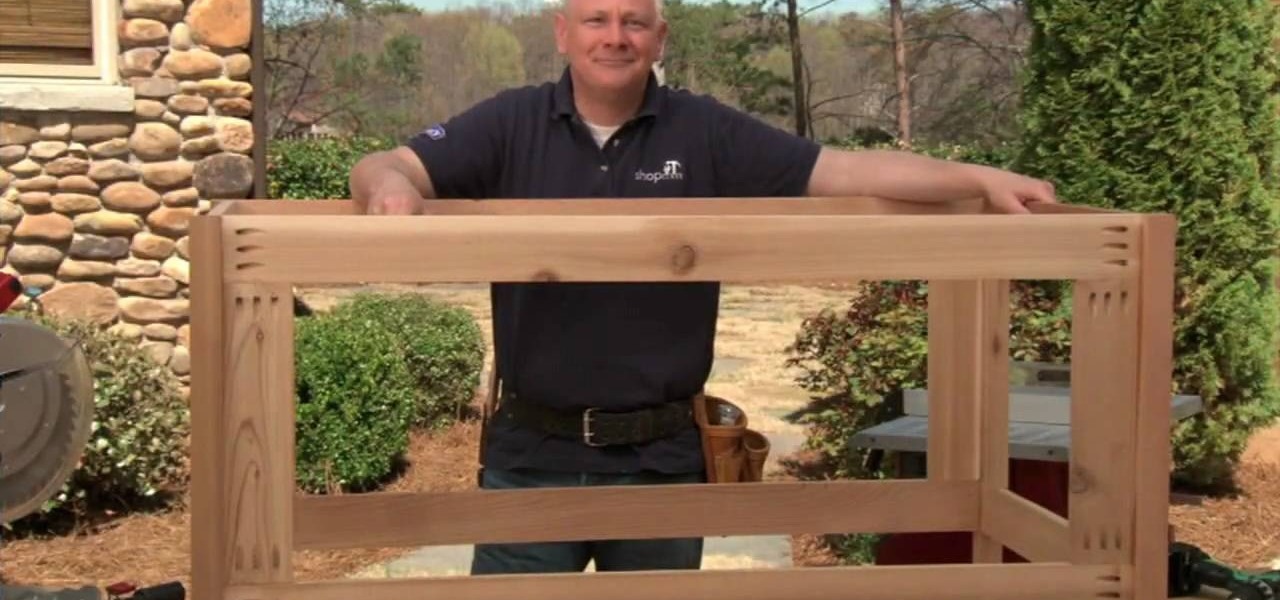
Building a storage box for your deck is a smart way to add extra storage to an area usually not known for having storage. The great thing about using wood than plastic, is that is adds to the feeling of being outside and can be stained to match the look of your deck. This three part tutorial, will take you through the steps of building a successful storage box and shows you step by step.

Fold your own gift boxes with this tutorial on how to origami a collapsible box. Traditionally known as a water dish or orisue, this box is a cute way to box up small presents like earrings and necklaces.

If your yard is full of pests in the summertime that you can't get rid of, consider building a bat box. Bats are great animals - they eat any unwanted insects and only come out at night so they don't bother anyone.

To help litter train your cats you want to have one more litter box than you have cats. So if you have two cats you want to have 3 litter boxes. You want to have the boxes in locations where it is easy for the cats to see what is going on around them. When they are using the litter box it is a very vulnerable time for them. Having them in the open helps them to feel more secure. Experiment with different types of boxes and litter to see what your cat likes. To get them oriented to using the b...

To whiten teeth in Photoshop, first open up the picture and trace the inside of his lips with the lasso cursor. Now go to Image up on the toolbar on the top, click on it and then click on Adjust. There is a box with the word red in it with an arrow next to it. Click on the arrow and go down to yellow. Take the arrow for black, cyan and magenta and move it to the left a little. Next, take the arrow for yellow and move it all the way to the left. Now go back up to the box with the word yellow i...

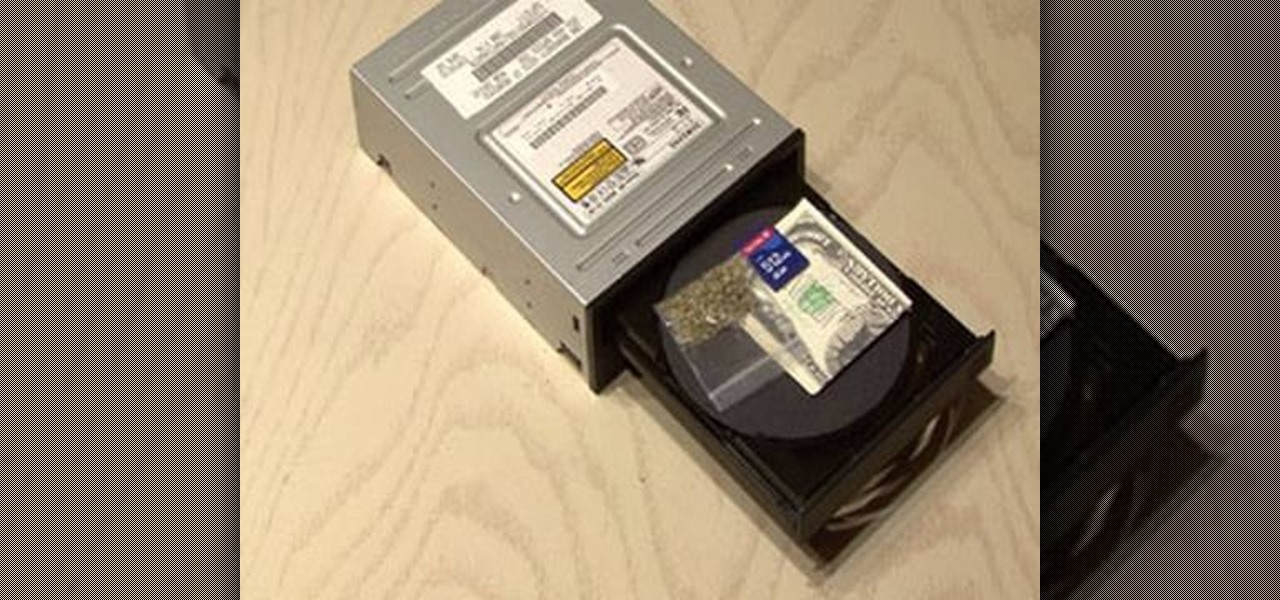
If you're looking for a creative place to stash your cash or small valuables, this how-to video walks you through the process of turning a DVD drive into stash box. Armed with a screwdriver and some time, this video gives detailed step-by-step instruction on talking apart your DVD drive and reassembling it. The video includes helpful hints to make this stash box look and function in an authentic manner. This DVD stash box video will not only help keep your stuff safe, but you may even feel a ...

Systm is the Do It Yourself show designed for the common geek who wants to quickly and easily learn how to dive into the latest and hottest tech projects. We will help you avoid pitfalls and get your project up and running fast.

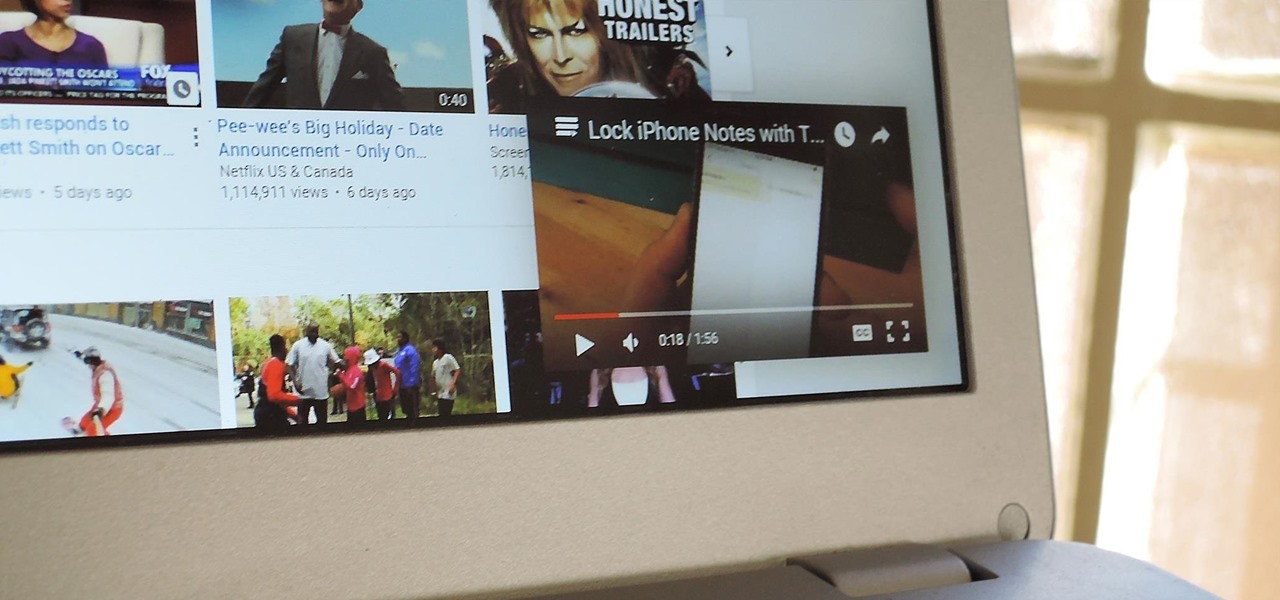
A new feature in Android O is making it incredibly easy to multitask while you're watching a video. It's called Picture-in-Picture mode, and if you've ever used a TV with this option, you should already have a pretty good idea of how it works.

If you've ever used the YouTube mobile app for Android or iOS, you've probably noticed a cool little multitasking feature it has. While watching any video, you can simply swipe down on your screen to shrink the video down to a thumbnail view, which then allows you to browse the rest of YouTube while the original video keeps playing.

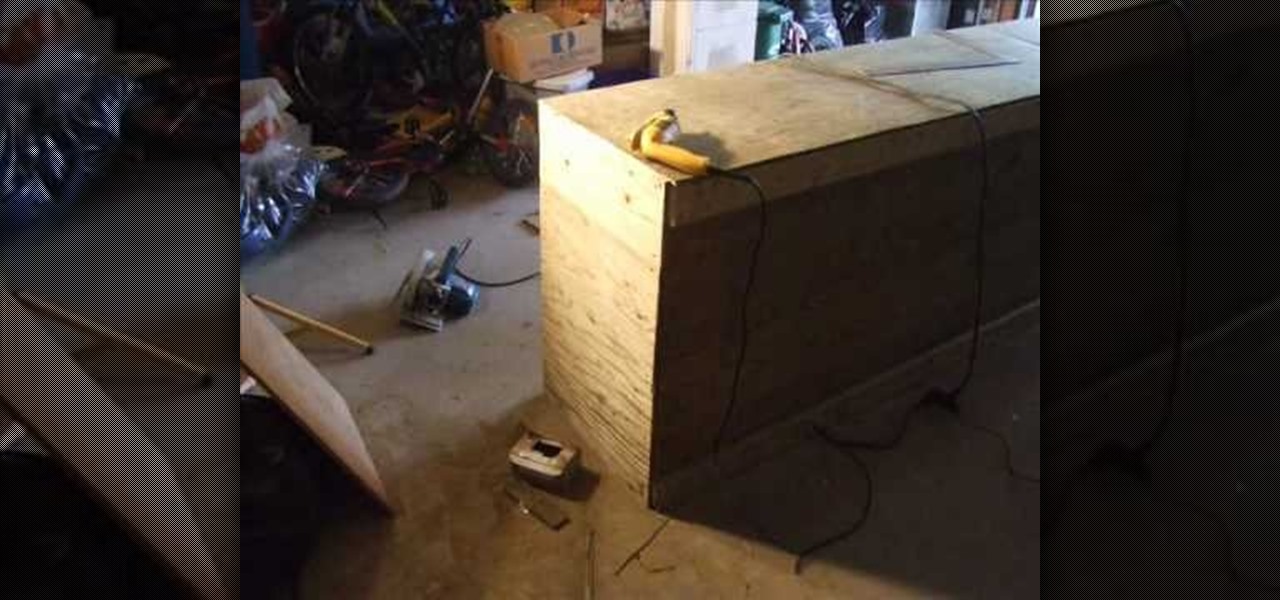
In this video we learn how to build a snowboard box. First, decide on a size for your box and write out the dimensions. Then, buy your frame for the box and follow the structure of the box with it having four sides. After you have built the frame, put on the wood to complete the sides and make the box enclosed. Use screws placed into the frame to make sure it's completely secure. You may also want to install handles so this is easier to handle. Once you're finished with your box you can paint...

In this tutorial, we learn how to build a cheap worm composting box. Start out by using a large plastic box that has a lid, a storage box works great. Also, grab two vents that you will place on the sides. Lay your vents down on the sides of the box and outline how large they are. Now, cut the box and place the vents on the sides with screw to keep it in place. This box is made to keep worms inside, so it doesn't need to look fancy or be decorated on the outside. Once you're finished drilling...

Save some money on your energy bills by making an attic stairway box. For less than twenty five dollars, all you need is caulk, UL181 masking tape, insulated sheathing, and rubber foam sticky tape. Measure the width, the length, and the depth of the attic stairway opening. Lay the insulated sheathing down on the floor and get a straight edge. Take those measurements and create a rectangular box. Mark out six pieces to create the parts of the box – two large top pieces, and four shorter side p...

This great video series from the experts at RTTI shows you how to make a custom subwoofer box for your car. They do a great job of teaching you how to measure, cut, and finish so your car is bumping.

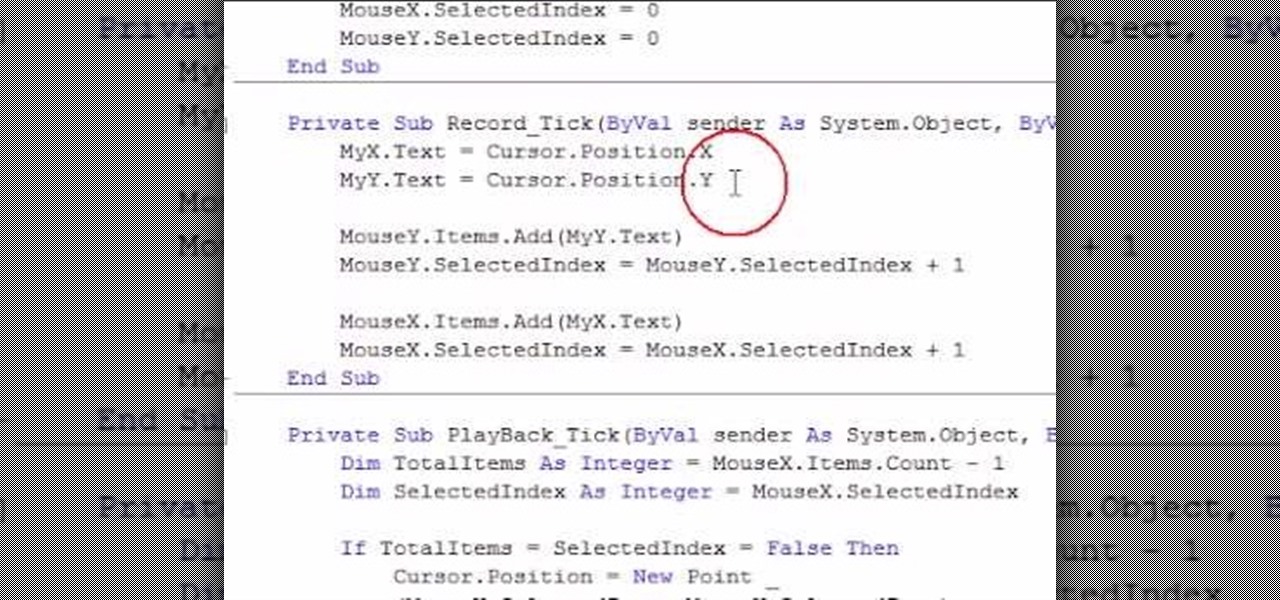
Some of you might be searching for a application which can record mouse movements and keystrokes of keyboard and repeat it as many times as you want to and get a hotkey for it to play. You need to get two form boxes , two timers, two text boxes, one record and one play back box, one X box and one Y box. record button is actually called rec , play back button is actually called ply. Mouse X is for your 1st list box , mouse Y is for your 2nd list box, the name says it all list X is for adding t...

Stumped on what frame to use for your favorite piece of artwork or photo? The perfect frame will make your painting, photograph, or piece of artwork stand out on your wall. Here's how to find an ideal match.

This how-to video demonstrates everything you need to know for lanyard needs. Follow along and find out how to start and finish a lanyard using the square of box stitch (or the circle stitch) throughout. All you need is two lengths of plastic thread. Use your lanyard as a keychain, or to hang a whistle onto. Watch this video tutorial and learn how to make a lanyard using the square or box as well as the circle stitch.

This is a video tutorial on how to make a box with a scalloped lid. You will need a large piece of cardstock to craft this box. Use double stick tape to hold the joints of the box together. You might need a stenciling tool to make accurate cuts. You can use store bought or use recycled scraps of paper ad ribbon to decorate the outside of the box.

Learn how to hang a picture, with expert tips on everything you need to know for picture hanging in this free interior design video series hanging pictures.

Are you interested in creating an antique look for picture frames in your home? Learn how to make picture frames look old from a professional artist in this free crafts video series.

Learn how to plant and grow vegetables and fruit trees in an Earth box in this free video series on gardening.

Looking for unique picture frames? Learn how to make a shadowbox picture frame in this free video series about professional picture framing.

Looking for a unique picture frame? Learn all about decorative picture frames including rustic frames, veneer frames, ornate and dark wood frames and more in this free video series about professionally framing pictures.

Great gift for all occasions. Learn how to make a personalized picture frame with cardboard and beads in this free home crafts video on making a great gift for friends and family.

The best bachelorette party favor! Learn how to make your bachelorette party a hit with picture frame party favors with expert party throwing tips and advice in this free video series on how to throw a bachelorette party.

Watch this video to learn how to make a beautiful jewelry box. This project requires fairly advanced woodworking skills.

In this tutorial, we learn how to draw people using boxes. Start off by drawing a box for the head, then a box for the body that is bigger then the top box. Keep drawing boxes and rectangles to make the entire body, tracing over it with lines, then filling the body in with muscles and bones. After this, make the face and add on hair to the body. Use shading to make the figure look more realistic. The boxes should give you an outline of where each body part will go, and give you a guide on how...

In this video, we learn how to use a text box in Excel 2007. To do this, you will go to the insert tab and then go to the text box and select text box. Now, draw yourself a text box then highlight and copy the text you want, then paste it in. now you will have a paragraph of text written on top of your cells. You don't have to copy and paste, you can type it in as well. If you want to format the text, right click in the box and then change the preferences you want to change to format the text...


