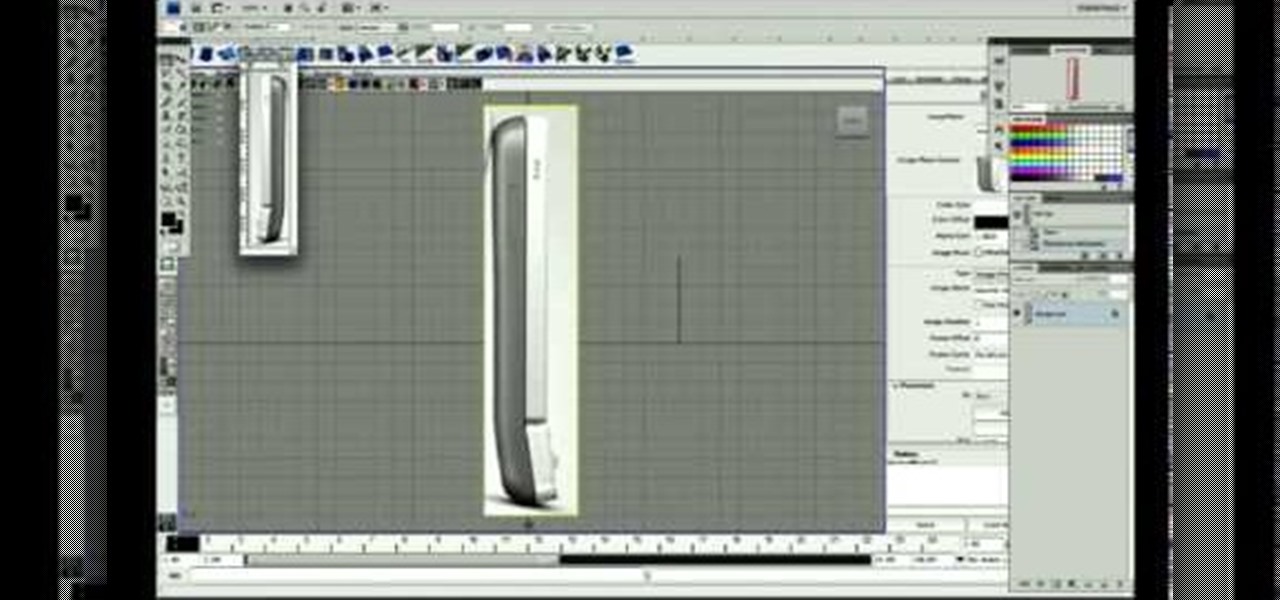
This video from accredited Maya 3D instructor Andrew Klein is a part of his wonderful series of videos covering different aspects of 3D digital art. It covers how to use Photoshop and Maya together to create, align, and sync image planes properly. Take some pictures of your cell phone and get started!
The nose, the prow of the face, is the part of the human body that the most people seem to dislike about themselves. Especially if their noses are big. This video tutorial teaches you how to touch up a nose in Adobe Photoshop CS4, specifically by using the liquefy tool to make a model's nose smaller. If you can't afford plastic surgery, now you can look like you got it in your pictures.
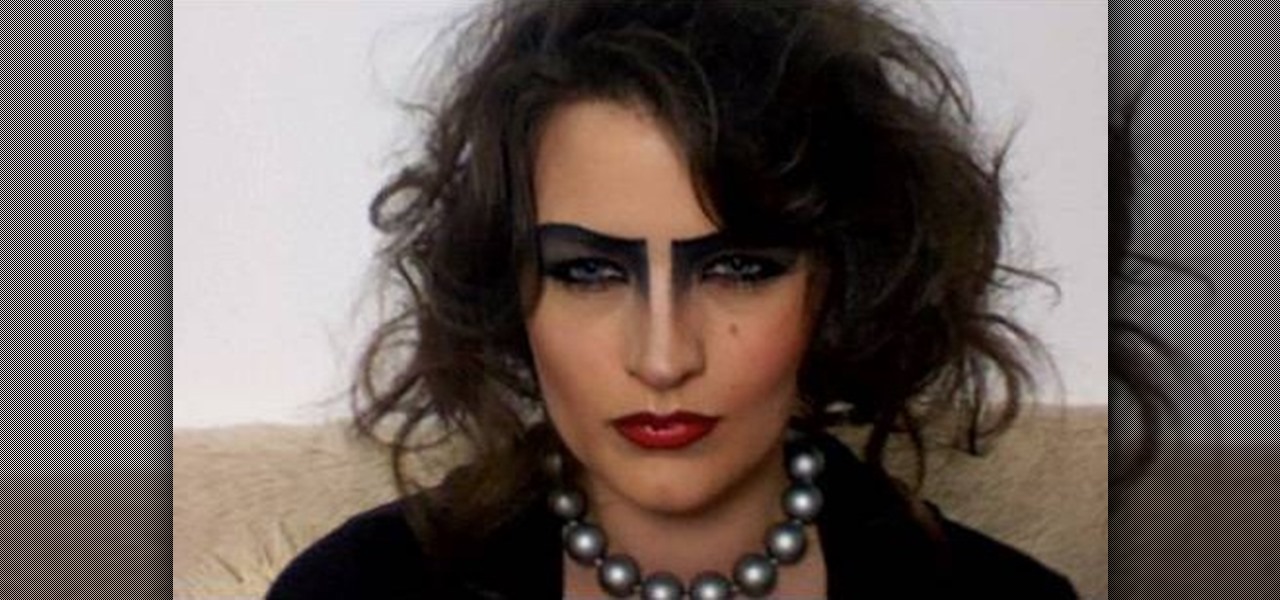
Everyone remembers the beloved transvestite Frank-n-Furter from the 1975 cult classic, "Rocky Horror Picture Show". Played by the brilliant Tim Curry he will remain an influence on fashion, makeup & hair. "Give yourself over to absolute pleasure," Frank-N-Furter famously said, so why not give yourself a pleasurable makeup makeover? In this makeup tutorial, learn how to apply Frank-n-Furter makeup & hair - perfect for Halloween or any masquerade ball.
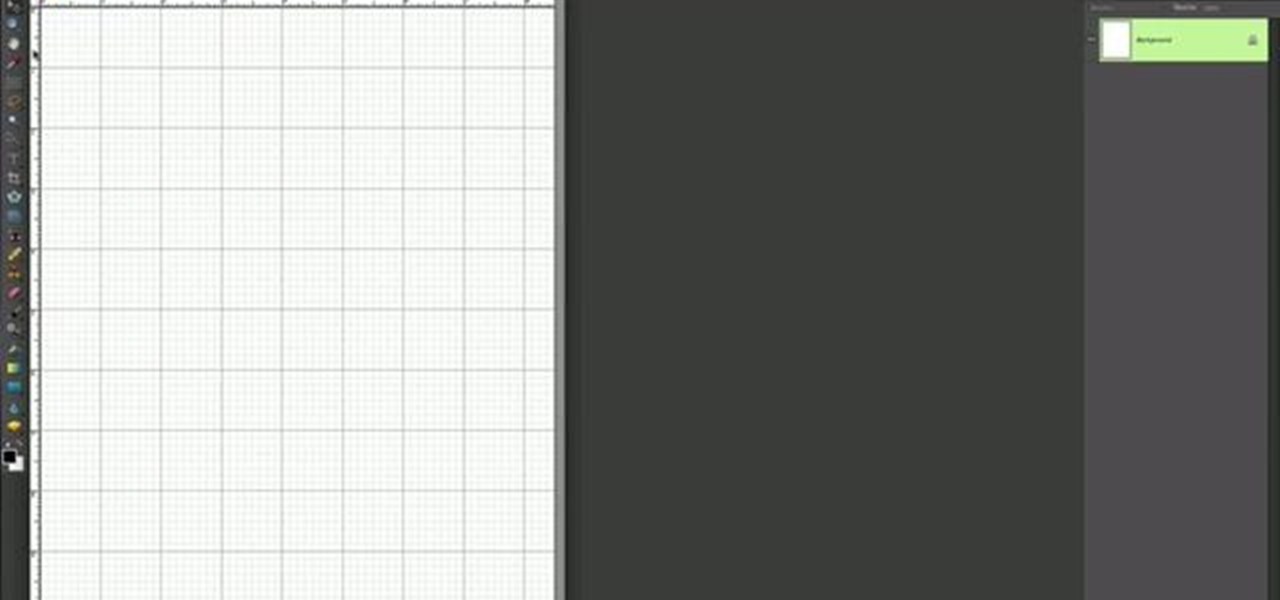
This is a simple Photoshop Elements tutorial on how to make rounded photo corners for quick and tidy effect. See how to make photos with one, two, or opposing rounded corners. This could be turned into an overlay, too! This is a great, detailed Photoshop tutorial on rounding your picture corners. Easy to learn.
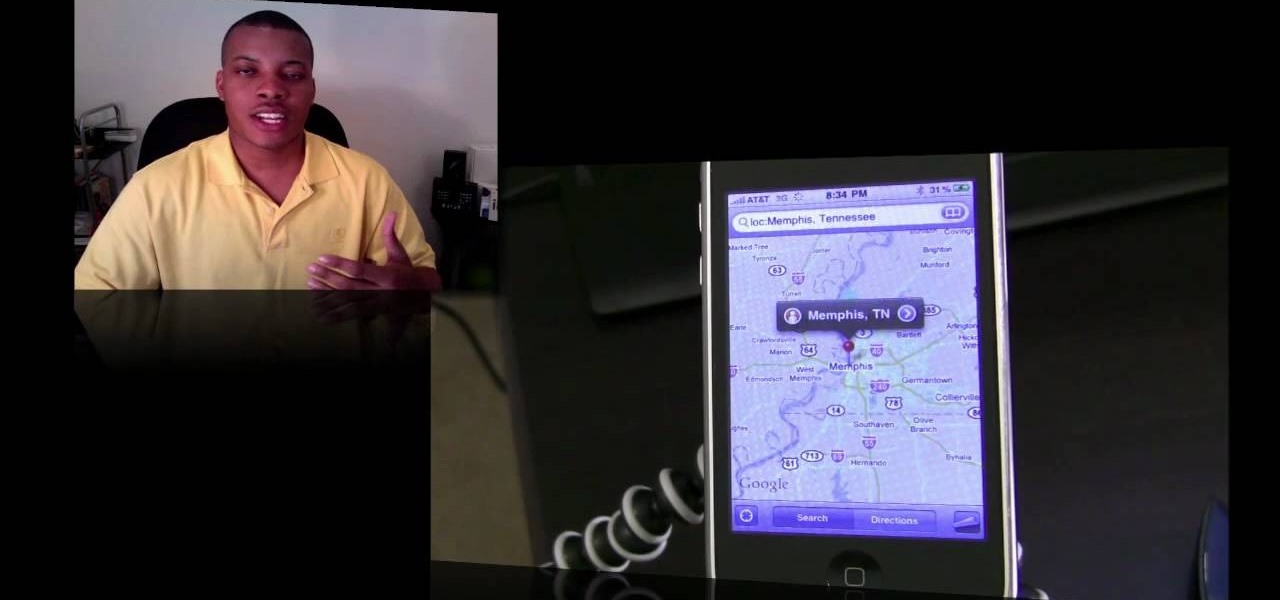
There's a lot more to the new iPhone MMS than simply taking a picture and sending it to someone. This video blogger shows you how to make the most of the new MMS feature. If you haven't updated your iPhone yet to get MMS, you can do so simply by plugging your iPhone into iTunes and downloading the update.
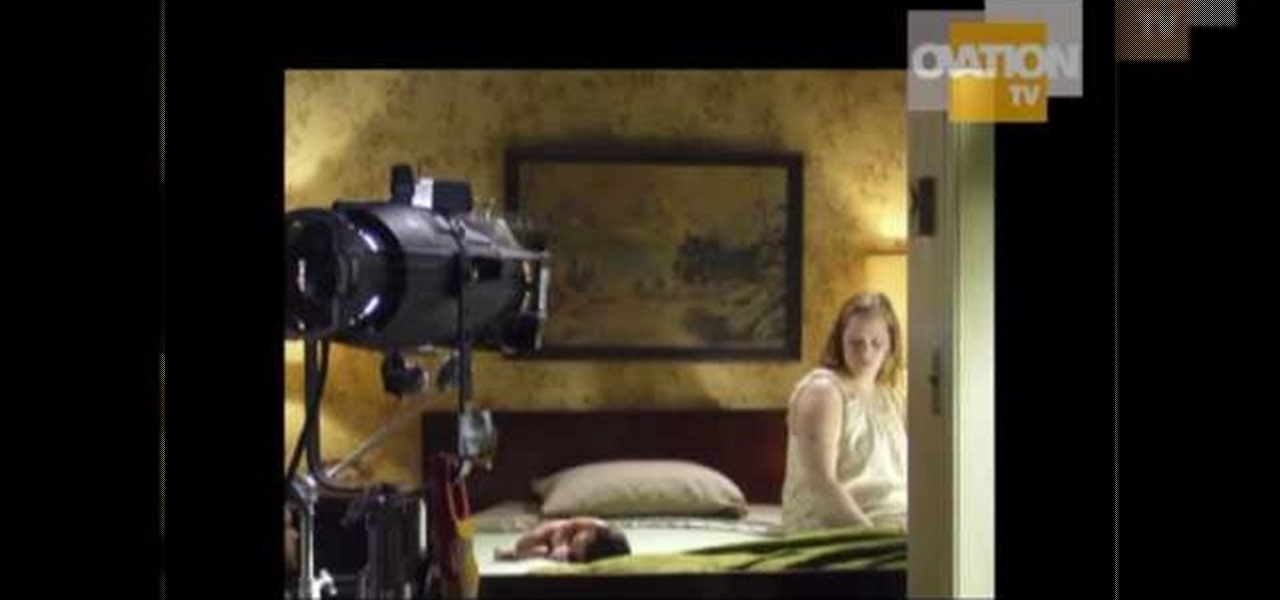
In this Ovation TV original special, acclaimed photographer Gregory Crewdson shares with us his insight into his photographic techniques. Like a film, he uses a lot of production, a lot of lighting, a lot of set design. He is an American photographer best known for elaborately staged, surreal scenes of American homes and neighborhoods. Learn how to take pictures like this master artist.

The demonstrator used a picture of a real panda to make the motif for this origami creature.

In this tutorial, we learn how to use the camera on the Samsung Galaxy I7500. First, press and hold the camera key on the side of your phone. Next, you will see the camera appear on your screen. To take a picture, press and hold the camera icon. You can review your picture by tapping the gallery icon on the top left. Here you can zoom in and zoom out, view other photos, set it, share it, and delete it. When you are finished, simply go back to your menu and then you are done, enjoy using your ...

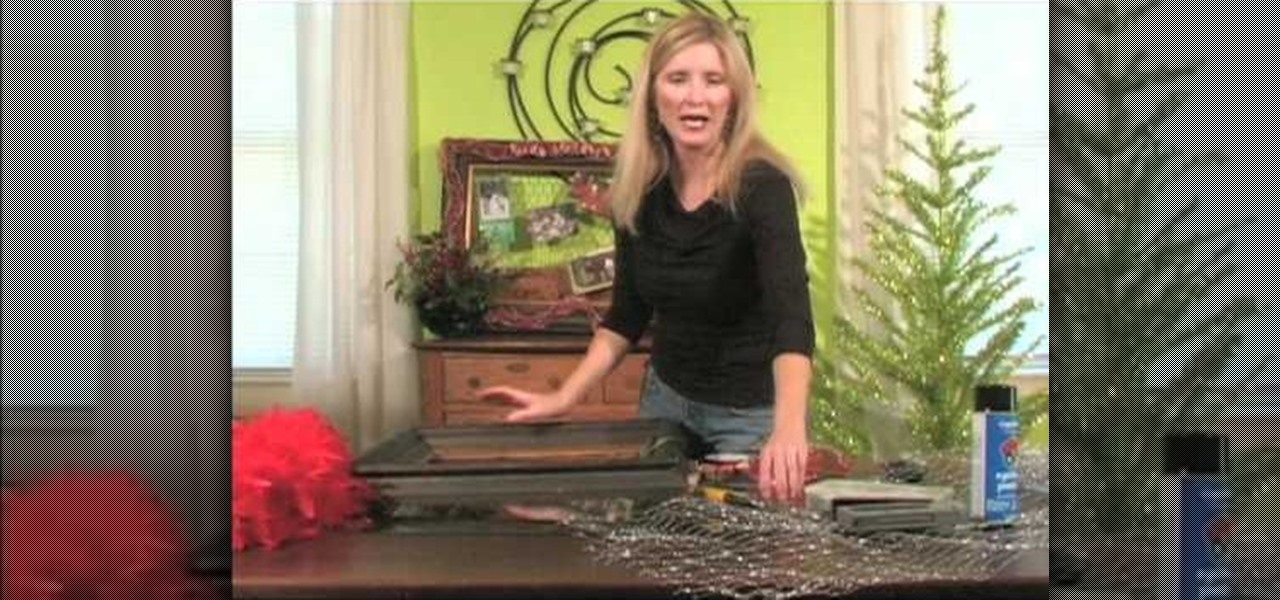
In this tutorial we learn how to make a Christmas wreath card holder. To do this, you can use a Styrofoam wreath, feather boa, glue gun, and pictures. First, glue the feather boa around the Styrofoam wreath in any color that you would like. After this, attach your favorite color of ribbons to the boa and then attach some wire to the back of it with the glue. After this, you can place the pictures on the frame and then attach anything else you would like! This is a fun craft that looks great i...

In this tutorial, we learn how to do light graffiti with an ISO-100 camera setting. First, you will need lights in an array of different colors. After you have all of these lights, you will need to take a picture. Then, grab the lights and write in the air with them. After this, you can turn the camera on and then use the light source from the camera to create light graffiti on your pictures! You can do a ton of different things, there is no limit! This is fun and creative, so get out there a...

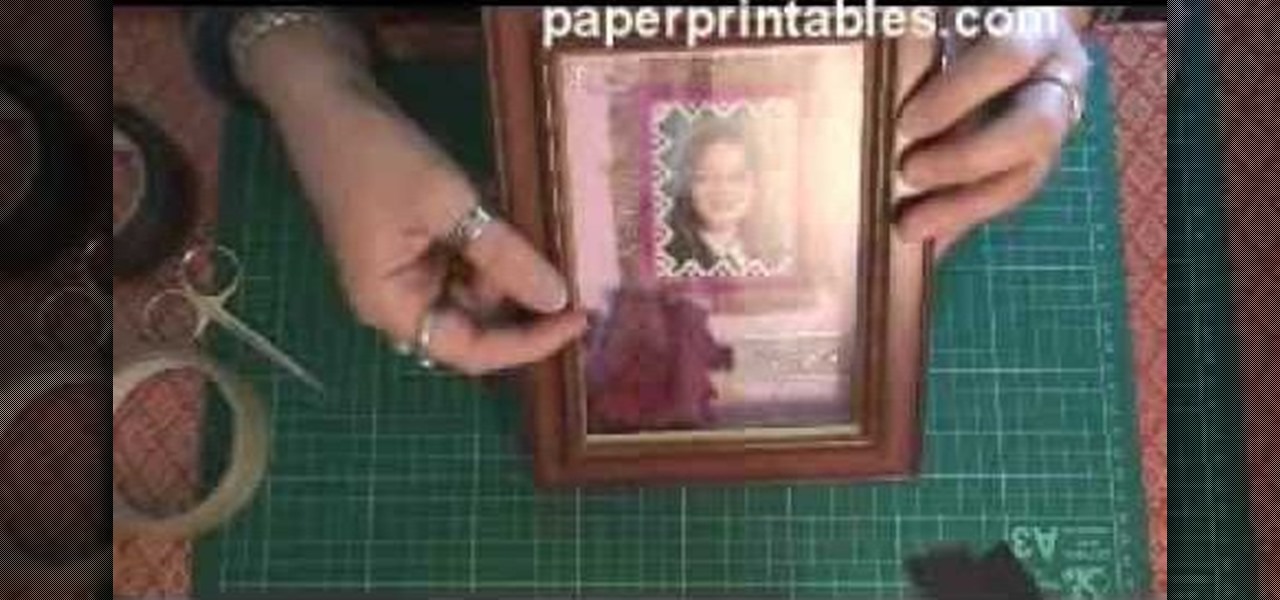
In this tutorial, we learn how to make a shadow box frame. First, grab a regular picture frame and remove everything from the frame. Next, remove the metal pegs that are around the sides. From here, grab a piece of card stock and draw the outline of the glass onto it with a pencil. Then, extend the edges of the box out on the paper. From here, you will cut it out and then bend it into a box. From here, add the picture and anything else you want inside of the box. Stick double sided tape insid...

In this video, we learn how to resize an image in MS Paint without losing resolution. First, you will go to the file menu and then open. From here, open up the photo you want to resize. After this, go the 'image' section on the toolbar and then click 'stretch and skew'. From here, change the vertical and horizontal stretches until you have the size of picture that you want! Continue to play with it until it's right and then save this over again. This should only take a few minutes and will ke...

In this video, we learn how to take better pictures for eBay. If you're selling something on eBay, you want your item to look good so it will sell quickly. People are more likely to buy from you if you have good pictures which showcase the product you're selling. The first thing you can do is to clean the product thoroughly and then set it on a sheet with a green background and green all around it. From here, take different shots with your camera and then load it onto your computer. After it'...

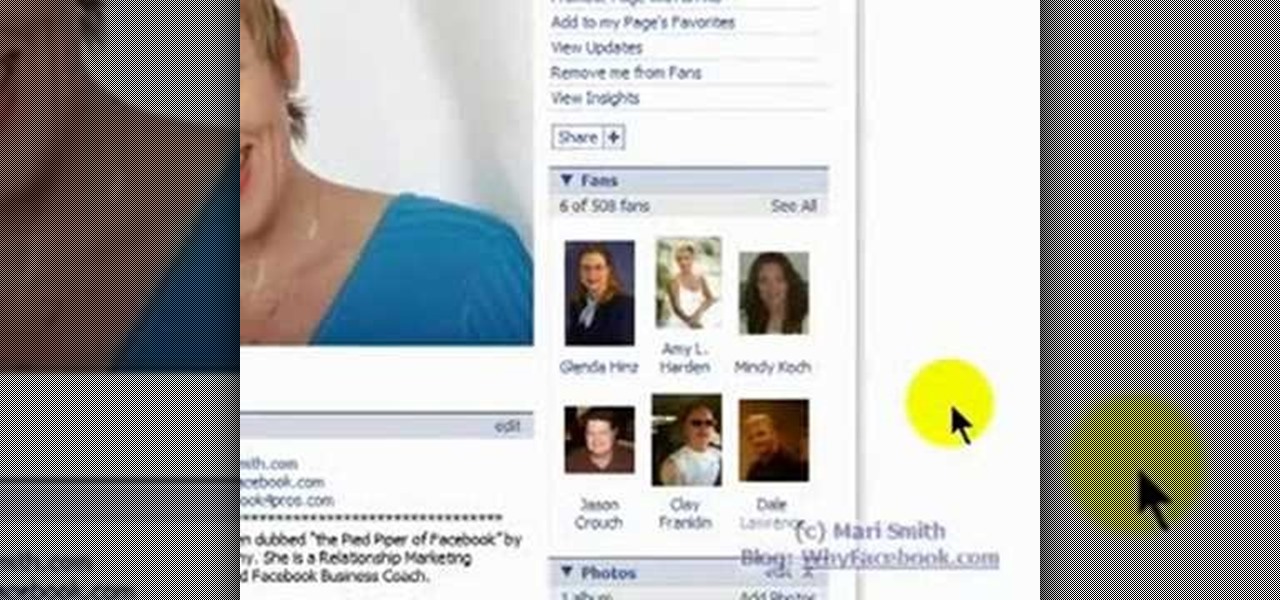
In this tutorial, we learn how to create and promote a fan page on Facebook. First, you will need to go to the Facebook website and create a fan page. Once you have the page created, you will need to add on your picture, along with many other pictures to the page. Go to the bottom of the page where it says "advertising", and click on this. Then, you will get started by advertising your Facebook page to the millions of users that are around the world! When you're finished, grow this by having ...

Learn. Evolve. Operate. That's the basis of Leo from Kryon Systems. It's a new application that runs on top of any program you have open (web and desktop applications), providing you with instant help. Leo can actually perform your duties for you! Like in Microsoft Word 2007. In this video demo, you'll learn how you can use Leo to help you insert a picture into Word 2007, making Office a whole lot easier. See it in action!

In this tutorial, we learn how to cut your friends in half with film effects. To do this, you will need an actor, a still frame of blood, and some gory looking meat. Have your wounded actor lay on the floor with another actor laying next to him. Then, have them all leave the frame. Next, bring all the footage in After Effects and bring in the meat picture as well. Add blood and the meat in the pictures and remove the lower half of the body. Play with the colors to make it look more realistic,...

In this video, we learn how to draw a Pikachu PokŽmon. First, you should have a picture of the character in front of you so you can better draw it. Start out by drawing the eyes and filling them in with marker. Next, draw in the rest of the face, including the nose and the mouth. After this, draw the ears at the top of the head, then connect in the middle to create the head shape. Draw the sides and bottom of the head, then draw the body. Add in circles for the cheeks, then continue to draw u...

In this tutorial, we learn how to use fill flash to get blue skies. If you take a picture of someone in front of a blue sky, they will most likely have shadows on their face, making the sky look good and them look bad. If you change your flash, the sky will look pure white and the person will look good. To change this, put a flash onto the camera, then use the exposure compensation to -1. Then, adjust your flash exposure to 2 2/3 and take the picture of the subject again. Now, you will have a...

In this video, we learn how to shoot wedding photography like a pro. Start off by having the wedding party in front of a clear background. Try taking their picture outside with trees and a clear sky in the background behind them. Use the surroundings to add a special touch to the pictures and use the correct flash so that the wedding party shows more than the background does. Accentuate the background and use white flash absorbers around the wedding party so their faces have more color that s...

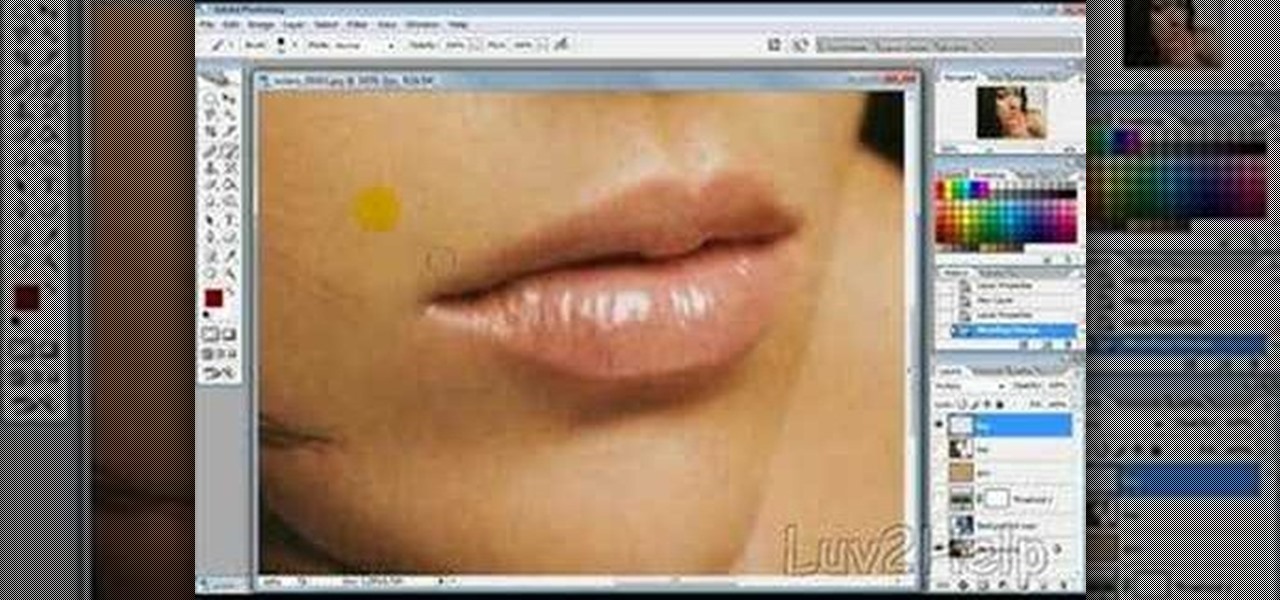
In this video, we learn how to remove acne spots with Photoshop. First, open up the picture and zoom in on the acne you want to remove. Now, unlock the layer by right clicking and unlocking it. Next, use the clone stamp tool while pressing alt to clear the skin where the blemishes are at. Click constantly on the acne until all of it is done. You want to click as many times as possible to get the best effect in removing this. When you are finished with this, duplicate the layer, then change th...

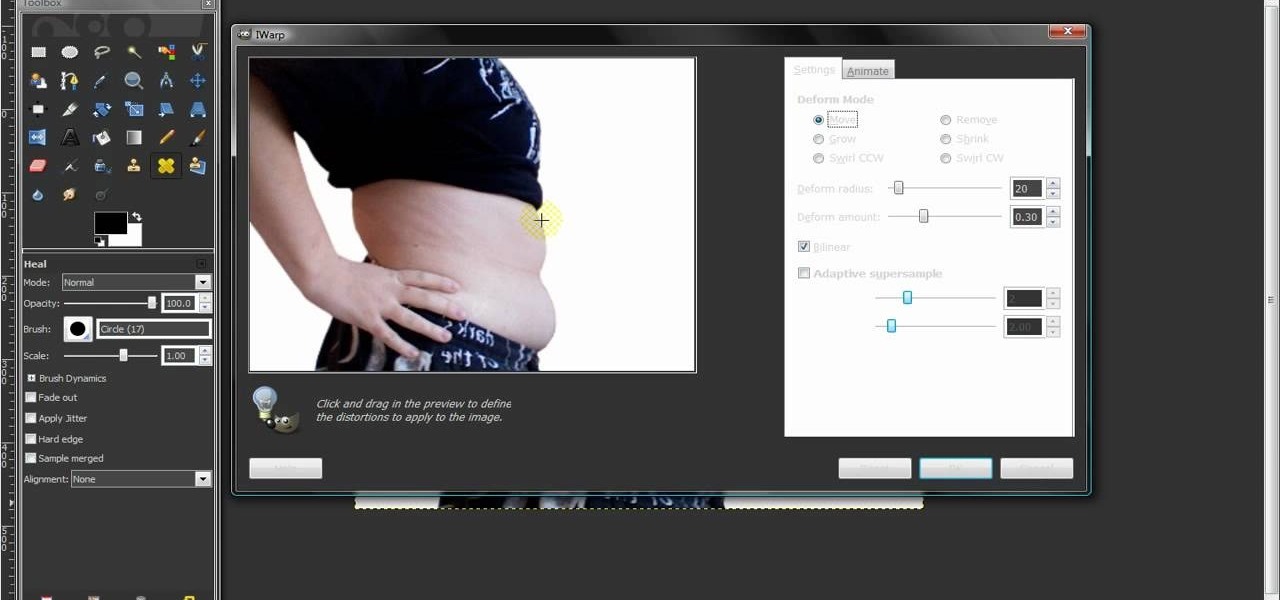
In this video, we learn how to remove body fat or stretch marks in GIMP. First, go to filters, then distort, then warp. When you are in this window, you will be able to see all the different distortions that you can do. To help you remove the fat, use the "move" tool and a proper sized brush. Now, press on the stomach and slowly press down on it until you see the part of the body start to become smaller. Don't do it too quickly, or the picture will look fake. When finished, save your new pict...

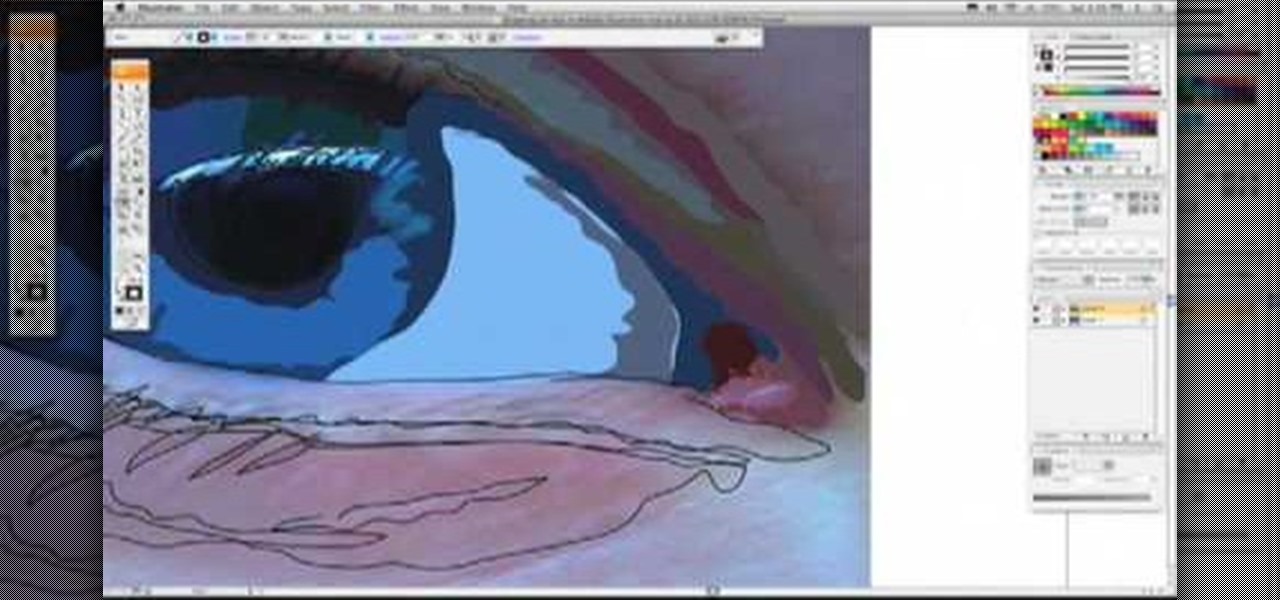
If you love Adobe Illustrator and are looking for an interesting and creative way really to bring the life out of your pictures, this video has an interesting twist. If you remember the movie, "A Scanner Darkly" and the art style that they used, it was quite impressive and unique and called rotoscoping. In this video Karl Gude goes into great lengths showing you his method of tracing the picture and then adding the right colors all the way to the finished product.

In this video, we learn how to use and understand depth of field in photography. If you look at a photo, the depth is how deep the picture looks. You can change the depth by changing the aperture to make the depth of field look shorter or longer. The lighting can also change the depth of field and what you can see in the background. A big aperture will give you a large depth of field, with a small amount of light. If you want a big depth of field in a landscape, then you will use a maximum ap...

In this tutorial, we learn how to use Fiskars Decorative Edge scrapbook layout. First, you will need to pick out the templates, pictures, and paper that you want to use for this project. Now, place the stencil over the card stock and cut out the stencil shapes you want, stars work best if you are doing a fun child theme. Now, apply these to your base card stock, and arrange a frame over the background. Now, apply the picture to the page and add on the stencils you just cut out. Add in quotes ...

In this tutorial, we learn how to draw Shadow the Hedgehog. Start off by drawing the head and then add in the spiked hair. After this, draw in the details of the eyes and continue down to the arms and the rest of the body. Draw in the feet and a gun in the character's hand. Now, use a pen to start drawing the outline over the pencil marks that you just made. Continue on to draw in details on the picture that make it look more realistic. After this, color in the picture with colored pens and u...

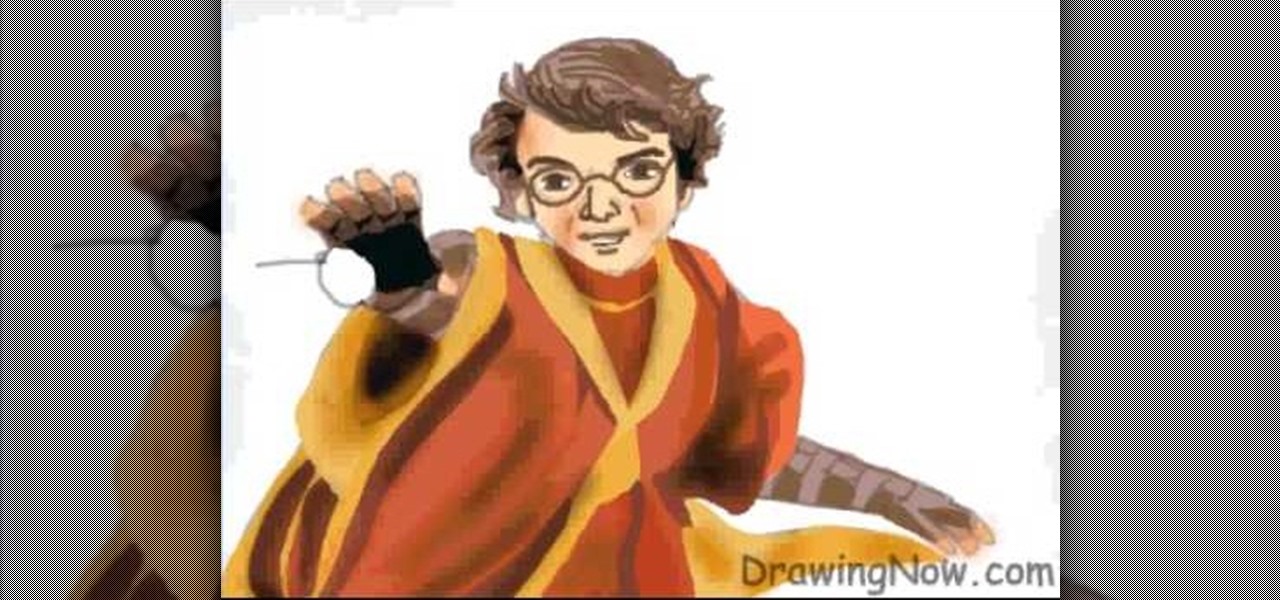
In this tutorial, we learn how to draw Harry Potter. Start out by drawing Harry's face, adding in all the details, such as: his hair, eyes, glasses, nose, and mouth. After this, start to draw his upper body wearing his Quidditch robes, and draw his arms. One arm should be reaching in the air for the ball and the other should be to his side to balance him out. After this, start to add colors to the picture. Add in his skin color, then add in his brown hair and gold and red for his sports robes...

In this tutorial, we learn how to properly draw with a pencil. First, start off by drawing squares and see what it looks like when you color them in and shade them all differently. This will help you learn how to control your pencil and see how hard you have to press to make the shades look different. You can also scribble a line going from really dark to light. Make sure you are making a range of different colors so you are learning how the pressure on the pencil effects how the color comes ...

In this tutorial, we learn how to use Prima Paintables paper. These are meant to watercolor on and are very thick pieces of paper. You can take a paint brush and open up a bunch of different paint colors. Start to paint your picture, then allow it to dry. When finished, you can spray a water bottle on it to bleed the picture and make it look unique and your very own. This is something that is fun to do and makes it easy to paint your own creations using this paper that is made just for painti...

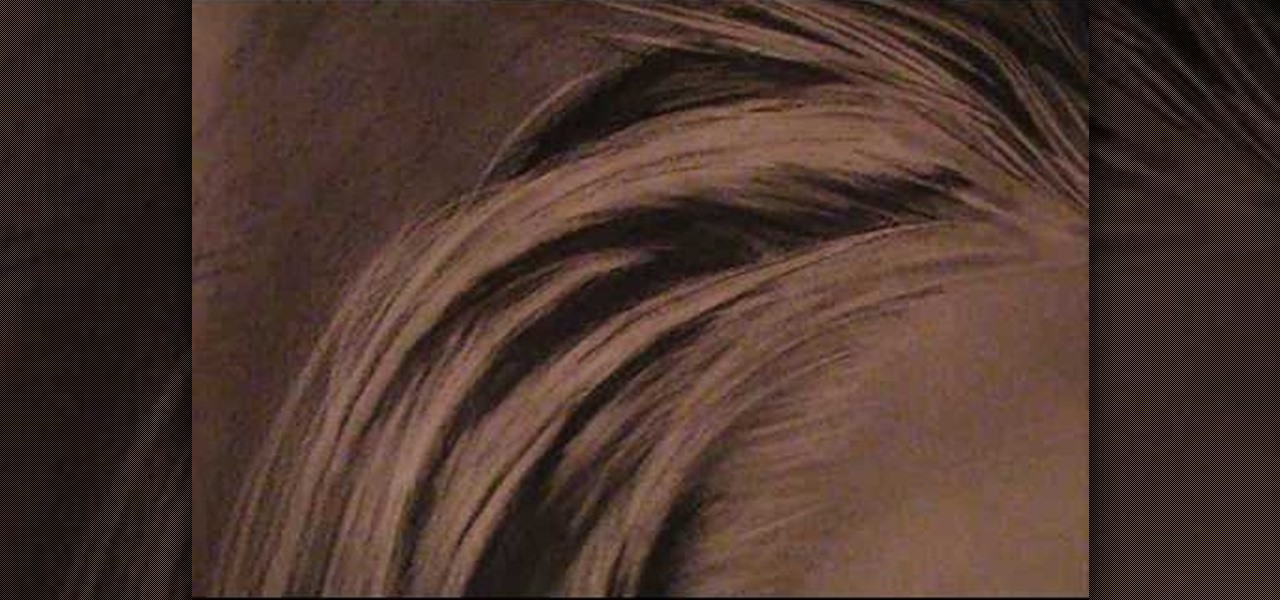
In this tutorial, we learn how to draw realistic hair. Start out with a rough outline and look where the hair is clustered together. Draw the clustered area first. Then, cross hatch over the entire surface of the area and blend in. Add hair to the forehead area, then use a darker pencil to form the shape of the hair. After you do the clusters, start to draw the hair that is separated from the rest. Keep looking at the picture you are drawing, then use an eraser to change the drawing to match ...

In this video tutorial, viewers learn how to make stop motion animations. Begin by mounting the camera onto a stable surface position, such as a tripod. Then layout the figure to a desired position for the first frame. Now take a picture and slightly move the figure for the second frame. Continue moving the figure and taking frames until you have completed your animation. Then upload the frames onto your computer. Open the images in a movie editing program and make sure to set the picture dur...

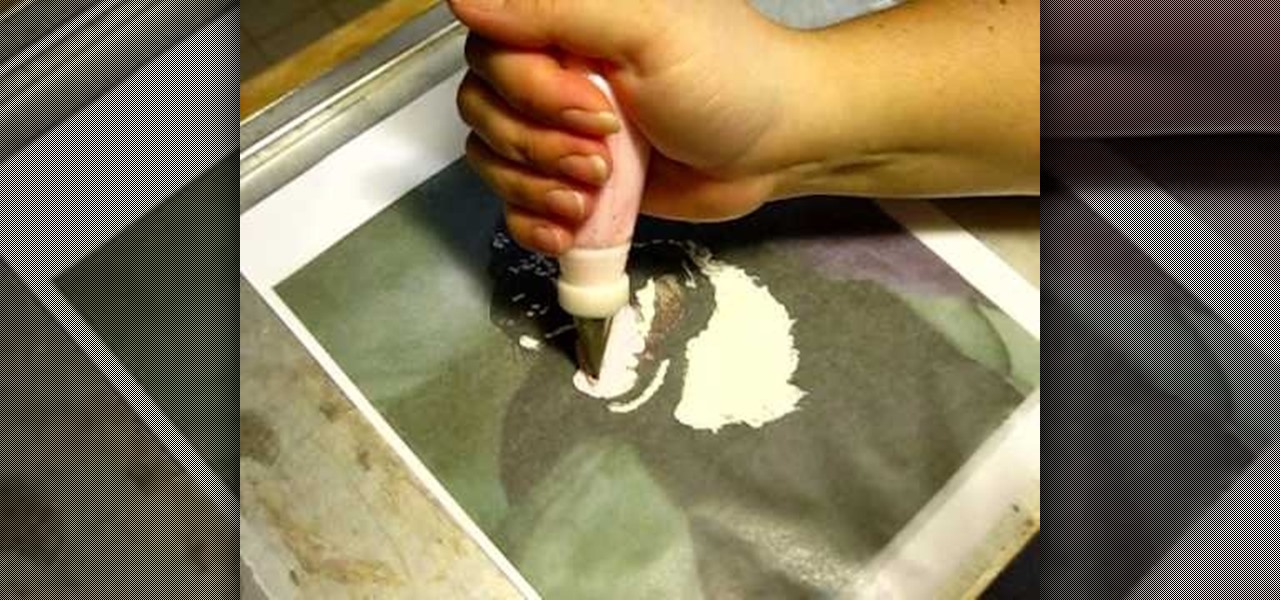
Everything is so much cuter - and tastier - in edible form. Take dogs, for instance. Whether you miniaturize them to top a cupcake or make them out of buttercream to top your cake, they becomes instruments of decoration and pleasure once they get adapted to cakes.

We love shiny things. Pretty baubles, Swavarski crystals, long link chains holding art deco pendants. And that's why we also have an extremely messy jewelry storage system. Basicall this is how it goes: we buy a necklace, wear it once or twice, and then toss it into a sort of bin type thingy.

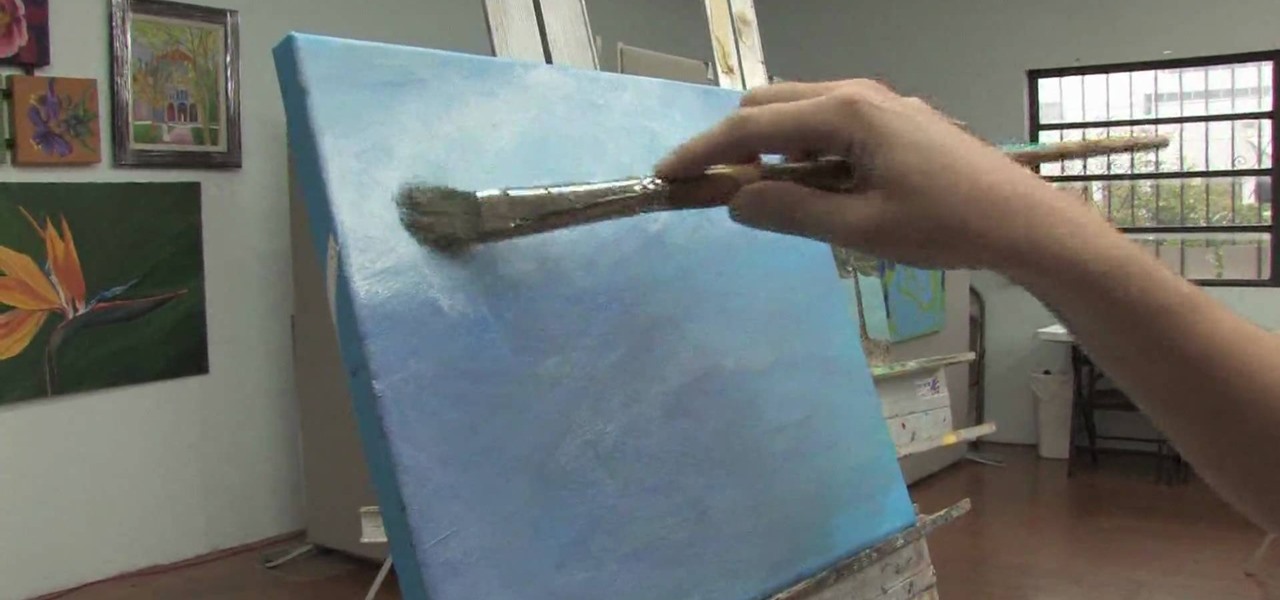
In this video, we learn how to embellish a painted sky. To do this, use white paint and gray paint. Add some clouds with your paint brush and make them loose and puffy in the sky of a painting. Be very loose and let the blue shine through the white like a regular sky. Paint the tops of the clouds more white than the other parts and paint this throughout the entire picture. If you want to take off some of the embellishment, use blue paint to cover up some of the white you have painted on. This...

In this video, we learn how to improve short-term memory. There are many brain exercises that can help, that will jump start your abilities. Remember to focus your attention, take mental snapshots, and connect your snapshots with memory. This will help you not only remember different things, but it will also help you to connect pictures and different details along with it. Just small things like this while you are younger can help improve your short-term memory while you are both younger and ...

In this Electronics video tutorial you will learn how to take a picture with your LG GW620. First you got to press and hold the camera key on the side of your phone. This will open up the camera options. If you tap the screen you will see the options icons on the side. The various icons are zoom, exposure, flash, macro and settings. On the right hand side you have the back, camera mode and the gallery icons. To take a photo, tap on the camera mode icon. The photo will be clicked and then a li...

This tutorial shows you how to create a picture rotating slideshow, that fades in and out using Adobe Flash. Using optimized embedded photos is not the only way, but it is a very basic and easy method to create a slideshow picture rotator. Whether you're new to Adobe's popular Flash-development platform or a seasoned web developer looking to better acquaint yourself with Flash CS3, you're sure to benefit from this free software tutorial. For more information, including detailed, step-by-step ...

It's obviously important to look better than everyone else on your wedding day (sorry, but you know it's true), but even more vital to look great in wedding photos since you'll be looking back at them 10, 20 years down the road and you want to know you looked your best on your special day!

Popularized by the likes of Andy Warhol, pop art has long been an art genre associated with the glittery excesses of Studio 54 and a modern aesthetic.

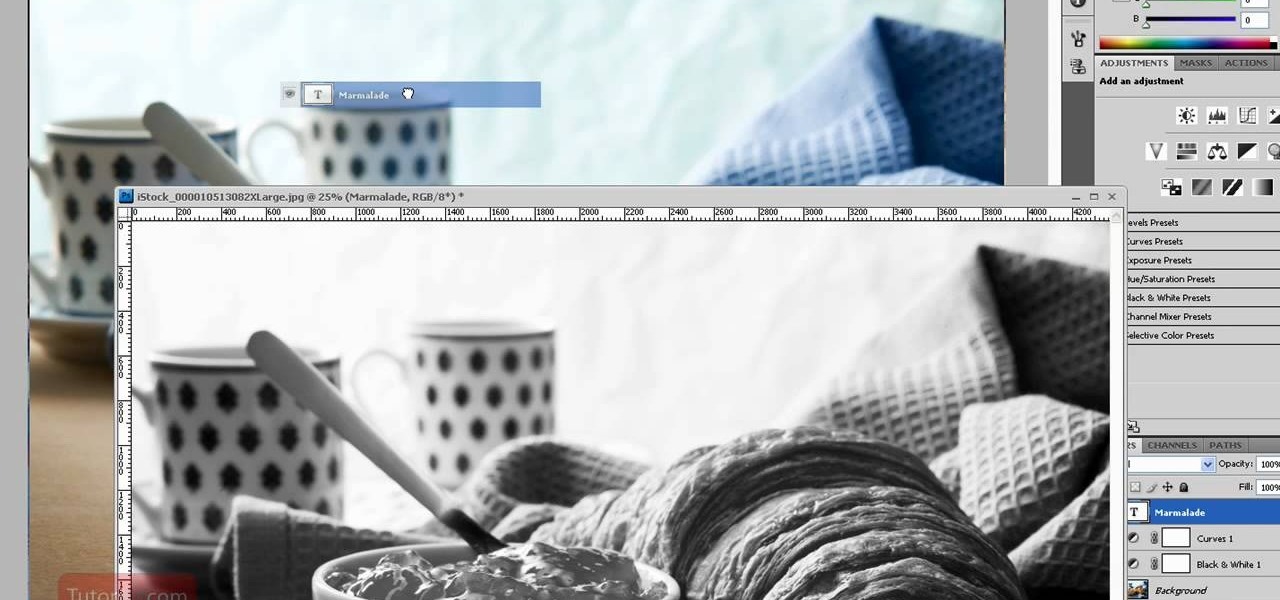
Photoshop is one of the most powerful and widely used program out there on the market. Not only can people use it to make their own photos look better, but they are able to take other pictures and images and enhance them to whichever way they want. That can be seen as both bad and good. Somtimes, to do so it involved using the layers and moving a picture to a new image. In this tutorial, you'll find out how to move a layer to a new image using Photoshop. Enjoy! It's quick, easy, and will be a...

If, for whatever reason, you need to show someone else a photo of your computer screen, you will need to take a screen shot. In this tutorial, learn how to copy your screen on a Windows based PC.


