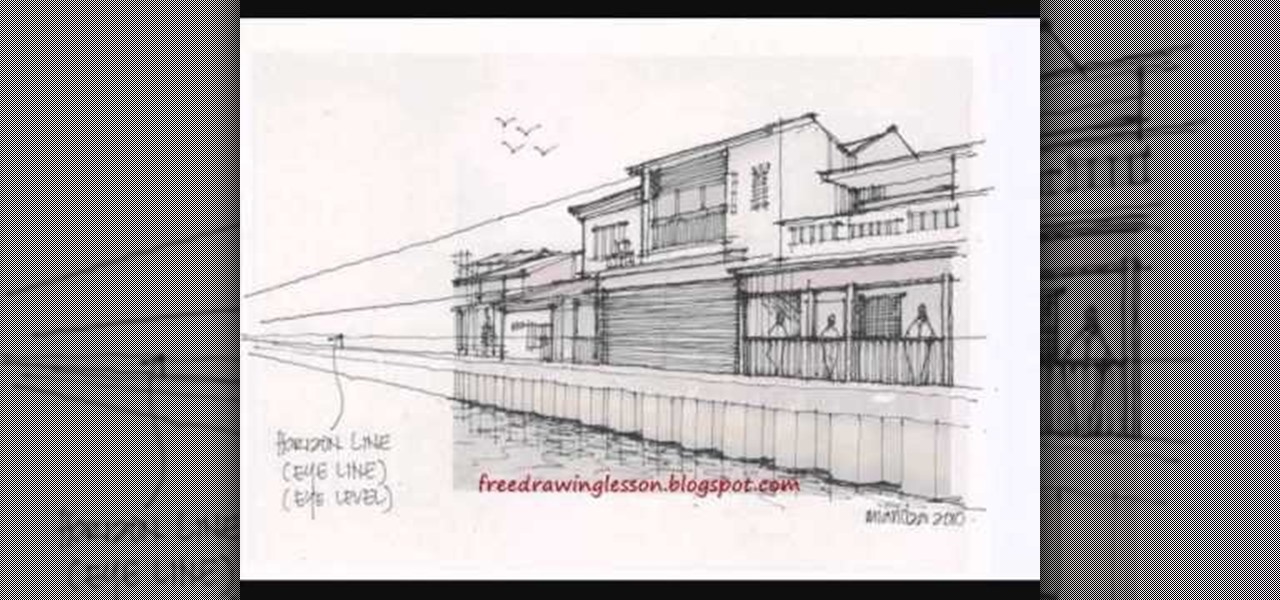
Imitation is the best form of flattery, right? In the case of this picture of a roadside apartment complex, imitation will help you learn about perspective and vanishing points, and how architectural features align with these two drawing caveats to create a realistic picture.
In this software video tutorial you will learn how to add hyperlinks to PowerPoint presentation for Dummies. With hyperlinks you can link part of your presentation to another slide within the same presentation, a separate presentation, a website, an e-mail address or to a file like a word document. Say, for example, you want to create a hyperlink to a picture in your presentation. Click on the picture to highlight it, click on the 'insert' tab, and select the 'hyperlink' option. Choose the de...
In this video tutorial, viewers learn how to upload pictures from their cell phone to their computer. Begin by connecting the DCU60 USB cable to the cell phone and connect it to your computer/laptop. Then insert the software CD into the computer. Install the software, depending on the type of phone that you have. When the phone is ready to be used by the computer, select media transfer to upload the pictures from the phone. This video will benefit those viewers who have a cell phone, and woul...

This tutorial teaches us how to touch up eyes while using Photoshop. First, open up Photoshop and zoom into the eyes on a picture you want to touch up the eyes on. First, select the adjustment layer icon and brighten the image. Next, invert the mass and select the "v" key, then pain the eyes on both sides. Next, click "filter" and then click "blur" so you will soften the edges so the picture doesn't look fake. Now, you can click on "before and after" to see what the picture results look like....

In this video tutorial, viewers learn how to make a red-cyan anaglyphic 3D photo, using Adobe Photo-shop. Begin by taking two pictures of the same image. The second picture should be 6,5 cm to the right of the first picture. Now load both images onto Photo-shop and drag the second picture over the first one. Select Layer, click on Blending Option and uncheck Channel R. Place the red on the left side and cyan on the right side. This video will benefit those viewers who photo editing and would ...
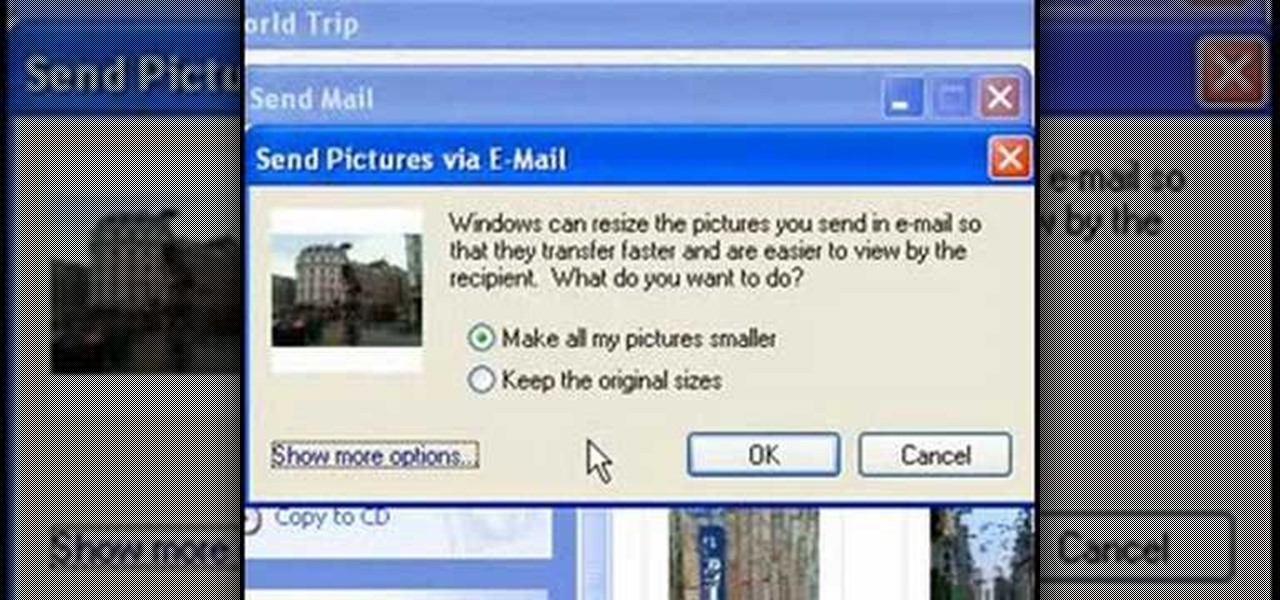
This video tutorial from easycomputercoach shows how to easily attach pictures to email addresses. In Windows XP you can send pictures resizing them in the process, in case you have large file sizes.

In this video, we learn how to create a picture frame on a photo using PhotoShop. First, open up the program and open the picture that you want to change. Next, select the rectangular marquee tool from the toolbar on the side. Now, create a selection of what you want to frame. Then, click with the right key and select "inverse". Click again with the right key and choose "layer via copy". Now, click 2 times on the layer to open and the layer style menu will show up. Now put the contour to crea...
In this video, we learn how to put eyeshadow onto a picture using PhotoShop. First, open up the program and open your picture. Click on layer then new the click layer again.On the new layer put as blend mode "multiply". Make the opacity 50% and choose a color. Then select the brush that is the right size for your picture. Next, you will be able to brush the mouse over the eyelid and put eyeshadow onto the lid of the eye. You can change the intensity of the eyeshadow by changing the opacity hi...
This is a video about how to use the printscreen button. You can take screenshots with the printscreen button on the keyboard. First you have to a pick an image whatever you want to save in your PC. In this video he is explaining about how to save the a picture about the animal description. Next press the printscreen button when you get the image. Next go to start button and next Accessories and next paint and open the new page on paint. Then go for paste in the edit. Then you will see the pi...
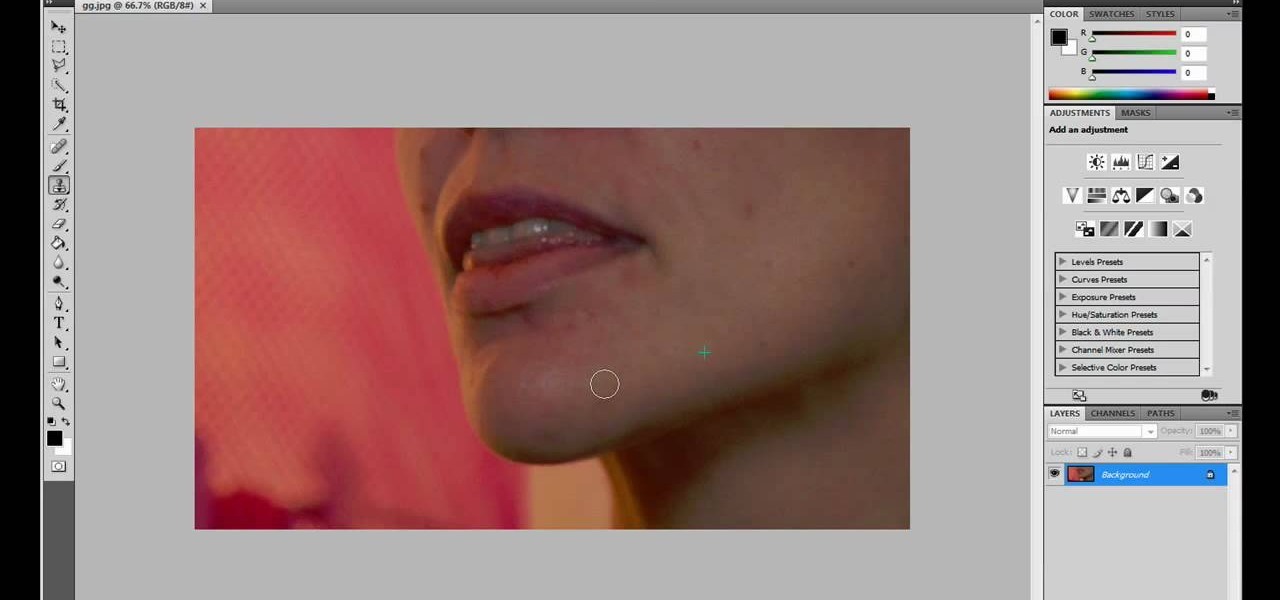
JdudeTutorials explains how you can remove zits, blemishes, and other unsightly skin problems, from pictures using Adobe Photoshop. He begins by opening up a picture of a female's lower face. Left click on the stamp on your toolbar, and select the Clone Stamp tool. You will see a small circular cursor. He explains that you should find a skin tone on the picture that matches the skin surrounding the troubled area. He holds the alt key on his keyboard and left clicks the spot that most resemble...
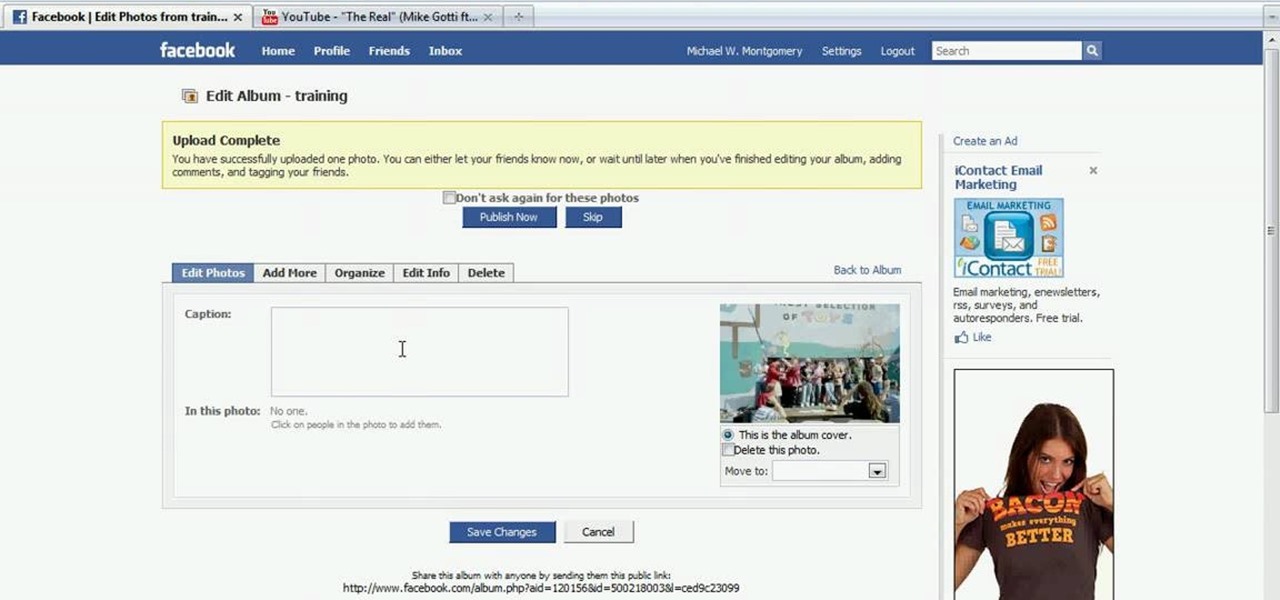
In this tutorial, Mike Montgomery shows up how to tag a friend in a picture on Facebook. First, log into Facebook and click your photos and upload your photo to the desired photo album, or create a new one. Once it's uploaded you can add a caption to the picture as you wish, then click on "publish now". If you would like to involve your friends in the picture that have Facebook, click on the "tag this photo" button. You can click on their faces in the photo, then a drop down menu of your frie...
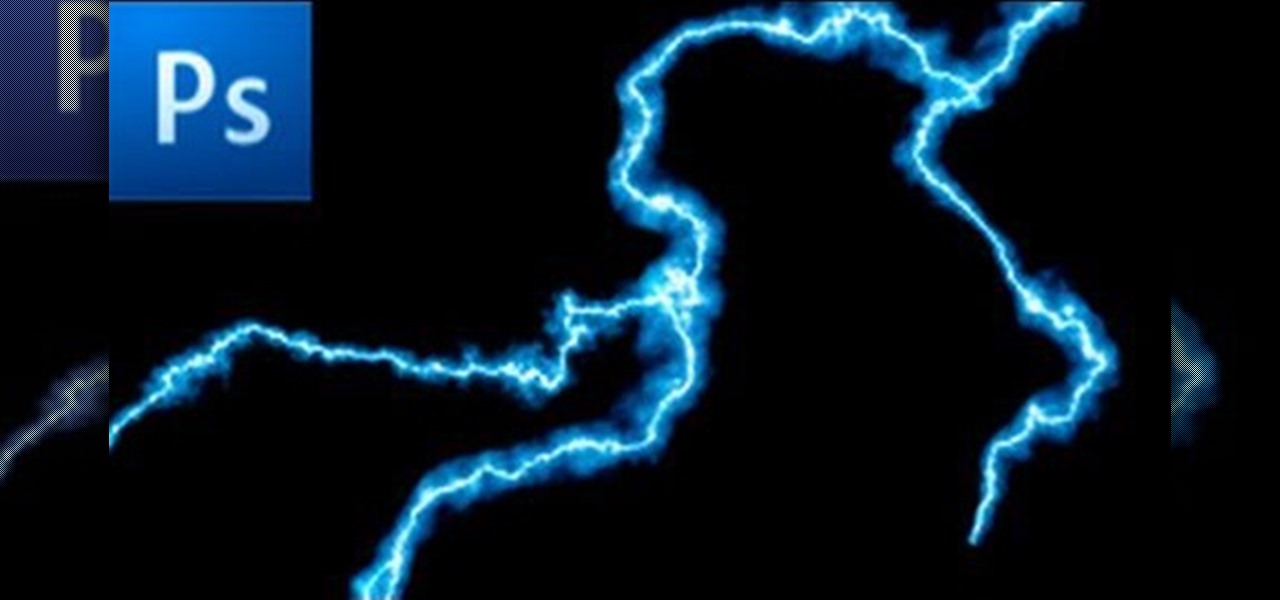
This is a tutorial showing how to make a lightening effect on Photoshop. First click on the gradient tools and then click on the colors. Check to see if there is black on one side and white on the other, if there is then click the ok button. Then hold the shift key while dragging the mouse across the screen. This will make a black to white gradient effect on the screen. After that, click on the filter button at the top of the screen, then click render, and then difference clouds. After the cl...
In this video from Dom Bower Photography, he demonstrates how to make it look like a person is levitating in a photo. He sets the timer on the camera and takes the picture of himself. It takes a few tries to get a picture where he is airborne when the picture is taken. The trick is to try to pose while jumping so that it doesn't look like you're jumping. It might take a few tries, but if you use some of the tricks shown in this video, you'll be able to take a picture that makes it look like a...
First add video to the video section. Then take what we want to add and place it just below the video in the video section. Now look at the bar just over the video section. There will be a video camera sign. Click on it. There will be many tabs. Click on the "overlay feature tab" then click on the "Enable picture in picture" option. Now choose "Full Screen" in the drop down menu in the preset options. Now set the Video Transparency option to whatever you want.
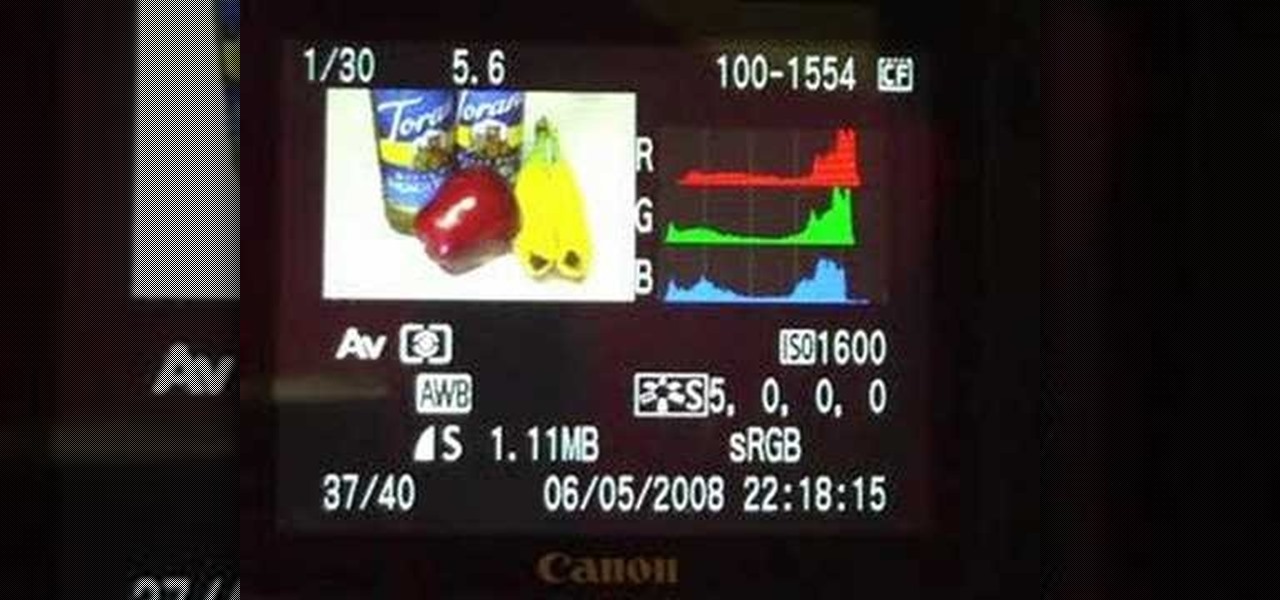
This video shows how to set a custom white balance with a Canon 40D camera. Whether you have fluorescent, yellow tungsten, or camera white light, you will still get a good picture with the custom white balance. The video shows pictures taken with the different lighting and different vibrant colors without the custom white balance that come out pretty good. Then a picture is taken of a white paper towel or something pure white. Then the custom white balance is set by going to the menu, white b...
Ok, so you ditched the ex like a bad habit but now every picture on your Myspace features their face? No problem! You can use PhotoShop to cut objects out of your picture or to make people disappear. This video shows how to do both of those so you can forget the bad memories and move on! After you master the techniques shown you can also use them to cut the background out of your picture and then replace it with a background of your choice!
Ryan instructs you how to post pictures on Facebook. 1. Go to groups and choose which groups you want to post pictures.
To upload pictures to your Facebook account, this video instructs, you'll want to start by knowing where the exact picture or pictures you're wanting to upload are located on your computer. Then, from your main Facebook account page, click on "photos". From here, you decide how private to make the photo. Then, remembering the location of the photo you wish to upload, you must go there and click on it. That done, you can choose a caption for the photo, and click confirm. The biggest social sit...
Interested in animation? Let's animate some photos with Adobe ImageReady. First, put all pictures in a single folder. Open ImageReady and import the folder with the pictures. The photos will be arranged in the timeline but they play too fast. You can adjust the timing of each picture which has an icon under it. To save it as a gift file, click Internet Explorer on the toolbar. Then right-click it to "save picture as" and save it. It will help you in making slideshows/presentations.
With all of the technology literally at our fingertips, there's no excuse for things not to be easy, right? Don't get frustrated about not being able to send pictures with the simple click of a mouse. Educate yourself with this video so you can send pictures to your cell phone. That way you can have that awesome photo from last weekend available no matter where you are. This video will show you how to send pictures from your computer to your phone.
One of the biggest features of Android Oreo is a picture-in-picture mode that lets you watch videos in a floating window while you're using other apps. Honestly, it's fantastic and intuitive, but there are a few ground rules you'll need to learn to master the new feature.
There are several ways to send pictures to others on your smartphone—picture message, email, Bluetooth, and even by bumping phones together. Now there's an even more unique way to transfer pictures from one Apple device to another—with sound. Chirp for iPad, iPhone, and iPod touch
Windows 8 comes with a bunch of new features, and none may be cooler than the new Picture Password option. If you're tired of the old lock screen and login options, or don't want to remember any more passwords, than you'll like this great new addition to Windows.
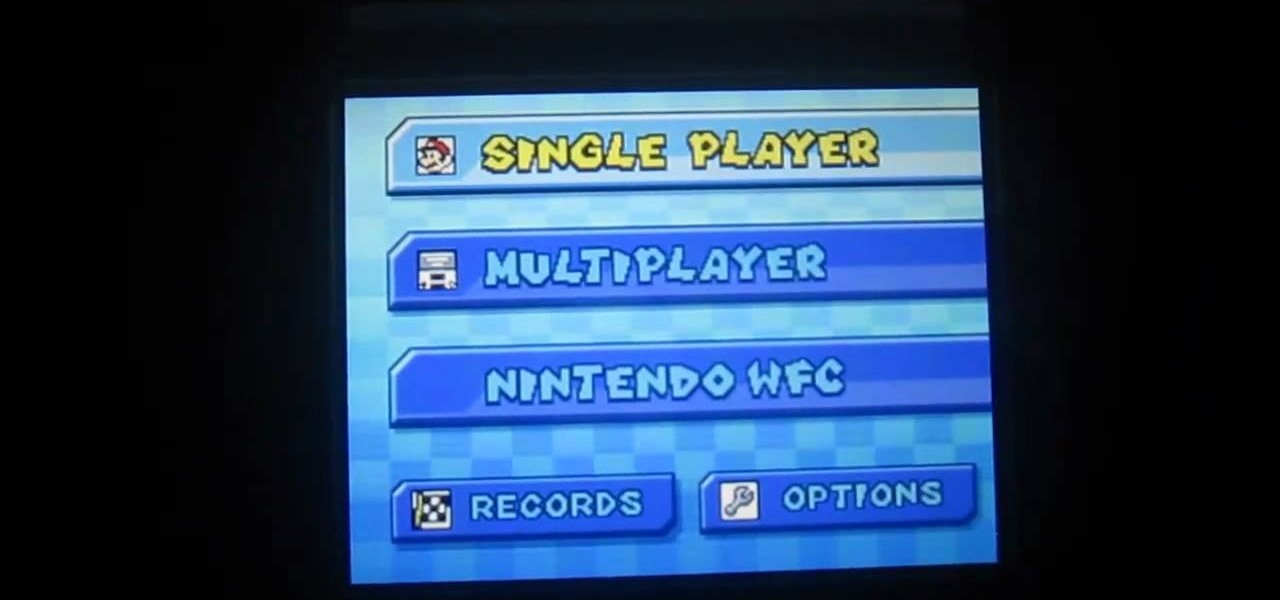
The Nintendo 3DS has a slightly larger screen than the older DS models, such the DSi. Because the 3DS stretches the video of older DS games to fit the bigger screen, the image quality can degrade a bit. If you're looking to increase the quality of picture while playing DS games, take a look at this tutorial to learn how to resize the picture.
In this video tutorial, we learn how to hide files within Microsoft documents and picture files as well as how to hide messages in tweets on Twitter. For more information, including a complete demonstration and detailed, step-by-step instructions, watch this how-to from the folks at Tinkernut.
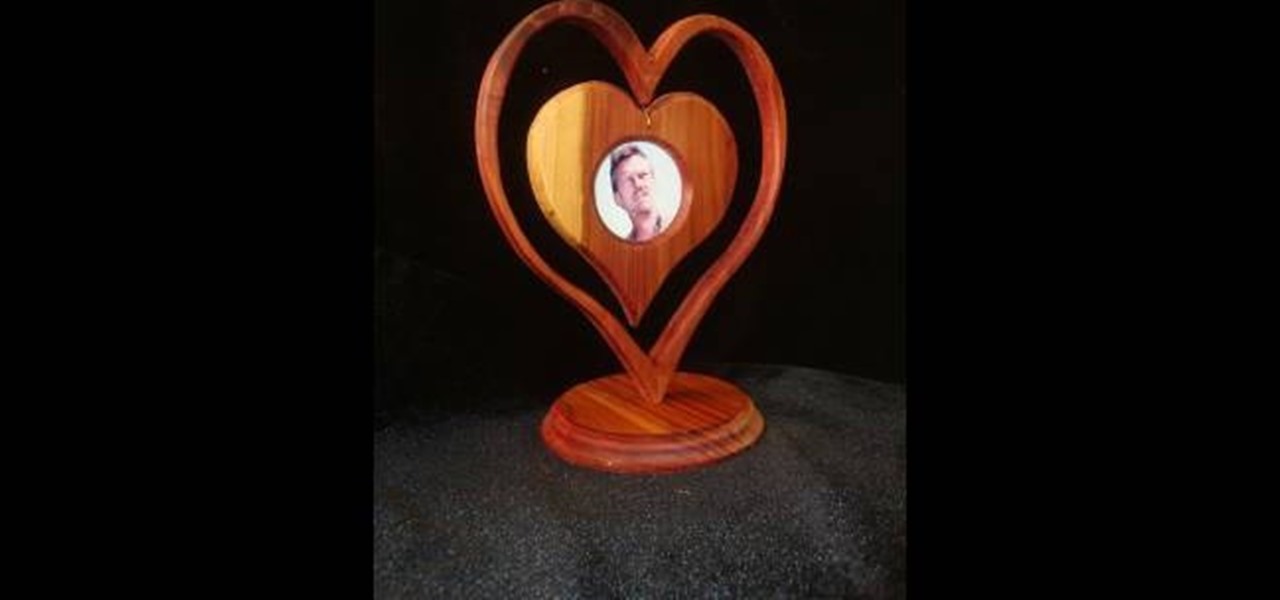
Nothing says 'I Love You' more than a gift that was made from scratch. Especially if that gift is shaped like a heart and is made from wood.
This next video, is a great blend of woodworking and technology. In the tutorial, you'll be finding out how to create a wooden frame for the small digital picture keychains that can be bought from stores like Target and Best Buy. It's a great gift idea for parents, relatives, or just for you. So check it out, take notes, and good luck!
See how to apply custom picture styles in Microsoft Excel 2007. Whether you're new to Microsoft's popular digital spreadsheet application or a seasoned business professional just looking to better acquaint yourself with this particular iteration of the program, you're sure to be well served by this video tutorial. For more information, including step-by-step instructions, watch this free video guide.
Add a photo or avatar to contacts on your Android phone. One of the salient advantages of a Google Android smartphone over, say, an Apple iPhone, is the inherent extendibility of the open-source Android mobile OS. There are a seemingly infinite number of settings to tweak and advanced features to discover and use. This free video tutorial, in particular, discusses how to associate pictures with contacts.
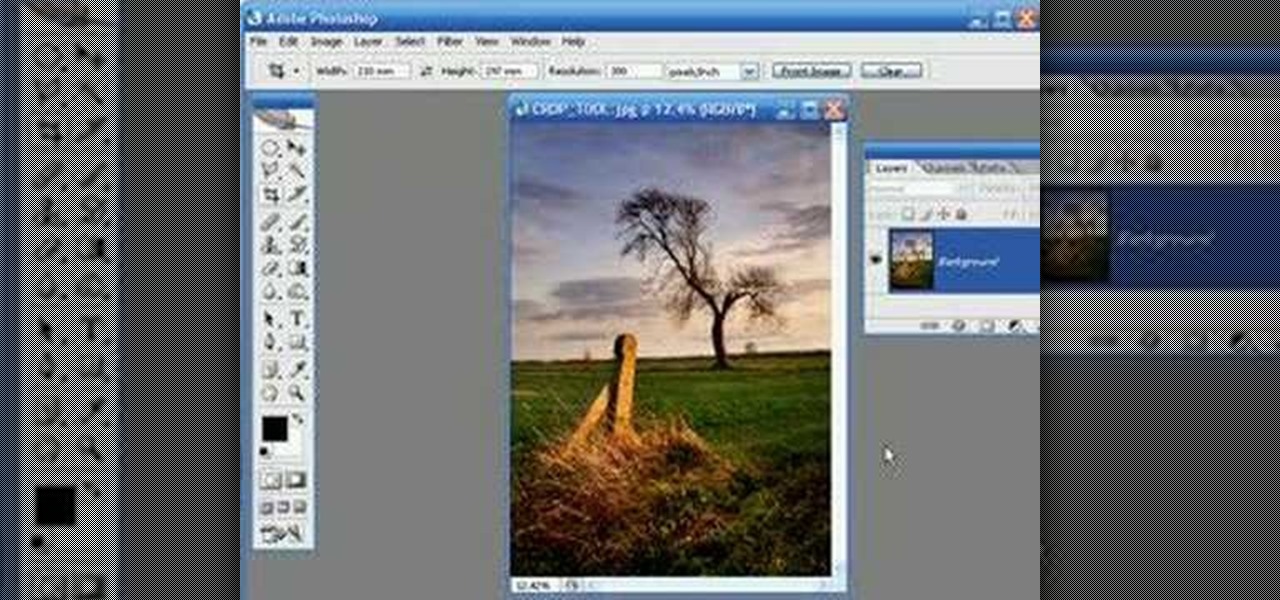
Kingsley Singleton teaches us about cropping images in Adobe Photoshop. He discusses the importance of properly cropping pictures, and the basic ways to do so. He first shows us how to properly crop images to ensure that printed pictures are the proper size for the paper. Clicking on the image and then dragging the marquis over the picture will select the area of the picture that you would like to use. Moving the corner arrows will adjust the size of the area selected. Then, to properly size ...
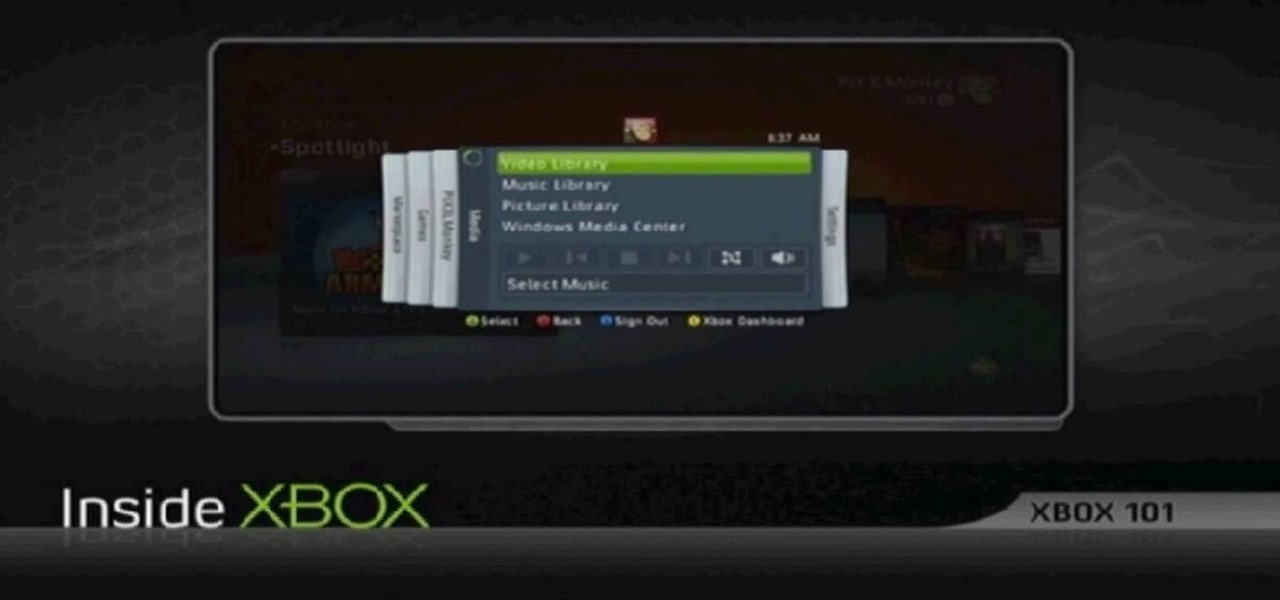
Watch as Tina Wood talks about how to view pictures, videos and more on your Xbox 360. If you want to view pictures and watch videos on your Xbox 360, simply follow these steps: 1. Turn on your Xbox and go to the dashboard. 2. Plug your USB compatible device into your console. 3. Press the Guide button on your controller. 4. Scroll to the Media tab, and choose which files you want to see. 5. Choose Portable Device, and start a slide show, or select specific pictures to see. 6. If you want to ...
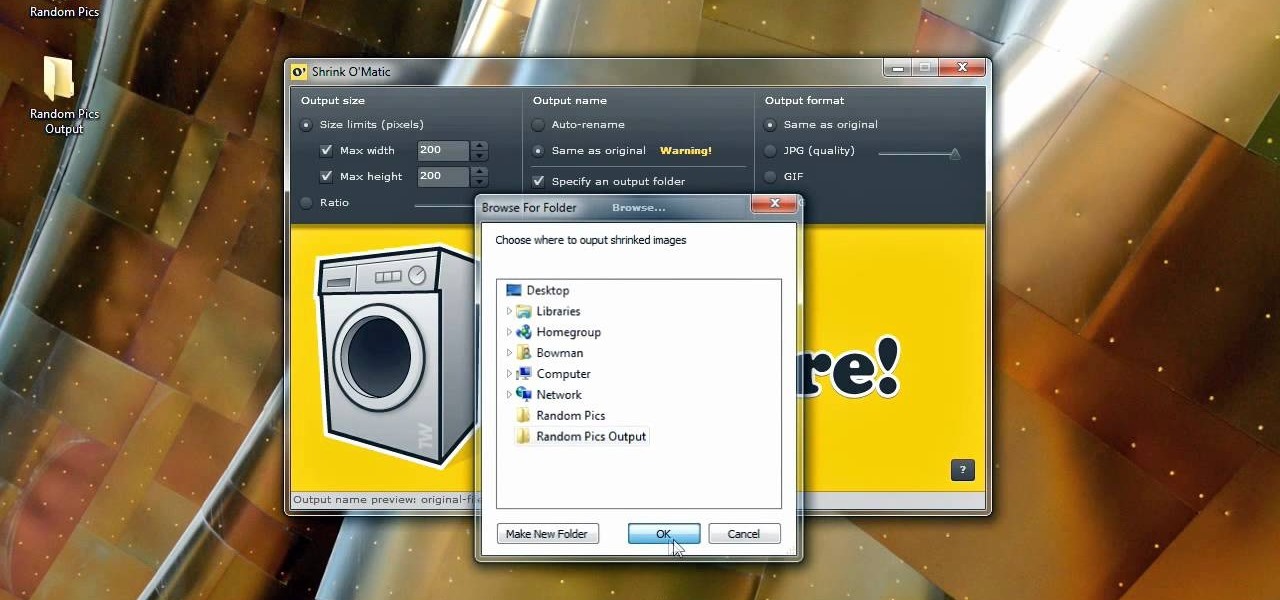
Bowman shows you how to resize your photos using Shrink O'Matic. Resize your pictures by doing the following: Open Shrink O'Matic and choose your settings, for example output size, pixels, ratio, etc. Highlight the pictures you wish to resize, and drop them into Shrink O'Matic. Open the Output Folder and you will be able to see the images in their new file size.
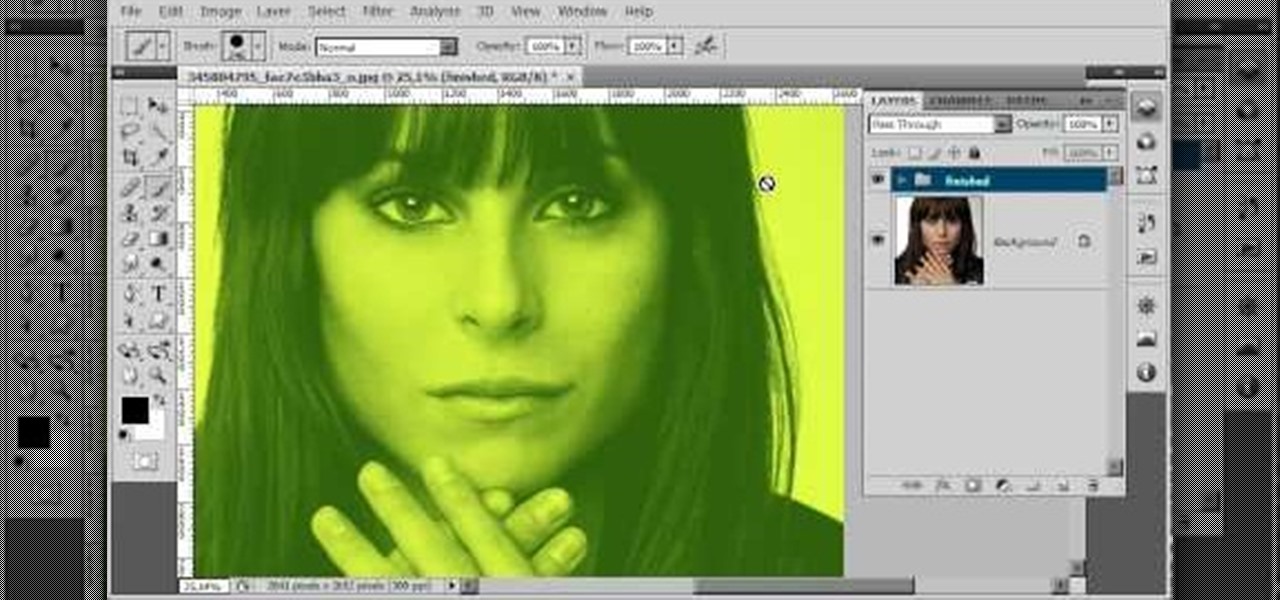
This is a video about making pictures with two different tones using Photoshop. After watching this video the viewer will learn how to bypass two different modes in Photoshop (usually a necessity in "duotoning"). Showing you how to skip those modes and changing the tones of a picture to the way you like. Instead of spending 20 minutes using two different modes spend five with the same outcome.
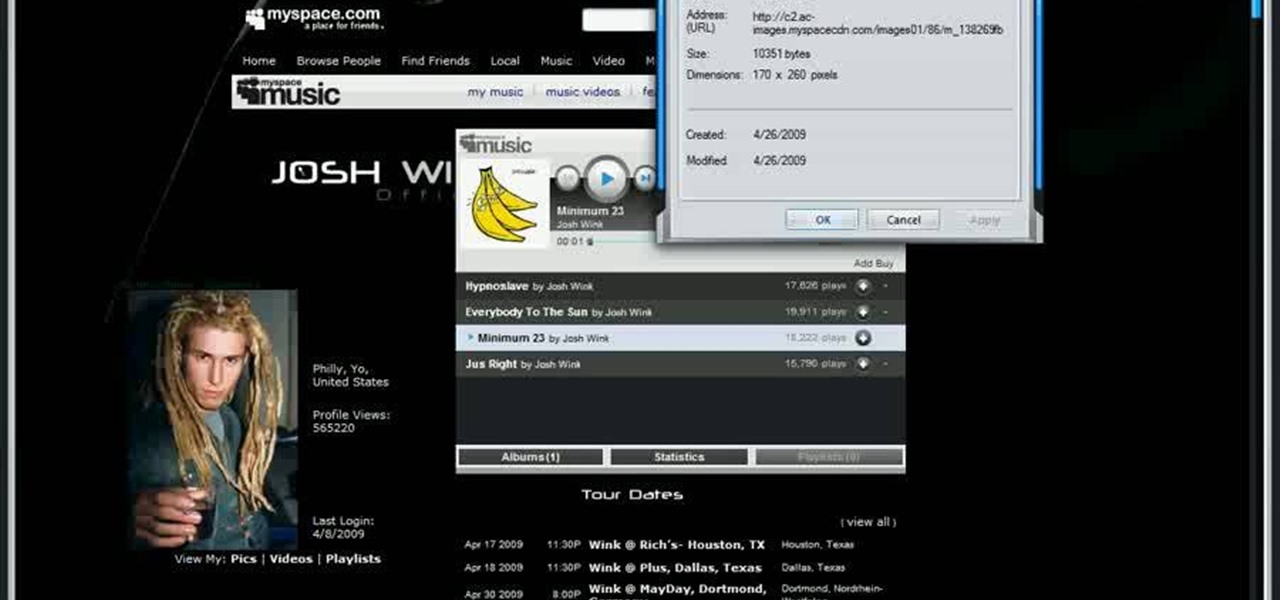
In this video, learn how to view private MySpace profile pictures. The process is easy & quick. In no time you will surfing MySpace freely with no privacy preferences to stop you.
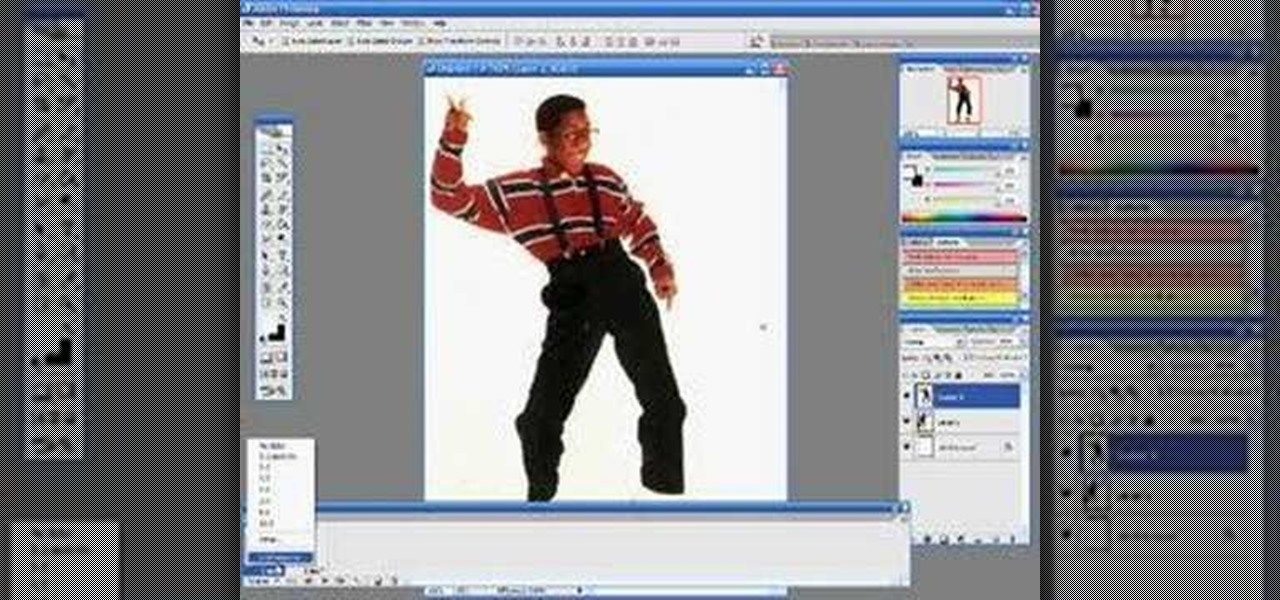
In this Photoshop video tutorial, see how to make an animated dancing GIF picture in Photoshop. With Adobe Photoshop, you can do virtually anything, and with one single photograph, you can create a dancing animation of your character. After a little manipulation, save it as a Compuserve GIF and there you have it, you're very own dancing GIF file to spread around on the Internet, much like this Steve Urkel dance.
This how-to video shows how to make your very own realistic UFO encounter. Learn how to make your own fake UFO picture and trick your friends. This can be a funny prank, if any of your friends think aliens exist.
If you own a digital camera then here is a fun way to take infrared pictures. With a homemade filter that takes minutes to make, turn your digital camera into one that can take infrared photos easy and effectively.
Nailing a picture or a work of art to a wall is pretty easy in and of itself, but when it comes to arranging these pictures stylishly people have more trouble. It's true that you can nail pictures to the wall, but what about to bookcases?
The Media Center in Windows Vista is a great place to manage all of your media, which includes everything… digital pictures, videos, movies, TV shows and music files. This video covers the basics of navigating the Media Center, and shows you everything possible.
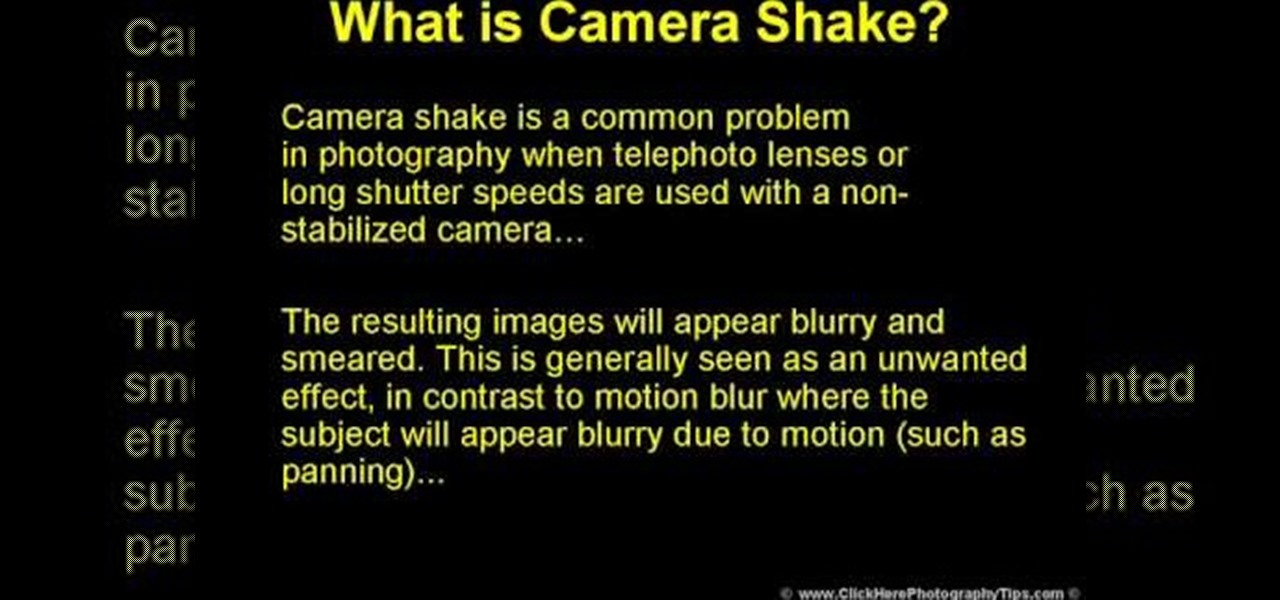
Camera shake is often an unwanted effect in photography, when a telephoto lens or long shutter speed has been used for a camera that hasn't been stabilized. The images subject to camera shake appear blurry and smeared, which is often considered an error - though some photographers find artistic value in camera shake and purposefully try to cause the effect in their art.