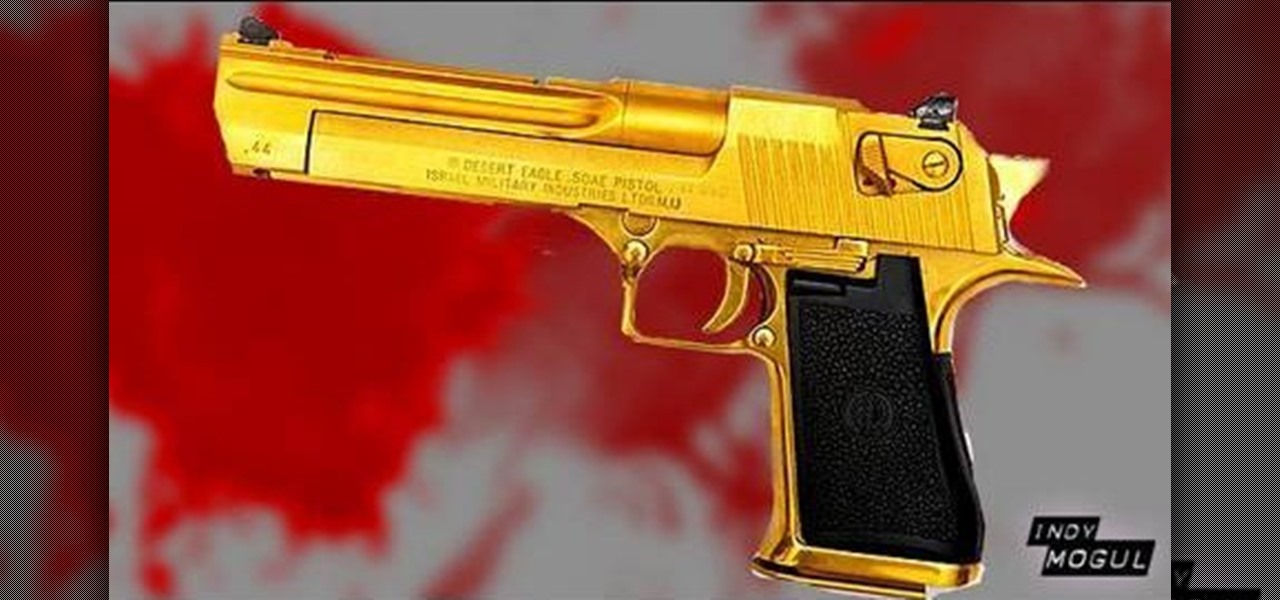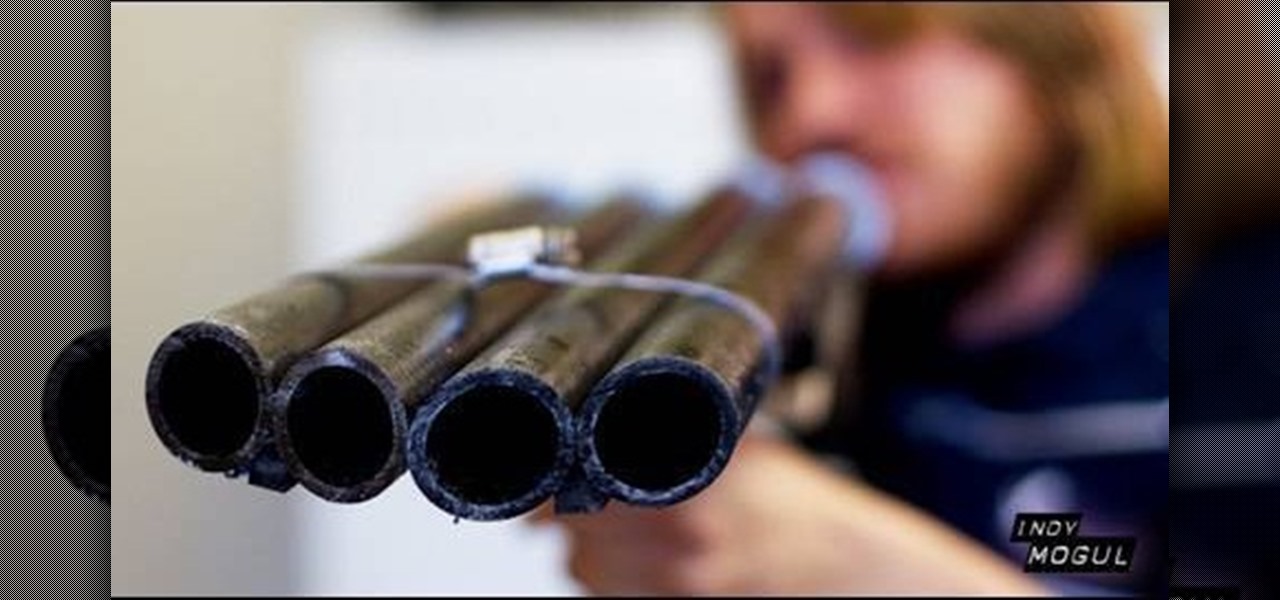
In this tutorial, we learn how to build your own prop shotgun. To make this, you will need: one 2x6 that is 2 feet long, one 1x3 eight inches long, two 8" diameter PVC piping 2 feet long, two one inch PVC end caps, picture hangers, assorted nuts, bolts, and crews. First, draw on the shape of your gun on the pieces of wood, then cut them up with a saw. Then, cut out a prong shape in the front and stain the gun to your desired color. Next, connect all the pieces together and attach the wall han...
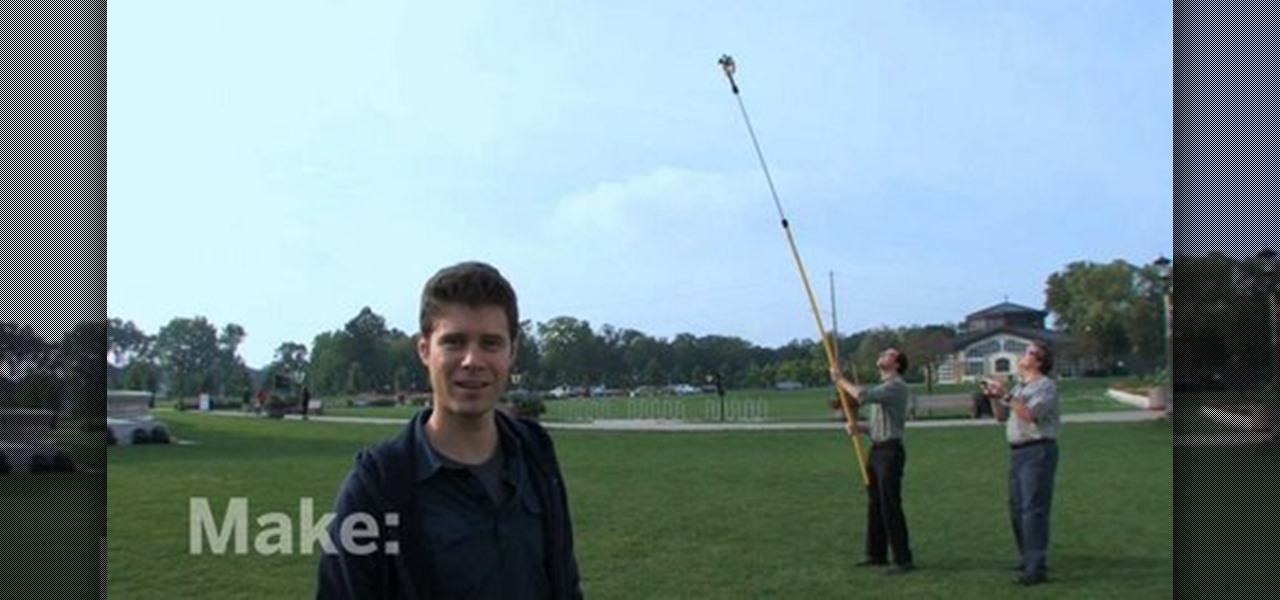
In this tutorial, we learn how to make a pole camera with John Park. You can take some amazing pictures by just using a pole to mount your camera onto and take pictures with. Most cameras will work with a general pole as long as they have a tripod mounting pole. To help you press the shutter button the camera while it is up in the air, you will need to create a rig that will press it when you trigger it to press. After this, you will need to build an inner frame that tilts up and down to take...
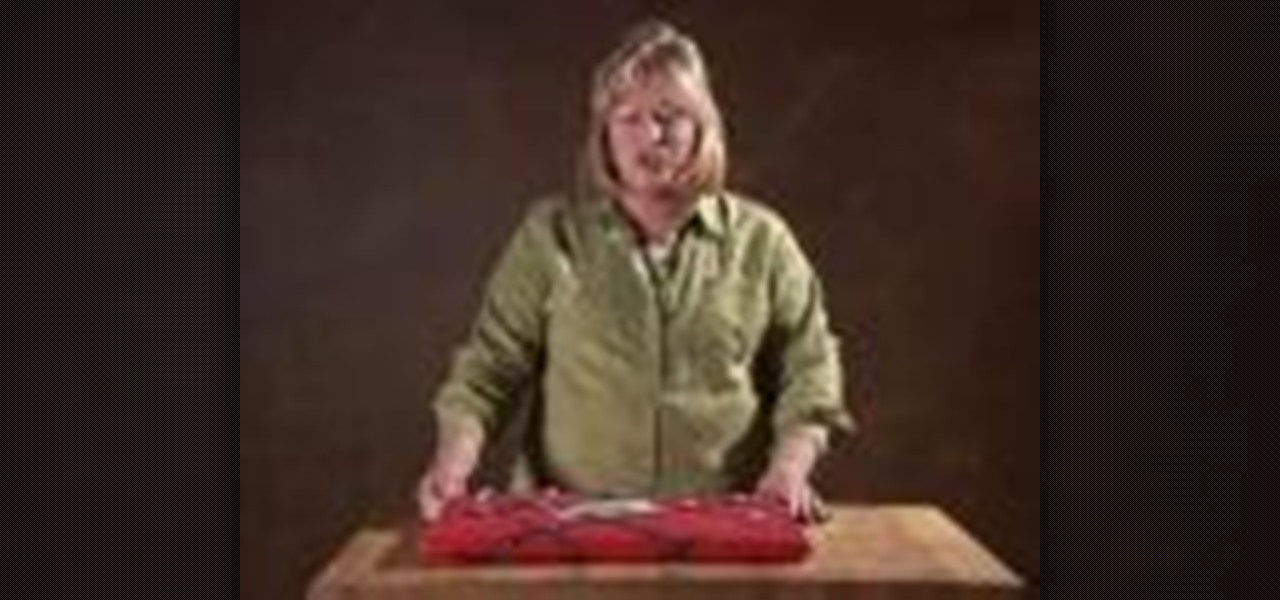
This crafty project is inexpensive, it's easy to do and it's really handy for attaching things like letters, photos and to-do lists. This isn't like a cork memo board, because you won't need any push pins or cork pins! Watch and learn how to make this French memo board. This is the pretty alternative to drab store-bought memo boards.
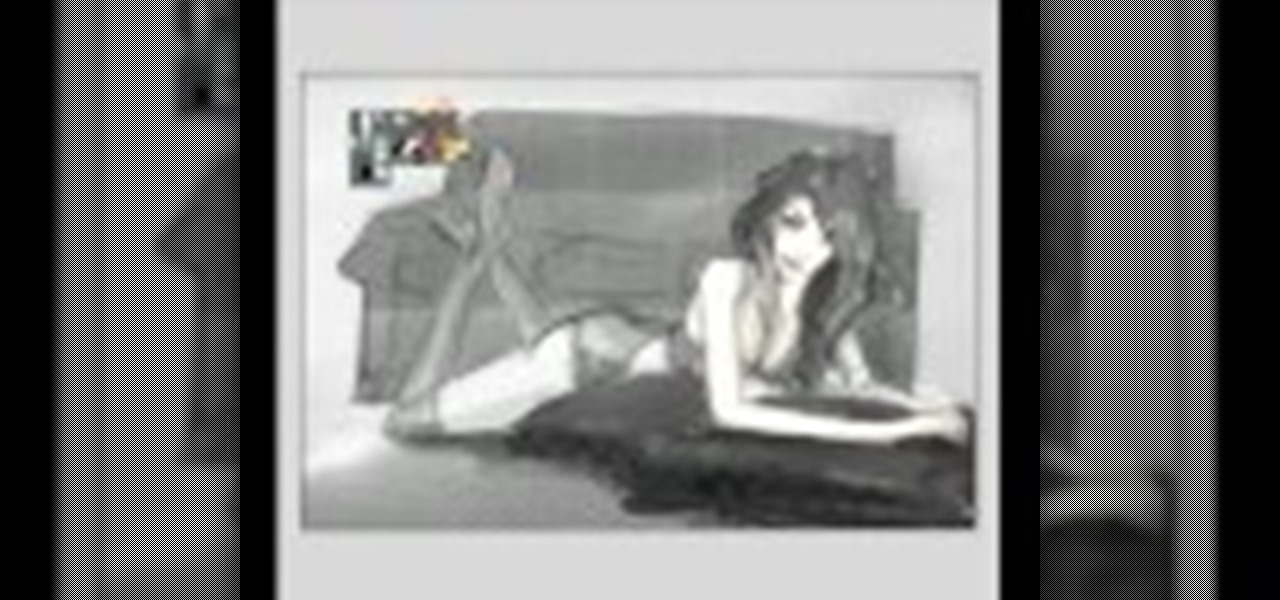
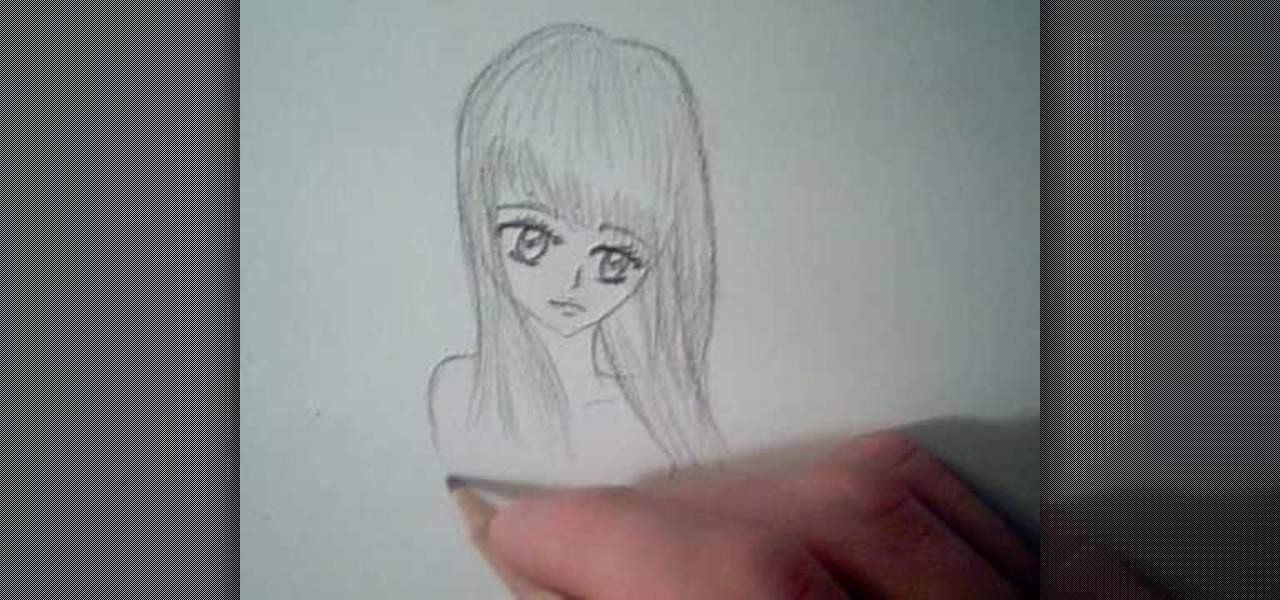
In this video, we learn how to draw a manga or anime girl on the computer. Start off by drawing the torso, with the arm coming out. Have her leaning on the pillow on an incline, then draw her legs. Continue to draw up the body, making the head and hair, then the other arm. Draw in the details on the body and the face, then start to fill in with a bold tool to bring out all the features. Go over all your construction lines, then erase whatever is in the background that you don't need as a guid...
Interested in using a satellite picture of the Earth as the background on your Microsoft Windows desktop computer or laptop? This clip will show you how it's done. It's easy! So easy, in fact, that this handy home-computing how-to from the folks at Tekzilla can present a complete overview of the process in about two minutes' time. For more information, including detailed, step-by-step instructions, take a look.
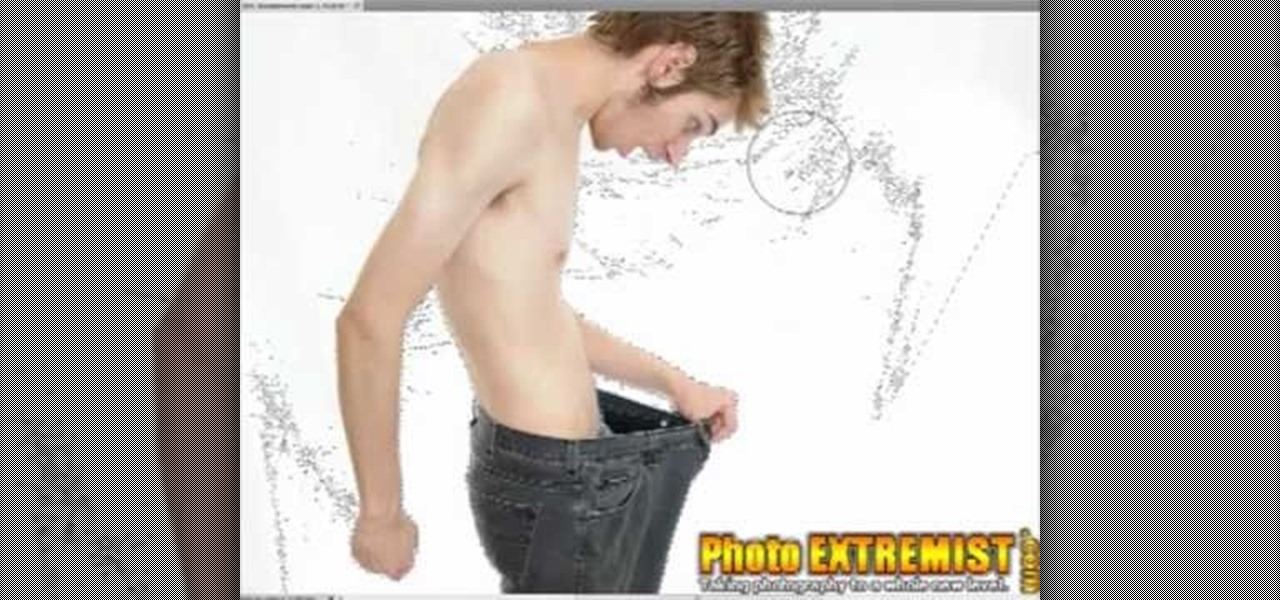
Not all of us have an entire photo studio in our houses. In fact, unless you're a professional photographer, you probably don't have much space at all in which to create solid looking shots.

For the first part, make chroma key blood: Ingredients: glue, flour, mix with water like papier mache, three drops of green and two drops of yellow food color. This combination gives more of a fluorescent chroma key look.

We have no doubt that famed photographer Annie Leibovitz takes perfect photos right at the photo shoot that require minimal retouching. But for the rest of us, as it is for most photographers, the photo editing process is just as important as the photo taking process, if not more important.

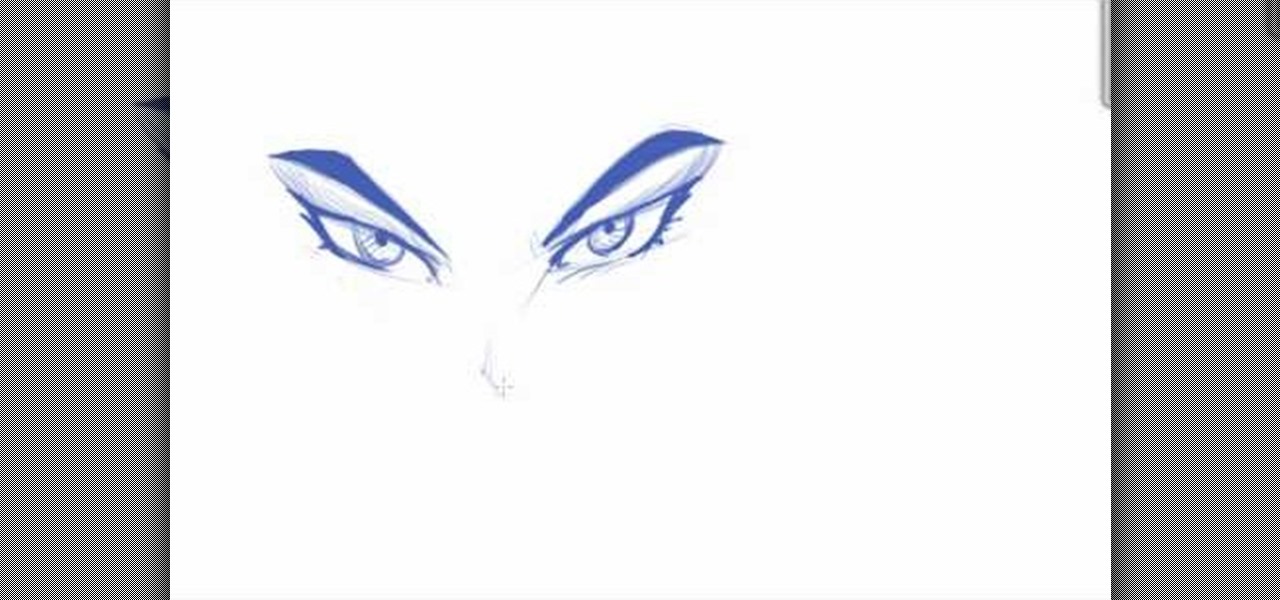
Drawing eyes is often the most difficult part of nailing down a comic book or manga character, but also the most vital part. Eyes really animate a face, so it's important to master all types of eyes if you wish to become a good artist. This tutorial will teach you how you can contain the eyes and eyebrows in the same plane, or basic shape, to make sure they align evenly. When this sort of method isn't used, often people will draw eyebrows that are disconnected from the rest of the eye.

In this tutorial, learn all about how to make the most of your iPhone camera when on the street. Sometimes on vacations or trips, it is difficult (and dangerous depending where you are) to carry around a big, heavy camera all day. Did you know that you can take great photos with a pocket-sized iPhone? In this clip, Lisa will show you where to aim and how to set up your shots with an iPhone to get the best pictures possible. The best part about mobile picture taking? You can upload your images...

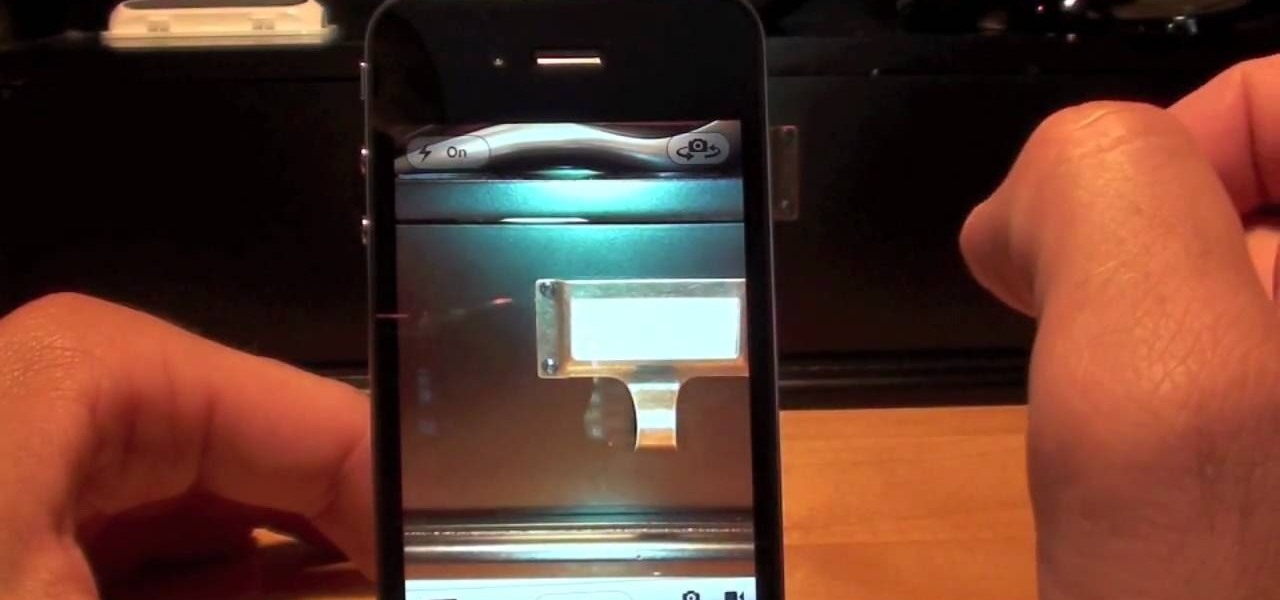
In this clip, learn all about the brand new cameras on your iPhone 4. The latest iPhone from Apple has made major improvements on the cameras from the older models. Not only do you now have a flash, but you also have TWO fully functioning cameras with great picture resolution for a cell phone. In addition to that, the iPhone 4's new camera has face recognition software, a zoom lens AND an autofocus. There are so many fun things you can do with these cameras from photography to video to two-wa...

Back in the analog days, slideshows were considered a boring aside reserved for family get-togethers and corporate events. On the web, where they can be viewed at the viewers own pace and from their own comfy chair, slideshows (or picture galleries) are enjoying a renaissance. This video will teach you how to create a slideshow using Flash CS4. It has no narration, so you must follow along closely, but the beautiful Mozart Rondo in C that plays at the beginning should make up for that.

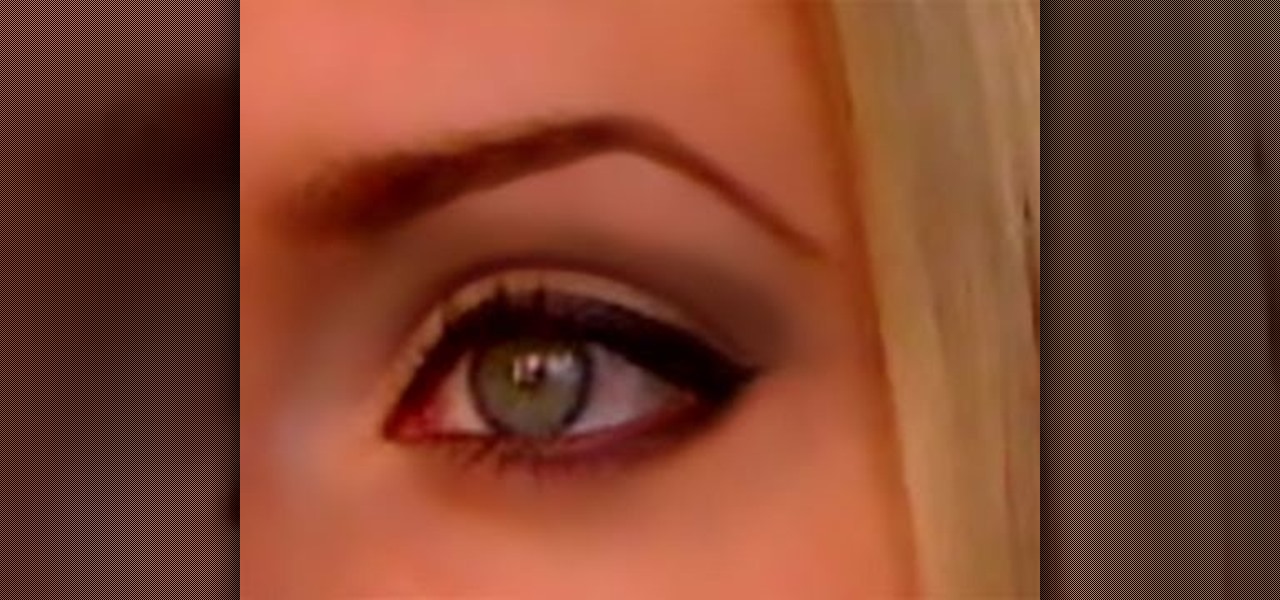
It's hard to picture Old Hollywood stars like Marilyn Monroe and Ava Gardner without their cherry red lips and thick black liner. Thanks to these timelessly glamorous stars, the retro pin up makeup look has been prized by women for decades.

Stop trying to make lightsabers in your home movies using Sony Vegas - that's SO prepubescent teenage boy material. Step up your sci fi animation game by learning how to make yourself invisible (and no, by invisible we don't mean just deleting yourself out of the picture).

This video illustrate us how to draw a manga animated angel. Here are the following steps: Step 1:First of all take a sheet of paper and pencil and start drawing the character.

To create a green screen, open up the program Sony Vegas. Now go to media generators. On the left hand side of your screen there should be a list with the link solid color right in the middle. Click on that and a menu with a variety of different colored boxes will appear. Double click on green. A menu will pop up so that you can adjust the shade of green just by moving the vertical line to the left or right. After choosing the appropriate shade, save the green box as either a video or picture...

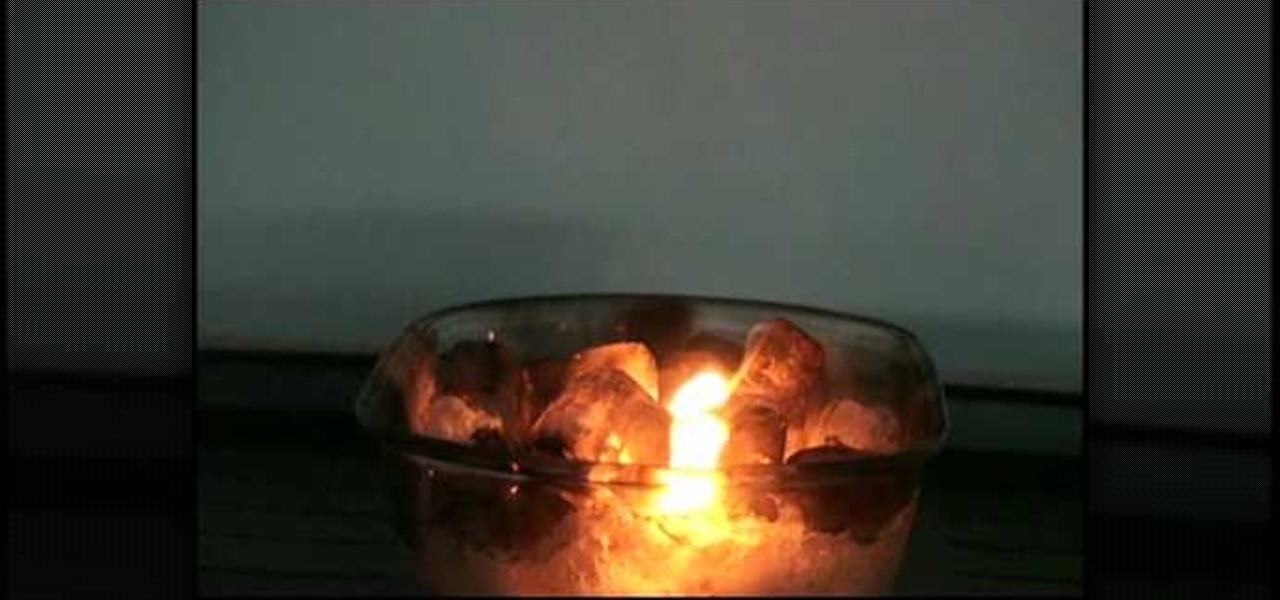
In this fascinating "how to" video, you will see how a simple process creates the illusion of ice that is burning. Only a few items are needed to enact this scientific experiment. As the narrator describes, "Calcium carbide reacts with water to form acetylene gas." To illustrate, the video shows a bowl of ice cubes, to which the special ingredient is added. As the ice melts into water, it reacts with the calcium carbide, forming the high flammable acetylene gas, which is often used in welding...

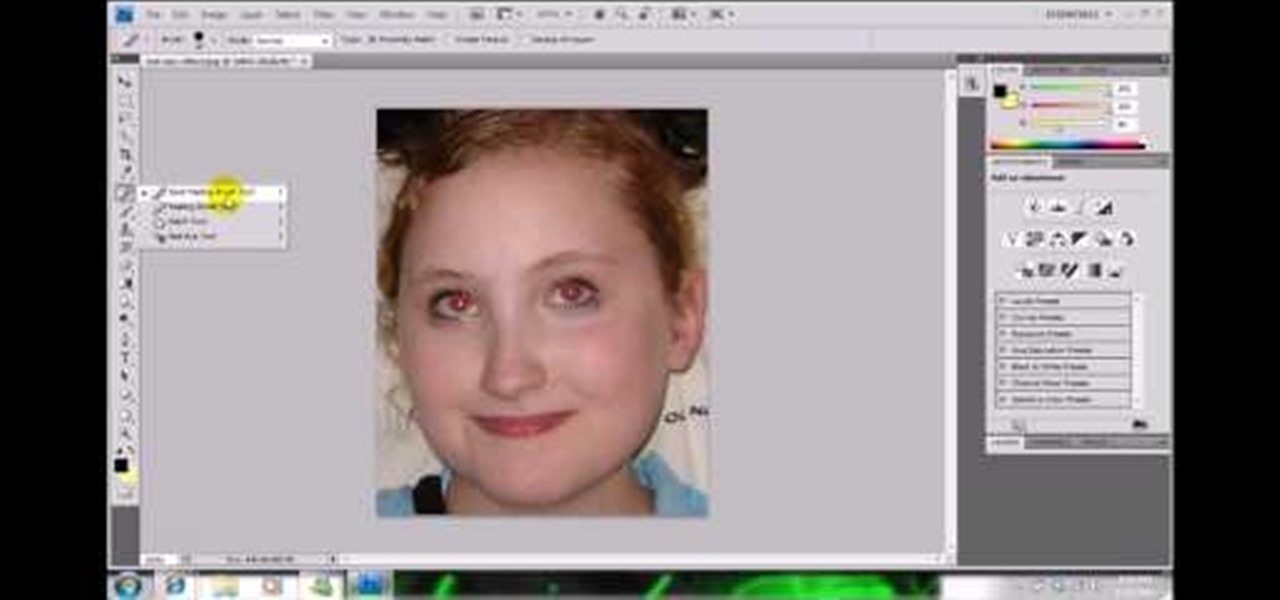
In this video, we learn how to get rid of red eyes while using Photoshop. Make sure you have Photoshop open with your picture up and you're ready to go. First, on the left hand side you will find a "healing brush" tool (which is 7 tools down from the top), click on that and then click "red eye tool". Next, you will click on each of the red eyes in your photo. After this, it will change the color of your red eye to the normal color. If the photo needs changed, you can also change the contrast ...

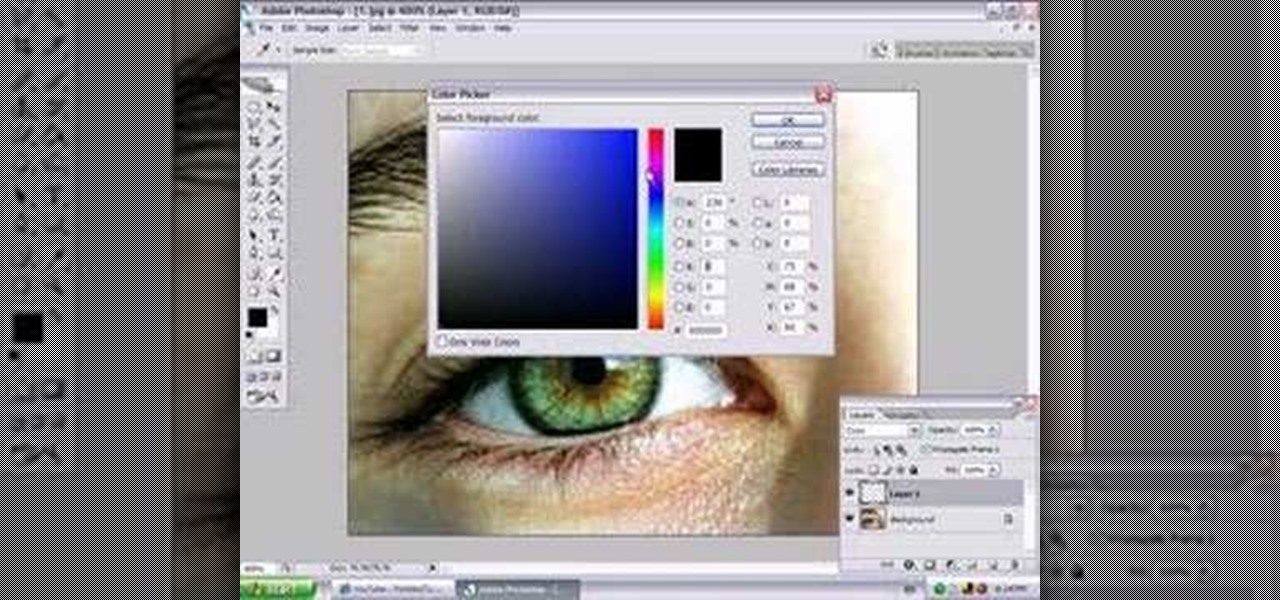
In this video, Jessica shows us how to change eye color using Photoshop. First, open up Photoshop on your computer. Open up your picture and zoom in on the eyes so you have a great view of it. Then add a new layer or "control +j". Where it says "normal" change that to color. Then select your paintbrush tool and make it a reasonable size for your eye. Click the color palette square and change the color to whichever one you choose. Now, paint over the eye and it will completely change the look!...

Ramses and Tara from Skills of the Game explain why creating an attention-getting headline is important in online dating, especially on dating sites that emphasize a headline rather than a thumbnail picture. They explain how and why a poor headline can diminish a person’s standing. They give examples of bad headlines, and suggest writing headlines that are either lighthearted or call the reader to action. After giving a few examples of good profile headlines, Tara explains why the most import...

Ever wondered about those digital effects in advertisements having some parts in pixels? Let's try it. Open Photoshop and take a picture. Duplicate its layer and on the new layer,select it and go to filters->pixelate->mosaic. Then you can mask the new layer with having some parts in blur and the other one's in focus or can use gradient. You can lighten or darken the mask layer for better output. This helps in creating unique styles and digitize your world.

Got a new Vivitar 285HV and having trouble using the flash? No problem! This video will describe how to use the flash on your new camera and gives some other great tips for new owners! The flash on this camera can be a little different to use than an automatic flash because you have to manually set the settings. Since you can see what the picture looks like if you aren't satisfied you can use the tricks in the video to play around with the flash settings until you get the perfect shot.

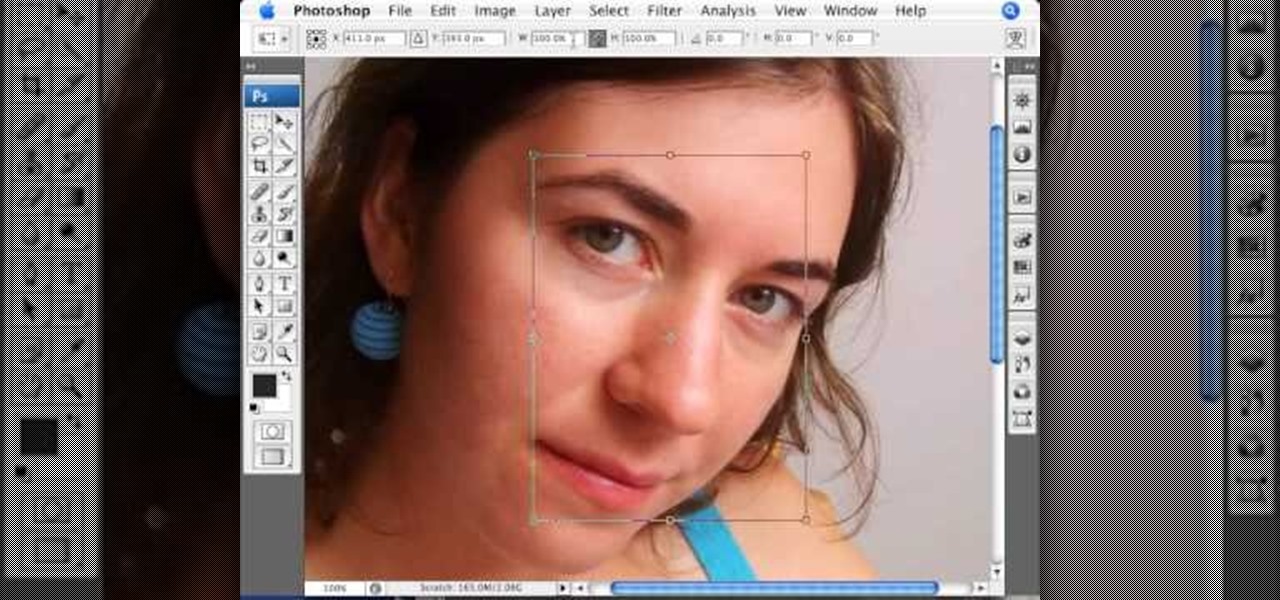
This Photoshop tutorial on performing a nose job using Photoshop contains detailed instructions on the use of Photoshop tools to, depending on taste, enhance the appearance of an individual. The person narrating the tutorial specifies the necessity of subtlety with the modification of the picture in order to remove any appearance of modification. The way described is essentially to select the general nose area, feather the selection by an optional amount, and set it in a separate layer. Then ...

In this video we learn how to use iChat in Mac OS X. He explains to us that iChat allows us to chat with any person on our buddy list. He explains clearly about icons next to a person's name such as a camera which shows you can have a video chat with that person. Next he explains how to change your status, such as, whether you are available to chat or not. He then goes on to explain how to create your own buddy icon which is what people will see when they are chatting with you. You can create...

This video shows you how to create a realistic shadow of window blinds over the picture of a boy in a photograph that had no window blind shadows using Photoshop. Creating a separate layer, he creates shadows first by using the rectangular marquee, then filling in with black and copying the black stripes across the photograph. The opacity is set to 40%. The shadows look like a casting of the shadows of window blinds over the boy, but is not as realistic as he wants them to be. He then makes a...

This video shows you how to enhance the sky in pictures using a program called Adobe Photoshop. With this program you can use a gradient tool to layer different areas and change the color to enhance the picture of the sky. You can also invert colors and do a lot of different things using this tool. It is a very helpful tool to have because it drastically changes how bold the sky looks and could help a photographer out a lot to learn this skill.

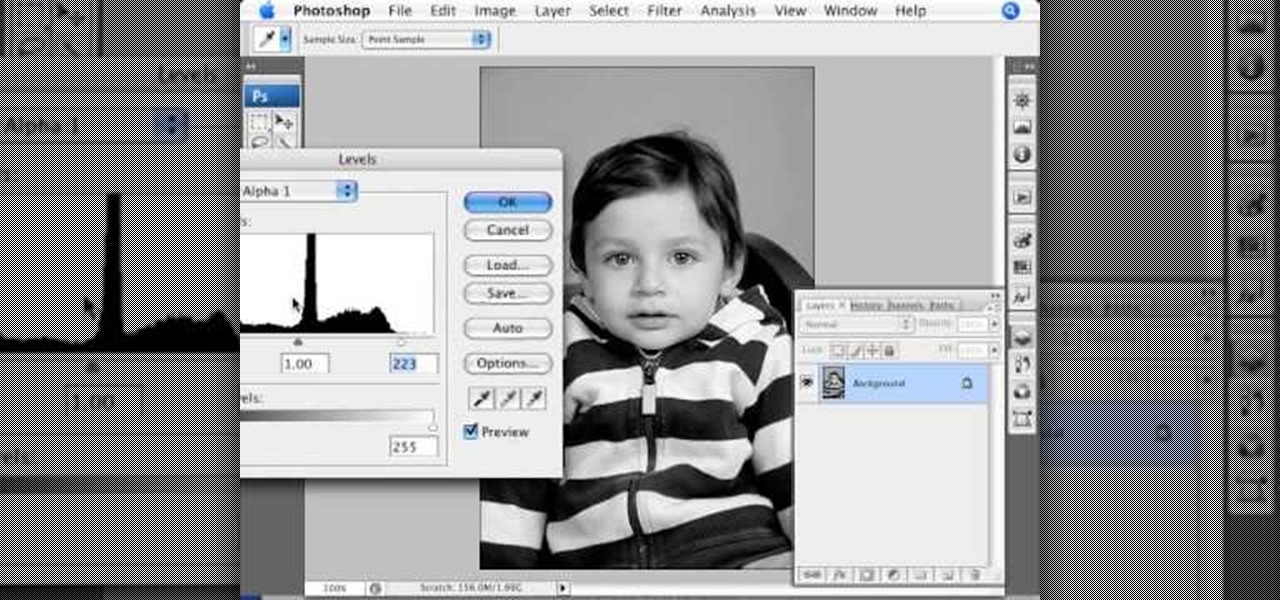
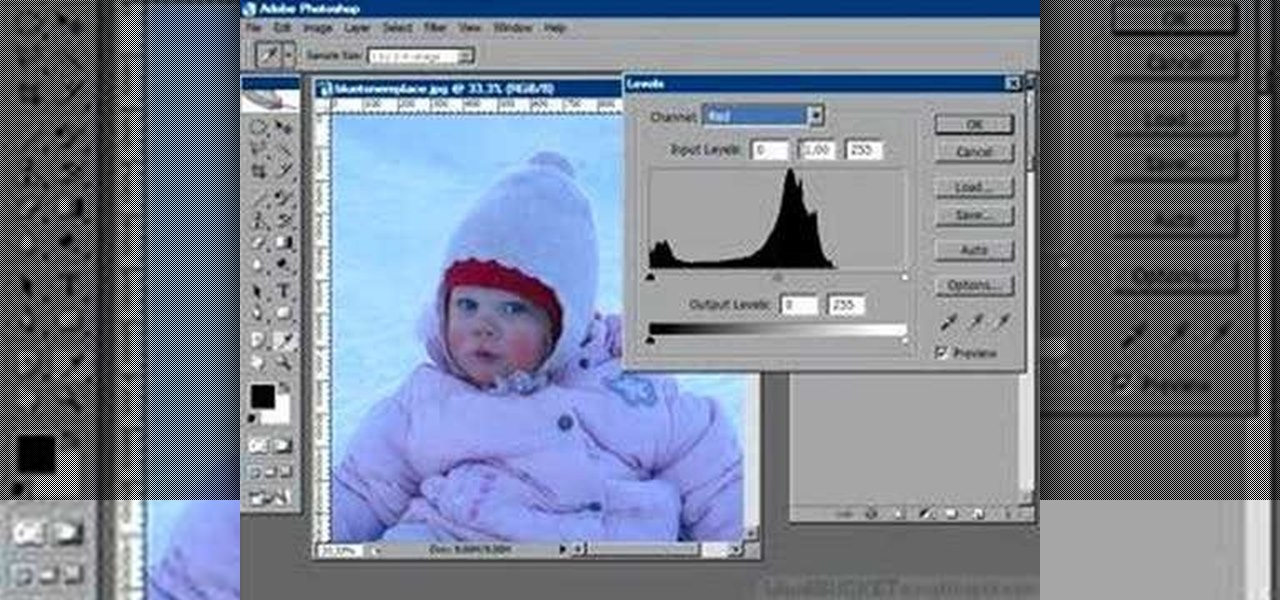
This how-to video is about how to color correct photos using Photoshop levels.

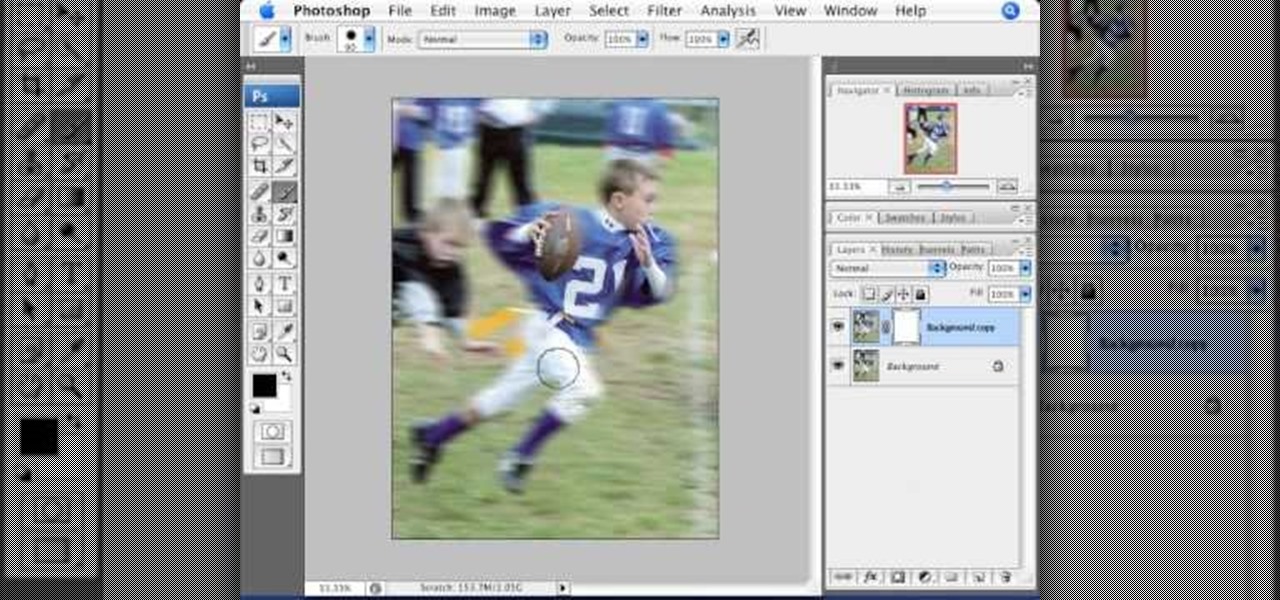
This video is about adding motion to photos with the help of Photoshop. The video has clear picture with good audio. In a few minutes the video gave easy step by step instructions about adding motion to a particular object in the photo and it also gave an easy tip to get it gelled with the background. The instructor was good but needs to modify his pace for better clarity. The video surely gives the basic steps to be followed to add motion to a photo and will also be very useful in the field ...

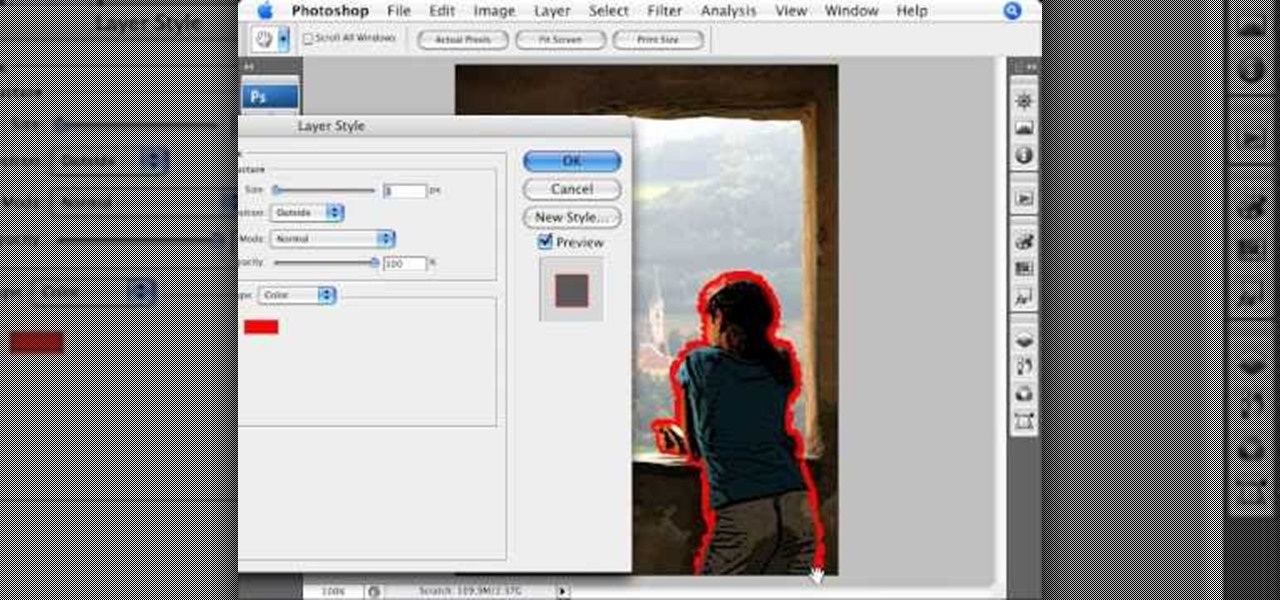
Most of us have probably seen excellently mastered or remastered photos and pictures and you can't help but wonder how someone can make a picture look so good! A computer software called Photoshop allows you to make vivid, realistic and creative images through a vast array of tools and settings. This easily followed video tutorial will quickly guide you in how to make an actual photo look as if it was hand drawn! Make sure there is a person in the photo! It also helps to have a wall-like feel...

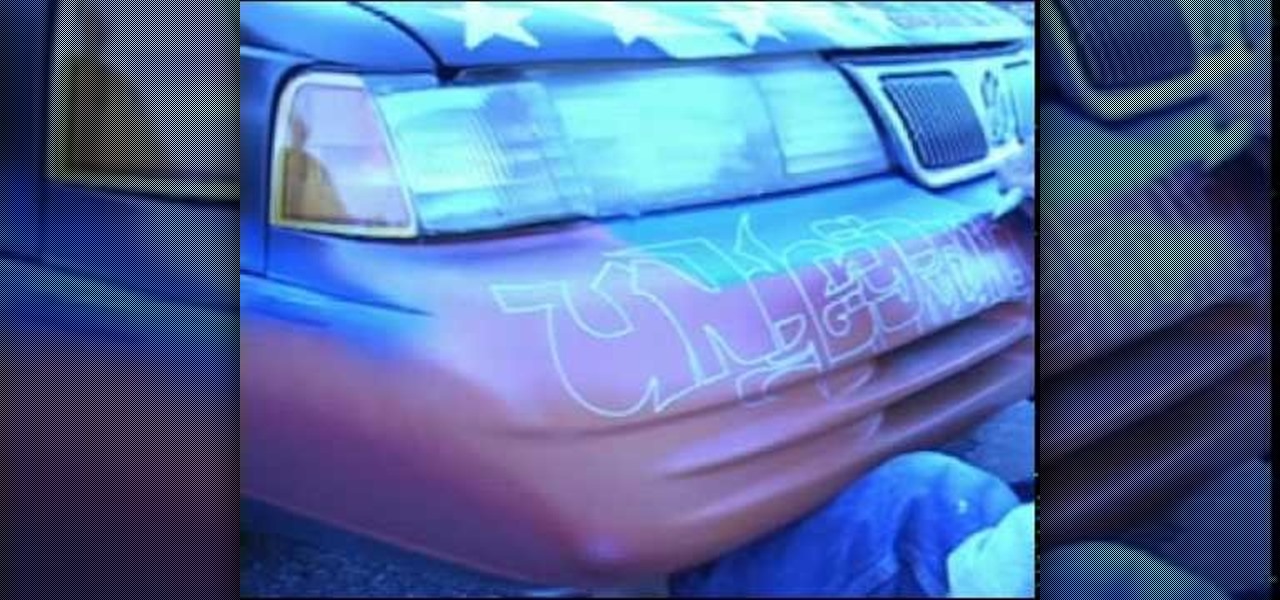
This how-to video shows viewers how to create their own custom paint job at home by yourself. The segment is a continuous video in fast forward. The video explains how to do everything from taking molding off, sanding the old paint, fixing the dents with bondo, to the actual spray painting of the car. The person in this video uses an airbrush, spray-paint, paint markers and canned paint to create his custom paint job. The artist paints a picture of pirate ships, skulls, and other various obje...

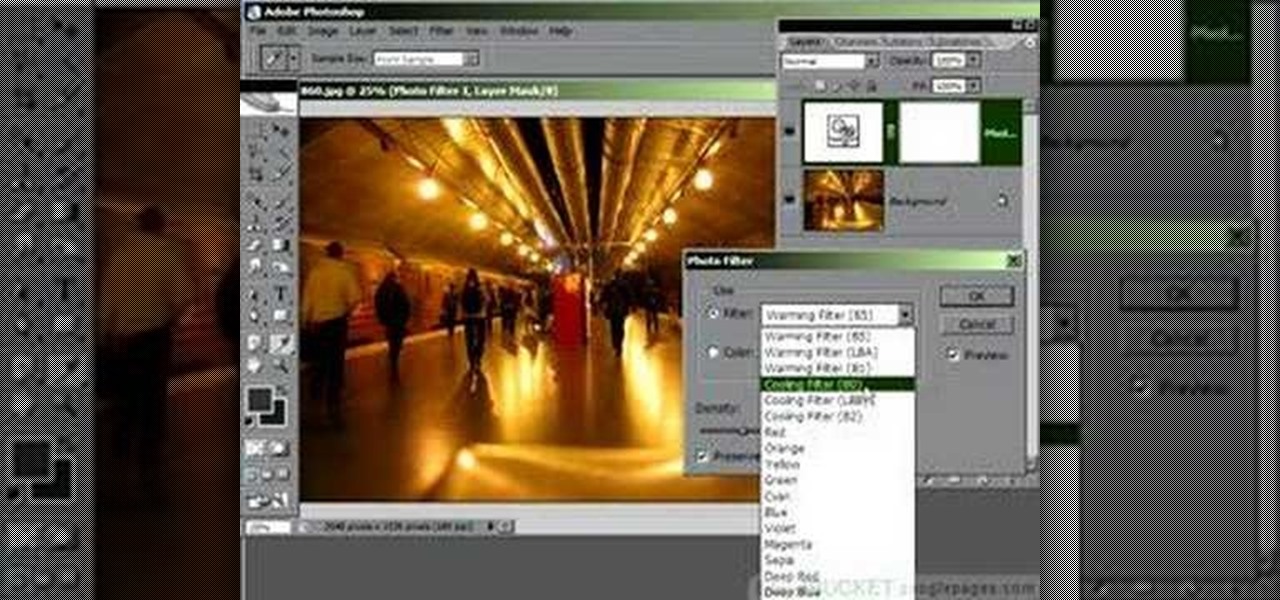
Photoshop is a place where we can edit the image in different styles. One of the features is adjustment layer of a photo that is also called as filter correction. It is an easy step to color filtering of a photo. Open a picture in a Photoshop, and select add layer option that present at the right bottom of the screen, then a pop up menu appears. Select filters from the options available, then dialogue box appears consisting of sub options filters and colors. then select the main color from fi...

The Wedge ROP is a render output driver, which can be used to change variables on the fly while rendering. This can be very useful when simulating, in that you can test out different parameters to see the different results. It's a relatively new feature in Houdini 9.5.

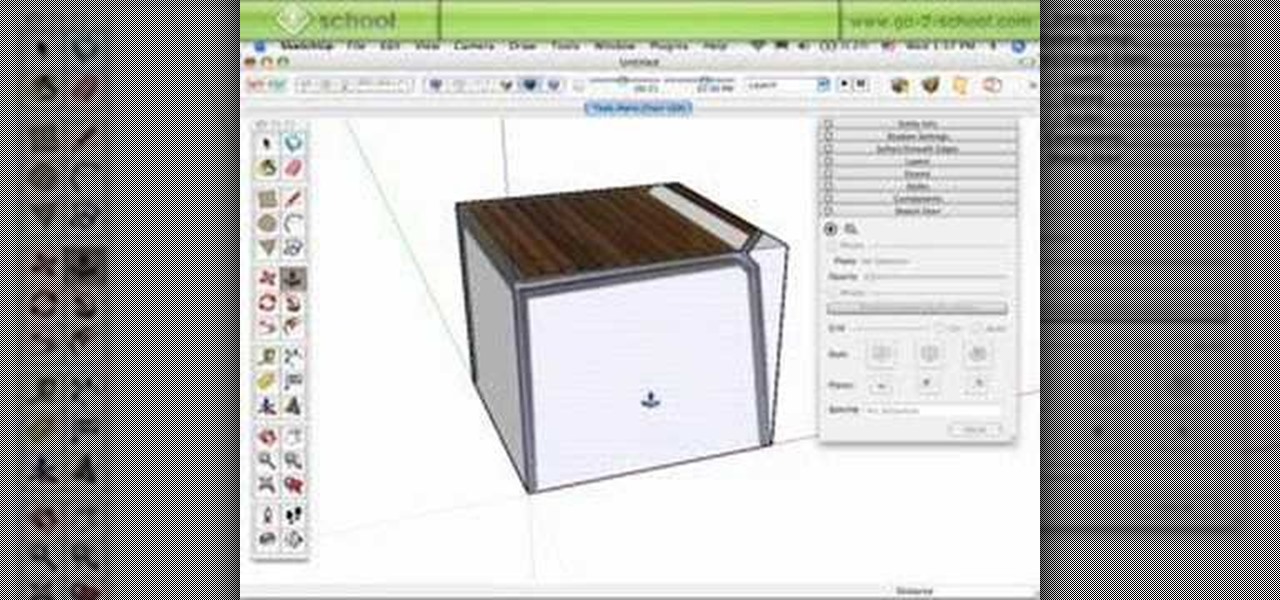
Alright MacGyver, for this week's assignment, you're going to need a picture of a chair, and SketchUp. And maybe some duct tape. We're going to show you how to use Photo Match to create a chair component from a digital image in this SketchUp software tutorial. It's one thing to use Photo Match in SketchUp to adjust perspective with buildings, but you can also use it to work with components, as you'll learn in this video.

In this video, we learn how to add ray so flight through trees in Photoshop. First, open up Photoshop and open up your picture. Now, go to your channels and choose the one with the most contrast by looking at all of the options. Now, duplicate the layer and go to "image", "adjustments", and then "levels". Now, make the image a lot darker, looking at the image preview as you go. When finished, click "ok", then select this layer and press "control", then click". Go back to the regular image, th...

In this video, we learn how to make an Escher-esque tessellation. Start with construction paper, then make an equilateral triangle onto it. Next, make a shape on one end of the triangle, making any shape you would like. Now cut your shape out, then trace it onto another piece of construction paper. After this, rotate the shape over on the second piece of paper, then trace it out again. The lines should match up equally. You will then have one side left, which you will use to make any shape yo...

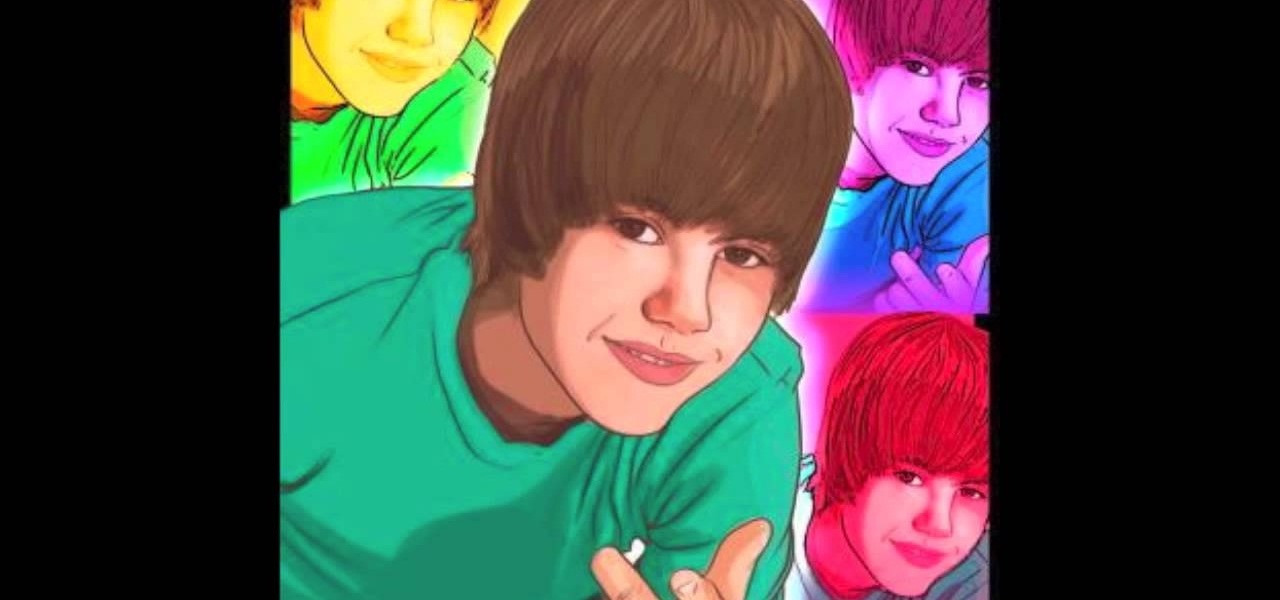
Do you swoon over Justin Bieber and wish you could have him all to yourself? Though he's probably not going to pay a personal house call to you anytime soon, you can draw yourself a very lifelike picture of him!

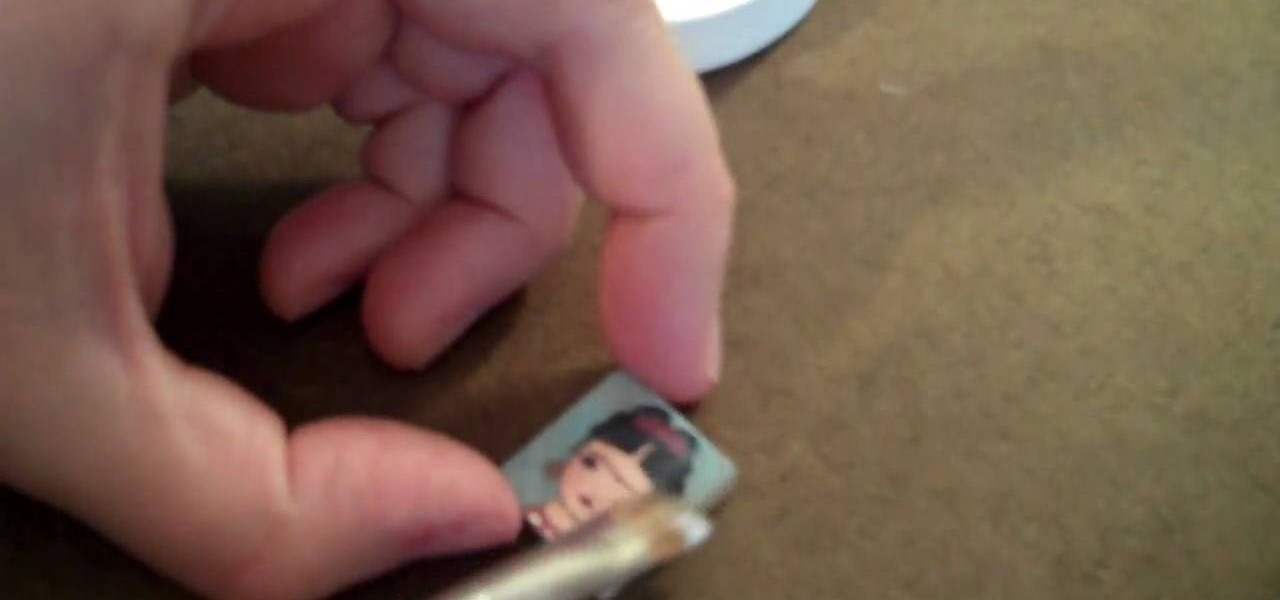
Scrabble isn't just for playing Scrabble anymore— there's a whole world of uses for the game and its pieces. One particular use is in jewelry— those Scrabble letter tiles are the perfect size for creating DIY pendants!

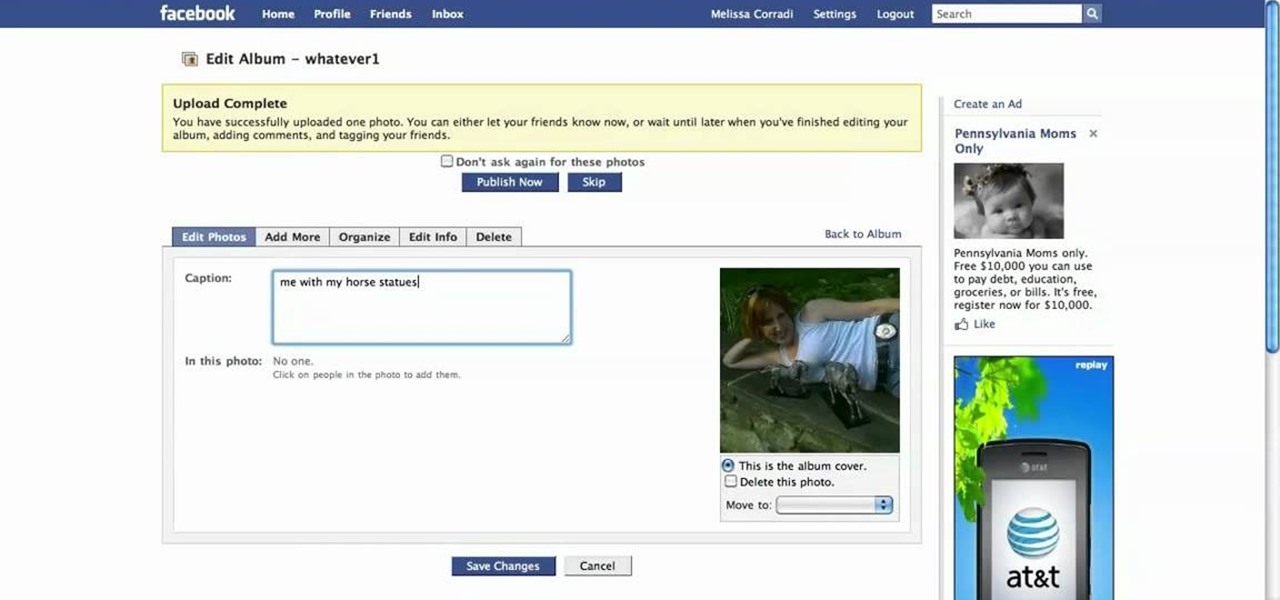
First log into your Facebook account and sign in. Then when you sign in click under your "profile". You will be redirected to another page. This will be your main page, with all of your information that you have put in and what not. Next click on 'Photos'. It will take you to another page. Once in your in there, you will click on 'create a photo album'. You need to name the new album and then create album. Next it will ask the location of the files. It will be located on your computer. Usuall...

To whiten teeth in Photoshop, first open up the picture and trace the inside of his lips with the lasso cursor. Now go to Image up on the toolbar on the top, click on it and then click on Adjust. There is a box with the word red in it with an arrow next to it. Click on the arrow and go down to yellow. Take the arrow for black, cyan and magenta and move it to the left a little. Next, take the arrow for yellow and move it all the way to the left. Now go back up to the box with the word yellow i...

This video shows you how to light a bottle with long exposure in photography. The end result is to have a picture of a bottle with glowing edges with a black background. For starters you set your SLR camera settings to a 30 second manual shutter speed and a f5. 6 set aperture. Put the camera on a tripod for steadiness and set up your subject. For the subject, on a table, place your bottle in front of your chosen drop cloth. It is best to choose a color similar to the bottle. Then you use a li...


