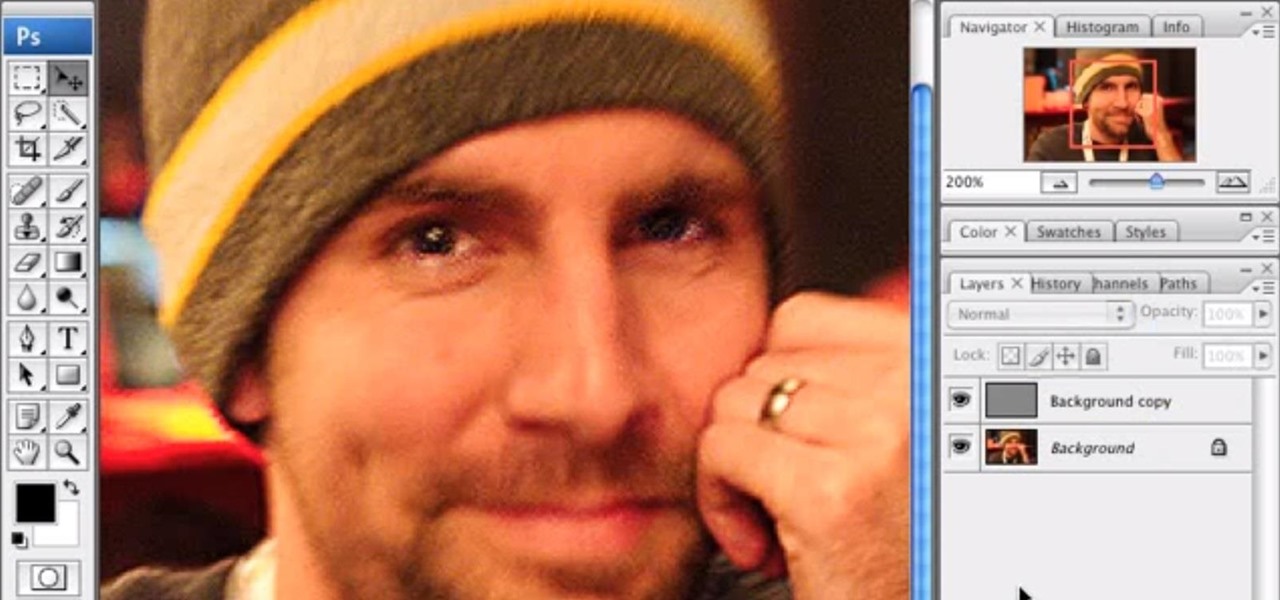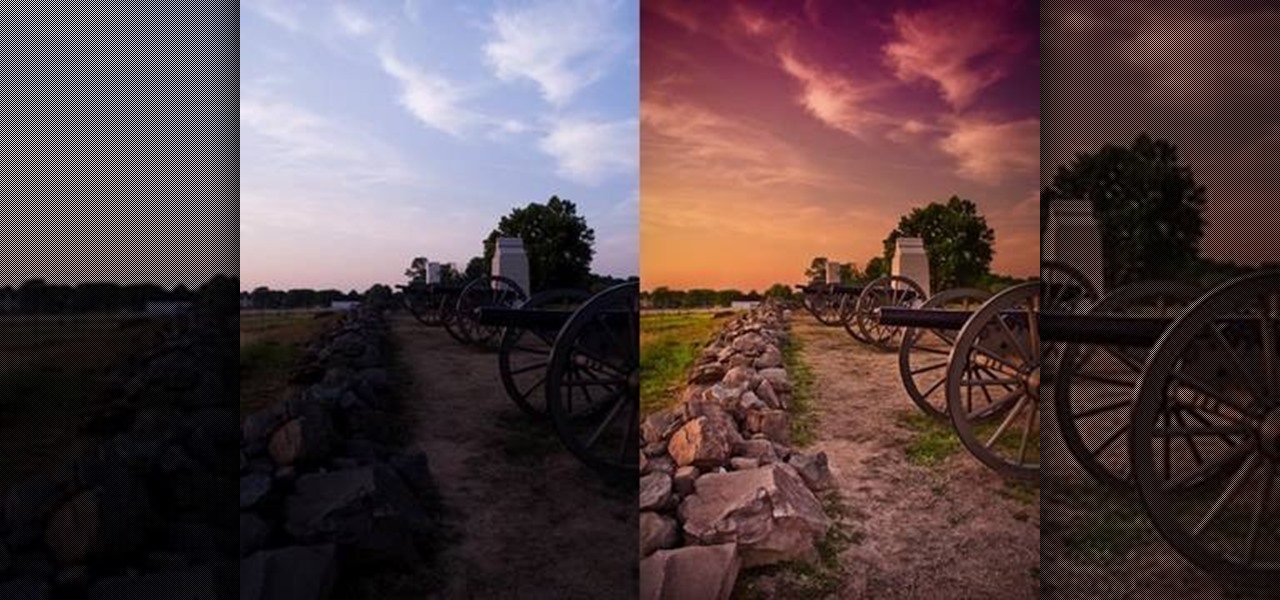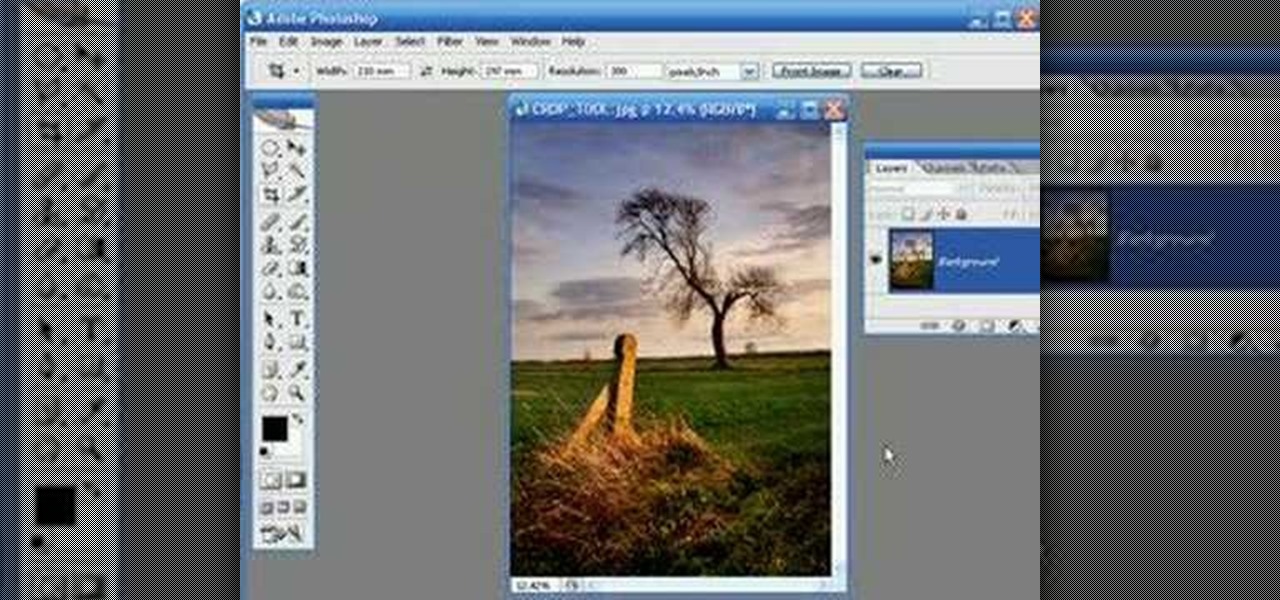
Learn how you can remove the blue haze from photos in Photoshop with this tutorial! 1. Select any image and right click on the menu click on Levels. 2. Select each and every channel and set input levels for red, blue and green and see the preview of the image. Set as RGB in Channels. 3. Now, click on "Sample in image to set gray points" and click on the area of the image which need to be set gray click on ok button. 4. From the picture icons select eye dropper and make sure it is set as 5 by ...
Videomaker Associate Editor Tom Skowronski explains how four basic steps can be used to improve the lighting effects for a video and give it a more professional look.
Without looking, peeking, or even cheating, you will be able to figure out who will win in a virtual game of rock-paper-scissors.
Pixel Perfect is the "perfect" show to help you with your Photoshop skills. Be amazed and learn as master digital artist Bert Monroy takes a stylus and a digital pad and treats it as Monet and Picasso do with oil and canvas. Learn the tips and tricks you need to whip those digital pictures into shape with Adobe Photoshop and Illustrator. In this episode, Ben shows you how to detail an automobile headlight in Photoshop.
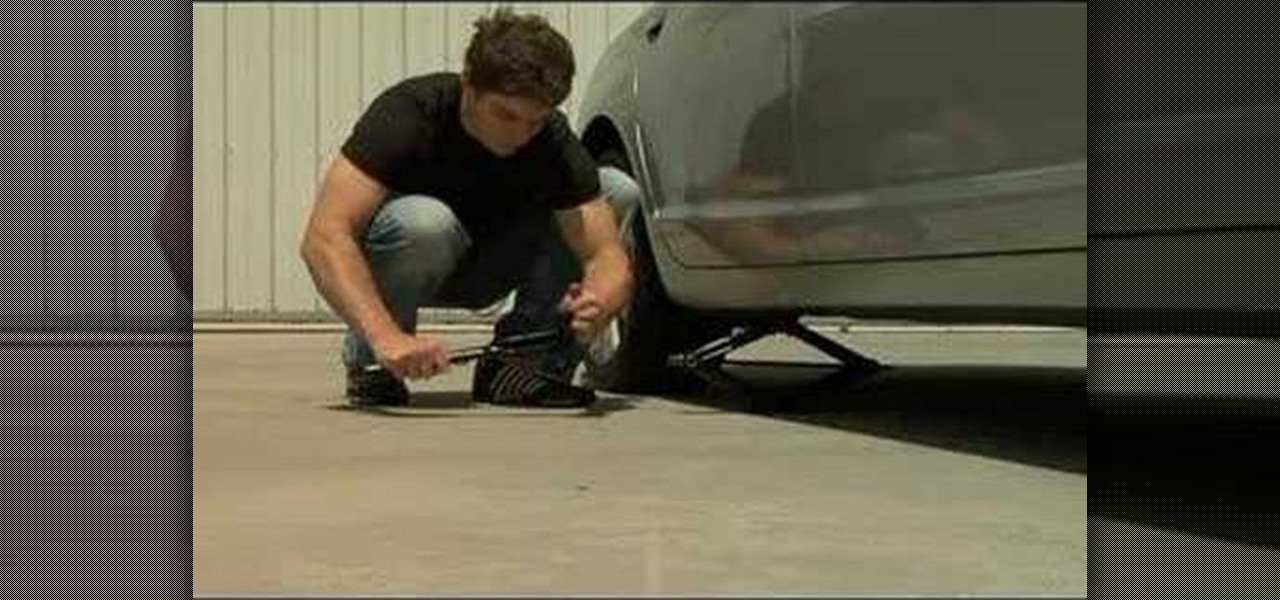
Everyone should know how to use the jack that comes with his or her car. Try this at home so if you ever get a flat, you'll know where the jack is and how to use it to fix that tire. Just watch this video tutorial to see how to jack up a car safely.
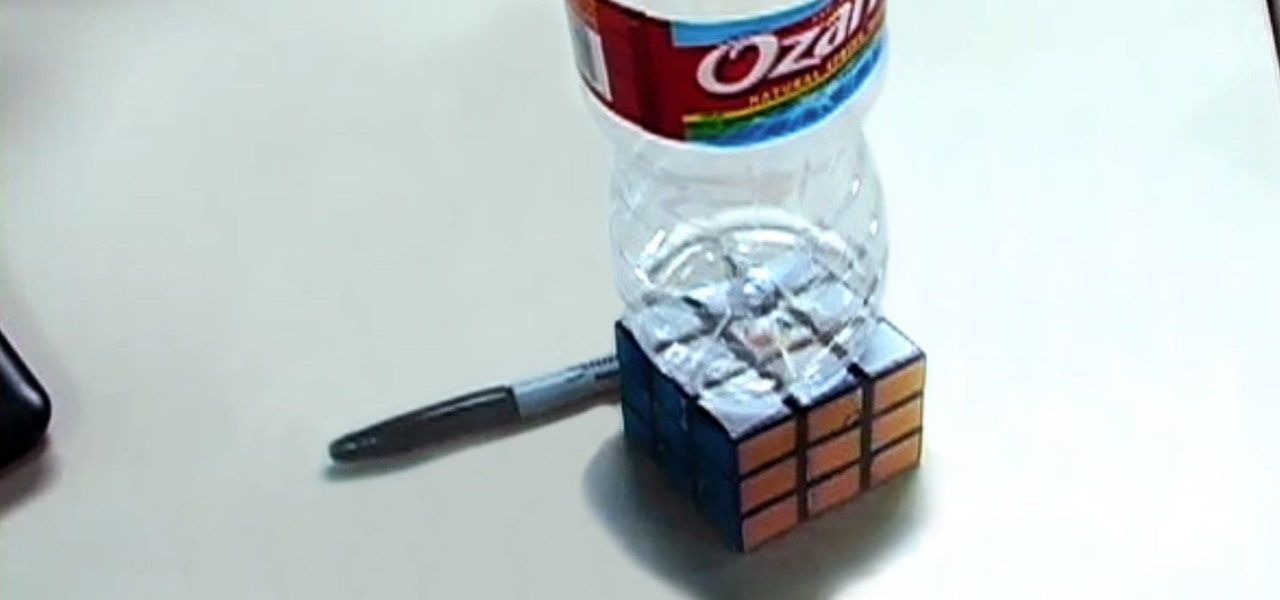
How do you make a plastic bottle sit on top of a Rubik's Cube without a Rubik's Cube? It may seem like a brain teaser, but it's more like something you would see in an Escher drawing. An optical illusion. A three-dimensional world trapped in a two-dimensional image, which is exactly what's going on in this Rubik's Cube illusion.

It's very easy to get a slightly blurry photograph due to a moving subject, camera shake, or just an incorrect auto-focus, but you don’t have to let that ruin an otherwise terrific picture. All it takes is a little finesse in Photoshop or another photo editing software. This guide covers sharpening a blurry image using Photoshop specifically.

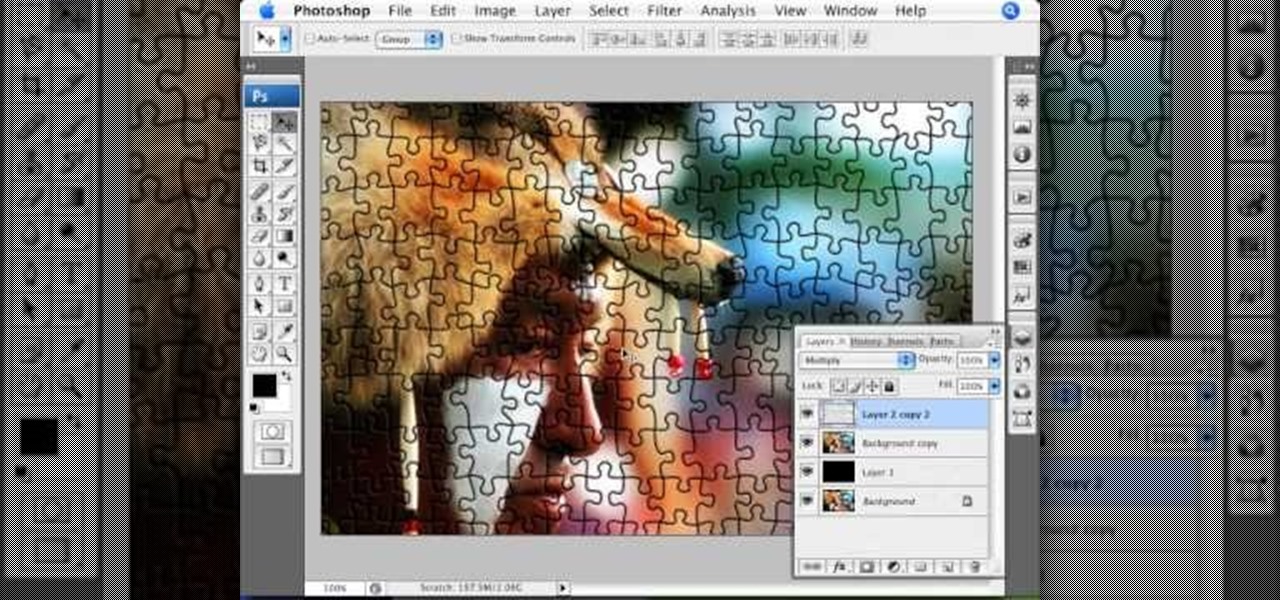
This video from photoshopuniverse shows us how to make your picture look like it's a puzzle by using Photoshop! First you want to open up the layers palette and duplicate the layer. Now add a new layer and bring it down to the middle and fill it in with black. Now to get the puzzle into place, go to Filter---Show Menu Items---Texture---Texturizer. Click the arrow to load texture. Load in puzzle texture. Now you can set the scaling to however many puzzle pieces you want. He put it at 75% and t...

Begin with starting the program Picasa. If the program has been opened, choose an image for editing. Double click on one of the images and it will open. On the left of the screen there is an editing toolbar. The next option after this is to Crop the picture. Click "Crop Picture". Then choose the format you want the picture to be cropped to. Then hit Enter.The next option is "I'm Feeling Lucky". With this option you can give the picture the best color possible.Following with Redeye Repair. Cho...

In this how to video, you will learn how to create an animation with pictures using Photoshop. First, open an image in Photoshop. Double click the layer to unlock it. Next, open another picture in the program. Select and copy the first image, then paste it into the second image as a new layer. Close the original picture. Next, open another picture and copy it. Paste it into the other picture and close the latest picture. Open yet another image and copy and paste it into the previous picture. ...

Tutvid shows you how to add flare and dramatic color to your raw camera images (usually the format of a DSLR). In a step-by-step guide with narration, Tutvid takes you through the process of using CameraRaw (used as an extension of Photoshop but never really brings it in photoshop) to add desired colors to your picture. Pull up your raw file in CameraRaw, and press "Command" or "Ctrl + R" to open up the editing panel. With an example, he shows you how to bring out lights in underexposed (dark...

This is a tutorial showing how to make a lightening effect on Photoshop. First click on the gradient tools and then click on the colors. Check to see if there is black on one side and white on the other, if there is then click the ok button. Then hold the shift key while dragging the mouse across the screen. This will make a black to white gradient effect on the screen. After that, click on the filter button at the top of the screen, then click render, and then difference clouds. After the cl...

In this tutorial, we learn how to clone yourself in GIMP. First, open up GIMP on your computer and then open the picture where you want to clone yourself. After this, open the other picture where you want to copy yourself and right click to copy it. Now, create a new background layer for your main picture. Use the lasso tool to cut out one of yourself inside of a picture, then transition it into the main picture. Exit out of the other image, then start to edit the colors and opacity in the fr...

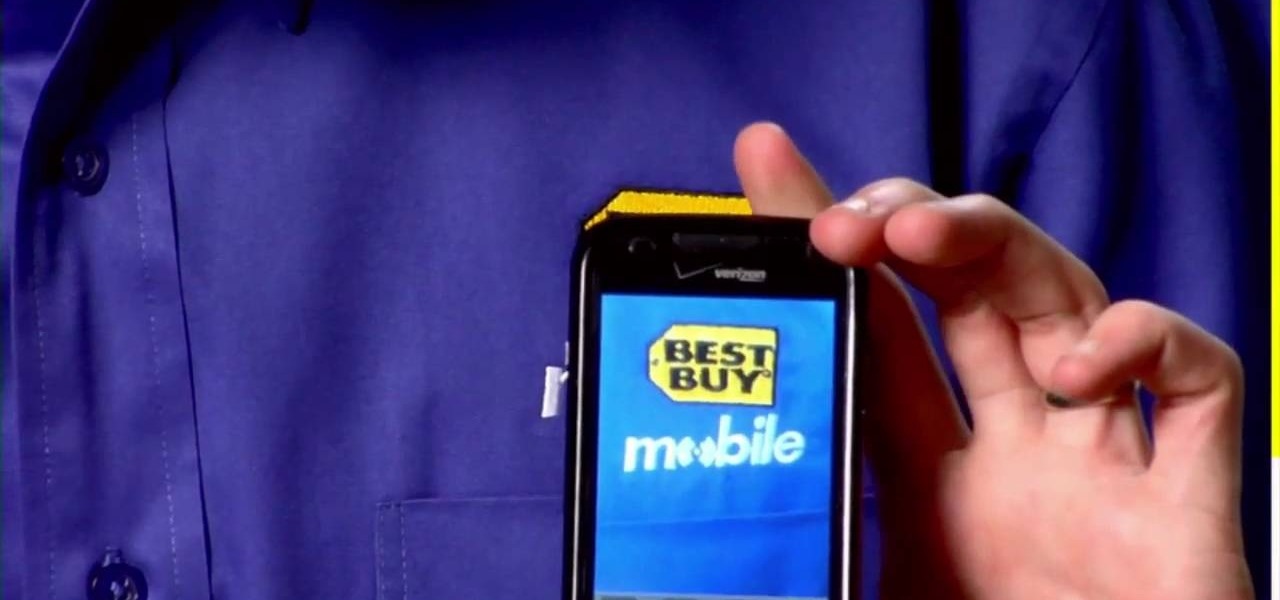
Sometimes you can't decide what to take… a picture or a video. But on any of the new Android enabled mobile devices, it's easy to toggle back and forth between photos and video on your camera. Once inside the multimedia section, the icons direct you to either picture or video options. Best Buy has answers. The Best Buy Mobile team explains how simple it is to capture photos or videos on an Android cell phone.

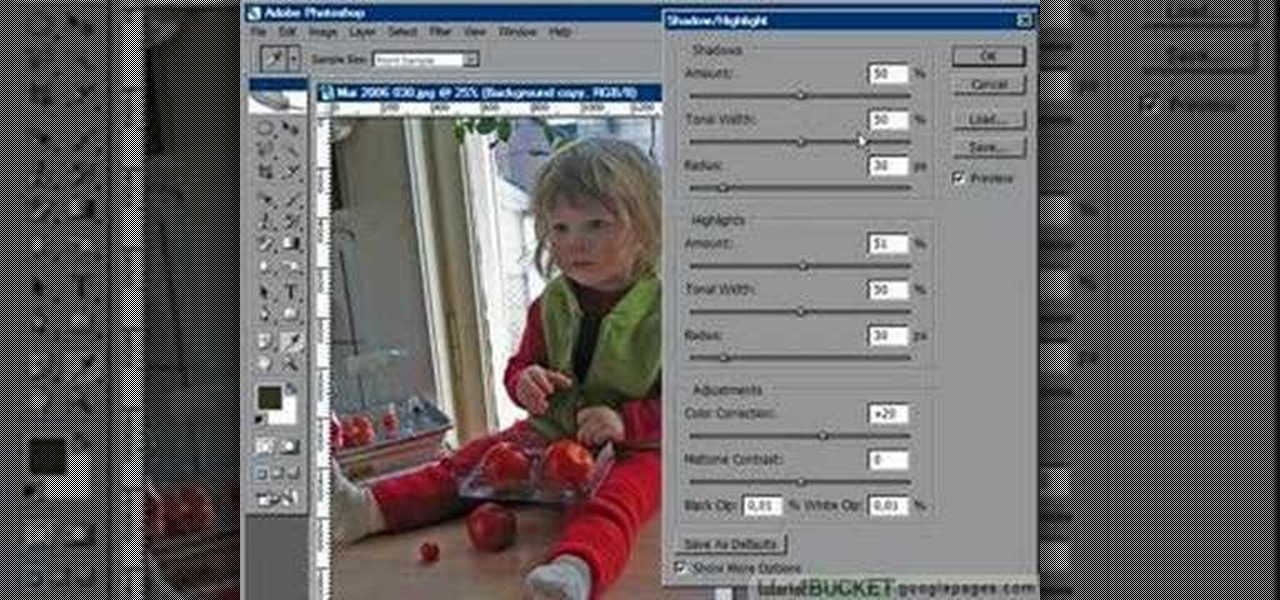
For anyone who has taken a picture and forgotten to turn on the flash, the result is usually a picture that is too dark. In this video, learn how to use the shadow highlight feature in Photoshop to correct images that are too dark. The tool can be automatically applied and is used specifically to brighten the foreground of a picture. You can play around in Photoshop to lighten the foreground yourself instead of doing it automatically. The next time a picture turns out too dark, don't throw it...

Get to design your own watermark for your documents. Here's a video showing these easy steps to watermarking your documents. 1. Go to the "Page Layout" tab in Word 2007 and look for the "Page Background" section of the toolbar and select the "Watermark" button. 2. Click on the "Custom Watermark". 3. Click on either picture or text watermark, whichever you prefer. 4. If you select the Picture Watermark, you need to insert a picture by clicking the select picture. You can also customize the sca...

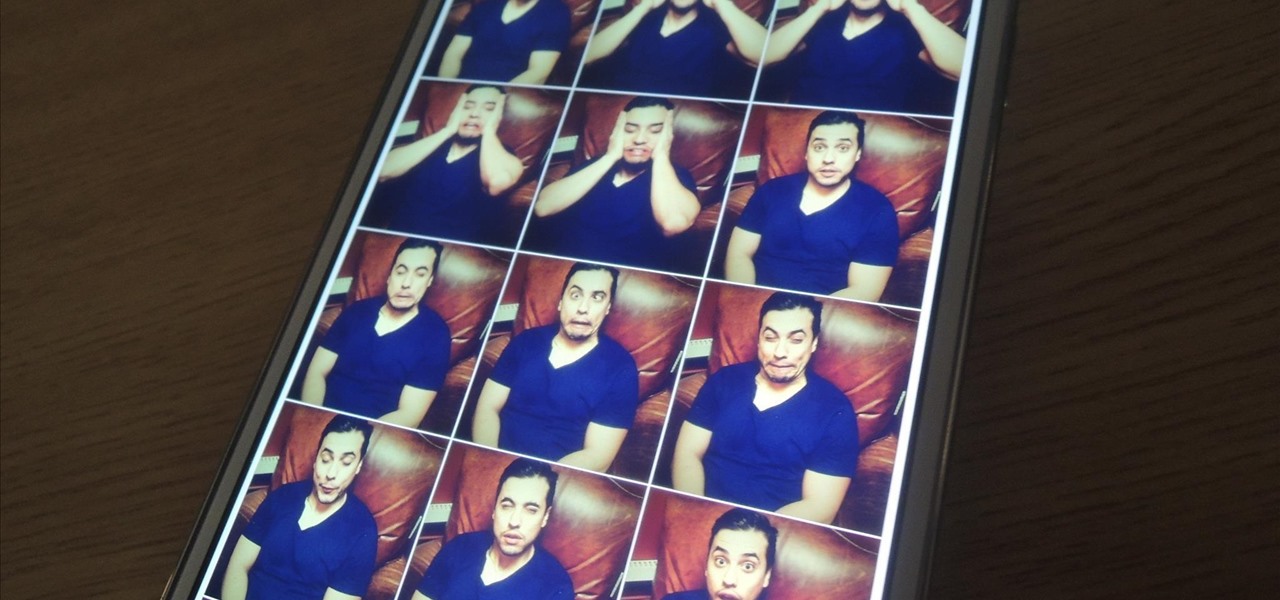
When we take pictures with our smartphones, it’s safe to assume we’re taking more than one. We're either trying to capture the right light, look, or expression… or maybe a slight nod to the right to show off your good side.

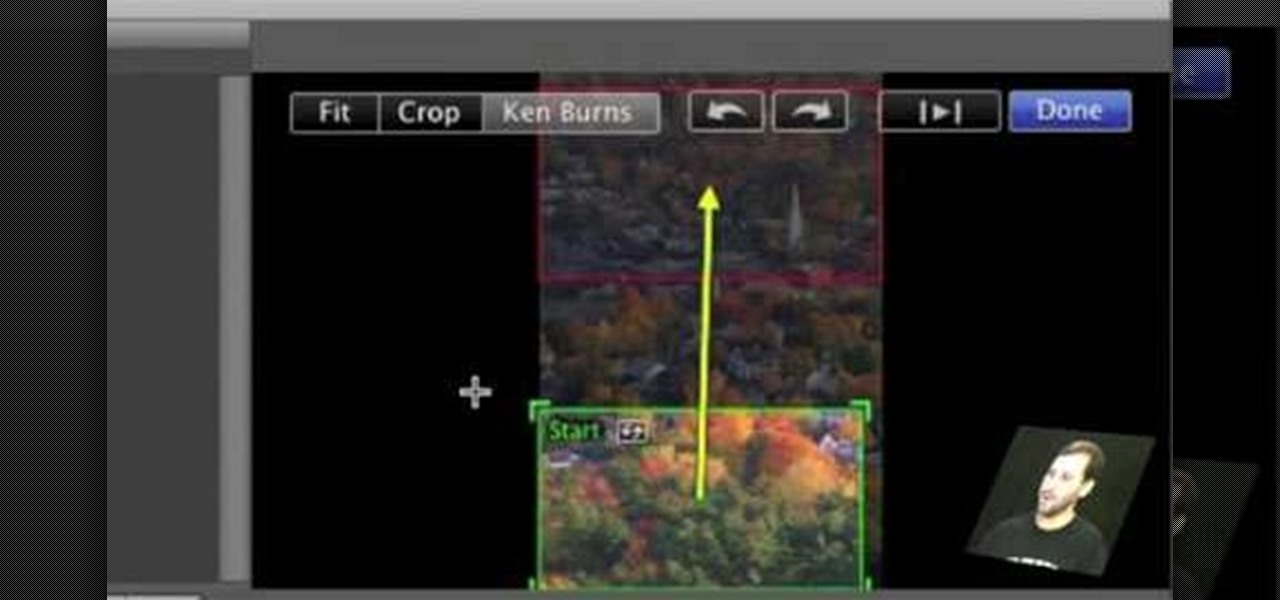
First open up the image by clicking on photo button or just drag the image from finder to the project area. Now click on the crop button or just press the c button, you will see a green and a red area in your picture. Now set the red area to where you want to zoom in and green area to where you want to start your zooming. Now set the green and red area in the picture as showing in the video and play it, you will see that the picture is zooming to where the red area was set. Now change the ima...

Kingsley Singleton teaches us about cropping images in Adobe Photoshop. He discusses the importance of properly cropping pictures, and the basic ways to do so. He first shows us how to properly crop images to ensure that printed pictures are the proper size for the paper. Clicking on the image and then dragging the marquis over the picture will select the area of the picture that you would like to use. Moving the corner arrows will adjust the size of the area selected. Then, to properly size ...

This video tutorial will show you how to create a seamless background texture using Photoshop using any square or rectangular portion of a picture. The narrator in the video demonstrates step-by-step how to achieve a seamless tiling of a photo through Photoshop and dictates the options that you will need to select. You first have to select a portion of the picture that you want to use. Then the narrator explains that you have adjust the sides of the square portion you chose--labeled A, A' , B...

In this tutorial, we learn how to isolate your subject to get better photos. If you are taking a picture in an area with a lot of people or surroundings in the background, have your subject stand up on something. After you do this, you can take the shot and have nothing in the picture with your subject but the background. You can also have a child go on a playground and zoom in on them if you are taking a picture of a child. On the playground, you can find tons of spots where the child can be...

In this video, we learn how to draw a game character in motion. First draw the outline of the game character and make the body more prominent with details. After this, start to add in darker lines around the outside, then start to shade in the drawing and make the different parts pop out of the page. Next, add in colors throughout the sketch and add in white marks to show the glare on the picture. You will want to keep adding in all the small details to make this picture look even better. Whe...

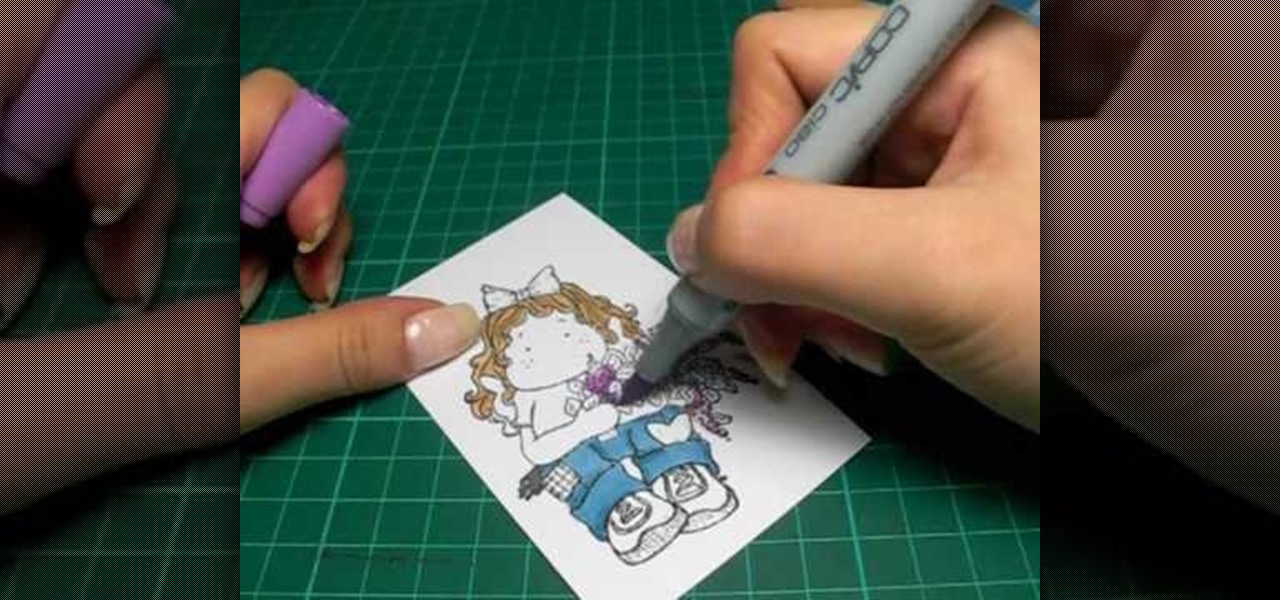
In this tutorial, we learn how to color with Copic pens. First, grab a picture that you want to color with your pens. After this, start to color in the picture with your different colored pens. After you fill in the colors, use a darker colored pen to add in shading and make the lines darker along the sides. Continue to color in your picture, adding shading where you prefer. Add in different colors and make the lines darker when you want them to look more bold. Make sure to add in highlights ...

In this software video tutorial you will learn how to add hyperlinks to PowerPoint presentation for Dummies. With hyperlinks you can link part of your presentation to another slide within the same presentation, a separate presentation, a website, an e-mail address or to a file like a word document. Say, for example, you want to create a hyperlink to a picture in your presentation. Click on the picture to highlight it, click on the 'insert' tab, and select the 'hyperlink' option. Choose the de...

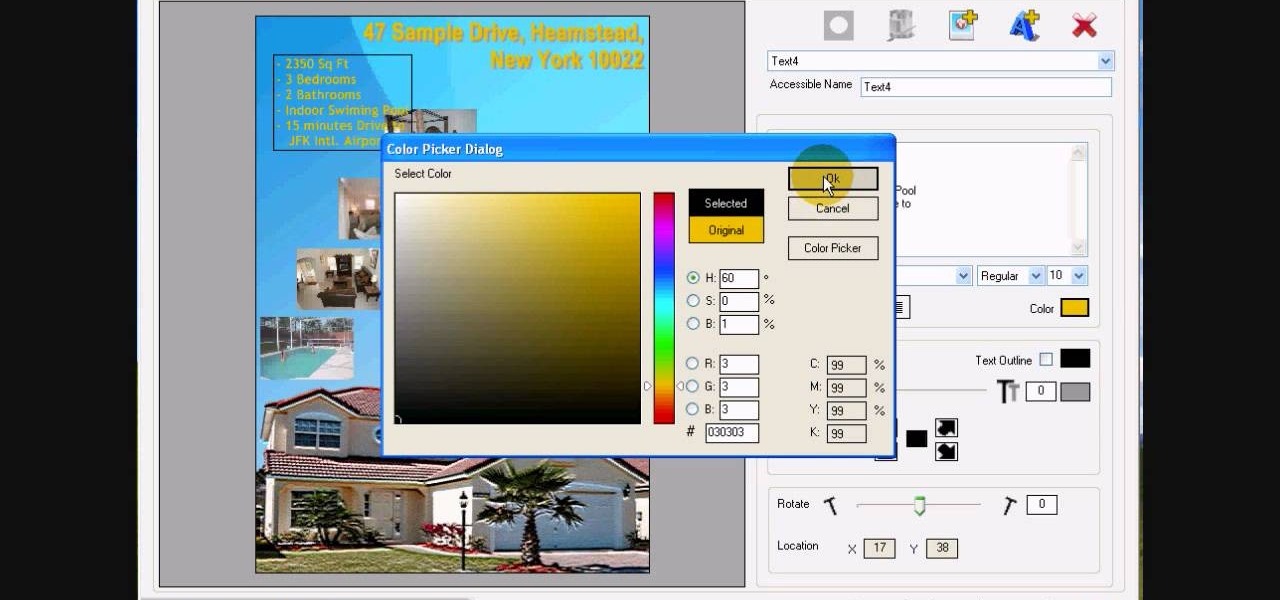
In this tutorial, we learn how to design custom flyers using Easy Flyer Creator. First, start a new deign in the software, then delete all graphics so the page is blank. Next, add in a background to the flyer and resize it to fit onto the entire page. Now, right click on the picture and choose 'set as background'. Now, add another picture on the page, then move it to your desired location to fit on the bottom of the page. After this, you can edit the picture further, if needed. When you are d...

This video tutorial is in the software category where Kerry Garrison will show you how to use vignettes with Adobe Photoshop Lightroom. By this you can remove the dark corners in a photo created by some zoom lenses. Select the photo, kick in the vignettes and fade out the corners focusing on the main subject matter. For this, select 'lens correction' on the right hand side and with the help of the sliders apply the vignettes. You have the choice of applying either a light or a dark vignette. ...

This tutorial teaches us how to touch up eyes while using Photoshop. First, open up Photoshop and zoom into the eyes on a picture you want to touch up the eyes on. First, select the adjustment layer icon and brighten the image. Next, invert the mass and select the "v" key, then pain the eyes on both sides. Next, click "filter" and then click "blur" so you will soften the edges so the picture doesn't look fake. Now, you can click on "before and after" to see what the picture results look like....

Mark Wallace shows us how to use a wide lens for portrait photography. A longer lens minimizes distortion in your picture and it maximizes what type of view you can see, so you can see more of the thing you are taking a picture of and less of the background. These lenses help keep the picture clean and uncluttered. You can see the difference between a wide and short angle lens by taking pictures with them and looking at the differences between them. There is also a zoom available, which makes...

This was a request from my cousin, to draw Justin Bieber. This is a hand drawing tutorial of Justin Bieber. For all you JB fans out there, this is the easiest and most detailed video on how-to draw Justin Bieber by hand with a pencil.

In this video, we learn how to put eyeshadow onto a picture using PhotoShop. First, open up the program and open your picture. Click on layer then new the click layer again.On the new layer put as blend mode "multiply". Make the opacity 50% and choose a color. Then select the brush that is the right size for your picture. Next, you will be able to brush the mouse over the eyelid and put eyeshadow onto the lid of the eye. You can change the intensity of the eyeshadow by changing the opacity hi...

This is a video about how to use the printscreen button. You can take screenshots with the printscreen button on the keyboard. First you have to a pick an image whatever you want to save in your PC. In this video he is explaining about how to save the a picture about the animal description. Next press the printscreen button when you get the image. Next go to start button and next Accessories and next paint and open the new page on paint. Then go for paste in the edit. Then you will see the pi...

In this Computers & Programming video tutorial you will learn how to save an image from Safari on your iPhone. Tap on safari on your springboard. Go to Cool Iris/ page. You will find a lot of beautiful pictures on this page. Enlarge the pictures and choose a picture that you want to save on your iPhone. Then hold your finger on the picture and a dialog box will open up with the options save image, copy or cancel. Tap on save image and when you back out of safari and go to the camera dialog, a...

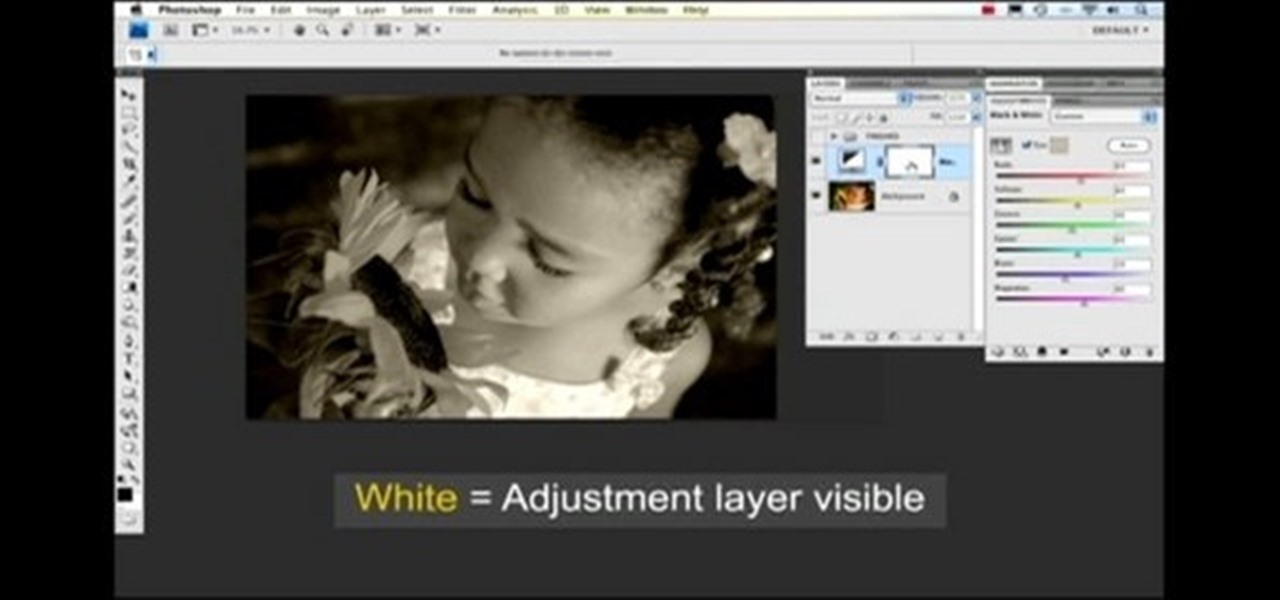
Nichole Young demonstrates how to hand color using layer masks in Photoshop CS4, which also works in Photoshop CS3. The procedure can be summarized in two stages: turning the picture you would like to edit black and white and then bringing color back into it to give it a hand-colored look. The black-and-white effect is achieved by creating a new layer over the background layer. The next step is to give the picture a warm look by adjusting the layer’s respective color balance. Then bring the c...

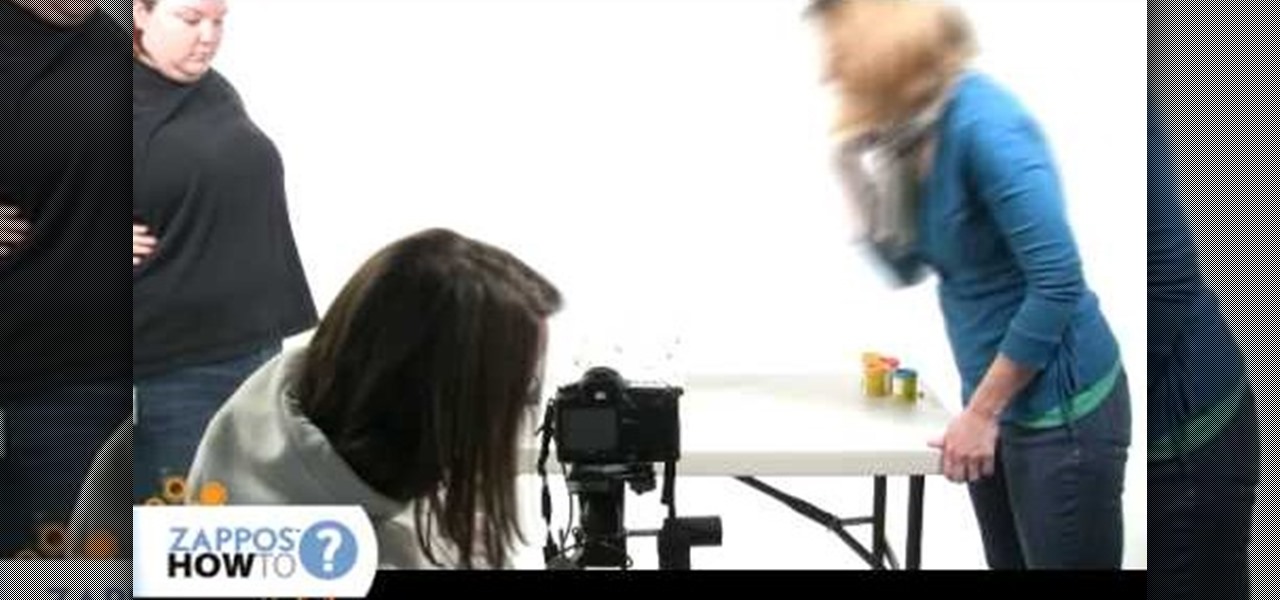
In this Film and Theater video tutorial you will learn how to make a claymation animation video. This is a Zappos how to video. The equipments that you will need for this are a camera on a tripod, a trigger so that your camera stays steady, constant source of light and clay. Make some animation characters with the clay. Start moving your characters around and take a picture of the movement. When you are editing, each picture will take up two frames. If you want to be in slow motion, then put ...

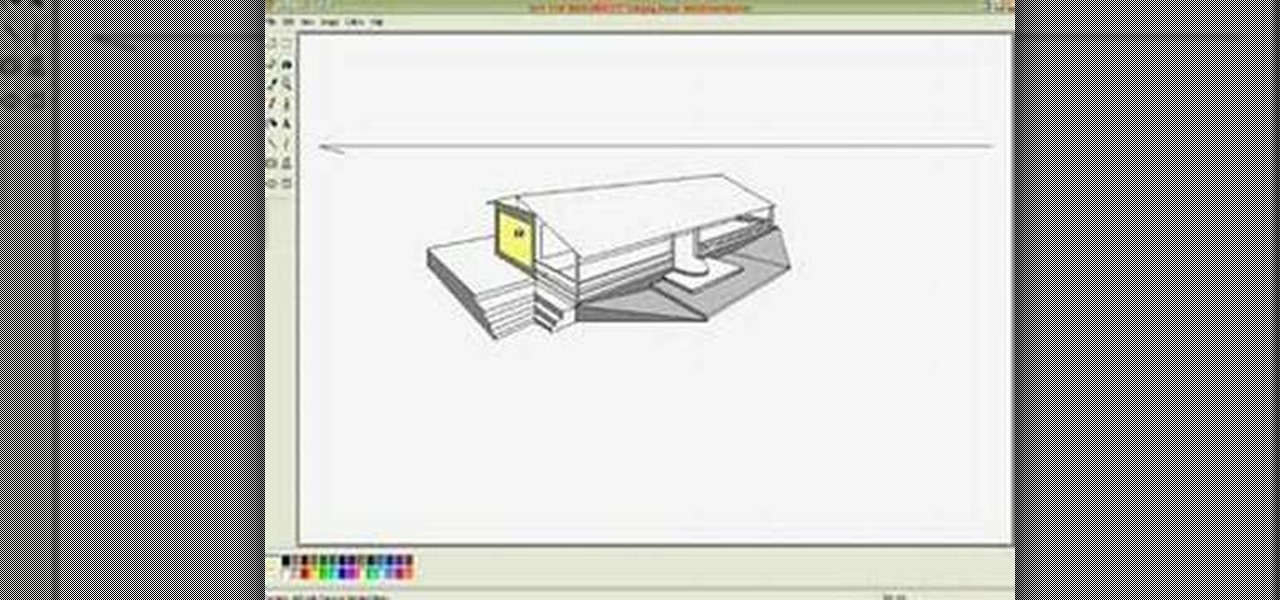
In this video, Lance Sisiolo draws a beautiful house using Microsoft Paint. He uses line tool to draw most part of the house. He uses different types of lines. He also uses curve tool to draw sky and the entrance of the house. The unwanted part of the picture is erased using erase tool. Then he uses fill with color tool and airbrush tool to paint the picture. He uses different colors to increase the beauty of sky and the house. Then some trees are added. Using airbrush tool he increases the b...

In this video from Dom Bower Photography, he demonstrates how to make it look like a person is levitating in a photo. He sets the timer on the camera and takes the picture of himself. It takes a few tries to get a picture where he is airborne when the picture is taken. The trick is to try to pose while jumping so that it doesn't look like you're jumping. It might take a few tries, but if you use some of the tricks shown in this video, you'll be able to take a picture that makes it look like a...

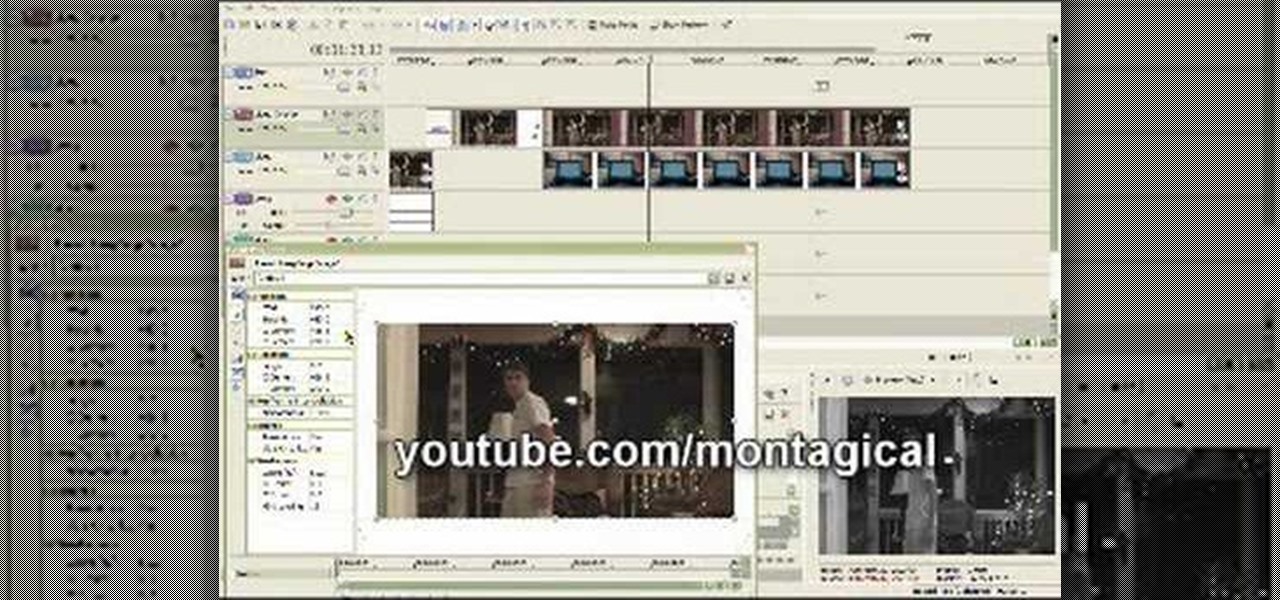
This is a really neat trick that makes it appear that someone takes a picture of the video, then the picture appears in a picture frame.

The Nintendo 3DS has a slightly larger screen than the older DS models, such the DSi. Because the 3DS stretches the video of older DS games to fit the bigger screen, the image quality can degrade a bit. If you're looking to increase the quality of picture while playing DS games, take a look at this tutorial to learn how to resize the picture.

Select the image whatever you want from anywhere. For example, choose Google search and type high res yoda and select IMAGES choose the picture and save in your computer. Enter into rasterbator software. From the dialog box select the language what you know. Select the image using 'BROWSE..' button and we have to select '3D-Yoda.jpg' and click open button, and then click the CONTINUE button. We have to choose the standard paper size. Next press the CONTINUE button. In this dialog box we have ...

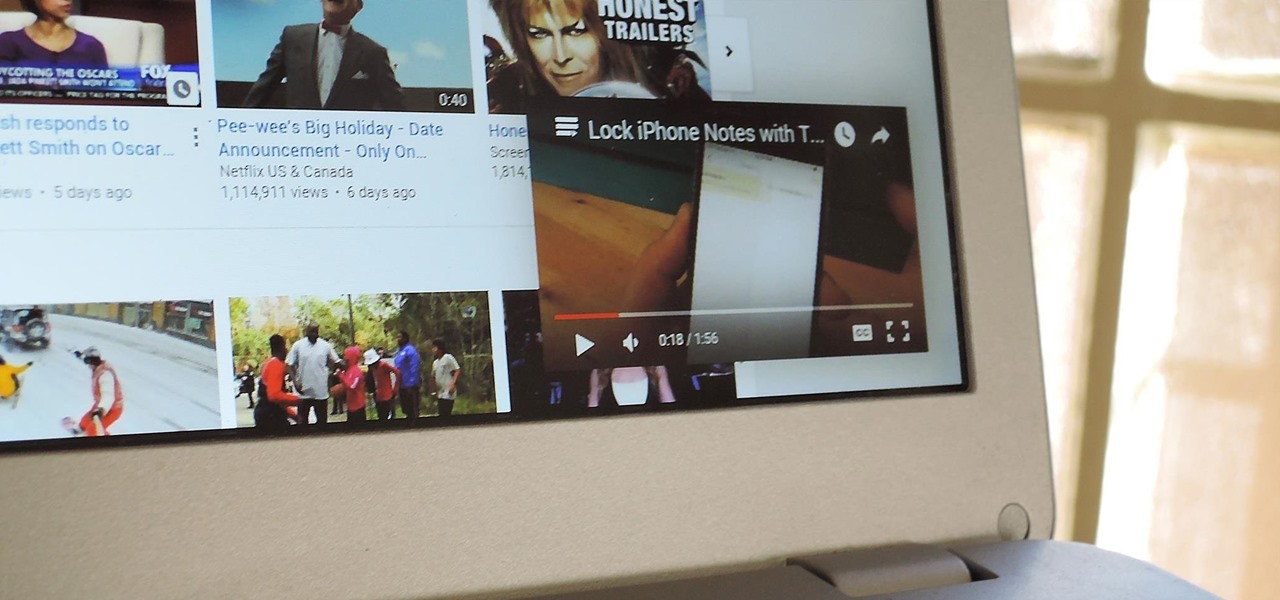
If you've ever used the YouTube mobile app for Android or iOS, you've probably noticed a cool little multitasking feature it has. While watching any video, you can simply swipe down on your screen to shrink the video down to a thumbnail view, which then allows you to browse the rest of YouTube while the original video keeps playing.


