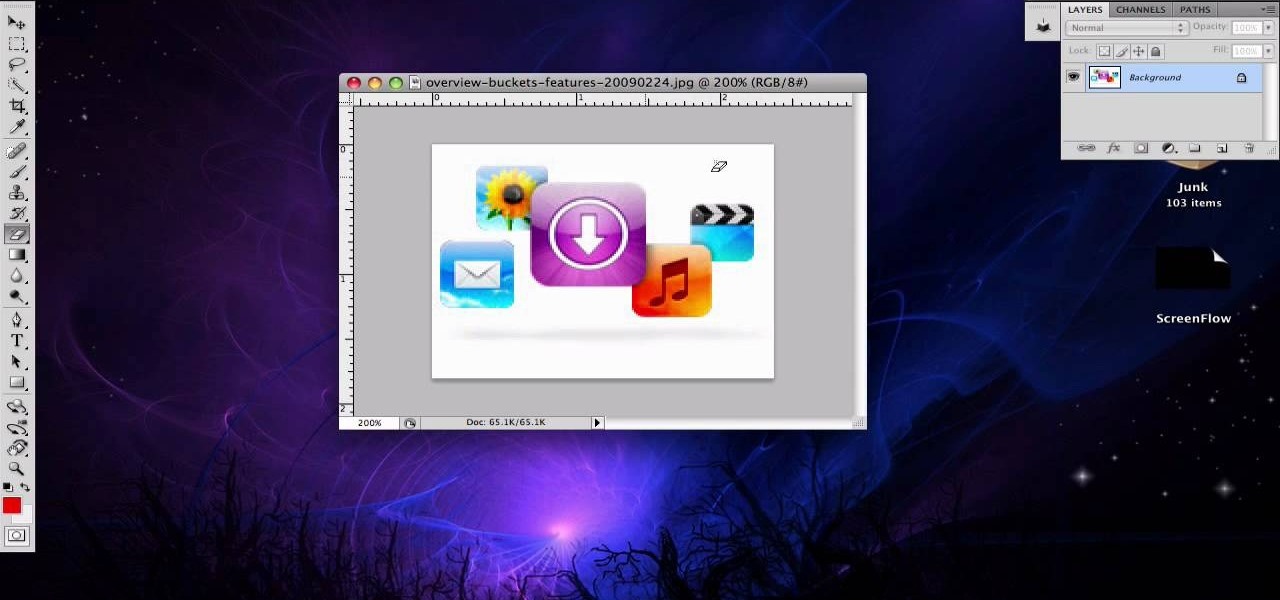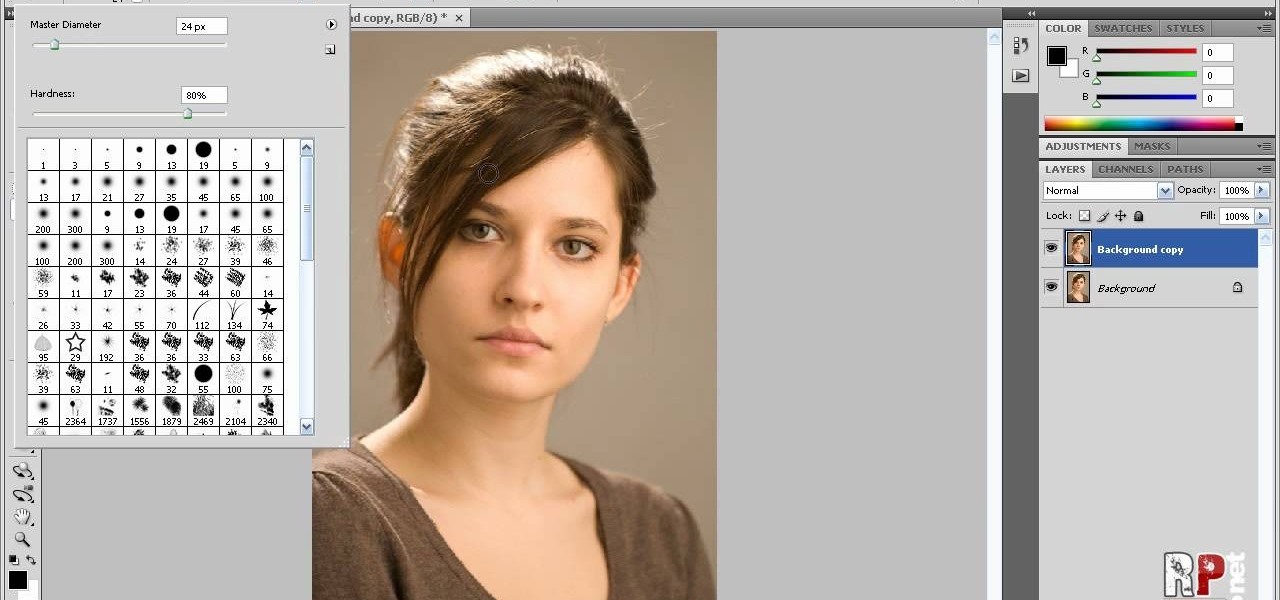
Robert demonstrates how to use Photoshop to give yourself a tan. First, you need to upload your picture(s) into Photoshop. Then pick one to work on. Next, you will need to copy the background to save the original image. On the right side drag the background label to the new layer icon (you can just hit control J). You will then need to select a paintbrush tool. Go up to the tool bar and click on the paintbrush settings to set the hardness at 80%. The master diameter will be adjusted as you wo...
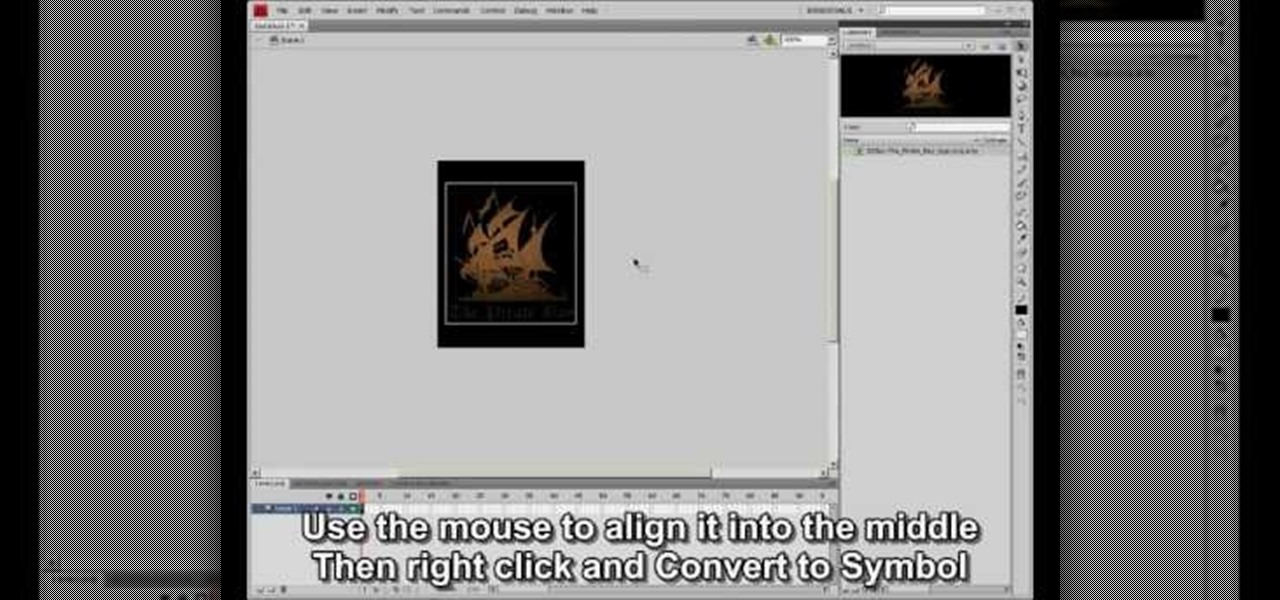
This video shows how to make a rotating SWF logo in Photoshop. Choose any desired logo that will be used later in the SWF file. Save the logo to the desktop. Use any kind of editing pogram. Make sure we only have what we want showing the area coloured with small squares is invisible. Open any version of Adobe Flash. Create a new "Actionscript 2" file. Then set workspace size to 240X320 and background color to match the picture we choose before. Make sure we select Flash Lite 2.0. Then go to F...
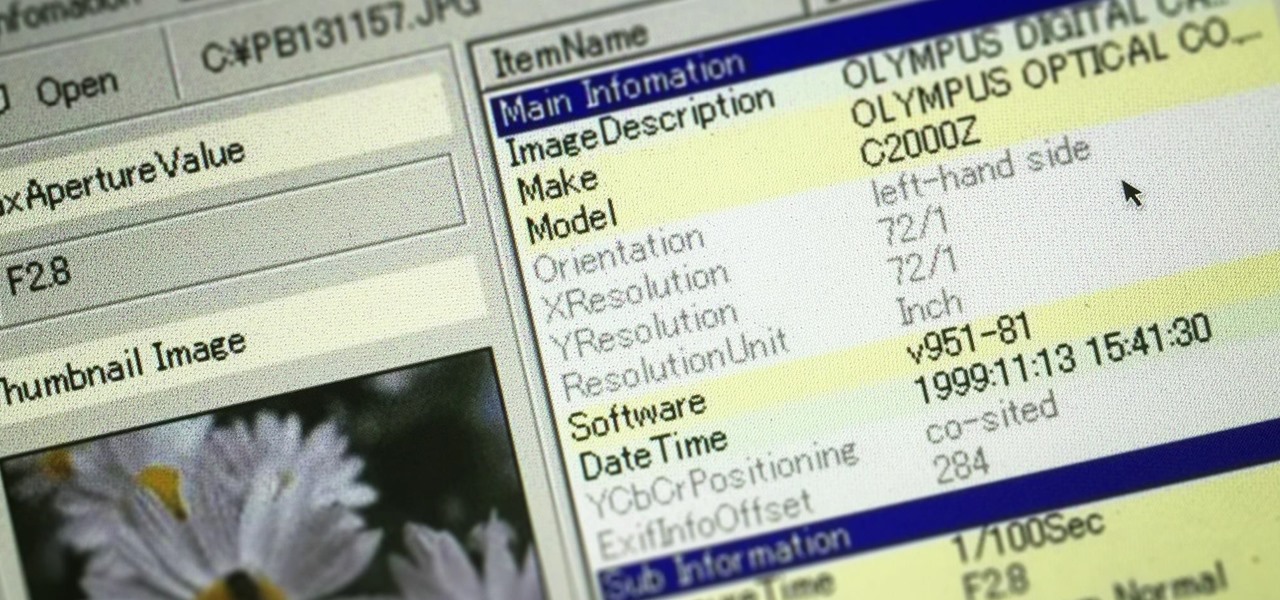
Welcome back, my greenhorn hackers! In many cases when a computer, phone, or mobile device is seized for evidence, the system will have graphic images that might be used as evidence. Obviously, in some cases these graphic images may be the evidence such as in child pornography cases. In other situations, the graphic images may tell us something about where and when the suspect was somewhere specific.
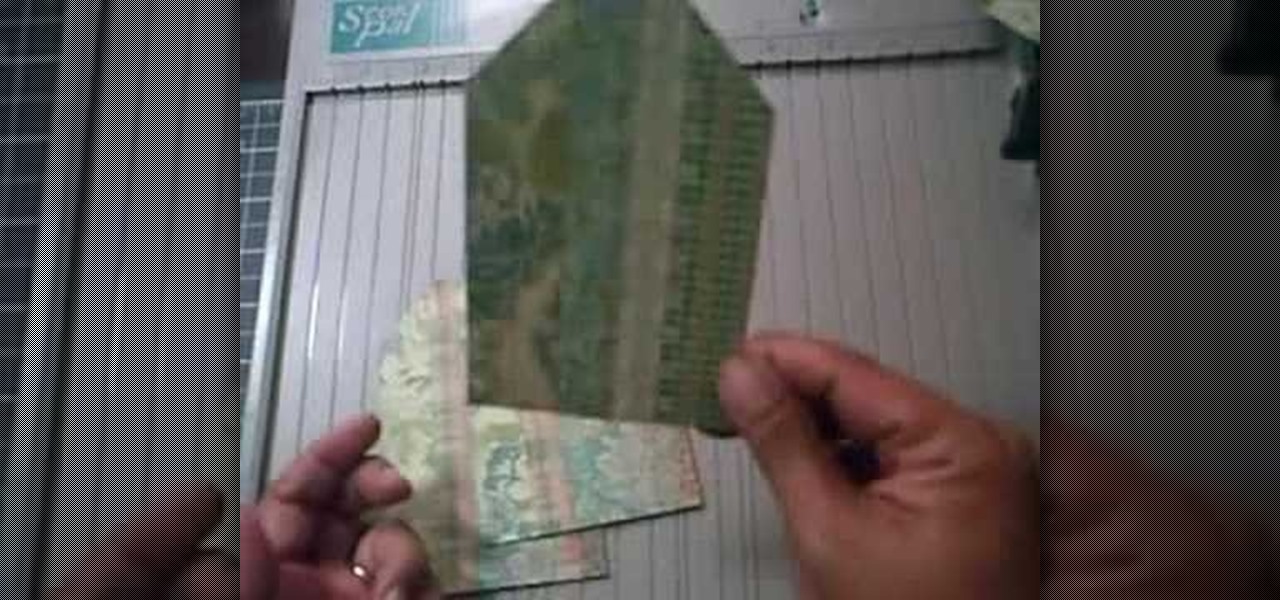
This video explains how to create a 4z4 tri-fold mini album. The first step is to score your designer paper at four inches and then fold along the score mark. The previous step is completed three more times until you have four score marks along your paper. Three separate pieces of paper are then cut measured at three and half inches. Your chosen picture is then glued into the center of your original twelve inch panel. using the three individual pieces of paper you must glue them around the pi...
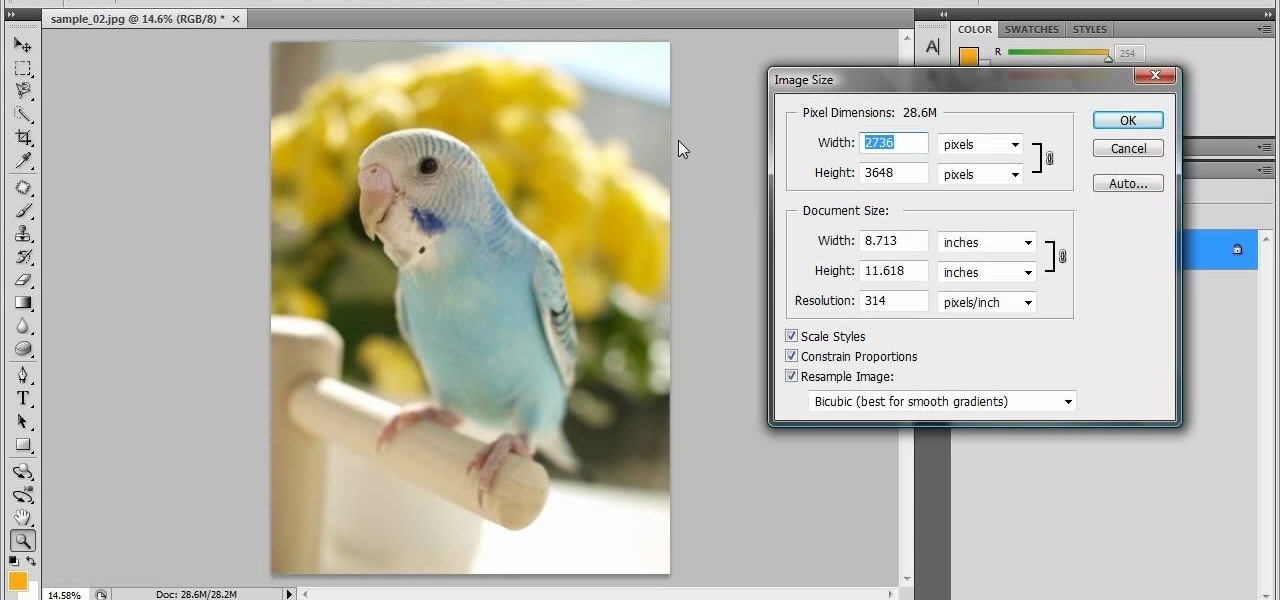
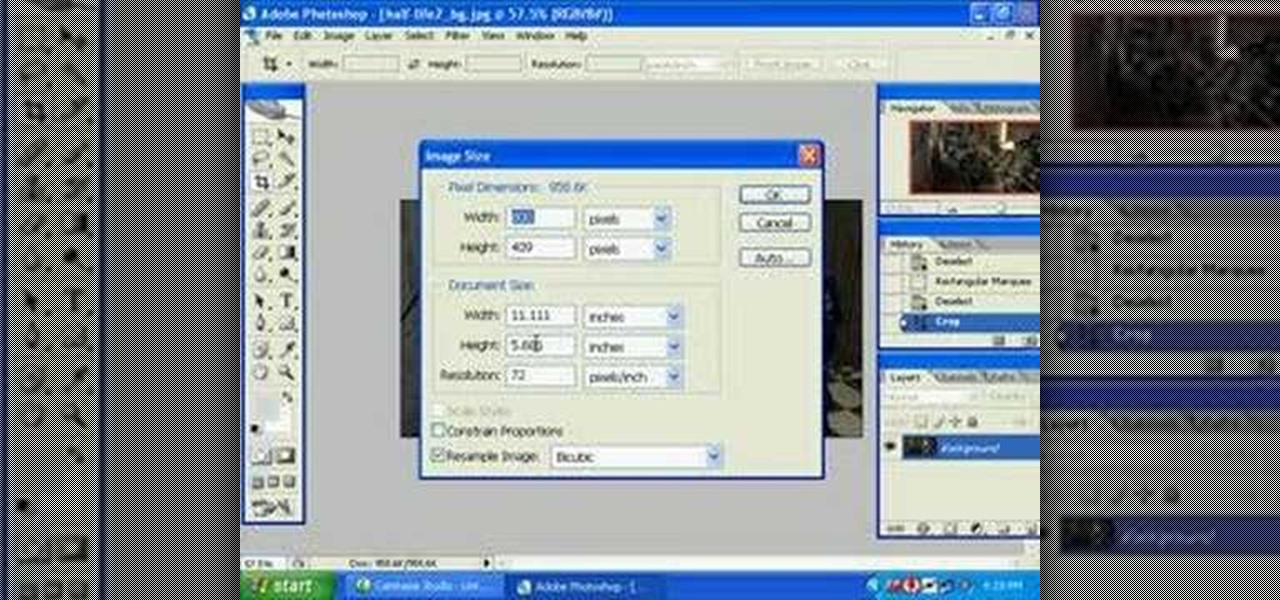
In this tutorial, we learn how to resize photos in Photoshop CS4. First, open up Photoshop and then open up your picture. The quality of your picture will effect the outcome of what it looks like when you resize, so use a high resolution picture for the best outcome. Now, go to image and then image size. From here you will change the width and height to what you need it to be. Then, you will need to click on the boxes at the bottom, click on all of them. When finished, you will save this and ...

In this tutorial, we learn how to gel your flash to blend it with ambient light. First, you will need to be indoors with lights on and grab your camera. Make sure you have a separate flash on the camera, then take an amber colored film strip and place it over the flash. Next have your subject sit down and start taking pictures. Use different shades of amber and when you see the pictures it will have the background light more dim than the subject in the picture. When finished, you will have a ...

You can overlay your videos in Sony Vegas Movie Studio. First drag the picture of TV set in the timeline and drag it to the whole timeline and then place your video above it as showing in the video. Now click on the pan/crop icon and select the picture of TV set. Now resize your window and set your video in the TV set as showing in the video. Now you can play your video but it pops up as the video plays so to fade in your video, you just need to do is to drag the corner of your video as showi...

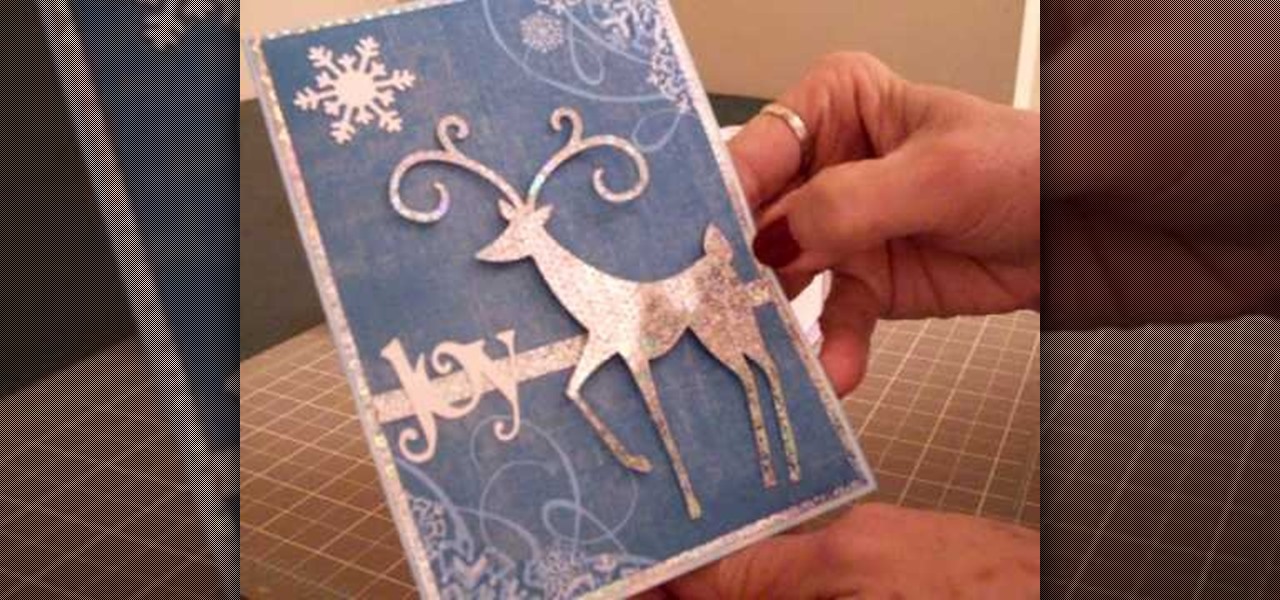
In this Arts & Crafts video tutorial you will learn how to make a Christmas card using Cricut Winter Woodland. The card is 4 1/2 x 6 1/4 inches and it has a picture of a deer and the word "Joy". On page 56 you will find the picture of a deer. Cut it out at 4 1/2 inches and the word "Joy" is on page 78. Cut it out at 1 1/4 inch. Use the snow flake punch to cut out a snow flake. From "The Winter Matstack" choose a paper that has some snowflakes on it. Then you can cut out thin strips of some or...

Chris Rutter teaches us how to use off camera wireless flash in this tutorial. First, attach the flash to the camera and aim it towards your subject. For a more flattering result, place the flash gun on a tripod that is placed on the right hand side of the subject. Now, go to your camera and set the control so that the flash with go at the same time you take the picture. Now, turn the camera on and take a picture of your subject again. Your flash should go off at the other location, and your ...

In this video, we learn how to apply eyeshadow and eyeliner in Adobe Photoshop. First, load your picture in and zoom in on the eye. After you do this, you will need to click on layer one and then click on the color picker. Next, choose the color you want for the eye and paint it onto the lids using a small brush and zooming in on the eye even further. After you brush the color onto the entire eye, you can choose black for the eyeliner and use a smaller brush. Paint the liner onto the bottom a...

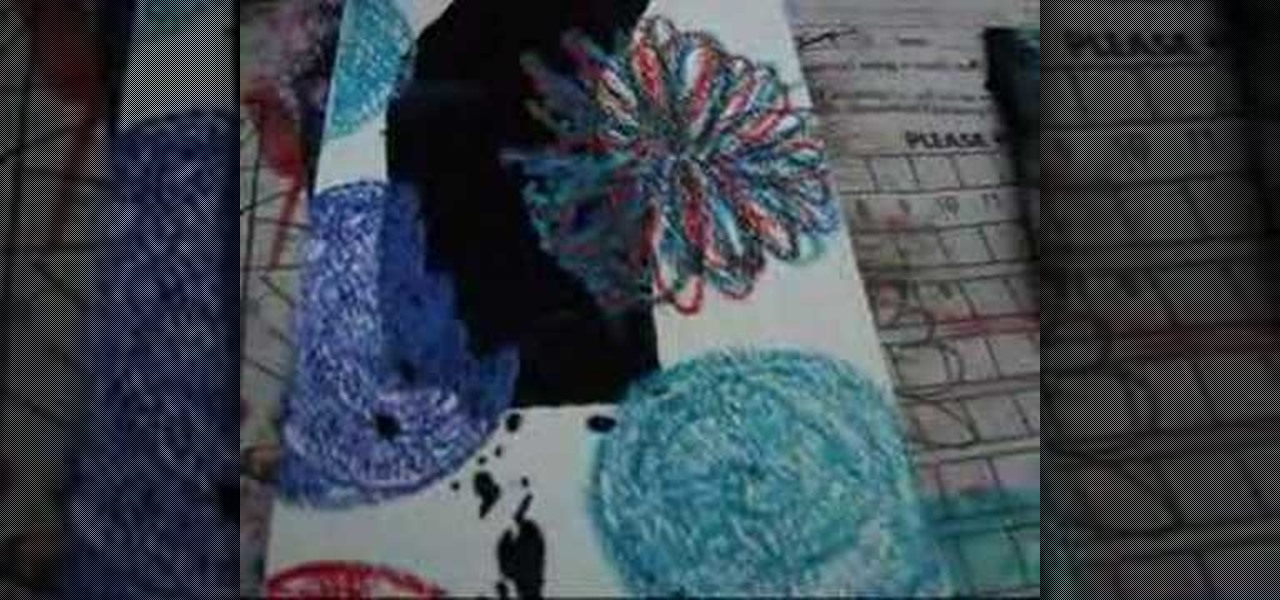
In this video, we learn how to make crayon resist watercolor background sheets. First, draw a pattern onto a piece of paper with crayons. You can make any kind of pattern that you want. After this, add some water color paint to the picture and use a credit card to push the paint around the picture. You will see that the crayon resists the paint and the paint sticks to the paper instead! Let this dry, then you will see that the crayon is still resisting the watercolor ink. After this, enjoy yo...

In this tutorial, we learn how to use the soft light layer mode in Photoshop with Yanik Chauvin. This will reduce gray in the picture. First, duplicate the layer and then click on the blending mode menu. Click on the soft light option, then your photo will adjust and have saturation in it. The flatness will be removed from the image and the gamma will be increased. If you find this too strong, you can go into the opacity slider and adjust this to what you think fits your picture. When finishe...

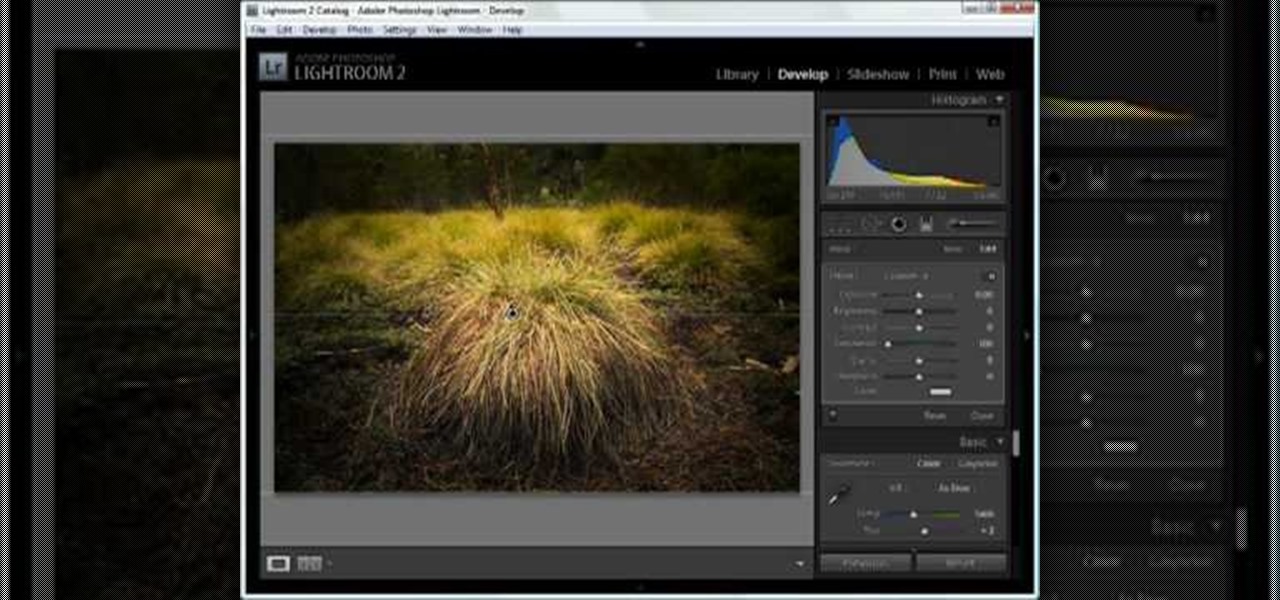
In this tutorial, we learn how to dodge and burn in Lightroom 2. First, open up your image in Lightroom 2 and use the brushes to change the saturation and the colors in the image. You can also use the graduated filter which you can use to apply effects across the image itself. Next, you can add a tint onto the picture and apply a second filter to make the top of the image darker, then make the middle of it brighter. Change the exposure and saturation to make the picture look more realistic. U...

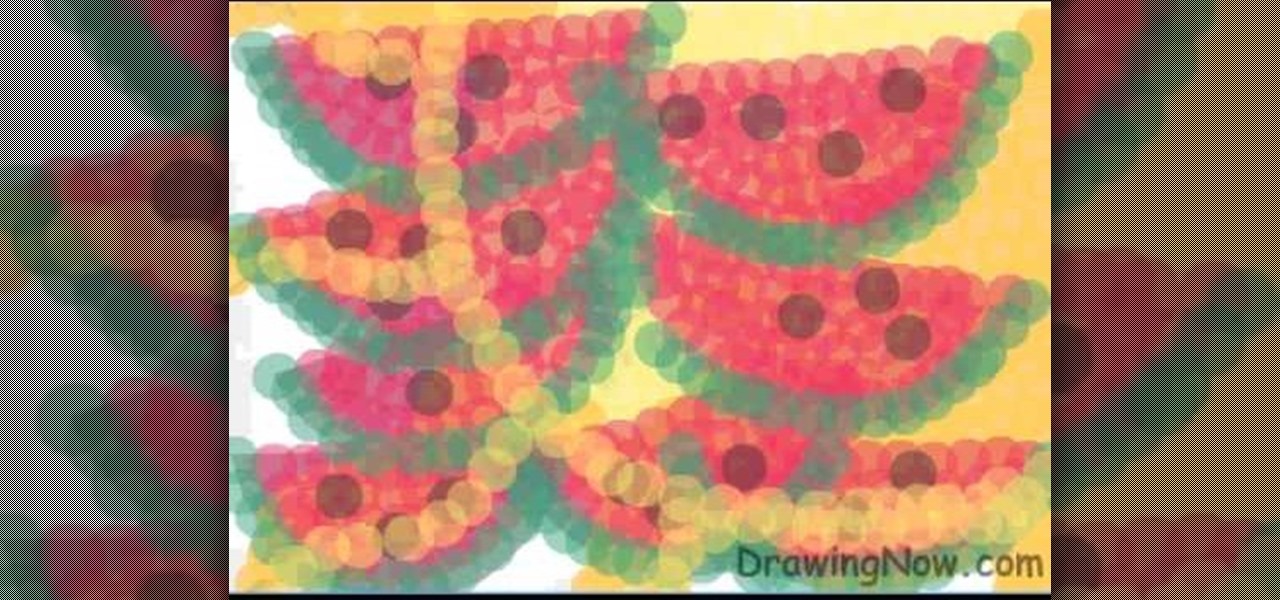
In this tutorial, we learn how to draw abstract watermelons. First, draw a circle, followed by wavy lines coming out of it just like the sun. Next, draw half watermelon shapes all over the picture you just draw. Now, fill in the picture with yellow circles on the inside of the circle shape. Use a dark yellow/orange for the second half of the circle to the bottom. After this, use the orange to fill in half the wavy lines and then use red to fill in the other half and make large half watermelon...

In this tutorial, we learn how to create stencil graffiti. First, take a picture and then separate into four layers. After you do this, you will draw out each layer and then cut each of them out. After you do this, synchronize all of the layers. Next, spray paint the background color. Last, you will add color to the actual picture then wait until it dries. This is a great idea for wall art for your home, and it adds a unique touch. Make sure to take your time with this when painting on the st...

This video tutorial is in the Computers & Programming category which will show you how to use the online discussion site Voice Thread. Voice thread enables you to create an online discussion with your students. In this video you will learn how to open an account, how to open a thread and how to post a comment on it. Go to the site. On the right hand top corner you will find a coffee cup. If you click on that, it will ask you for a username, password and email for opening an account. After you...

In this video, we learn how to change the color of clothing in Photoshop. First, click "enhance", then "adjust color", then "saturation". Now place a magnetic lasso around the shirt color you want to change. You can now use a slider to go through all the different colors, and pick that one that you want to use in the picture. Play around with the saturation, hue, and brightness to change what the color looks like in the picture. If you want to add more contrast, it will look more real like it...

In this video tutorial, viewers learn how to make a red-cyan anaglyphic 3D photo, using Adobe Photo-shop. Begin by taking two pictures of the same image. The second picture should be 6,5 cm to the right of the first picture. Now load both images onto Photo-shop and drag the second picture over the first one. Select Layer, click on Blending Option and uncheck Channel R. Place the red on the left side and cyan on the right side. This video will benefit those viewers who photo editing and would ...

All of us have pictures that look perfect...except for one drunken cousin on the side mooning the camera or a wee squirrel photobombing your vacation picture. When something stands between you and picture perfection, erase it!

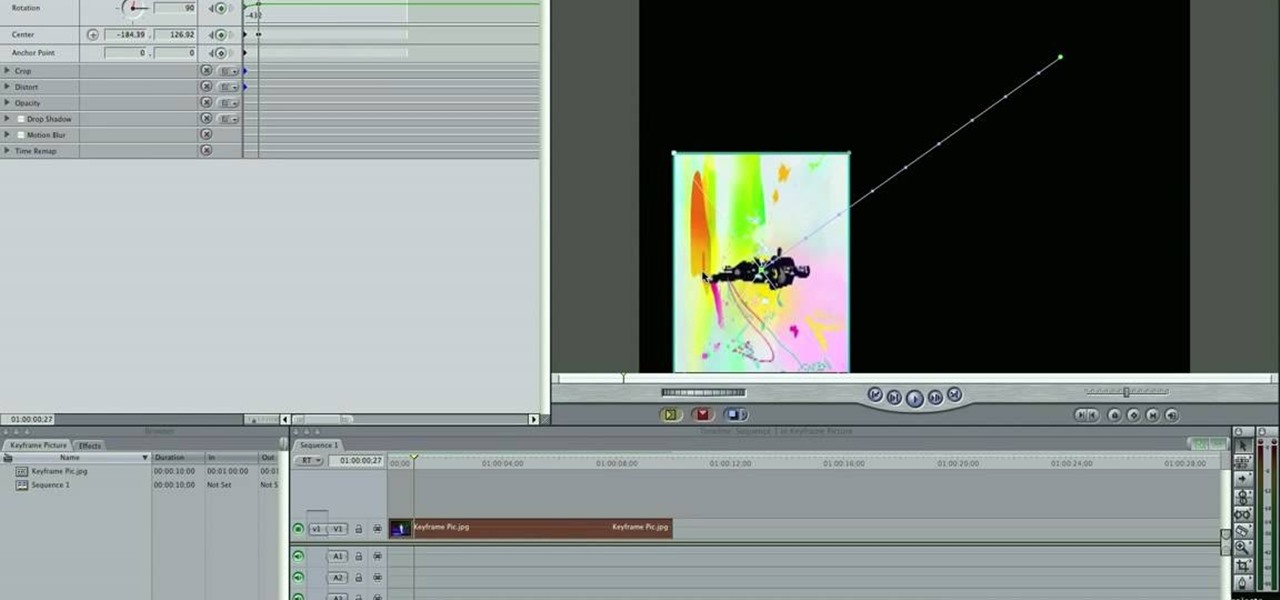
This video tutorial teaches you the basics of Keyframing using Final Cut Pro. A picture is used in this tutorial. You can also use video or picture for this example. The video shows the keyframe button and the different keyframing tools. The video then teaches a basic keyframing concept of how to add a motion to the clip using keyframing. You can also add rotation effect in the keyframe. When you add a keyframe and move the clip from one place to another, it adds a path along which the clip o...

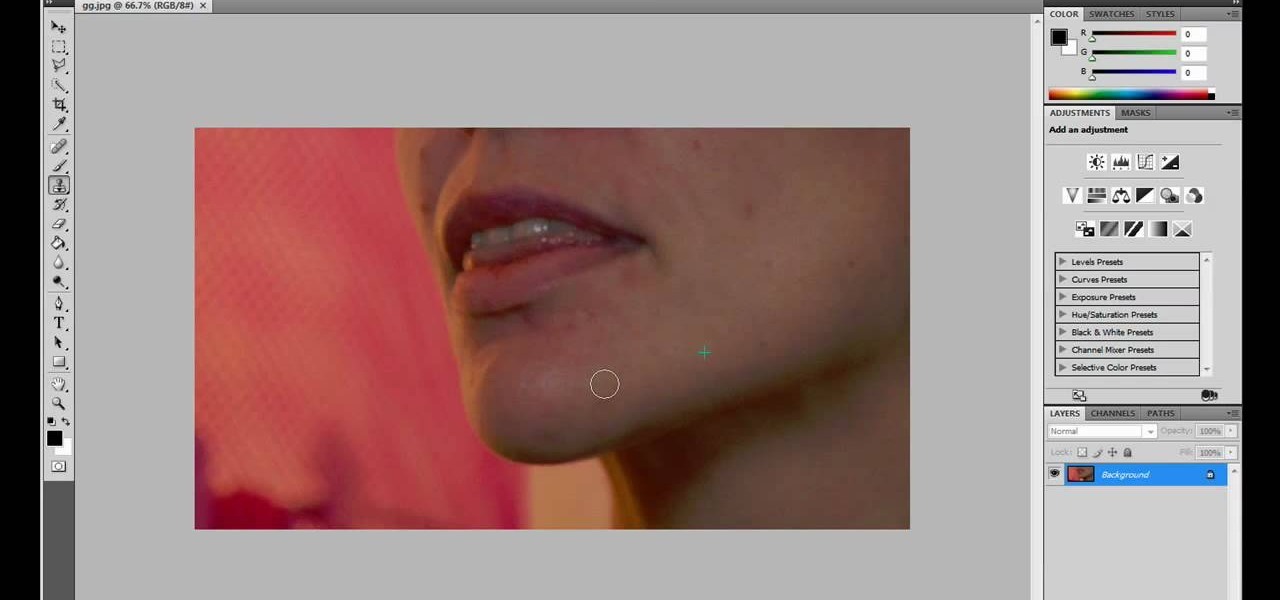
JdudeTutorials explains how you can remove zits, blemishes, and other unsightly skin problems, from pictures using Adobe Photoshop. He begins by opening up a picture of a female's lower face. Left click on the stamp on your toolbar, and select the Clone Stamp tool. You will see a small circular cursor. He explains that you should find a skin tone on the picture that matches the skin surrounding the troubled area. He holds the alt key on his keyboard and left clicks the spot that most resemble...

This video is about how to crop a photograph in Adobe Photoshop CS4. So the first step that you will have to do is just simply open the Adobe Photoshop CS4. Once it has loaded, just open a picture that you want to crop out. After the picture have been loaded. If the picture is too small, you can simply click on the zoom icon to make the image clearer. After wards, you need to use the marquee tool which is found on the left side of the screen. Just simply right click the icon and choose which ...

This video illustrates how to make a temporary tattoo with black eyeliner. This process includes the following steps.Step 1Take the picture you want to make tattoo of.Step 2Reverse the picture and paste it on a paper.Step 3Take a tracing paper and trace the outline of the picture using a eyeliner.Step 4Now reverse the tracing paper and paste it on the place you want.Step 5Now take a cloth, wet it and place it on the tracing paper so that you get the outline of it on the place you want.Step 6N...

In this video he just draws a simple picture of boo. It maybe takes two or three minutes to make the sketch. First you just draw a circle roughly, and add ears to that. Next add tongue which is very long and outside of the mouth. You just have to give importance to the teeth in this drawing to make your sketch great. Next you just add teeth, which is wide. Next make the teeth highlight. Next draw two small circles like eyes and highlight it with the pencil. Next make the rough sketch into the...

This video shows us the procedure to use an iPhone with a microscope using iMicroscope. Open the application and focus the object correctly in the microscope. Bring the camera in the phone near the eye piece and click a photo once you get the object correctly focused. Hit 'Use' and put in the magnification of the image. Hit 'Accept' and view the image. You can see a magnification scale, date and an automatically scaled scale bar. You can zoom in the image. Save the picture in the camera roll....

When using Adobe Photoshop being able to crop and resize an image is essential. This live demonstration shows you step by step directions for these useful functions. To crop, select a certain area and hit enter, everything not selected will be deleted. If you mess up you can undo. This is a great way to take a large picture and only use the parts you want to concentrate on. Video also shows how to resize picture using width and height or mega pixels. Gives tips on how to keep your picture fro...

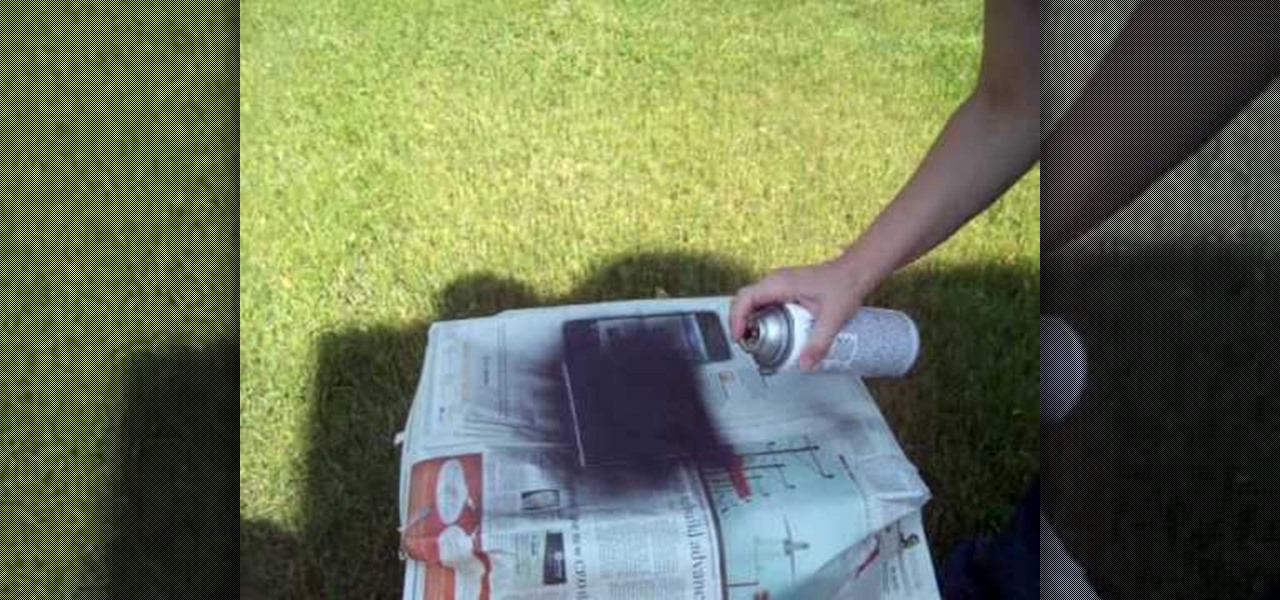
In this video tutorial, viewers learn how to make a black scrying mirror. This activity is simple and inexpensive. The materials required are: a picture frame, tape, newspaper and black matte spray paint. Take out the glass from the frame and lay it on the newspaper. Now spray the black paint on the glass frame. Make sure you use short little bursts of spray. Make sure each coat dries before you apply another one. When it's dry, put it back into the picture frame. This video will benefit thos...

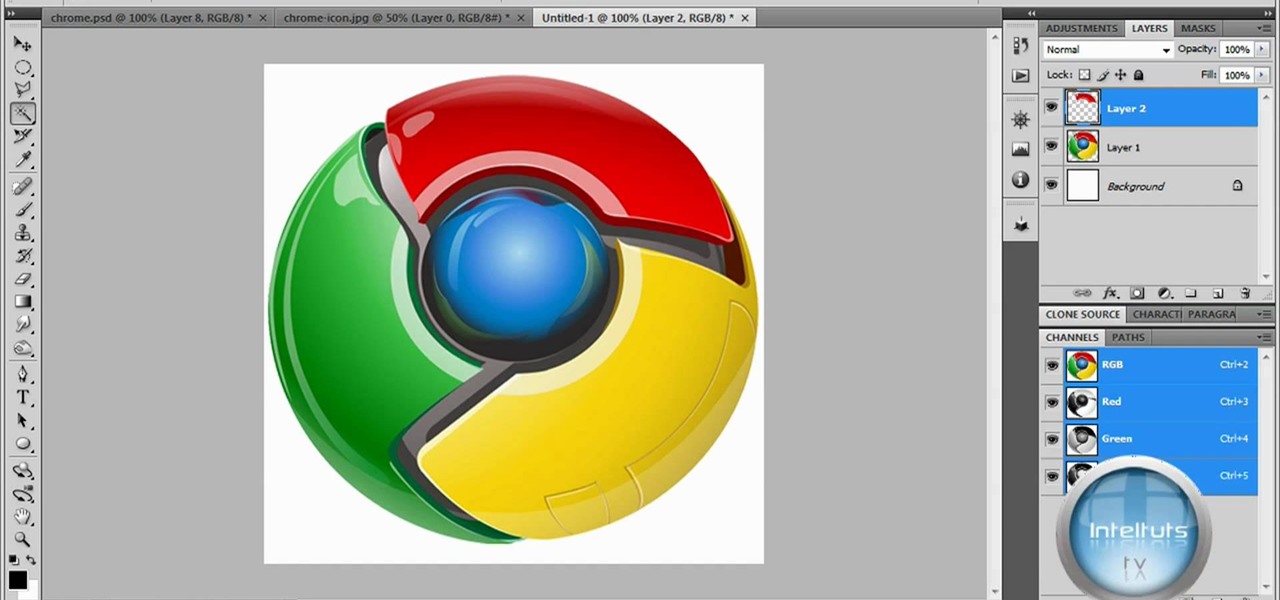
The tutorial shows you how to make a professionally looking Google Chrome logo in Photoshop CS4. To start, download the Google Chrome logo, as well as an Earth picture, in a Zip file from Inteltuts. Next, open the logo file in Photoshop CS4, turn the white background layer into transparent, and transform the logo by de-saturating the picture, but make sure you leave the blue center area untouched. The last step is to transform the Earth picture so that it fits right into the center of the des...

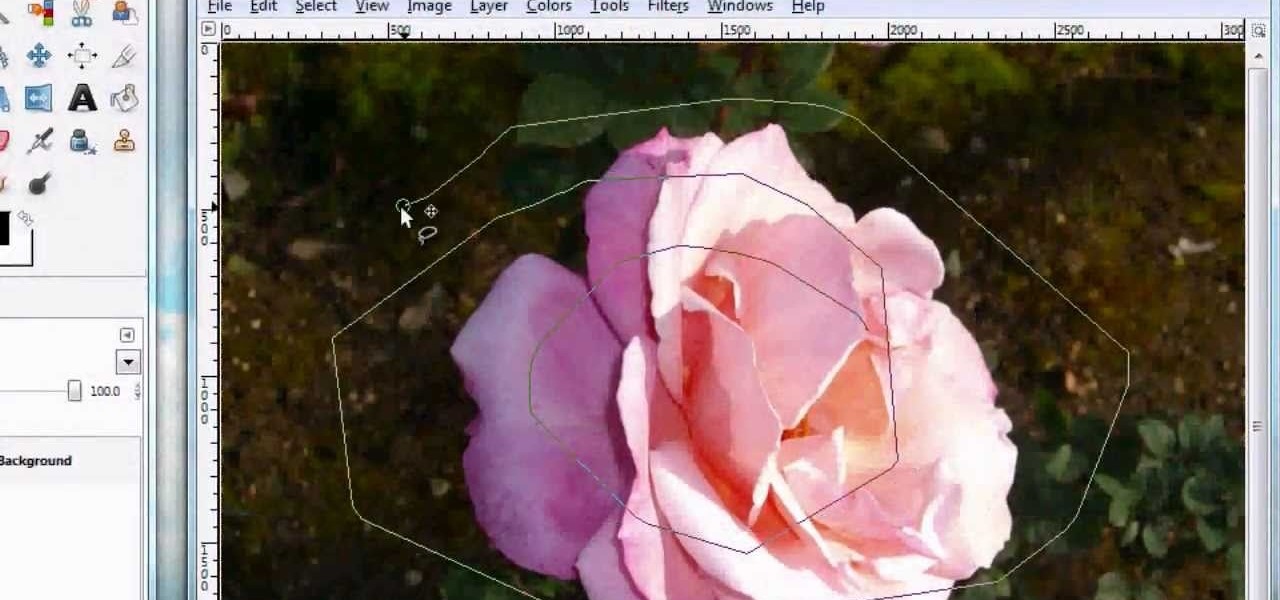
For anyone looking to edit a picture with one or more persons down to just a single person in the picture, you can use GIMP. This video tutorial goes over how to utilize the paths (or pen) tool and foreground select tool. The paths tool allows a person to select a part of an image to create a series of lines, or paths, that allow you to create a path around whatever you want to select in a picture. This item can then be moved and copied to a completely different photo. The foreground select t...

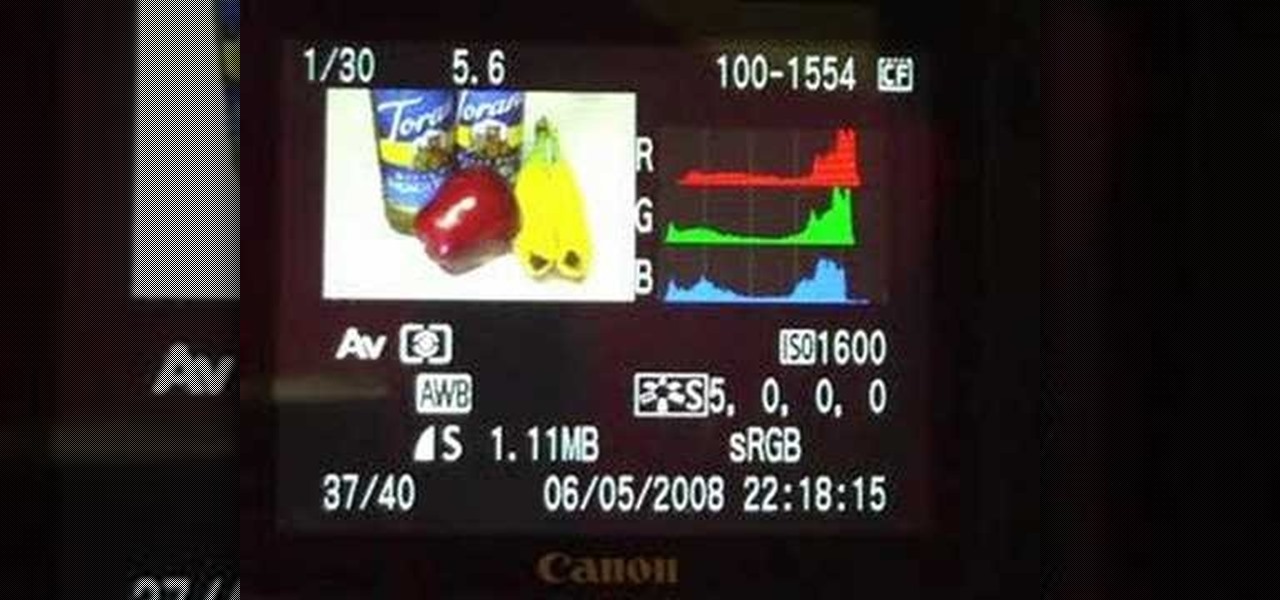
This video shows how to set a custom white balance with a Canon 40D camera. Whether you have fluorescent, yellow tungsten, or camera white light, you will still get a good picture with the custom white balance. The video shows pictures taken with the different lighting and different vibrant colors without the custom white balance that come out pretty good. Then a picture is taken of a white paper towel or something pure white. Then the custom white balance is set by going to the menu, white b...

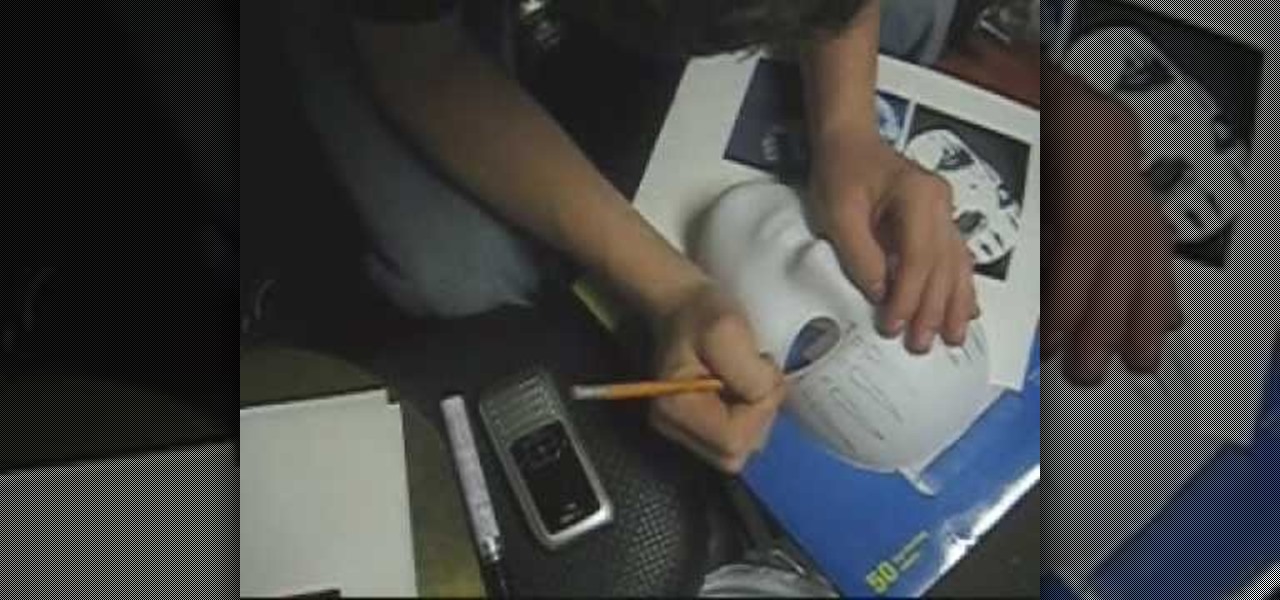
The materials that you need are a white mask, black sharpie, a printed copy picture of the mask, and a pencil. It is recommended that you sketch the picture using the pencil first. So, your first step is to sketch the picture using pencil on to the white mask. After you have finished sketching on the white mask. If you like, you can add extra details to make the mask looks better. You begin to go over it with the black sharpie. When you are done, the result will look like a Jordison mask from...

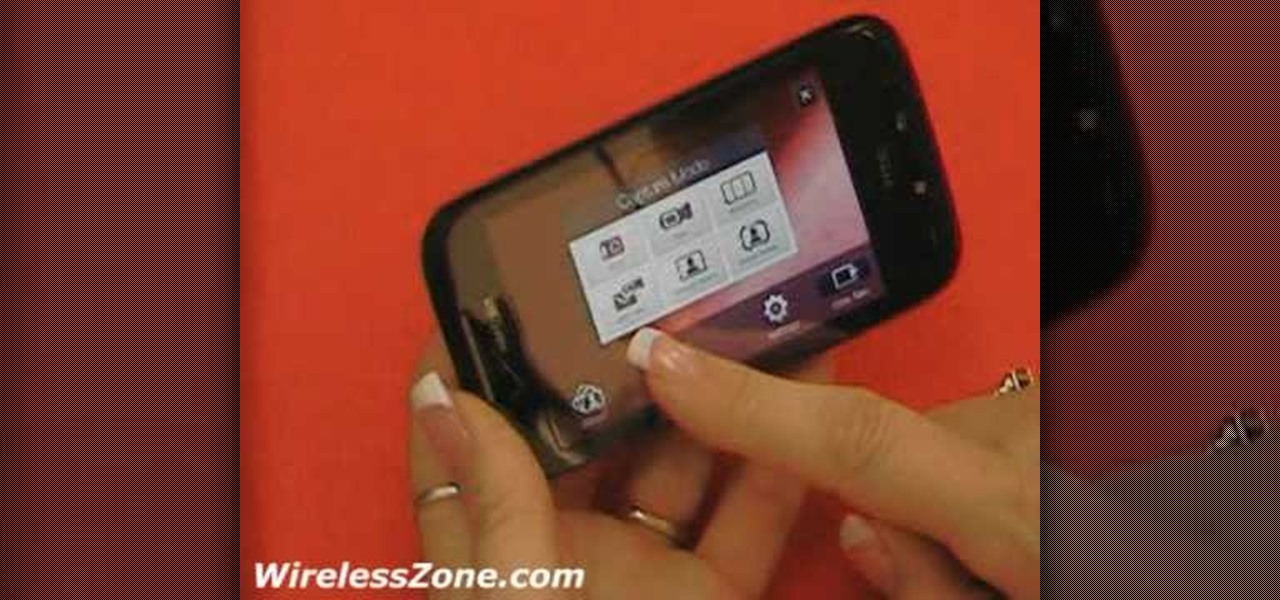
Celluar Chloe from cellular zone shows us the features of HTC Touch Pro 2 camera and video. She shows us at first some picture quality and then shows us how to take a picture. The features of black and white, auto and etc, the rather settings that one can change when taking a picture. The video quality is poor and one cannot see the phone screen clearly. She shows us how to access each of the features she mentions but does not explain in detailed instructions.

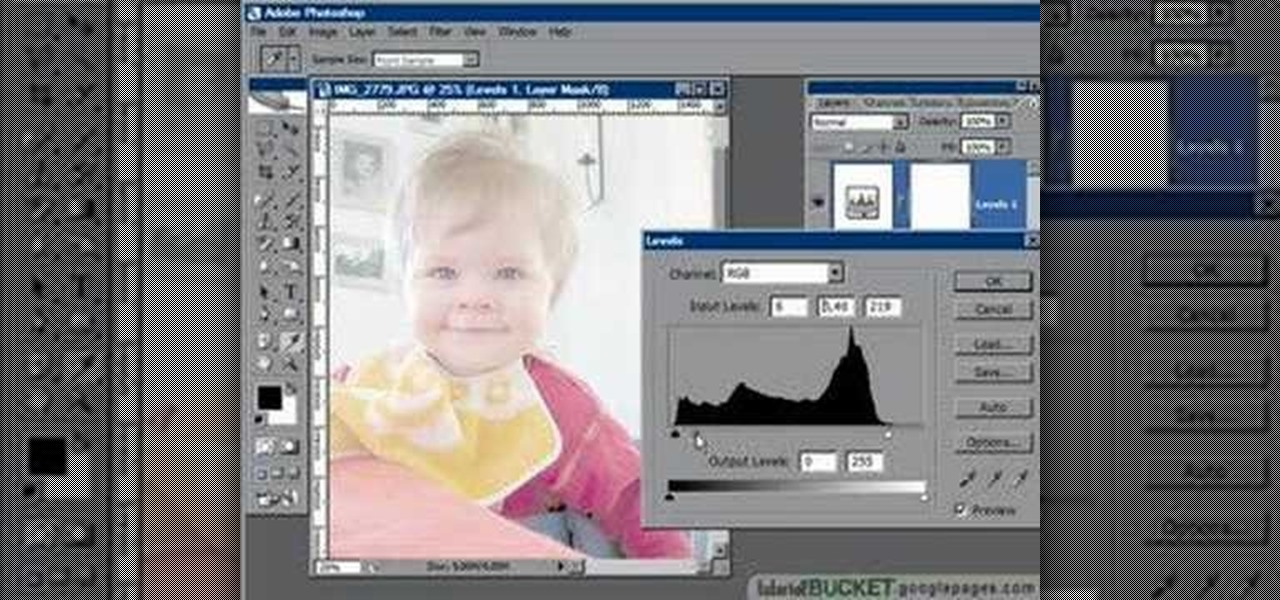
In this video tutorial the instructor shows how to perform basic lighting corrections in Adobe Photoshop. The levels tool is the Photoshop's most used command which has many features to it. Its most basic function is as a lighting correction tool. In this video open an image and work on its adjustment layer so that you do not damage the original picture. Now choose the levels option by right clicking and it shows a pop up window which contains a histogram which shows the population of the col...

The video is about one to one training with Mike Brown about the maximum dept of focus using a camera.

Uploading certain pictures to Instagram can be problematic, especially when the dimensions of your picture exceed the dimensions of the square crop that's forced upon you. Why should I be forced to hack up my awesome fisheye picture inside of a lame square? I get the whole square thing, and I love it, but there's just some times when you can't be bound by the rules.

Lenovo brought out the big guns for CES 2014, with the Vibe Z showcased as the Chinese company's' first foray into the LTE smartphone space. Slated for a February release, the ultra-thin and extremely light smartphone will certainly be in the running for top smartphones of this very new year. Photo via CNET

Dust, bugs and cobwebs can get behind the screen of your big-screen TV and ruin the picture. You can open up your own TV and, with glass cleaner, a soft rag and a can of compressed air, get rid of most of the detritus interfering with your picture.

With Keynote in Mac OS X, you can fill a shape with any picture from your iPhoto library. You can even add animation, or styles, to that shape and feel free to swap out the picture at any time. In this video Keynote tutorial, you'll learn how.

In this software tutorial you will see how to create a polaroid picture and make it look like it is pinned up on a wall using Inkscape. All you need for this creative pinned-up polaroid is a picture and the open source software Inkscape.

In this tutorial you will learn how to clone yourself, create split screen effects and picture-in-picture effects with video footage in Windows Movie Maker.


