With vintage-inspired, indie Etsy pictures being all the rage, isn't it about time you jumped on board the retro picture wagon? Whether you desire making that vignette of schoolbooks from the 1920's topped with mini celluloid deer look more aged and sophisticated or you simply want to endow your portraits with a more old timey feel, fading the edges of a picture is your easiest and quickest way to achieve instant vintage.
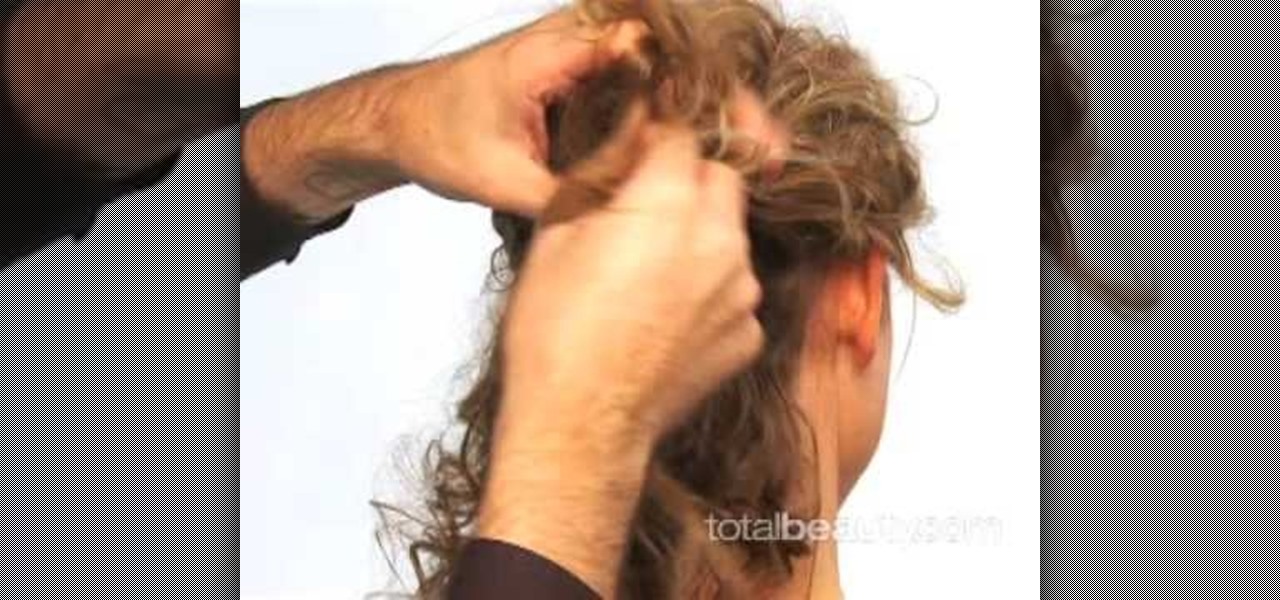
You want to look like the picture of perfection on your wedding day, right? But let's face it: Weddings are super expensive to hold, and that's not even taking into consideration your dress, hair, and makeup.

In this tutorial, we learn how to use the camera on the Samsung Galaxy I7500. First, press and hold the camera key on the side of your phone. Next, you will see the camera appear on your screen. To take a picture, press and hold the camera icon. You can review your picture by tapping the gallery icon on the top left. Here you can zoom in and zoom out, view other photos, set it, share it, and delete it. When you are finished, simply go back to your menu and then you are done, enjoy using your ...
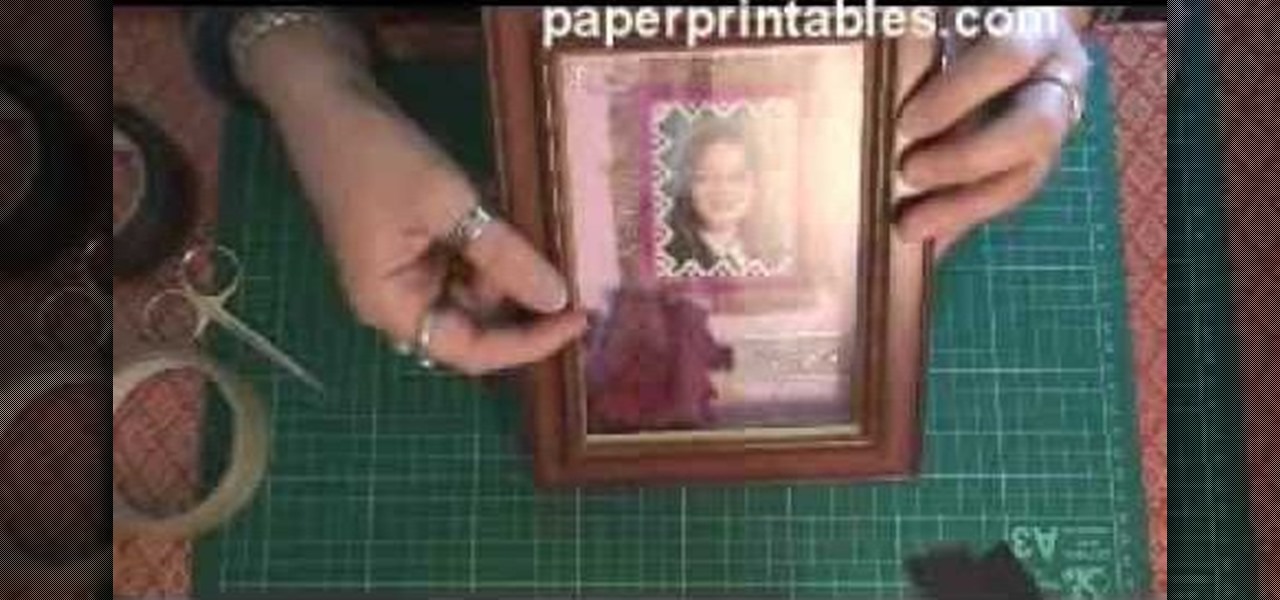
In this tutorial, we learn how to make a shadow box frame. First, grab a regular picture frame and remove everything from the frame. Next, remove the metal pegs that are around the sides. From here, grab a piece of card stock and draw the outline of the glass onto it with a pencil. Then, extend the edges of the box out on the paper. From here, you will cut it out and then bend it into a box. From here, add the picture and anything else you want inside of the box. Stick double sided tape insid...

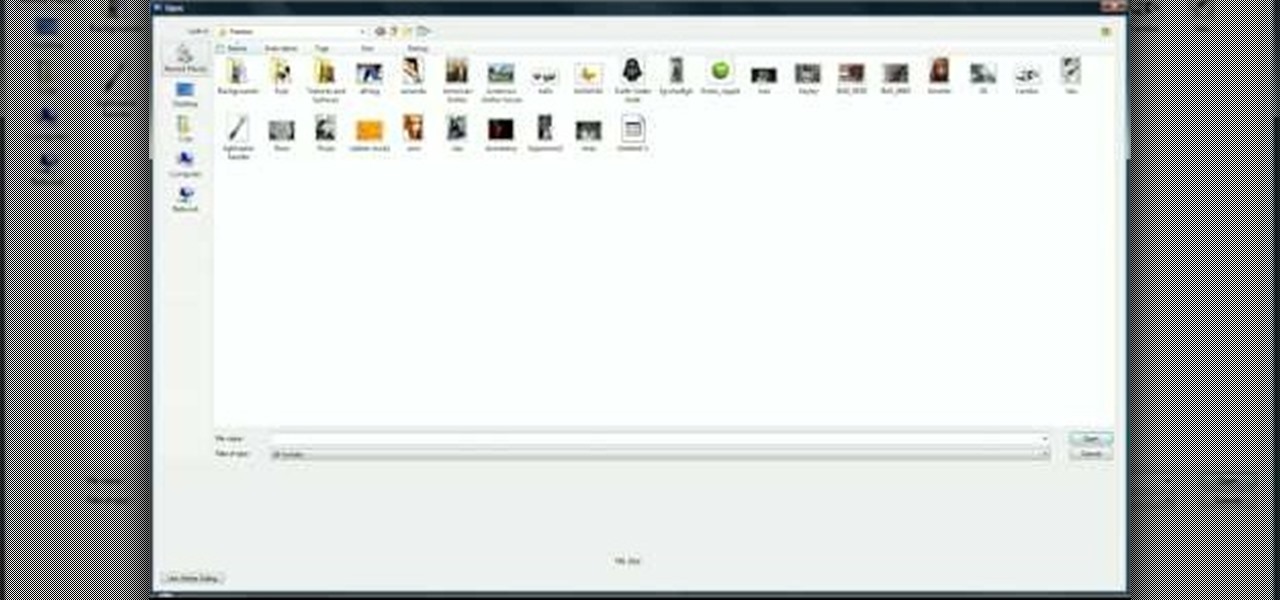
In this video, we learn how to resize an image in MS Paint without losing resolution. First, you will go to the file menu and then open. From here, open up the photo you want to resize. After this, go the 'image' section on the toolbar and then click 'stretch and skew'. From here, change the vertical and horizontal stretches until you have the size of picture that you want! Continue to play with it until it's right and then save this over again. This should only take a few minutes and will ke...

In this tutorial, we learn how to make a family photo album with iPhoto. First, you will load your photos onto iPhoto from your digital camera. After this, you can combine all the photos from one event and label them into one album. You can use facial recognition on one photo to find more pictures of the person you're searching for. Once you open up a new scrapbook photo album, you can drag the picture into it. After this, you can add in text about the trip and then insert titles. You can als...

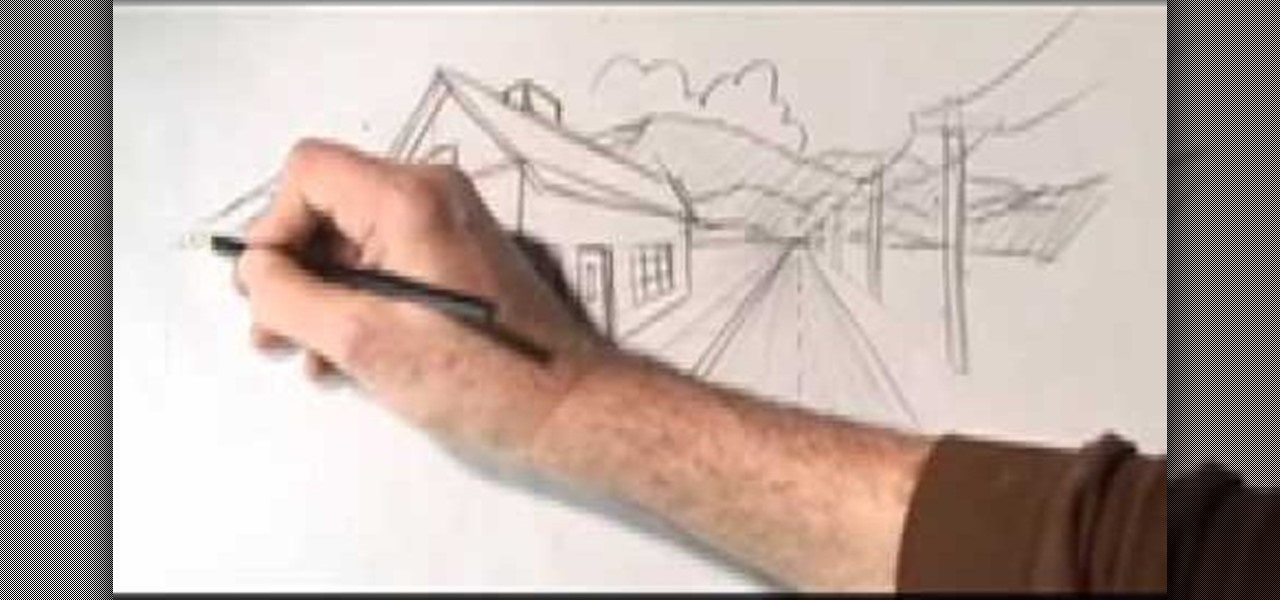
In this video, we learn how to draw two point perspective. Start off with a horizontal line on your paper. After this, draw a small point on the line where your drawing will focus to. From here, you will start to draw lines coming out of this. Next, you will design the rest of the picture around the main focal point you started out with. Add in lines to create lots of detail and make sure to use shading to show depth. Erase any background lines you don't need. Then when you are finished, you ...

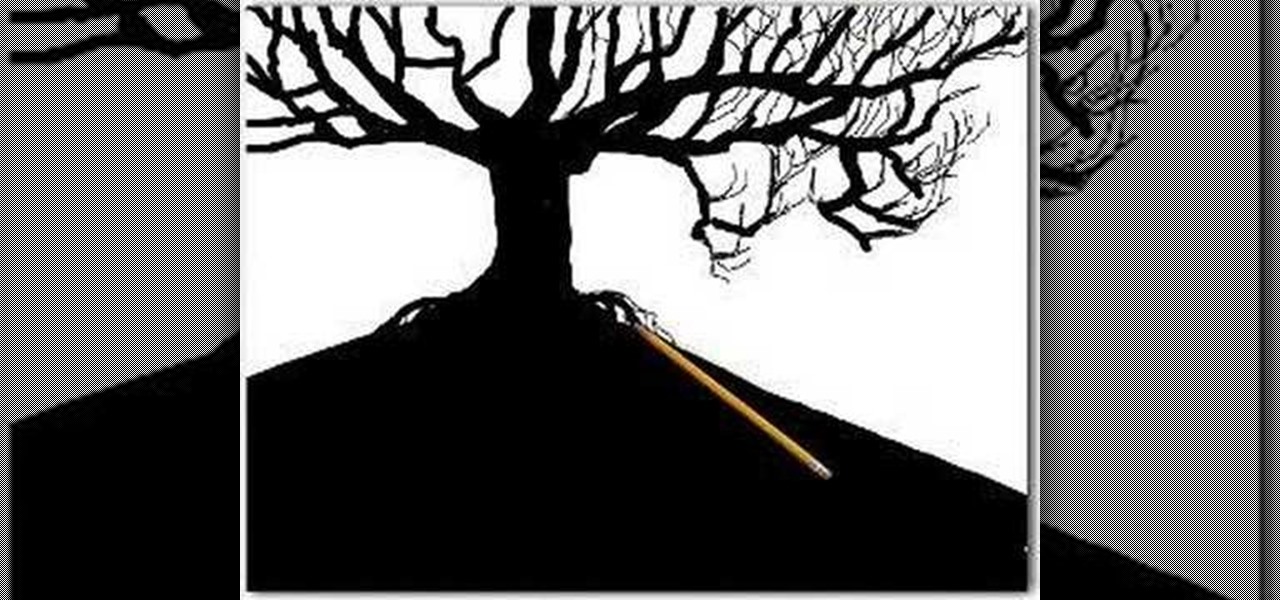
Whether you are pursuing drawing as a professional or as a hobby or you are just a common person, we're pretty sure that you have drawn a tree somewhere in your lifetime. This video merely shows how to do the same in a better way. Though there is no narration (just background music) in this video, it is easy to understand the additive method of drawing. The artist starts off with a broad tree trunk and then starts adding thinner branches to the trunk that spread outwards. Then, even more thin...

In this video, we learn how to use extension tubes in place of a macro lens. First you will need to have your camera and a tube insert that will attach to your lens. Once you have this, you can attach it to the lens by screwing it on with your hands. Then, you can focus extremely close, much more than you would be able to do with a regular lens. After you have attached this, look through the camera and start taking shots close-up. Then, you will be able to see a better picture than you had be...

Want to create your own camera? The simplest one that you can create is a pinhole camera which can be constructed from everyday household items.

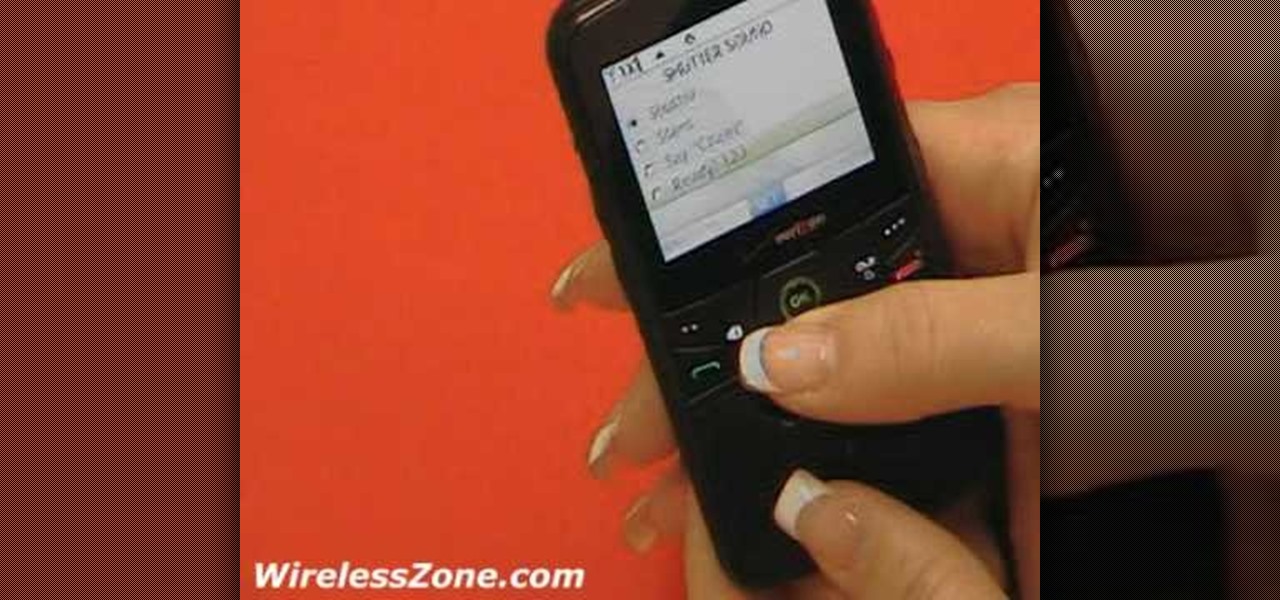
In this tutorial, we learn how to use the Verizon Wireless Razzle TXT8030 camera. This is 1.3 megapixels and has a self-portrait option on it as well. To access the camera, press the camera key on the side of the phone. Now, you will be able to view the gallery, take a picture, or see your options. The options will change the color effects, self timer, and other options for each of your pictures. Once you have chosen all of your options, face the camera at the subject, then press the middle "...

In this video, we learn how to draw a Pikachu PokŽmon. First, you should have a picture of the character in front of you so you can better draw it. Start out by drawing the eyes and filling them in with marker. Next, draw in the rest of the face, including the nose and the mouth. After this, draw the ears at the top of the head, then connect in the middle to create the head shape. Draw the sides and bottom of the head, then draw the body. Add in circles for the cheeks, then continue to draw u...

In this tutorial, we learn how to use fill flash to get blue skies. If you take a picture of someone in front of a blue sky, they will most likely have shadows on their face, making the sky look good and them look bad. If you change your flash, the sky will look pure white and the person will look good. To change this, put a flash onto the camera, then use the exposure compensation to -1. Then, adjust your flash exposure to 2 2/3 and take the picture of the subject again. Now, you will have a...

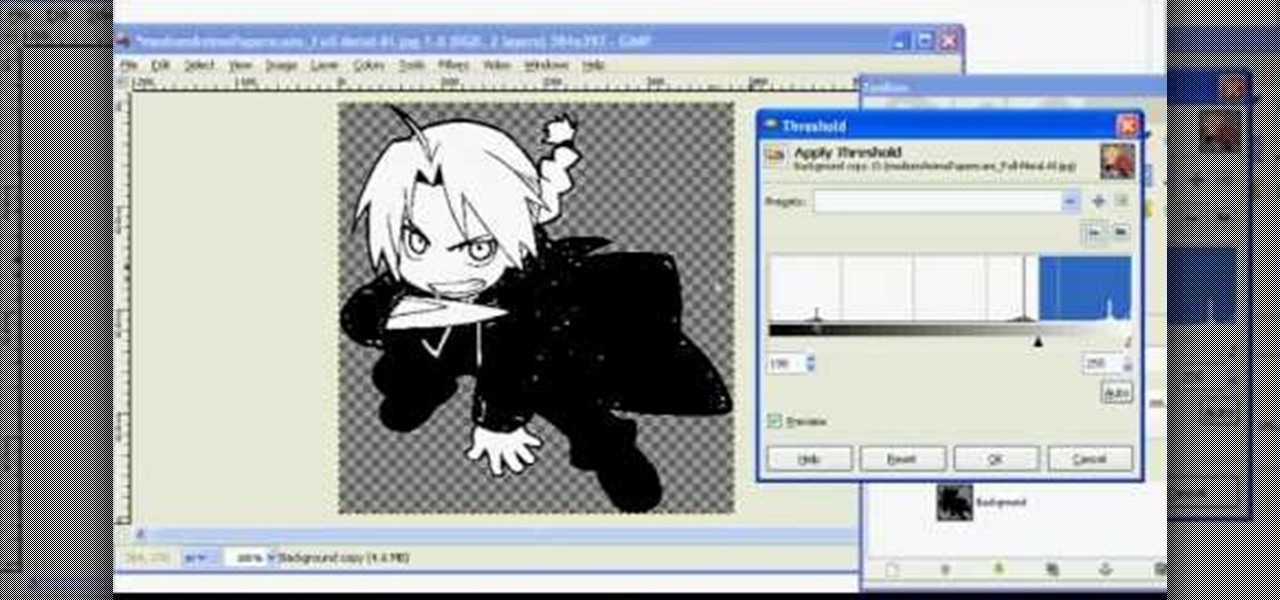
In this tutorial, we learn how to make 2-layer stencils in GIMP. First, cut out the background before you begin. Now, right click on your main layer and then select "add alpha layer". After this, select the magic wand tool and delete all the white areas on the outside of the picture. Now duplicate the layer, then hide the top layer and select the bottom layer. Now, go back to threshold and move it all the way to the right to get an outline of the image. From here, go back up to the top layer ...

In this tutorial, we learn how to use R1C1 speedlight when shooting photos. First you will want to place the attachment ring and adapter ring to the camera. After this, grab the remote flashes and the built-in flash panel. After you have installed all of these things on your camera, you will be ready to start taking pictures. Find the object you want to take pictures of, then start to use the wireless flash system to take quick picture that look great. As you click the remote, the flash will ...

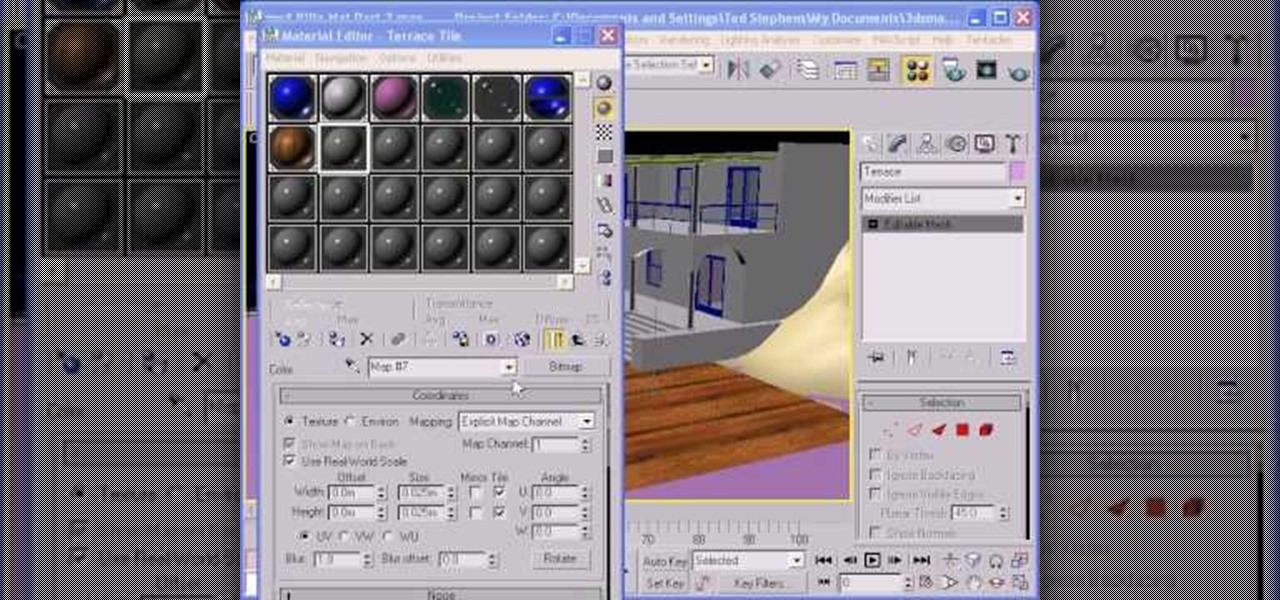
In this video, we learn how to use custom map or UVW map in 3D Studio Max. First, go to the material editor and add a custom map to it using a hardwood deck. Change the material to cedar fence, then change the size as you would like it. As you continue to edit the different surfaces in the picture, it will preview it for you in the main screen. You will be able to see it customized how you would like it to be as you edit it. The material editor can be changed in design and renamed to help you...

In this video, we learn how to customize slideshows with titles using iMovie. First, find the photos that you want to add. Then, right click on one of the photos and then choose "show file". Now you will have a selection of all the photos that have the same search name. Drag these pictures into iMovie, then wait for the program to finish loading. When it's loaded, you will have the picture in a slideshow. You can add in any effect you would like to the pictures, or just leave them normal. Whe...

In this video, we learn how to use "fill in" flash. When you are taking a shot of people outside, you will need to have a certain type of aspect on your camera. They will have shine on their face from the sun and it will be washed out with white. When you go to your camera, you need to change the flash settings so that they are compatible with being outside. Now, try taking pictures of your subjects again and you will see a huge difference. The subjects should be easier to see and there shoul...

Wish there were an easy way to give your digital photos the appearance of an old Polaroid picture? Well, there is. And it's easy! So easy, in fact, that this home-computing how-to from the folks at TekZilla can present a complete overview of the process in just under two minutes. For more information, including step-by-step instructions, and to get started applying a Polaroid effect to your own digital photos, take a look.

In this video, we learn how to remove acne spots with Photoshop. First, open up the picture and zoom in on the acne you want to remove. Now, unlock the layer by right clicking and unlocking it. Next, use the clone stamp tool while pressing alt to clear the skin where the blemishes are at. Click constantly on the acne until all of it is done. You want to click as many times as possible to get the best effect in removing this. When you are finished with this, duplicate the layer, then change th...

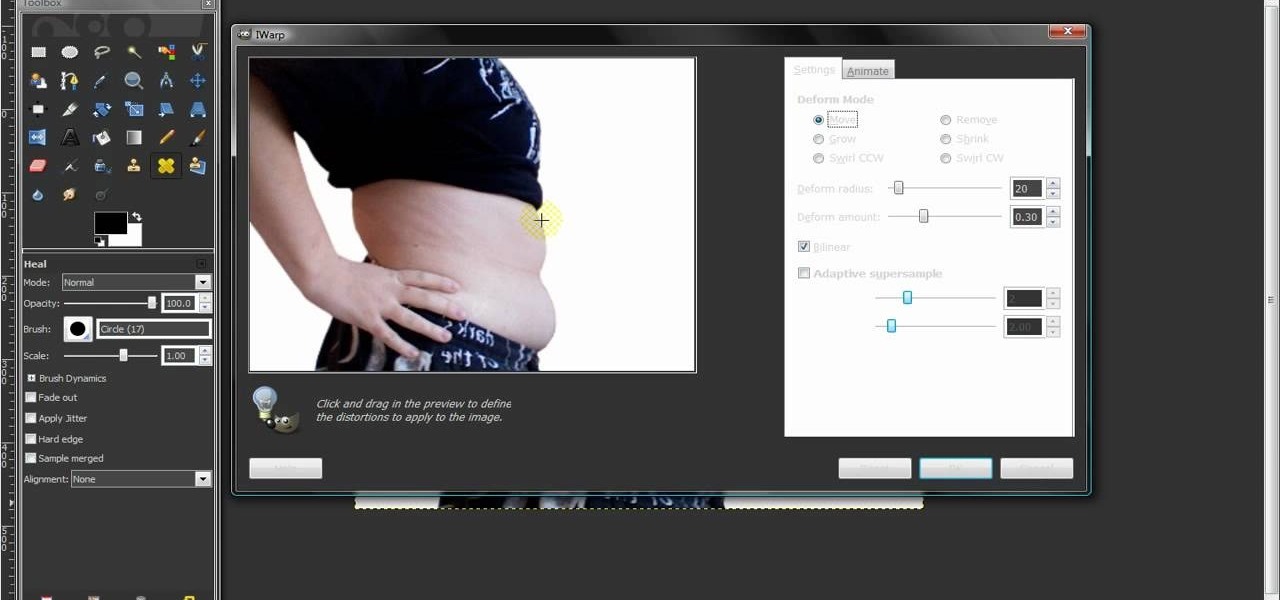
In this video, we learn how to remove body fat or stretch marks in GIMP. First, go to filters, then distort, then warp. When you are in this window, you will be able to see all the different distortions that you can do. To help you remove the fat, use the "move" tool and a proper sized brush. Now, press on the stomach and slowly press down on it until you see the part of the body start to become smaller. Don't do it too quickly, or the picture will look fake. When finished, save your new pict...

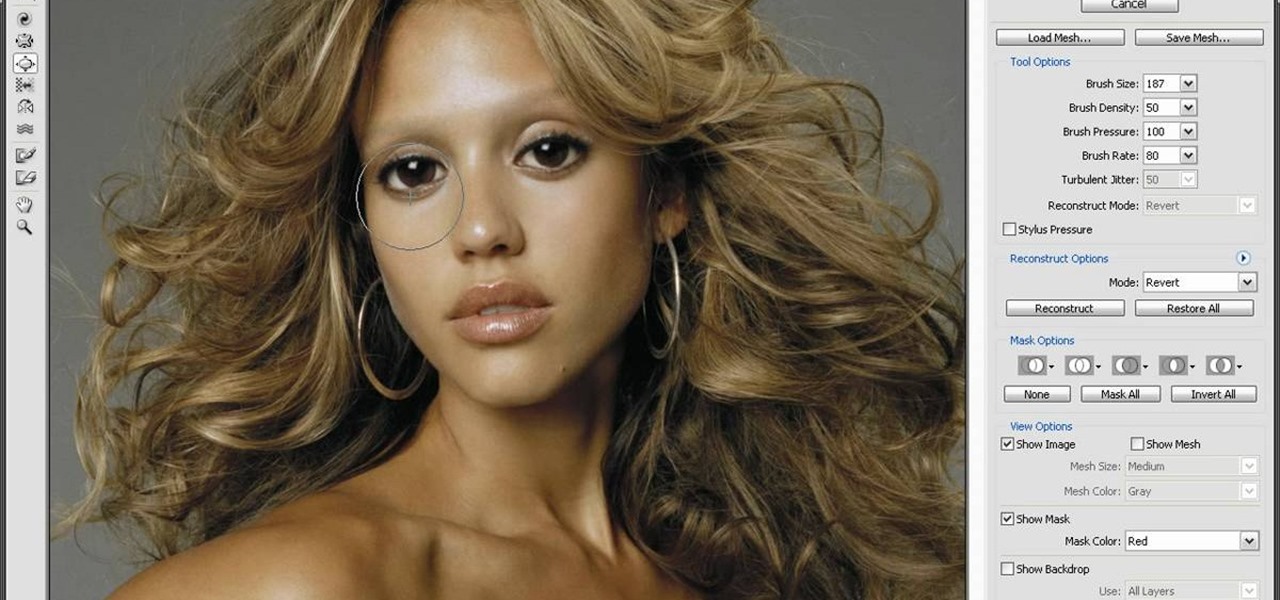
After watching Avatar, a lot of people went nuts over the world that James Cameron created, some even went as far as turning themselves into Na'Vi in Photoshop. Ever wondered how you could? In this great video series from ipaintgirls.com you will learn how to turn a picture of Jessica Alba (yeaaaaa) into a Na'Vi in no time!

In this video, we learn how to use the polygonal lasso tool in Photoshop. This will allow you to create a selection on your photo in a freehand style. First, select the tool from your toolbar, it's the third selection down. Once you select this, go to your picture and find the piece you want to cut out or copy. Press and hold the control and space bar, then highlight the area you want to. This is great to make a selection that has a straight edge. If you just click with it, it will have a dia...

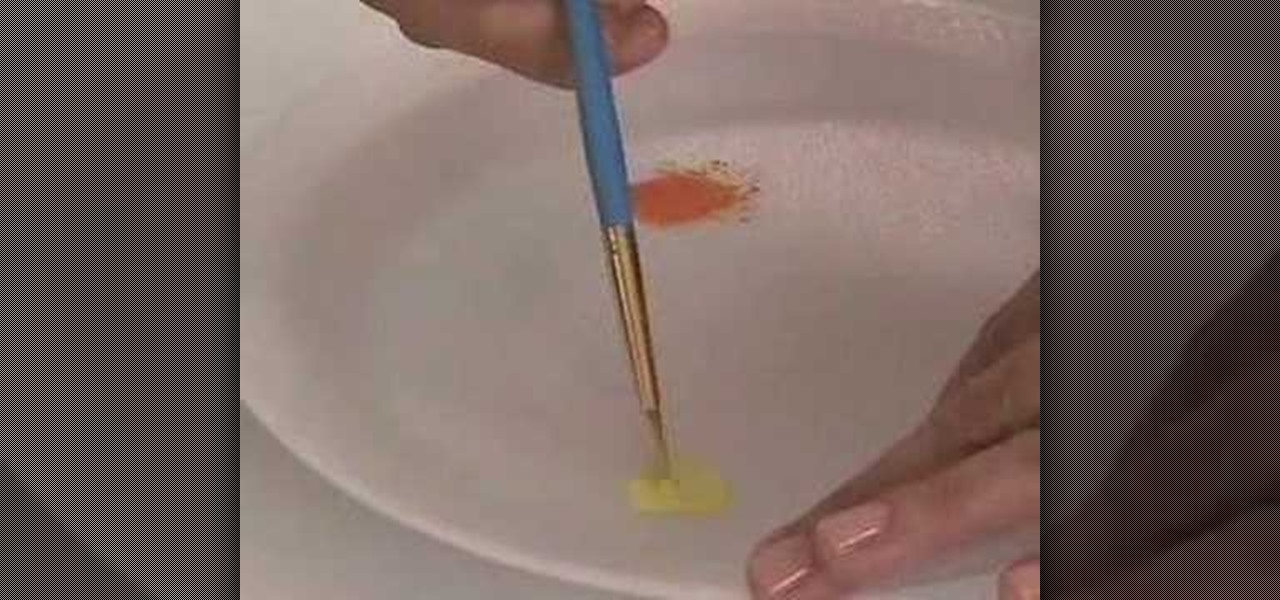
In this Arts & Crafts video tutorial you will learn how to use the cross stitch 'n paint technique. It combines simple back stitching and water color painting. Most of the materials are found in your kitchen. You will need wax paper, paper towels, and a plate to use as your paint palette, some water colors and paint brushes. After choosing your design, back stitch the outline on the fabric. Place the white paper towel over the wax paper and spread the stitched fabric over it. Now you are read...

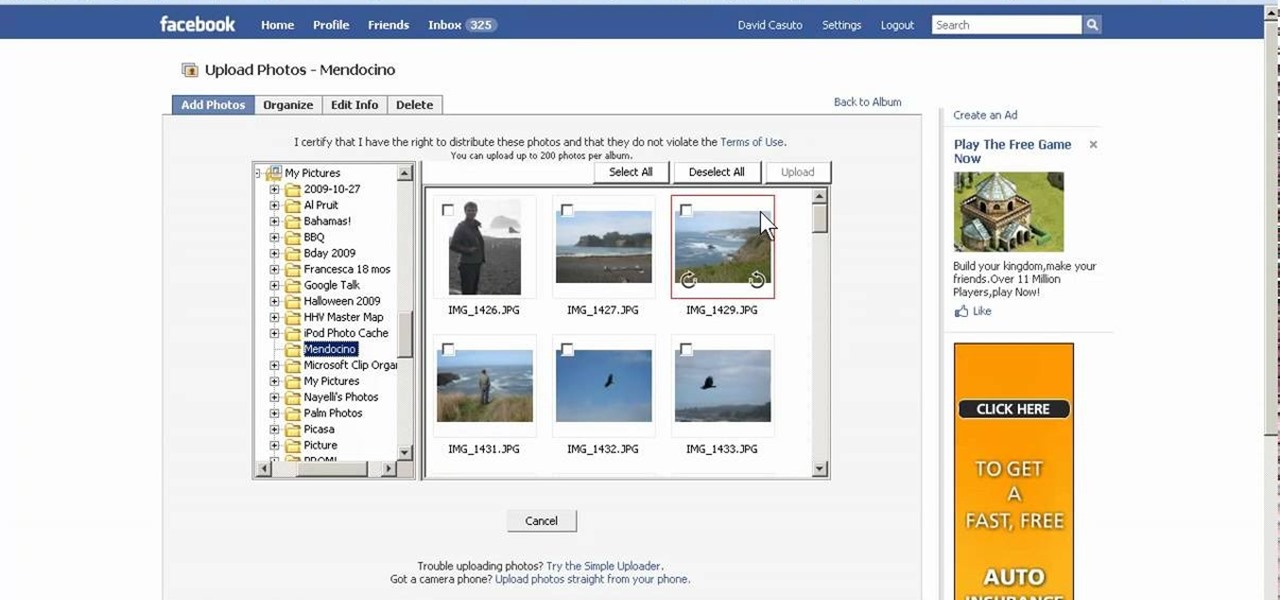
In this video, we learn how to create a photo album and tag photos in Facebook. First, log onto your account and then view your profile. Next, you will see a tab that says "photos", click on this. Now you will see a link that says "create a photo album". Click on this, then you will be able to make a name for your album, then write in a location, description, and choose your privacy settings. After this, upload the pictures that you wish and wait for the site to load. After this, add in capti...

In this video, we learn how to create a web logo with Photoshop Elements. First, go into Photoshop and select the text tool to enter in your logo words. Now, put your picture logo underneath it and change the font and size that you want for your text. Change the colors as you prefer, then place the logo in the background of your image and create a new layer. Place the icon behind the text so that the text is what stands out the most. Now, use FTP to place this logo up onto your website and sa...

In this tutorial, we learn how to draw Shadow the Hedgehog. Start off by drawing the head and then add in the spiked hair. After this, draw in the details of the eyes and continue down to the arms and the rest of the body. Draw in the feet and a gun in the character's hand. Now, use a pen to start drawing the outline over the pencil marks that you just made. Continue on to draw in details on the picture that make it look more realistic. After this, color in the picture with colored pens and u...

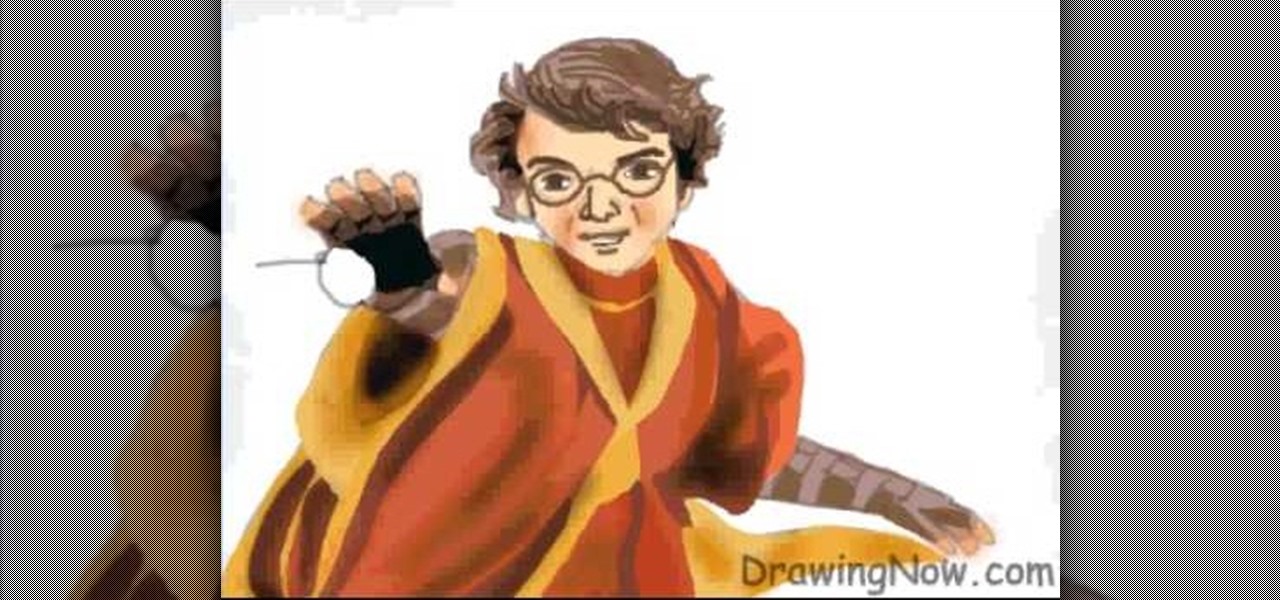
In this tutorial, we learn how to draw Harry Potter. Start out by drawing Harry's face, adding in all the details, such as: his hair, eyes, glasses, nose, and mouth. After this, start to draw his upper body wearing his Quidditch robes, and draw his arms. One arm should be reaching in the air for the ball and the other should be to his side to balance him out. After this, start to add colors to the picture. Add in his skin color, then add in his brown hair and gold and red for his sports robes...

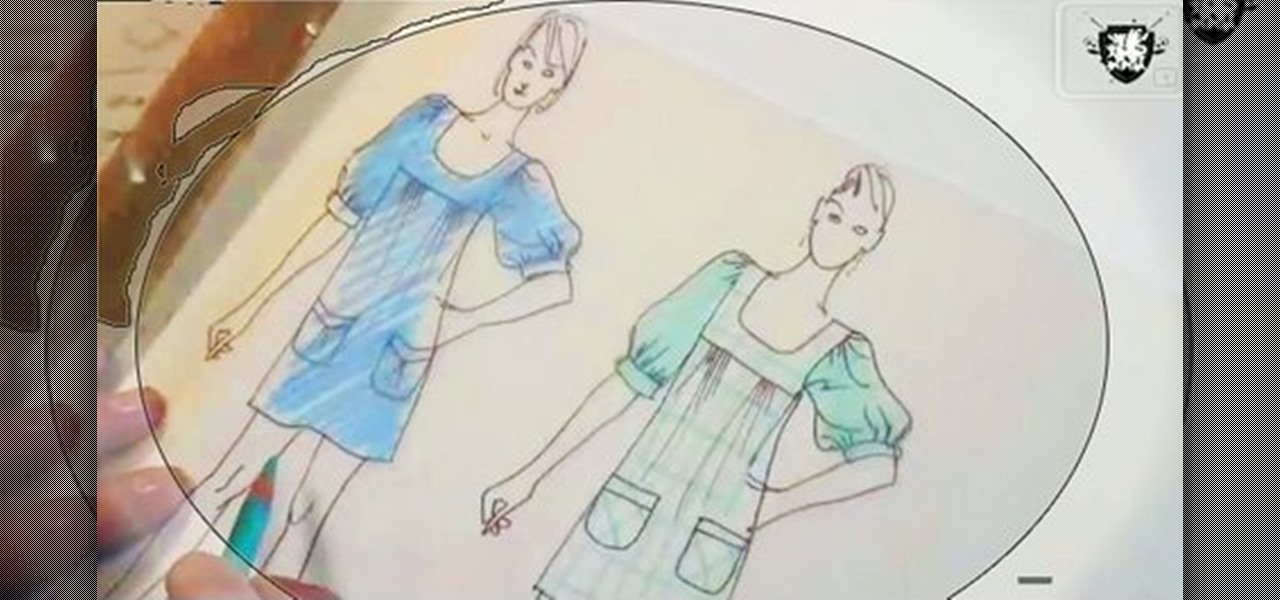
In this video, we learn how to draw a fashion sketch. Start off by using a fine pen and drawing the silhouette of a woman. Draw on the outfit to the woman, adding in all the fine details. Draw in ruffles of the clothing as well as the prints of clothing you are going to use. Use a colored pencil to color in the picture so you know what colors you want the clothes to come out like. Shadow the model slightly to make it look more realistic, then finish up the details of the image. When finished,...

In this tutorial, we learn how to make a glue in and glaze jewelry ring. First, grab a blank ring that has a spot on the top to place a picture. It can have a jewel on it, just pop the jewel out. After this, choose an image from collage art papers, then cut it out. When done with this, place the image inside of the top of the ring and push it down with pliers. After this, place a clothing pin around the ring bottom to hold it in place, then grab you DG3 gel and add it to the top of the image....

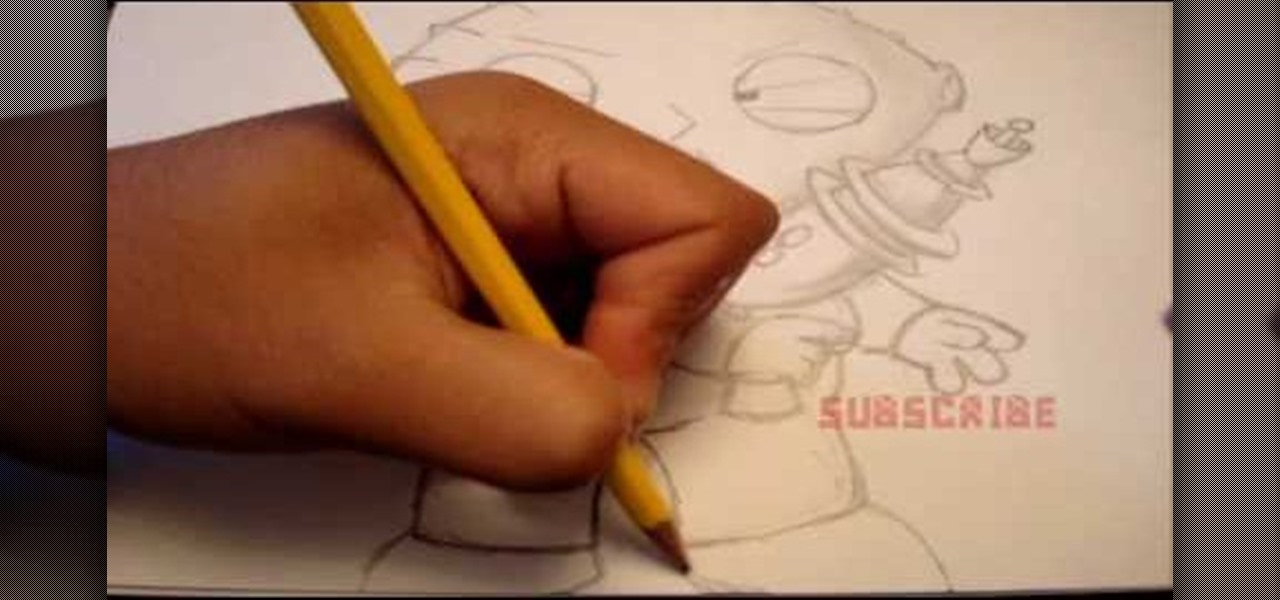
In this tutorial, we learn how to draw Stewie Griffin from Family Guy with a pencil. Start off by drawing the ears, then the football shaped head around the ears. next, draw the arms with the shirt on it, and make the hands. Also, draw a rocket with Stewie holding it. Keep drawing downwards, making the arms around the rocket and the body with pants and a bib on top. Draw in the details of the face, giving the character large eyes and a triangle shaped nose. Give the character narrow eyebrows ...

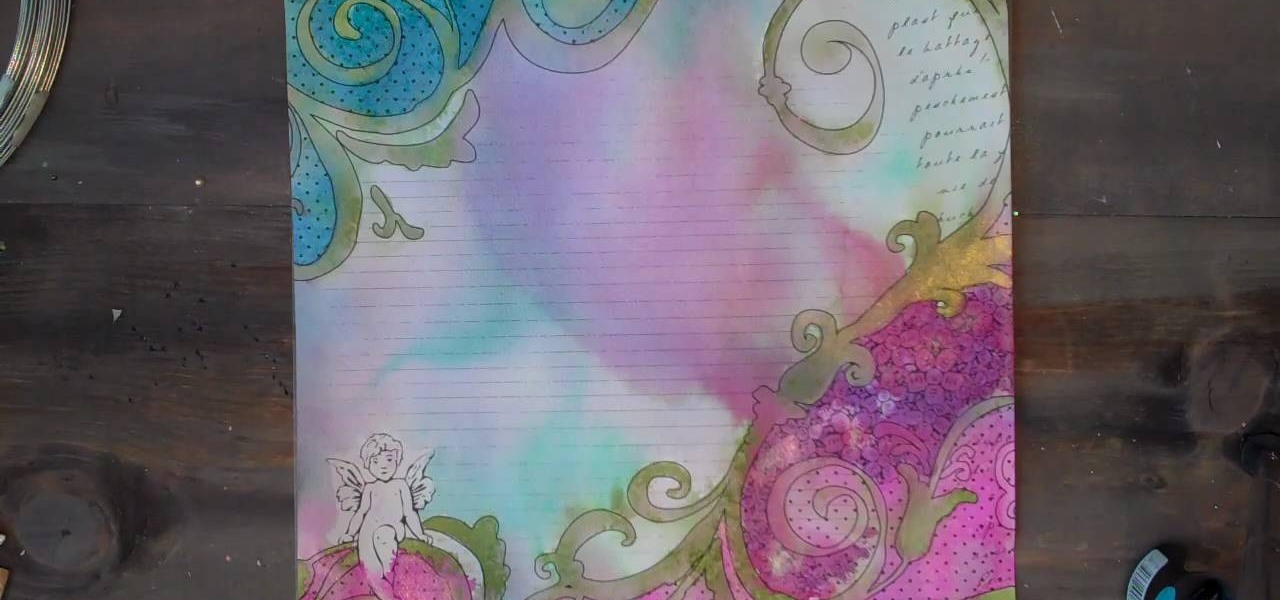
In this tutorial, we learn how to use Prima Paintables paper. These are meant to watercolor on and are very thick pieces of paper. You can take a paint brush and open up a bunch of different paint colors. Start to paint your picture, then allow it to dry. When finished, you can spray a water bottle on it to bleed the picture and make it look unique and your very own. This is something that is fun to do and makes it easy to paint your own creations using this paper that is made just for painti...

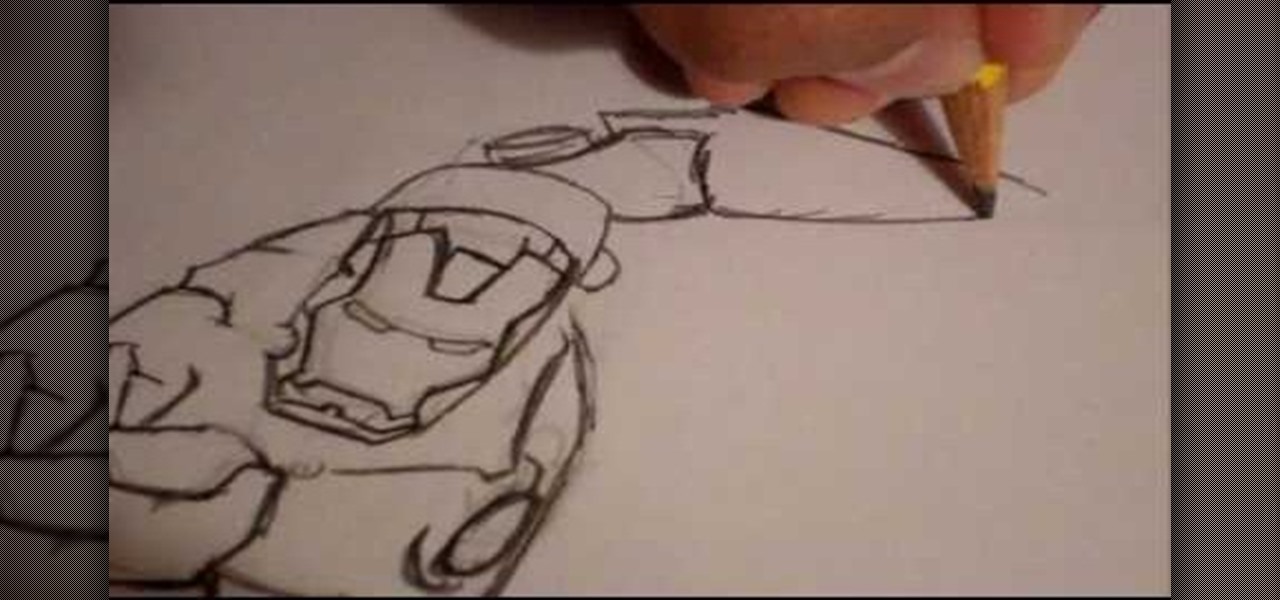
In this tutorial, we learn how to draw Ironman. Start off by drawing the feet to Ironman, making sure to pay close attention to the detail that is on the outside suit. Make sure to include bolts and screws to make the picture more lifelike. Use shading on the outside of the sides to make it darker and more realistic. Continue working your way up on Ironman until you reach the torso and the rest of the upper body. Then, draw the head onto the top followed by the large mechanical arm and the he...

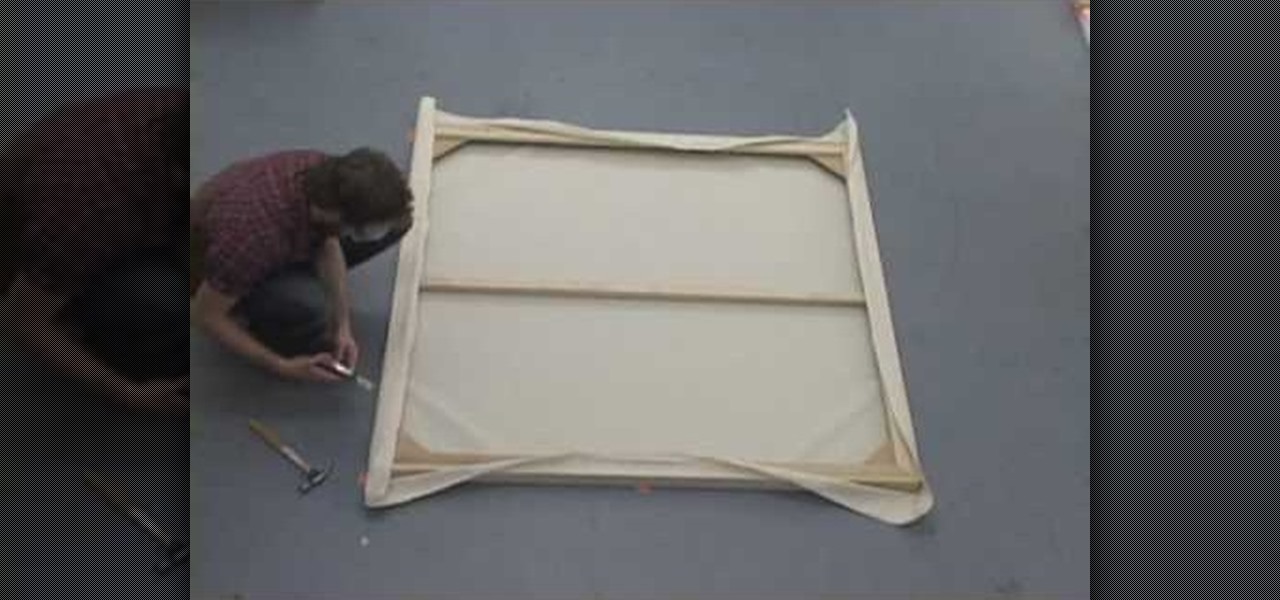
In this tutorial, we learn how to stretch the perfect canvas. First, measure the canvas. After this, center the canvas and make sure there are no wrinkles. Then cut the canvas and staple it to the frame. This will take several minutes, and you will work your way from the inside to the outer corners. After you are finished stapling hide the folds on all of the corners with the stapler gun. When you are finished with this step, you will be done and ready to paint on your new canvas! These steps...

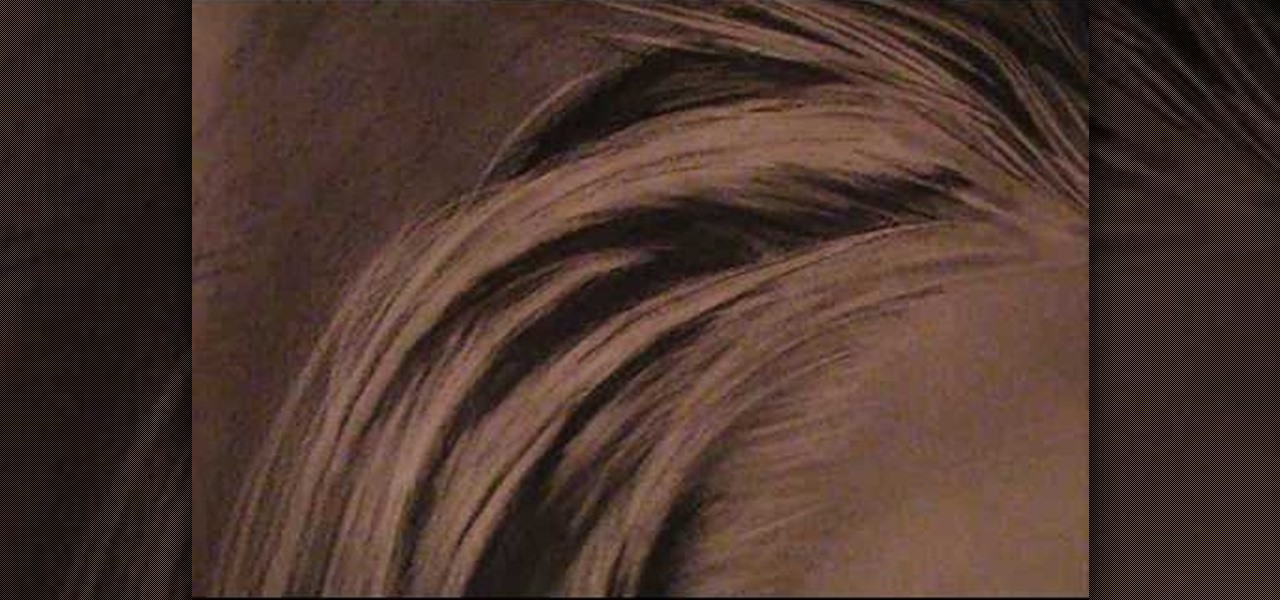
In this tutorial, we learn how to draw realistic hair. Start out with a rough outline and look where the hair is clustered together. Draw the clustered area first. Then, cross hatch over the entire surface of the area and blend in. Add hair to the forehead area, then use a darker pencil to form the shape of the hair. After you do the clusters, start to draw the hair that is separated from the rest. Keep looking at the picture you are drawing, then use an eraser to change the drawing to match ...

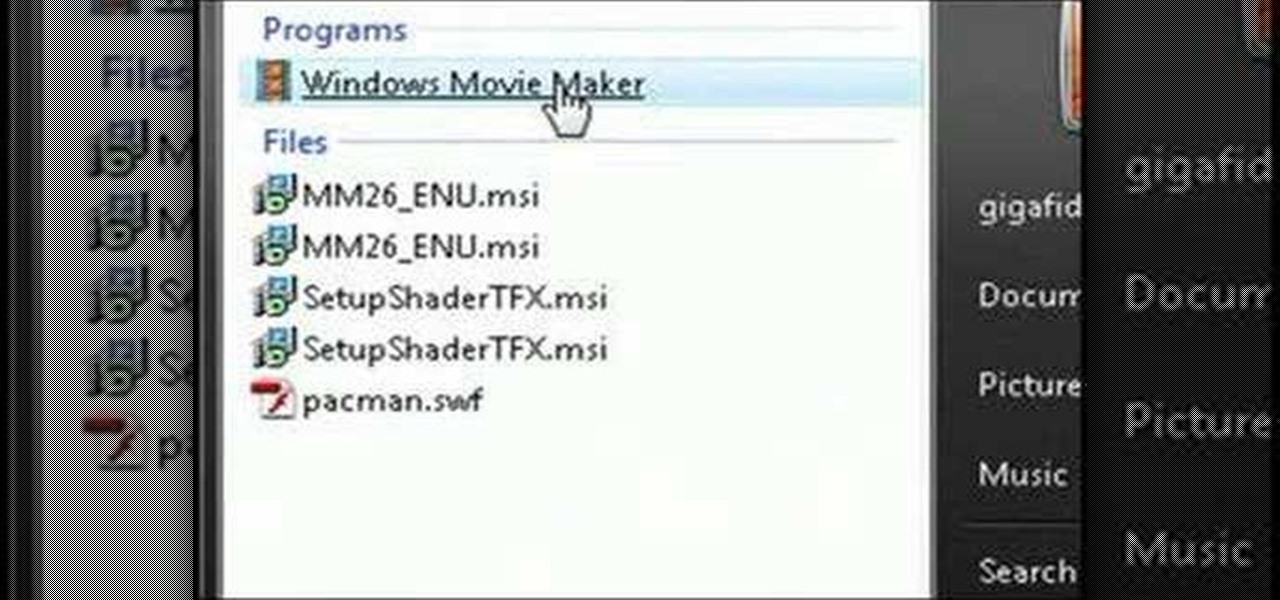
In this video tutorial, viewers learn how to make stop motion animations. Begin by mounting the camera onto a stable surface position, such as a tripod. Then layout the figure to a desired position for the first frame. Now take a picture and slightly move the figure for the second frame. Continue moving the figure and taking frames until you have completed your animation. Then upload the frames onto your computer. Open the images in a movie editing program and make sure to set the picture dur...

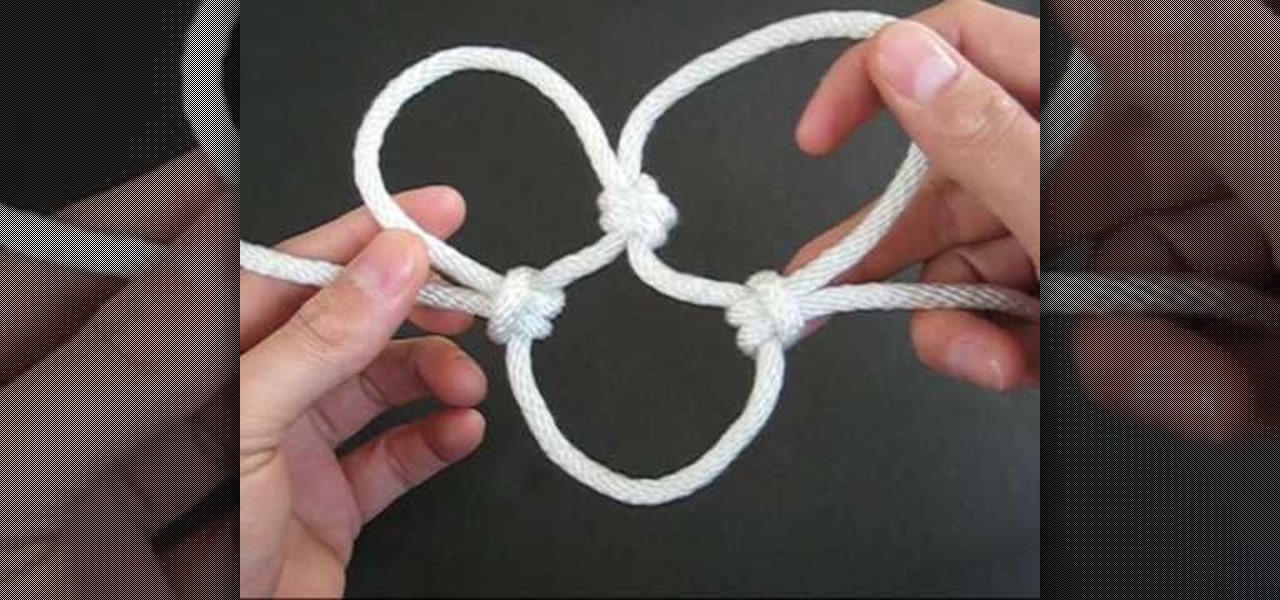
In this video, we learn how to tie the basic knot design of a cargo net. First, tie a double overhand knot on a rope bent into two. After this, make cow hitching on the first loop that you created. Next, make a second double overhand knot followed by cow hitching the second loop. After you do this, you will be able to size up for use! To make this, you must have some prior knowledge of how to tie different knots. If you don't, you won't know how to make the shapes. Use a picture as a referenc...

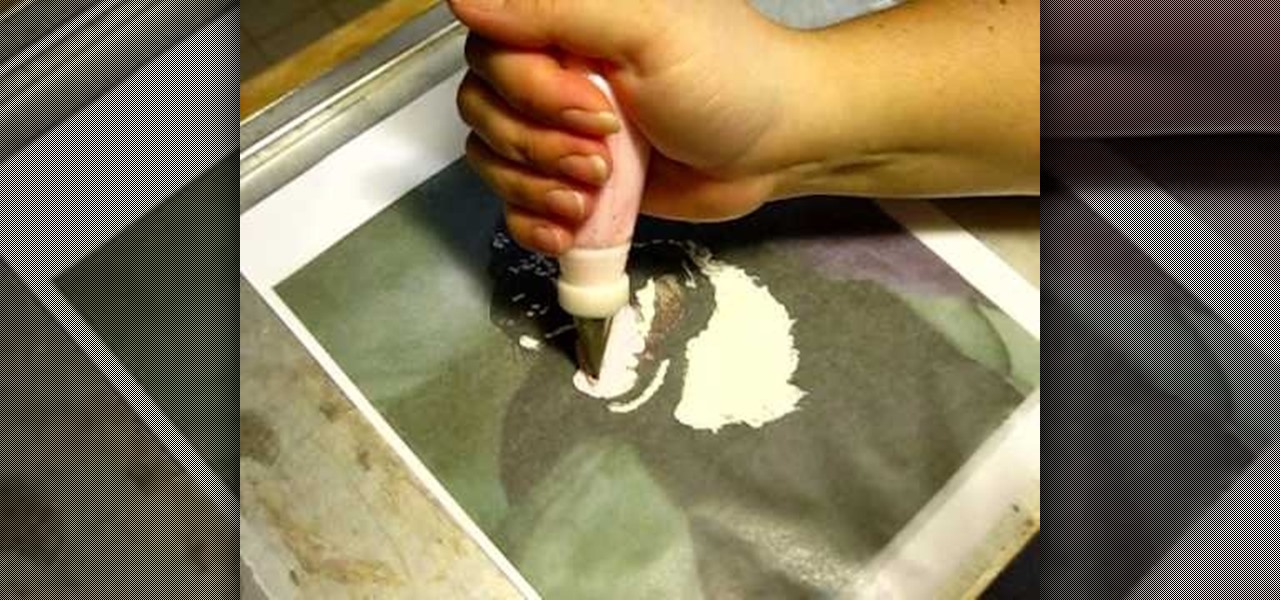
Everything is so much cuter - and tastier - in edible form. Take dogs, for instance. Whether you miniaturize them to top a cupcake or make them out of buttercream to top your cake, they becomes instruments of decoration and pleasure once they get adapted to cakes.

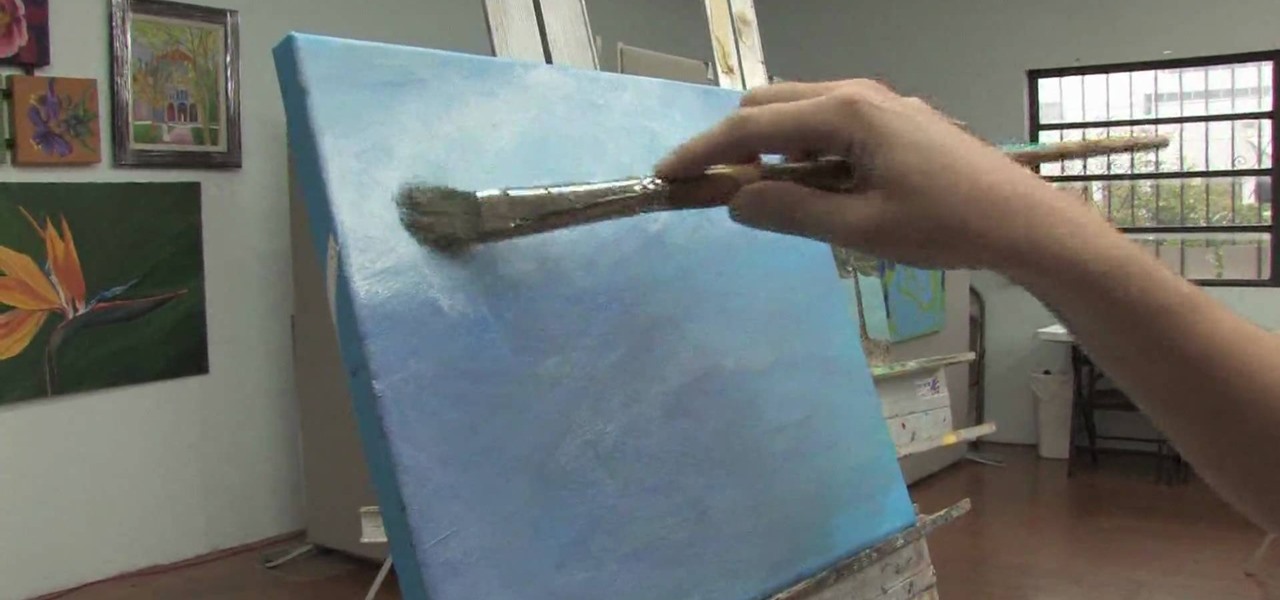
In this video, we learn how to embellish a painted sky. To do this, use white paint and gray paint. Add some clouds with your paint brush and make them loose and puffy in the sky of a painting. Be very loose and let the blue shine through the white like a regular sky. Paint the tops of the clouds more white than the other parts and paint this throughout the entire picture. If you want to take off some of the embellishment, use blue paint to cover up some of the white you have painted on. This...

In this tutorial, we learn how to photograph with a point and shoot camera. If you have dark light on the face, make sure you turn flash on your light and make sure it turns on to even out the lighting that's on the face. One of the easiest ways to shoot outside without using flash is to put someone in the shade. If the light source is coming from straight ahead, you will have the best lighting available. This will isolate where your light is coming from, and will work out better if it's not ...


