
How To: Tie a celtic triangle knot easily
If you are interested in tying knots just for show and are looking for a challenge, this next tutorial might be what you need.


If you are interested in tying knots just for show and are looking for a challenge, this next tutorial might be what you need.

In this tutorial, we learn how to draw Aladdin and Jasmine. Start by drawing Jasmine, draw her hair on first, then start working on her face and head. Add on her earrings, eyebrows, and mouth. Make sure to pay attention to details and use a picture as a reference to what they should look like. Fill in Jasmine with the colors she wears in the movie, and then start to work on Aladdin. Draw in his hair to start, then make sure to draw on his hat on the very top of his head. Draw his face, giving...

New to Microsoft Excel? Looking for a tip? How about a tip so mind-blowingly useful as to qualify as a magic trick? You're in luck. In this MS Excel tutorial from ExcelIsFun, the 637th installment in their series of digital spreadsheet magic tricks, you'll learn how to create a dynamic two data series line chart for blood pressures — how to look up a chart using defined names, a data validation list, and a formula using the INDIRECT function inside a picture of a chart.

This tutorial shows you how to create a picture rotating slideshow, that fades in and out using Adobe Flash. Using optimized embedded photos is not the only way, but it is a very basic and easy method to create a slideshow picture rotator. Whether you're new to Adobe's popular Flash-development platform or a seasoned web developer looking to better acquaint yourself with Flash CS3, you're sure to benefit from this free software tutorial. For more information, including detailed, step-by-step ...
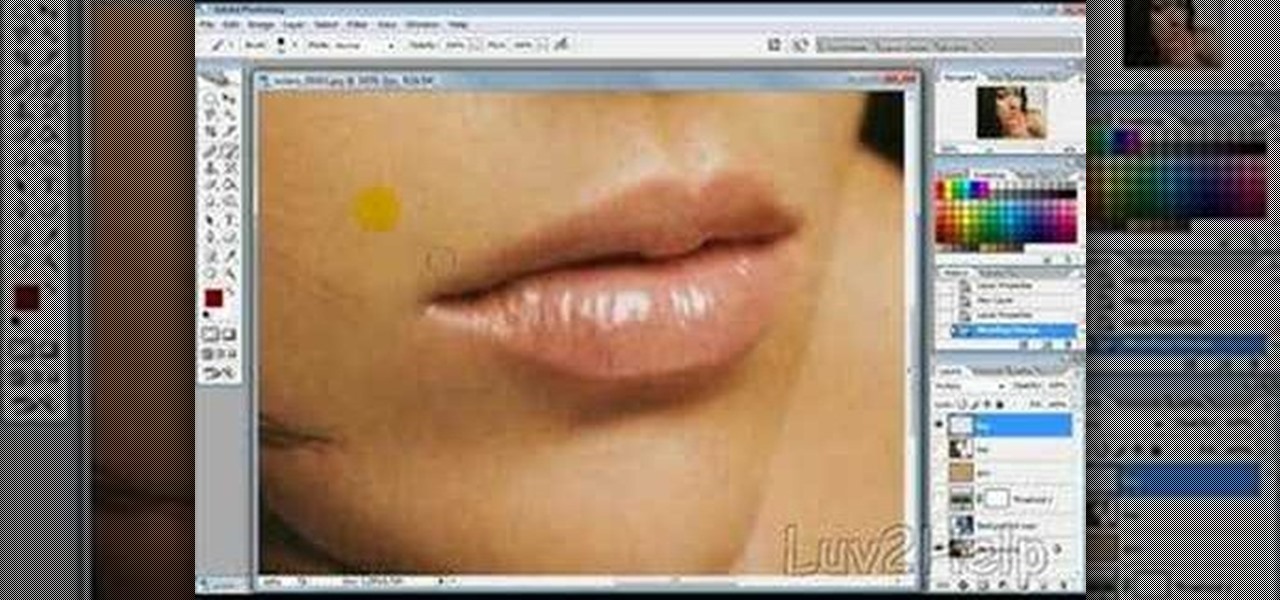
Popularized by the likes of Andy Warhol, pop art has long been an art genre associated with the glittery excesses of Studio 54 and a modern aesthetic.

The iPhone has some pretty awesome video capabilities. Whether you are working with Cycorder from a jailbroken 2G or 3G, or Apple's own video camera in the 3GS, you will get pretty great picture resolution in a handy pocket size. In this tutorial, learn how to create your own tripod, on the cheap, for use with your otherwise handheld device. This will help you keep your image steady and stable and take great shots.
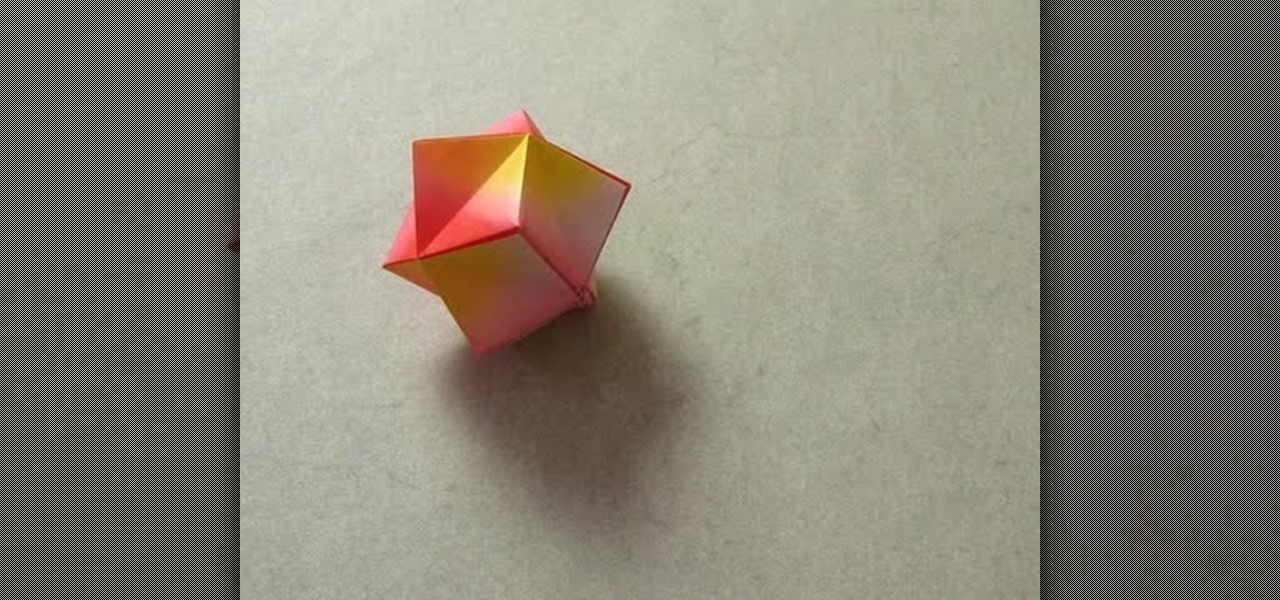
These adorable origami stellated octahedrons commonly provoke fits of jealousy within real stars, who envy their smooth folds and pretty peaks.
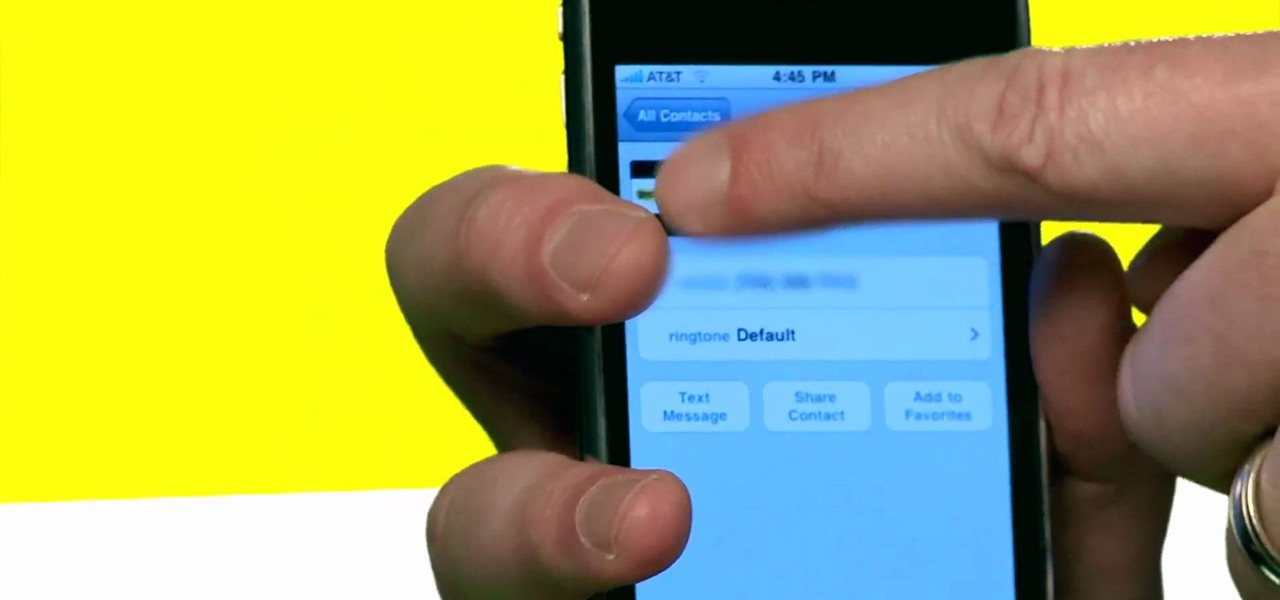
So, you're browsing the web on your iPhone using Safari, and you come across a picture you really want to keep forever and ever… what do you do? You can save it directly to your phone! But how do you download that web image? Best Buy has answers. The Best Buy Mobile team explains how simple it is to save web images from Safari on your Apple iPhone.
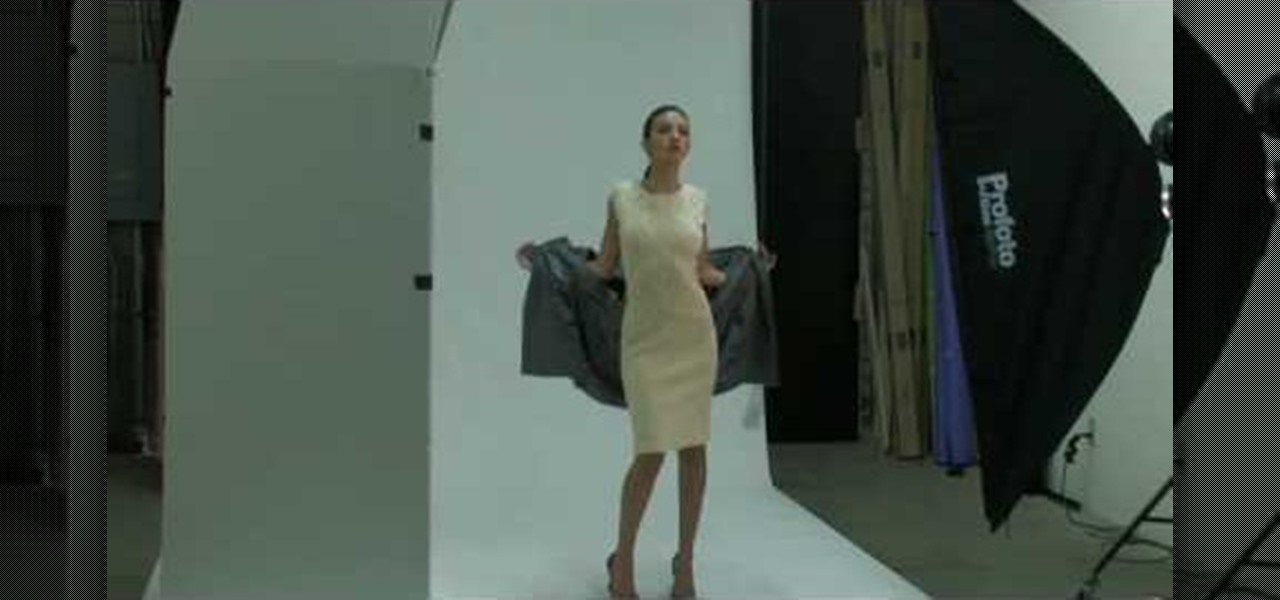
Lighting is very important to photography. The proper lighting can make your subject or scene appear in a totally new way. Whether you are adding, or eliminating shadow, using light to manipulate the way something looks, or just setting up for a flattering portrait, you will need to know some light basics. In this tutorial, Mark will show you how to set up lighting for a fantastic picture. You will learn seven different setups to make sure you have the right arrangement for your particular ne...
In this Software video tutorial you will learn how to create a vector RSS icon in Illustrator. Open illustrator and open a new document. Select the ‘rounded rectangle tool’ from the rectangle menu. Click and drag to draw a rounded square. Select the gradient fill on the left side and change the color to orange on the right side and make it dark to light from top to bottom. Next grab the corner and turn it around 180 degrees. Move the picture to one side and select the ellipse tool. Draw a...
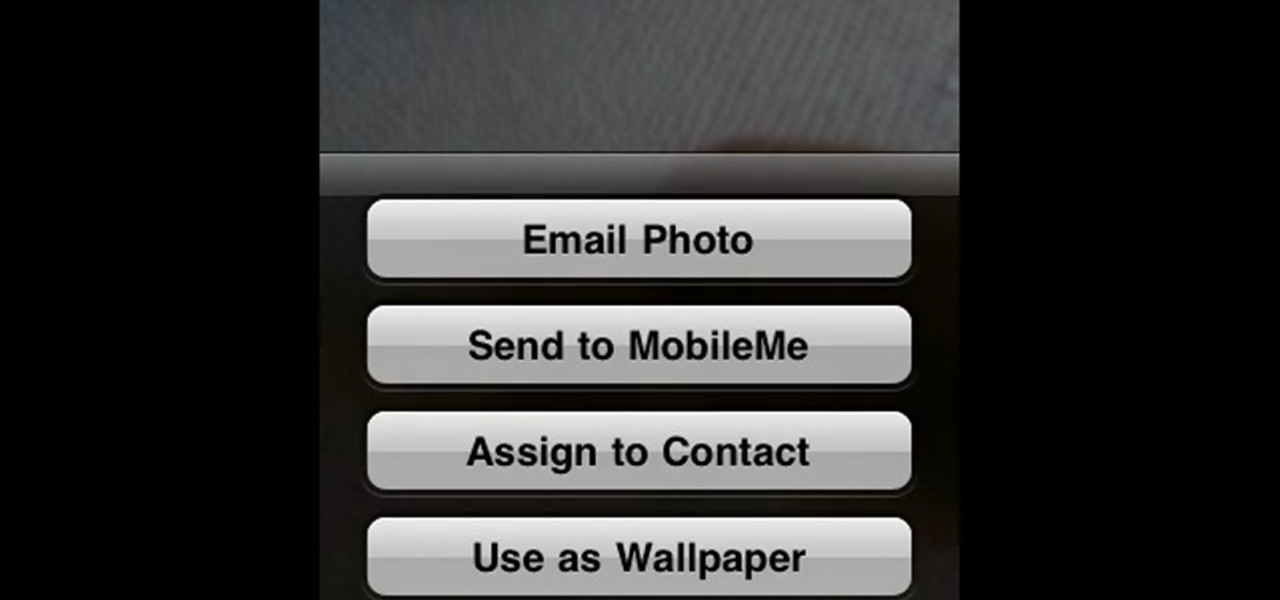
In this Electronics video tutorial you will learn how to Email photos from your iPhone. This is really very easy and simple to do and takes practically no time. On your iPhone go to the camera icon and tap on it. Then find a picture that you want to email. Then tap on the little icon on the lower left of the screen as shown in the video and then select email photo. Then you put in you want to send the photo to, type in a subject and add some text if you want. And the final step is to tap ‘s...
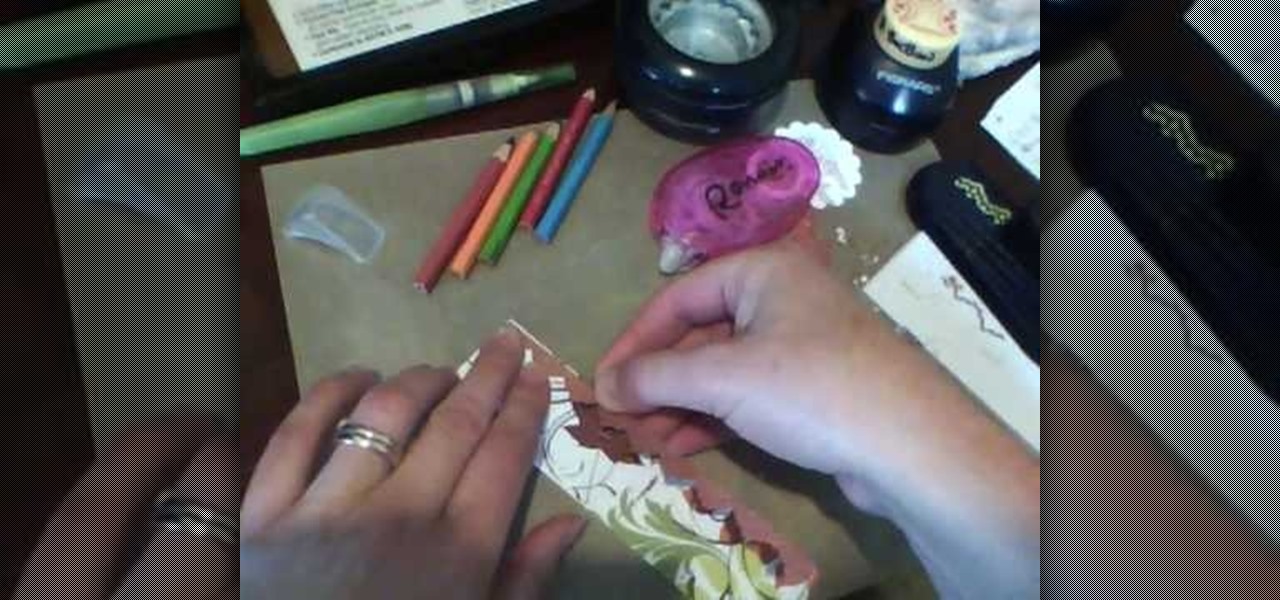
In this Arts & Crafts video tutorial you will learn how to make a vertical Easter greeting card. Take a 6x6 yellow card and fold it in half. Using the Valentrio Fiskars corner punch, you can punch one corner. Cut a 2 1/2” wide metallic cardstock, a 1” wide paper strip, stamp a picture or a design and punch it with Fiskars punch. Punch the 1” wide strip with the Fiskars border punch and glue both the pieces above and below the metallic card stock. Glue the metallic card stock and the pic...
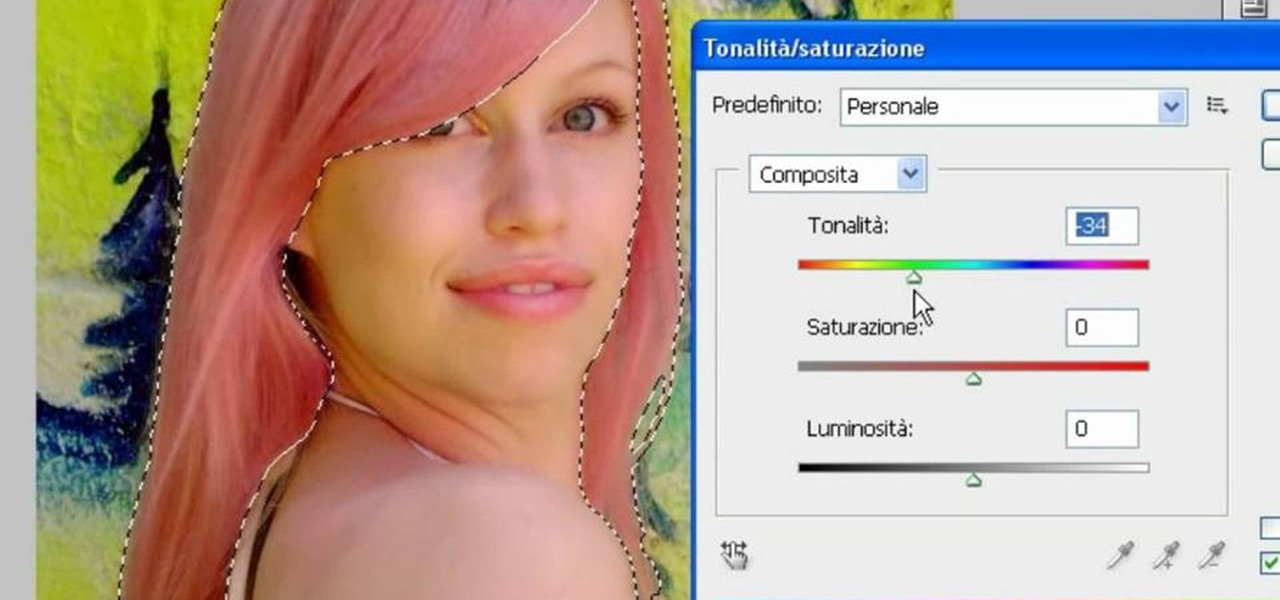
In this video, we learn how to use PhotoShop to change hair color.. First, select the mask tool inside PhotoShop. Now, zoom in on your picture and brush the hair that you want to change the color of. Zooming in and using smaller or bigger brushes will help you be more precise. After this, zoom out and press on the mask tool to create your selection. Then, select the marquee tool and right click and choose "inverse selects". Now, click on "image", "regulations", then "tonality/saturation". Now...

In this video, we learn how to created a chilled look on a photo using PhotoShop. First open up PhotoShop and open up the picture you want to change. First, duplicate the layer on the photo. Then press "control" then "u" and make the picture blue. Now, click "filter" then "blur" and add a small amount of blur to the photo. Now you can click on "overlay" and you can see the photo change. If you want to make it look more blue, duplicate the layer again and you will see more of a chill factor on...
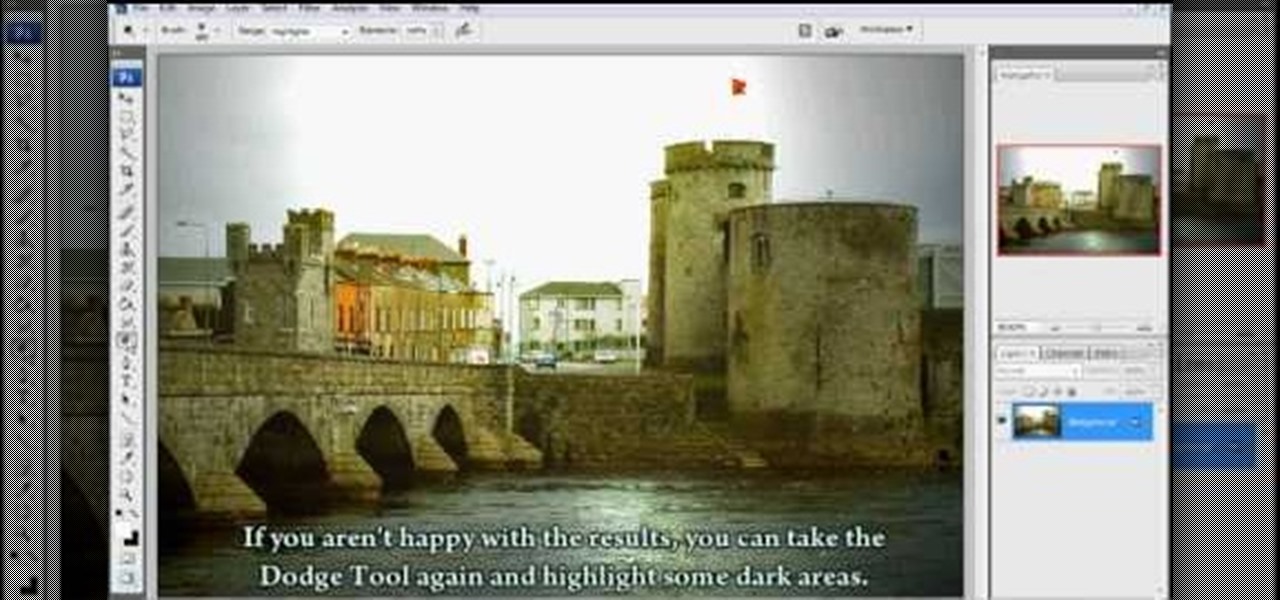
Clicks are made on "Image",then "Adjustments", followed by "Brightness/Contrast" ; contrast is set to 30 and brightness is set to 60 to add more light to the picture. "Adjustment", "Variations" are clicked in that order and both yellow and red are increased. "Filter", "Render", "Lightening Effects" are chosen in that order and a new window appears; within which the style is set to "Soft Omni". The brightness is decreased ;similar to the way it was increased, and contrast is increased to 60. T...
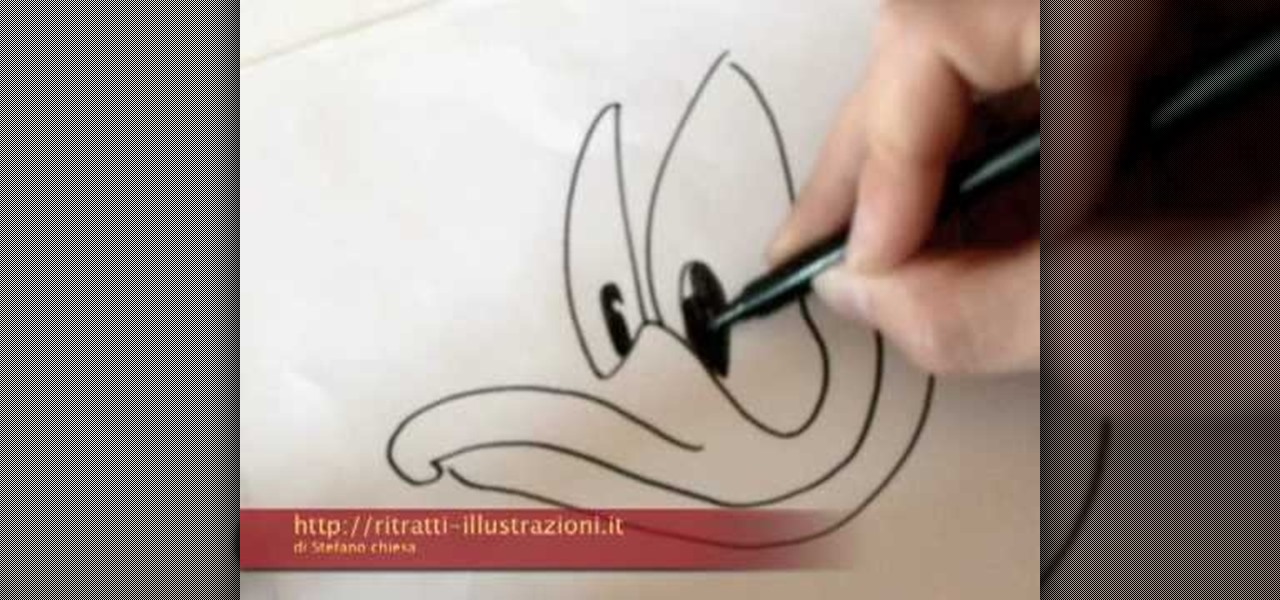
This video illustrate us how to draw Donald Duck. Here are the following steps: Step 1: First of all take sheet of paper, pencil and colors.
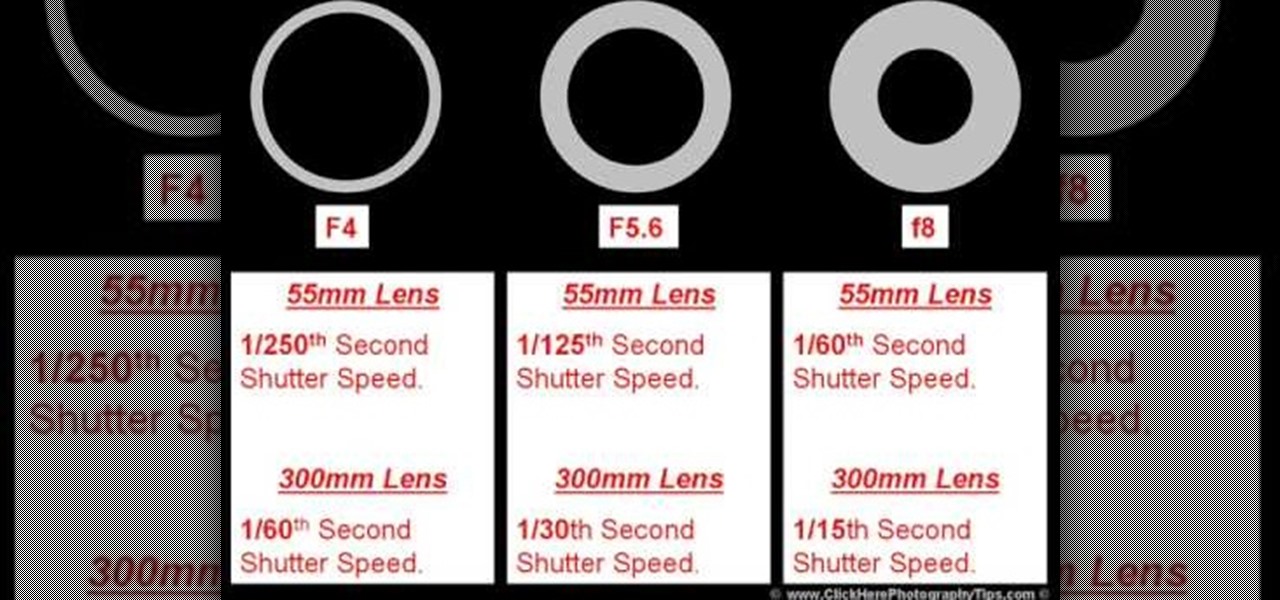
To understand and use depth of field you should realize that depth of field is the area behind and in front of your focusing point - the thing or object you are shooting. Depth of field is determined by apreture or f -stop, the shutter speed of your camera and the focal length of the lens. If you have the right combination of shutter speed and the f-stop, your picture will have the right exposure. If you change either the f-stop or the shutter, you need to remember to adjust the other! Differ...

In this Software video tutorial you will learn how to make a copyright brush using Photoshop. Open up Photoshop and open a new document by clicking ctrl+N. Create a new text layer on the right side and type in your text. Right click on the text layer > rasterize type. On the left side select the ‘rectangular marqee tool’ and draw a rectangle around the text. Go to edit > define brush preset. In the next box, give it a name and click OK. Then go to file > open and select a picture on which...
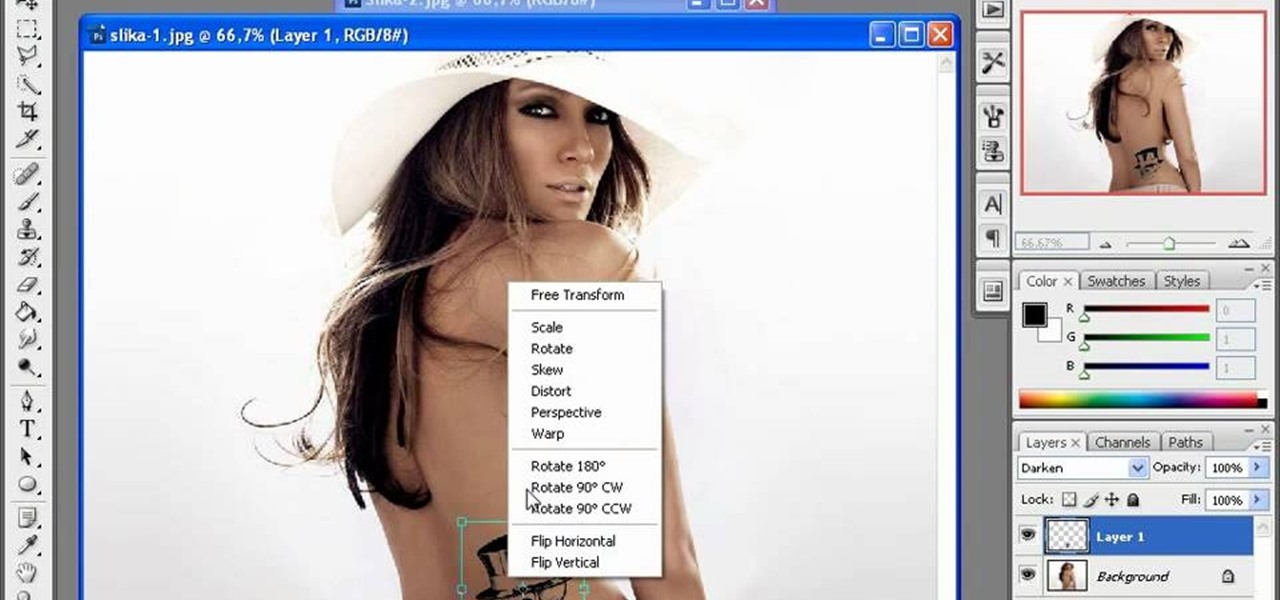
The first thing to do is open up Photoshop. Find a pic of a person and clip art you would like to use. Open those documents. On the side of the toolbar, find the brush tool to adjust the clip art correctly. Make a rectangle inside the clip art. Then hit Ctrl+c to cut the clip art out of the box and paste in the picture of the person. Then you remove the white in the picture by clicking on layers, and darken. When you do that, you are ready to shape the clip art to the body by clicking the box...
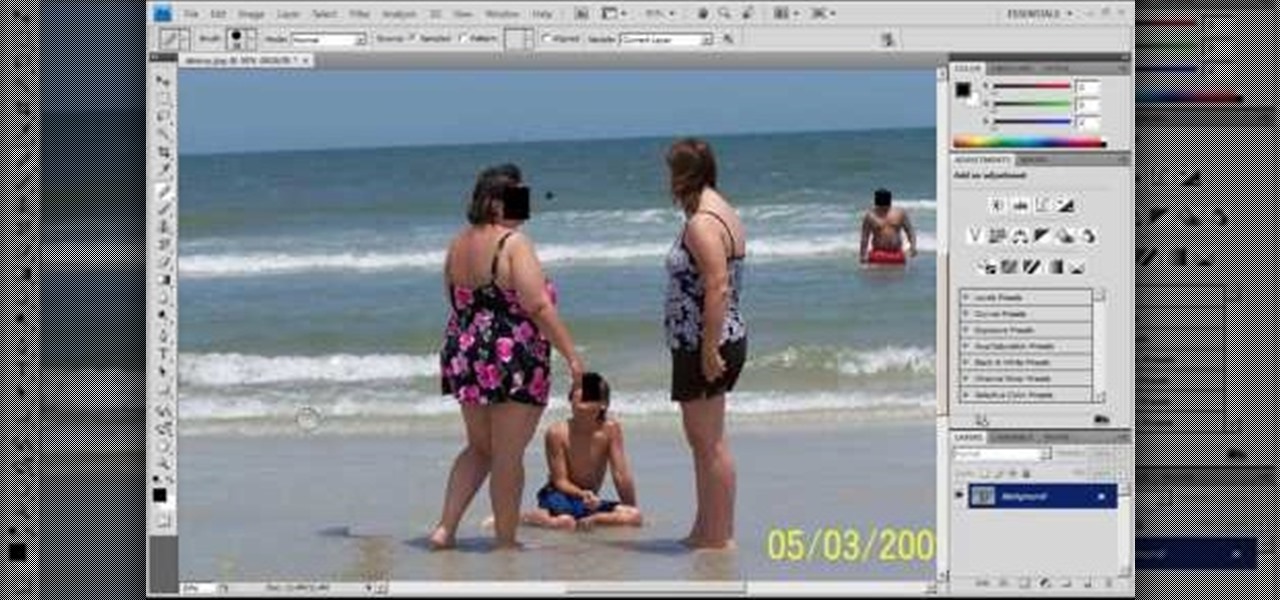
This video teaches you how to use Photoshop to remove people from a picture but you can essentially use this method to remove anything you want from a picture. First, click on the lasso tool and highlight a figure you want to remove. Drag the highlight adjacent to the figure and copy the image. Now paste what you’ve copied over the figure you want to remove. This will work best and is easiest if the area next to the figure is similar to the background of the figure. If you paste the image a...
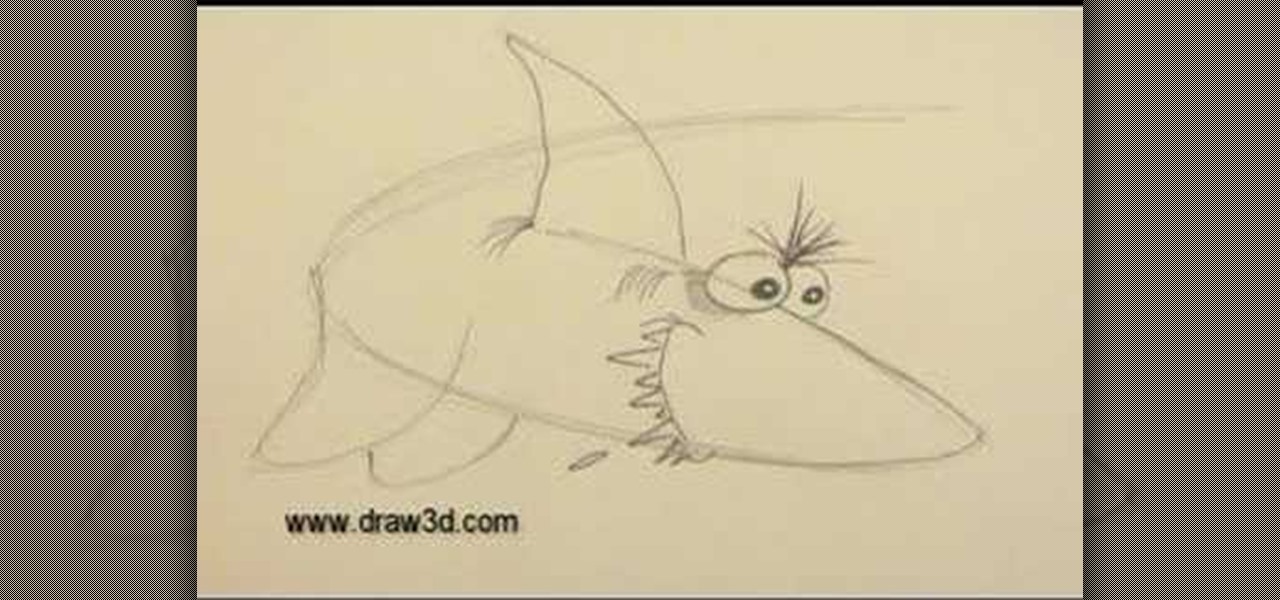
This video illustrate us how to draw 3D cartoon shark. Here are the following steps.step 1: First of all take a sheet of paper and pencil.Step 2: draw a U shape structure and again draw a U shape structure above the previous on representing the body of the shark.Step 2: Now from one end of the double U draw a V shape representing the front body of the shark, within the face draw two eyes and jaws of the shark.Step 3: Now at other end draw a tail and from the side of the body draw a triangle a...
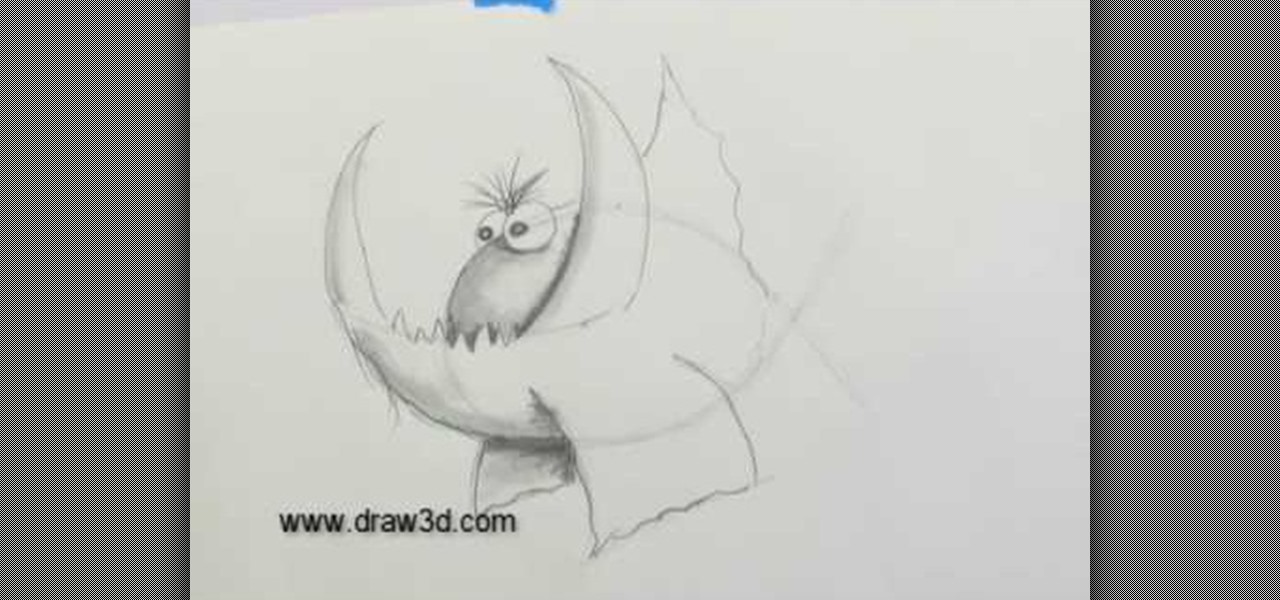
This video illustrate how to draw a 3D fanged fish. Here are the following steps.Step 1: Take a sheet of paper and pencil and start drawing a circle forming the face of the fish.Step 2: Now in the middle of the circle draw an wavy line showing the jaws of the fish.Step 3:Now draw two small circle on the boundary of the circle forming the eyes of the fish.Step 4: Now from the jaws draw two fins in opposite direction to each other.Step 5: Now draw Two fans beneath the face showing the back fins...
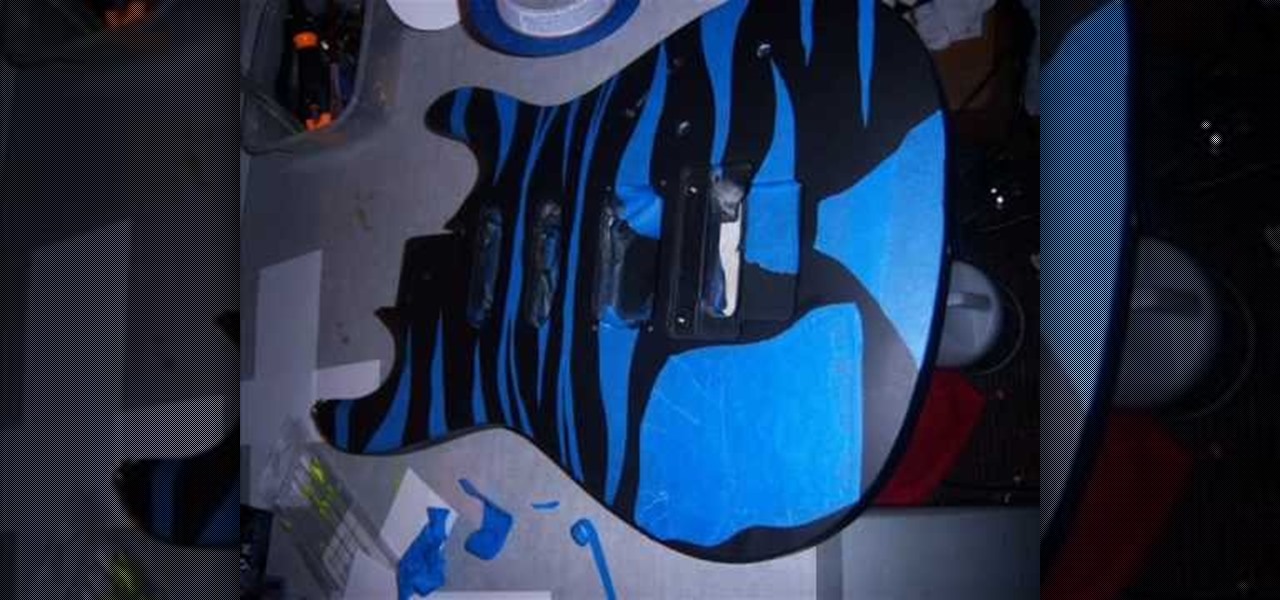
In this video Teddy Zane shows you how to paint a guitar with spray paint. It begins by painting the whole guitar with one color of flat paint, and then creating a panel where you want the picture, out of tape. Next lay your picture on top of the tape and use a scalpel or razor to cut out the design as a template carefully ensuring you do not cut the guitar, only the image and the tape. Once the entire image is cut, pull off the tape to expose the guitar beneath. Cover the rest of the guitar ...
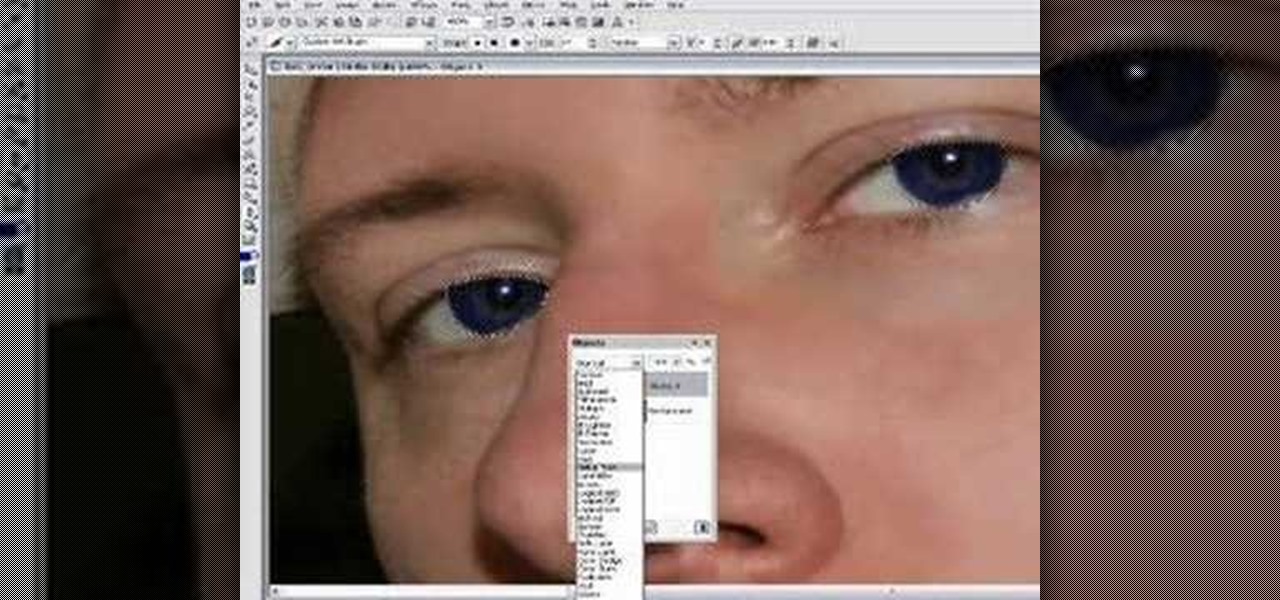
In this Software video tutorial you are going to learn how to change eye color in Corel Photo Paint X3 with masking. Select your picture and the 1st thing you will do is to create a mask around the eyes. Select the standard paint brush tool. Adjust the picture so that it is large enough and both the eyes are visible. Now press Alt and hold down to select the entire eye. Do the same for the other eye also. Then go to subtractive mode and fix the outer edges of the iris of the eyes. Now select ...

In this how-to video, you will learn how to quickly set up the background image on your Apple Macbook Pro. First, right click the desktop and select Change Desktop Background. A new window will pop up where you can change it. Also, you can go to system preferences and selecting desktop and screen saver. To change the image, select any of the options available. This includes solid colors to large images. You can also go to your iPhoto albums and choose any picture in there. You can also go onl...
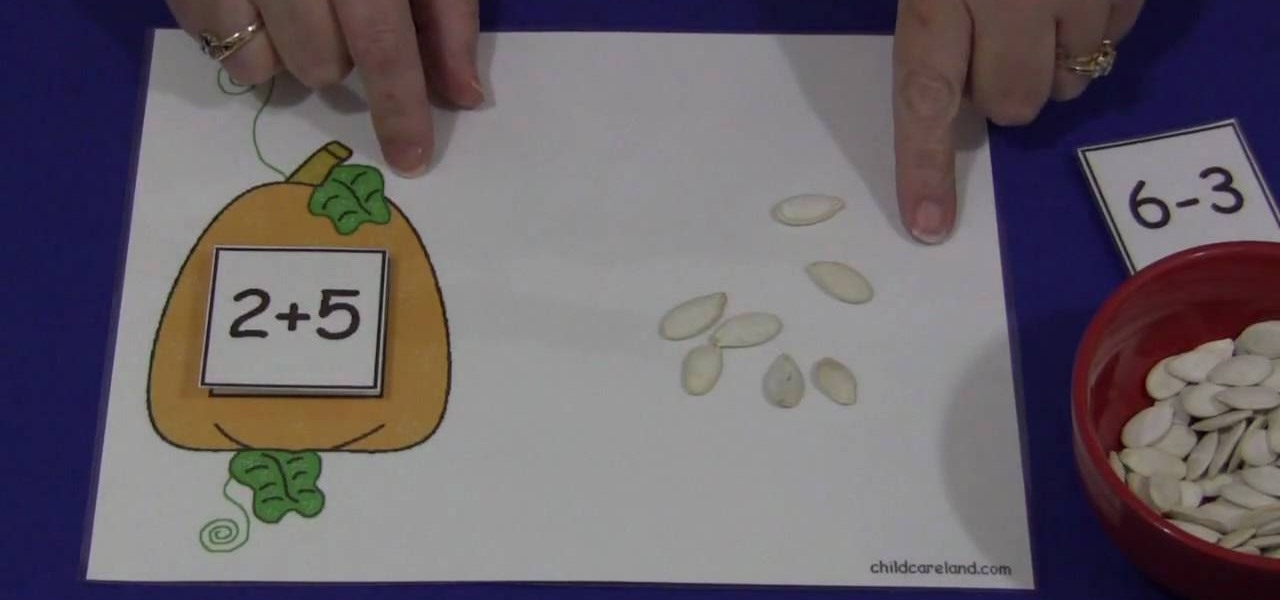
In this video, we are shown how to create and utilize a pumpkin-themed mat and some pumpkin seeds in order to teach young children how to count. Using a mat with a picture of a pumpkin on it, as described in the video, you should have a few squares with numbers on it which the children can put on the mat. Then, using a bowl of pumpkin seeds, have the child pick up the seeds and place them on the mat, having them pick the correct number of seeds as correspond to the number of the square they c...

In this video tutorial, viewers learn how to change the white flash screen on the iPhone/iPod Touch when taking a screen shot. Users will need to have their device jailbroken. Begin by opening Cydia. Search for "SBFlasher" and install it. Then download the file from the video description and save it. Go to SCiPhone and chose a picture that you want. Save to your desktop as SBScreenShotBG.png. Next, drag and drop your picture into the SpringBoard.app folder, located in the folder you downloade...
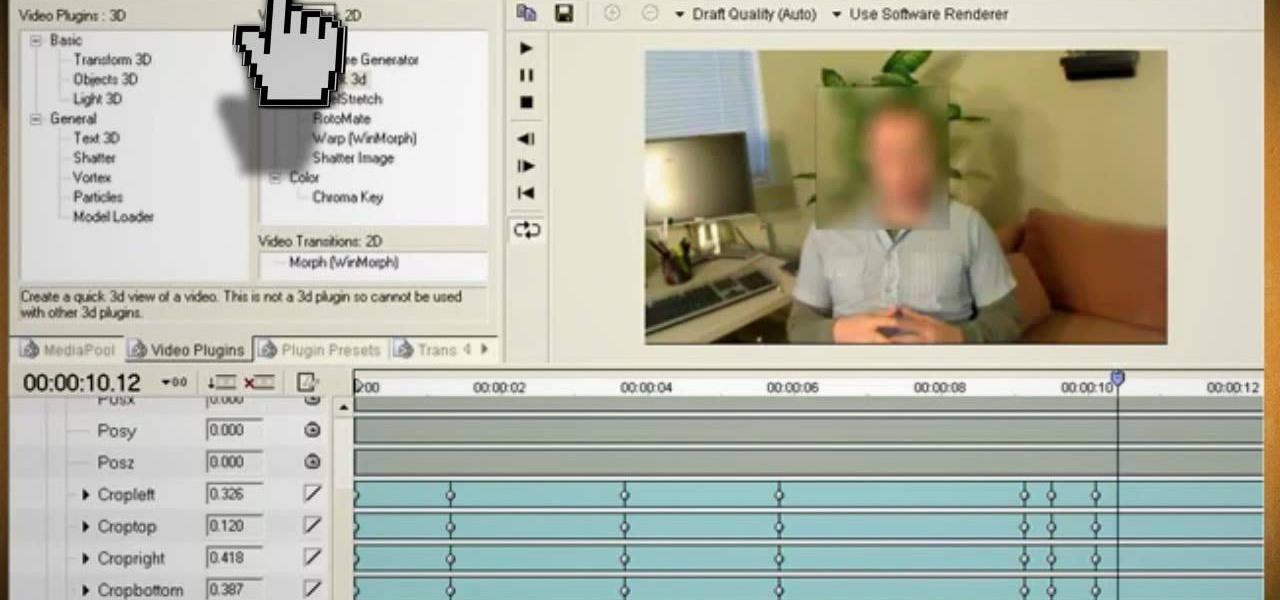
Watch this video and learn how to protect your identity on the internet. This clip will help you learn how to blur out your face and alter your voice when posting videos on the web, where your identity is an important secret. Stay anonymous while portraying your opinions. This software can also be used to avoid release issues with strangers in the backgrounds of your videos. Preventing passers by from having there picture posted with your opinions opening you up for legal action. This can als...
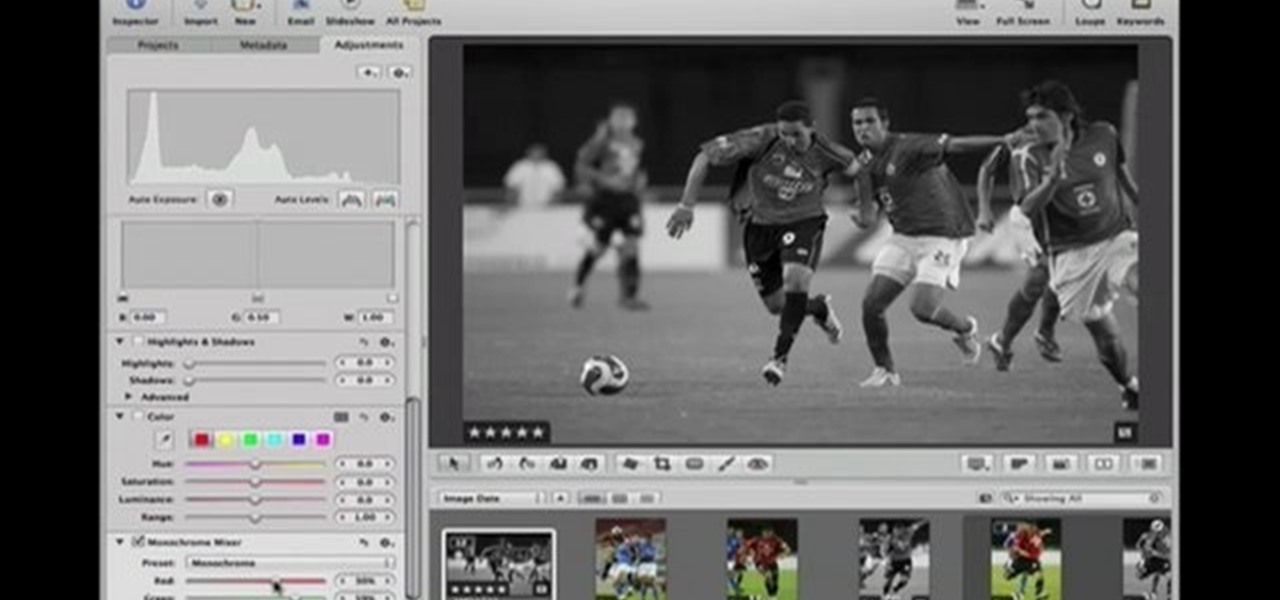
This Software video tutorial shows how to convert color images to black and white in Aperture. Scott Bourne presents this video. Open up ‘aperture’ program and select a color photo that you want to convert to black and white. Now move from the ‘projects’ page to the ‘adjustments’ page by clicking on it. Then click on the ‘+’ sign and select ‘Monochrome Mixer’. When you do this, the picture instantly turns to black and white. It’s as simple and easy as that. For editing the picture further, on...
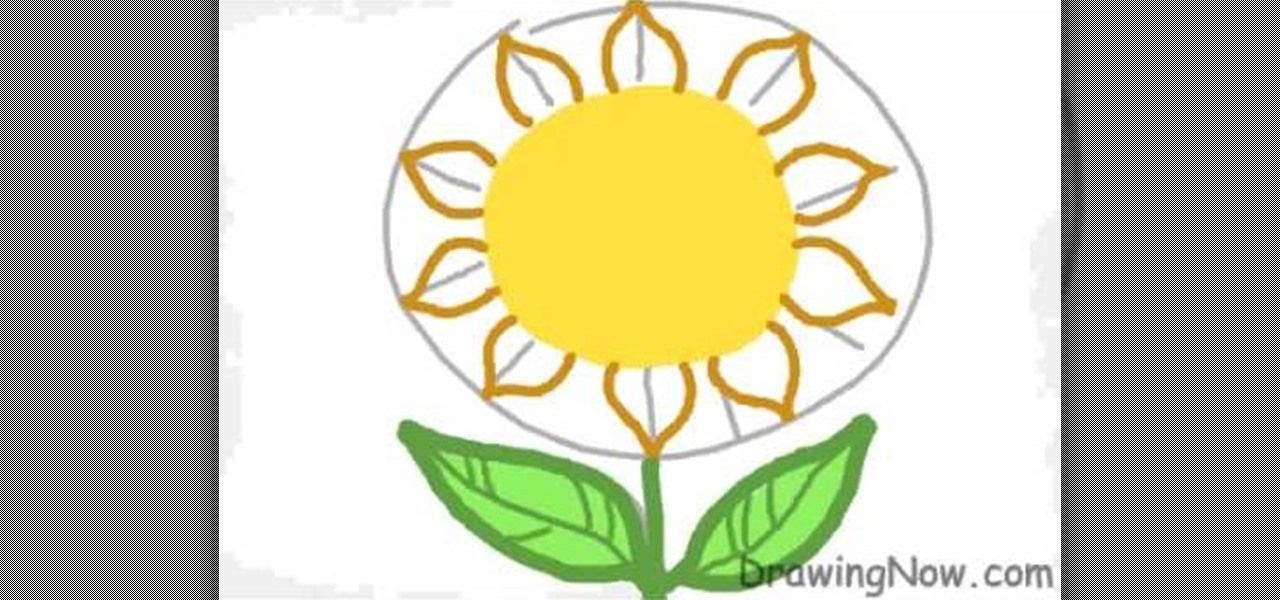
In this video you will learn how to Draw a Sunflower. The artist starts with a rough sketch, then the details, followed by coloring and shading. The sunflower is more of a cartoon like sunflower with eyes and blush marks. The picture takes about 2 minutes to complete if following the artist correctly however you can always pause the video or fast forward in order to catch-up or speed ahead. The picture doesn't include any backgrounds of any sort however it shows the sunflower which takes up a...
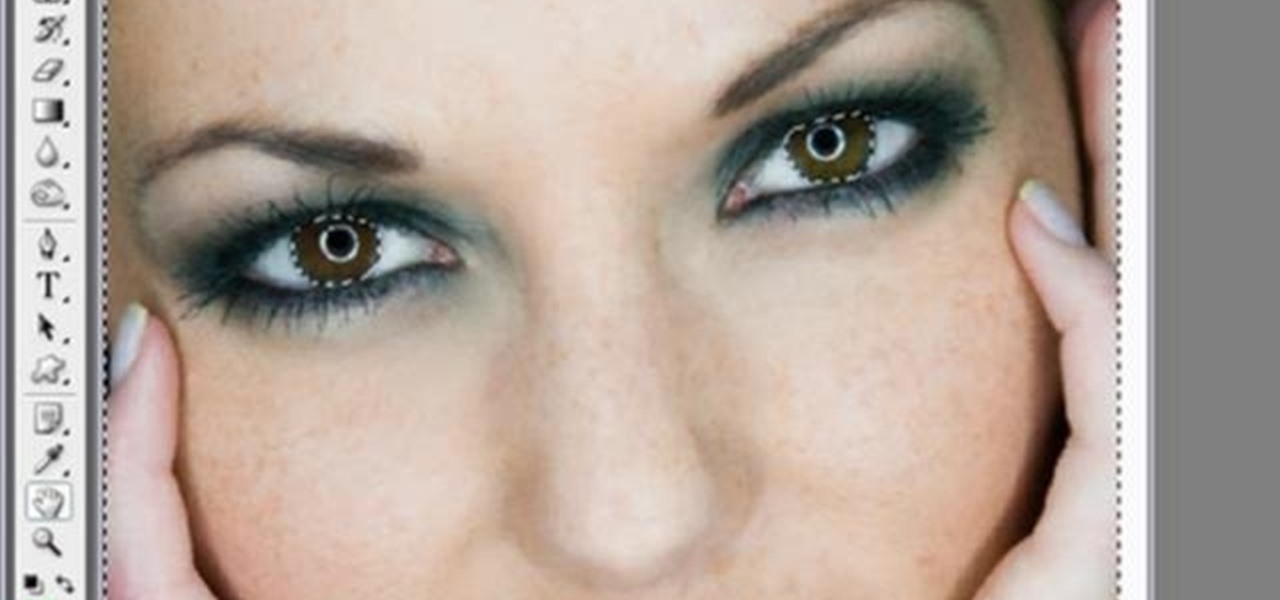
Yanik Chauvin continues his online photo school with this video on how to change eye color in Photoshop. Yanik makes this complicated program seem simple as he shows exactly what steps to take to make realistic color change in the eyes of a person. He creates a layer that will be used to edit the eyes, then zooms in on and selects them. He picks a nice green color to use, shows what settings to use to make it look realistic, then applies final touches by changing the opacity of the new color....

This video shows a user how to create a panoramic picture using Photoshop. In this video the details like how to merge a photo and other options which are very useful to a learner are shown clearly. This video is very practical for keen user as different things like the layouts and merging a photo are explained in detail. In this video a user can find different filters that are used in creating this panoramic picture. One will find it very easy and one with artistic heart will definitely appr...
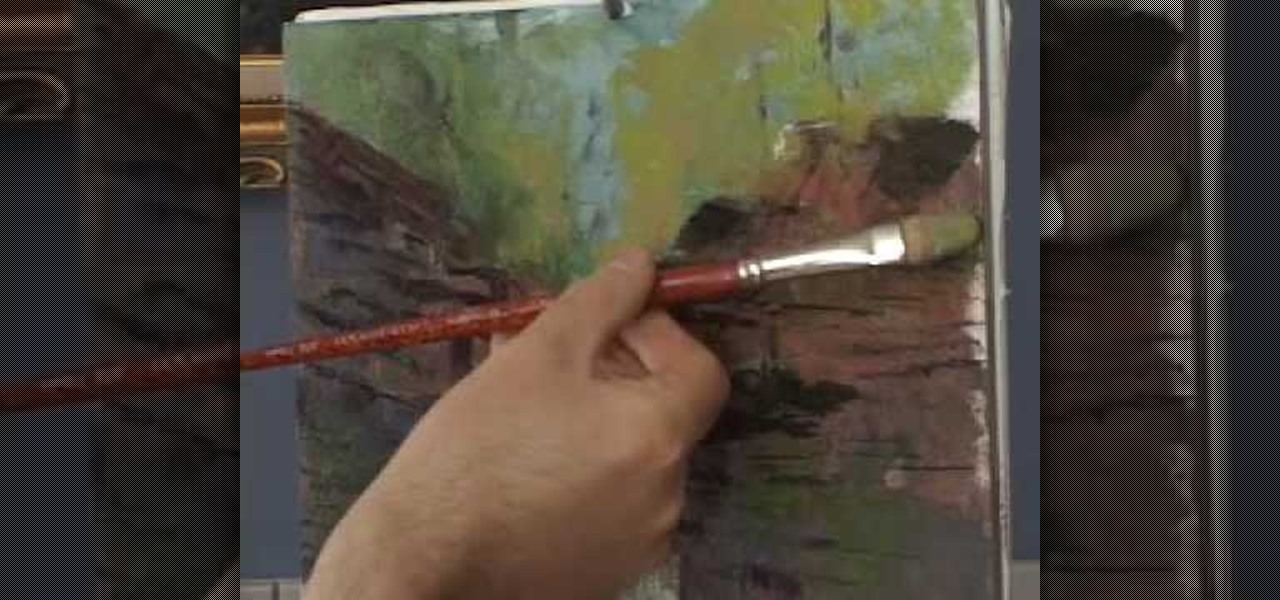
When painting the foliage make sure that you use a dry brush technique and that you use this to break up the harsh rock formations that you have created by simply pressing the brush down against the rock formation. Make sure that you don't segregate the areas in the painting. Make sure that you blend the areas together to make the picture complete. You want to take the warm, more contrasting areas and use them to break up the harsher style of the rest of the picture. You want to layer the col...
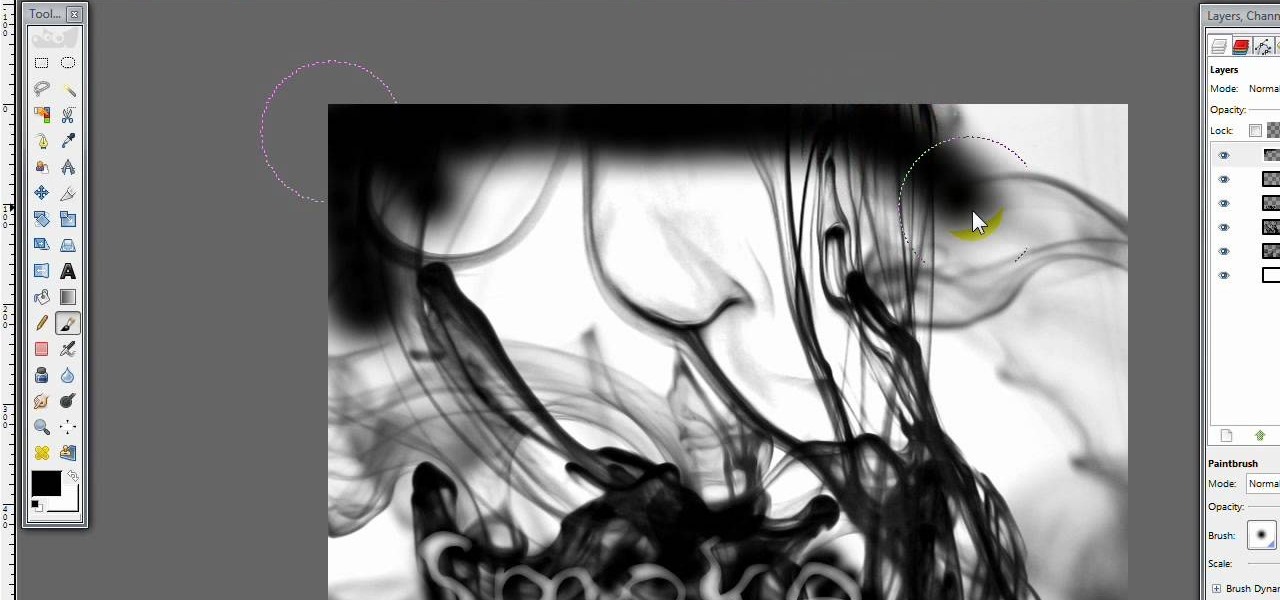
This video opens up with a computer screen displaying the finished product of a smoke design as a wallpaper. Next the video switches to the program used to create the smoke design, using a plain white image. Next the screen is switched to another program with the text smoke displayed. Then he switches back to the program and pastes an image into the window containing smoke. He then pastes the text smoke into the image and distorts it a little, followed by changing the color darker. After that...
The new Windows 7 layout is streamlined for the occasional user to the head of human relations for Microsoft. Wall papers, system sounds, and resolution settings were covered in the instructional how to video. The evaluation specialist was knowledgeable and articulate. Transitions into new areas of the operating system were appropriately placed. To make a text more readable, you should change the screen resolution. Choose your picture library to start a slide show for your weekly conferences ...
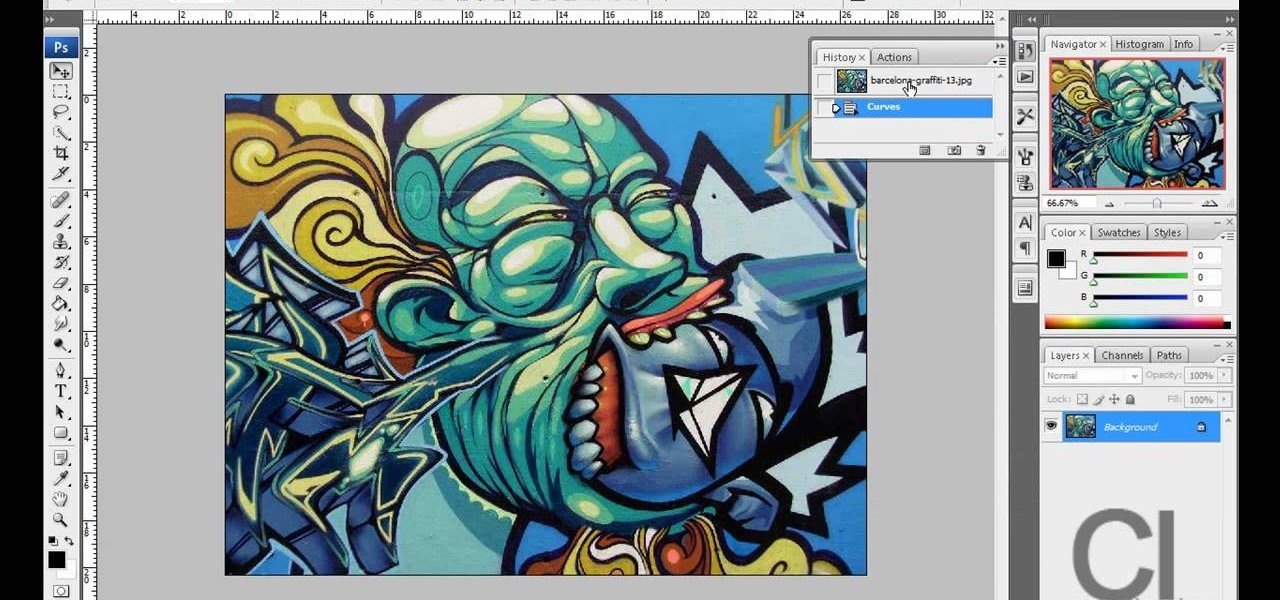
This video demonstrates a way to use the lomo effect on pictures in Photoshop. The effect makes colors stand out more, thus making the picture stand out more. The first step in adding the lomo effect is to change the color curve levels of the picture by going to Image > Adjustment > Curves in Photoshop. They should be changed very slightly, from a straight line to a slight "s" shape curve. After this, the gradient map should be changed to a black to white gradient. Finally, the mode of the ne...
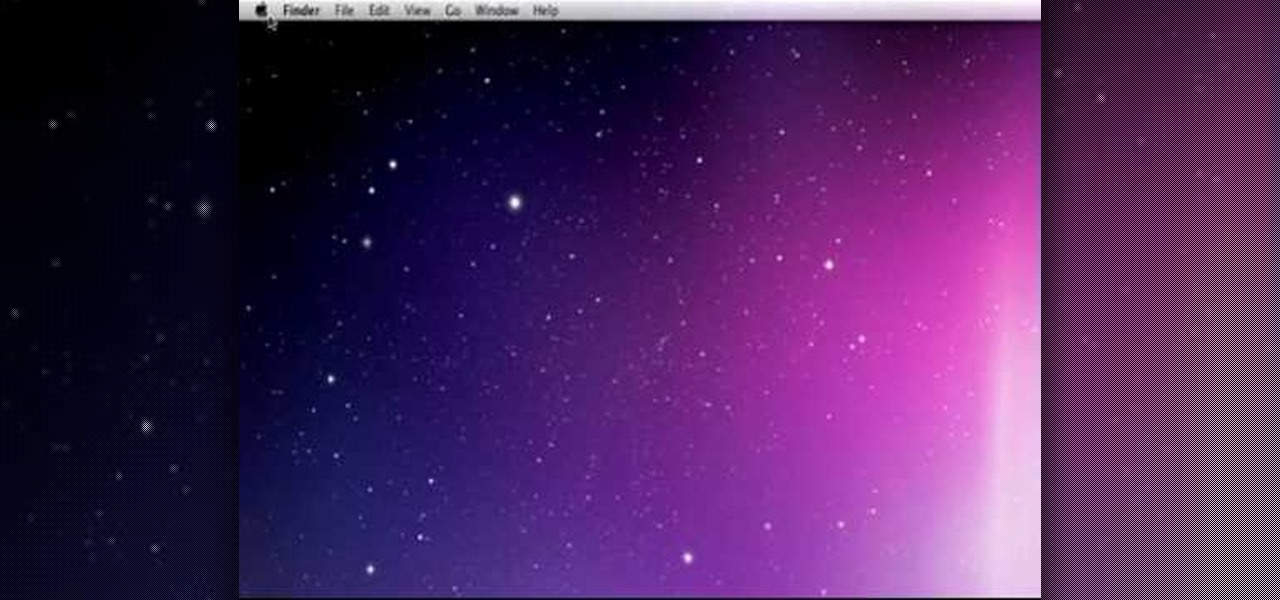
Steps on how to cut copy and paste on a Mac. Make sure that all your Windows are closed. 1. Click the Apple on the upper right corner. 2. Select and click System Preferences and a small window will appear. 3. Double click the small mouse picture and a bigger mouse picture will appear 4. Click on the right tab that says Primary Button and click to select Secondary Button. 5. Close the window. 6. When you right click the mouse a menu will appear and you can already cut copy and paste just like ...

Now you can easily animate gradient image using Flash. For this you need to open flash, and then import an image which you want to work with. Create a new layer. Draw a rectangular. Go to color option and choose liner. You have to keep alpha in one side of gradient. Ad few key frames and use motion tween. Now go to your picture. You also make the same key frames of that. So it will be regular. After watching this tutorial you will be able to make nice gradient animation using Flash.
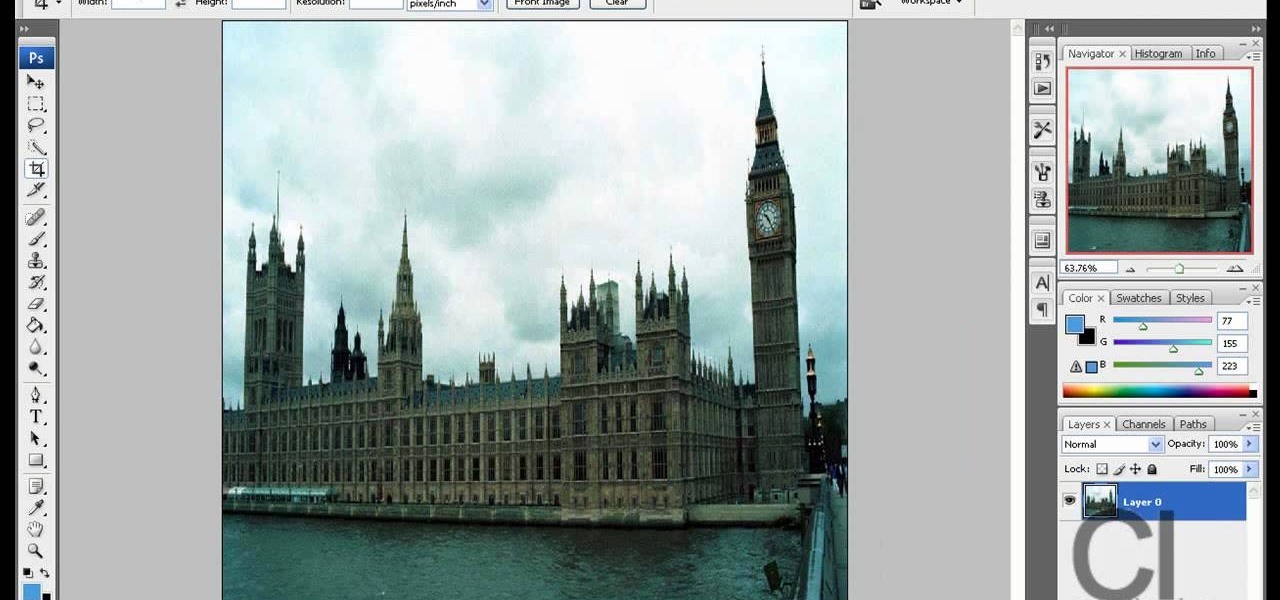
Watch this video to learn how to make a little planet effect in Photoshop. Go to Image>Image Size and resize the picture making the width and height equal . Don't forget to unmark the "Constrain Proportions" option. Now that you have a squared photo go to Image>Rotate Canvas>180. Go to Filter>Distort>Polar Coordinates and select the option "Rectangular to Polar". Now rotate as you want to and remove any failures.After you select the picture, make sure the sides are alike and that the horizont...
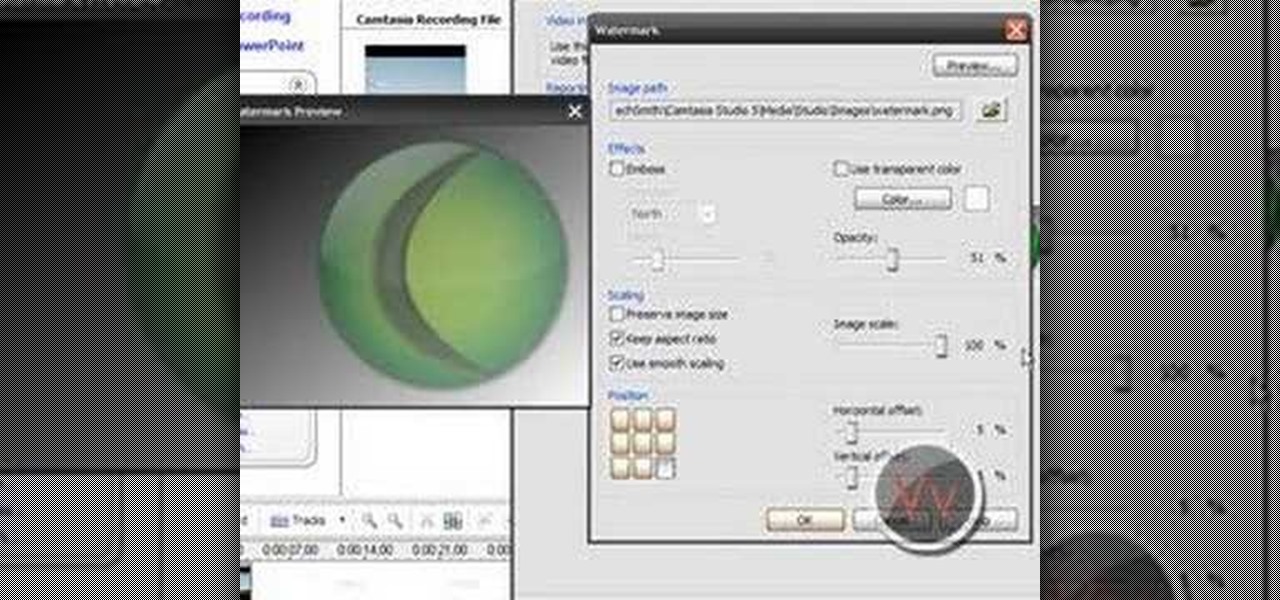
If you frequently use Camtasia software for Windows this is a great video for you! Camtasia is a screen video software program made for both Windows and Mac This video shows step-by-step how to upload a photo and create a moving profile image. It shows how you can upload your photo, how to open the photo in Camtasia, and how you can use Camtasia to create a moving profile picture. Also discussed is how you can upload your Camtasia videos onto Youtube! Just a wonderful video for those who use ...