Looking for a unique picture frame? Learn all about decorative picture frames including rustic frames, veneer frames, ornate and dark wood frames and more in this free video series about professionally framing pictures.
Learn how to hang a picture, with expert tips on everything you need to know for picture hanging in this free interior design video series hanging pictures.

Looking for unique picture frames? Learn how to make a shadowbox picture frame in this free video series about professional picture framing.
Great gift for all occasions. Learn how to make a personalized picture frame with cardboard and beads in this free home crafts video on making a great gift for friends and family.
Are you interested in creating an antique look for picture frames in your home? Learn how to make picture frames look old from a professional artist in this free crafts video series.
The best bachelorette party favor! Learn how to make your bachelorette party a hit with picture frame party favors with expert party throwing tips and advice in this free video series on how to throw a bachelorette party.

Stumped on what frame to use for your favorite piece of artwork or photo? The perfect frame will make your painting, photograph, or piece of artwork stand out on your wall. Here's how to find an ideal match.

Creating a 3-D picture within a wooden picture frame is a great children's craft that promotes creativity and innovation. Make a 2-D image three-dimensional with this free arts and crafts video series.

This video is a Microsoft Word 2007 tutorial on working with pictures. To insert a picture in your document, click on Insert and select Picture, then find the picture, select and insert it. To resize the picture without distorting it, click and hold on the corner circles. You can adjust Brightness and Contrast by using the various choices within these settings. The Recolor setting gives you a number of options for changing the coloring of the picture, such as sepia, black and white, or graysc...

You use a bike rack that extends from floor to ceiling. Pick where you want to put your picture and place the bike rack there. Adjust the bike rack so that it is at the level you want the picture. Then take a clamp light and clamp it to the pole of the bike rack. If the light slips on the pole, you can wrap some duct tape on the pole to create a surface that the light will stay on. Point the light toward where the back of the picture is going to be. If the picture you want to hang does not ha...

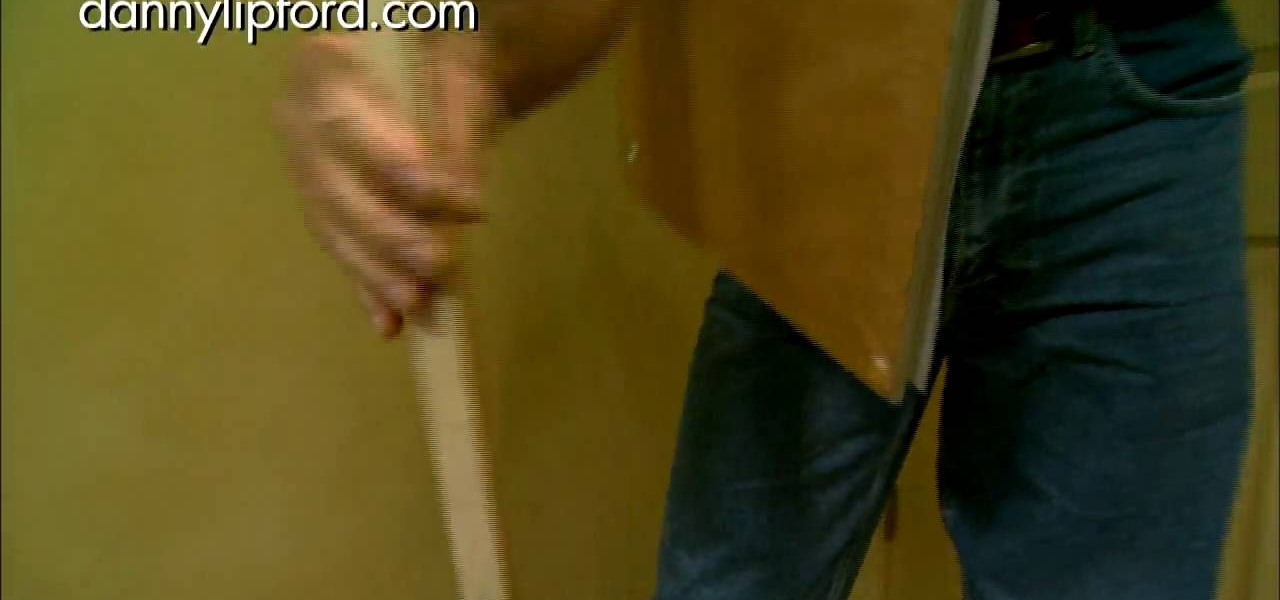
Danny Lipford shows us how to create a simple jig to hang picture frames. He believes that all the complicated gadgets many people use-including lasers and special levels-are unnecessary for successfully hanging a picture frame. All you really need is a strip of wood and a single nail. He shows us a single lath with a roofing nail in it, which he prefers for its broad head. Simply slip the nail onto the wire on the picture's backside. Then set the picture wherever you would like it to be. Sim...

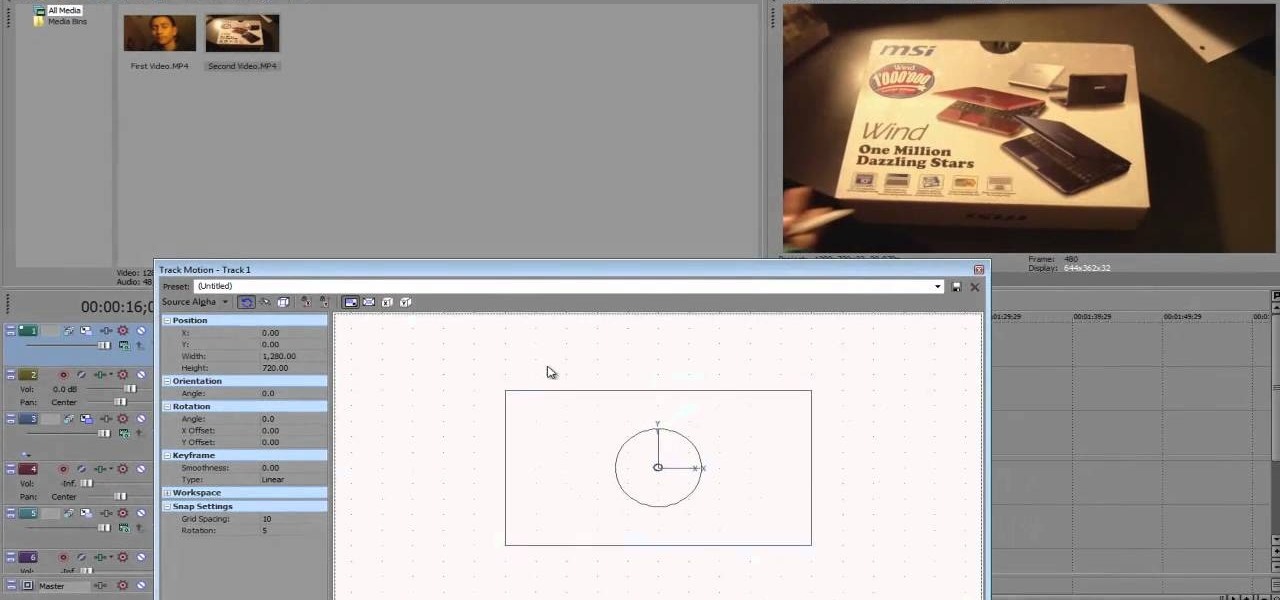
OK, you've got two videos and would like to show one within the other, aka: picture in picture. Here's a simple, step-by-step video of how to do it using Sony's Vegas video editing software. This simple editing technique can really give your videos a professional look, by teaching you this simple trick.

When it comes to integrating family photos into a chic home design scheme, the task of finding picture frames that are at once modern and evoke sentimental value is difficult.

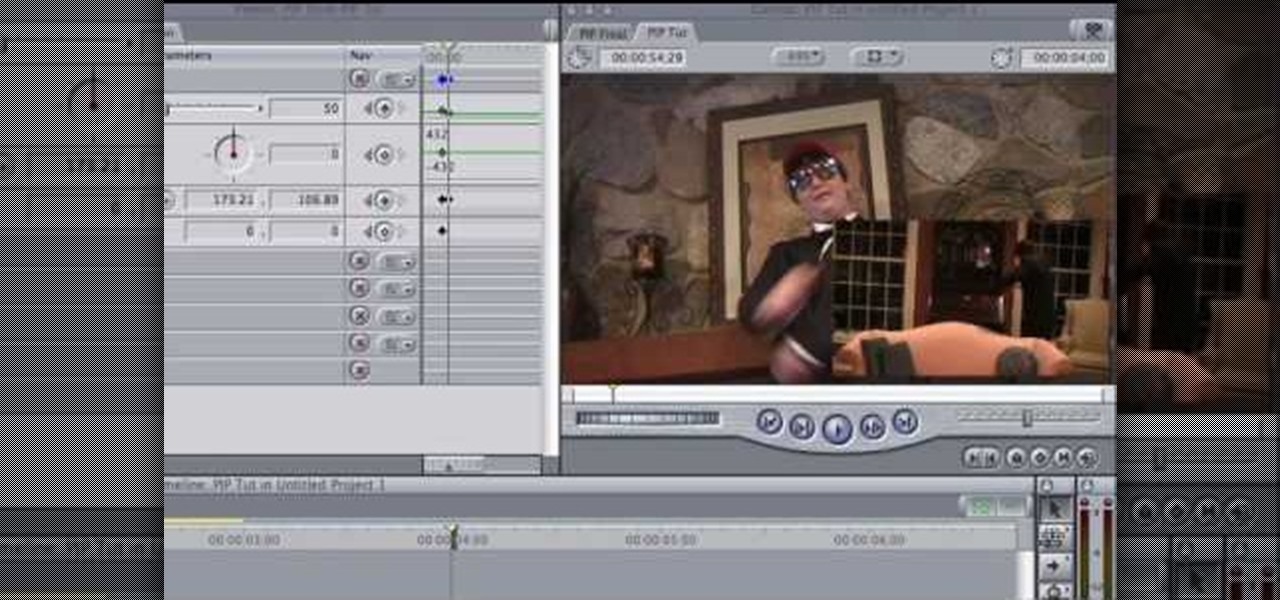
In this FCP-user's guide, you'll learn how to create a picture-in-picture in Final Cut Pro or Express. Whether you're new to Apple's Final Cut Pro non-linear video editor or just want to better acquaint yourself with the popular video editing program, you're sure to benefit from this video tutorial. For more information, including detailed, step-by-step instructions, watch this tutorial.

This clip provides instructions on how to create a picture-in-picture or PIP effect in Sony Vegas Pro. Whether you're completely new to Sony's popular nonlinear editor (NLE) or are a seasoned digital video professional simply looking to pick up a few new tips and tricks, you're sure to be well served by this free video software tutorial. For more information, including detailed, step-by-step instructions, take a look.

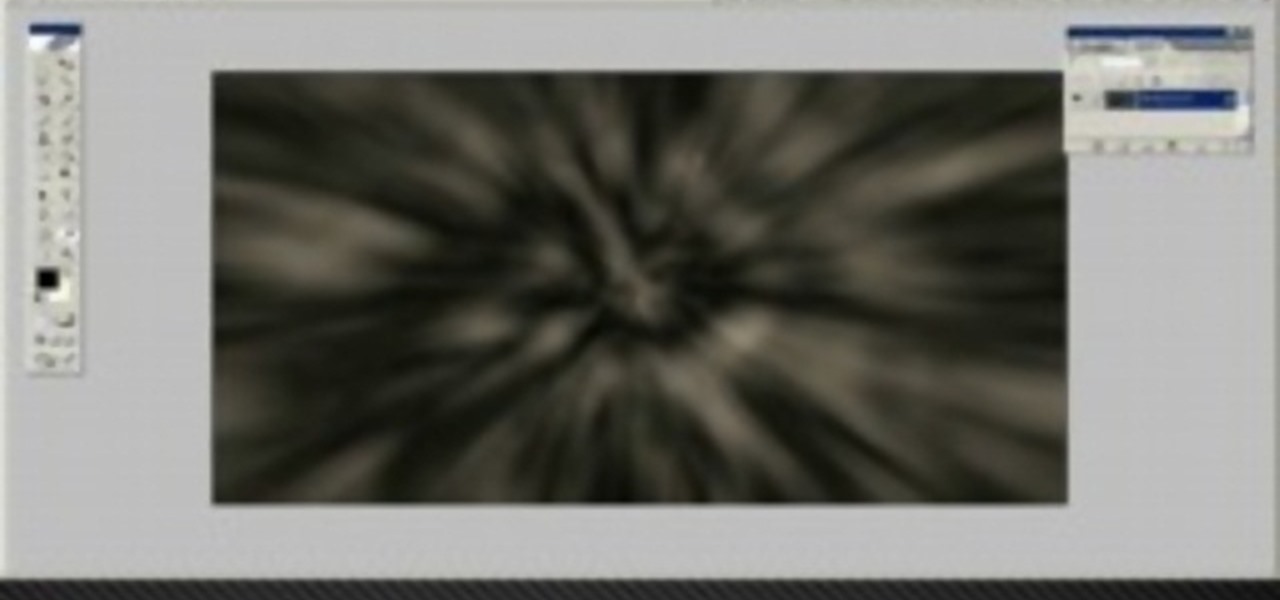
In this tutorial, we learn how to blast effect a picture in Adobe Photoshop. First, open up a picture in Photoshop, then go to filter, then blur, and radial blur. Change the amount to 77, the blur method to 200m, and the quality to best. After this, hit "ctrl+I" to invert the colors. When you are done with this step, the picture will look like it has been blasted! To make this more different, you can change the colors on the picture or add in any other settings that you prefer. When finished,...

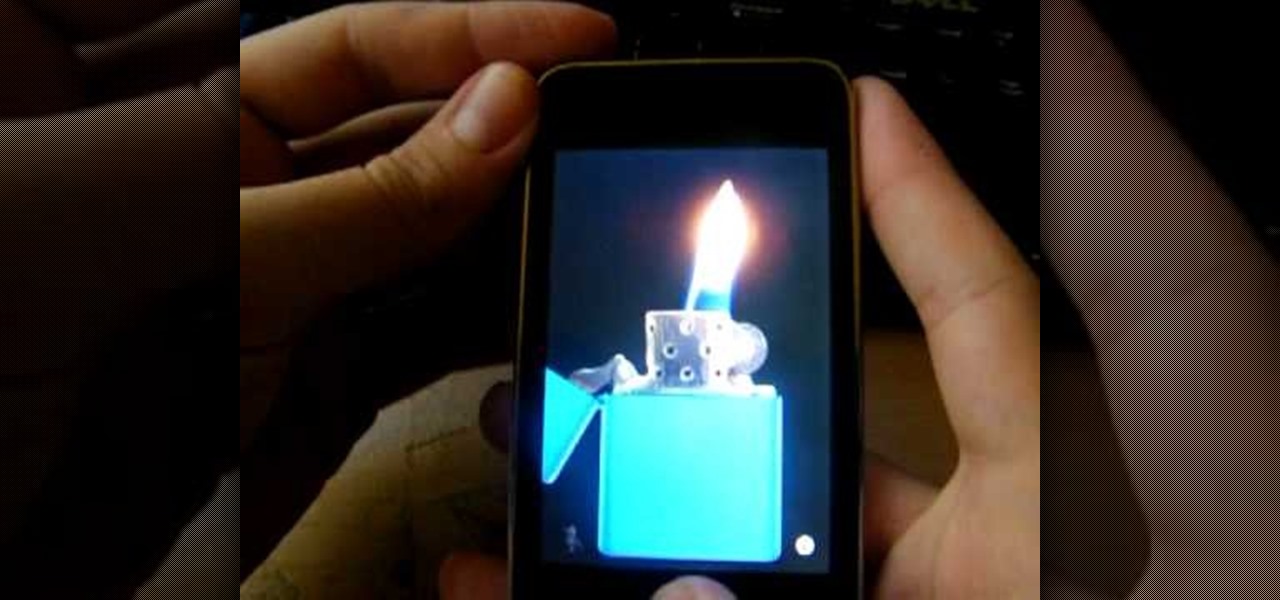
In this video from DontPokeMeSoHard he shows how to take a picture of your iPod Touch's screen. If you hold the home button and press the power button, it will take a picture of whatever is on your screen at that moment. It will save the picture in your photos under Saved Pictures. If you're trying to remember a page on the Internet, it's a great tool for that. Just take a picture of it and it will save on your photos forever. You can view web pages now without being connected to the internet...

So you have a picture you're dying to get up on the wall, but don't want to risk hanging it crooked. This video is your answer! Learn a few tips and tricks to make sure that every picture you hang is perfectly straight and level.

In this clip, we learn how to make a wood picture easel using only hand tools. It's easy! So easy, in fact, that this video woodworking lesson can present a complete overview of the build in just over eight minutes. For all of the details, and to get started making your own wooden picture easels, take a a look!

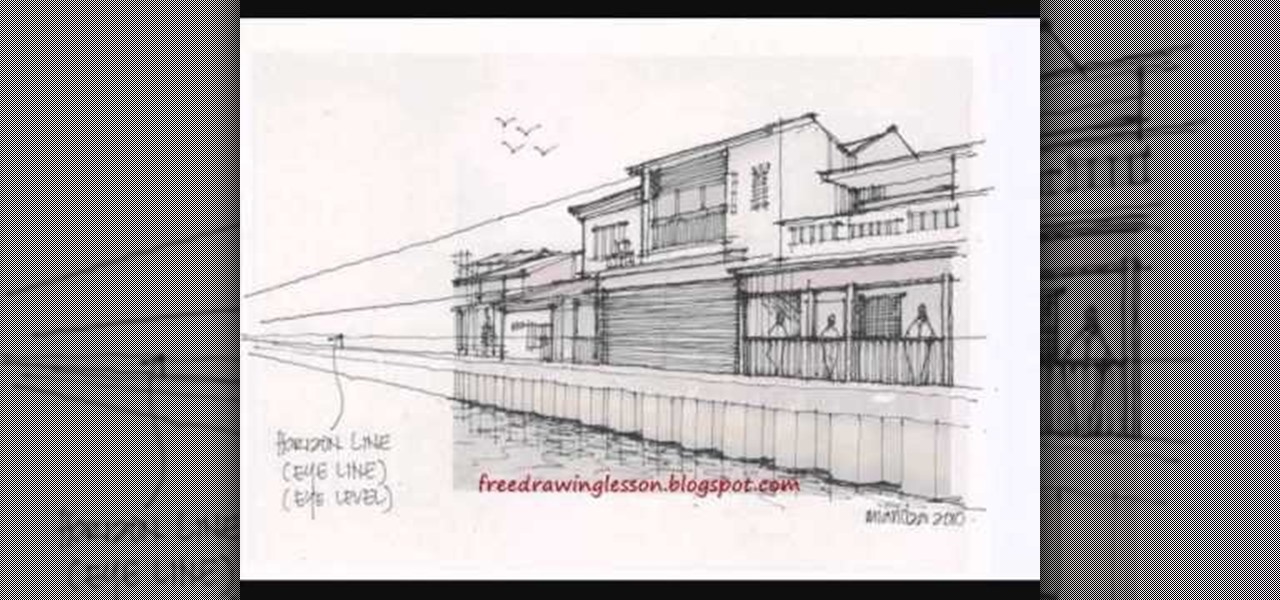
Imitation is the best form of flattery, right? In the case of this picture of a roadside apartment complex, imitation will help you learn about perspective and vanishing points, and how architectural features align with these two drawing caveats to create a realistic picture.

Powerpoint is a handy go-to program for creating all sorts of presentations - if you're a high school student. Make your future picture galleries look worthy of great concert halls (or at least worthy of your friends' compliments) by watching this tutorial.

In this video, we learn how to create a picture frame on a photo using PhotoShop. First, open up the program and open the picture that you want to change. Next, select the rectangular marquee tool from the toolbar on the side. Now, create a selection of what you want to frame. Then, click with the right key and select "inverse". Click again with the right key and choose "layer via copy". Now, click 2 times on the layer to open and the layer style menu will show up. Now put the contour to crea...

In this tutorial, Mike Montgomery shows up how to tag a friend in a picture on Facebook. First, log into Facebook and click your photos and upload your photo to the desired photo album, or create a new one. Once it's uploaded you can add a caption to the picture as you wish, then click on "publish now". If you would like to involve your friends in the picture that have Facebook, click on the "tag this photo" button. You can click on their faces in the photo, then a drop down menu of your frie...

First add video to the video section. Then take what we want to add and place it just below the video in the video section. Now look at the bar just over the video section. There will be a video camera sign. Click on it. There will be many tabs. Click on the "overlay feature tab" then click on the "Enable picture in picture" option. Now choose "Full Screen" in the drop down menu in the preset options. Now set the Video Transparency option to whatever you want.

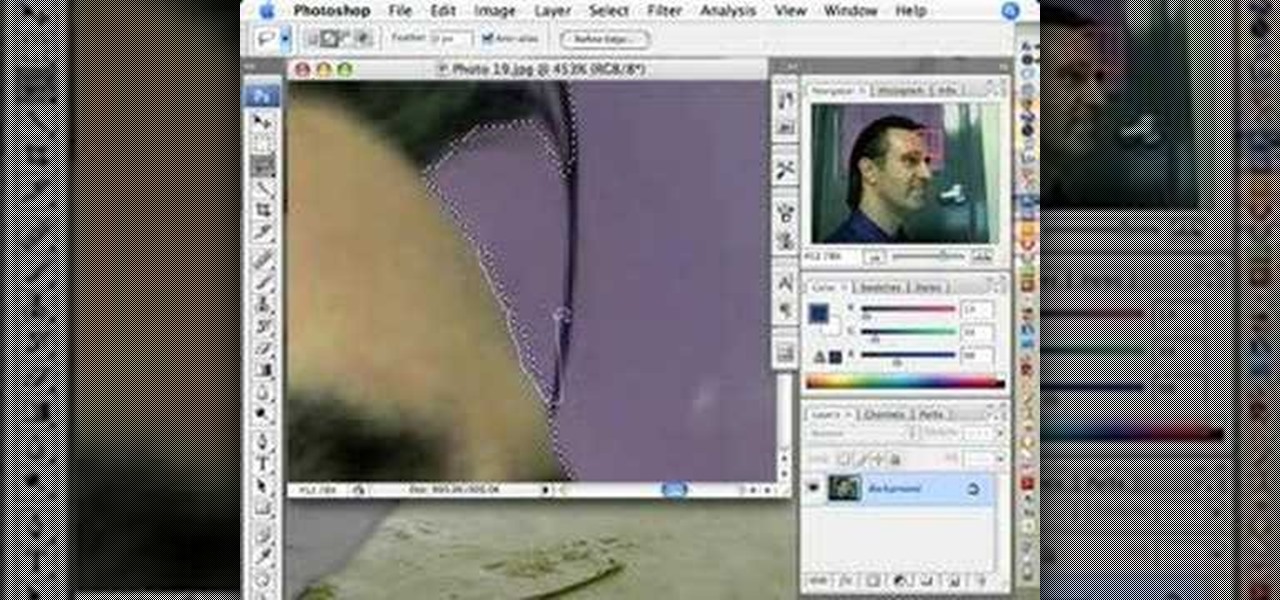
Ok, so you ditched the ex like a bad habit but now every picture on your Myspace features their face? No problem! You can use PhotoShop to cut objects out of your picture or to make people disappear. This video shows how to do both of those so you can forget the bad memories and move on! After you master the techniques shown you can also use them to cut the background out of your picture and then replace it with a background of your choice!

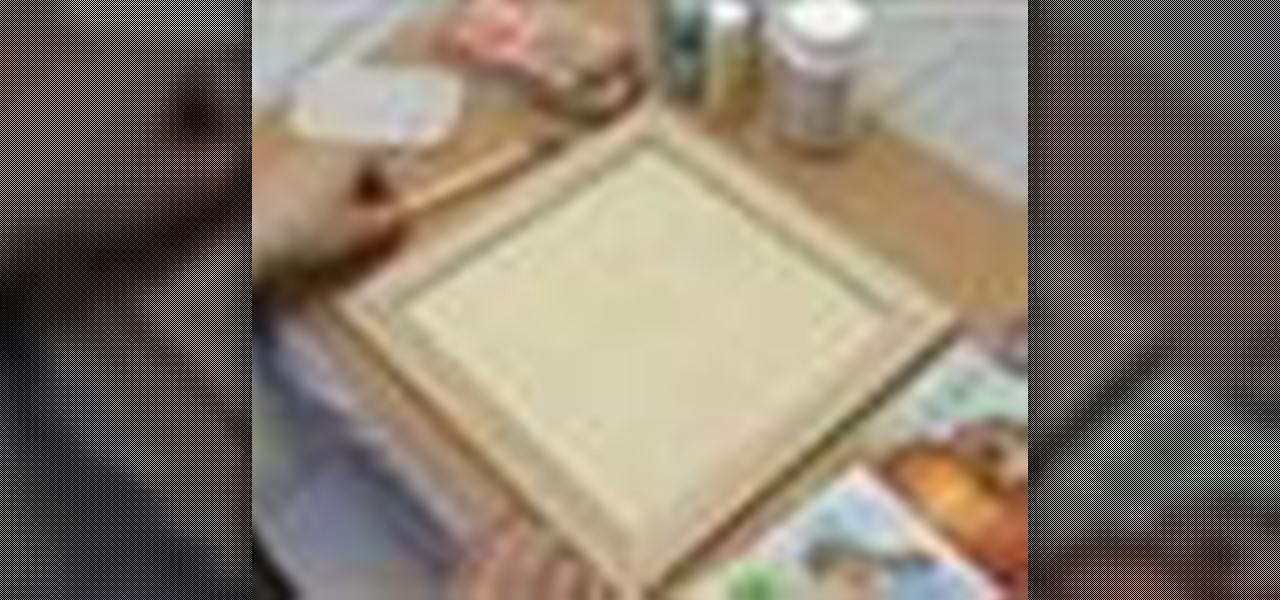
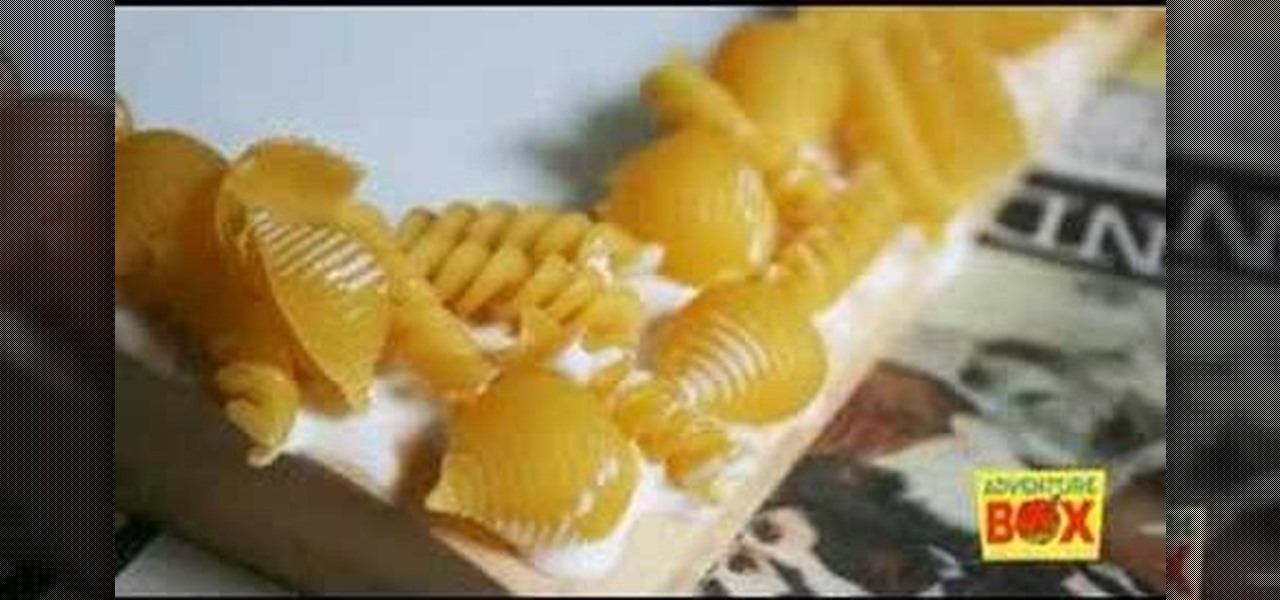
Here is a rainy day activity brought to you by Bayard books! Watch this how to video to learn how to use dry pasta, glue, paint and a wooden picture frame to create a beautiful piece of art. You kids are sure to love this fun activity. Use the macaroni picture frames to decorate any room or to give away as presents.

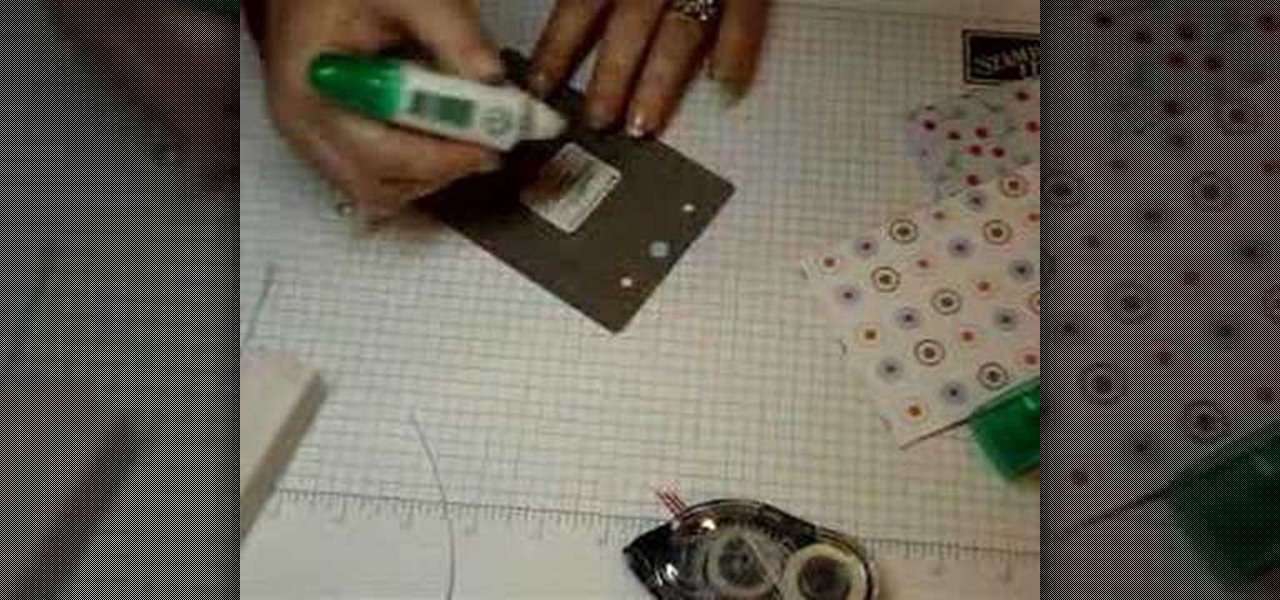
This tutorial video will show you how to make a cute picture frame. This super-sweet picture frame is a great idea for birthdays and holidays. It is made from various stamping and card making supplies, so get ready for some fun arts and crafts!

Picture frames house precious memories... so don't you want to keep them clean? Watch this video and get tips from Jonathon Stewart on how to clean picture frames.

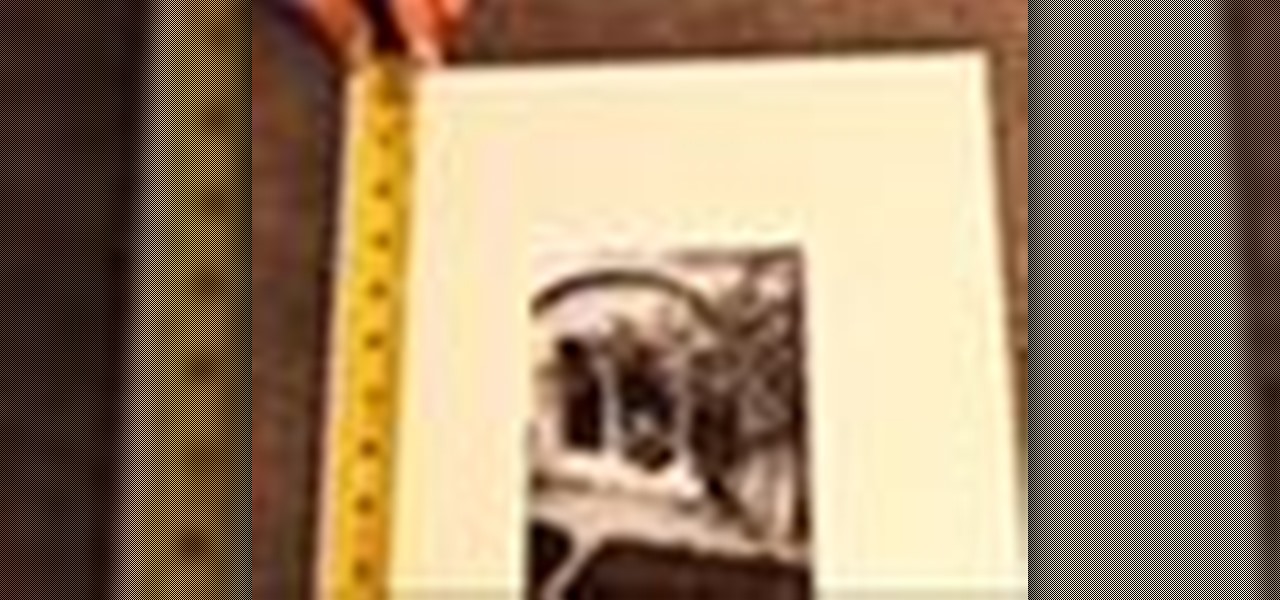
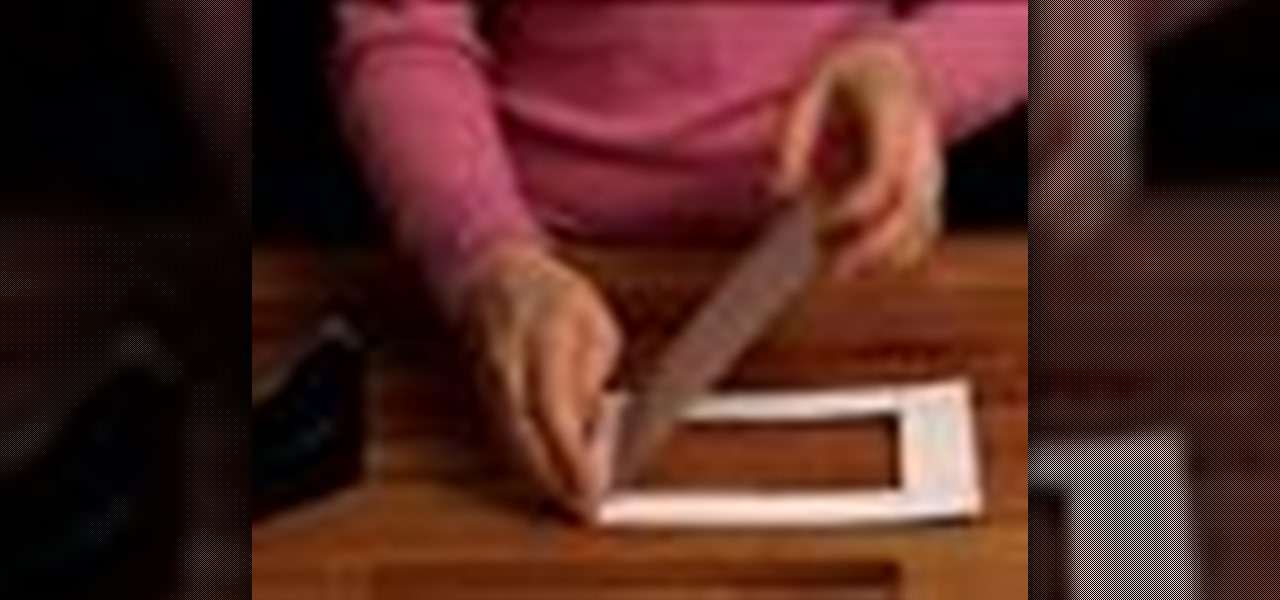
Make the most of your favorite photos by showcasing them in a beautiful mat and frame. For this project you will need: a picture,

This tutorial uses Photoshop, but any software program that lets you draw will be able to replicate this tutorial. Without using a model, here's how you can draw the comic book character Wolverine from X-Men in a variety of dynamic and powerful poses.

These days, if you hear the word "thrusting" in the same sentence as "dancing" then you probably imagine a guy doing naughty things to a girl at a seedy nightclub. But we're not talking about grinding here.

You probably haven't played with marbles since you were a kid (anyone remember Chinese checkers?), but more likely than not you still have some marbles lying around your house, especially if you have a kid.

When hanging a picture up on the wall, it's important to know exactly which is the right size for your wall. Choosing too small of a picture hanger can result in it being lost in the wall, while it being too big can result in an ugly looking hole.

Getting the perfect shot is difficult, so when you finally get that perfect picture of yourself, you want to enhance it as much as possible. But if this perfect picture took place in a humdrum location like the bathroom or your living room and you want to glorify your face even more by surrounding it with, say, an island paradise, you can transplant your head (and body) using Photoshop.

If you've ever wanted to sketch something from scratch and realize you don't have the time to take formal classes, then Photoshop might be what you need. In this helpful tutorial, you'll find out how to take your photos, or any other photo out there, and turn it into a beautiful masterpiece. So sit back and enjoy this tutorial on how to turn a picture into a sketch using Photoshop CS4.

Ever wanted to change your desktop background and can't figure out how to do this in Windows 7? This tutorial will show you how to change this background. If you have an image saved on your computer already, you can simply right click it and then choose "Set as Desktop Background" and this will set the picture as your desktop background. This can be used for any picture you have stored on your computer, regardless of location. Using this technique, you will soon be able to change your desktop...

Have you been having trouble sending picture messages on your Android device? It could be that the pictures are exceeding the size limits set by your friends' carrier. To ensure that all your picture MMS get seen, follow the instructions in this video.

Want to take a picture with your N97's built-in camera? It's an easy process. And this clip will teach you everything you need to know. For all of the details, including complete, step-by-step instructions, watch this brief, official N97 owner's guide from the folks at Nokia!

In need of a quick primer on how to customize your Last.fm profile—how to upload a picture or personalize your account settings? It's easy! So easy, in fact, that this video guide can present a complete, step-by-step overview of the process in just under two minutes. For all of the details, take a look!

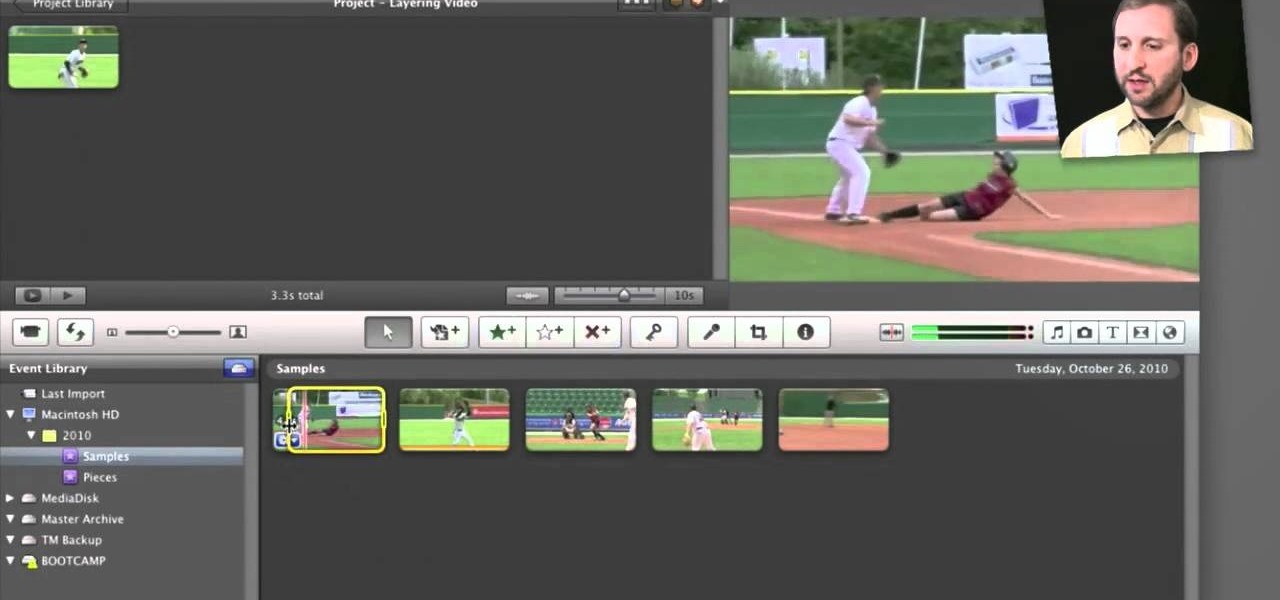
Fancify your home movies with the techniques demonstrated in this free video software tutorial, which, specifically, addresses how to create PIP, side-by-side & cutaway effects within iMovie '11. For detailed, step-by-step instructions, and to get started using these effects yourself, take a look.


