You may have all the tools and people needed for putting up a fence, but something that should not be skipped is coding. Checking the coding and property lines to your place is important for making sure you don't cross into a place that you aren't supposed to be. This can result in bad blood forming and the removal of your hard work. So check out what you'll need to do in order to prevent that, in this tutorial. Enjoy!
Stuck pixels can be a little annoying. They get jammed and you wind up with a slightly discoloured computer screen image. In this tutorial, learn how to fix a stuck pixel on an LCD Monitor, the easy way.
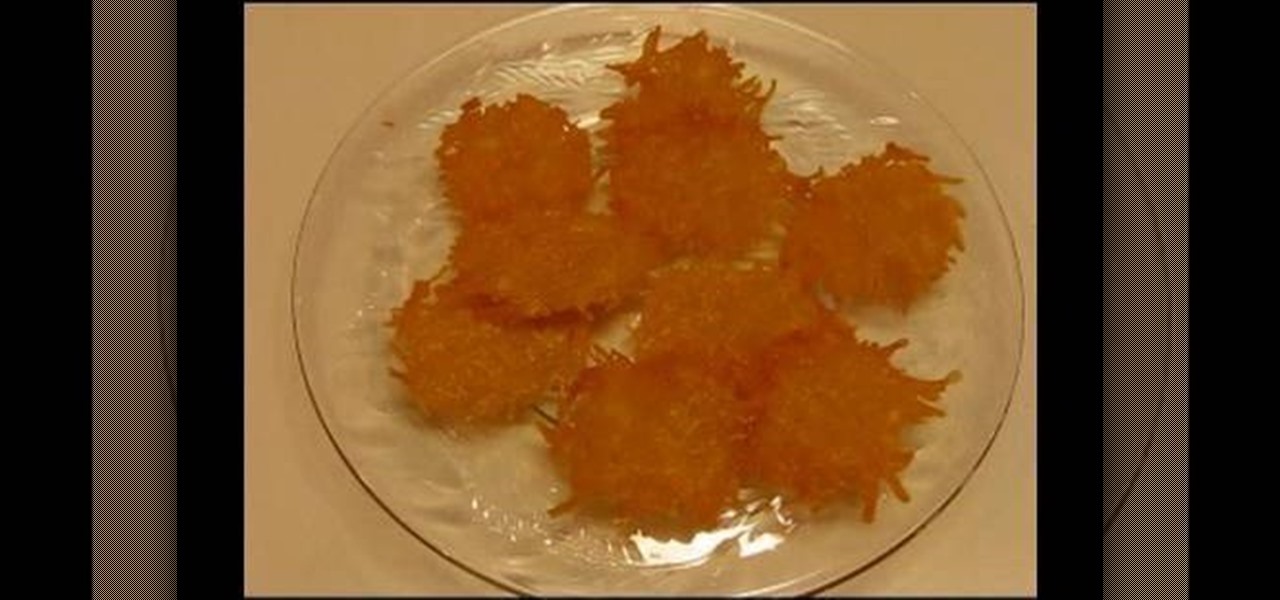
Looking to make a scrumptious snack? Learn how to make parmesan cheese crisps, a recipe from Betty of Betty's Kitchen. You can serve these with any salad, or just eat them as a snack, with no accompaniment. To make these yummy crisps, you will need the following ingredients (for about 12 crisps):
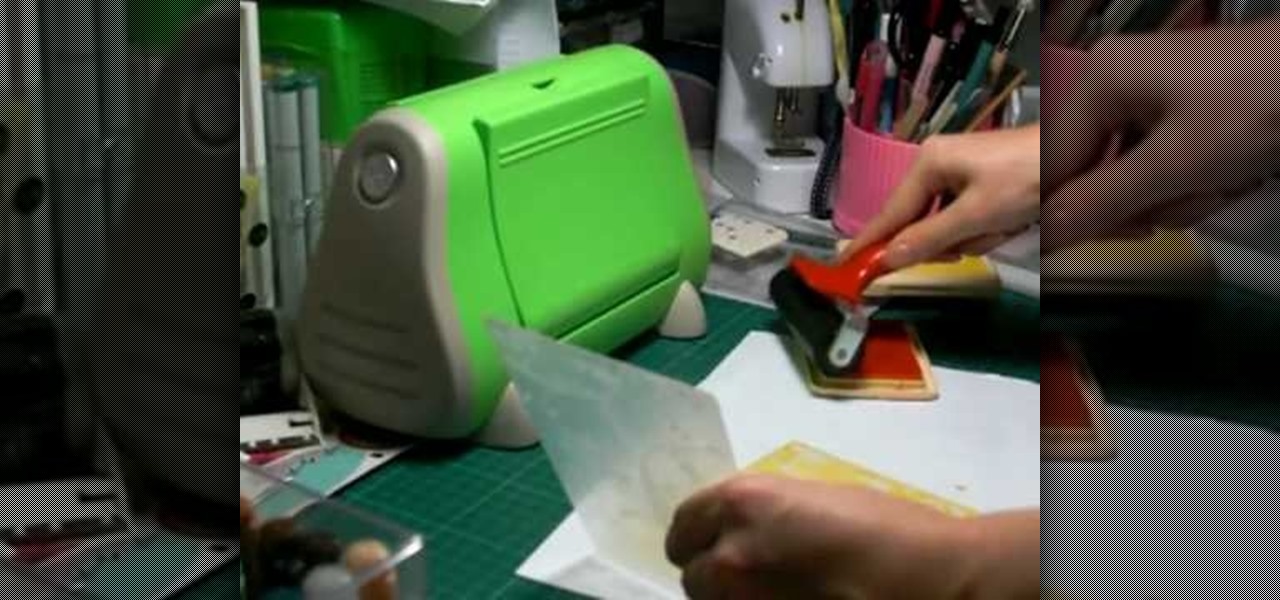
In this Arts & Crafts video tutorial you will learn how to do the Cuttlebug 'smoosh' technique. For this project you will need a brayer, ink pad, an embossing folder and a Cuttlebug. Ink the brayer well and with it apply the ink on the embossing folder. Make sure the ink is applied thoroughly on the whole surface. Get the Cuttlebug ready, place the card stock inside the embossing folder, place a couple of ‘C’ plates in the Cuttlebug, put the embossing folder with one more ‘C’ plate ab...
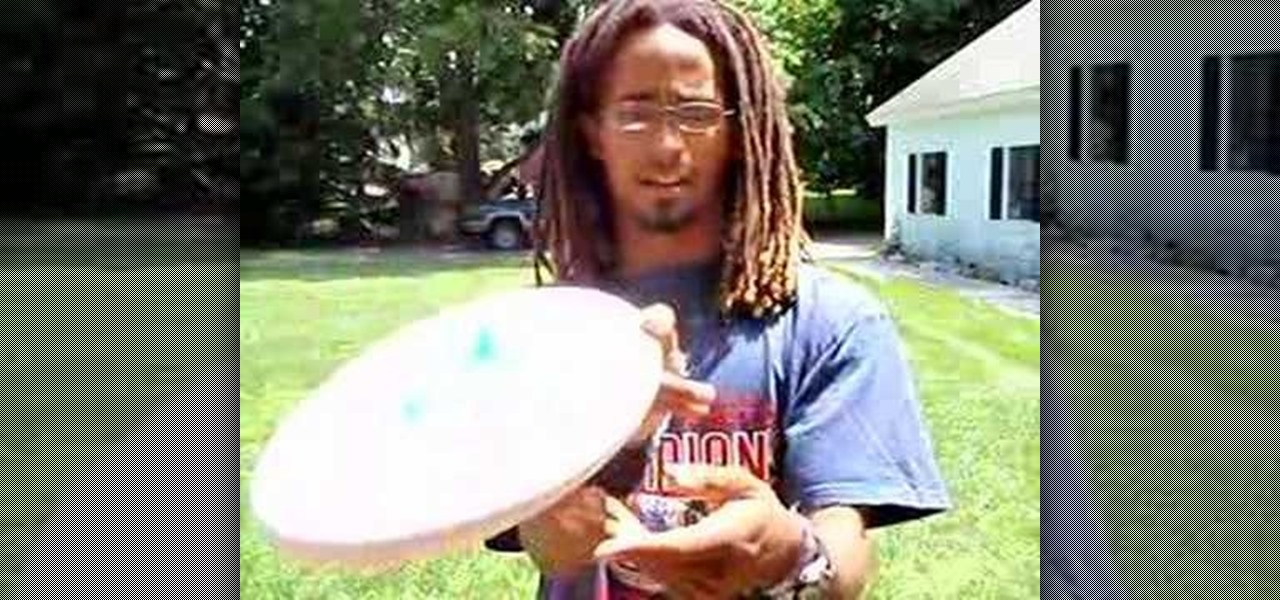
In this how-to video, you will learn how to use a forehand grip with a frisbee. This is important if you want better, more powerful throws with a frisbee. Many people use the running man grip, and others say place the two fingers on the interior of the rim. Place the thumb on top. If you can hold the frisbee like this, you will have much more control of it. The frisbee will be parallel to your forearm, allowing you to throw the frisbee with your full arm. This gives you more power and flexibi...
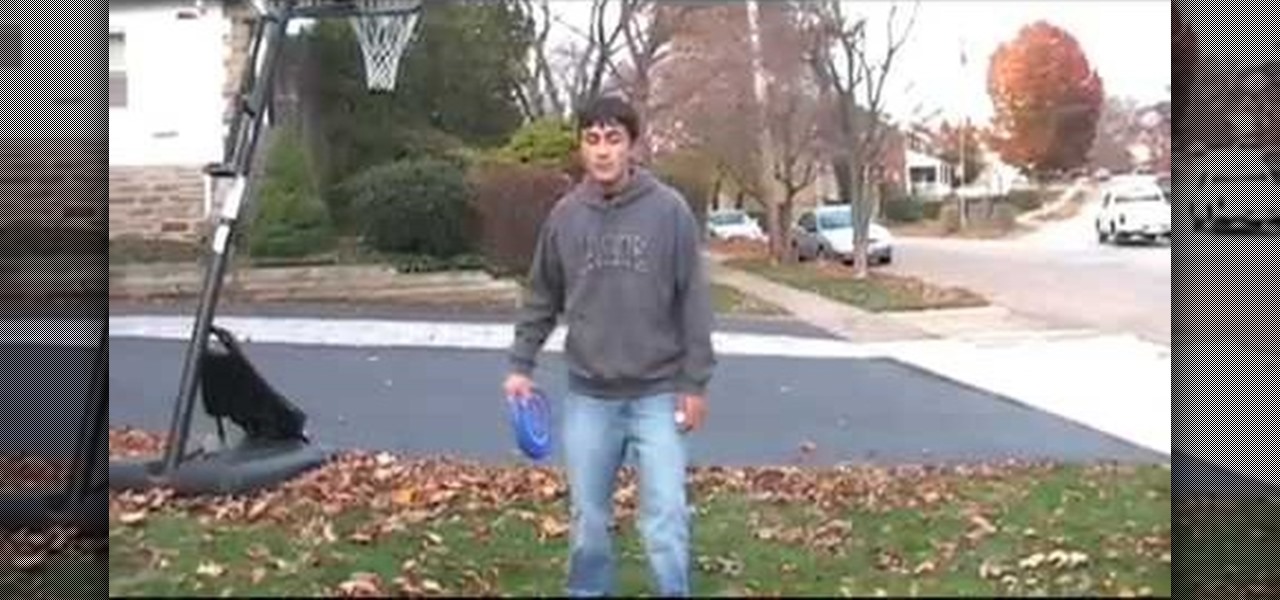
Kevin Cook shows how to throw a frisbee the right way, and the steps are as follows. First, you have to know how to stand. If you are right-handed, you pivot in your left and step on your right. If you are left-handed, you pivot on the right and step on the left. The first throw he taught is the Backhand. You come into a stance. Place your fingers to wrap around the disk. Step out right foot, then release the disk with a slight flick. The second throw was the Flick. Place the index finger and...

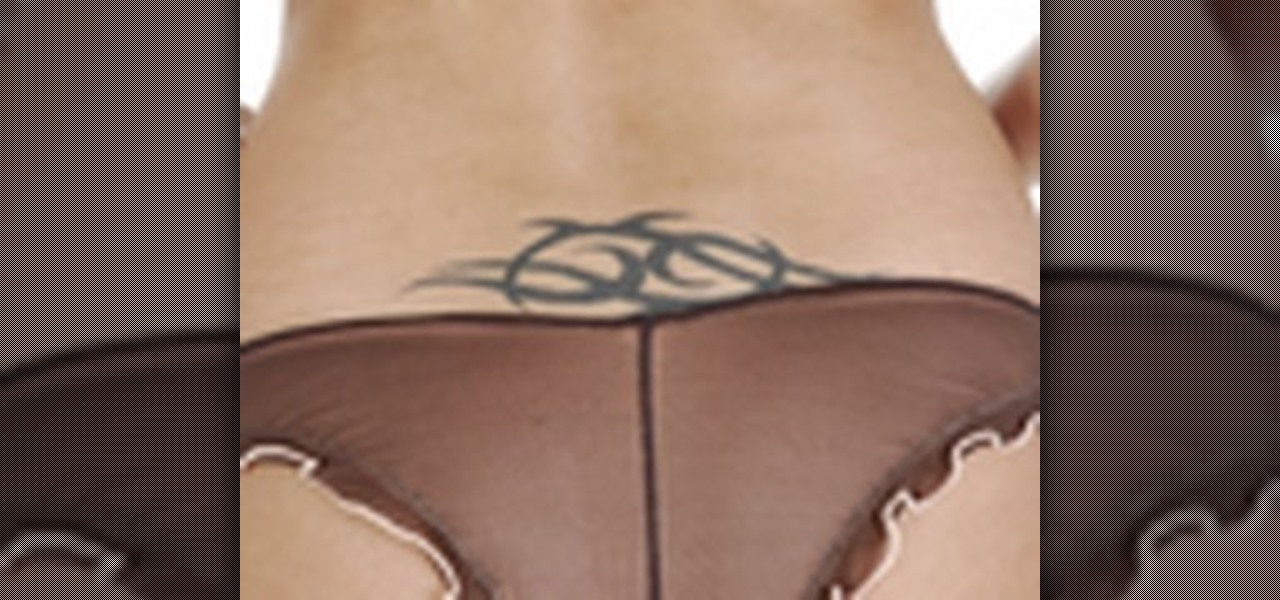
This video shows you how to remove a tattoo from a photograph using Photoshop. First, select the tattoo using the pen tool, to get a very accurate line around the tattoo. Make sure the "Paths" button is punched in. Drag the mouse and click several times to make a path around the tattoo. Right click on the path and choose "make selection". Feather the selection with a feather radius of about 8 pixels. Use the clone stamp tool and a large size brush. Hover outside the selection and click to sam...
In this video we learn how to make a puff-pastry cornucopia. This is a great centerpiece for Thanksgiving and can be used to hold different foods such as buiscuts or finger sandwiches. First we need to form the mold for the cornucopia. You take some tin foil and make about 13-16 balls. These are spacers for inside the mold. Then you cut a piece of tin foil about 30" long. You place your balls in the middle and wrap your foil up over. Start to form your cornucopia the way you like. Try to make...
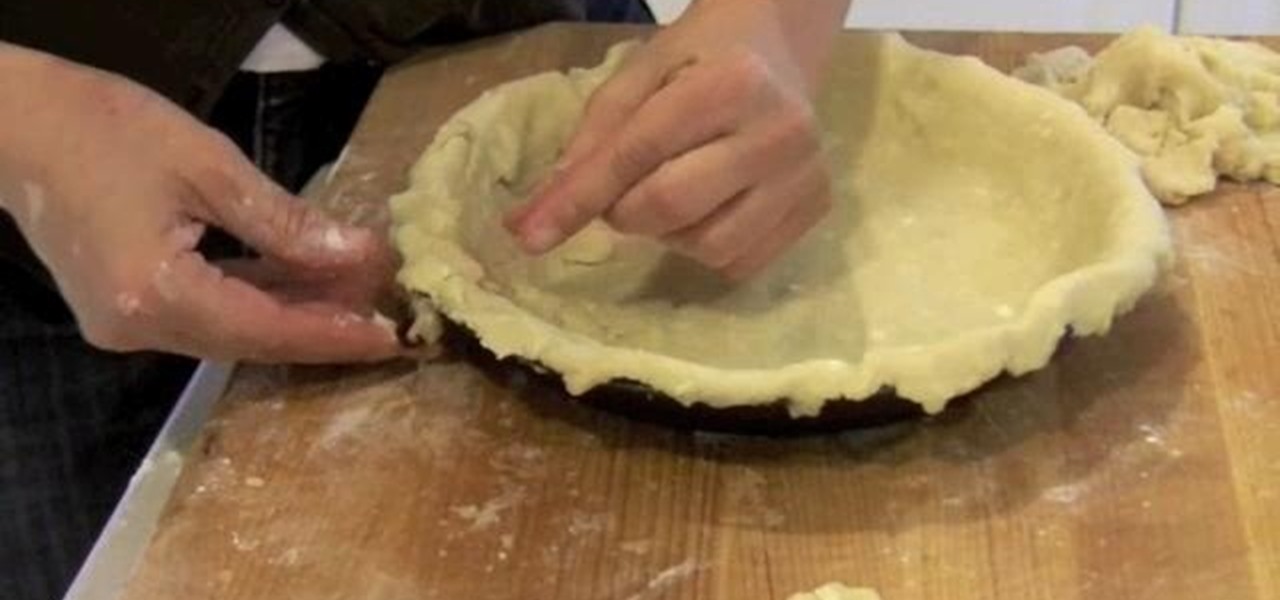
In order to prepare a Flaky Tender Pie Crust from scratch, you will need the following: a food processor, plastic wrap, 1 ¬O cups of all purpose flour, 2 T. sugar, 2 ¬O T. of solid shortening (frozen), 1 ¬º sticks of butter (frozen), water, salt, and a dash of salt.
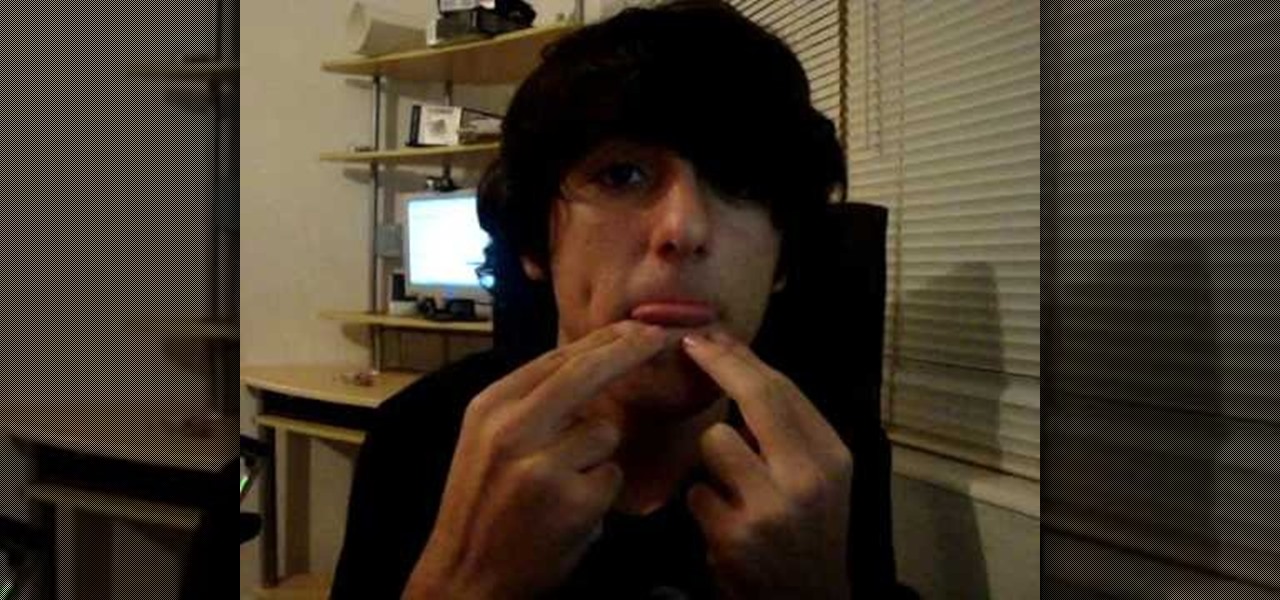
First of all you have to wash your hands thoroughly so that they are nice and clean. Now take your middle finger and your index finger of your both hands. Now open your mouth and roll your tongue upwards. Place these fingers on your rolled tongue inside your mouth. Now blow very hard. If you can whistle then you have done it. Otherwise the tutor suggests that you must practice a lot to learn this. You only have to keep following the steps mentioned. It needs a lot of dedication. You will not ...
In this video, we learn how to make french toast with panettone bread. First, mix 2 eggs with a small amount of milk and orange juice. Add vanilla, brown sugar and cinnamon to the bowl and mix together. Now grab your panettone bread and cut it into thick slices. Dip the bread into the mixture and coat it on both sides letting it soak up for a little bit. Once finished, place bread into a hot skillet for 1 minute on each side, then place in a toaster oven for 2 minutes. Once finished, it's goi...
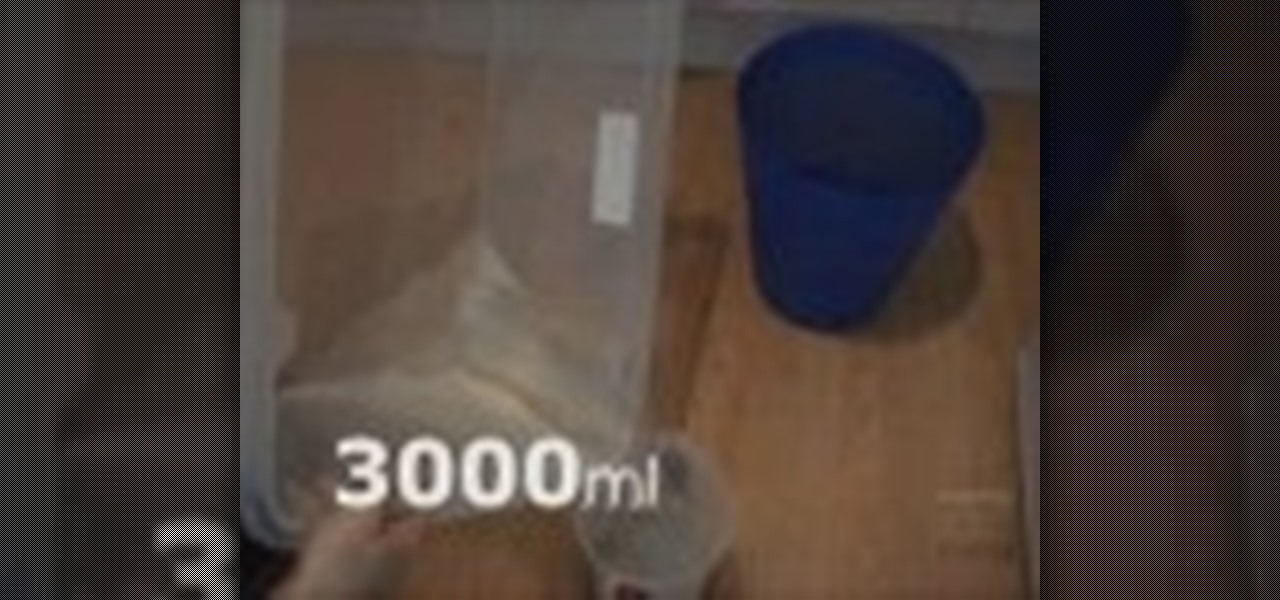
Here we will demonstrate how to measure the volume of a balloon. A balloon is not a straight edged polygon shape, usually, so the mathematical equations get that much harder, on the flip side, it may be a spherical or ovalish shape, but measurements with math alone are detrimental due to the uneven sizes of the balloon. Here is how to do it properly. You will need a bucket, preferably, to hold water, a larger container than your original bucket, and a measuring container. Place the bucket ins...
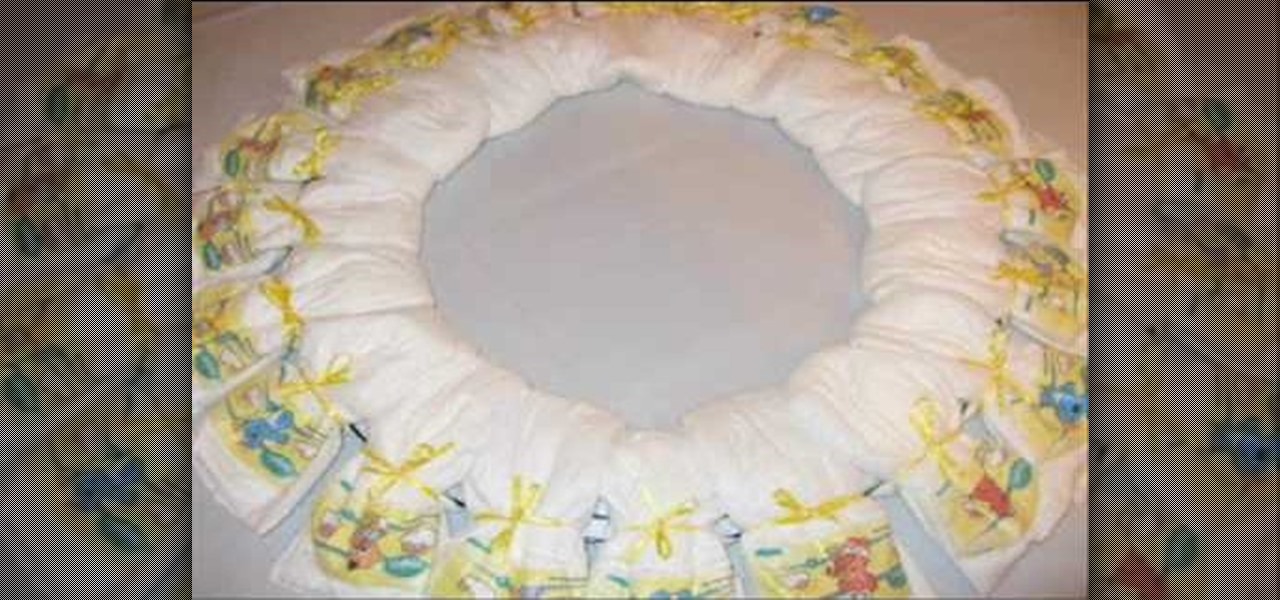
In this how-to video, you will learn how to make a disposable baby diaper wreath. You will need 20 size 1 disposable diapers and a wreath that is 12" to 18". Scissors, ribbon, and bows will be needed. Purchase some baby accessories such as pacifiers and toys. First, open the diapers. Put them in a sandwich shape around the wreath. Time them to the wreath with the ribbon. Do this until the entire wreath is filled. Make sure they are tied on tight. Place a toy on every three or so diapers. Tie ...
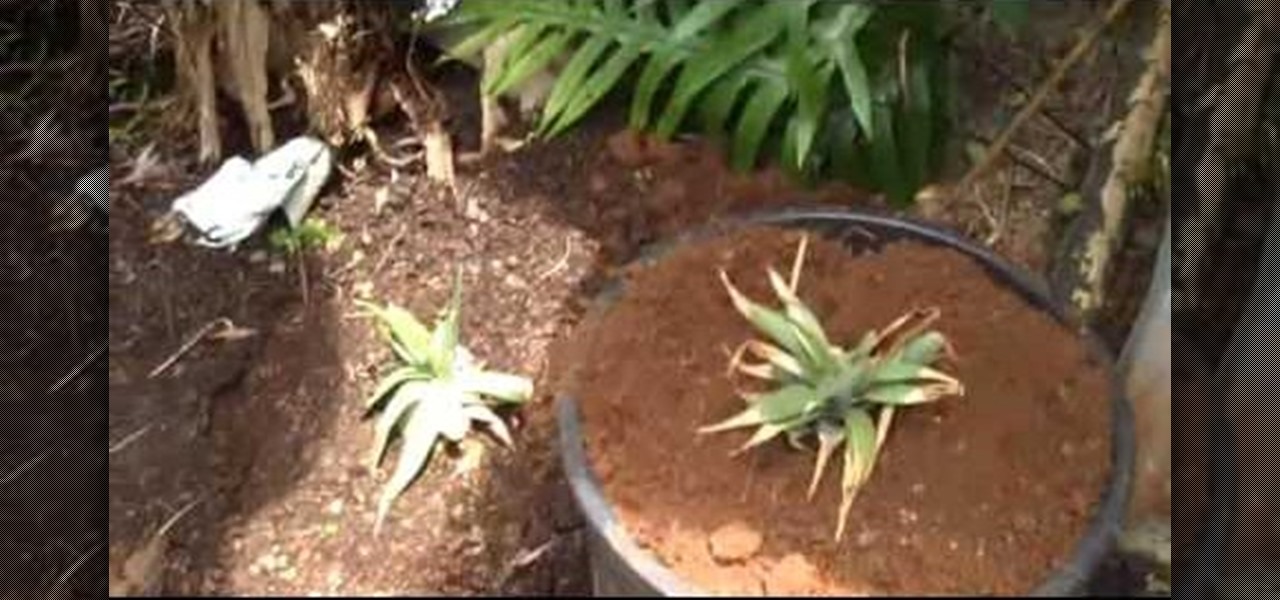
In this tutorial, we learn how to grow pineapple almost anywhere. First, buy a pineapple and cut the top off of it. Let the top of this dry out for around a week. Now, pull off all the dried up dead stuff from the bottom of the pineapple head. You will now need a large pot with soil and you will dig a hole in it. In that hole, place your pineapple head inside of it and place dirt around it, but not covering the leaves of the top of the pineapple. Now, water your pineapple and let it grow. Alt...
In this video, we learn how to make teddy bear cookie pops. To start, preheat your oven to 375 degrees. Ingredients you will need: 1 pouch pre-made peanut butter cookie mix, 3 tbsp vegetable oil, 1 tbsp water, 1 egg, 12 wooden sticks, 24 flat round candies, 12 Hersheys kisses and 1 tube red decorating gel. In a mixing bowl, mix together cookie mix, oil, water and egg until you have a dough. Next, shape your dough into small balls, making a bear head shape, and place on an un-greased cookie sh...
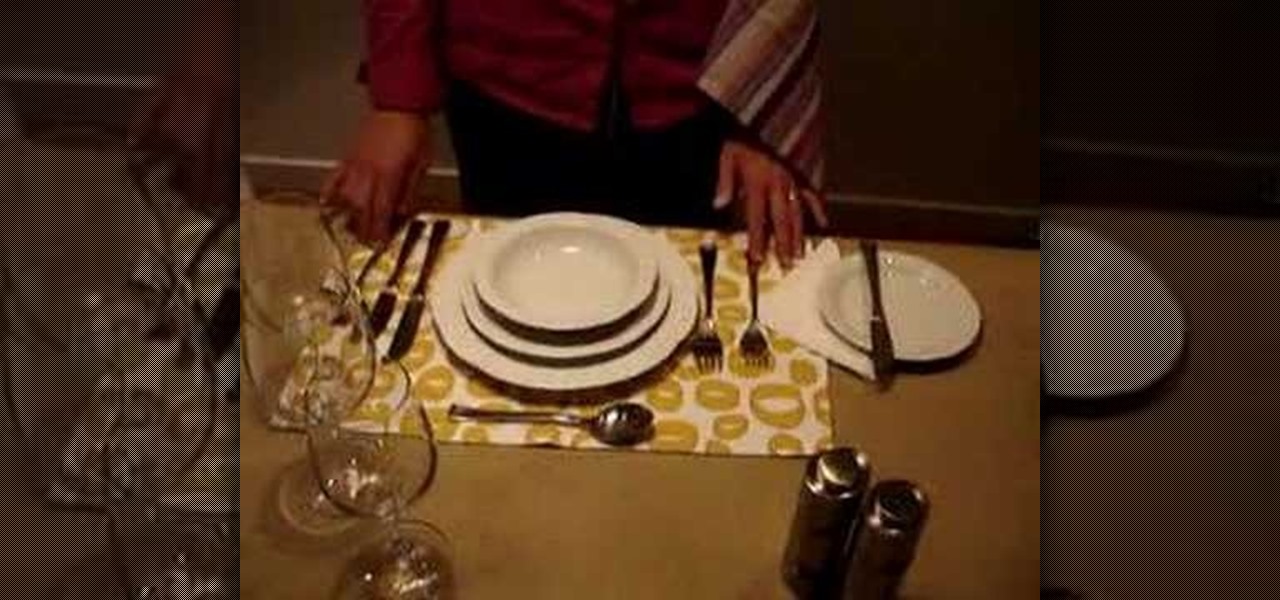
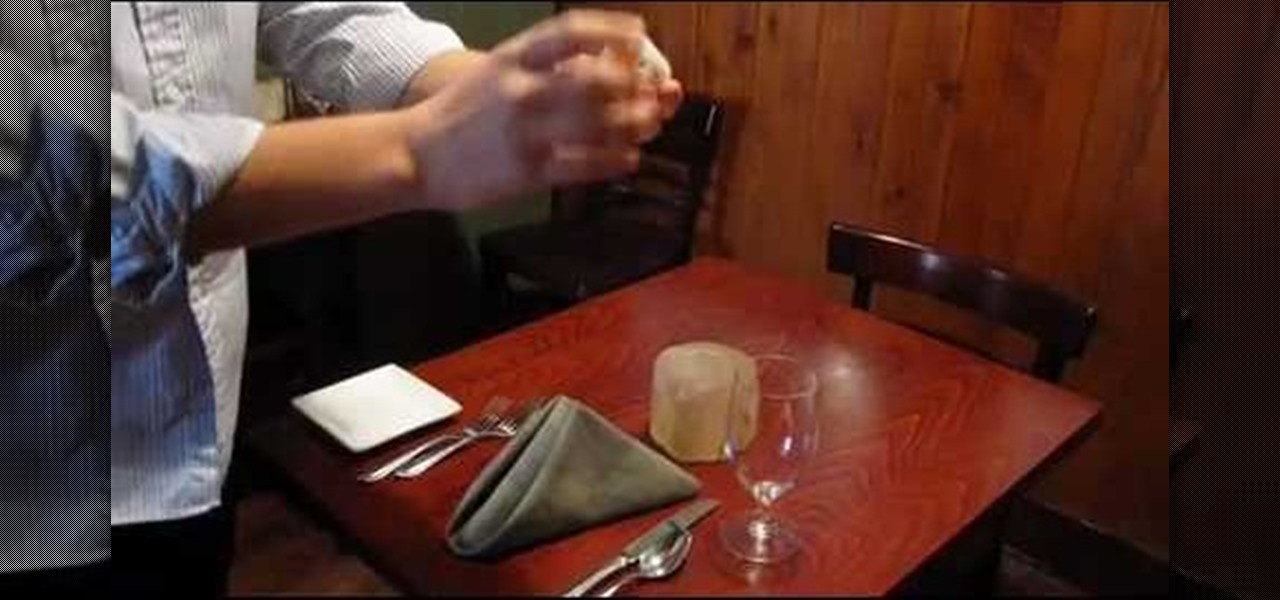
In this video tutorial, viewers learn how to set a beautiful dinner table. The utensils, flatware and glassware is paramount is correct setting. The utensils are arranged in the order that a person uses them. The butter knife, forks, napkin and bread plate are placed on the left of the dinner plate. The knives, spoons and drink-ware are placed on the right of the dinner plate. Utensils and flatware are lined up about 1" from the table. There should never be more than 3 utensils on the side of...
This video shows how to paint your nails with a very attractive red and yellow nail art design. Using a glitter nail polish, dip it in yellow glitter powder. Pat it on the nail, rather than brushing it on. Then apply large glitter shimmers randomly all over the nail, and this forms the background.
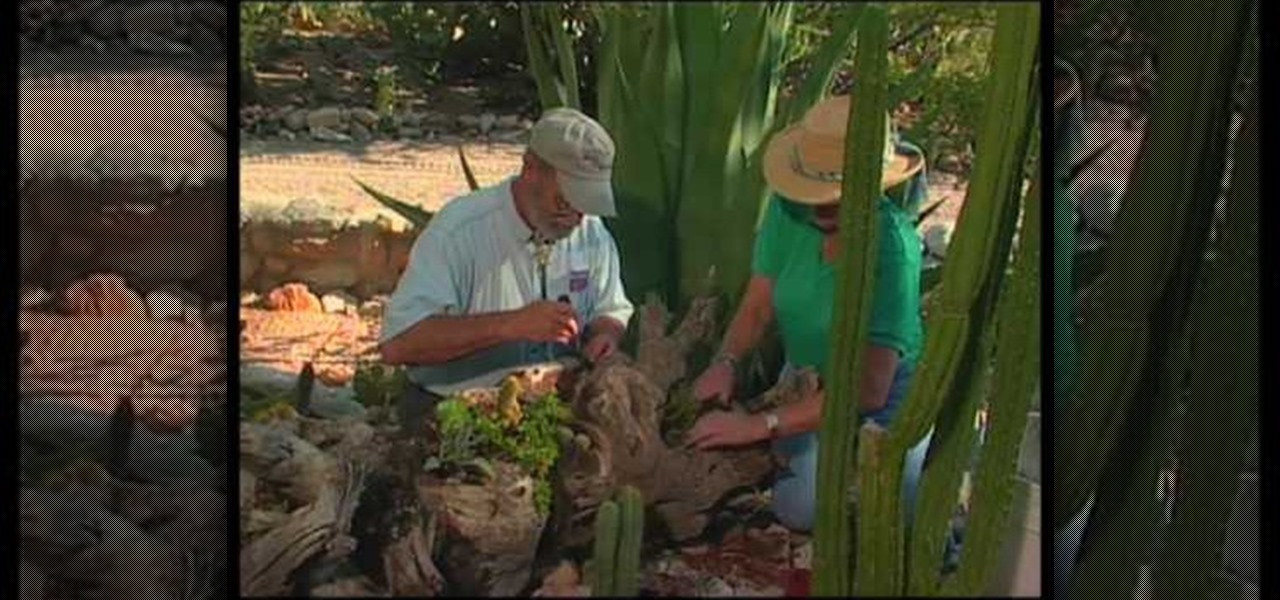
In this how to video, you will learn how to use an old tree log as a planter for your plants. To do this, you must have an old tree log. The trick is to create and make the holes bigger in the log. Some of the holes may be too deep, so you must place netting to hold the soil back. The netting will last as long as the log. To make the holes bigger, use a hammer and chisel to shape it. Drilling and burning does not work as well as hammers. Placing the plants in and watering it will cause the lo...
Grapes, raisins and pomolo are placed in jars and spring water is added to them. The jars are tightly covered and left for 5 days to a week; until fermented. The jars are shaken once daily and the lid is opened to allow air to get in. After maturity, where they made fizzing sounds and they started to swell to the top . They are strained and the liquid is put to back into the jars, closed and left for a week. An amount of the liquid is poured out of the jars and flour is placed in each and sti...
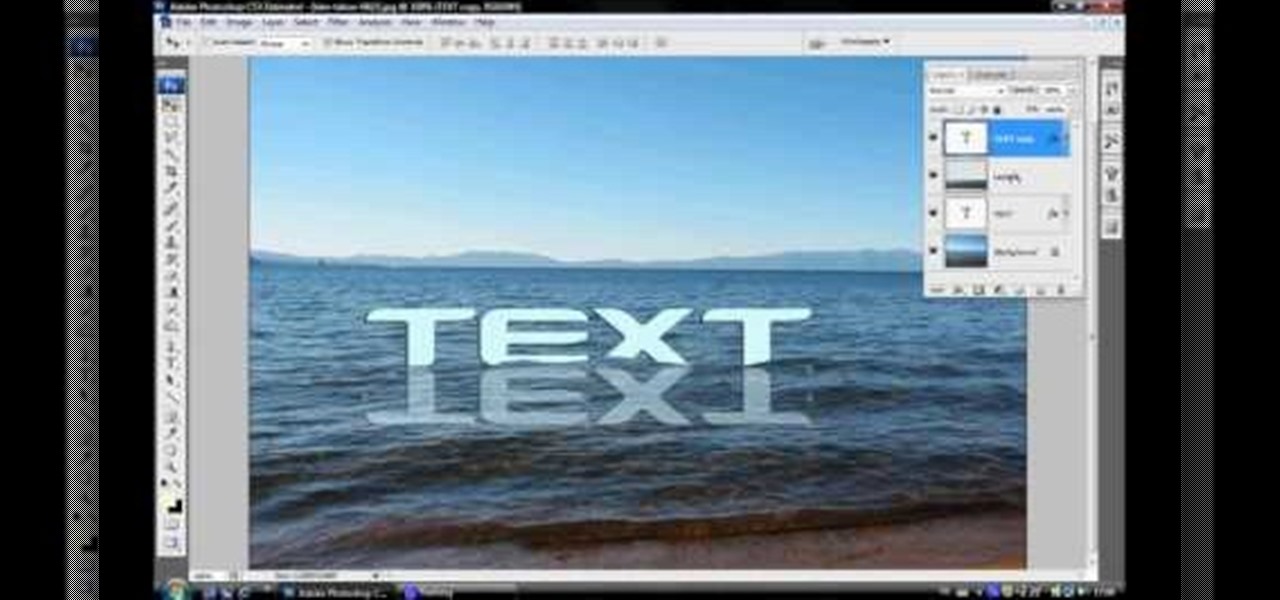
In this video tutorial, viewers learn how to make floating text on water. Begin by importing the water image into the program. Begin by selecting the polygonal lasso tool in the toolbox and select the top of the water. Once you have made the selection, right-click on it and select Layer via Copy. Then select the text tool and type in your text. Create a contour to make the 3D and give the text a light color. Then place Layer 1 over the ext layer and use the selection tool to place it behind t...
In this video tutorial, viewers learn how to ice cupcakes. In order to ice a cupcakes, users will need a piping bag, tips, coupler and a spatula. Screw the coupler at the end of the piping bag and select a tip to put on the end of the coupler. Fold the bag 2-3 inches downward and place it into a cup to hold it. Now scoop some icing with the spatula and place it inside the bag. Squeeze the bag to bring the icing down and tie an elastic on top to close it. Viewers will learn how to 3 different ...
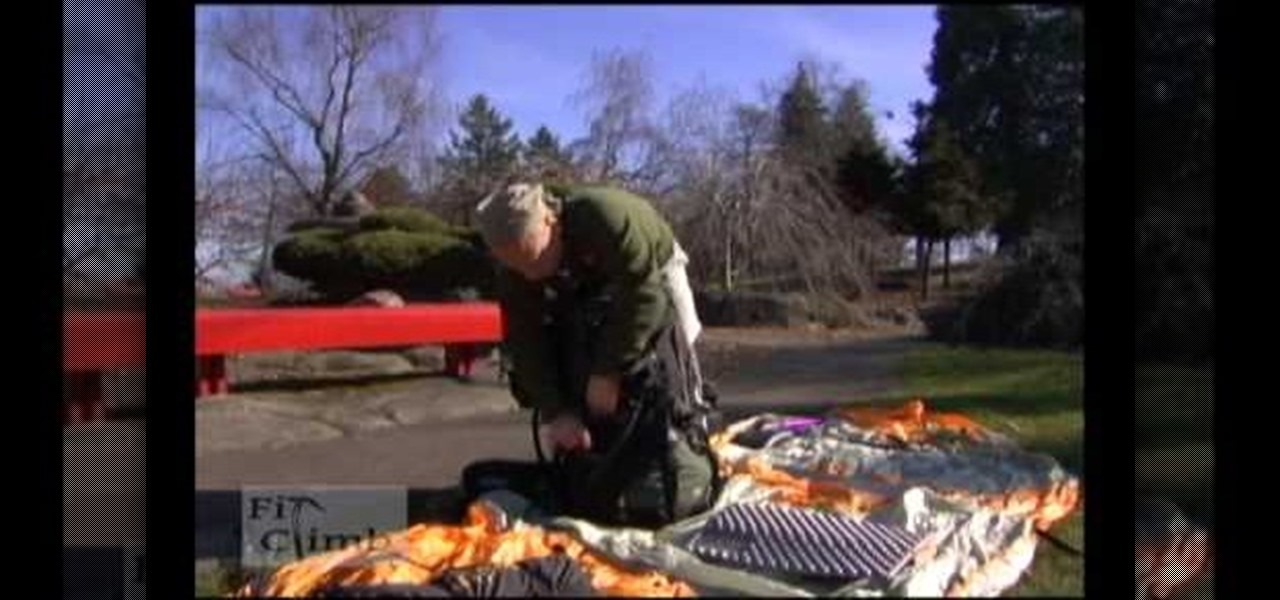
The video demonstrates how you should pack to be fully equipped and prepared for a backpacking trip that lasts 2-3 days. Gather all of your equipment including clothes, food, water, climbing gear, emergency kit, sleeping back, and more. When you start to pack, you want to make your center of gravity is very low so pack your heavier items near your back and lighter ones that aren’t required immediately during your trip such as your sleeping bag at the bottom of the backpack. Also remember th...
This video is a tutorial on how to set a table in a restaurant. The table should first be wiped thoroughly with a product called Thieves, a mixture of organic oils that contains no chemicals. Be sure it is dry before people are seated.
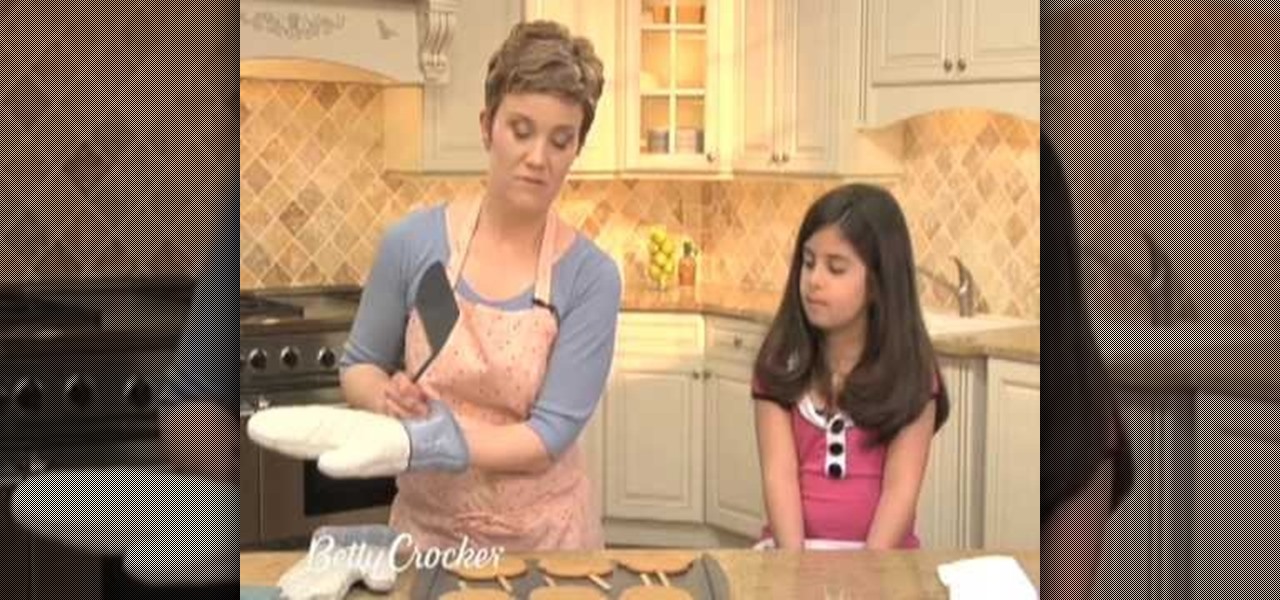
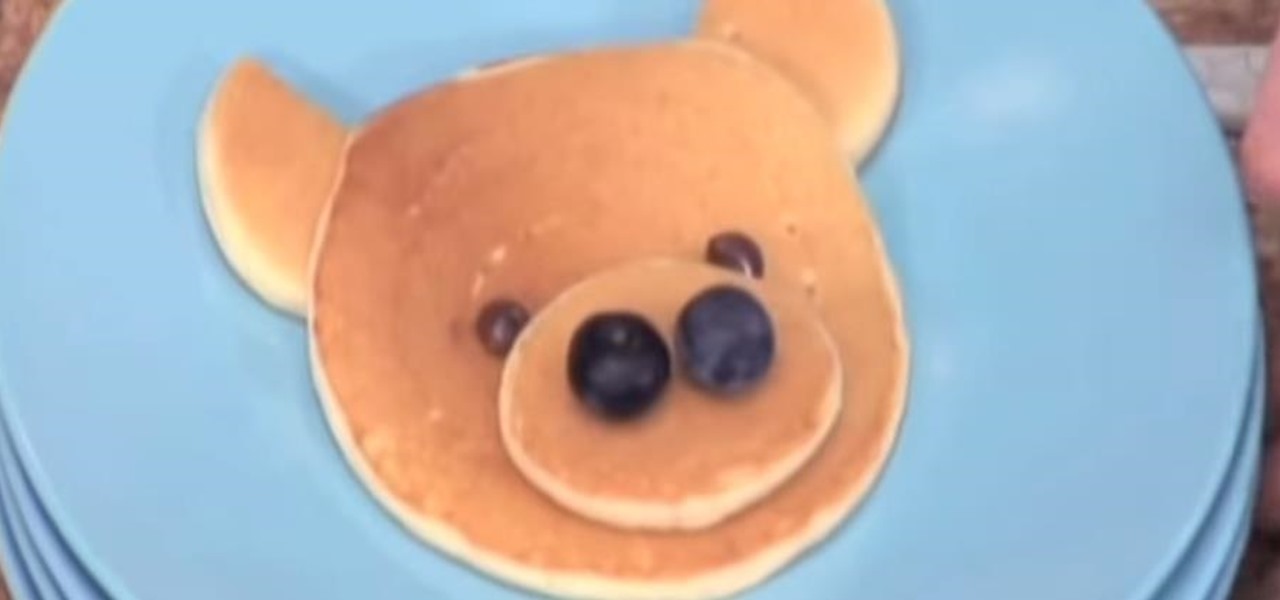
Liv Hansen with Betty Crocker TV demonstrates how to make pancakes in fun shapes that kids will love. Make sure to pour your pancake batter into a squeeze bottle for better control when creating your pancake shapes.
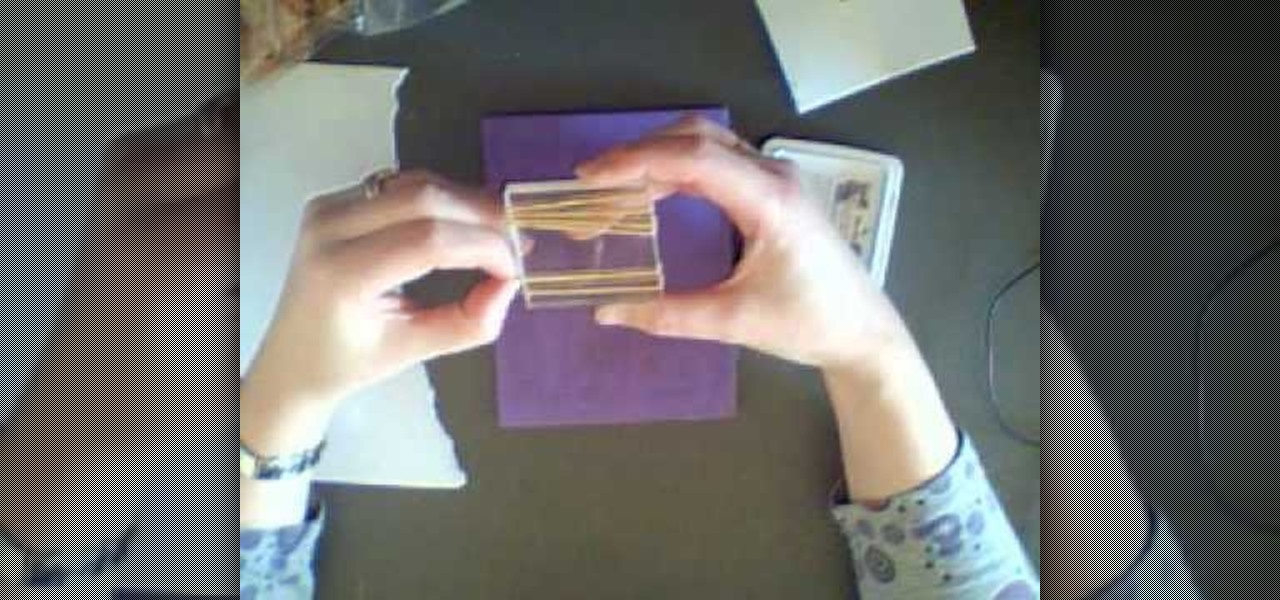
First of all you need an acrylic block, stamping pad, packet of rubber bands and a piece of paper. Open the rubber band packet and then you have to choose several rubber bands which are of same size. Now you have to get these rubber bands on your acrylic block. You can also use a wooden block or an old stamp instead of acrylic block. Now you have to sort out the rubber bands so that they are placed in order with a gap of around a quarter of an inch between each one. You also have to adjust th...
In this tutorial, Rachel Ray shows us how to make coconut cupcakes. First, grab pre-made cupcake mix and add in shredded coconut into the mixture. Place this batter into the fridge overnight. To make the frosting, add confectioners sugar, milk, vanilla and butter together until it makes a fluffy texture. You can place the frosting into small bowls and add food coloring in any colors that you like. Put these onto your baked cupcakes and add toppings and sprinkles as you wish! You can also use ...
Small creatures like rabbits can be a large problem for gardeners when they begin to feed on garden plants. John White shares some tips on how to keep rabbits from ruining your plants. Rabbits will feed on almost anything, especially when they’re starving, so it’s hard to rabbit-proof everything. However, you can still try to save the plants that are most prone to dying with rabbits and rodents in the area. For instance, if you just planted a young tree, you can put netting around it with...
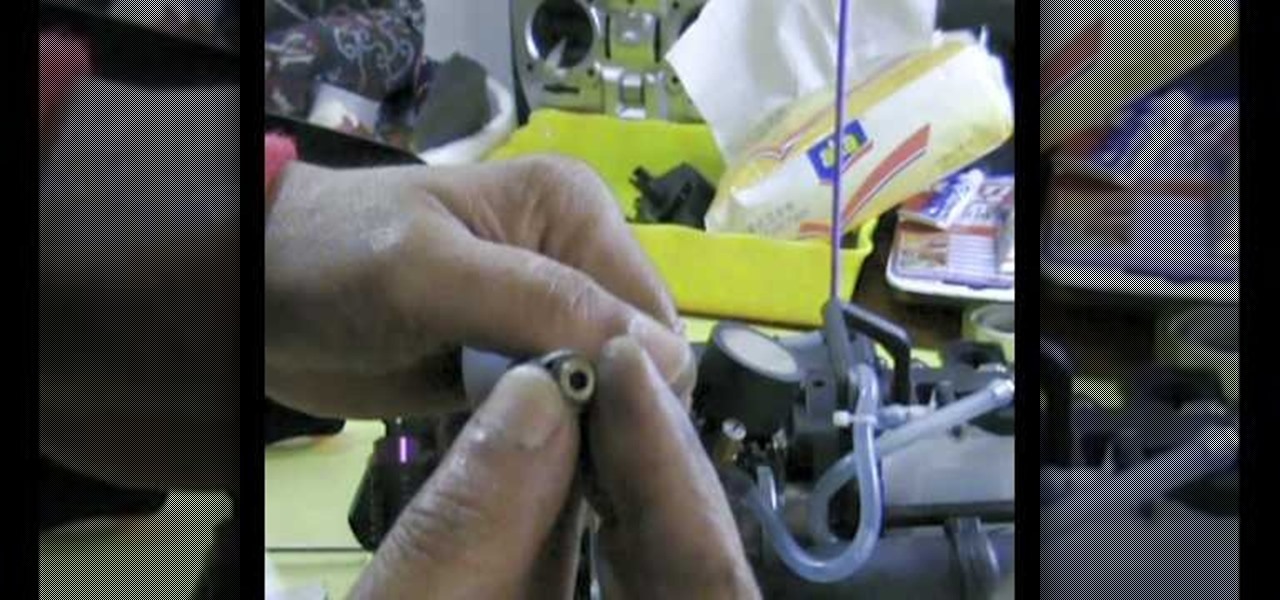
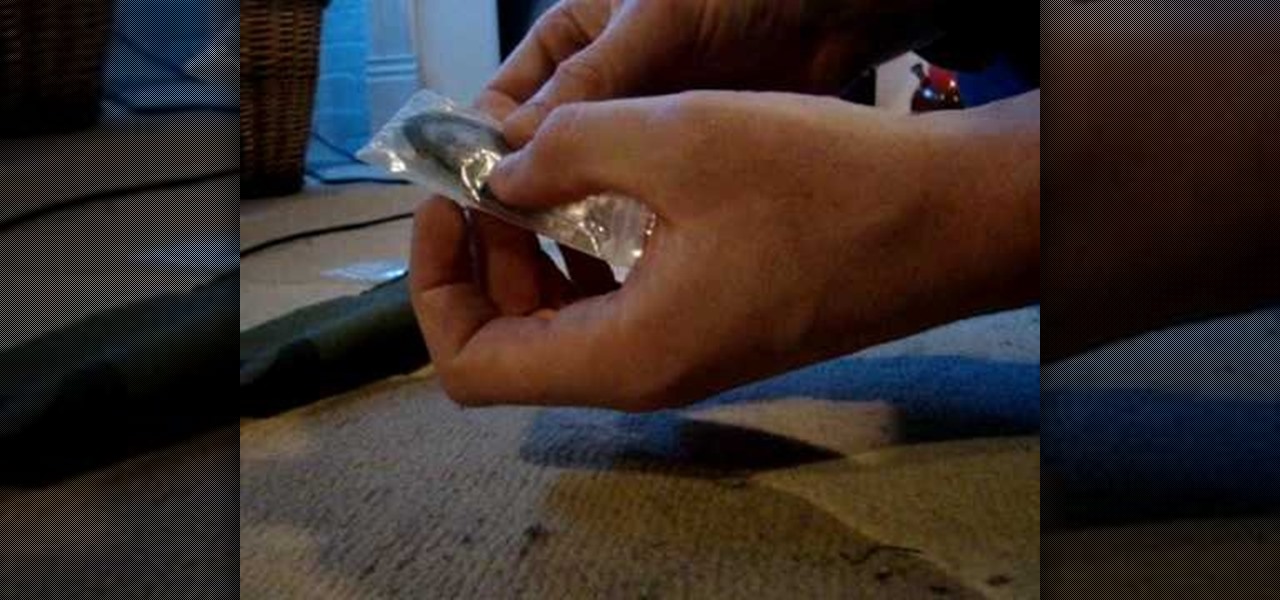
In this how to video, you will learn how to install and replace the glow plug in your RC car. Glow plugs are used to ignite the fuel in the engine. A glow ignition makes the filament in the plug red hot. To check if the glow plug works, place it on the ignition and check if the filament is bright red. This is very easy, as you just need a 4 way wrench. Slide it in the engine and take the glow plug out by spinning the wrench counter clockwise. Once this is done, place the new glow plug in and ...
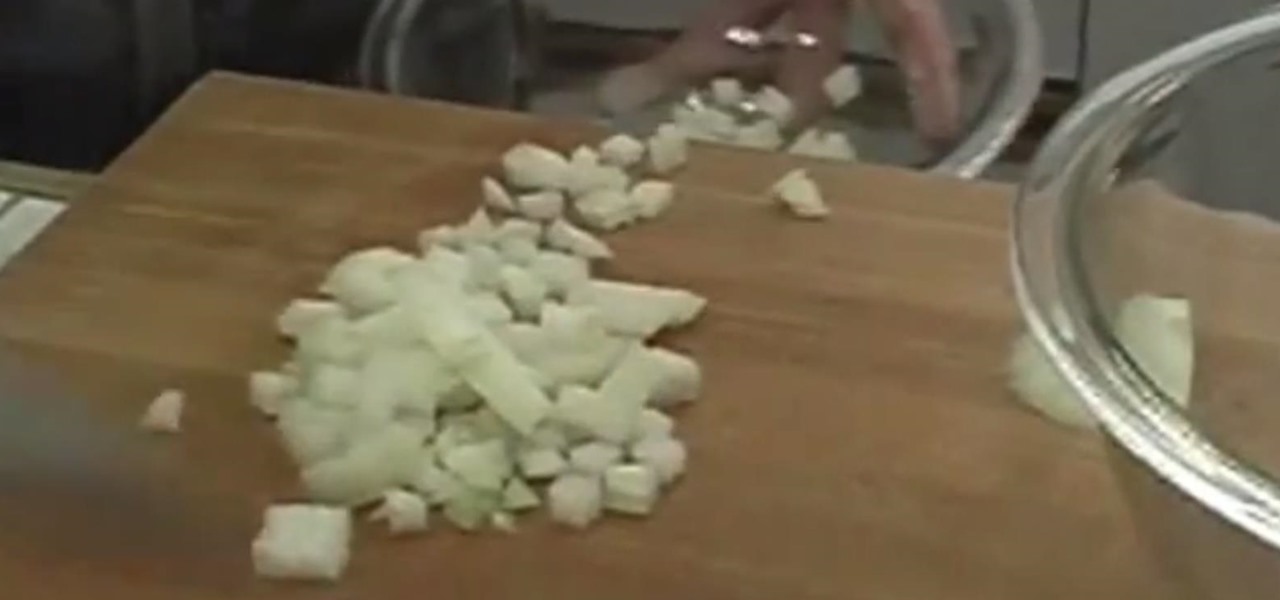
Michael Andrew, from Meals Americana, gives us some interesting tips on dicing an onion without tears.
In this video, a professional hair artist shows how to make a quick French twist hair style. Lift the hair up and backcomb it a little at the neck. Smooth the rest of the hair down over that. Gather the hair like a ponytail and twist it while moving it upward. Put a bobby pin at the top and another at the bottom. Twist the ends of the hair that are at the top so they fluff out, and add another bobby pin to hold them in place. Spray hairspray all over to hold the style in place. This is a simp...
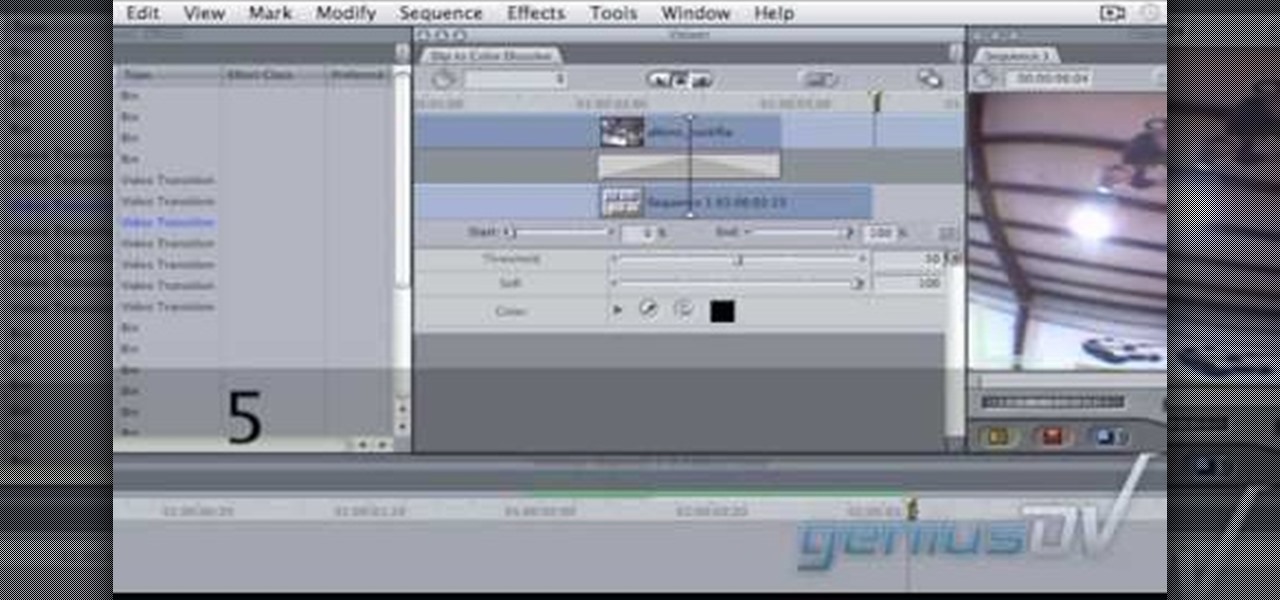
In this video tutorial, viewers learn how to create a freeze-frame effect in Adobe Final Cut Pro. Begin by placing the time line indicator to where you would like to place your freeze-frame. Press Shift and N to create the freeze-frame. The default user preference is 10 seconds. To change it, change the time and click on the insert button to splice the new freeze-frame time into the time line. Now click on the Effects tab and select the Dip to Color Dissolve under Video Transitions and Dissol...
This is a video about how to make a greeting card in circle shape. First take the card and fold it into half. Next take the colluzle and place it on the card. Mark a circle using colluzle on the card. Cut the card on the marking and leave some space at the folding of card. Take the design paper to place on the card. Next cut the design paper in round shape. Make sure that the shape should smaller than the card you have already prepared. Next stick the design paper to card. Next take one ribbo...
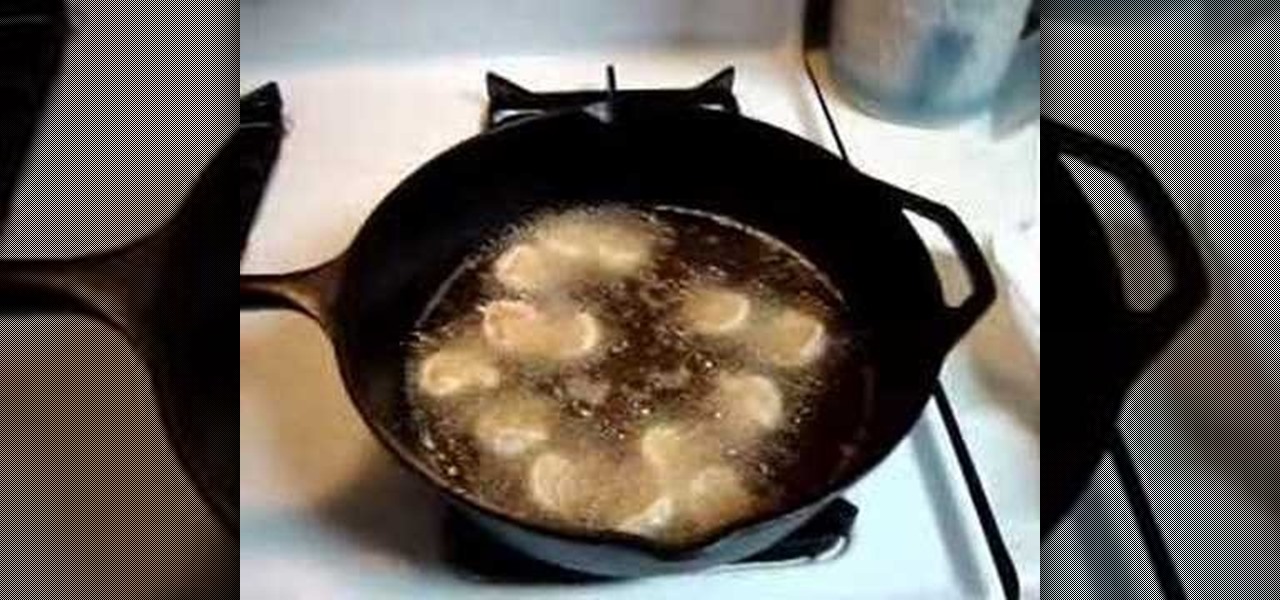
In this how to video, you will learn how to make fried shrimp the Geechee way. First, salt your shrimp and coat them with flour. Let them sit for a minute after this is done. Turn on the stove and wait until the oil starts bubbling. Now place the shrimp in the pan. Next, fry them up in a pan with peanut oil. This will take about two minutes. If you have a lot, only do a small batch at a time. Once they are done, place them in a plate with a paper towel to soak up the excess oil. Once they are...
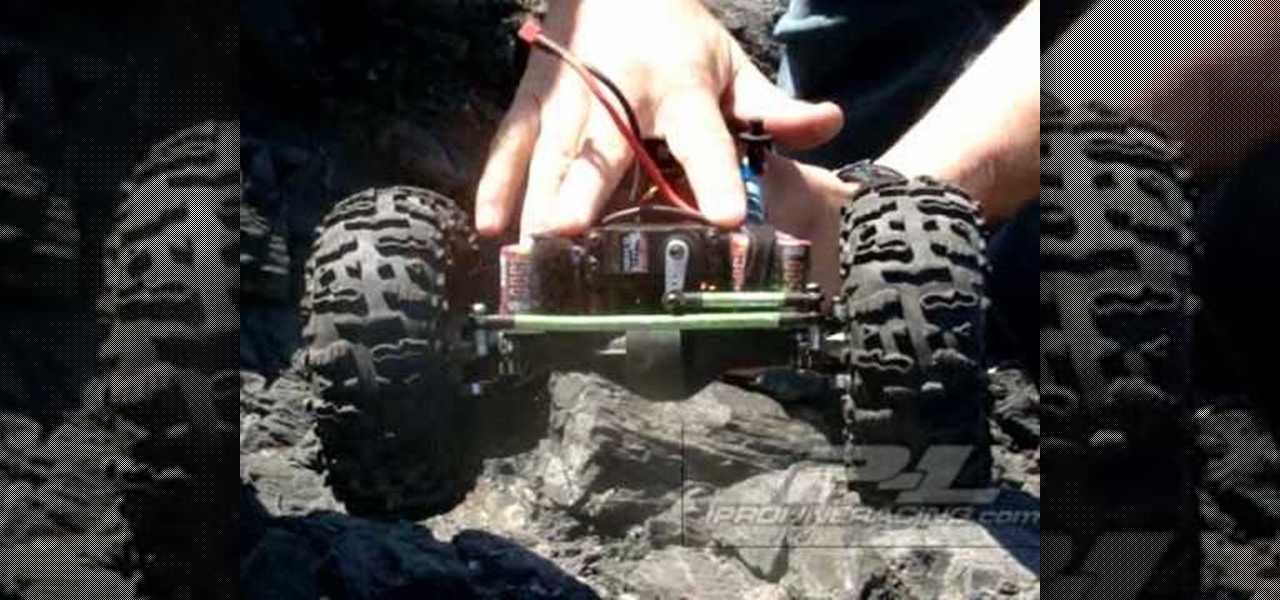
The placement of your battery on a crawler RC can be a pretty important task that you need to know. This video tutorial gives you a detailed explanation of where to place your battery and how to msximize the performance of your vehicle. Enjoy!
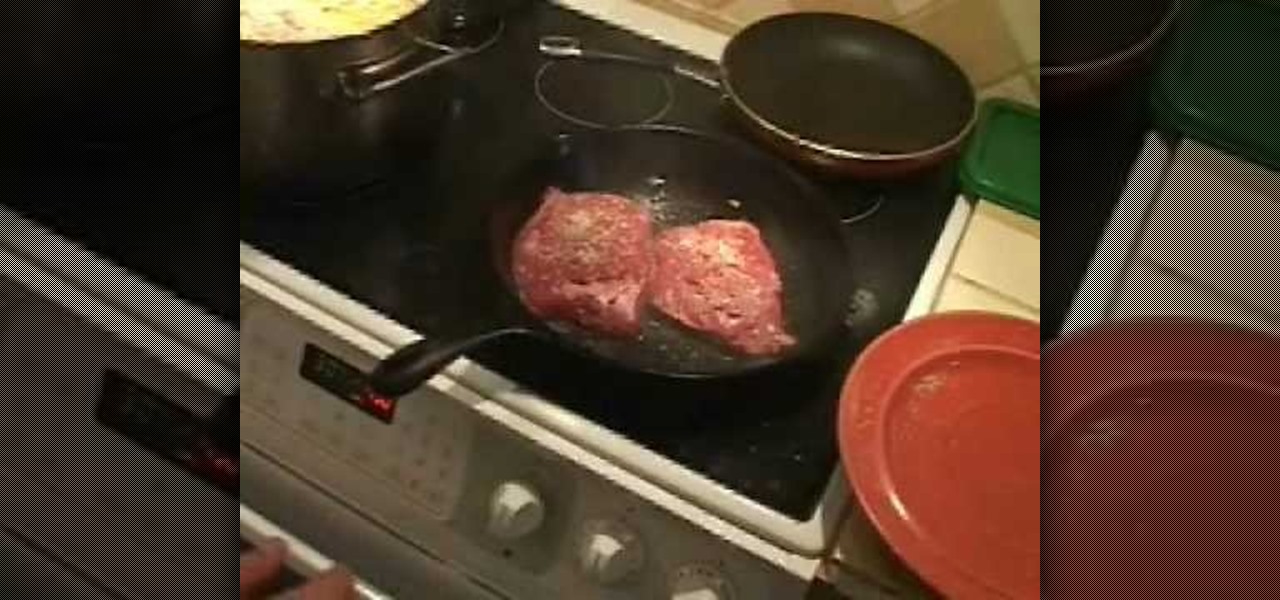
First of all you have to place a pan on the stove and heat it till it become very hot. Now place your ‘flank steak’ on this pan. Now you have to season it on both the sides. You can season it with salt and pepper. You have to ‘sear’ it thoroughly till it reaches a rich dark brown crust on the other side. Remember that you must not try to move the steak too much. Moving the steak may cause it to boil which is not required. Now turn over the steak on the pan. Allow it to heat for someti...
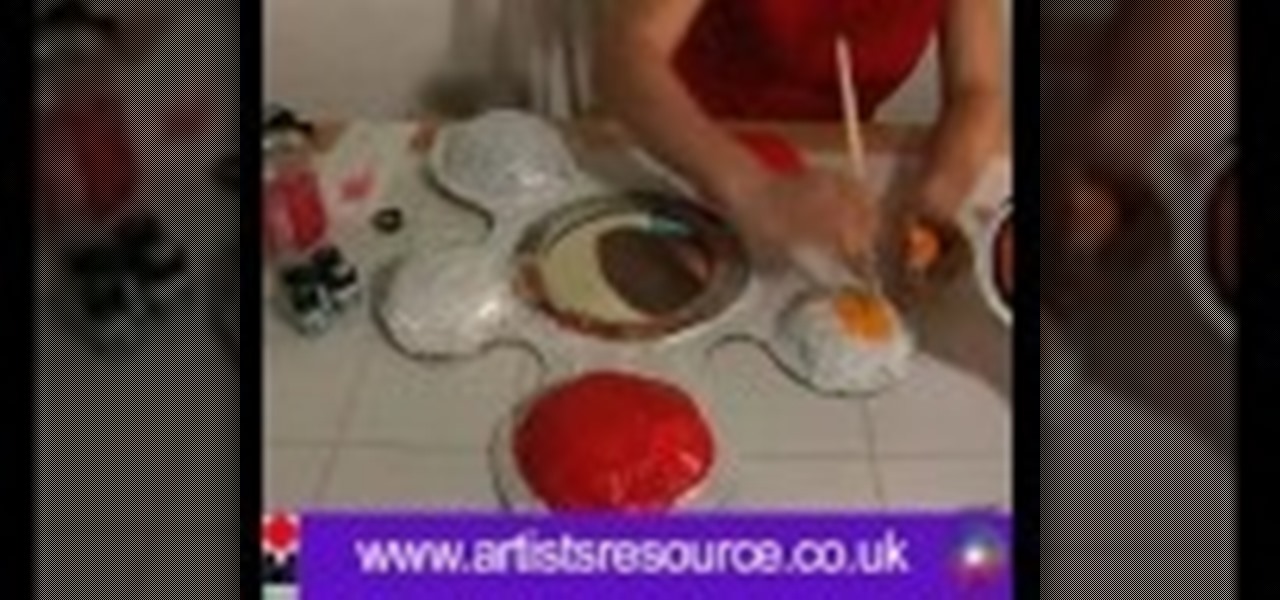
This illustrate us how to make paper mache mirror. Here are the following steps.Step 1:Take a piece of cardboard and make two circle on it with two different circumference.Step 2: Now cut through the outer circle as well as the inner circle to obtain the rim.Step 3 : Now take a sheet of cardboard and cut it in shape of a flower.Step 4: In the center of the sheet place the rim.Step 5: Now along the petals of the flower stick a pile of rounded newspaper.Step 6 : On this newspaper and cardboard ...
This video tutorial from Magix presents how to burn (S)VCDs and DVDs using Magix Movie Edit Pro 15 application.First you need to group videos you want to burn.If you want to play movies using remote control you have to place chapter markers. You can set markers manually or choose automatic? marker setting which places markers before each new scene.Once all chapter markers are placed, click Burn button.Here you can choose Start Menu Templates. To change movie titles and chapter headings double...
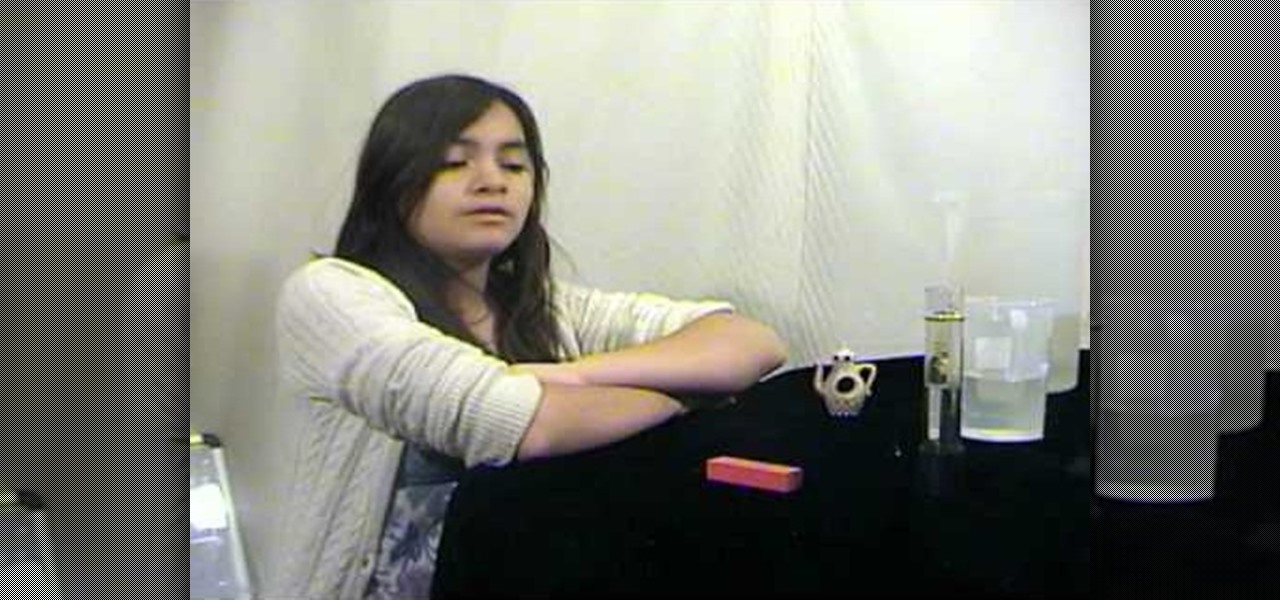
To find out the density of any given object there is a simple equation, mass divided by the volume equals the density. In this video a lady is showing how to get the volume of three objects using water. First the objects are measured on a scale to find out how much they weigh, the mass. Next each one of the objects is placed into a measured amount of water to find out the volume. Before you place the object into the water you will want to know just how much water in there. That way when the o...
This video shows you how to make a survival kit: i.e. which things to gather together to make a survival kit. This one fits in the palm of your hand. For this kit, you will need the following: a small cloth bag. It can be used to filter sediment out of water. It can also be used to make a patch in clothing.
Place you tie around your neck. Make one side longer and one side shorter. Then you will criss-cross the two sides of the tie, with the longer end being placed over the short end. Take the long end and loop it around the shorter end. Then you will take the longer end and bring it through the little loop that you have already formed by looping the end around. This will give you the ascot. To do a scrunchy tie, take the ends and pull them through the loop that has formed, and then you will have...