In this video, we learn how to do the choreography for Ke$ha's "Take it off". Start off on the ground doing a count of eight while moving your hands up your body, then pop up and move back down. After this, you want to twist your head around and then move to the side while walking and placing your hands over your face. Make sure to count in steps of eight, then walk back while shaking your body and clap with your wrists. After this, move your arms to the music and act like you are in a car wh...
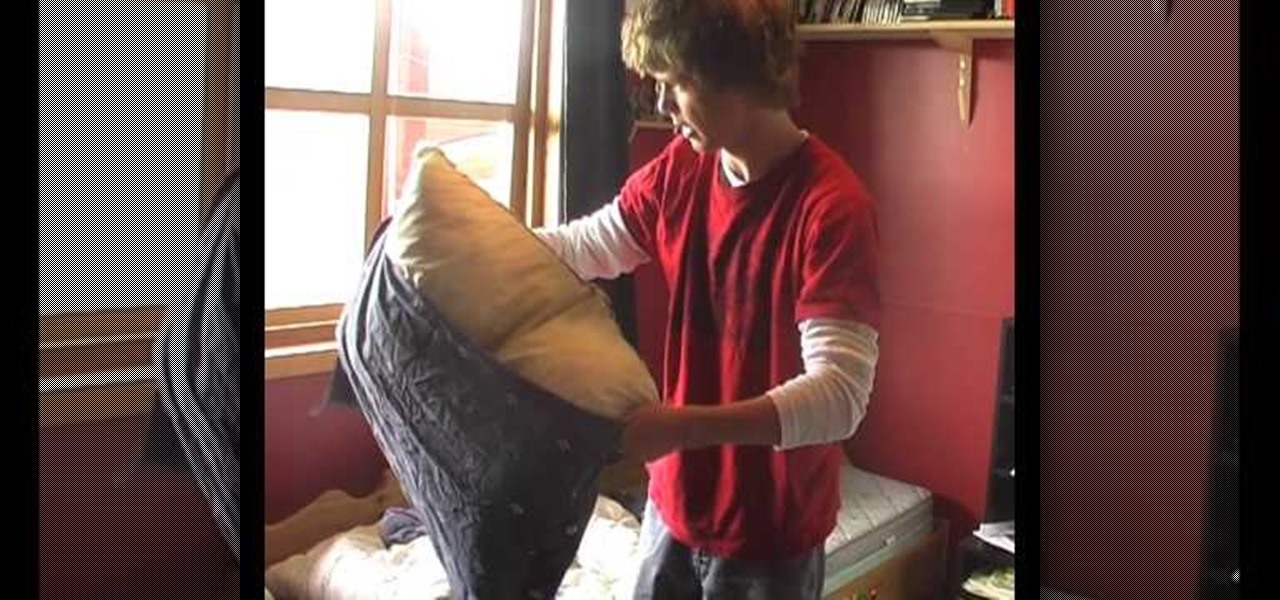
In this video, we learn how to make your bed properly. Start off by fluffing all of your pillows, then placing new pillow covers back onto them. After this, take everything off your bed and lay your sheet down onto it so it lies flat with no creases in it. After this, place your pillows at the head of your bed. Next, place the comforter on your bed and fold it at the top to slightly show your pillows where they are at. After this, press down on the bed to avoid any creases and it will look gr...
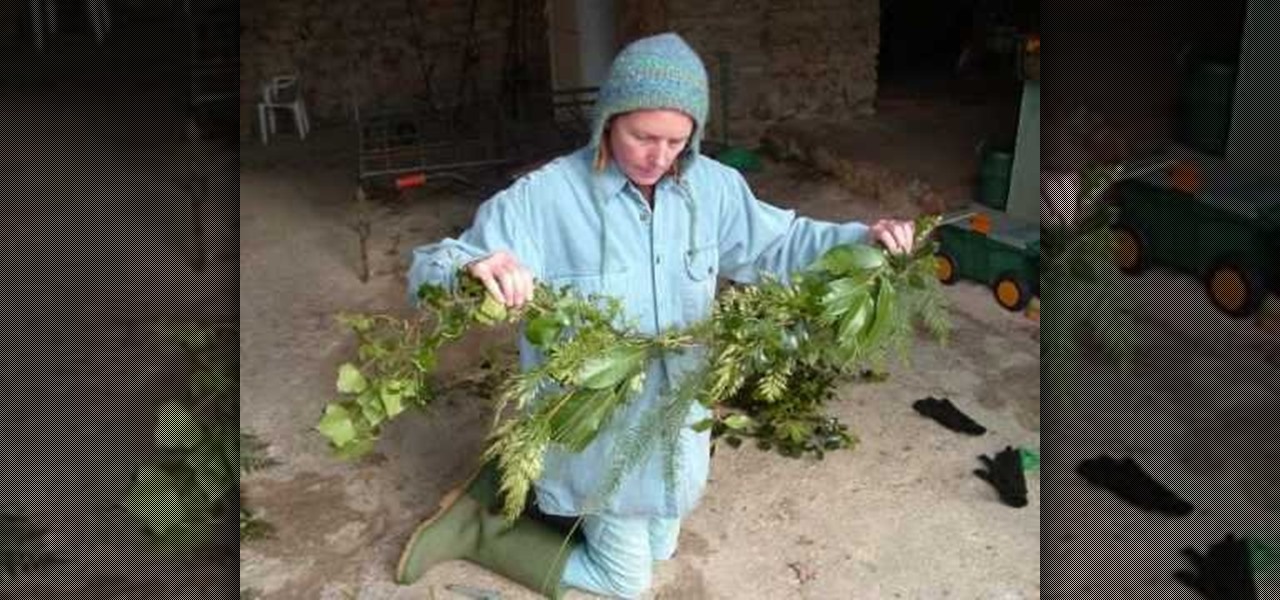
In this tutorial, we learn how to make a festive Christmas garland from fresh greenery. You will need: fresh greenery, wire cutters, floral wire, pruning clippers, and gloves to do this. The base should be made of holly, and then you can use different firs that you can find. You can arrange this garland however you wish, placing them onto the wire and then cutting the wire when everything is hooked together. The great thing about this is that you can be creative and use whatever kind of green...
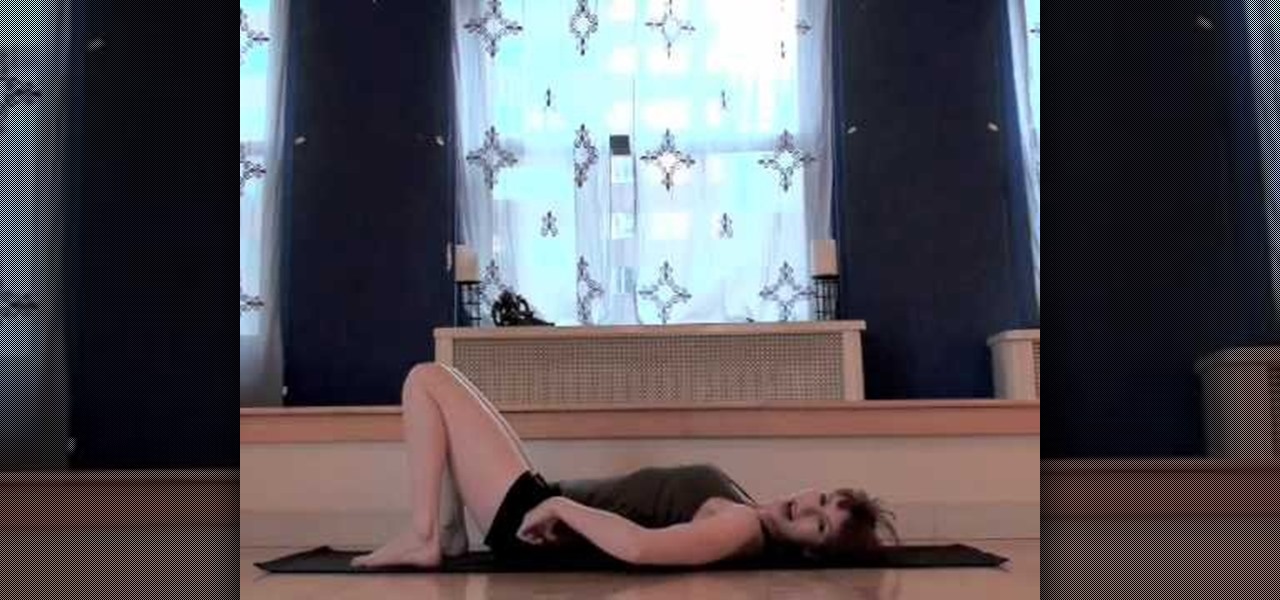
In this tutorial, we learn how to understand Full Wheel alignment. This is a very difficult move to do, so make sure you set up properly before you do this. Your body needs to be warmed up before you attempt to do this. Prepare for the post by laying down on a mat, then placing a couple blocks underneath your rear end. This will help stretch your body out. When you're done, curl your tailbone up and now your body will want to curve into the wheel. From here, push the hands down by the shoulde...
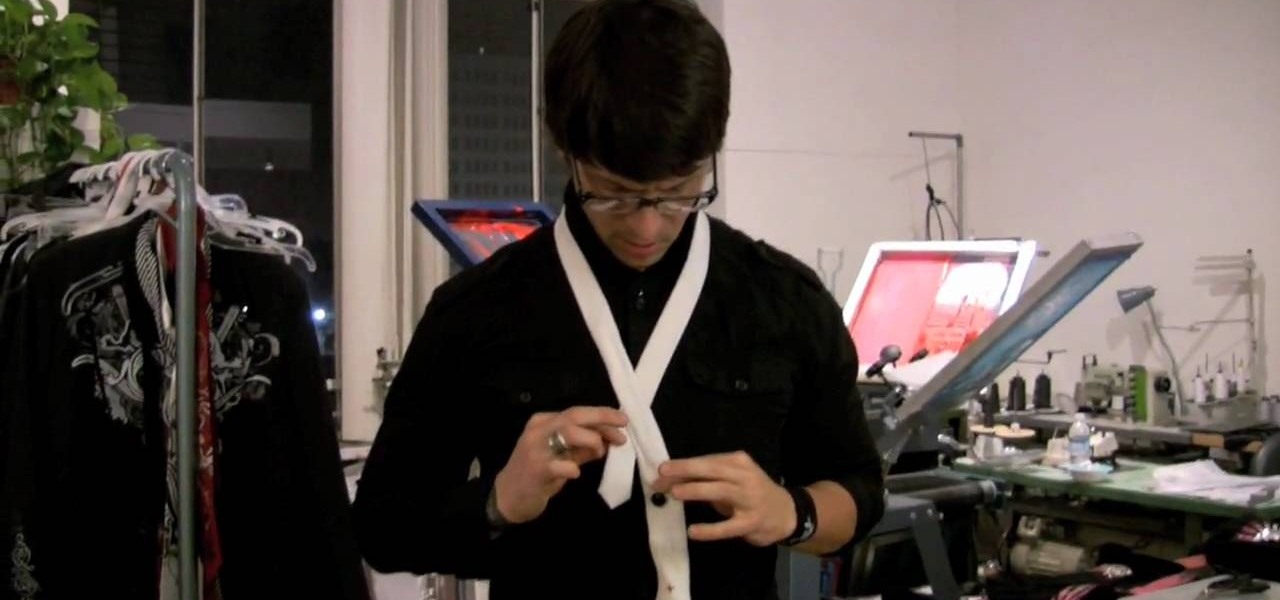
In this video tutorial, viewers learn how to tie a necktie. Begin by placing the tie around your neck, with the wider end 2 times lower than the narrow end. Then cross the wider end over and under the narrow end. Now bring the wide end through the V gap between the neck and . Wrap it once more over and under. This time, create a small loop. Bring the tie through the V gap and through the loop. Finish by tighten and adjusting the tie. This video will benefit those viewers who are attending a s...
In this tutorial, we learn how to do a quick workout with super sets. First exercise you can do is a squat to cable row. Use a resistance band to do this by placing it around a post or having someone hold it. Back up to build resistance, then plant your feet parallel and hip width apart. Squat down, then bring the elbows back as you go back up. After you do ten of these, immediately switch to a deadlift underhand row. Hold a dumbbell with your hands, then bring the weight down and bring it ba...

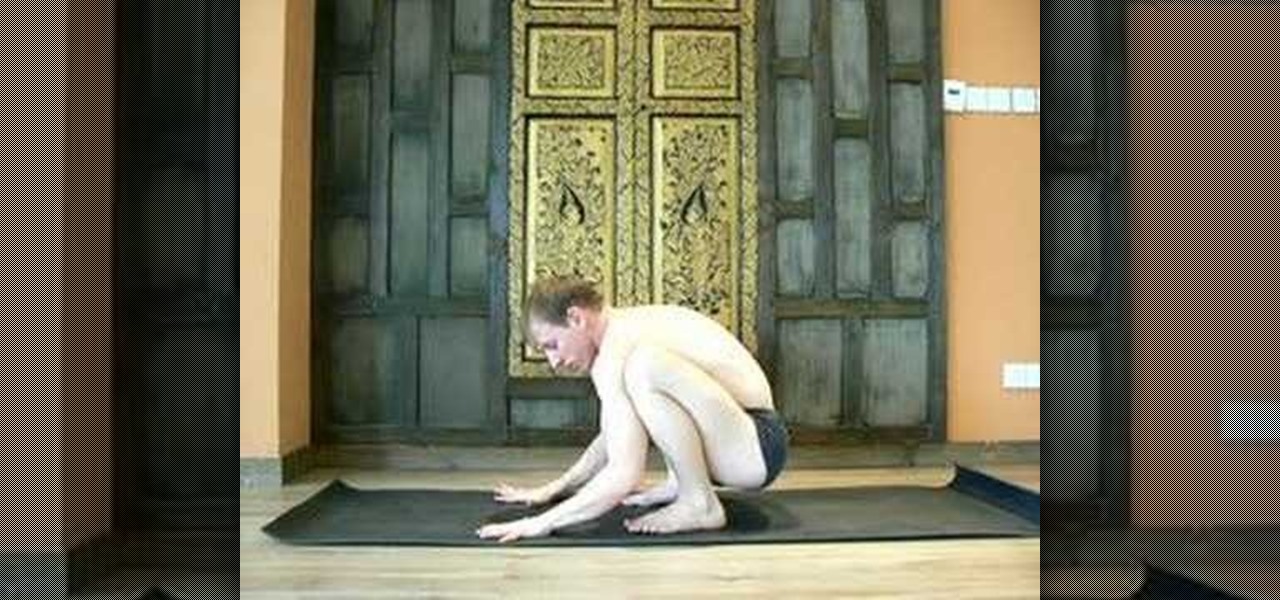
In this tutorial, we learn how to do the Bakasana pose in yoga. First, take a deep breath and crouch down on your feet. Now, keep deep breathing and bring your arms out in front of you. Lean forward, and place all of your weight on your hands. After this, lift your feet up off the floor while they are still crouched inwards towards the abdomen. Take several deep breaths while you are in this position. Make sure you aren't placing your weight on your feet, or you won't be able to lift them up ...

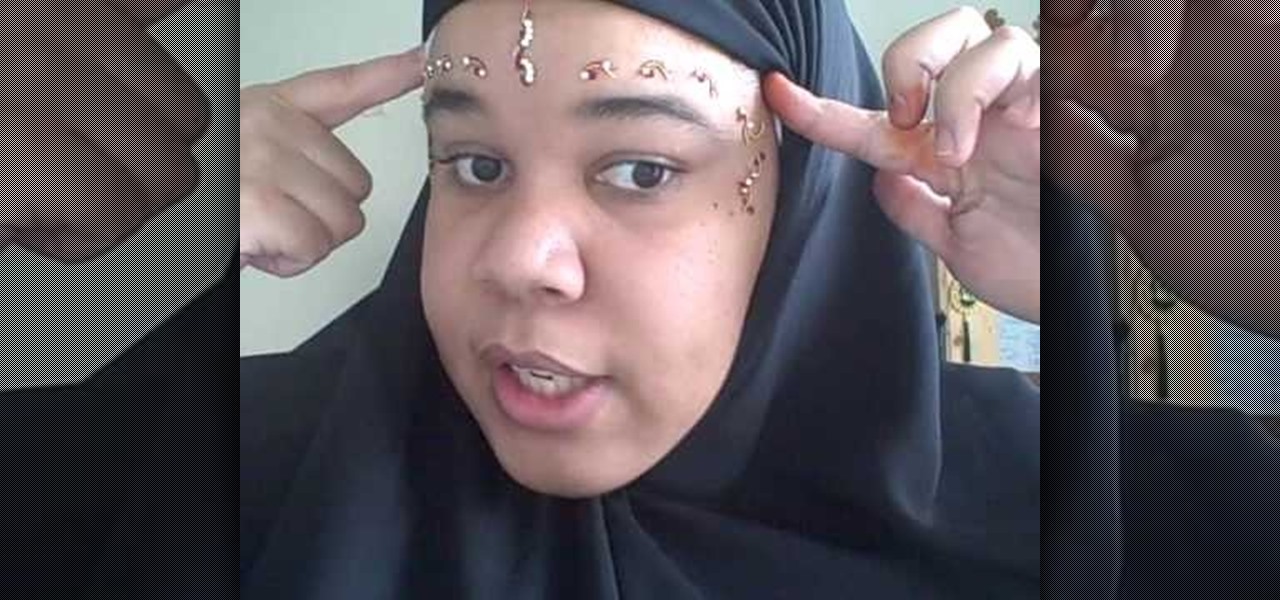
In this tutorial, we learn how to wear a peer bridal bindi. First, line a pencil with your nose, and mark the points where the points are parallel to the eye on all sides. After this, remove the bindi from the package and place the middle section onto the middle dot. After this, remove the other pieces and place them in the spots that correspond to the other marks. Continue placing these on until you have applied the entire bindi. You may need to use bindi glue to help apply these if you are ...

In this video tutorial, viewers learn how to make chicken broth. Begin by placing the chicken bones into a crock pot. Then pour in the drippings that were stained from the roasting pan. Now add 1/2 of an onion and a handful of baby carrots. Then add in some bay leaf, 1 tsp of salt and 6 peppercorns. Now add 1/2 gallon of water into the crock pot and heat the pot for about 8 hours. When finished, throw away the solids and drain the broth for later use. This video will benefit those viewers who...

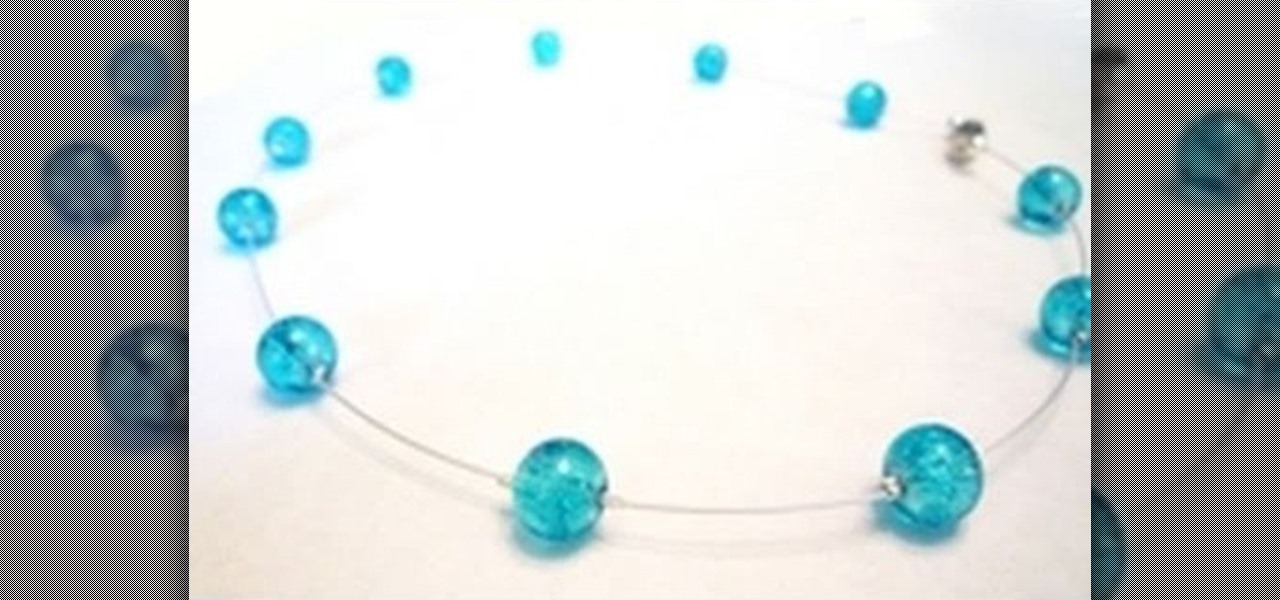
In this tutorial, we learn how to make a floating illusion style necklace. You will need: beading wire, crimping pliers, wire cutters, beads (your choice), crimp beads, crimp covers (3mm), and a clasp (barrel clasp). First, cut your beading wire to the length you want your necklace, add 3-4 extra inches. Next, space your beads out on a beading board evenly, 1 1/2" apart. Now string a crimp bead onto your wire and take the end of the wire and string it through the crimp bead on the opposite si...

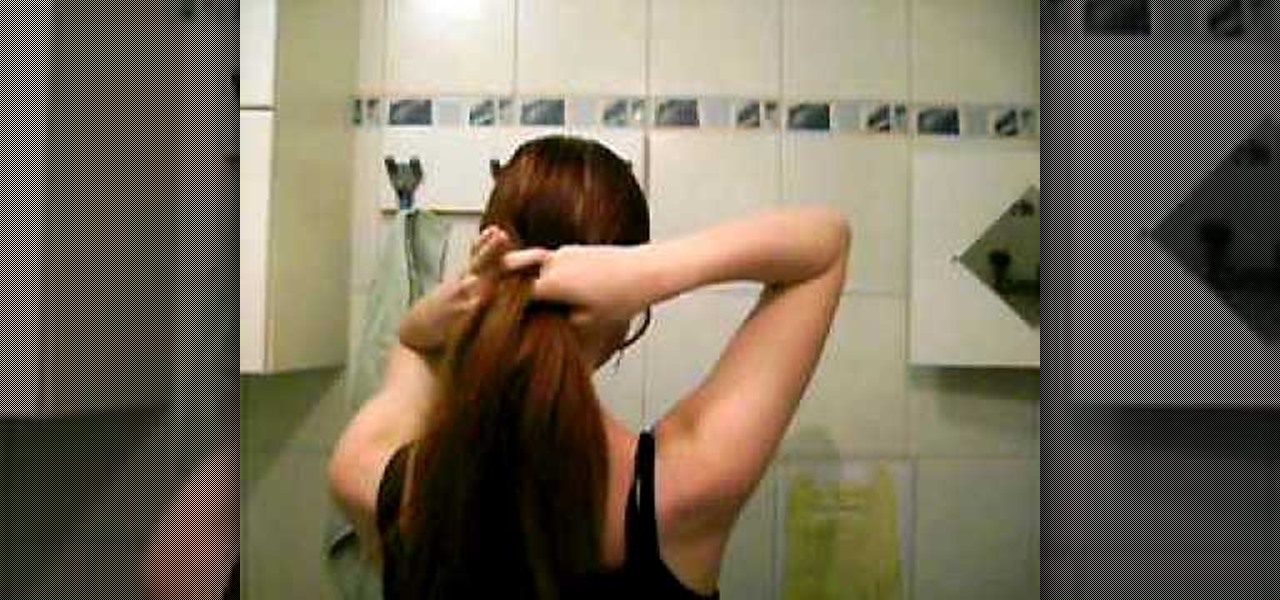
In this video, we learn how to perform a flat four string braid on your hair! First, you want to start off with either wet or dry straight hair that has just been brushed out. Next, you will grab the top three piece of hair on your head and perform a regular braid by placing the right section under the middle, then the left under the middle, and so on. Keep doing this for about 4 braids, then start adding in hair on the right and left hand side each time you get to them. Repeat this until you...

In this video tutorial, viewers learn how to do a finger palm coin vanishing magic trick. The user begins placing a coin in their hand on the middle and fore finger. It should be placed where the fingers meet the palm of the hand. Flip the coin over a couple of times, and make sure that it stays. Then the user tells the audience that they will place the coin into the other hand. As the user pretends to toss the coin into the other hand, they should give the illusion that it is in the other ha...

In this video, we learn how to make sweet and hearty beef stew with Janice and Liz. You will need: peas, carrots, mushrooms, meat, tomato sauce, cider vinegar, maple syrup, and salt. Place these all into a slow cooker on low and let sit for around 6 hours. To finish the stew, add in a bit of flour and milk to thicken it. When you are finished, don't leave the meal out for more than 2 hours before placing the leftovers in the fridge. If you leave it out for too long, bacteria will start to gro...

In this tutorial, we learn how to do a feather stitch while embroidering. To begin, you want to place your finger right next to where you are sewing so you are making a loop shape and helping guide your needle as you are doing this. You will want to chain the loops together, making the thread look like feathers as you continue. There should be no lines that are straight, all should be looped by placing the needle in between each circle and pulling it into the loop shape. When you are finished...

Dina Prioste shows us how to do a yoga eight angle or astavakrasana pose in this video. To do this, make sure your arms are strong and you are stretched out. Now, get into a push up position placing your elbows at a 90 degree angle. Next, lay back down and sit in a position where you can rock your right knee. Then place your right knee over your right shoulder and place your hands on the floor to lift your butt up off the floor. Next, hook your feet and lean forward so it feels like you are f...

In this video tutorial, viewers learn how to do a seated spinal twist yoga exercise. Begin by placing both butt cheeks onto the floor. Then bend your right knee and place it on the floor. Now cross the left ankle over the right thigh. Place your left hand behind your back. Inhale as you raise your right hand up and exhale as you twist to the left side. Place the right arm on the left thigh as you twist. Do the same on the opposite side. This video will benefit hose viewers who are interested ...

In order to create a Key Hole Weave Knot, you will need: rope or twine. Begin by making a loop. Then, make a second loop next to it. Cross the loops, placing one on top of the other. Weave a free end through the loops. Next, weave the other free end through the loop. Pull them both through carefully. Next, you'll need to shape your knot, by making sure that the spacing is even.

In this video tutorial, viewers learn how to pack lampshades. Most lampshades are packed into 4 cu ft cartons. Begin by placing crushed paper into the bottom of the box. Then place clean sheets of packing paper over each side of the box, making sure that the flaps and inside wall of the box is covered. Now carefully place the lampshade top-down into the box. Then spread clean packing paper over the shade. Now gently place the smaller shade into the larger shade and pack in the remaining packi...

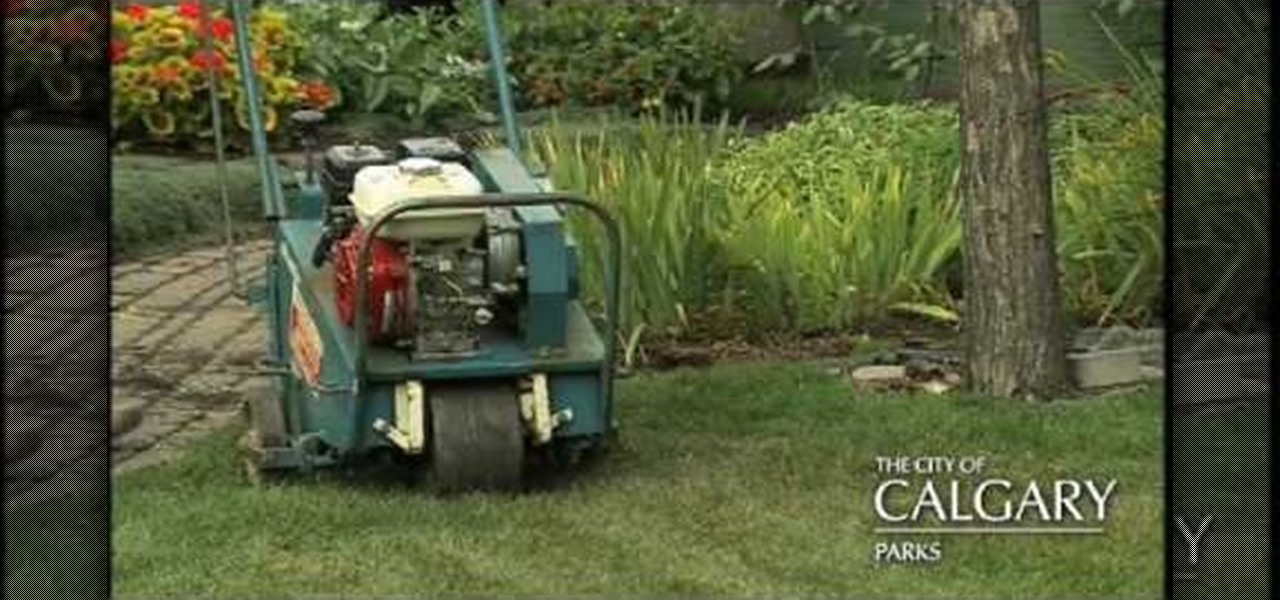
If you're looking for a great way to get the proper nutrients to your yard, you're about to find out. Aerating a yard is an easy task that involves you placing holes in your yard on purpose. This may make your yard look a bit ugly, but it helps with getting the proper nutrients and oxygen into the ground.

In this video tutorial, viewers learn how to do a yoga forearm stand. Begin by placing a block against the wall. Then create an L shape with both hands and old them against the block. Now look forward at the block and stand on the toes of your feet. Keep the elbows on the floor and aligned with your shoulders. Move your feet as close to the block as you can and start to lightly hop on each foot Then press both feet up and let the wall support your feet. This video will benefit those viewers w...

In this video, Caroline gives you a few tips on how to lose your love handles easily, Caroline herself lost her love handles during a 9 day cleanse in which she lost 2 inches off her waist. In order to do this exercise, you need to first stand with your legs about shoulder length apart. Then, placing one of your arms at your hip, extend the other one far above your head, touching your ear on the same side. Begin to stretch to the opposite side, stretching your side until you are at about a 45...

Changing oil to any vehicle may seem like a tough task, but in fact it doesn't have to be. Instead of placing yourself underneath the vehicle where you can easily get injured, some people are changing the oil topside. They use a pump that connects to a can and sip out any of the old oil and places it in the large can. So check out the tutorial on how to perform this easy task. Enjoy!

Dave Epstein talks about adding a foundation plant to a home. He is planting a Lavender Twist, a weeping redbud also known as Cercis Canadensis 'Covey'. You will see how adding a foundation plant to your home can make a big impact. You will see a before view of a home to get an idea of what you can do with the space you have available. Also you will get a tip on carefully placing the plant on the side of your home as to not block any windows but also add depth to your home and make it seem bi...

This is a video produced by KazzieHeart on Youtube explaining how to make a puffy hairbow from a t-shirt. Choose a t-shirt and cut two equal-sized rectangles approximately 8"X4". Placing the two pieces facing inward, three sides are sewn together. It is then turned right side out and evenly stuffed with soft stuffing. The end of the remaining side is folded inward and sewn shut, forming a small pillow. A smaller rectangle approximately 5"X2" is cut from the same fabric. The pillow is sewn thr...

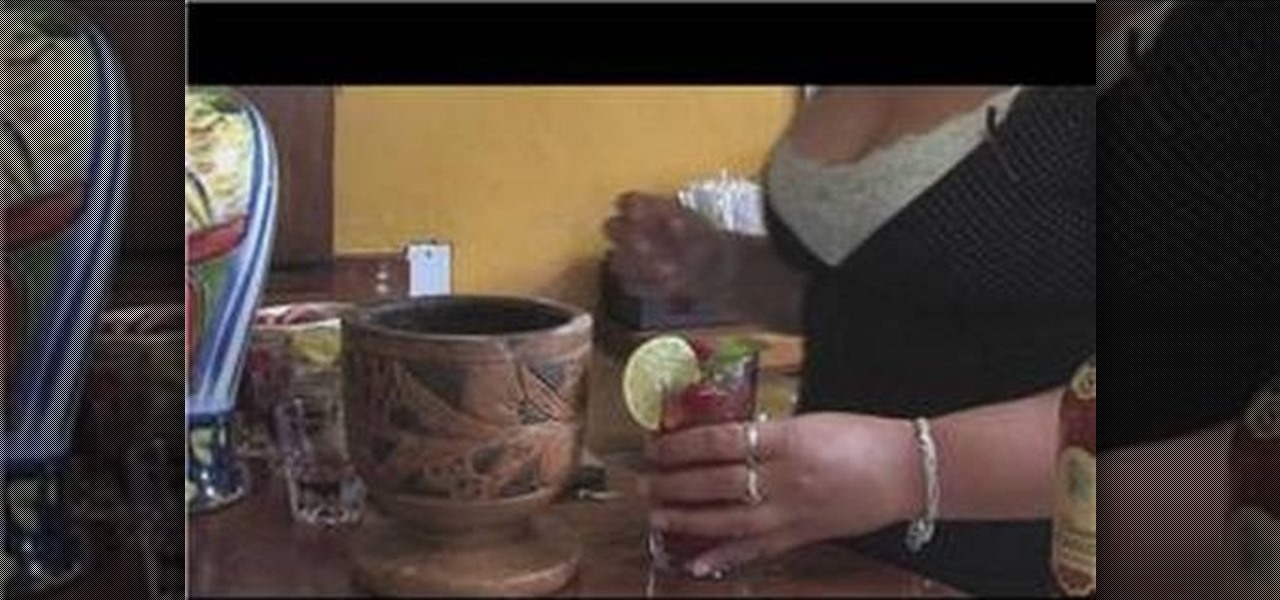
Milana from Tap Tap in South Beach, Florida, demonstrates making a raspberry mojito. After explaining the history of the Haitian drink, she starts the drink with fresh raw mint and raw sugar. Placing those ingredients in a rather large mortar, she uses a pestle to crush the mint stems to release their oil and grind the leaves. Then she adds fresh lime juice, raspberry puree, and fresh raspberries. After mixing the drink with a spoon, she fills a glass with ice and adds one and one half ounces...

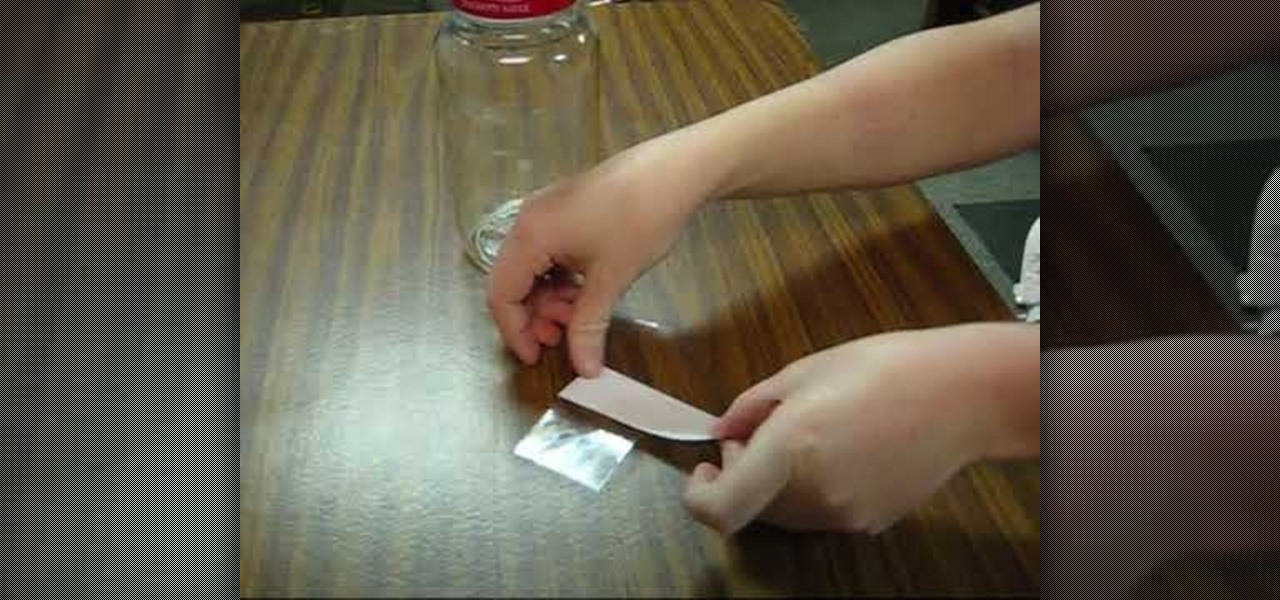
In this how to video, you will learn how to build your very own rain gauge. You will need tape, scissors, rain gauge ruler, and a jar. First, go to the website shown and print and cut out the ruler on the screen. Next, cut the tape strips. You will need them to be about 5 inches in length. Next, attach the rain gauge ruler to the jar. You will do this by placing the ruler on the tape and place the ruler on the jar. Make sure the ruler is aligned with the bottom edge of the jar. Take the secon...

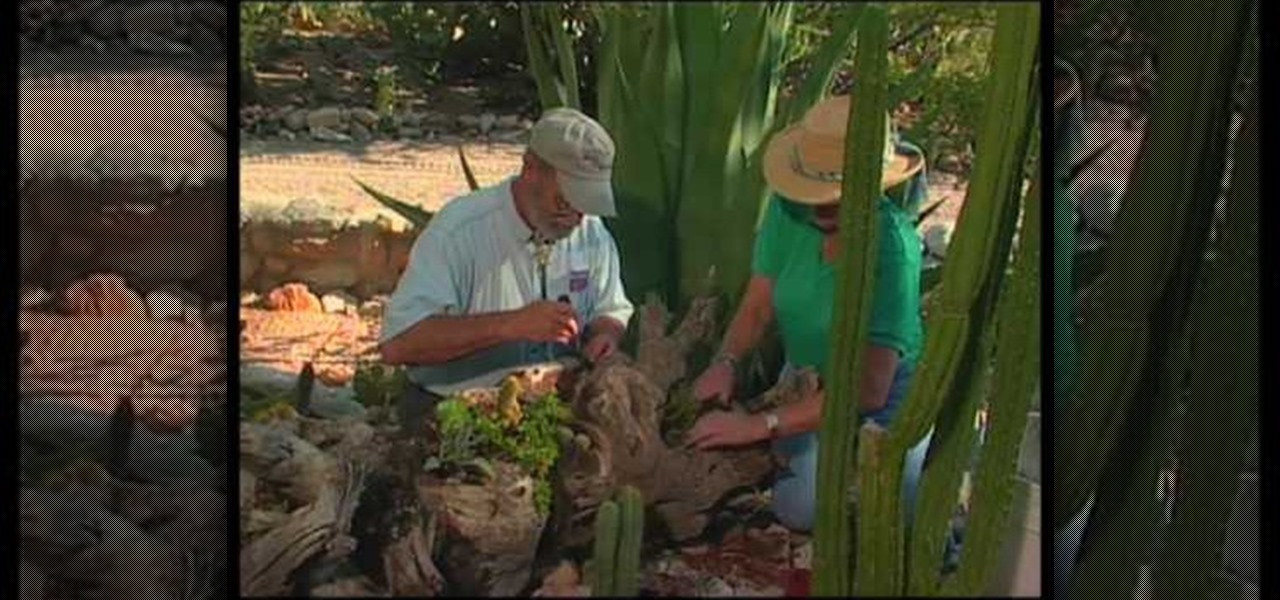
In this how to video, you will learn how to use an old tree log as a planter for your plants. To do this, you must have an old tree log. The trick is to create and make the holes bigger in the log. Some of the holes may be too deep, so you must place netting to hold the soil back. The netting will last as long as the log. To make the holes bigger, use a hammer and chisel to shape it. Drilling and burning does not work as well as hammers. Placing the plants in and watering it will cause the lo...

You have to start by placing the handkerchief on a flat surface, you grab the center pull up and you will see all the points dangling dry your hand down and then what you need is to fold the bottom up then if you twist the hand around the handkerchief just to hold it in place . The way it should actually be folded is with the fold in behind and the puff in front but it is easier if u wrap it around your hand. The way it will be placed in the pocket is by simply pushing it down, the edge of th...

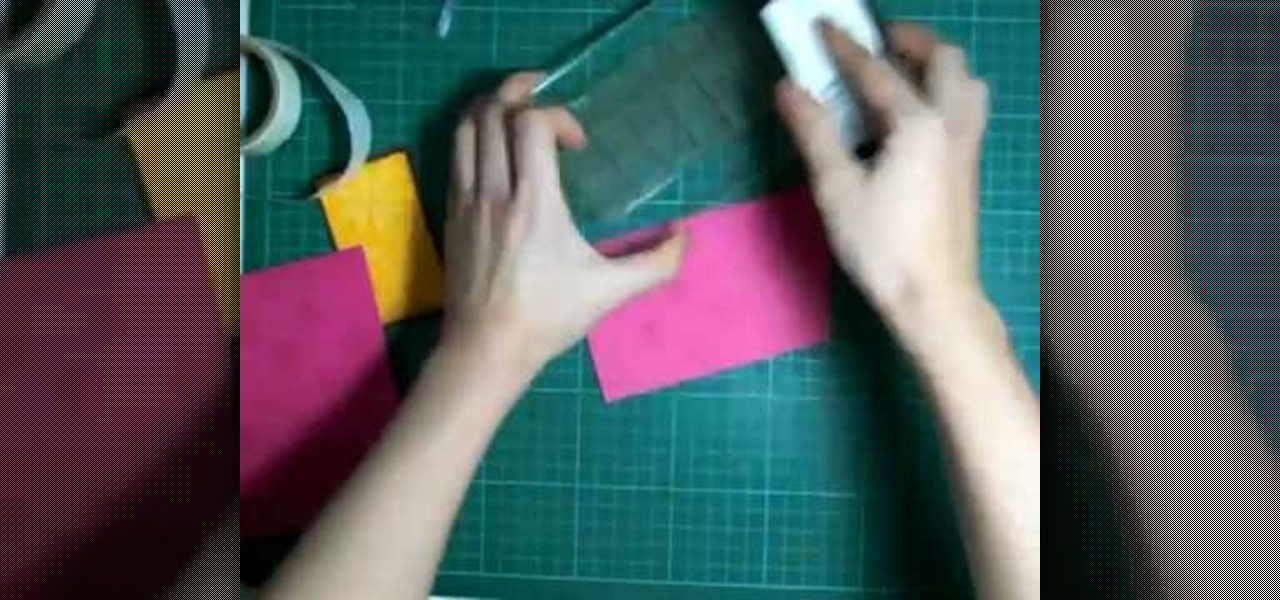
In order to make a Cuttlebug Smoosh Card, you will need the following materials: card stock (at least 3 different prints or colors), a ruler, distress tool, double sided tape or glue, distress ink, watermark stamp pad, decorative accessories, and scissors.

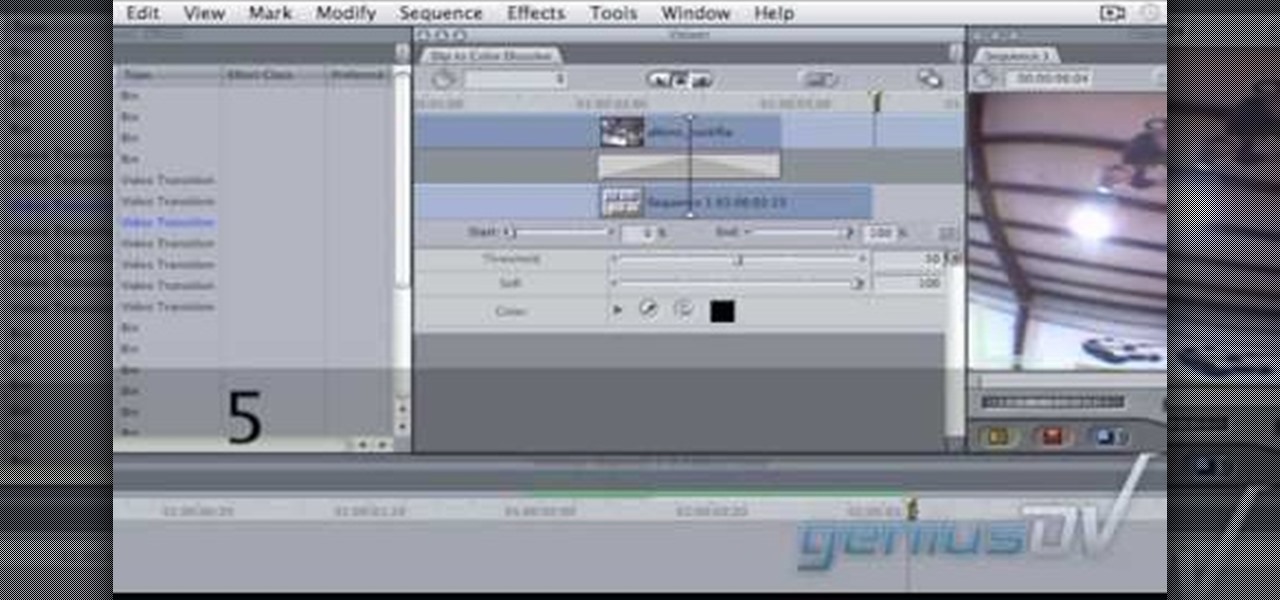
In this video tutorial, viewers learn how to create a freeze-frame effect in Adobe Final Cut Pro. Begin by placing the time line indicator to where you would like to place your freeze-frame. Press Shift and N to create the freeze-frame. The default user preference is 10 seconds. To change it, change the time and click on the insert button to splice the new freeze-frame time into the time line. Now click on the Effects tab and select the Dip to Color Dissolve under Video Transitions and Dissol...

In this brief video tutorial sponsored by Pianolessons.com, the host Nate boss talks about building basic Triads. A Basic Triad is a three note cord that you can build around the notes of a scale, as demonstrated. He shows you G major, C major, a major, and many other chords that you can make on a scale. In this video, you also get to see precisely where the teacher is placing his fingers, which should be helpful for those of your just starting out. Be sure to have your pen and paper ready to...

Layers are very important component of Photoshop. Without knowing how to use the layers correctly, one can not utilize the maximum what Photoshop offers to designers and digital artists. For a beginner, this video provides a good basic knowledge about Photoshop layers. Layers enable you to arrange different parts of a picture and manipulate them without effecting the content of other layers. Layers are added by using layers panel. Each layer is named accordingly. We can change the order of la...

In this how-to video, you will learn how to play "Twinkle Twinkle, Little Star" on a recorder. The first note you have to play is a D. The D note is made of a G. This means three fingers on the top, and three fingers on the bottom. The left hand will be on the top. Play an A note by letting go of the bottom four holes. Do this transition over and over until you feel comfortable with this. Next play the next note by only holding one finger on the top hole. Next, play the last note by placing f...

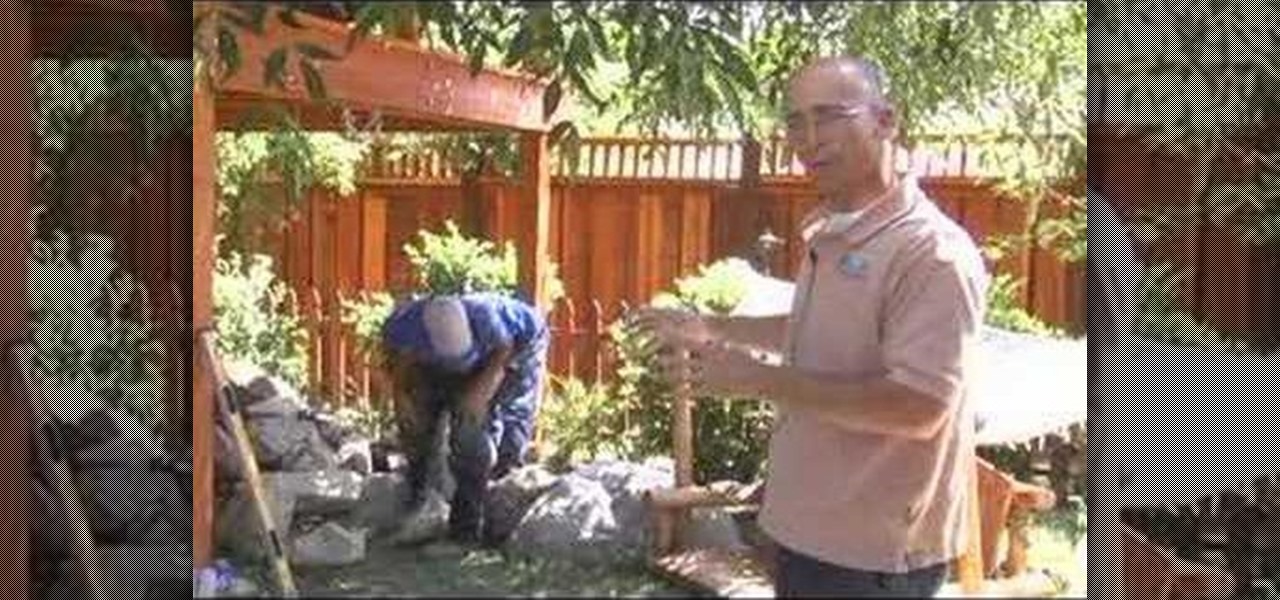
Chad from California Waterscapes takes you through the steps of installing a backyard pond. He begins by marking the location for the pond and stream using spray paint on the ground and by laying out the necessary equipment: the skimmer box and the waterfall unit. After digging out the pond Chad uses a laser level to determine the water level and place the skimmer box at this level. After all debris has been removed from the pond the underlayment and liner is placed in the pond followed by ro...

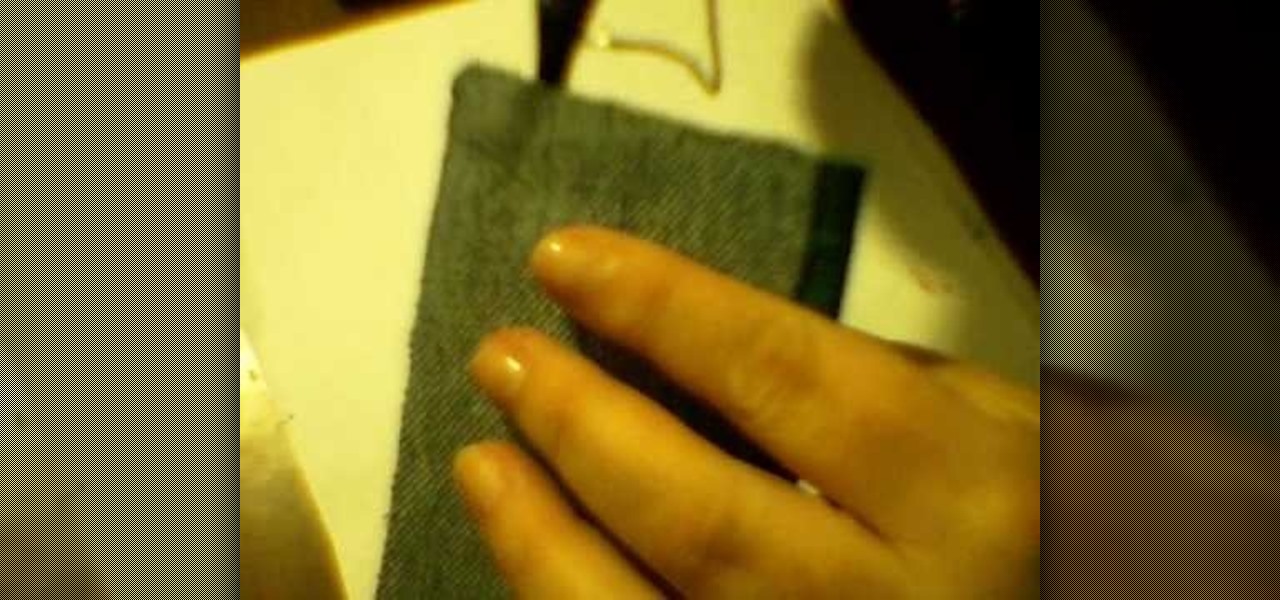
Digsart demonstrates how to make a wallet from a pair of blue jeans. First, with a pair of scissors he cuts out the back pocket of the jeans. You can paint the pocket with acrylic paint to give it a more sturdy feel. Once they are painted, he dries them out by placing them on plastic bottles. Once the paint is dry, he cuts a slit in the middle of the pocket, creating two sides for change and bills. Then, using a hot glue gun and Velcro, he glues the Velcro patches onto the pocket. Once the Ve...

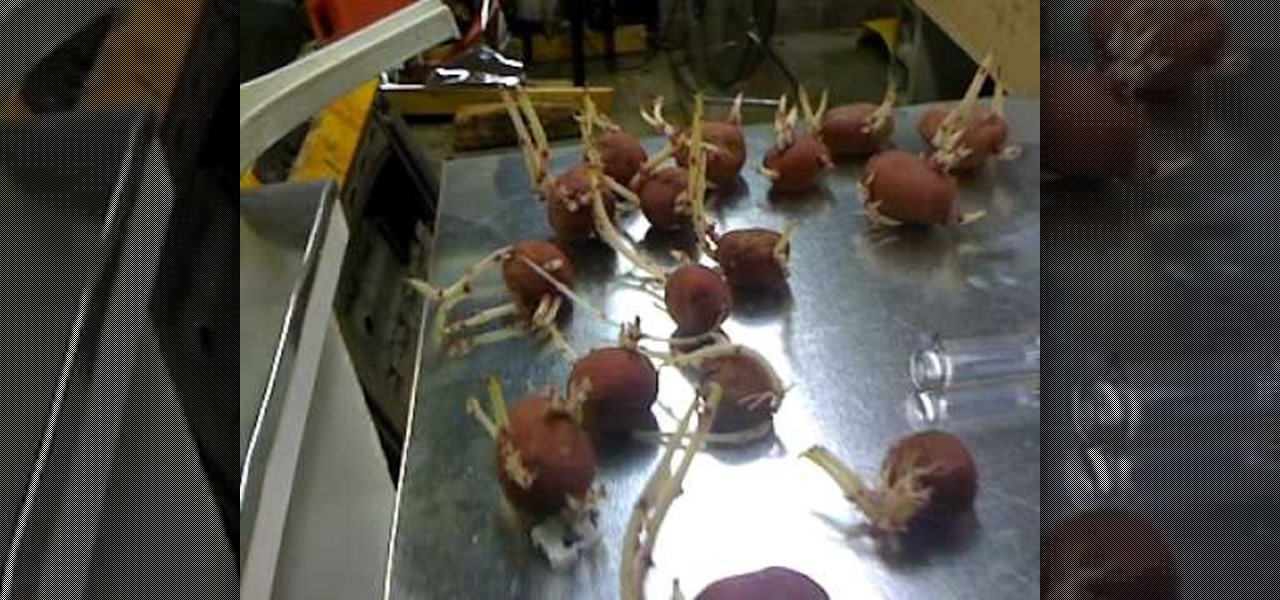
In this video you will learn how to get your potato plant growing using a 5 gallon bucket. Start by taking your 5 gallon bucket and drilling a series of small holes at the bottom for draining. Next line the bottom of your bucket with about 2 inches of rocks to help with drainage and top with a layer of weed block and a couple inches of soil. Now your bucket is ready to add a budded potato. To make your potatoes bud out simply leave them in a bag and place them in the dark for about a month un...

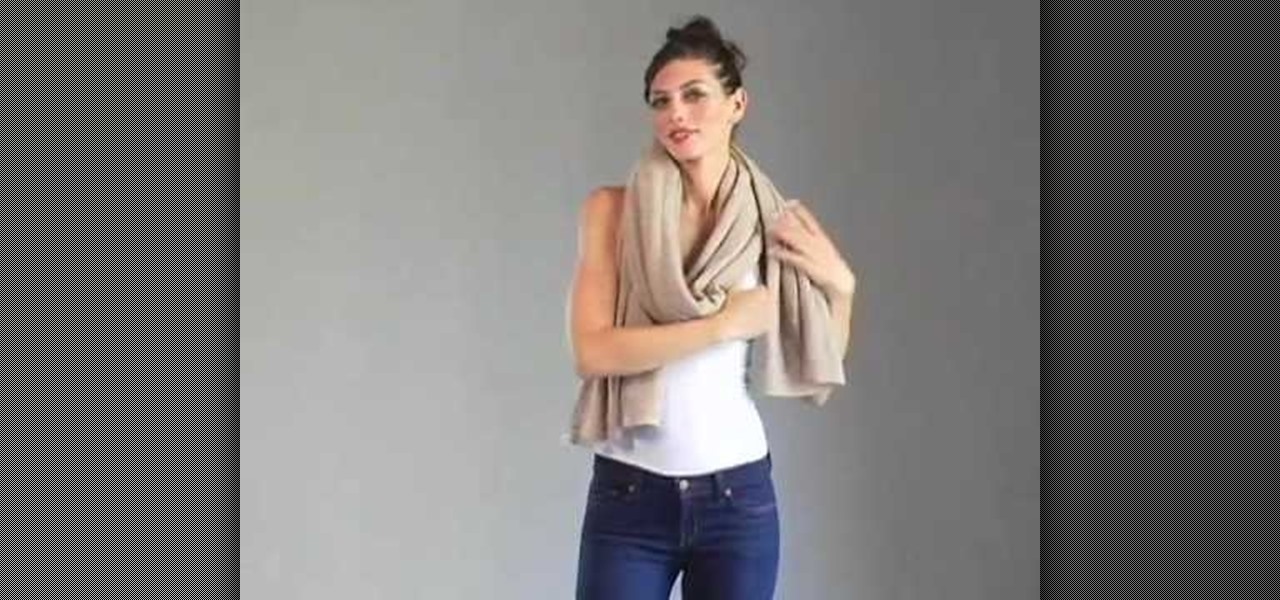
In this video, you will learn how to wear your White + Warren Cashmere Travel wrap. There are four different ways to wear this wrap. The first way involves placing the wrap around your neck. This is similar to a scarf. The second way involves wrapping the cloth around the back of your neck and having the ends go across your chest. Tie the ends behind your back. The third way involves a fancy loop and knot, similar to a fancy scarf. Lastly, you can wear the cloth behind your neck with the ends...

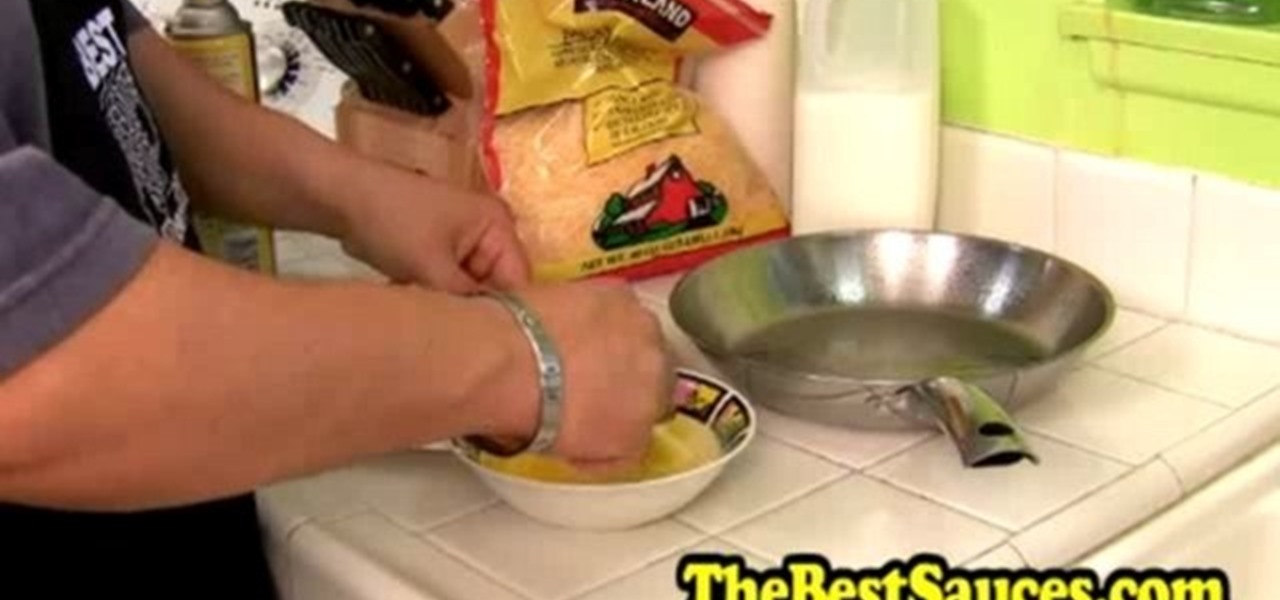
To make the perfect omelet, take the ingredients such as the eggs, onions, tomatoes, cheese and ham ready. Spray the pan with butter and use four eggs for a better presentation. Beat the eggs on a bowl and mix in a little amount of fresh milk. Place it on the pan and let it cook for a little while. Wait for the bottom to solidify before placing the rest of the ingredients inside the pan. Place the rest of the ingredients and then keep it boiling. Heat up the oven and place the pan inside for ...

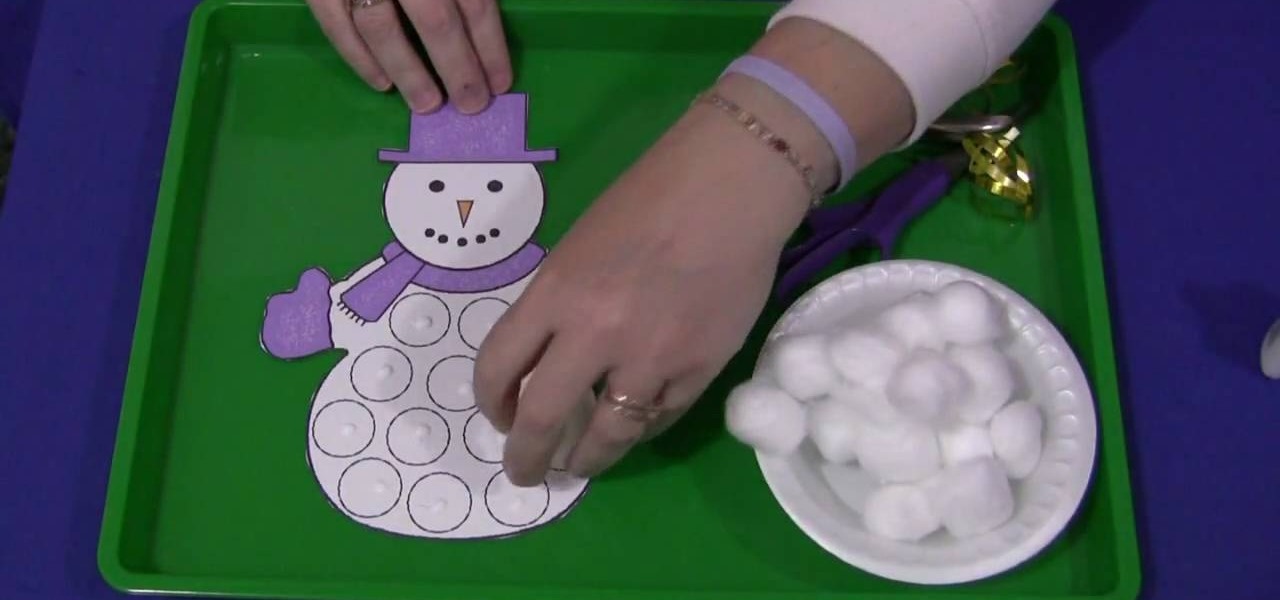
Shelley Lovett from ChildCare shows us how to make a cotton ball snowman. This is a great activity for developing fine motor skills. The snowman comes in a several variations, there is a snowman that has circles on its tummy so that children would have to try and place the cotton balls inside the circles. There is a snowman that comes in black and white so that the children could decorate the snowman's scarf, mittens and hat. Now on the plain tummy snowman, you'd just apply glue all over the ...

After receiving your dahlia tuber in the mail, dig a hole where you want the flowers to bloom in your garden. It should be big enough to place the whole tuber into and be completely covered by dirt. Before planting your tuber, you need to find where the head is. Find where the stalk was last year. When placing it in the ground, make sure the stalk is pointing up. After planting, your tuber should be flowering in about 4 weeks. Because the wind and rain can be tough on your flowers, it's a goo...


