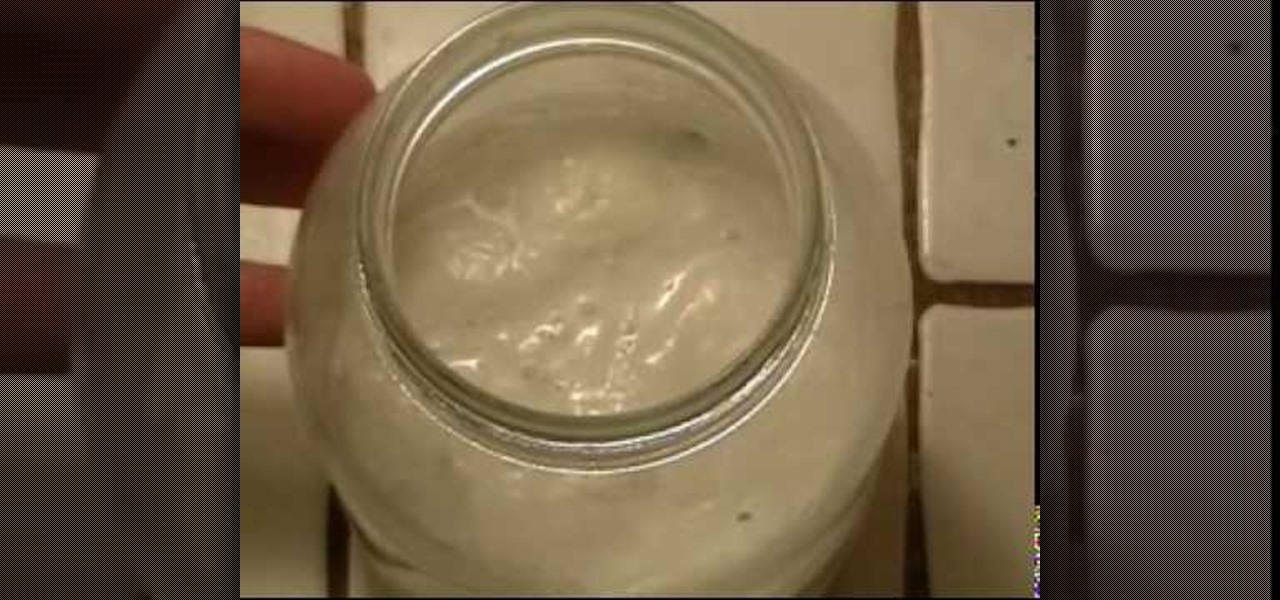
This video tells us the method to make buttermilk from raw milk. This procedure has many steps. We start by taking the raw milk in the first step. This should be carefully measured. Take a pound of milk for our purpose. Purchase a regular buttermilk from the grocery store. In the next step, take about a teaspoon of buttermilk bought from the grocery store and add it to the raw milk kept in the jar. Mix the added buttermilk and the raw sugar thoroughly. Leave the mixture overnight to sit. This...
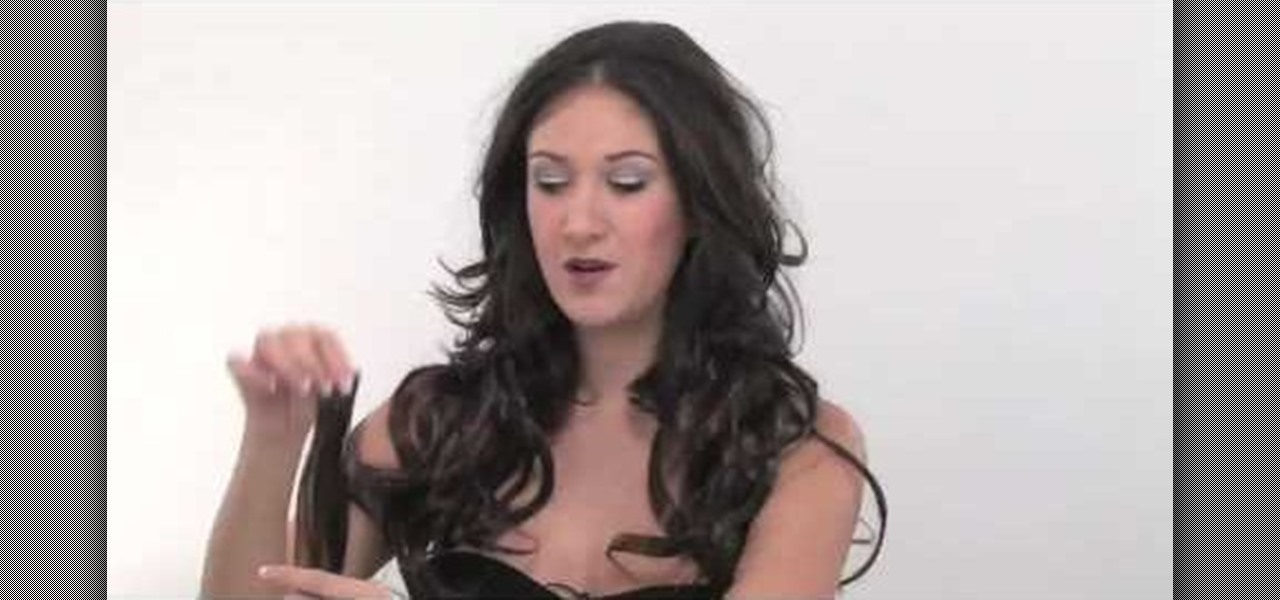
This video illustrates how to clip hair extensions. 1: First of all take the hair extension and clean your hair. 2: Hold your hair all together and clip them leaving the lower most layer. 3: Now take the extension and release the clip and tie it to the lower most layer. 4: Now release another inch of the hair and again take the extension and clip it. 5: Release the crown area and carefully clip the extension by hiding the extension clip under the top most layer. 6: Leave the top most layer an...
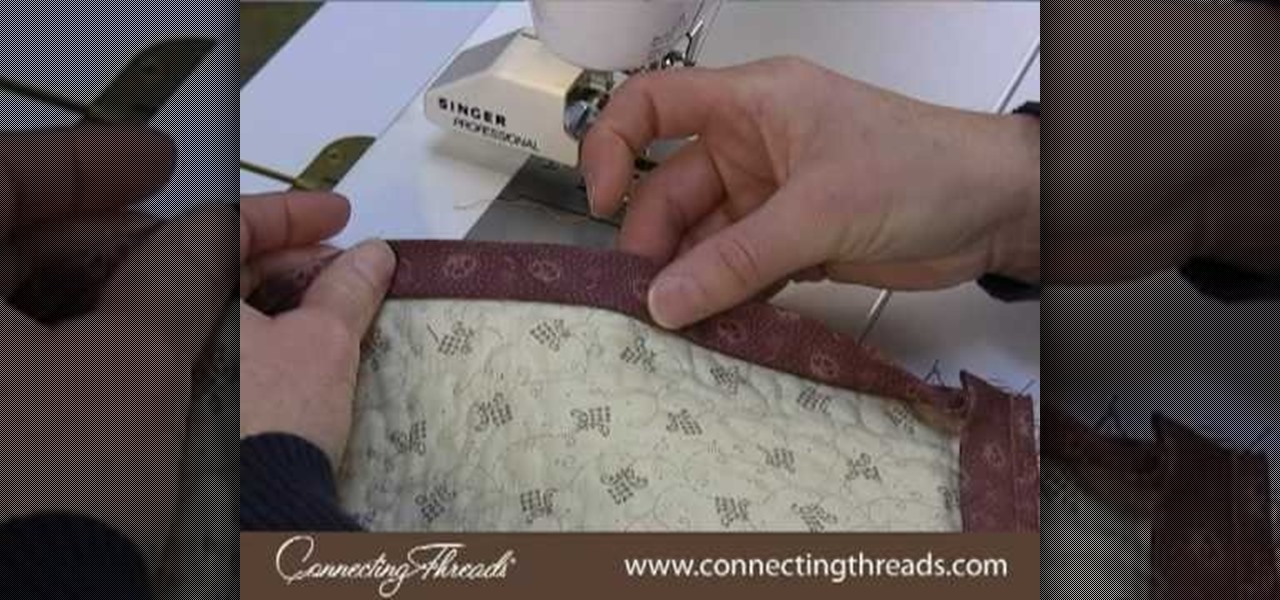
In this video we are shown how easy it is to complete the finishing join on a quilt binding. Just before the final join 6 inches of binding should be left over at the beginning and the end, while the rest of the binging should already be sewn down. The two ends of the binding should overlap by at least 6 inches. You will then need to cut the thread and remove the quilt from the machine, then measure the binding width and overlap the two pieces and cut off the excess binding to match the width...
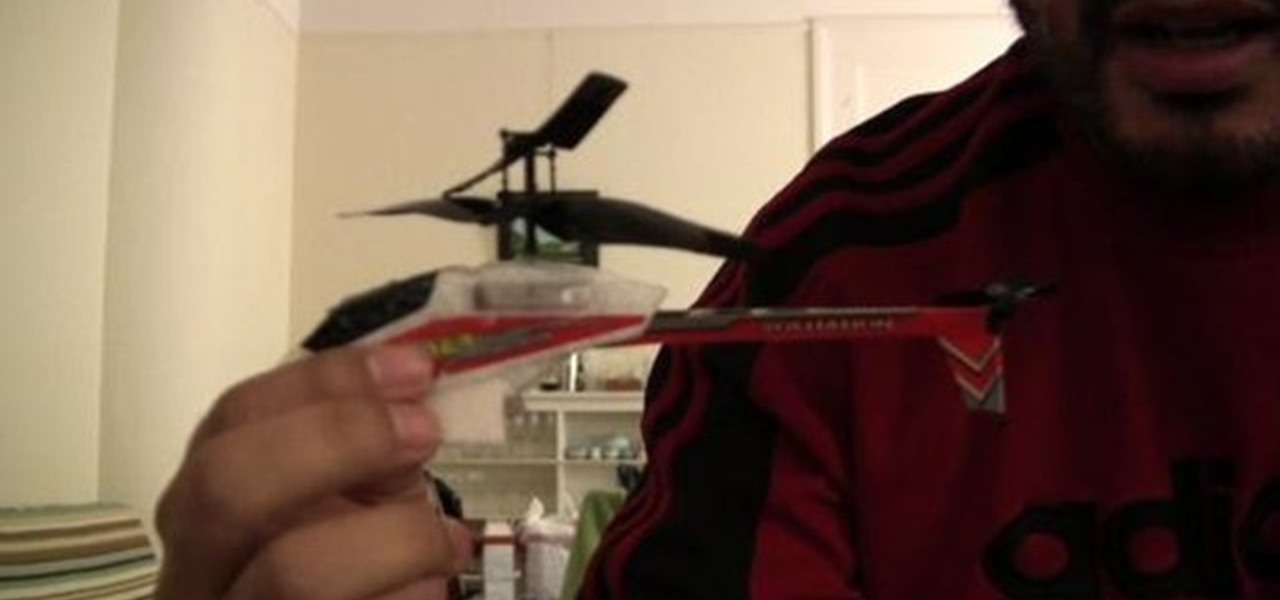
To begin in controlling the tail spin on your helicopter you need to turn your helicopter on and then turn the controller on. On your controller there are two trim bars. If it begins spinning to the left, tap the right trim; likewise, if it begins spinning too much to the right, tap the left trim. Unfortunately there is no memory in the PicooZ helicopter, so every time you turn on the helicopter you have to trim it. In the example video the helicopter needed to have the trim bar pressed 12 ti...
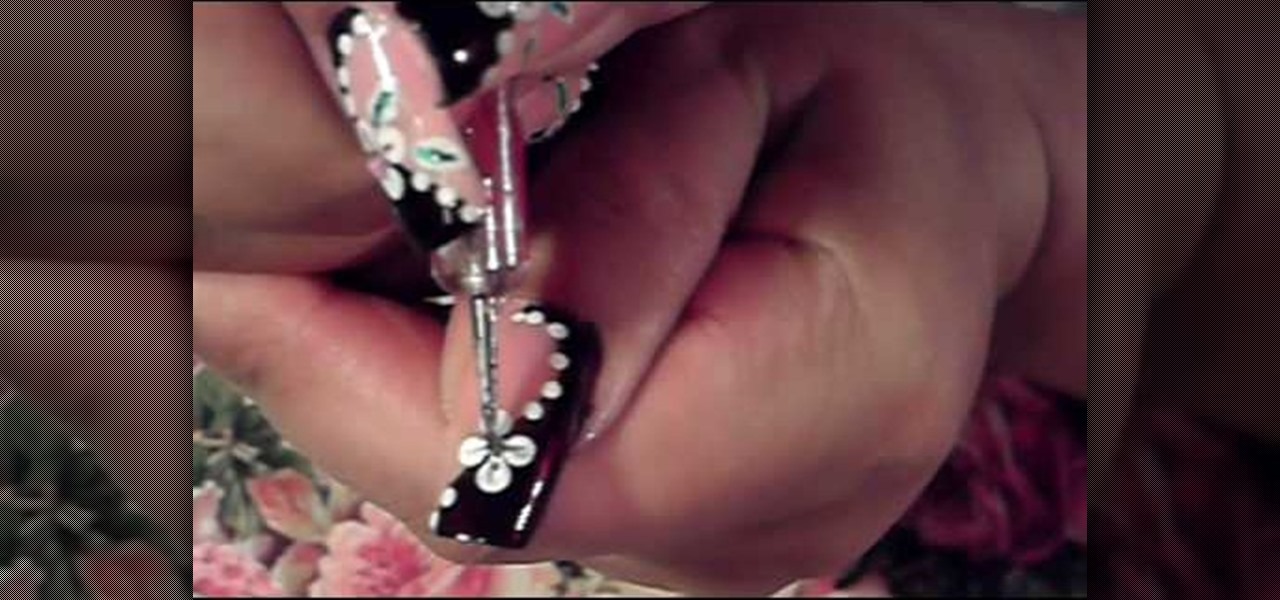
dark brown and pink white flowersdark and rich colors are used: brown, pink, white and green. firstly lightest color is used for the base polish then dark colors applied. first, with dark brown polish a simple curved line drawn on the nail from bottom to top then dark brown polish applied to fill the back part of the previous line. then put some white polish onto a white paper and use it with dotting tool to put flowers petals as a dot on to your nail. then with another dotting tool put dots ...
How to Use COD4 Cracked Servers.

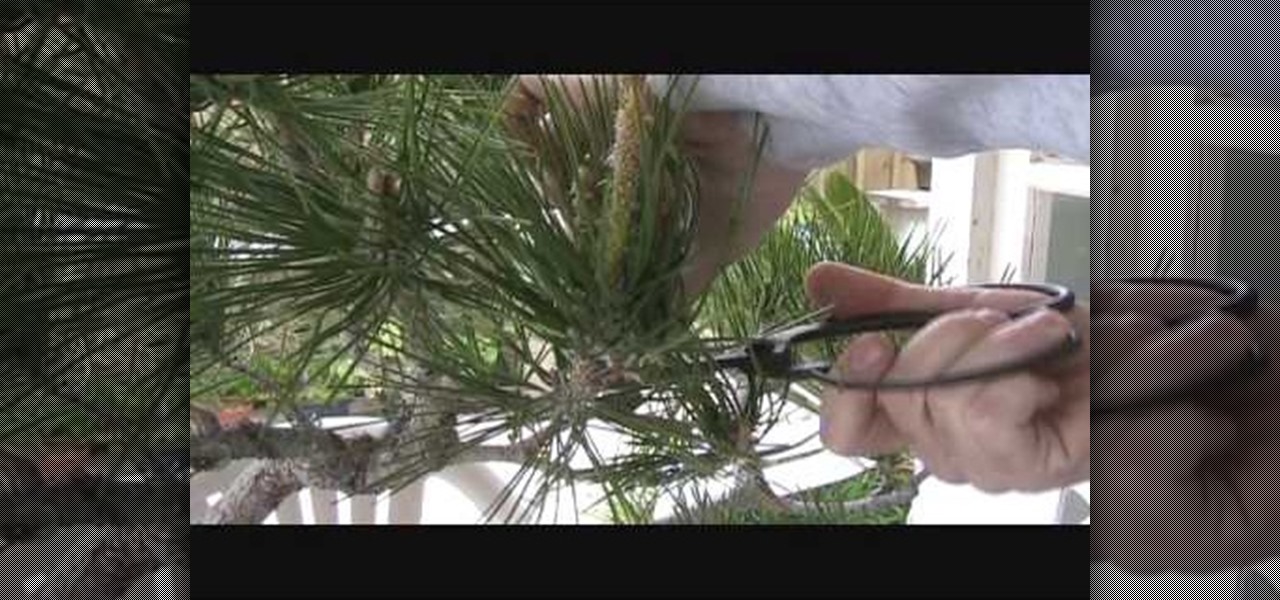
In this Home & Garden video tutorial you will learn how to prune & clean a Japanese black pine bonsai for spring. First you got to prune off the branches that you don’t want and allow only the branches that you want in order to design the tree. After about a year of pruning off the branches cut off the studs created by the left over branches so that the area is flush with the rest of the trunk. Then cut off any dry stubs around the foliage. Next cut off the foliage that is growing out of the ...

In this Food video tutorial you will learn how to make chicken curry or butter chicken using Kashmiri meat masala. Masala means spices. Ingredients are 1-2 tablespoons regular sour cream or plain yoghurt, 11/2 tablespoons Kashmiri Meat Masala, 1-2 tablespoons tomato paste, little bit of ground ginger and chilly, one pound of chicken boneless, curry leaves, cooking oil and one green chilly. Add oil in a pan and heat over low heat, add spice, tomato paste, yoghurt and stir and make a thick past...

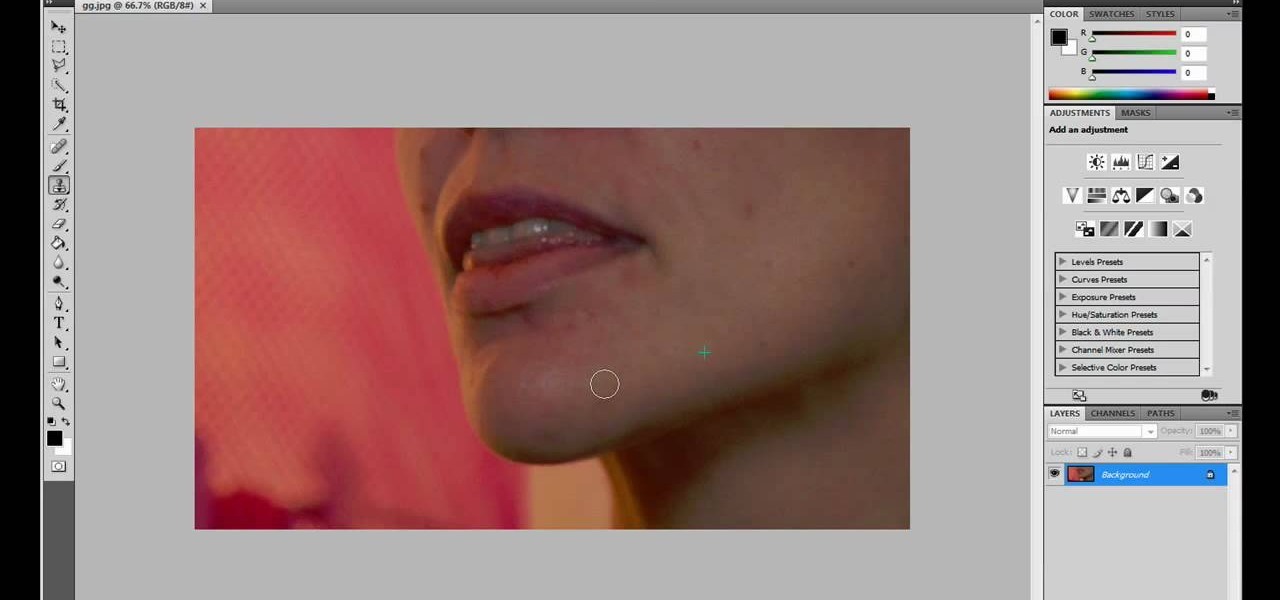
JdudeTutorials explains how you can remove zits, blemishes, and other unsightly skin problems, from pictures using Adobe Photoshop. He begins by opening up a picture of a female's lower face. Left click on the stamp on your toolbar, and select the Clone Stamp tool. You will see a small circular cursor. He explains that you should find a skin tone on the picture that matches the skin surrounding the troubled area. He holds the alt key on his keyboard and left clicks the spot that most resemble...

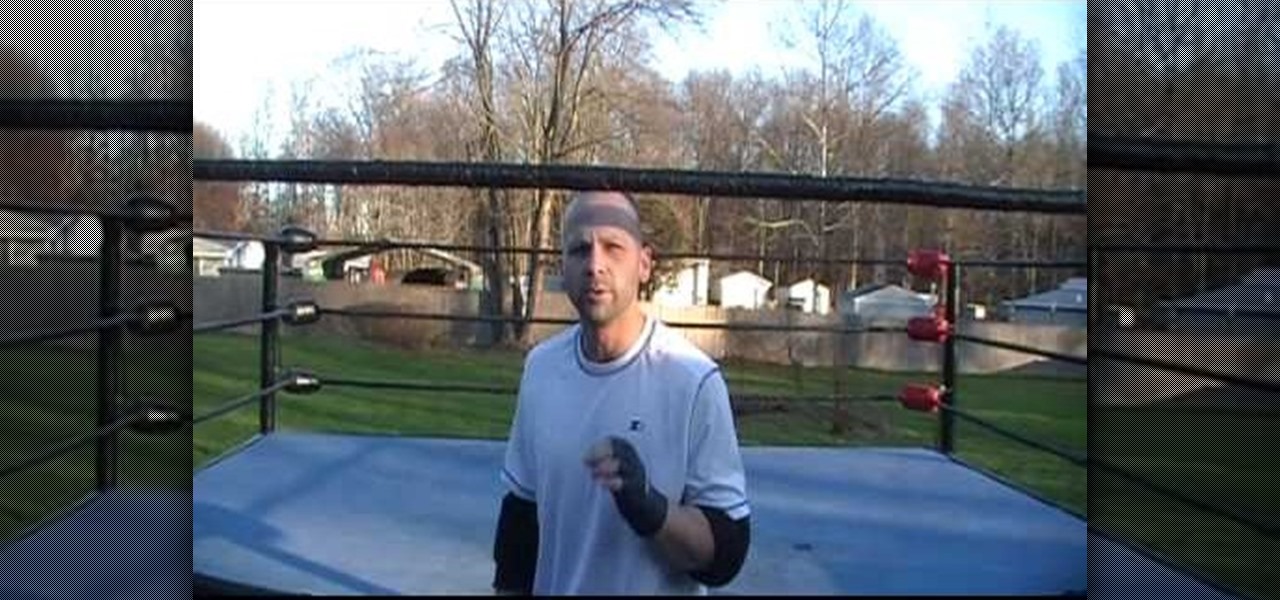
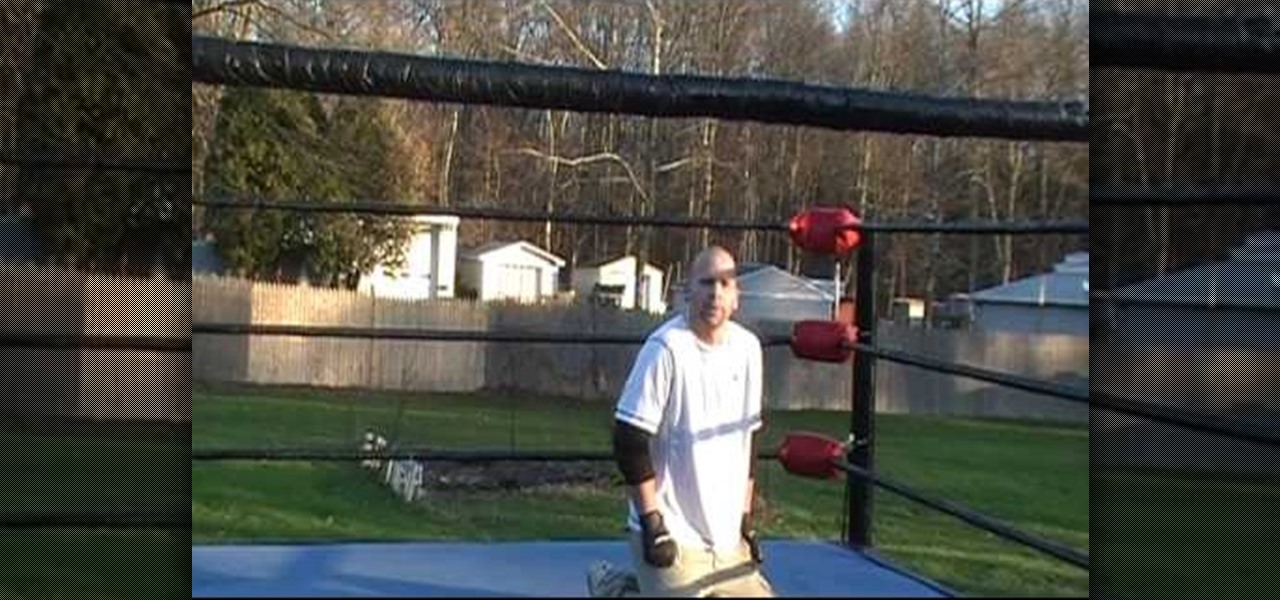
Ever wonder how WWE star Ric Flair did his face bump? Will now you will know how. This is when Ric Flair would come out of his corner and just fall flat on his face. To do this move you need to do a controlled fall. You kick out one of your legs to start your fall. When you fall you want to fall with most of your weight into your lead shoulder and chest. So, if you fall to your left you want you left shoulder and chest to absorb most of the weight. Use your other hand out to break your fall b...

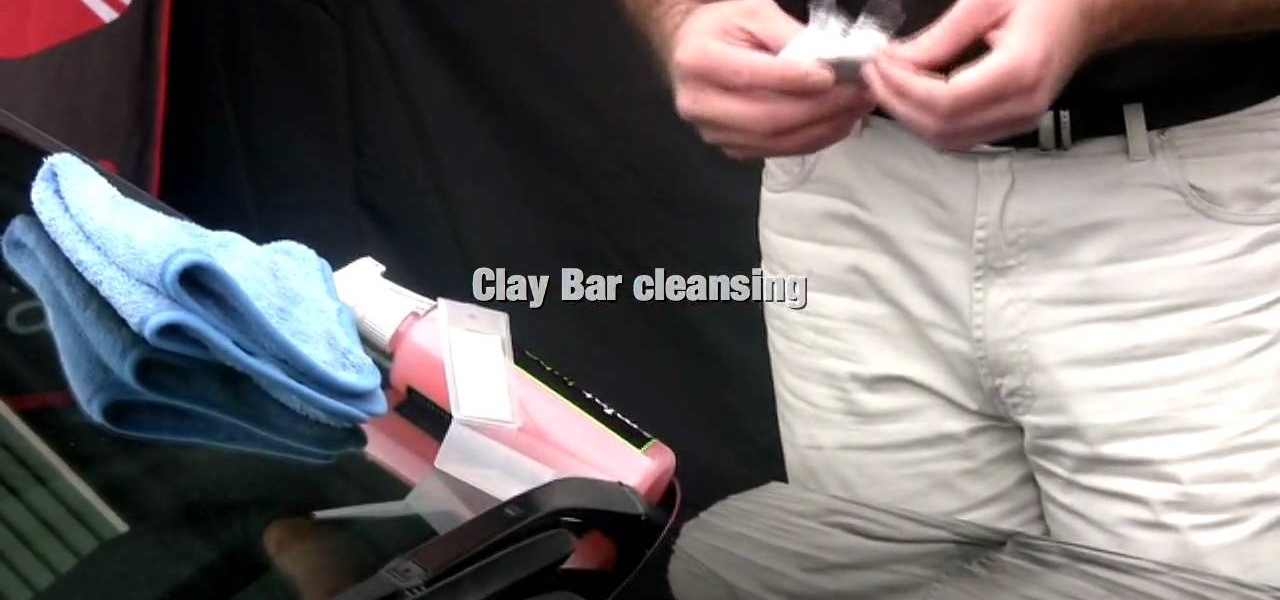
In this how-to video, you will learn how to clean your car paint with a clay bar. This will help you clean contaminants, bug parts, and other debris from your paint. First, you will need a car to clean, a clay bar, and a lubricant for the clay. Split the clay into a smaller piece and mold into a bottle. Spray the lubricant on the area you are going to clean. Move from left to right and up and down over the section two or three times with the clay. Once this is done, wipe off the lubricant wit...

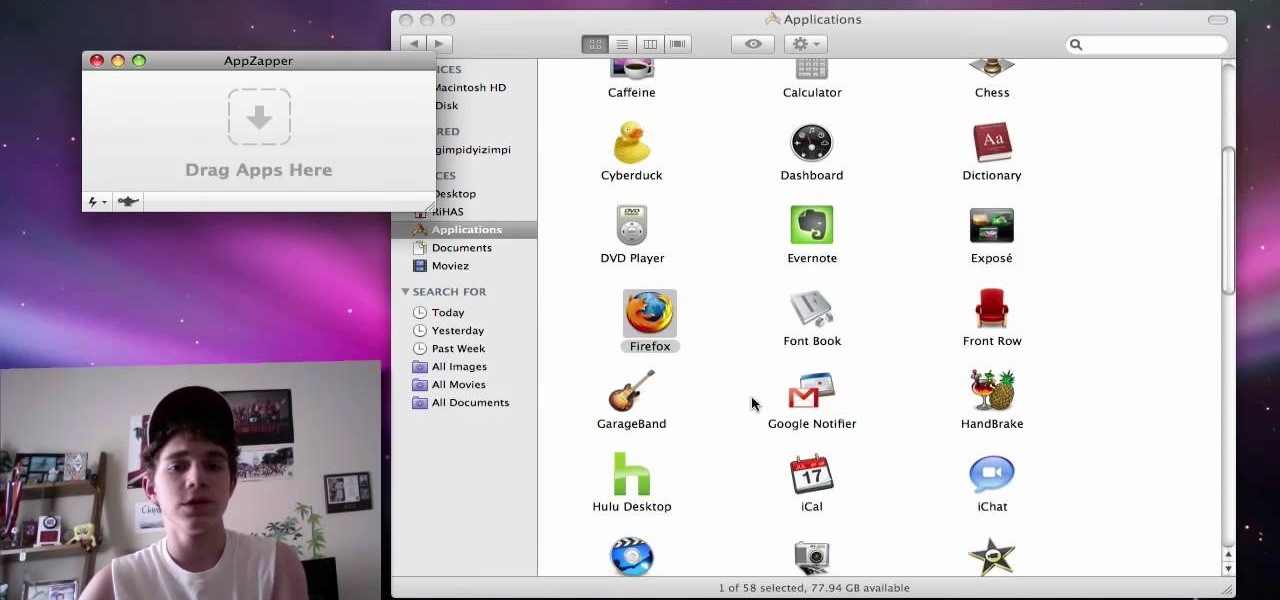
The video is about the full uninstall of programs on a Mac computer using a program called AppZapper. The video begins with explanation on how files deleted from a system often leaves behind traces of files which slows down the system and leaves the hard drive fragmented. To avoid this a program called AppZapper can be used to uninstall the applications. This program is available as a trial version which will zap 5 applications and a full version with three updates for 13 dollars. So when you...

How to spackle a crack or a hole

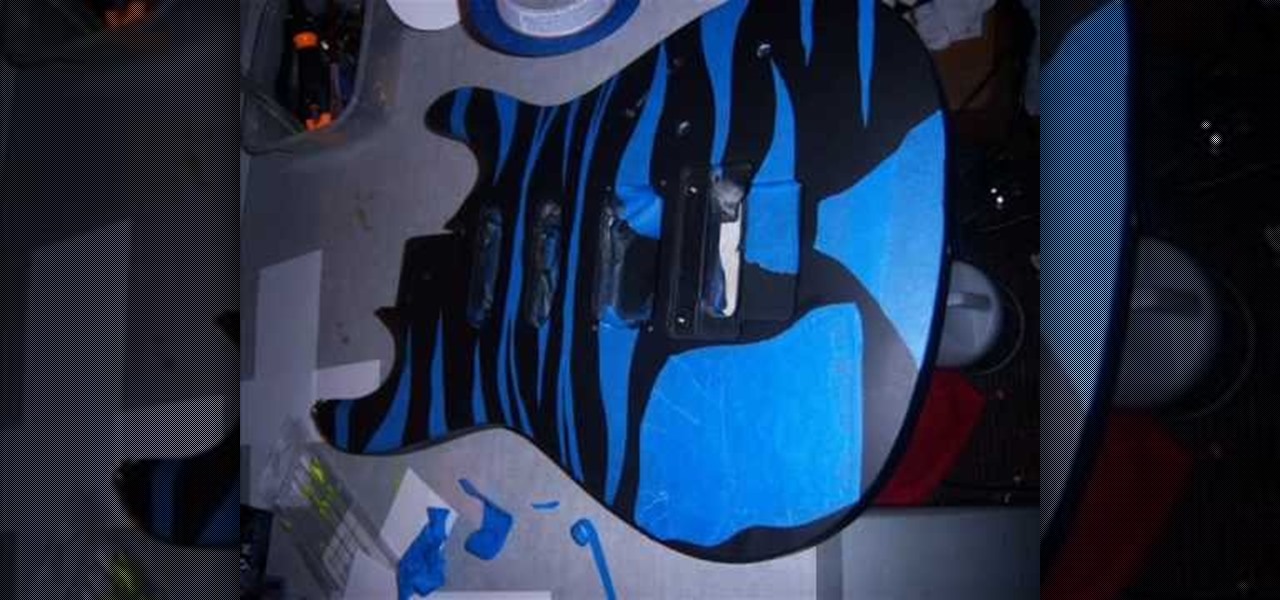
In this video Teddy Zane shows you how to paint a guitar with spray paint. It begins by painting the whole guitar with one color of flat paint, and then creating a panel where you want the picture, out of tape. Next lay your picture on top of the tape and use a scalpel or razor to cut out the design as a template carefully ensuring you do not cut the guitar, only the image and the tape. Once the entire image is cut, pull off the tape to expose the guitar beneath. Cover the rest of the guitar ...

This video illustrates how to make paper ninja stars. This process includes the following steps.Step 1Take a sheet of printer paper and scissor.Step 2Fold it and cut it into two halves.Step 3:Fold one half of the rectangular piece again into half.Step 4:Fold the right end diagonally.Step 5:Now fold the left end diagonally.Step 6Fold both the ends in half.Step 7Fold the other rectangular piece again into half.Step 8Fold the right end diagonally.Step 9Now fold the left end diagonally.Step 10Fol...

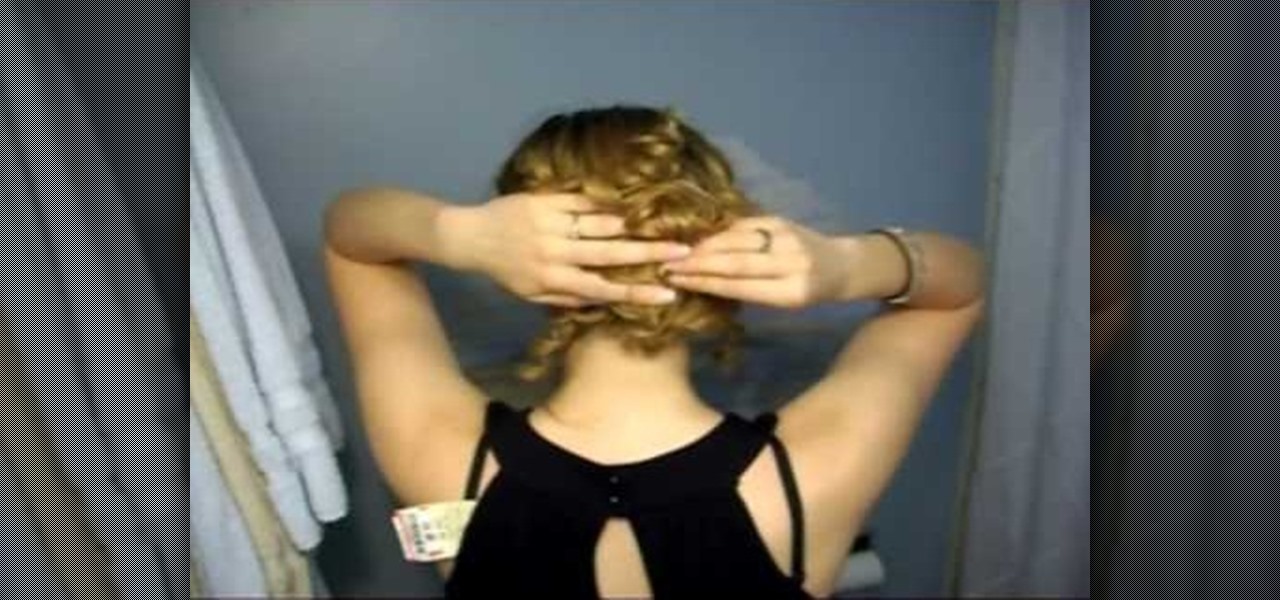
TipsFromXOXOSarah takes us through a step by step instruction on how to get Taylor Swift's up-do from her song, "Love Story." With hair parted to the side, she begins with curly hair and gently swoops it in the back with a large bobby pin making a messy bun. She leaves a cluster of curly bangs hanging by the right side of her face. The loose curls left around the back of her head from the messy bun are then put up with a few smaller bobby pins. She then pushes up the bun up and bobby pins it ...

Childcareland demonstrates how to make a cupcake shaped book in this video. First, make a pattern page from a regular piece of paper. It should be designed like a cupcake. Place the designed pattern on top of a thicker paper like construction paper or card stock. Place five pages of regular paper behind the thicker page and finally place another thicker page at the back of the stack. Glue the cupcake pattern to the top, thick page, slightly to the left side. Then staple down the length of the...

This video illustrate us how to cook boneless pork loin chops. Here are the following steps.Step 1: Take the pork and wash it properly with water and vinegar to remove smell from it.Step 2: Now mince the pork in the grinder to fine consistency.Step 3: add the spices of your choice to it along with curd and lemon juice and leave it to marinate for at least two to three hours.Step 4: Now take the marinated pork and shape it small ball .Step 5 : Flatten the balls and insert wooden sticks in it.S...

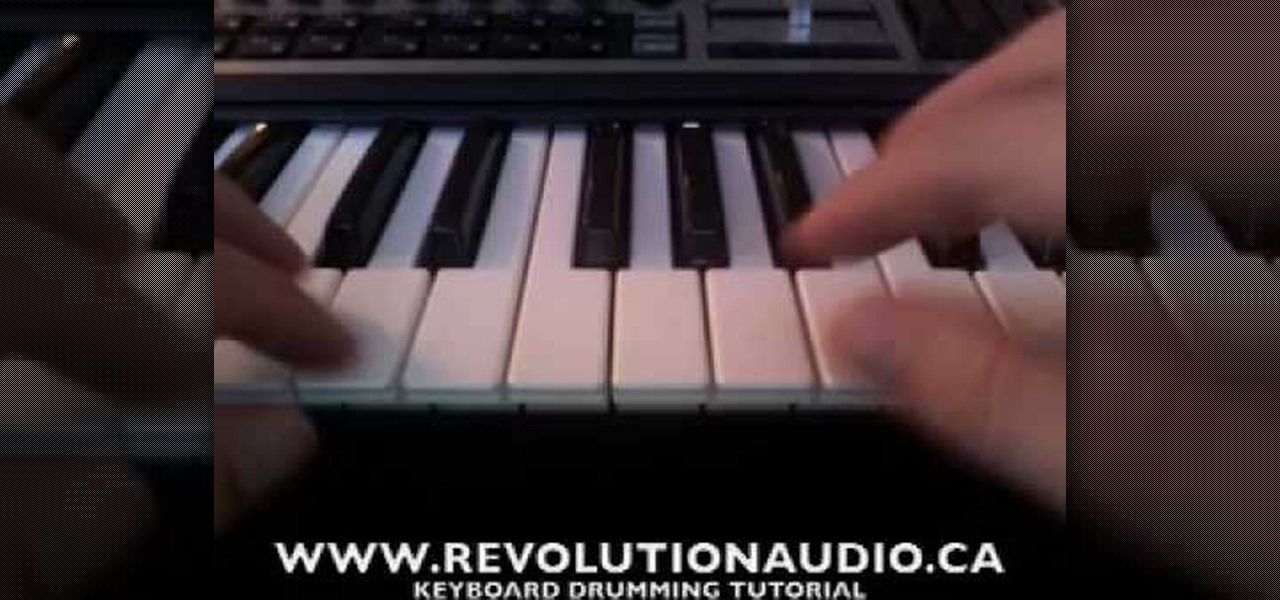
Jason Johnson with Revolution Audio shows us some easy steps to creating a basic midi drumbeat using your keyboard. To start, the kick drum is located at C1, this is in a different location depending on the number of keys your keyboard has. The other drums which are included are left and right snares, the tones, high hat closed, open high hat, and the pedal high hat. There are also the cymbals which include the crash, often used at the end of measures and the ride which is employed often in j...

In this video tutorial, viewers learn how to tie an ascot. Begin by placing the ascot around your neck. Make the right side just a little bit longer than the left. Then cross the left side over the right side. Now bring it up and over through the middle. Fluff it out to spread out the ascot and then tuck it inside your shirt. Make sure that it is flat and smooth inside the shirt. This video will benefit those viewers who are preparing for a formal dinner, party or special occasion, and would ...

In this video tutorial, viewers learn how to perform a sleeper hold and cobra clutch move. For the sleeper hold, begin the setup with a kick to the gut and an elbow to the back. Then wrap your right arm around the opponents head. Use the other hand to hold the opponent's head and tuck the right arm underneath to lock the hold. For the cobra clutch, grab the opponent's left wrist with your right arm. Then slip your left arm underneath and hold on your shoulder. This video will benefit those vi...

Graham Potter shows how to stylize cork bark oak. The main way to stylize is to avoid the carving of the bark, but to carving the branches. Its recommended to start carving when the branches are young. First you will start removing all the branches you have no use for (e.g.. shortening branches to about 4 to 5 leaves). Graham says while trimming the branches, do not worry about the immediate image of the branches, but of the image of what it will look like in the future when it fully grows. G...

In this video tutorial, viewers learn how to do the Shawn Michaels and Ric Flair turnbuckle flip wrestling move. Begin by running towards the turnbuckle and grab the middle rope with both of your hands. Make sure the your lower back makes contact with the top turnbuckle. Flips your legs over and make sure that you land on the left side. to practice for this move, do some handstands on the middle rope and slowly flipping yourself over to the left side. This video will benefit those viewers who...

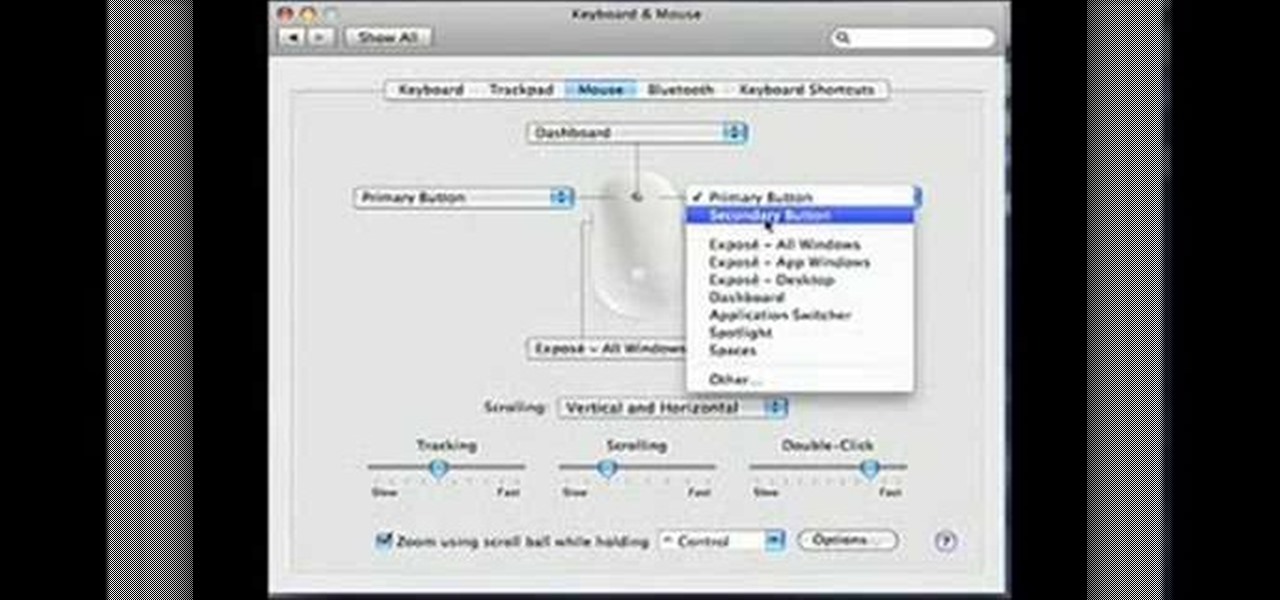
Get your mouse to right click on a Macbook Pro Setting up your mouse:

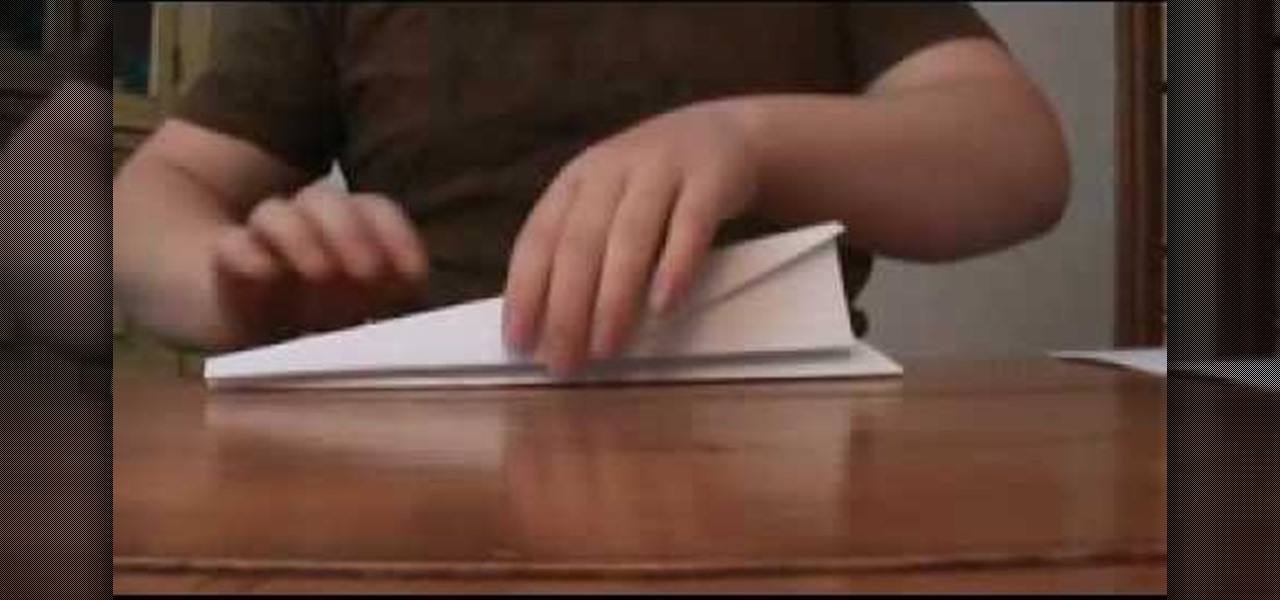
Making a paper airplane that will fly far is useful for throwing in a competition. If you want to know how to do that you should watch this. 1. Roll the right corner toward the middle of the rectangular paper and then flatten it. Do it on the left corner. 2. Fold the paper in half (lengthwise). You should have two big wings now. 3. Fold the left wing into half (lengthwise). Do it also on the right wing. You're done. After following these simple steps, you can now challenge your friends.

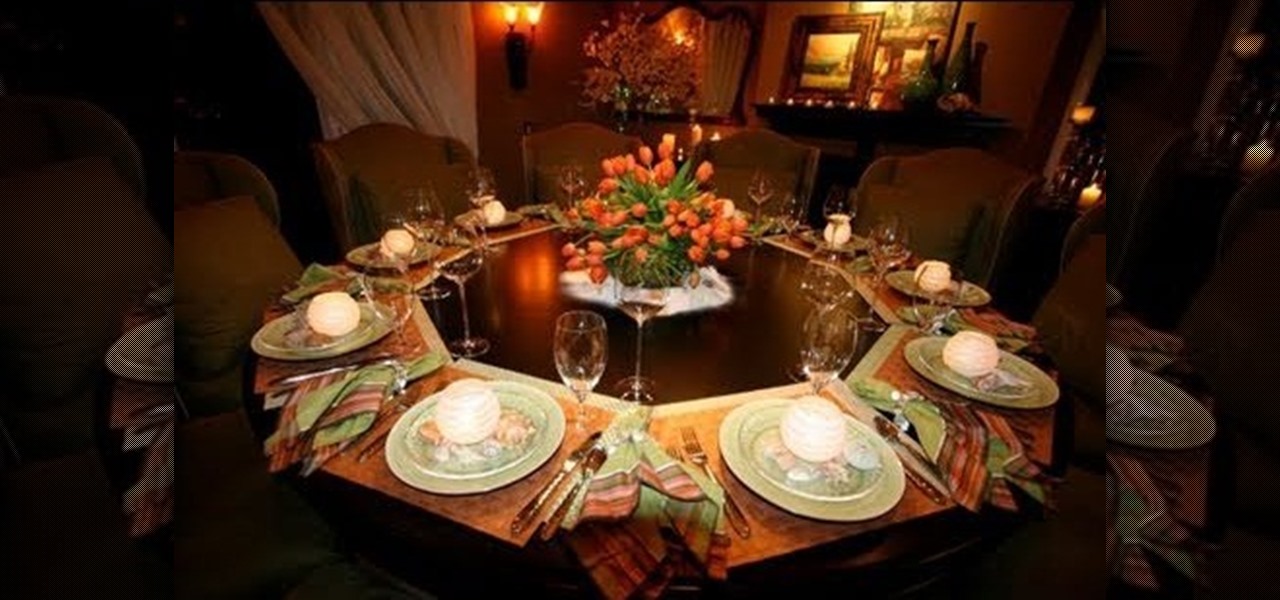
Rebecca Robeson shows you how to remember which side of the plate to put the fork, knife and spoon. To set a table the correct way, follow these steps: The word 'fork' has four letters, as does the word 'left'. So, the fork goes on the left. The word 'knife' has five letters, as does the word 'right'. So, the knife goes on the right. The word 'spoon' also has fiver letters, so it goes alongside the knife. Remember that the safe side of the knife, the dull side, faces out to anyone sitting nex...

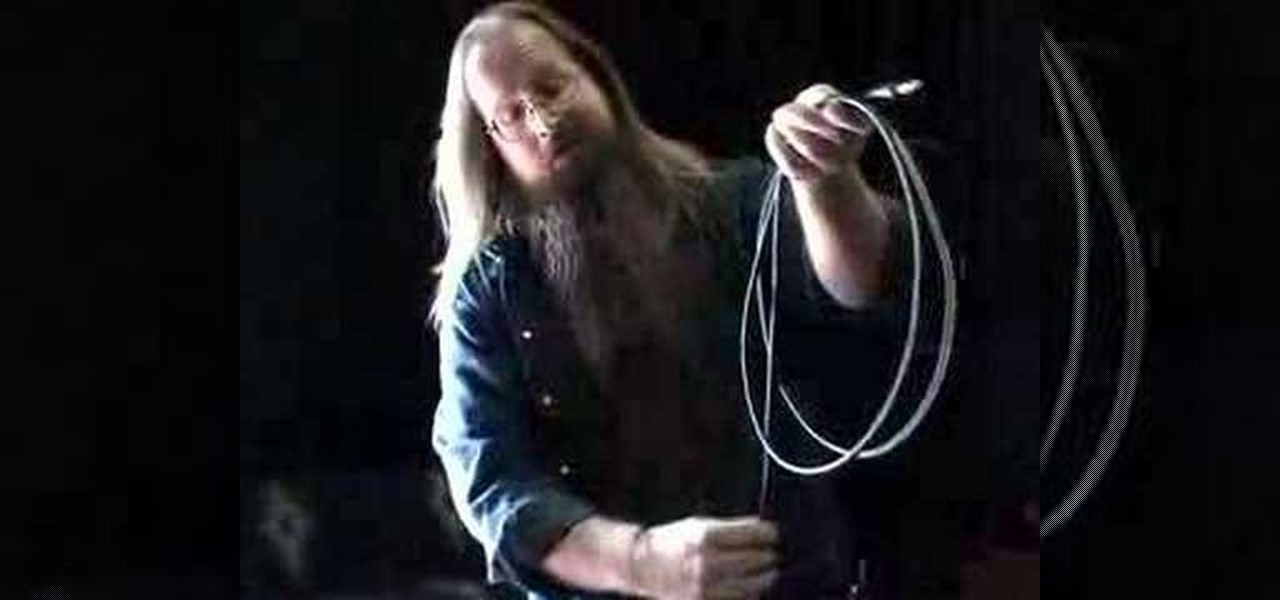
This Music & Instruments video tutorial shows how to properly roll guitar & mic cables. Master Doug from Tech Support demonstrates how to do this in this video. First remove all the kinks from the cable before rolling it. Put one end of the cable in one hand; say in the left hand and with the right hand make loops and place them in the left hand. Make sure you don’t entangle the cable while doing this. If the cable is longer, do this process by placing the cable on the ground. Make sure that ...

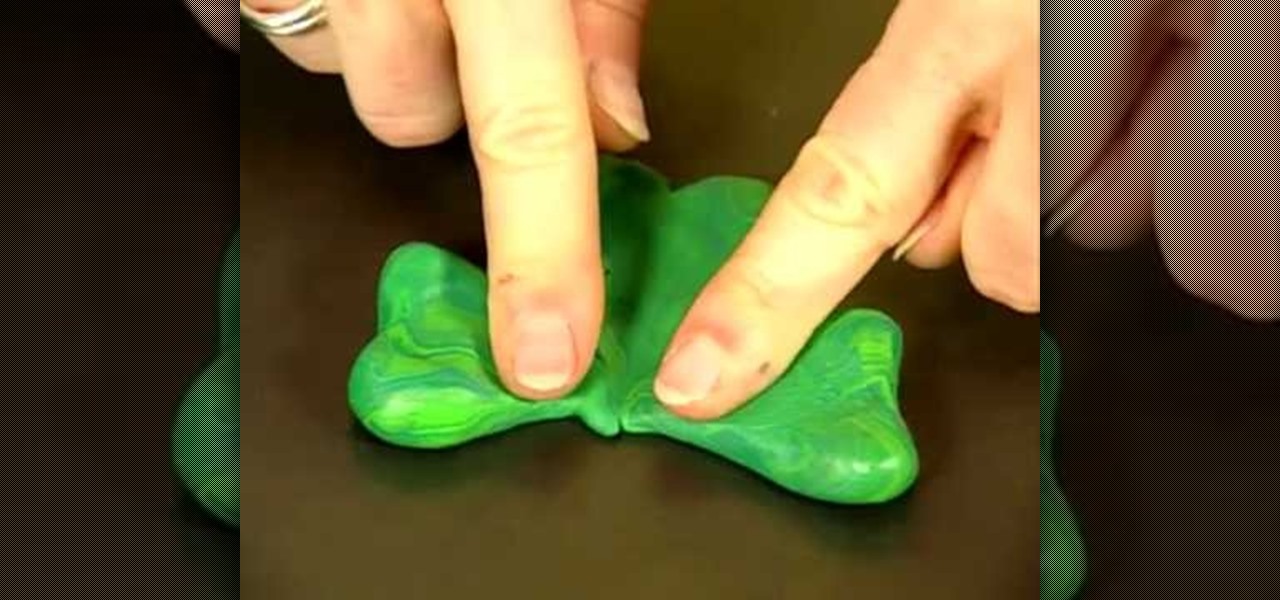
In this how-to video, you will learn how to create a lucky charm. It is a symbol of good luck among the Irish. You will need a baking sheet, green polymer clay, a paper clip, pencil, and a key ring. Roll three one inch balls from the clay. Shape them into the clover leaves. Next, put them on a baking sheet and stick the pointed ends together. Set a paper clip in the center and flatten a piece of clay to seal the paper clip in. Draw lines in the center of the leaves with the pencil. Bake it ac...

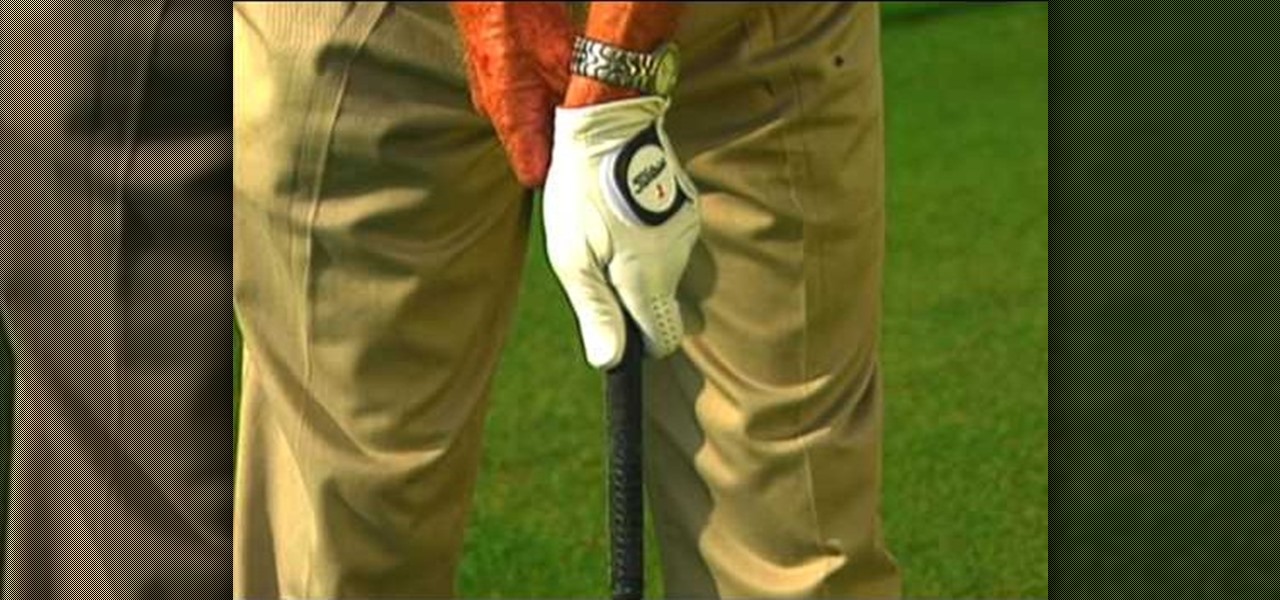
Golf Link demonstrates how to correct a golf slice. Golf slices are most caused by a player's grip. If the grip is yielding a slice, the players hands are turned too far to the left so when you come back to impact, your hands will naturally open and create a slice. Get the correct grip by turning your hand around so your thumb is towards the back of the shaft with your left hand on top of the grip and your right hand facing the direction that you would like to go. Use golf tees to determine i...

To add photos to Facebook, log into Facebook and go to your profile page. Click the photos button on the left hand side of the screen. On the next screen, click the my photos button at the top of the page. Next, create a photo album. Type in the name, location and description of the album into the appropriate boxes. Choose your visibility preferences and click the create album button. Next, using the Facebook Java upload tool, choose the hard drive file that your photos are located in from th...

Catherine demonstrates how to create an eclectic, sunset-inspired necklace in this video. To create the necklace you must gather 40 yellow bugle beads, 18 orange chip beads, 3 mm red round beads, a barrel clasp, 2 crimp beads, 2 bead covers, about 20 inches of beading wire, clippers and pliers. The design is to start by threading a clap and a crimp bead onto the wire, leaving a 2 inch tail. Then thread on 15 yellow beads, remembering to cover the tail you left with the beads, 3 orange beads, ...

Everyone shanks the ball sometimes in golf and most wonder why they do and how to prevent it. There are two reasons that you shank the ball. One reason people shank is because they are trying to keep the hands behind the ball and it creates such an angle that the only place you can hit the ball is in the shank of the club. Some people also flip the club over at the last second and that creates an angle that causes the shank to hit the ball too. What you want to do is tuck the left arm in and ...

In this video you will learn how to draw a graffiti version of "Slimer" from the movie "Ghostbusters". The materials you will need are a writing utensil (the artist in the video uses a permanent marker) and some paper to write on. The artist begins by drawing the eyes and the pupils (the pupils appear cross-eyed). Then you draw the nose, the mouth and start outlining the area around the top of the eyes. Then draw the outline of the ghosts body then continuing around the left arm to the hand. ...

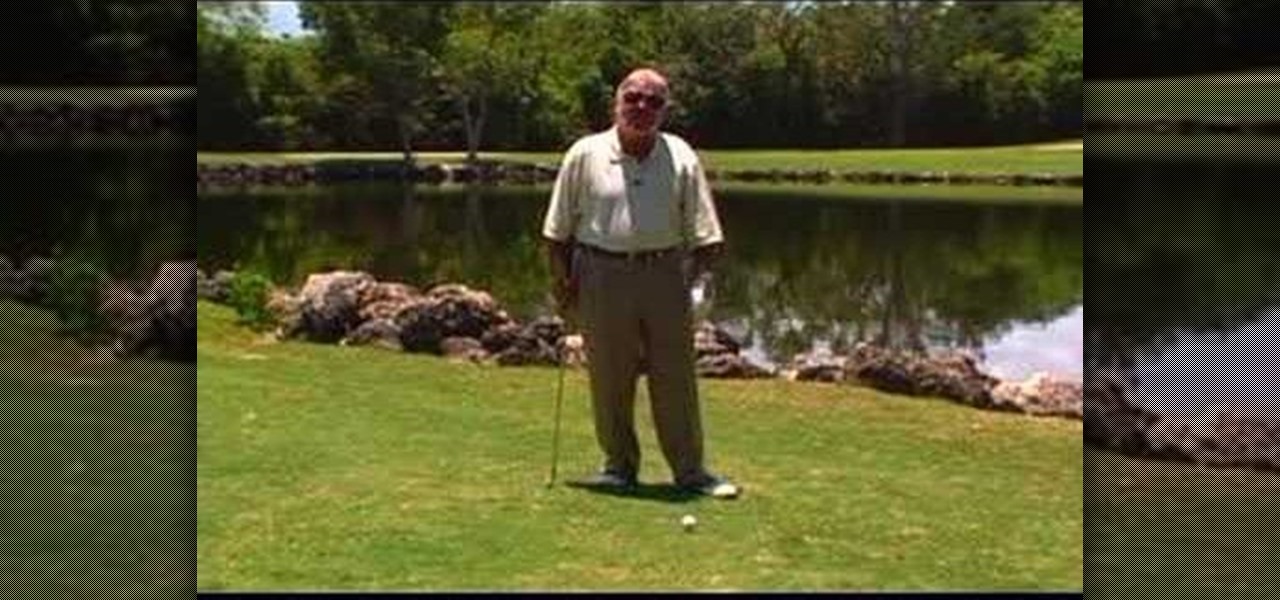
In this video, award-winning golf teacher Gary Wiren focuses on hookers. Not THOSE hookers, though Gary offers an interesting bit of trivia about those too. He's focused on hookers in the realm of golf, swings gone awry that can really affect your game. Gary talks about the four main reasons hooking happens, discussing and demonstrating each type for the viewer. These reasons are: deceleration in the left arm, bringing the club too high (and allowing the wrist to "fold over" at the top of the...

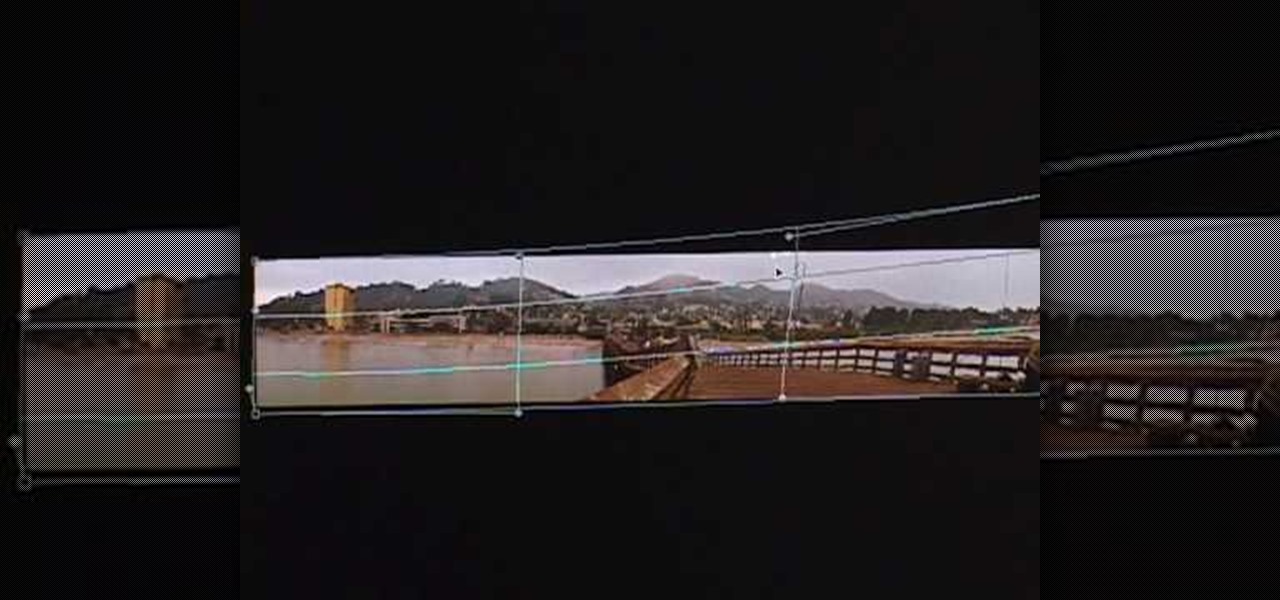
This video in the Software category will show you how to create simple panoramic images in Photoshop. This video uses only five images for this effect. Select the five images and put them in a folder. Go to File -> Automate -> Photomerge. On the Photomerge page select ‘Folder’ and browse. Find and ‘choose’ the folder you created. Under the layout panel on left hand side of the page, select ‘cylindrical ‘option and click OK. Now the panoramic image will appear that will have some blank areas. ...

In this video tutorial, viewers learn how to avoid a bad finish to cure a golf push shot. Usually, when players make a swing for the ball, their arm separates from their body. This will take the club to the right of the target and as a result, pushes the shot. To correct this, connect your left arm to your left side as you make a swing. This will allow the club to stay with your turn and go down the target line. This video will benefit those viewers who enjoy playing golf and would like to le...

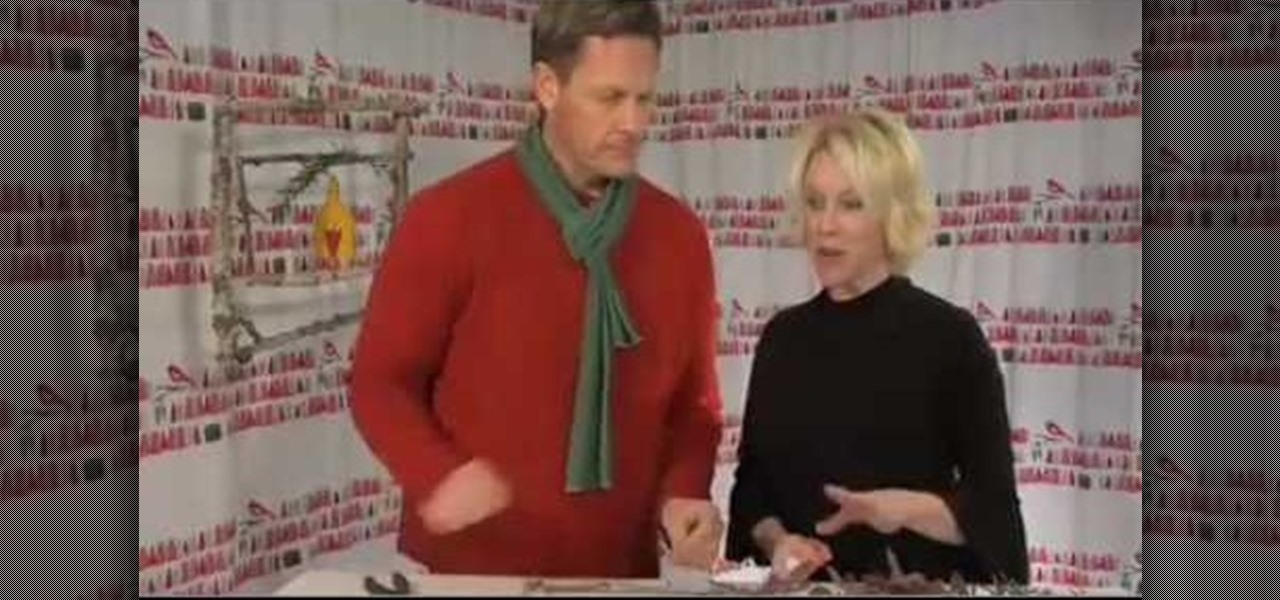
Six Minute Style host Susan Doherty is on location in Montana at the Nine Mile School house with Kurt Seer who shows how to create a 3 dimensional wreath mobile. He uses birch as his base. You can use any wood you choose. Make a square out of four branches. Knot, tie and twist floral wire at cross sections of the wood frame. Leave a little tail for the decorations. Tie dried rosemary in the wire tail. Tie leaves and greenery around the frame using wire. Not only for Christmas, you can create ...

In this video, the girl is showing us how to do Taylor Swift inspired hair. The first step in obtaining this look is to have straight hair and a curling iron (around 3/4" or smaller). You will first need to take a small strand of hair and twist it around with your finger so it's loosely twisted. Then, take the curling iron and place it on the strand just so the bottom of it is covered. Then, curl up and leave it curled for at least 15 seconds. Next, once you take the curling iron out, you wil...

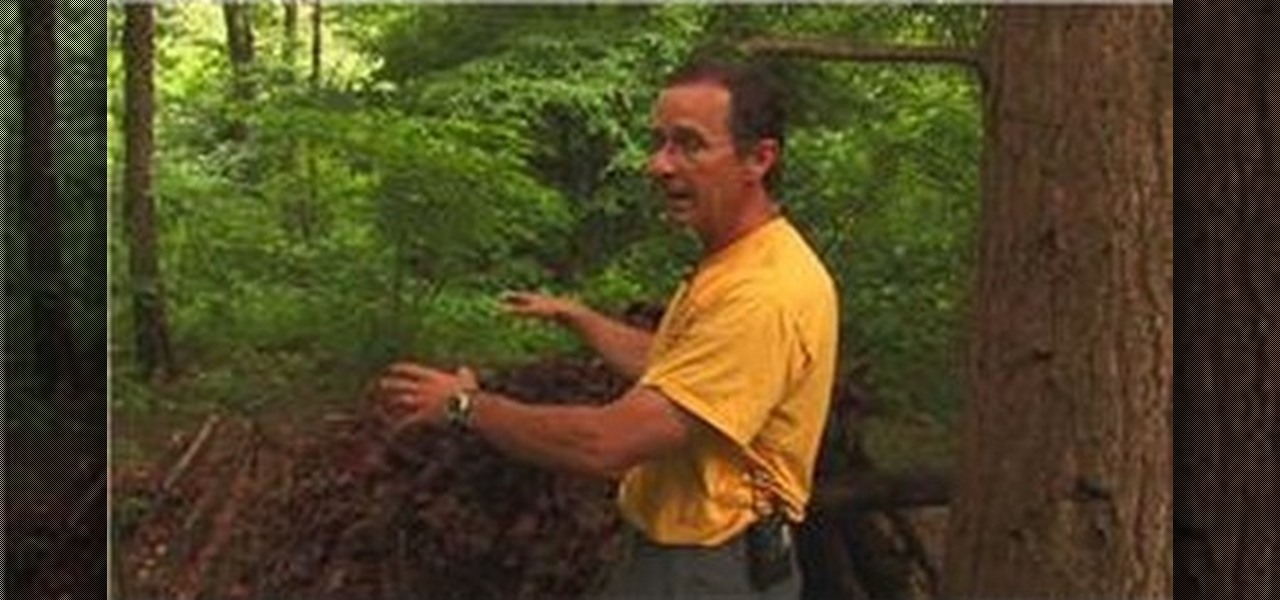
In this how-to video, you will learn how to build a wilderness survival shelter. One thing you can do is use a rain poncho, blanket, or piece of plastic and make a water impermeable shelter with a rope like material. These materials could include anything like a cord or dental floss. You can build a debris hut by using a large stick leaning against a tree. Stack many other sticks around this large stick, and then pile up debris such as dirt or leaves to build up walls. Once the structure is b...

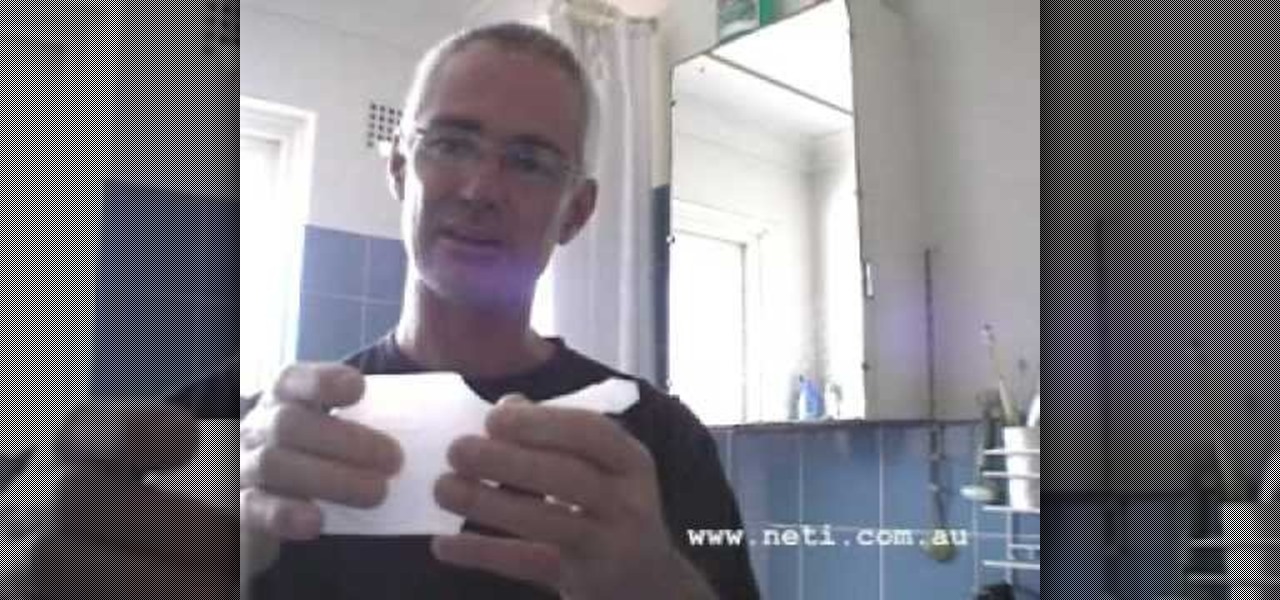
This video is demonstrating the technique of jala neti by Steve. It is a purification exercise. You will use the unbreakable neti pot in the bathroom to do jala neti. This pot's nozzle properly fit in the nose and the plastic body of the pot can be easily hold. For 200 ml of neti pot put 1/3 of teaspoonful of salt. Don't put more, or otherwise your nose will burn. Fill the water straight from the tap and shake the neti pot properly. Take the neti pot in the right hand if you want to put water...


