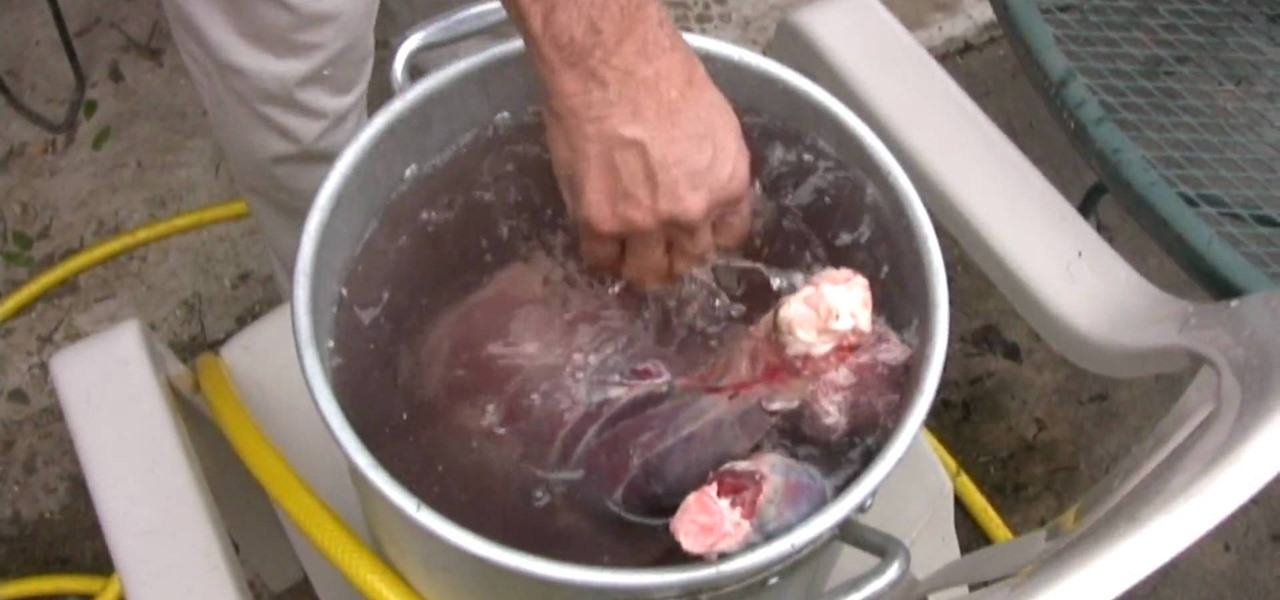
You can replace the kitchen faucet by yourself. If you decide to do it start by turning off both the hot and cold water using the valves under the sink. You'll need a basin wrench to get at and remove the pieces up under the sink. First you will loosen and remove the water lines and then the retainer nuts that hold the faucet in the sink. Pull the old faucet out. Put some plumbers putty on the sink and press the nylon gasket firmly in place. Thread the spray hose through the hole for the spra...
Most dogs will be able to tell the difference between a pill and, let's say… a piece of cheese. They aren't as stupid as you think. One is for eating and one is for spitting out. Well, this is a short video tutorial to teach you how to feed your dog multiple pills without fuss.
It truly is hard to sleep tight when the bed bugs bite, since these insidious creatures are very real, and very nasty. You’ll have to be persistent to get rid of them.

Concoct soda at home—over time, you'll save a bundle by not using the store-bought stuff. Plus, it's fizzy fun!
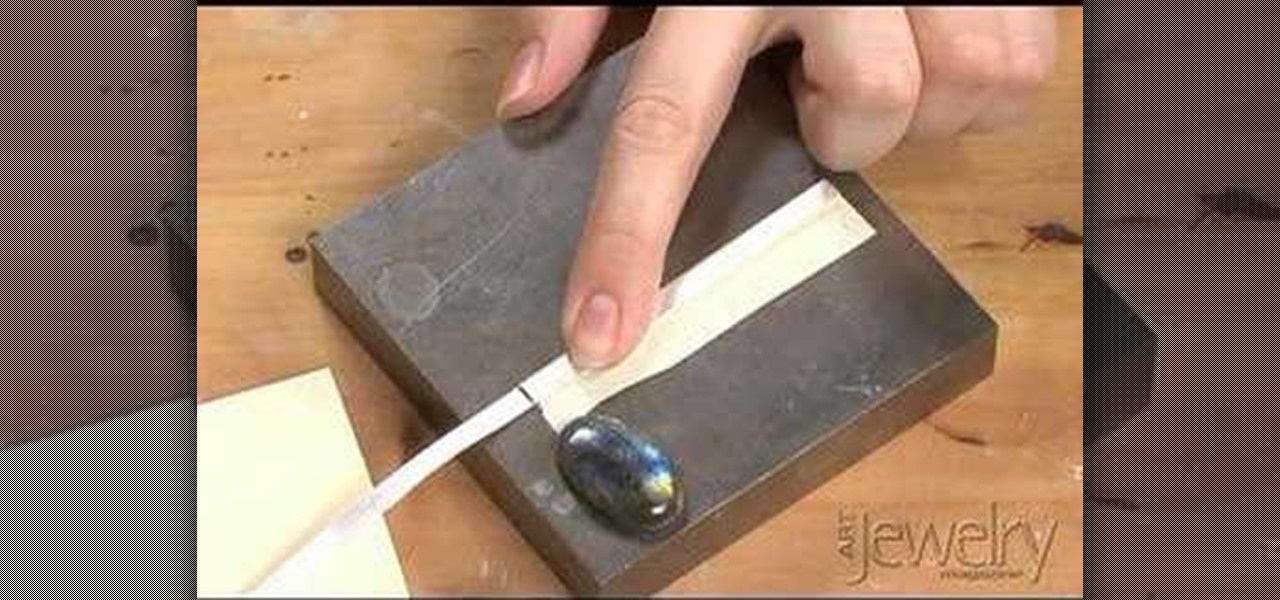
A bezel setting is a simple band of metal that simply wraps around the stone or gem. While bezels settings can be purchase premade, making them uniquely ensures a perfect fit, for even the most unusual gemstones. Learn how to craft a bezel setting by watching this video jewelry-making tutorial.
Now that summer is swiftly approaching, it's time to start wrapping your mind around that most enjoyable of summertime treats: Ice cream. While you can certainly go to the store and purchase bulk packages of rocky road, store-bought ice cream is full of gnarly-sounding ingredients that sound more like a chemical found in a mad scientist's lab than actual food (xanthan gum, anyone?).

Start by putting the loop of the wrap on the thumb of the hand you are going to wrap. Wrap the wrist moving about half way up the forearm. Then run the wrap back down the arm and when you get to the hand wrap between the thumb and the first finger wrapping over the knuckles five times. Then wrap around the thumb and then begin running the wrap in between each of the fingers starting with pinky and ring finger. After you wrap through the ring finger and middle finger then wrap around the wrist...

Not to diss real flowers or anything, but while they're pretty and all up front wrapped up in that tight bouquet, after a few days they start to look more dreary and sad than the last Nicolas Sparks movie.

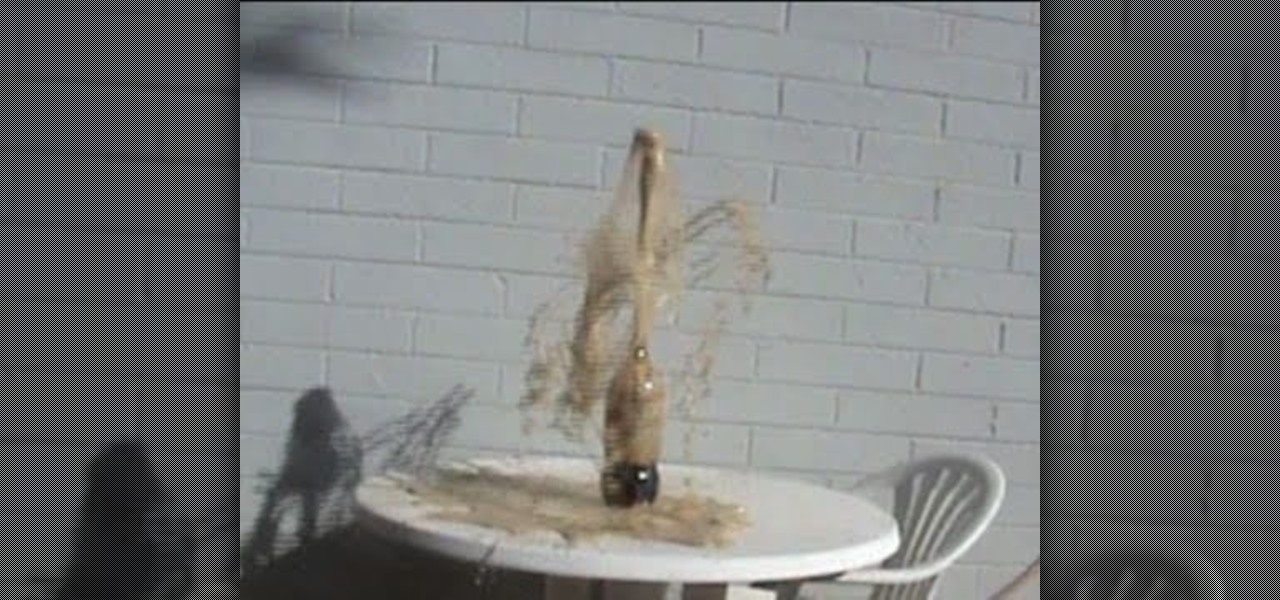
It's been done before, but this Mentos and Diet Coke prank never gets old! Really— who knew those Mentos fresh mints and some acidic Diet Coke could create such an explosion? Astonishing.

This makes a great gift box for your father or brother. You don't have to spend extra money on expensive wrapping paper - a few sheets of construction paper are all you need to craft this creative yellow car box.

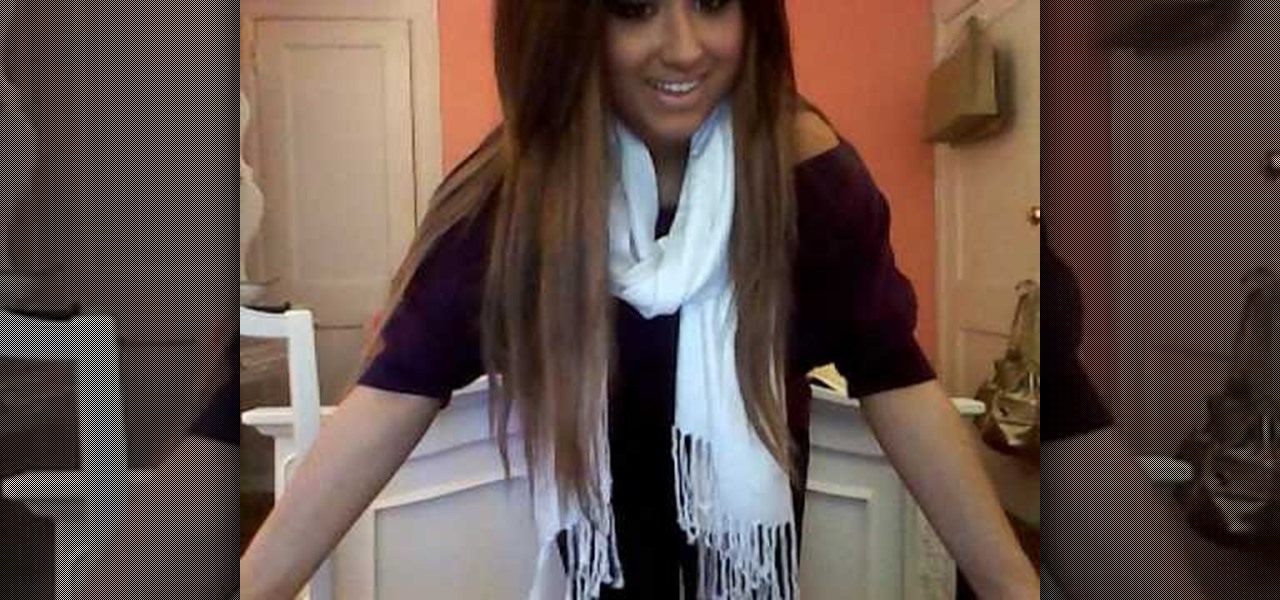
In this tutorial, we learn how to wear your scarf. First, wrap the scarf around your neck and then take one side of the scarf. After this, you can tie it as tight as you can, then loosen it and the sides will go up. Style this however you like it that will work with your outfit. When you have a simple shirt, the scarf will add a cute detail to your outfit. Play around with the scarf until you have it just right! You don't have to wear it just for winter, it can be a spring or summer addition ...

This video explains how to make Vincent Valentine's arm guards in under 20mins. The supplies needed to complete this task include card paper, tape, gold spray, pencil and scissors. A ruler must be used to measure the length of your hand and fingers so you can correctly size the arm guards. Card paper is the cut into many small circles and placed around all of the fingers and then painted with gold spray. The hand portion is created by wrapping your hand with card paper and pulling tight befor...

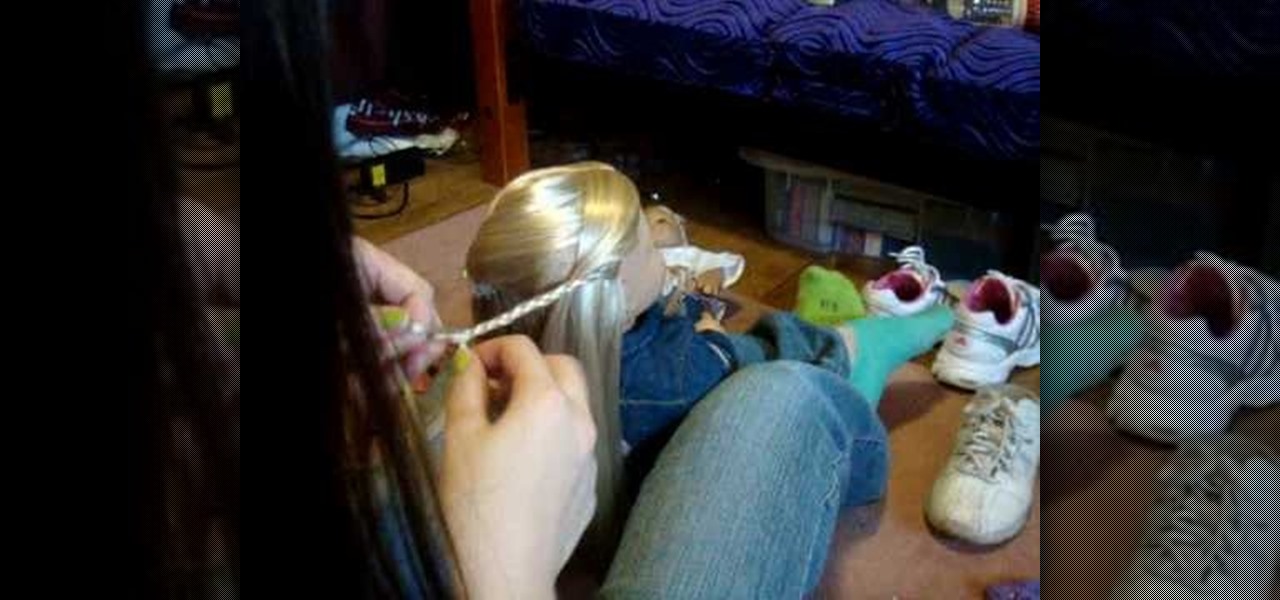
In this video from stephenswodadancer we learn a new hairstyle for your American Girl doll. You need 4 clips and a brush. Take your thumbs in her hair and wrap a circle in the crown of her head. Brush that part out, twist it around, and poof it up. Take the clips and put it on either side of the poof you've just made. You can leave it like that if you want or continue and take a small piece from the side of her hair and begin braiding it. Bring the braided piece across the back and clip the b...

In this video, we learn how to use a curling iron to curl your hair. First, blow dry your hair with a large round bristle brush to give it a lot of volume. Then, section your hair off into pieces and heat up your curling iron on medium. Then, put the iron into each section at the bottom and wrap it around into the root of the hair. Leave it in the hair for several seconds until the hair is hot, then release the hair from the iron. Let it out of the barrel slowly and the curl will stay togethe...

In this tutorial, we learn how to curl your hair with perfect curls using a flat iron. First, pull your hair up so you are just left with the bottom area of the hair. Next, take a small section and place the straightener into the top of the piece. Wrap the hair around the iron and then pull the iron straight down to the root. Repeat this for all of the sections of your hair, until you have curled all of the different pieces. Take the top section down and then curl that. From here, you will be...

In this tutorial we learn how to use an Enzo Milano to get wavy hair. To start, section your hair off so you just have the bottom part of it. Then, you will stick the iron on the root of your hair and wrap your hair around it with your fingers. Then, let this sit on the iron for a few seconds before releasing it. Continue to do this until you finish curling all the sections on the hair. Take off the top section from the clip and then do that layer of hair. When finished, apply hair spray and ...

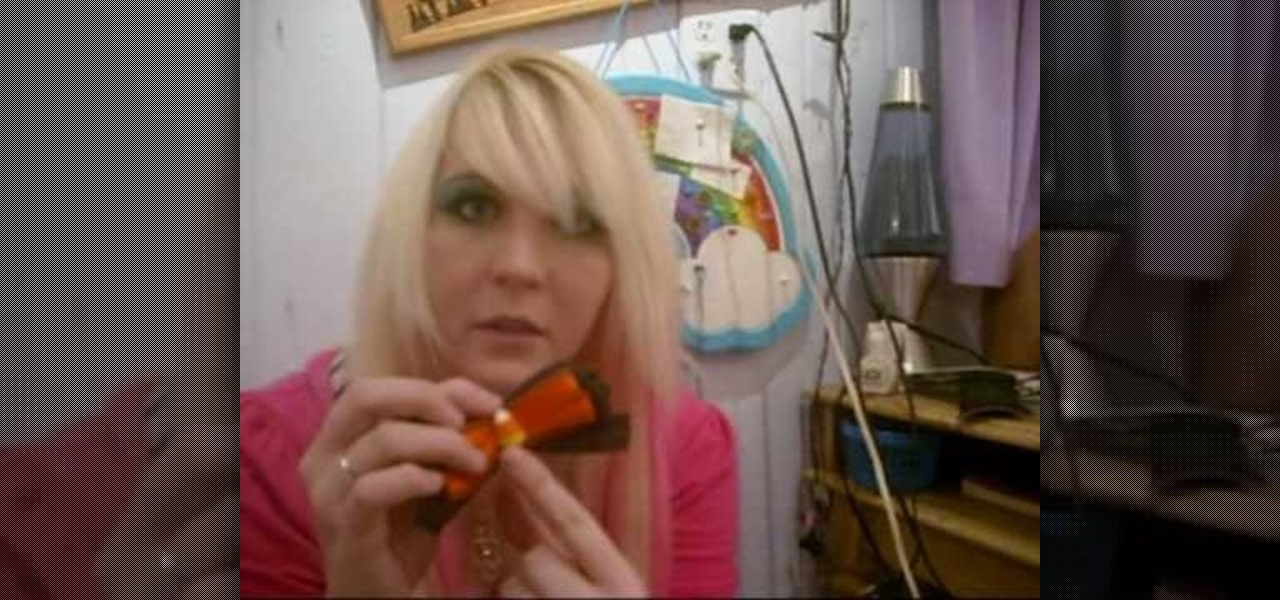
In this tutorial, we learn how to make cute little hair clips. These will add a fashion statement to any hair style and they are easy to create! To start, you will take some thin ribbon and bend it all together until it creates a large ribbon. After this, you will wrap it together in the center until it's a bow shape. From here, add in more colors or accessories. Then, use a hot glue gun to attach a clip to the base of it. Let this dry and then you can clip it into your hair! Make a lot of th...

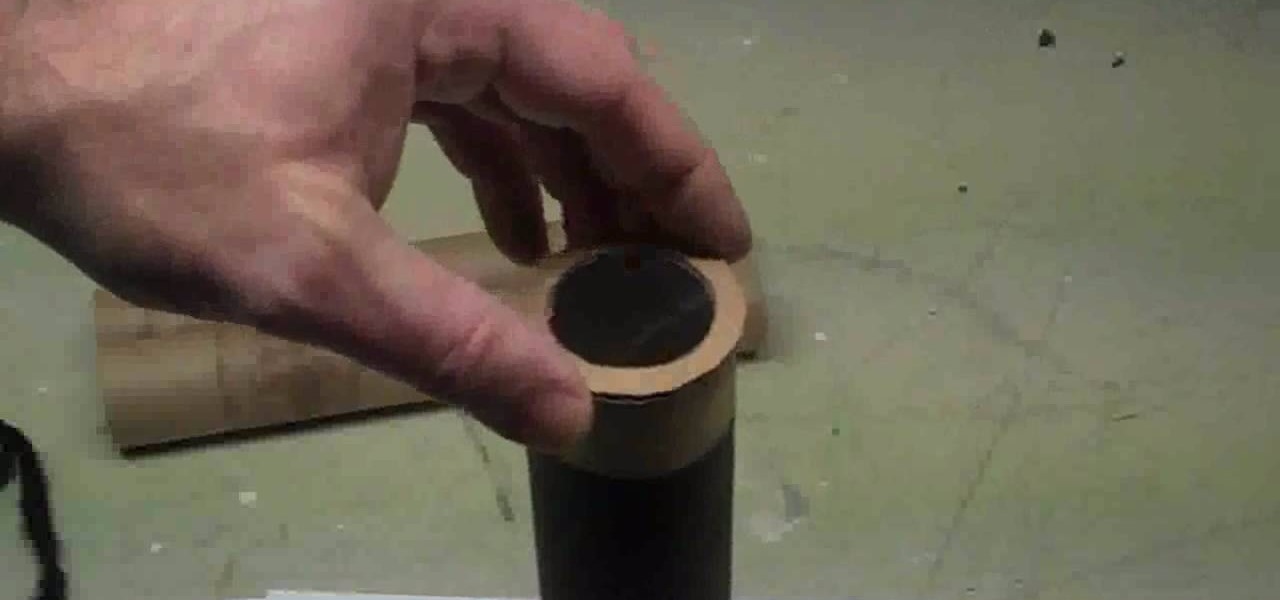
In this tutorial, we learn how to make a small, easy, functional telescope. First, glue a lens in place with glue underneath a piece of cardboard with a circle cut in it. Then, cut this into a circle and tape it to a paper towel holder. Then, you can wrap this in some paper mache around the cardboard. Then, wait for this to dry and spray paint it with gold and black paint. When finished, you will have a functional telescope ready to go and use! This is cheap and a fun project to make with chi...

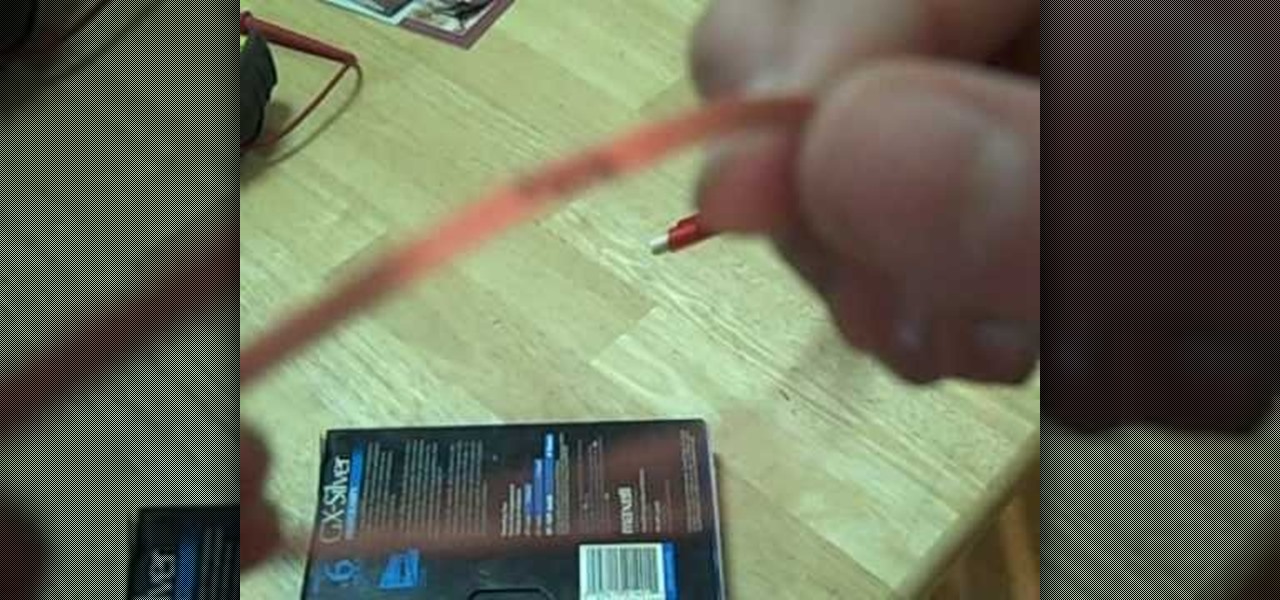
In this tutorial, we learn how to cheat on a test using a rubber band. If you're desperate to pass a test, using a rubber band may just be your answer. First, you will just grab a simple old rubber band and wrap it around a VHS tape to help stretch it out. Then, grab a pen and start to write! Write down the information you need for your test around the rubber band. From here, you will be able to put the rubber band around your wrist or hand and use it for your test! This can mix in with your ...

In this tutorial, we learn how to cheat on any test by wearing a fake bandage. You will need: a phone, ear buds for your phone, bandages, and transparent tape. First you will need to use your phone to record yourself saying the information you need to hear. Read this off your book or notes so all the information is perfectly correct. Now, plug the ear phone into your phone and then slip it through your sleeve before school. Now place it in your hand and wrap the bandage around it. When you ne...

In this tutorial, we learn how to make Splinter Cell prop goggles. You will need: goggles, a saw, pipe, a brush, black paint, duct tape, batteries, chop sticks, glue, a ruler, and a pen. First, mark three cuts on the pipe to 3 cm and 5.5 cm. Now, use the saw to cut these. Then, use sandpaper to smooth all the edges. Next, place these onto the goggles and glue them with a hot glue gun. Next, grab two batteries and wrap them in duct tape. Place these with them and then paint these all black. Af...

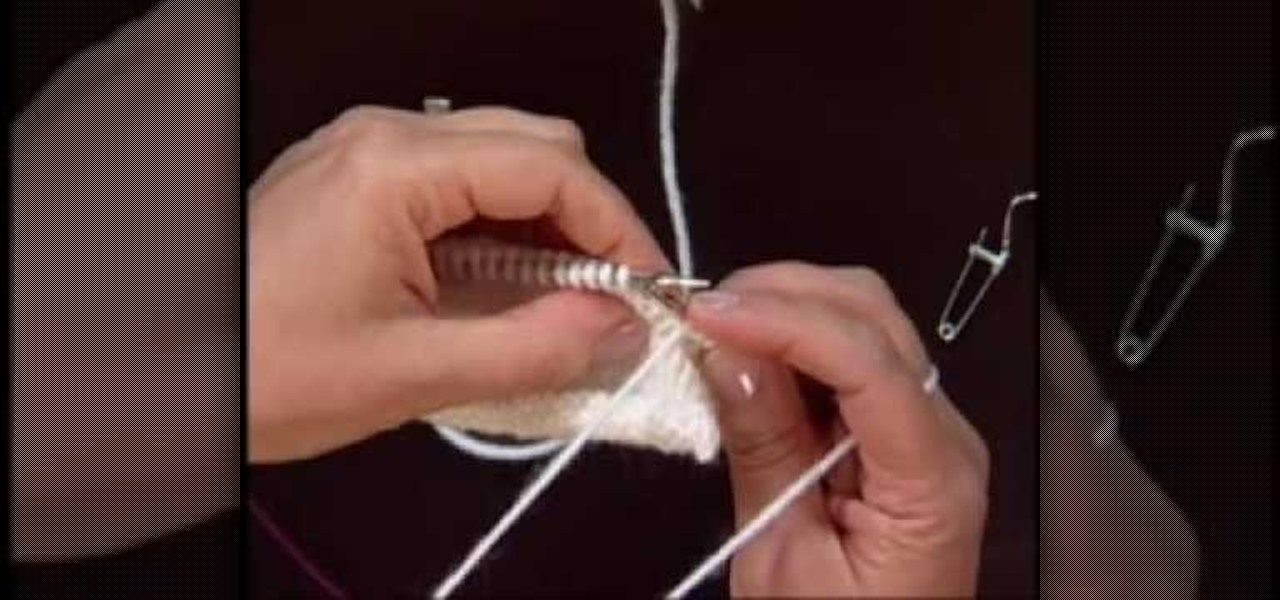
In this tutorial, Andrea Wong teaches us how to knit Portuguese style. This is one of the oldest ways of knitting that started in the Middle East. The holding of the needles are the same but the working yarn should come from the left needle. The yarn should be placed around the neck for your tension or through a pin on the shirt. Next, the yarn should go through the middle finger on the left hand. Then, sit in a comfortable position while you insert the right hand needle under the yarn. Then,...

In this video, we learn how to do the stunner pro wrestling move. There is not much to this move, you will lead in with a toe kick. Kick them in the stomach until they are down. Then, wrap your right arm around their neck and grab the back of their head with your other hand. Now, sit them down and make them fall to their knees. After this, the person will fall down on their back. You are basically having both of you fall together. Making this look good is the main trick to doing this correctl...

Got precious items you want to keep safe, but are too beautiful to keep wrapped in storage? Then a shadow box is the perfect way to both preserve your item and show it off. Shadow boxes are boxes are enclosed cases used in dioramas that are designed to let light pass in only through one angle so the object will less likely be damaged by light.

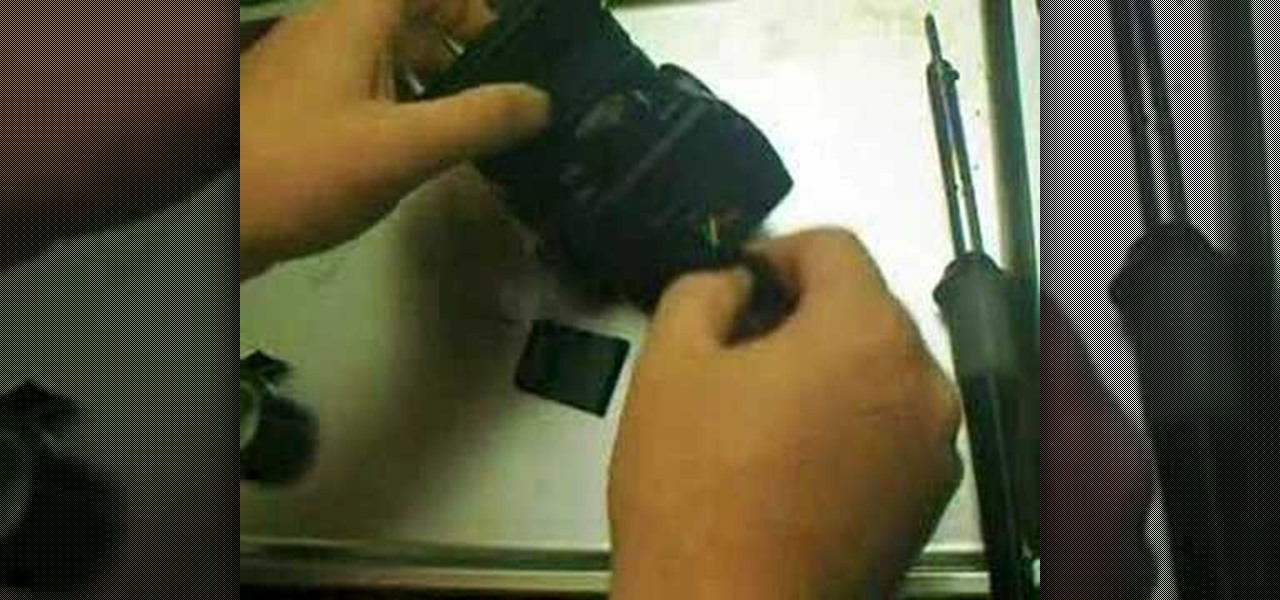
In this tutorial, we learn how to repair the Vivitar 285's Flash Foot. First, remove the flash foot using a soldering iron. Melt the solder just enough, don't ruin the wires or the backing. Now, set the iron down and then short the wires out, you will see the flash go off when you do this. Trim of the exposed wire from the end, then wrap a small amount of electrical tape around the wires. After this, you will repair the metal around where the wires were connected. Then, solder the wires back ...

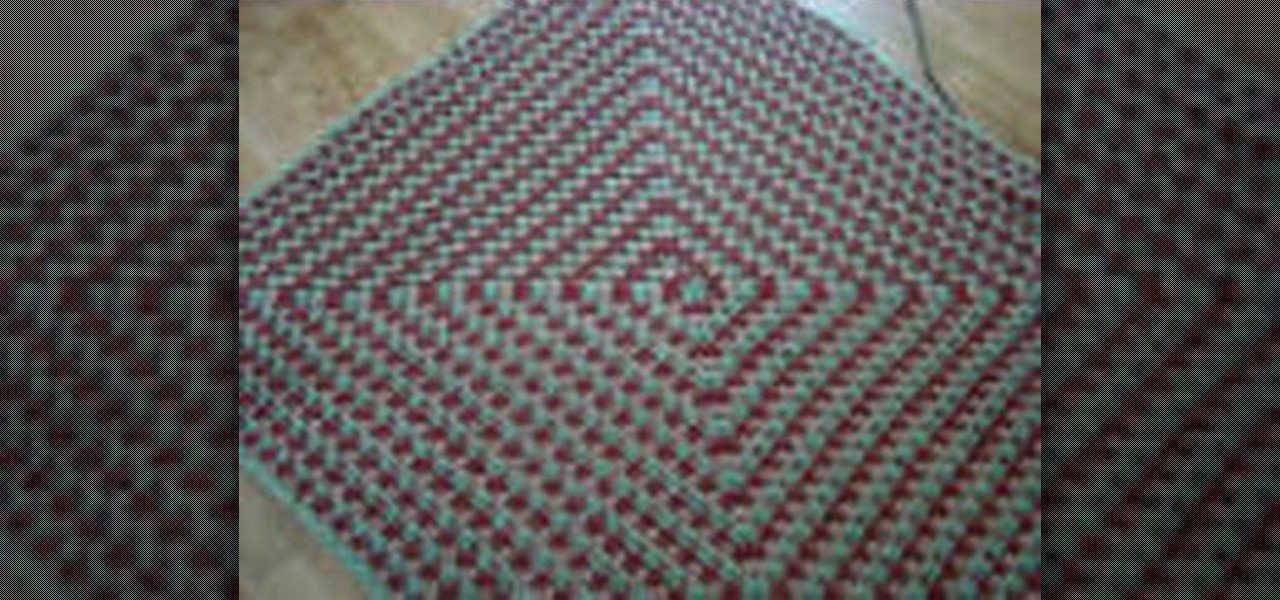
In this tutorial, we learn how to crochet a super fast 3 color granny square. Start out with your first color on the crochet needle. Then, chain four and put the needle back into the first chain. Before you pull everything tight together, you will move your middle finger into the stitch with your thumb so when you pull it will wrap around your fingers. Then, chain three and do this over twice more to create the outlining area around the hole. From here, you will use two other colors using the...

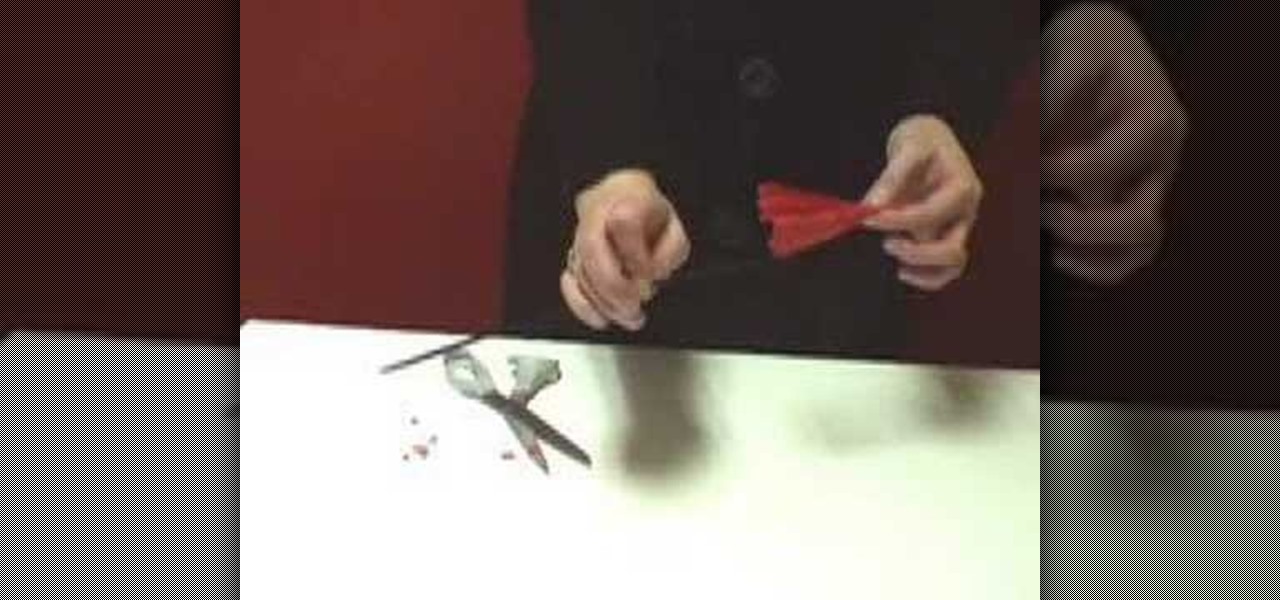
In this video we learn how to make a paper rose from newspaper. First, fold a red piece of paper into a small triangle. After this, fold it into quarters on both the right and left side. After this, you will have a slight flower shape. Take a pair of scissors and cut diagonally across from this, then open it up. Then, wrap the flower around a pen to create realistic petals. When finished, make more of these to create a bouquet of flowers. Use different colors and different types of papers to ...

In this video, we learn how to make traditional tamales. You can fill your tamales with anything that sounds good to you, using any meat and veggies. First, you will need to separate and soak corn chucks in water for a few hours. After this, you will need to make your masa in a large container until it has a spongy feel and place in fridge overnight. From here, you will mix paprika, pumpkin seeds, pepper seeds, and water to make the sauce that will mix with your meat. Ground these up after br...

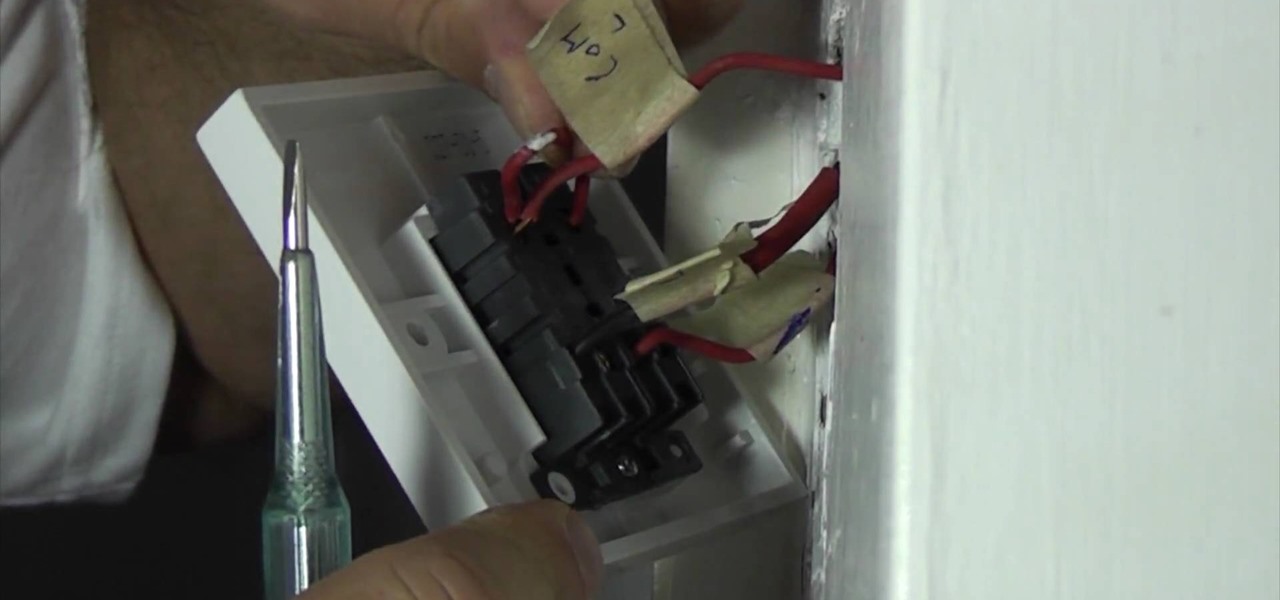
In this video we learn how to replace an electrical light switch. First, turn the power off in your home. Then, remove the screws around the switch exposing the wires. Confirm that they are dead with a tester, then you can get started removing. Wrap electrical tape around the wires and then label them with what they were connected to. Tear this out of the terminals, then replace the new one with the wires hanging out. Make sure you place the wires back into the same terminals as before, using...

In this tutorial, we learn how to draw eyebrows and eye lashes. First, sketch out the basic shape of the eyebrow. Cross edge with a 2B pencil, then blend it in to lighten in and act as a skin tone. Then, draw the actual hair with a B pencil, going upwards with the pencil strokes in the front area. For eyelashes, you will sketch out the outline with a 2H, then draw the eyelid and the hairs for the lashes. Draw in the direction and the shape of the eye to give off the illusion that it's round. ...

In this video, we learn how to get great looking curls with a flat iron. First, heat up your straightener and clip up your hair so you curl the underneath first. Now, you will take sections of your hair depending on how big you want the curls. Grab the iron and place it in your hair at the top near the root. After this, twist the straightener and then pull down slowly until you reach the bottom of the hair. Wrap your finger around your hair to make it more curly, then continue to curl until y...

In this video, we learn how to create the perfect flat iron curls. Start with the back of the head, taking a section for the size of curl you want. Then, stick your hot flat iron in at the root and turn the iron 90 degrees. Slowly pull it through all the way to the end, going slowly. Give an extra twist at the end, then wrap the hair around your fingers at the root and set the hair down. Hair spray this, then continue to curl the hair on the entire head. Then, loosen the hair up with your fin...

In this video we learn how to make an elegant paper hat. First, place the paper over the head and lay it down. Then, have the person hold the hat while you find their nose and attach tape from this and around the entire head. Once you are finished going around twice, then you can wrap up the excess parts of the paper towards the top. Use a stapler to staple down the sections of paper that you have rolled up. Do this all the way around the hat and then add on different items and accessories to...

In this video, we learn how to make a colorful tutu. First, you will need to grab all the colors of fabric that you want to use on your tutu. Then, roll up the fabric of each color carefully, then cut it out to the length you have measured for your subject. After this, cut out one more smaller section of fabric from each piece until you have done this with all of the colors. Now, using a piece of ribbon as the waistband, tie each piece of colored fabric onto it, alternating colors each time. ...

In this tutorial, we learn how to knit a scarf for an American Girl doll. First, make a slip knot on one knitting needle. Next, case on the stitches. You may do this as many times as you want to create a thicker scarf. Do this by grabbing the loose yarn, wrapping it around your finger and needling through it once. Then, pull one on your finger and then up and over the needle. Repeat casting on the stitches as much as you need to. Do this for each of the stitches, then when you are finished ti...

In this tutorial, we learn how to tie a scarf from Lucky Magazine. The first way to fold a square is to fold it into a triangle, then fold it down until you are left with the bottom. Put it around your neck, then knot it and tuck the knot into the neck area. The second way to tie a scarf is to take a long one and place it behind the neck. Then, wrap it all the way around and tie it in the back. Now your neck will be completely covered with no chance of chills. These are both great ways to tie...

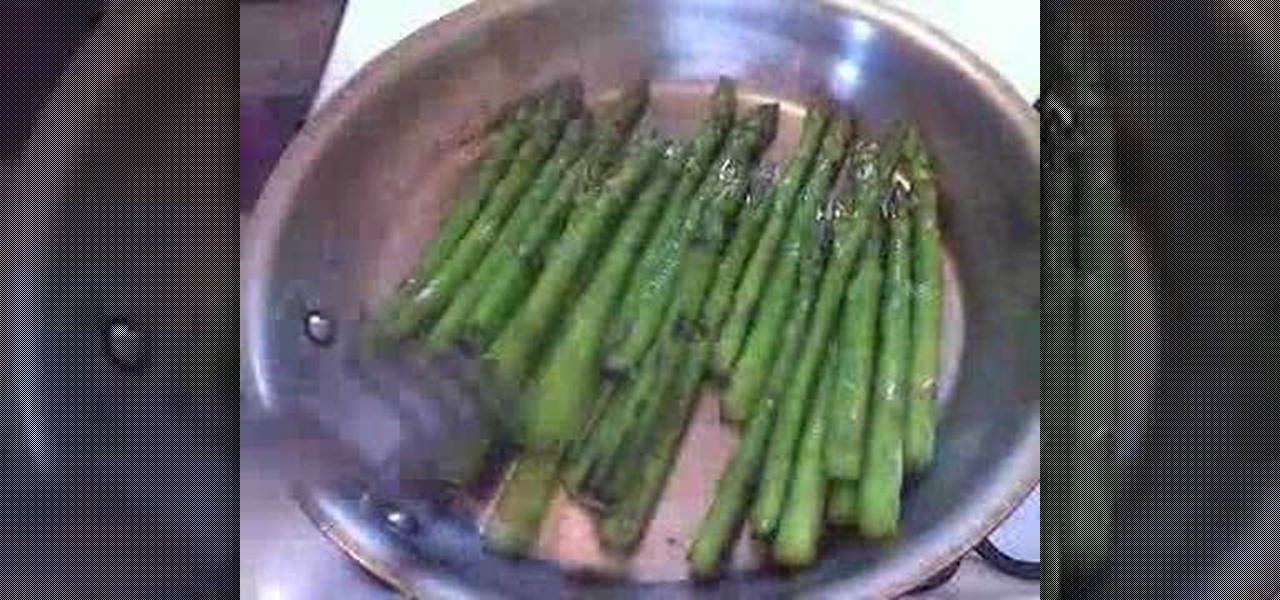
In this tutorial, we learn how to cook pan-seared asparagus with lemon and balsamic. First, trim the bottom of the asparagus, then sprinkle it with salt and olive oil. After this, push some foil down onto a casserole pan. After this, sear the asparagus but don't cook it all the way. Now, pour in vinegar, olive oil, lemon juice, salt, and pepper into the foil. Once the asparagus is seared, put it into the foil and wrap it up. Then, let this sit for five minutes and unwrap it. After a few minut...

In this tutorial, we learn how to make a toga in less than five minutes. First, you will need 6 yards of fabric and about 4 safety pins. Once you have these, you will be able to make your toga. Wrap the fabric around your body tightly, then take a safety pin and pin it to your shirt that you're wearing so you know where to sew it at. After this, bring the last portion of the cloth up and around your shoulder. Once you have done this, you will have a cute toga! You can take this off and sew it...

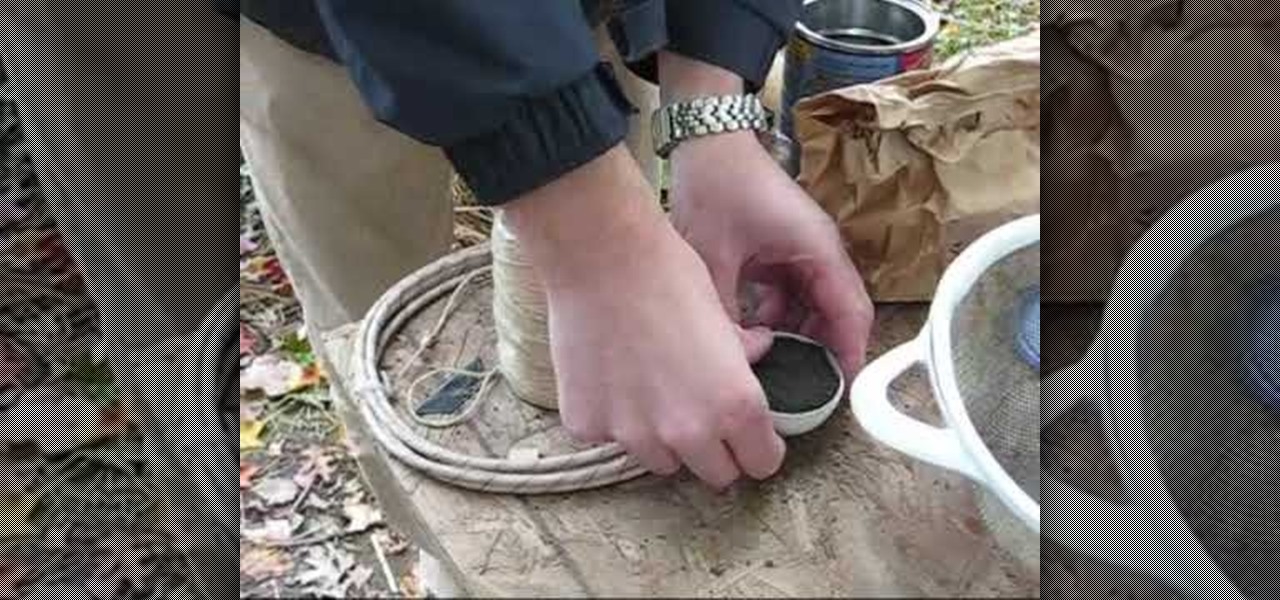
In this tutorial, we learn how to build bar shells and other explosives. First, you will need to pack up the explosives into a container tightly. Then, you will need to wrap it up inside of string tightly and tie it shut tightly. Apply a piece of thick paper over the explosive and then tie it shut again. Once you are finished, you can place all of these inside of a large tub and carry out to use as explosives. Make sure to do this carefully and don't light these when you are close to them, or...

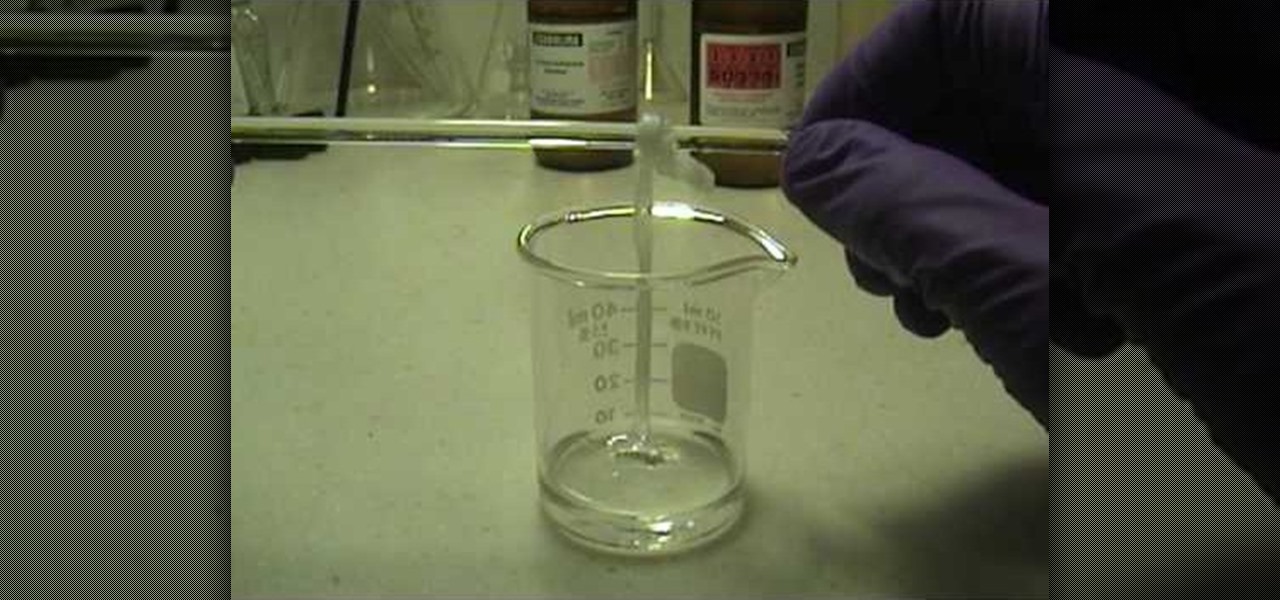
In this tutorial, we learn how to make your own nylon. You will need: pipettes, pipette filler, forceps, beaker, stir rod, sebacoyl chloride and hexanediame solution. Now, pour some of the hexanediame solution into the small beaker. Add in a food coloring if you want to make this a specific color. After this, add in 4 cc's of sebacoyl chloride and carefully drip into the side of the beaker. You should see a layer of where the two liquids are after this. Now, take your tweezers and reach into ...


