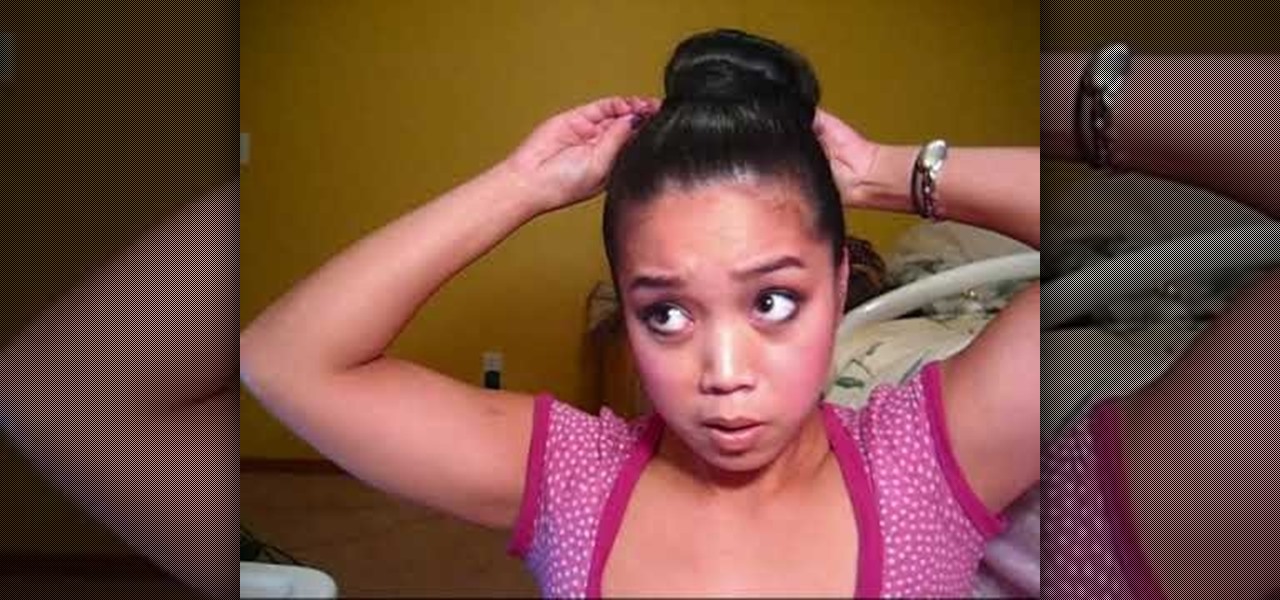
In this tutorial, we learn how to get big bouncy curls like Kim Kardashian. First, have straight and clean hair and heat up a 1.5" curling iron. Now, section your hair off and start with the bottom half. Wrap your hair around the curling iron, then after 15 seconds release the hair and spray with hair spray. Now, curl the next piece of hair facing the opposite direction. Continue to curl your hair all the way around until you have reached all the way around. Now, loosen the curls by brushing ...
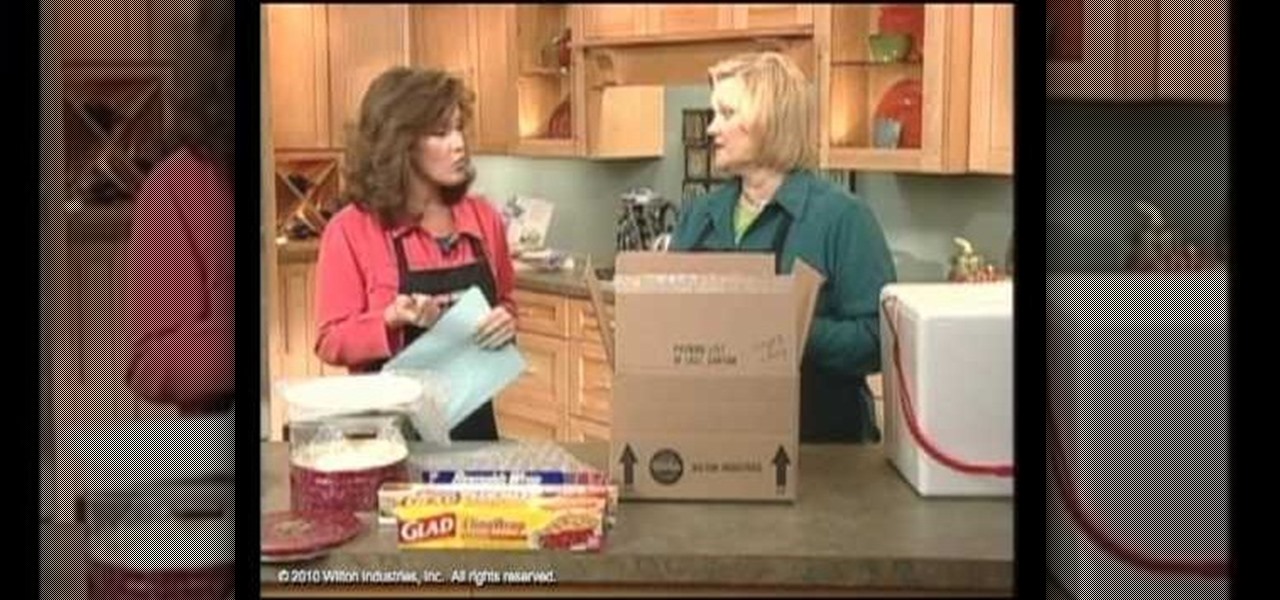
Your family is your family no matter where they are, but if members of your family are living far away in another state or even another country it becomes hard to keep in touch and show you care as often as you want. And making cakes for them is nigh impossible, giving the shipping problems.
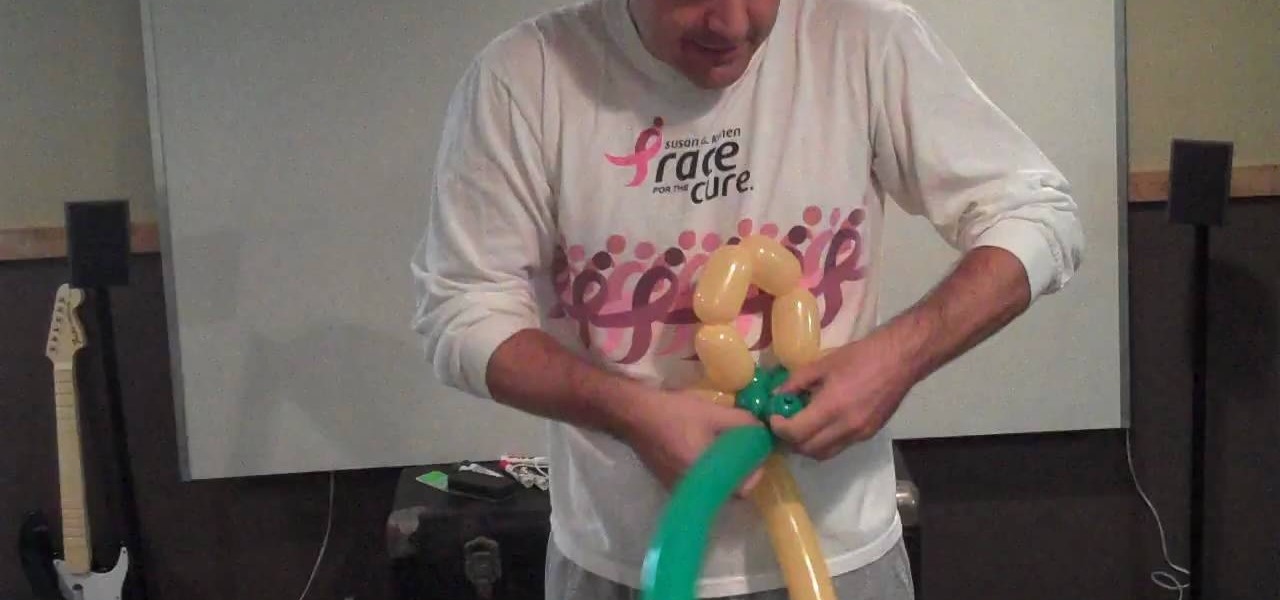
his video show viewers how to make a basic sunflower out of 2 balloons. First, you should begin with the green balloon which will make the stem. Make sure that both balloons have some empty space at the ends for allowance of air movement during folding. Make two small bubbles on the green balloon and then twist this together with the yellow balloon which will make the petals. Make 6 rather large bubbles to form the petals. Make a loop with the yellow balloon after all 6 bubbles are made and a...
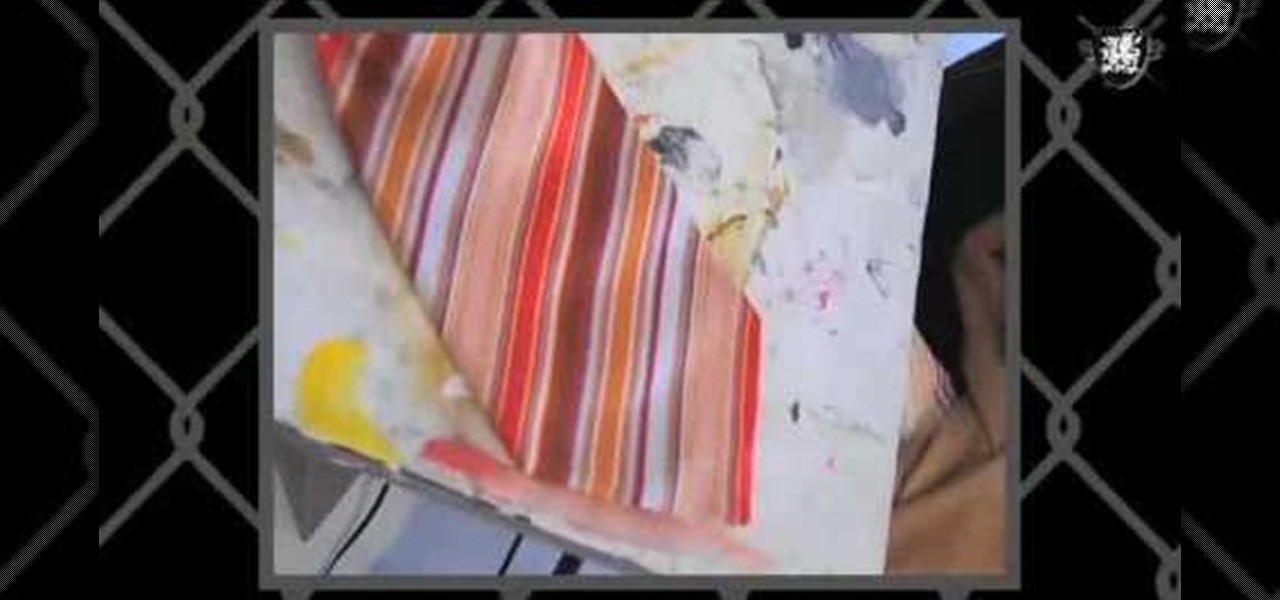
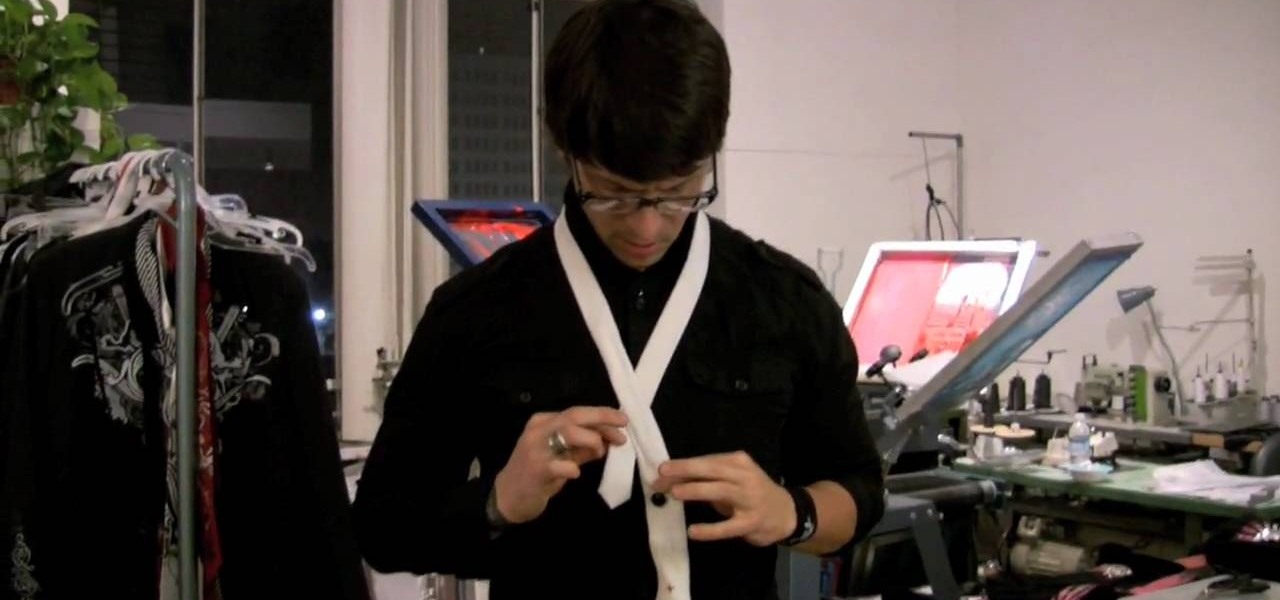
In this video, we learn how to make a "purt" or a "shirse". To start, grab an old shirt with buttons and measure out an area from the top to cut down. After this, cut the area out cutting the top and the back of the shirt. Then, take a sewing machine and sew the sides together. After this, grab a tie that you have and wrap it around the front of the shirt that you have just sewed. Now, when you want to look like you are wearing a shirt and tie without actually wearing one, you can slip this o...
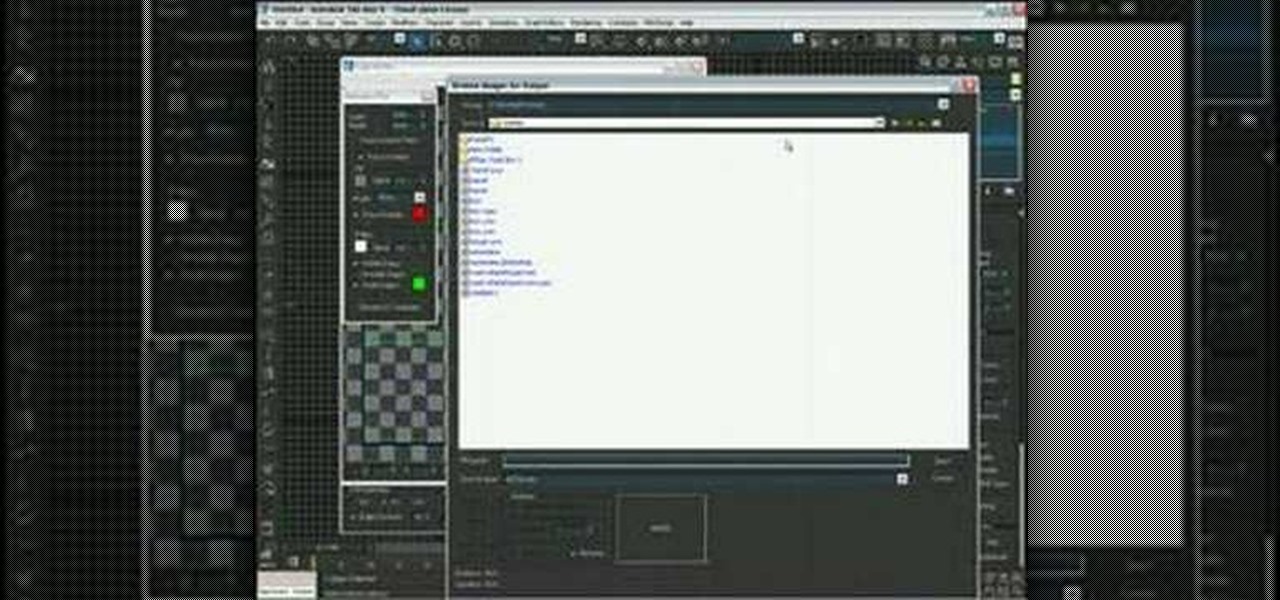
In this video, we learn how to use the UVW unwrap function in 3D Studio Max. First, go to the UV modifier wrap and select all the faces. Once here, edit the parameters and then go to the mapping menu. After this, you will be able to change the object as you would like. After you are finished with this, save your object to your computer in a spot you won't forget it. You can create several different layers and change the colors as you prefer. You can completely customize your experience on thi...
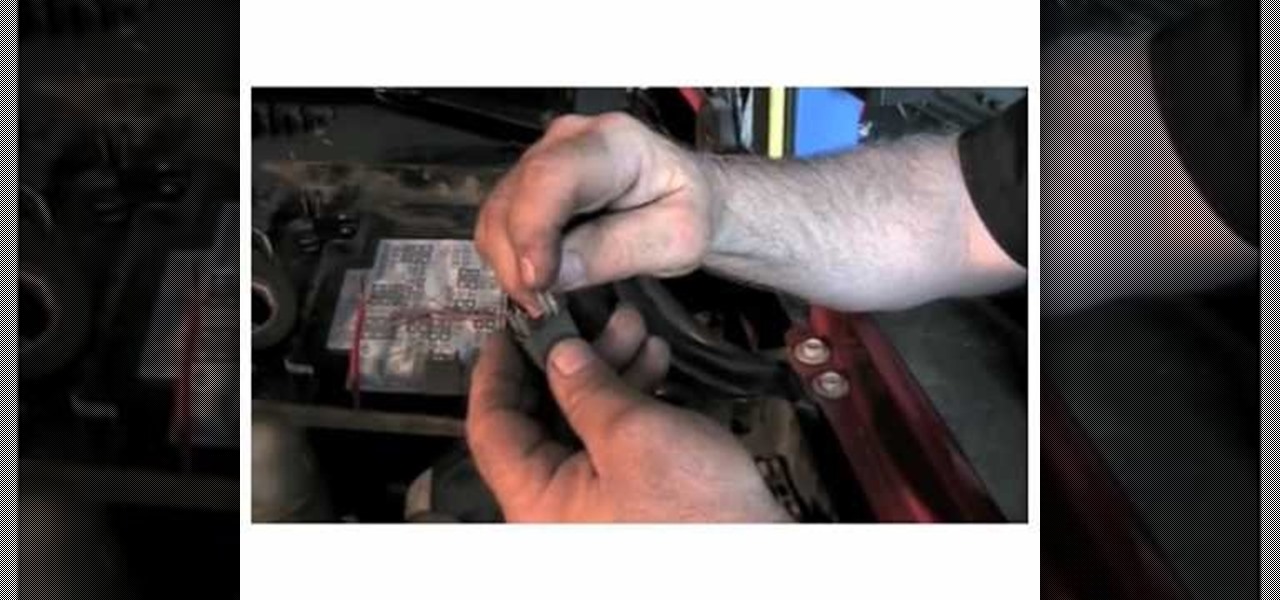
This is a really great tip for any mechanic's toolbox. Most people switch out relays in the vehicle to determine whether they're bad or not, but sometimes that doesn't do the trick. Sometimes it's necessary to check the relay in place, in the relay box, and there's a simple trick to doing so, for any automobile. Just wrap some stranded copper wires around the contacts and plug it back into the relay box. Then test!

Make fine silver ball earring wires

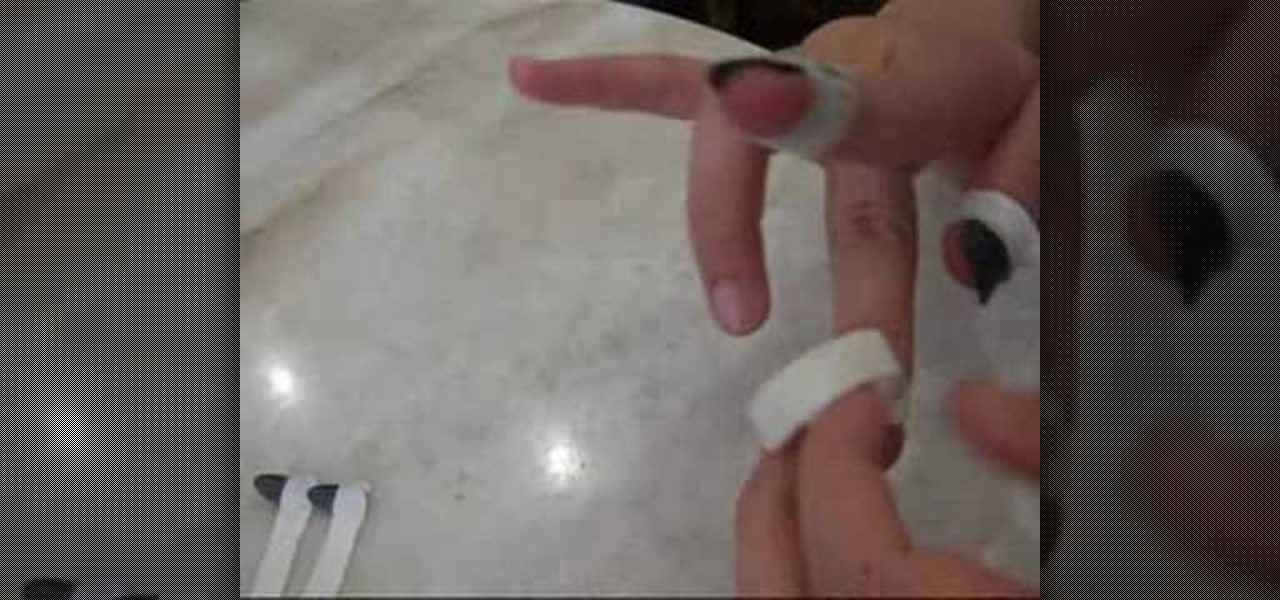
In this tutorial, we learn how to wear pipa nails on your fingers to play a pipa. First, place the nail on your natural nail with the bases matching up. After this, wrap the tape around your finger until it reaches the end. Then, press down on the tape to secure the nail. After you do this, continue to repeat the process for all of your nails. It should be easiest to start with the thumb nail and continue on down to the pinkie nail. do this for the opposite hand when finished with one, then y...

In this video, we learn how to perform colgadas in tango. Doing this sends out partner out, to create a nice balance. After this, you will exit together. There are many different forms of colgadas, including: two foot, step over, multiple, collapsible, and more! Once you learn how to do these, you can incorporate them into a dance that has wraps, back steps, ochos, and more. When you are learning these, make up your timing and placement is exact, or the dance move will not look right. Both pa...

In this video, we learn how to build a bionicle switchblade. Start with the piece of the blade that has holes inside of it. Then, start to connect the edges and the other pieces that go inside of it. Grab the piece for the blade, then lock it into place by attaching the elbow pieces that connect around it. Once you have connected these together, you will have one entire piece with the blade on the very edge of it. The end of it should be bendy, so grab a rubber band that is thick and wrap it ...

In this video, we learn how to dye yarn with Kool-Aid. First, take two chairs and wrap yarn around them as tight as possible to keep them from getting tangled up. Then, place in a bath of lukewarm water for ten minutes. After this, grab packets of Kool Aid the color you want your yarn to be. Now, take the yarn out of the water and squeeze out any excess water. After this, mix up the Kool Aid and place it into individual jars for each color. Next, place the jars in a large pot of water and the...

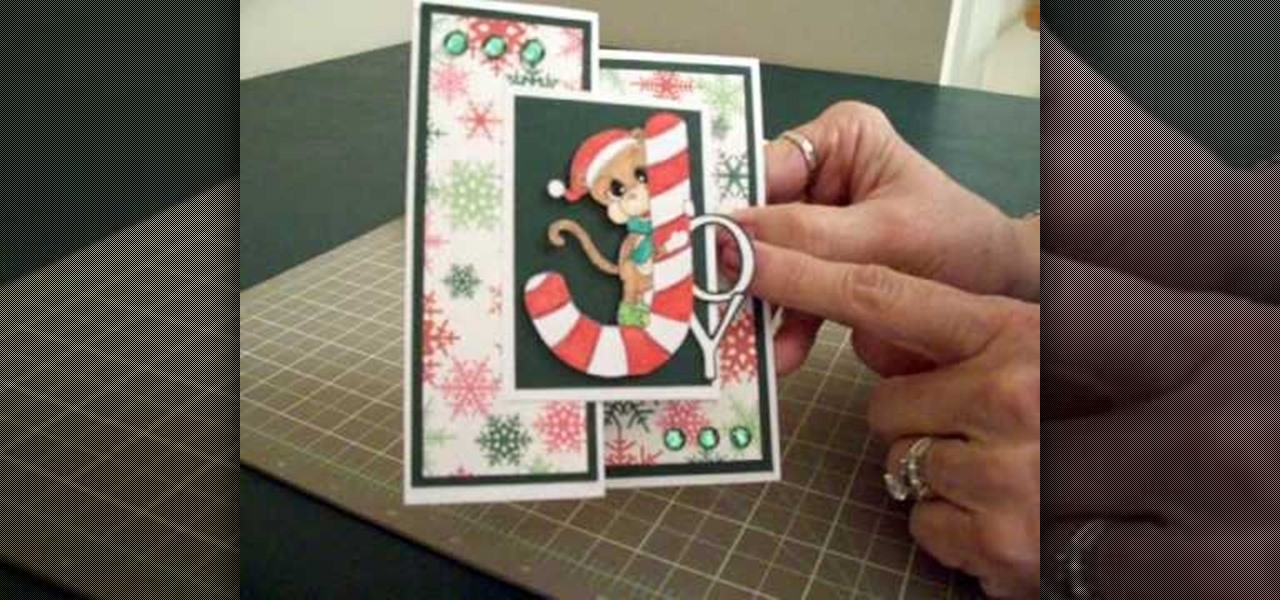
In this video, we learn how to make a Joy S-fold Christmas card using Cricut George. First, fold the card and mark it so it's in the S shape, then stamp the background of the card with colored snowflakes in different sizes and shapes. After this, use a black outline along the sides of the papers, then add in a black piece of paper to the middle of the top fold. Apply a monkey with a Santa hat to the front and wrap him around a J shaped candy cane. Add in the letters "o" and "y", then add in a...

In this video, we learn how to style a pin-up rockabilly hairdo. First, brush all your hair back except for your bangs, then curl your bangs so they sit on your face across your forehead. Now, wrap a handkerchief around our head, then pull the bottom flap up to the top. After this, tease your hair that's inside to give it shape and thickness. After this, position the hair into the handkerchief so it lays down and looks flat. Hair spray if you need to, then curl your bangs once more so they ar...

In order to create Vanessa Hudges loose waves, you will need the following: hair clips, a large barrel curling iron, and spray.

This video tutorial belongs to the Games category which is going to show you how to play Diabolo YL. In the beginning, roll the Diabolo on the left side. Then pull the right hand up and down, up and down and repeat this movement. To get the Diabolo spinning even faster, wrap the rope around the Diabolo while spinning it. The first trick is called 'throw'. To throw the Diabolo, stretch your arms and then catch the Diabolo with the stretched rope. The second trick is known as 'trapeze'. For thi...

In order to make a hook for an earring, you will need the following: round nose pliers, a wire cutter, a nail file or sand paper, an ink pen, 20-22 gauge wire. With your round nose pliers, make little hook, in the end of the wire. Bend it, until it makes a little loop.

In this video, we learn how to make a large fancy hair bun. First, you want to have your hair brushed and straightened. You will need: brush, hair ties, bobby pins, rolled up sock, and hair spray. Start off bringing your hair up into a pony tail, then tie it with an elastic. Next, grab a hair roll and bring it under the base of the pony tail around to the font. Now, let your hair fall evenly, while pushing your head down. Grab you elastic, and wrap it around the base of the hair bun. Next, ta...

In this tutorial, we learn how to make cloth flowers. Start out by grabbing several different strips of fabric and folding it into a shape that makes a flower. After you do this, place a needle into the fabric so it doesn't come unraveled. After this, start to twist the fabric and then thread the needle through the strip. Now, pull the fabric up and it will scrunch up into a flower shape. Now, wrap this around a stick with a piece of fabric on it, that will become the middle of the flower. Wh...

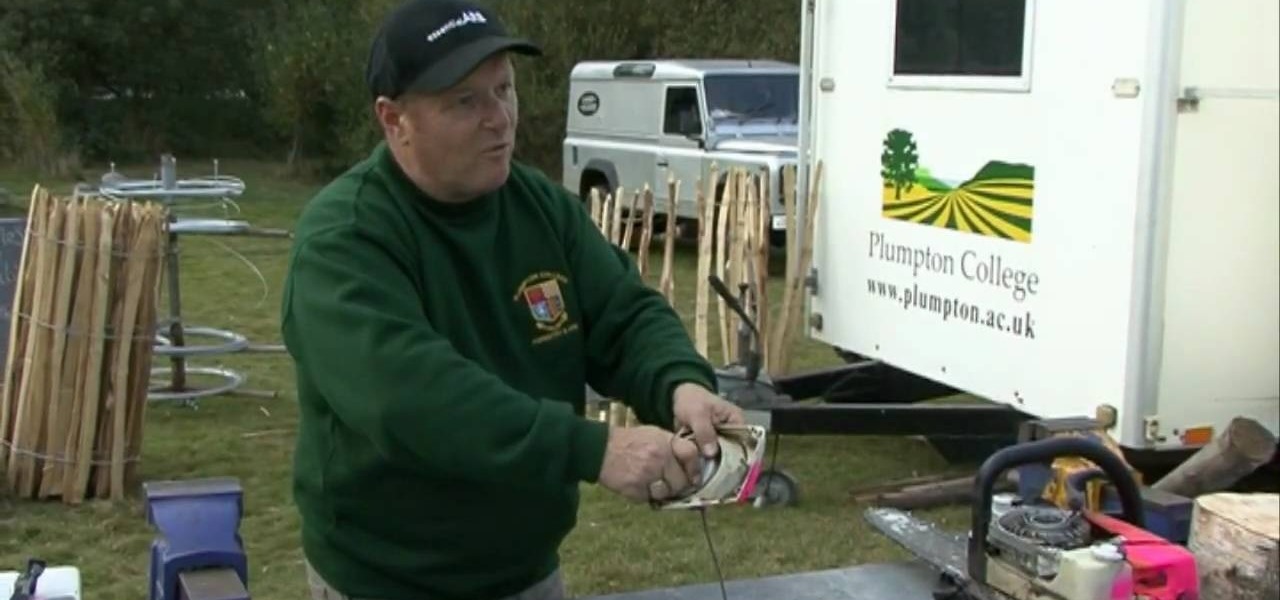
In this video, we learn how to fix a slack chainsaw recoil starter. All you need is to wind up the recoil string so the tension can be put back on. First, remove the bolts out (there will be around four of them). Next, lift the side casing off and find the nylon spool with the cable cord wrapped around it. There will be a clock spring around that. Now, wind it up with a screwdriver while holding the spool of the corn and winding up the spoon a couple of times. When you reach the correct tensi...

In this tutorial, we learn how to polish your boots to ROTC standards. You will need: Kiwi black shoe polish, scissors, and an old t-shirt or cloth. First, take your scissors and cut out a section of the t-shirt to make it the size of a wash cloth. Next, rub some shoe polish onto the cloth after flattening it and wrapping it around your index finger. Now, place your shoe on the table next to you and start to shine it over the entire shoe. Make sure you dip the cloth in water before and after ...

In order to make a ribbon tree, you will need the following: 50 2" pieces of ribbon, scissors, a hot glue gun, hot glue sticks, and a floral tree.

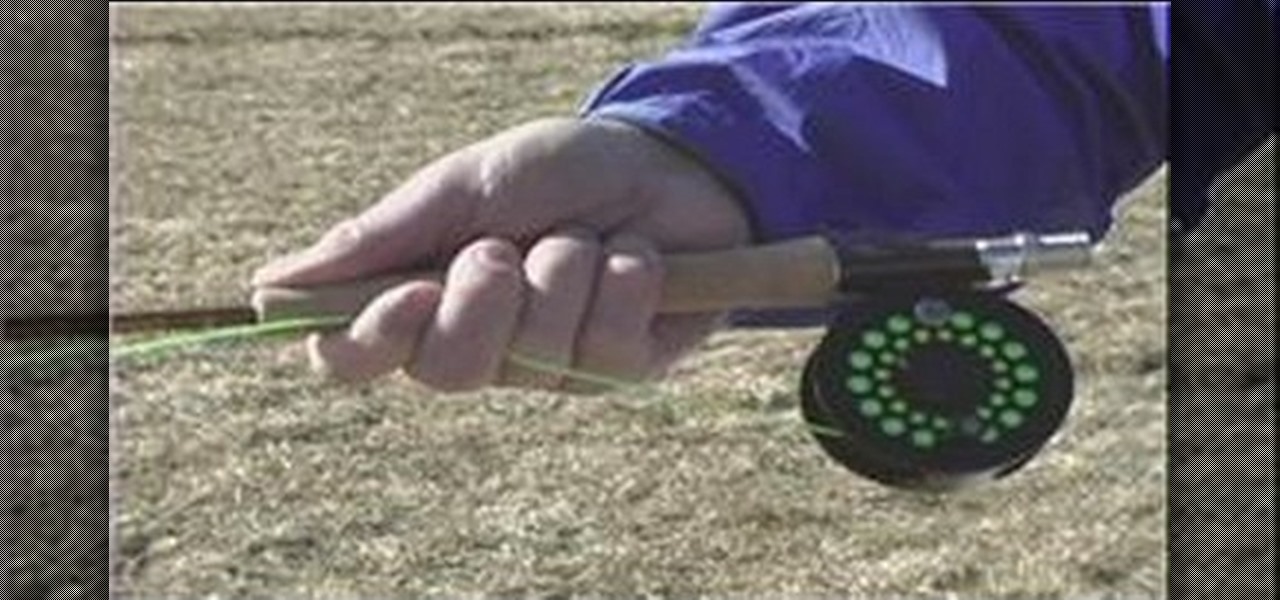
In this video tutorial, viewers learn how to do a basic cast in fly fishing. Begin by holding the rod like your shaking someone's hand. The fore fingers should be over the fishing line and wrapped around the rod. Do not grip the rod too firmly. Before casting, make sure that you have a certain amount of fly line out at the end of the fly rod. Keep your wrist stiff and elbows to your side as you cast the rod. Now pull back the rod and release the line forward. This video will benefit those vie...

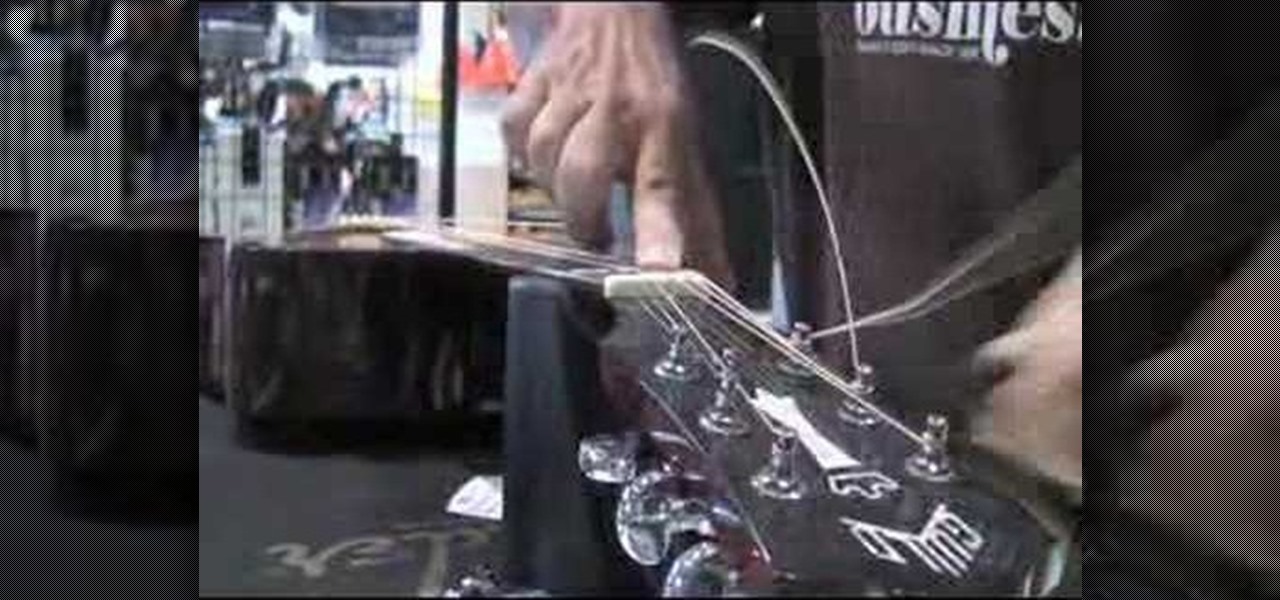
Chris Rego teaches us how to change acoustic guitar strings in this tutorial. First, you will want to loosen up the strings and then remove them from the place they are at. After this, you will want to replace the strings and then wrap it three times around the post. Use the winder and insert it inside the key while you are replacing the new string inside. After this, continue to tighten the string depending on what you want the sound to come out as. Continue to do this for all of the strings...

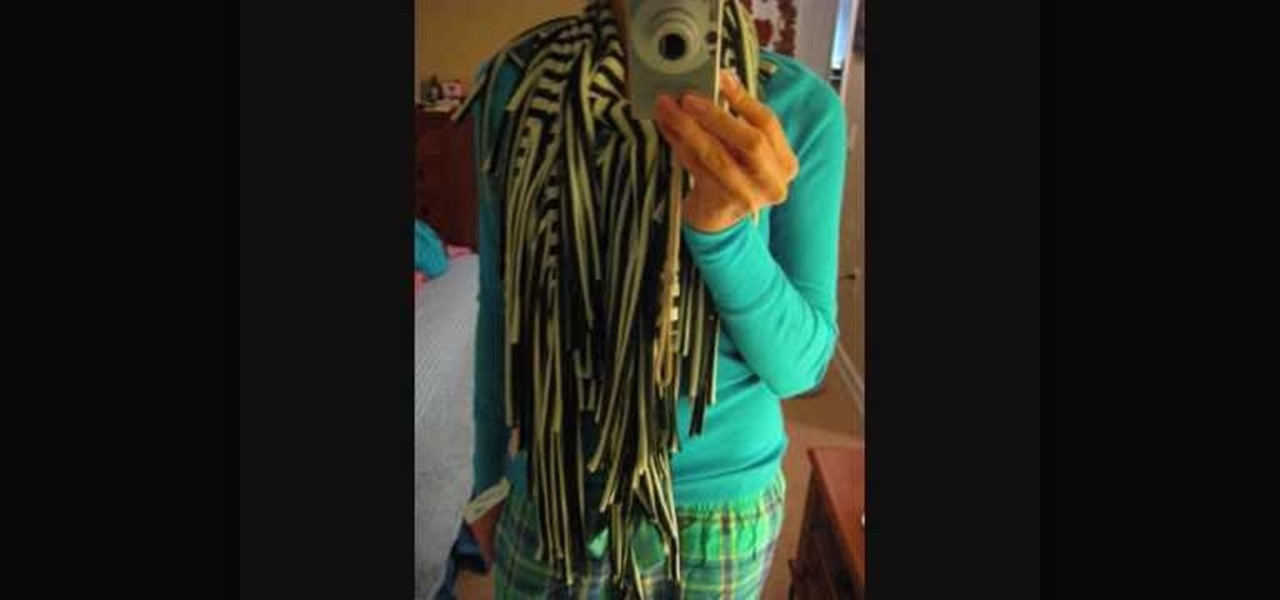
In this tutorial, we learn how to make a fringy scarf. You will first need 1 yard of fabric, then fold it with the right sides facing each other. Next, measure 19" down, then start to cut. After this, measure 7" down, draw a line from across. Now, start to cut towards that line, making fringe on the ends of the scarf. After this, you will be done with your scarf! The great thing about this is that you can use it in so many different ways. You can pair it with a casual outfit, or as a going ou...

In this video, we learn how to make a bow out of a Starburst wrapper. Now, place clear tape of the wrapper and fold down the edges. Now, fold the wrapper in half and then in half once more. Make it so you have an accordion design with three different peaks on the wrapper. Now, cut a small strip of tape out of the piece of tape and wrap it around the middle of the bow. After you do this, flare out the edges to make it look more like it has a bow shape. Now, take a bobby pin to the bottom of th...

Tango teachers perform a didactic demo to highlight and integrate the concept covered during class. Today's class will focus on volcadas-funny, collapse, traveling and volcada pluses. All involve similar concepts. Start basic and get complexed. (Major actions are performed by female partner).

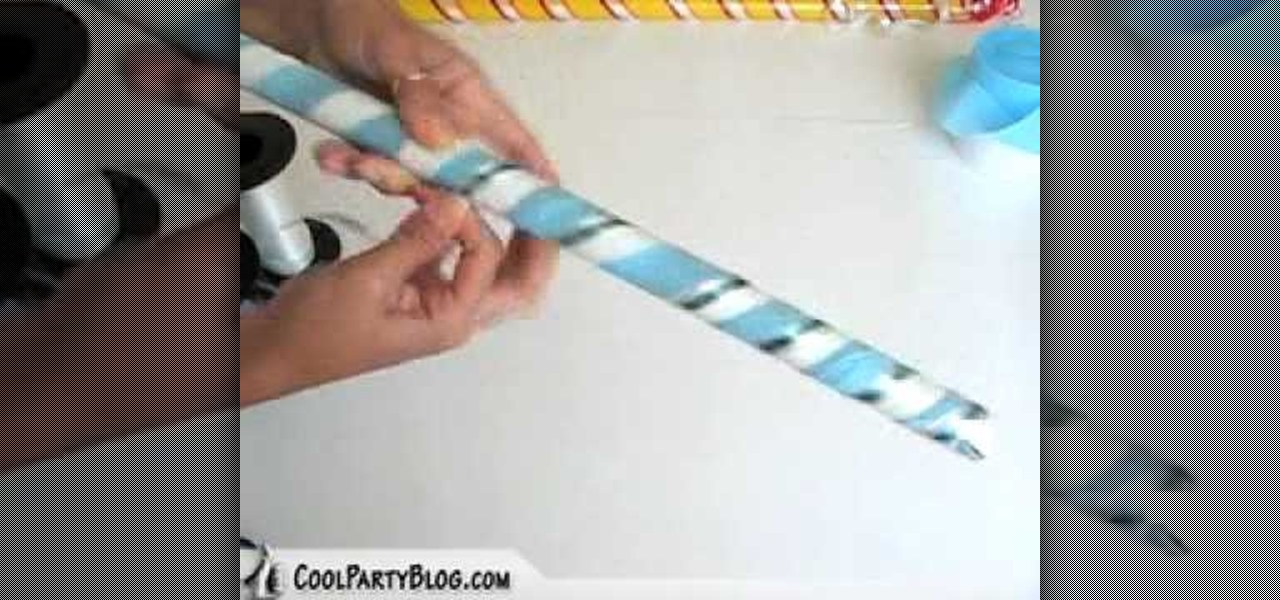
In this tutorial, we learn how to customize a pi–ata buster stick. First, choose a couple streamer colors that match the theme of your party. Next, roll the streamer around the stick, covering the entire stick. Tape down the end on both sides so the streamers stay on. Next, wrap a different color streamer around the stick and tape that down as well. You can also add on ribbon around the stick to make it more decorative. When finished, make sure everything is taped down at the end and you will...

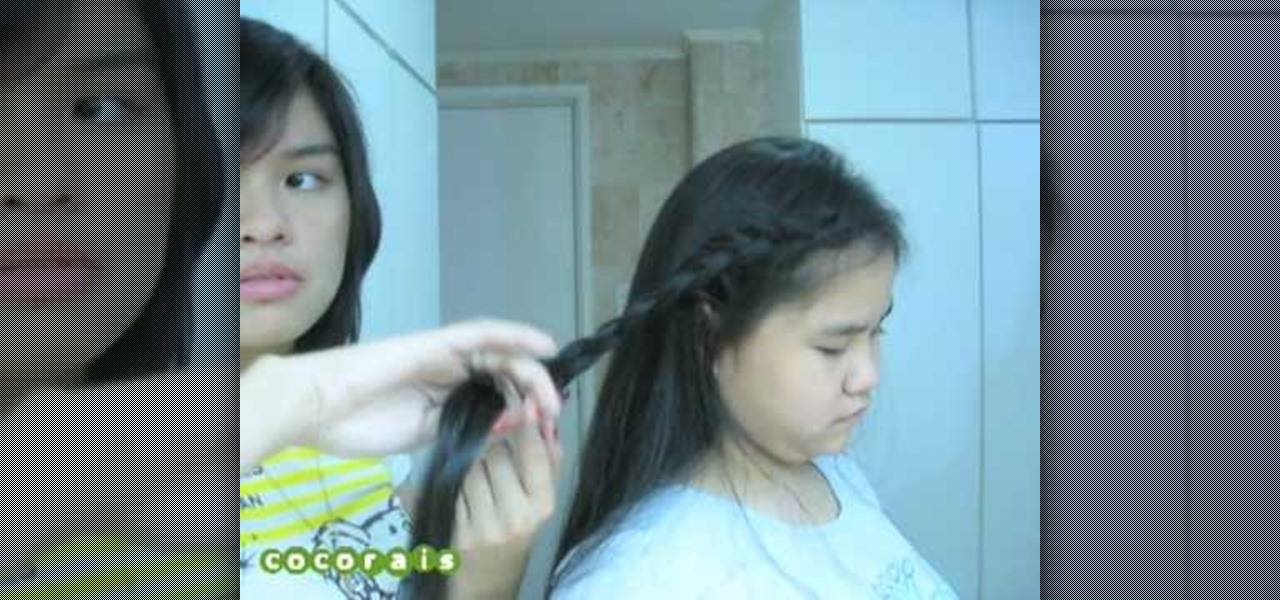
In this video, we learn how to do a yukata inspired hairstyle. First, brush out the hair, then bring the top section of the hair and start to braid it. Continue to braid it until you read the end of the hair, then tie it at the end. Now, set the braid aside and put the rest of the hair up in a pony tail. Push the hair together in a bun, then pin it together with bobby pins. After this, take the braid and wrap it around the bun, then secure it with more bobby pins. To finish the look, add in a...

In this video tutorial, viewers learn how to tie a necktie. Begin by placing the tie around your neck, with the wider end 2 times lower than the narrow end. Then cross the wider end over and under the narrow end. Now bring the wide end through the V gap between the neck and . Wrap it once more over and under. This time, create a small loop. Bring the tie through the V gap and through the loop. Finish by tighten and adjusting the tie. This video will benefit those viewers who are attending a s...

In this tutorial, we learn how to make a paper rose with a paper towel. First, roll one end to the other, then stick your finger inside one end and pinch the tip while twisting a few inches down. This will be your bud and your stem for the flower. Keep twisting down until you reach halfway to the end of the flower. Now, fold the loose piece on the bottom so it's parallel to the stem. Then, twist the leaf and wrap it around the bud. Then, shape the bud to the type of flower you want, then enjo...

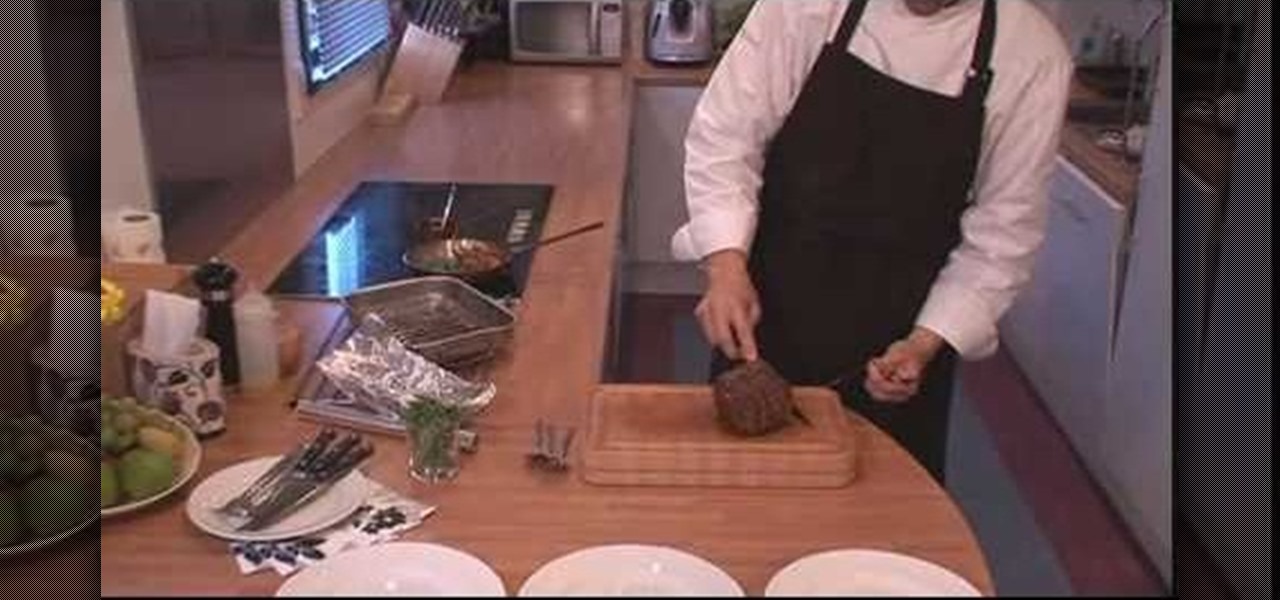
In this tutorial, we learn how to cook beef with pan-to-oven roasting. First, place your piece of beef on a flat surface and coat with olive oil, salt, and fresh pepper. After this, take the beef to a hot skillet and cook it on each side until slightly browned and charred. Next, place the beef on a baking rake and bake in the oven until it's just about cooked. After this, take the beef out and wrap it in foil, then continue cooking until it's cooked to your liking. When finished, let sit for ...

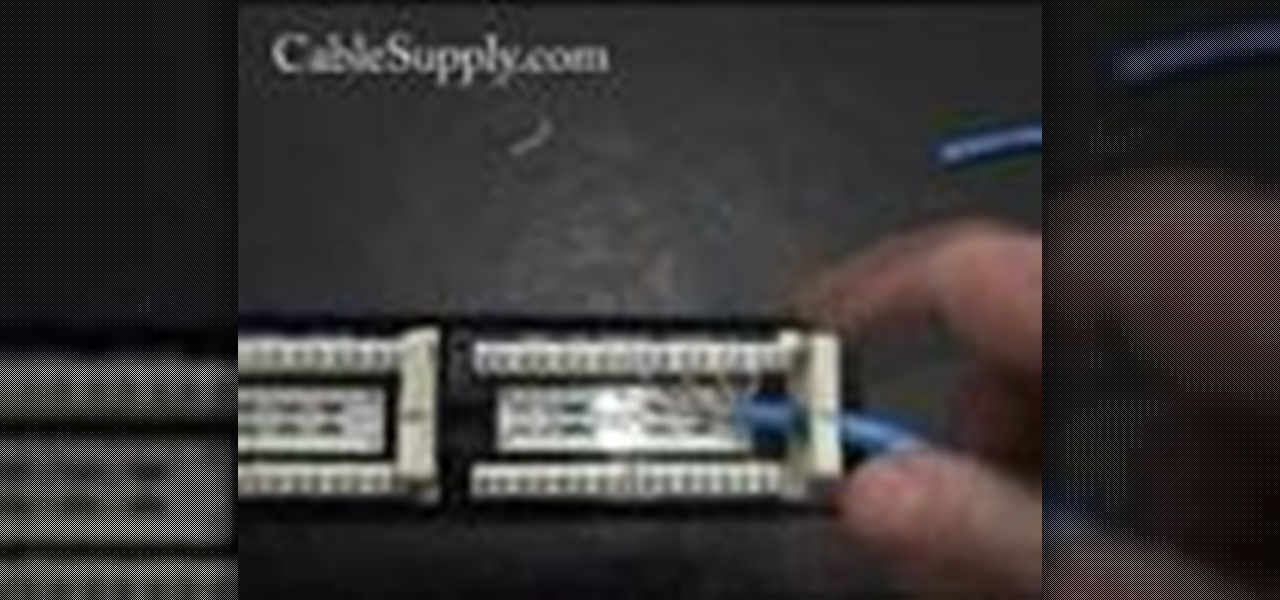
Jim teaches us how to punch down a 24 port patch panel in this tutorial. You will need: cable scissors, a punch down tool, and 24 port patch panel. Now, strip the cable by cutting it and stripping down the wires. Now, attach the wires to the port punch panel by following the pattern of where the different colors are at. When you have these connected, use the punching tool to punch the wires down, then it will cut off the excess wire from the panel. When this is all done, you will want to tie ...

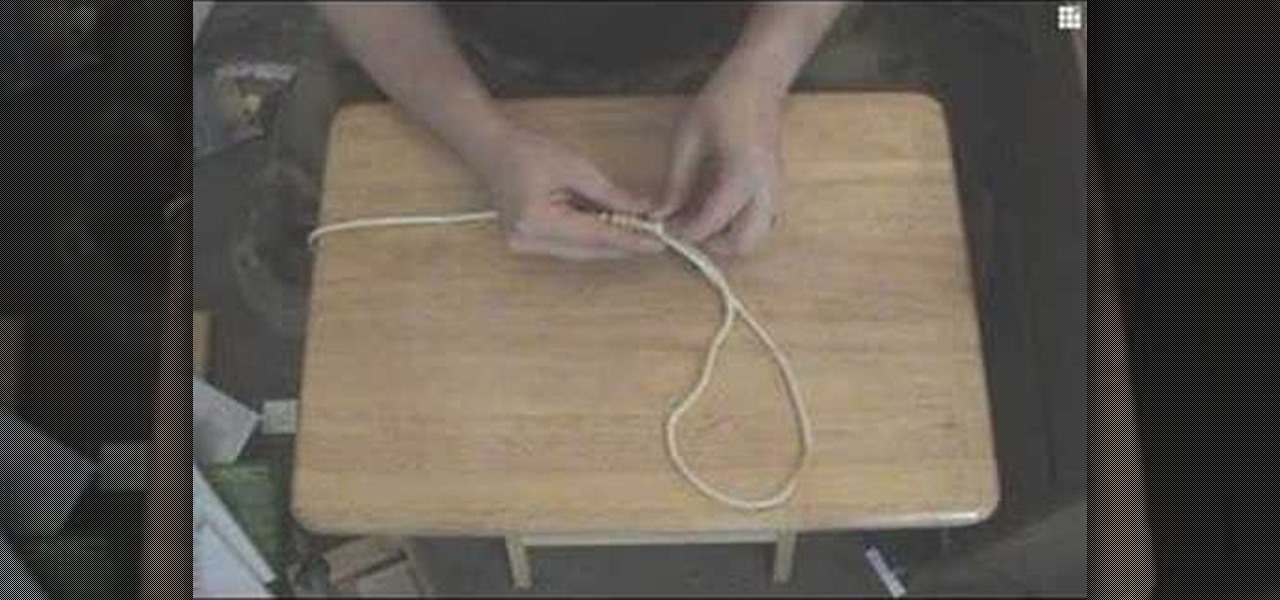
In this tutorial, we learn how to tie a decorative noose. First, form a loop and then and wrap the end around the loop thirteen times. Next, take the loose end and stick it into the coils you just made. Use a pencil and long scissors to help you do this. After you are done with this, tie a knot at the end and pull so the loop is tight. You can also clip off the loose end and pull the loop to make it larger if you prefer. When finished, use this as you wish but do not use it for violent activi...

In this tutorial, we learn how to insert pictures and format text in Fusion Essentials. Start by selecting your image and then clicking inside the text box. Select an image, then it will appear in the text box. From here, click on the picture and go to the alignment section. Choose how you want the text arranged around the image. You can justify it to the left, center, and right. You can also wrap the text around the image. Preview the page after you align it, then see if it allows the page t...

In this tutorial, we learn how to make a window valance. If you have a drop down shade, a valance will help cover up the hardware that is located underneath it. Start out with your choice of fabric, then add in 1 inch to the top, bottom and sides. Next, line the fabric and place Velcro on the top. Now, use a wrap around and mark where you want to fold the fabric in at. After this, sew the valance and then use the Velcro to stick it onto the metal part of the drapes. When finished, enjoy your ...

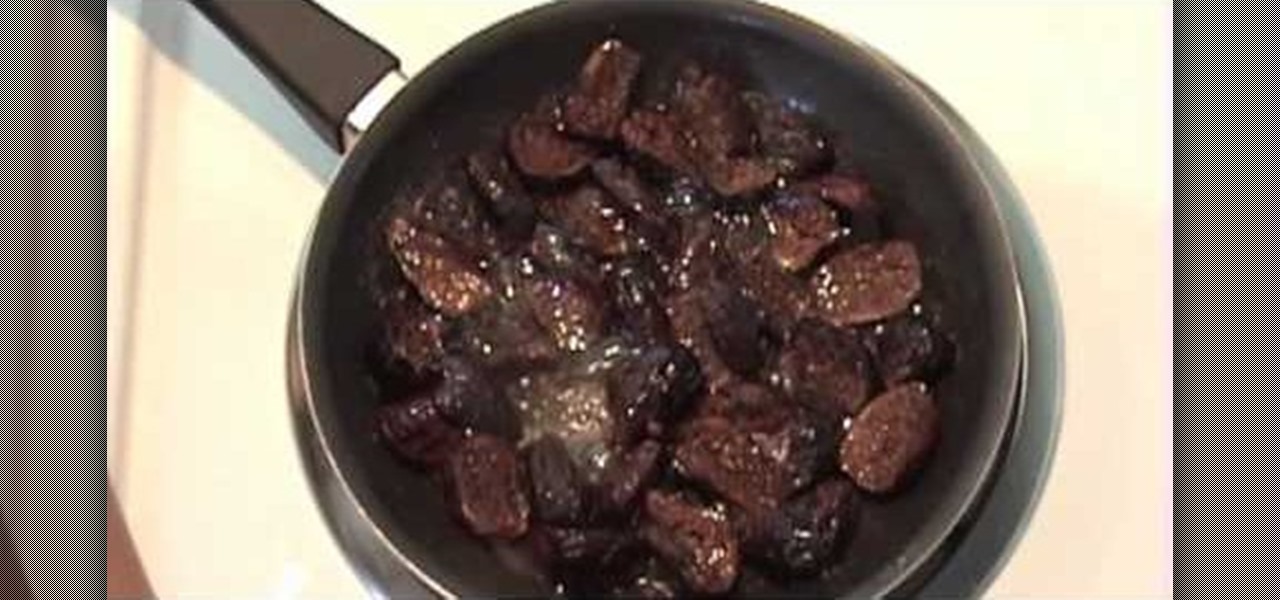
These Mediterranean fig tree desserts are what Fig Newtons wish they could be. Crafted out of puff pastries wrapped around figs and then stuffed with mascarpone cheese, these babies are a wonderfully delicious way to end your meal. Also, spices like nutmeg and cinnamon add a sweet flavor as well as antioxidants to the dessert dish.

In this video tutorial, viewers learn how to tie a four-in-hand knot with a skinny necktie. Begin with the wide end at least 12 inches longer than the thin end. Then put the wide end over the narrow end and wrap it around once more. Now bring the wide end under the loop and down through the front of the knot. Then pull the knot tight and adjust the tie. This video will benefit those viewers who have a skinny tie, and would like to learn how to tie it because hey are attending a formal dinner,...

In this tutorial, we learn how to tie ballet slippers. First, flatted the back heel of the shoe. Next, sew the sew from the inside so the elastic isn't sticking out. Then, take the drawstring and pull the shoes on so they fit snugly. Be careful not to pull it to tight. Then, tuck the string back into the shoe, don't tie it into a bow. Even if your foot grows, you can loosen the shoe up. If you have a point shoe, it also has elastic that get attached to the back. You will place ribbon into the...

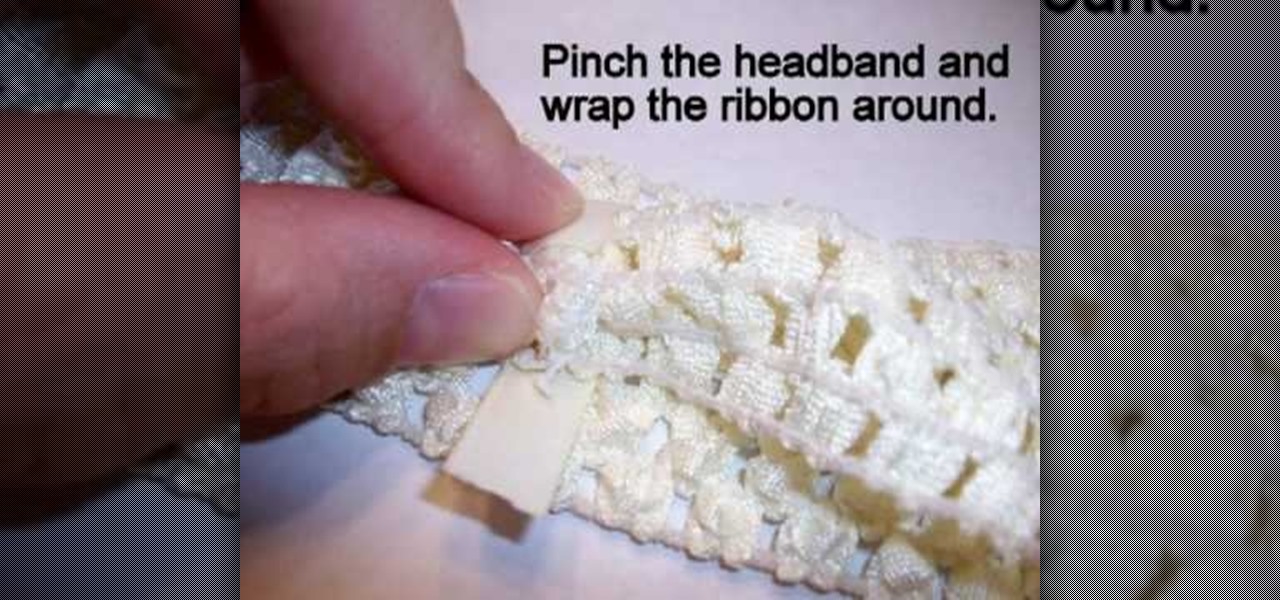
In this video tutorial, viewers learn how to make an interchangeable headband. The materials required for this project are a crochet headband or hat and 1-3/4" of 3/8" ribbon. Begin by turning the headband inside out. Then place a small dot of hot glue onto the center of the seam and glue on end of the ribbon to the seam. Now pinch the headband and wrap the ribbon around and place a dot of glue on the ribbon. This video will benefit those viewers who enjoy making crafts and homemade accessori...

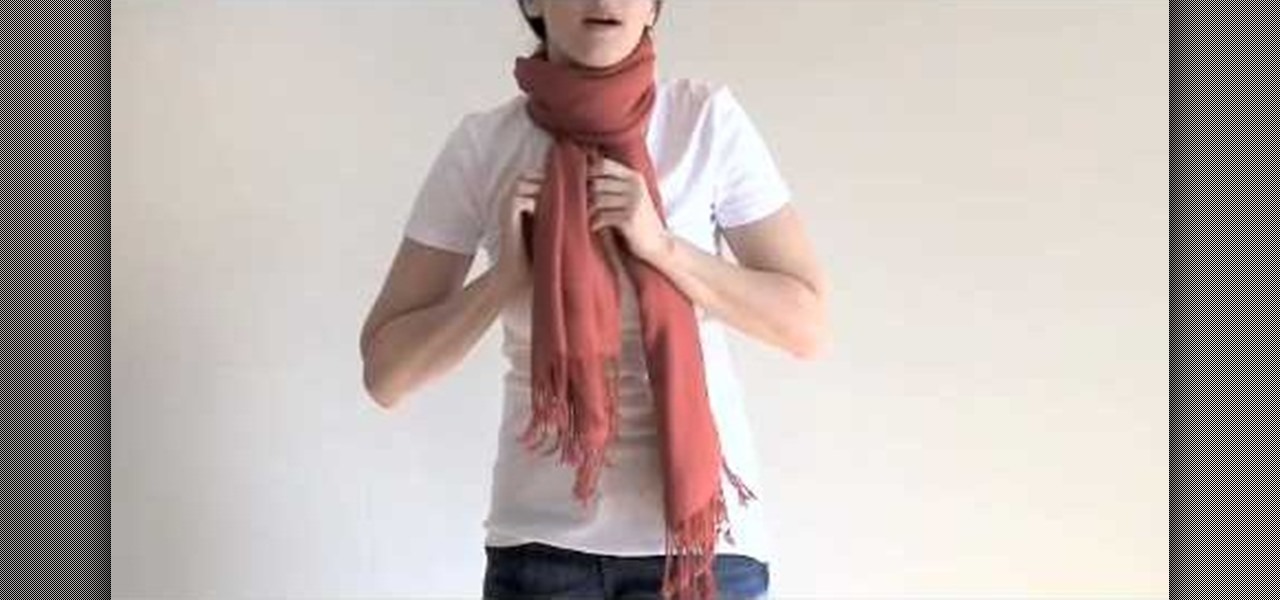
In this tutorial, we learn how to tie a turtleneck knot. First, take your long scarf and find the middle. Next, wrap the scarf behind the back, and bring the ends to the front. Loosen the scarf up on the neck, then make a knot. Try to get the scarf to lay as flat as possible, then tuck the knot into the neck cover. You can let it hang loosely, or flare it out on the sides. This is a great way to wear your scarf in the winter, because it will keep your neck warm as well as your body! You can a...


