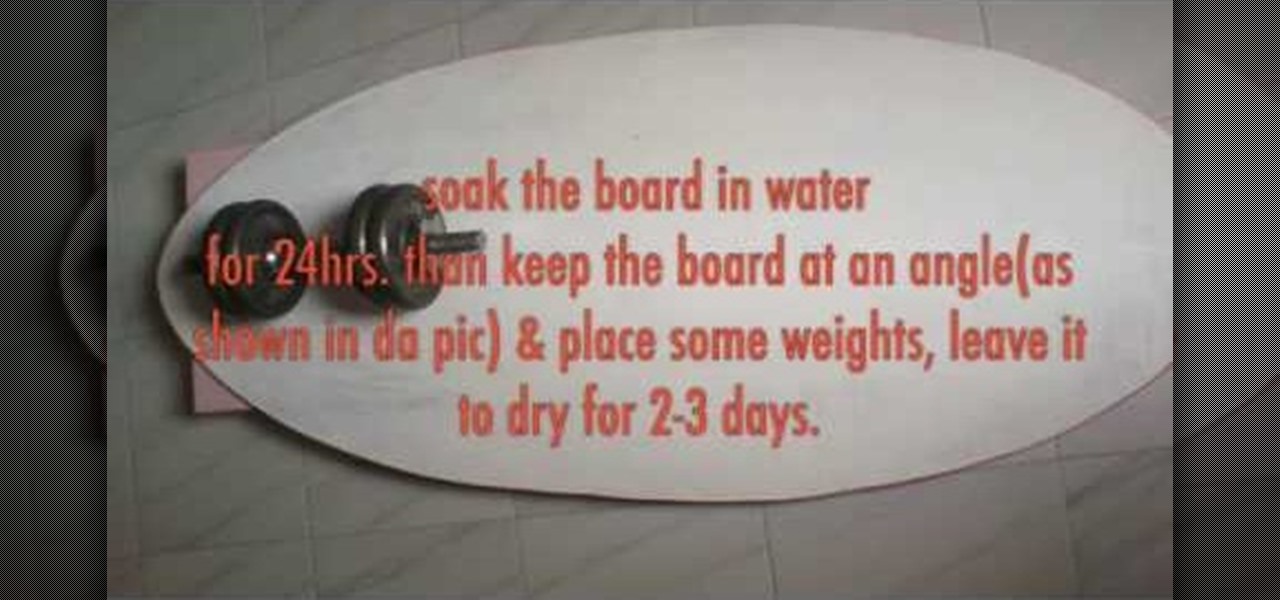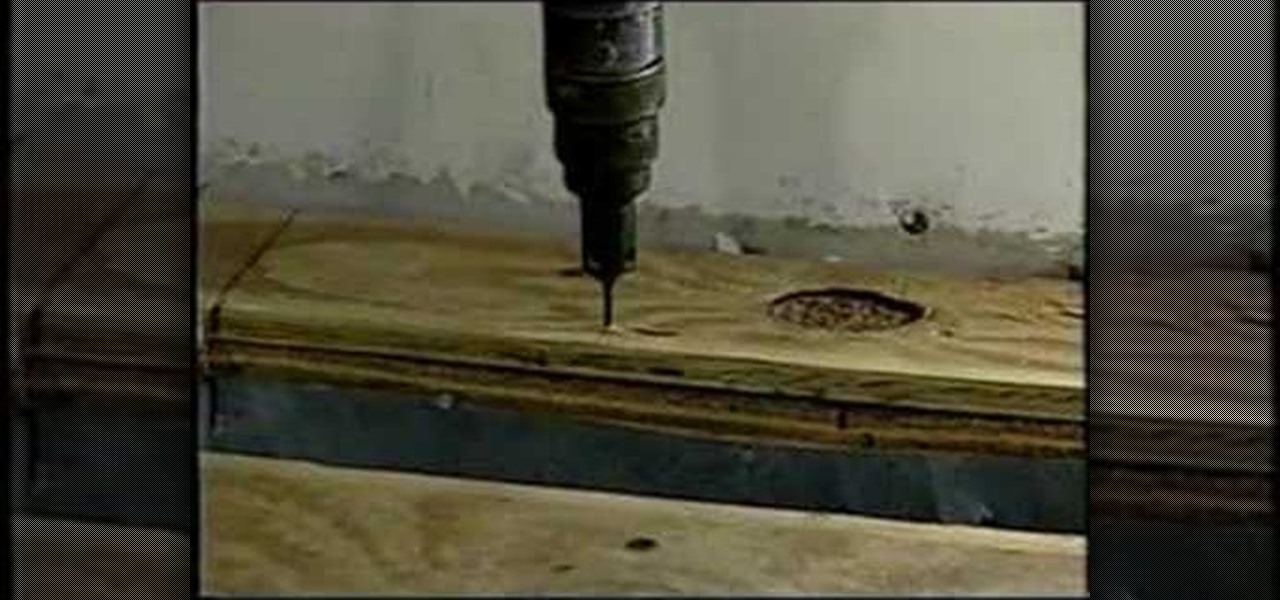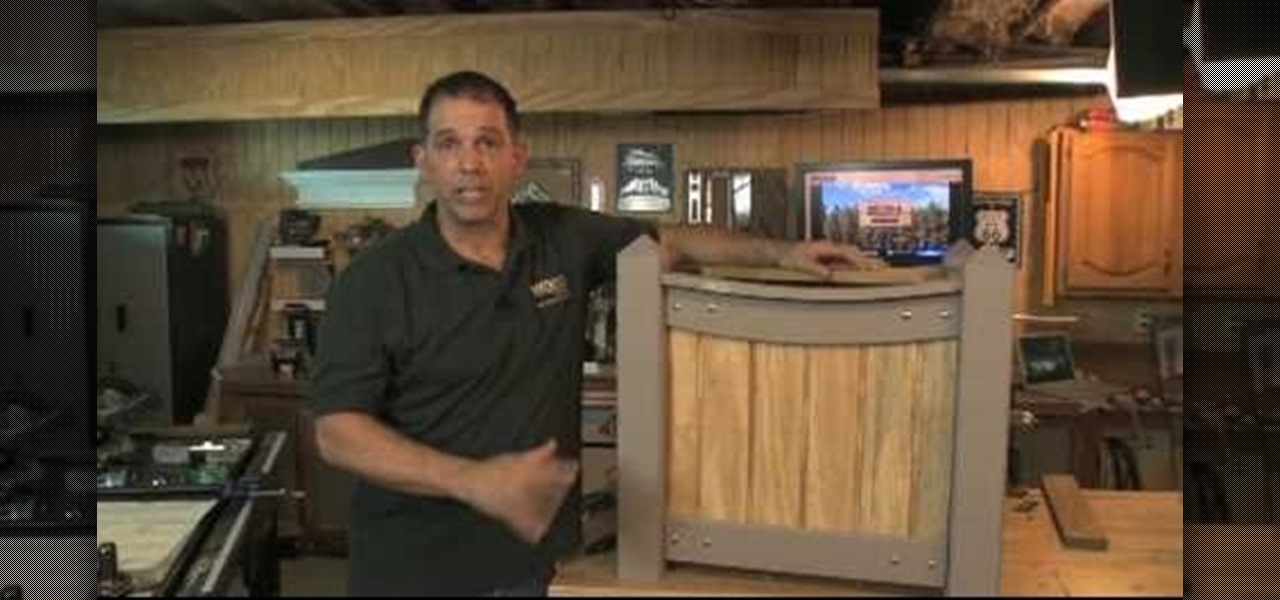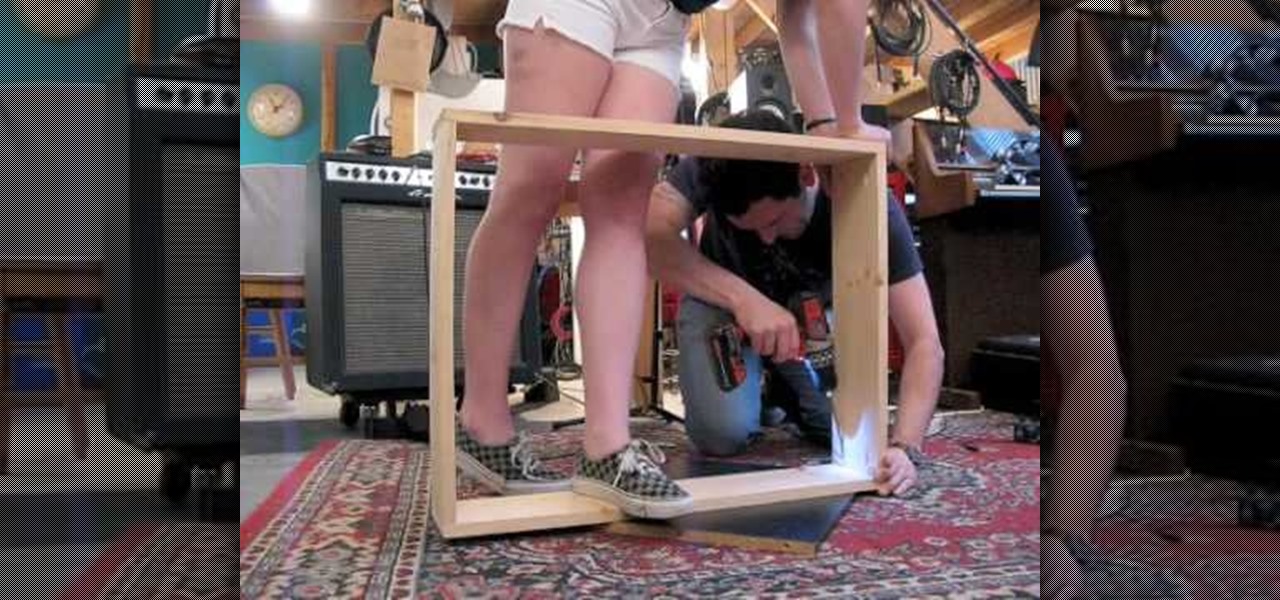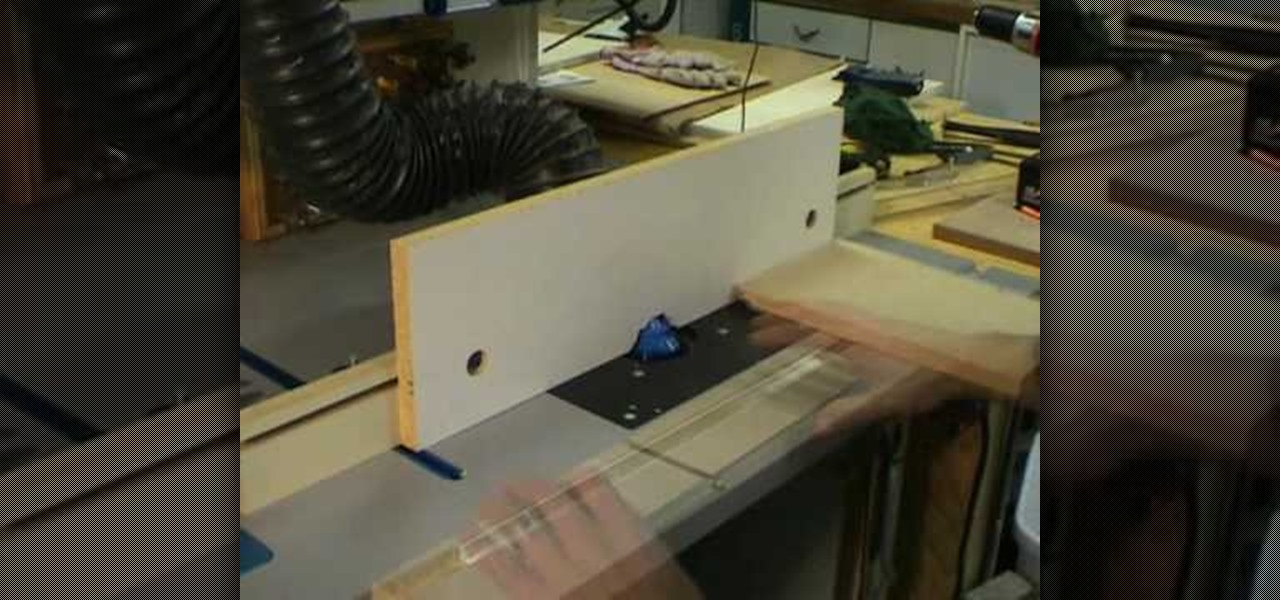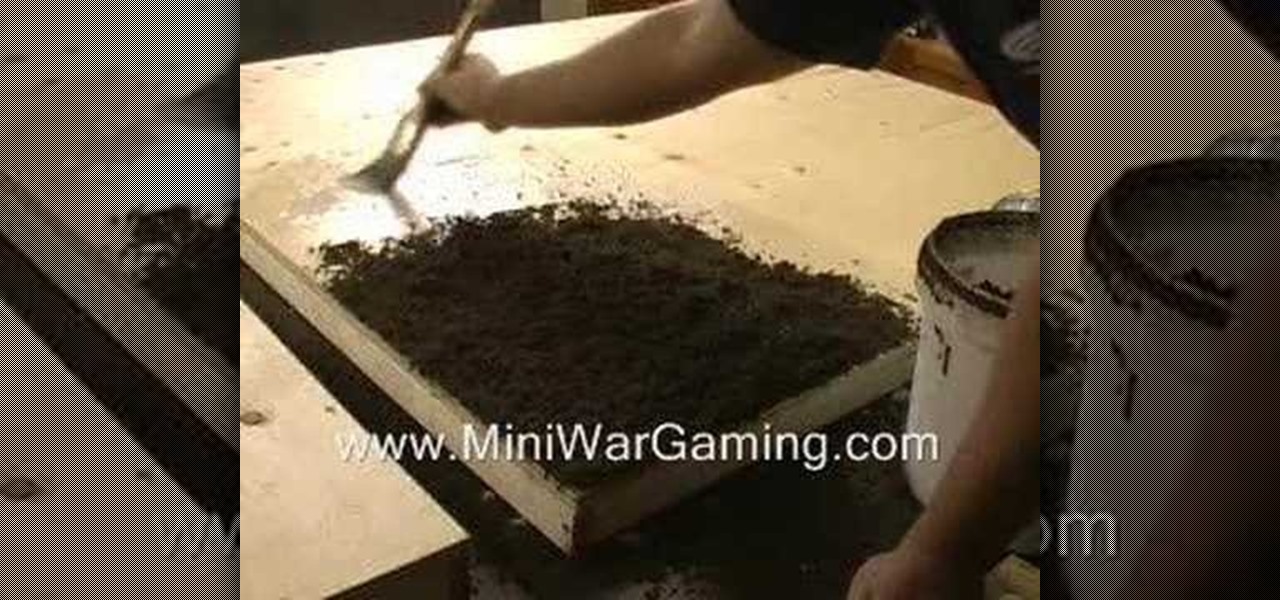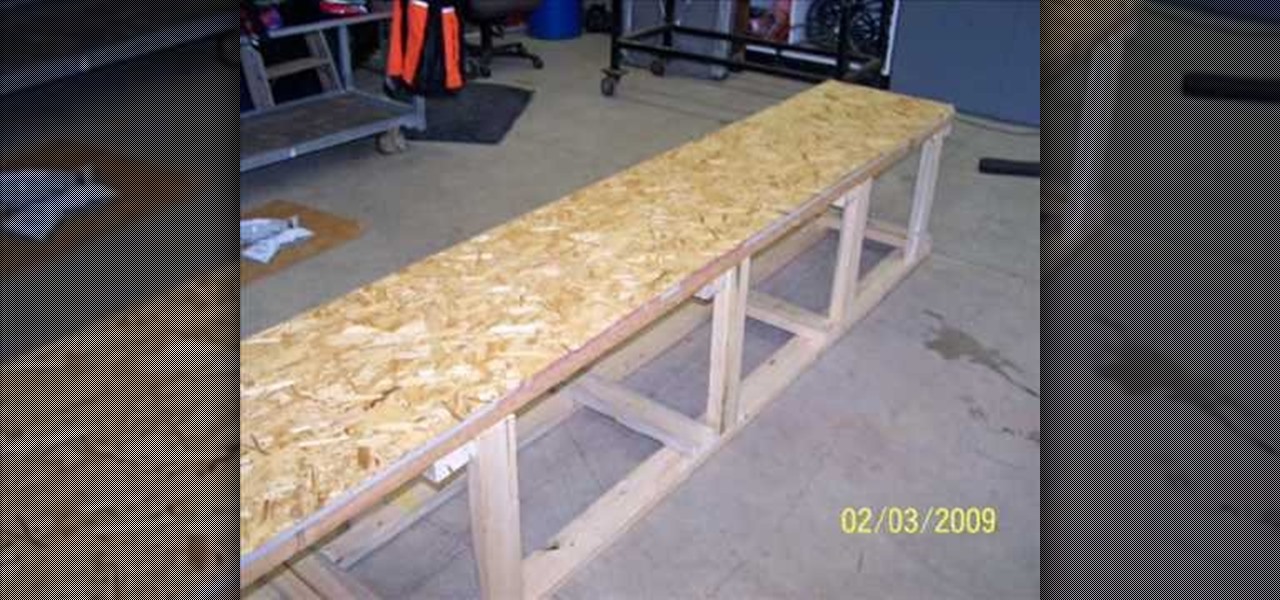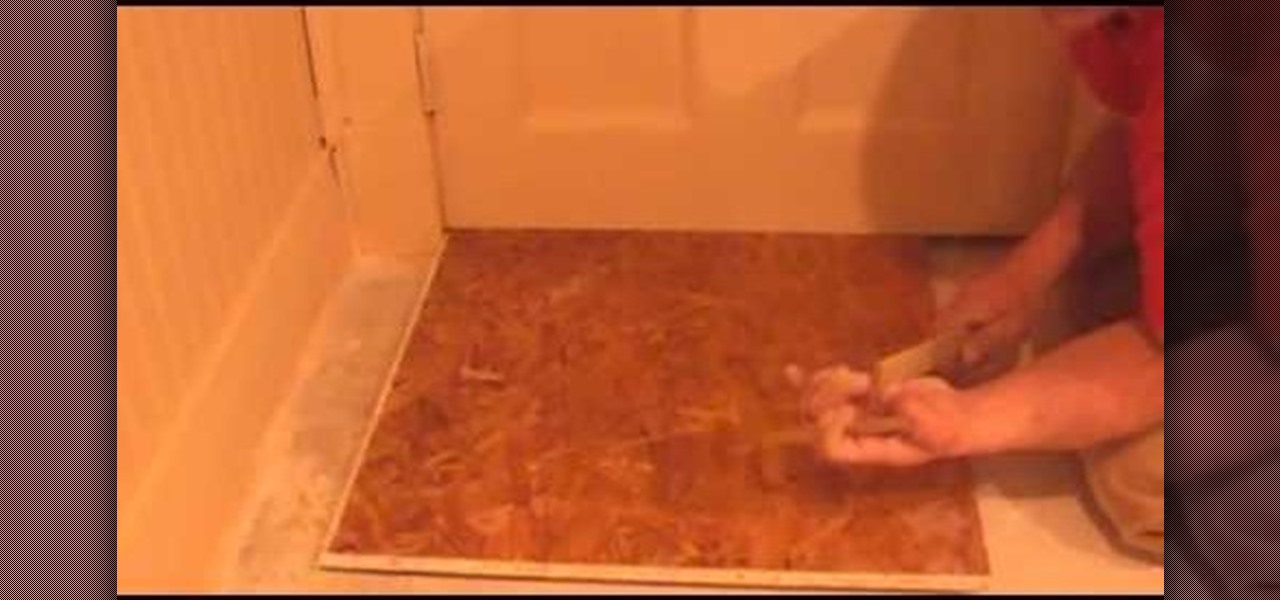
You may know how to cut and sand plywood, but bending it is a totally different skill set you need to master, but this woodworking how-to will show you the right moves in seven easy steps. In the video, a bend is being applied to plywood for a curved chair leg, but this method could be used for any kind of plywood bends.
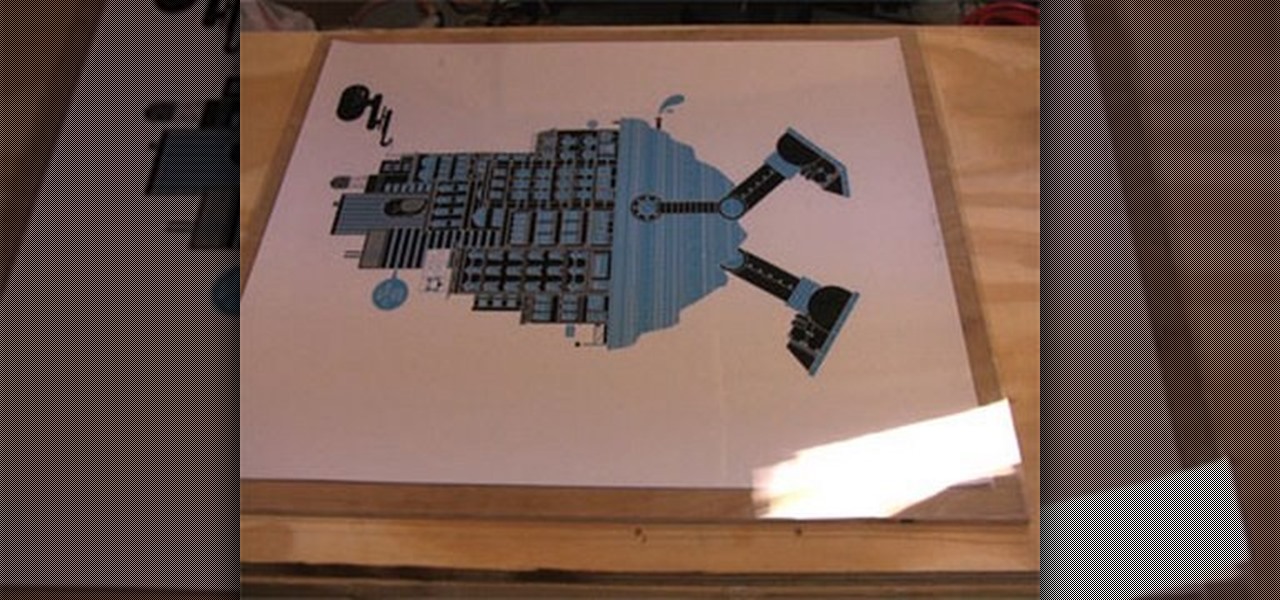
Framing and matting your favorite posters or art can get expensive! In this Curbly video tutorial, you'll learn how to make a quick and inexpensive frame. All you need are some basic supplies available at almost any arts and crafts supply store including: A sheet of plywood, a plexiglass cut to the size of the plywood, archival paper cut to the size of the plywood, frameless corner clips, and a bracket.
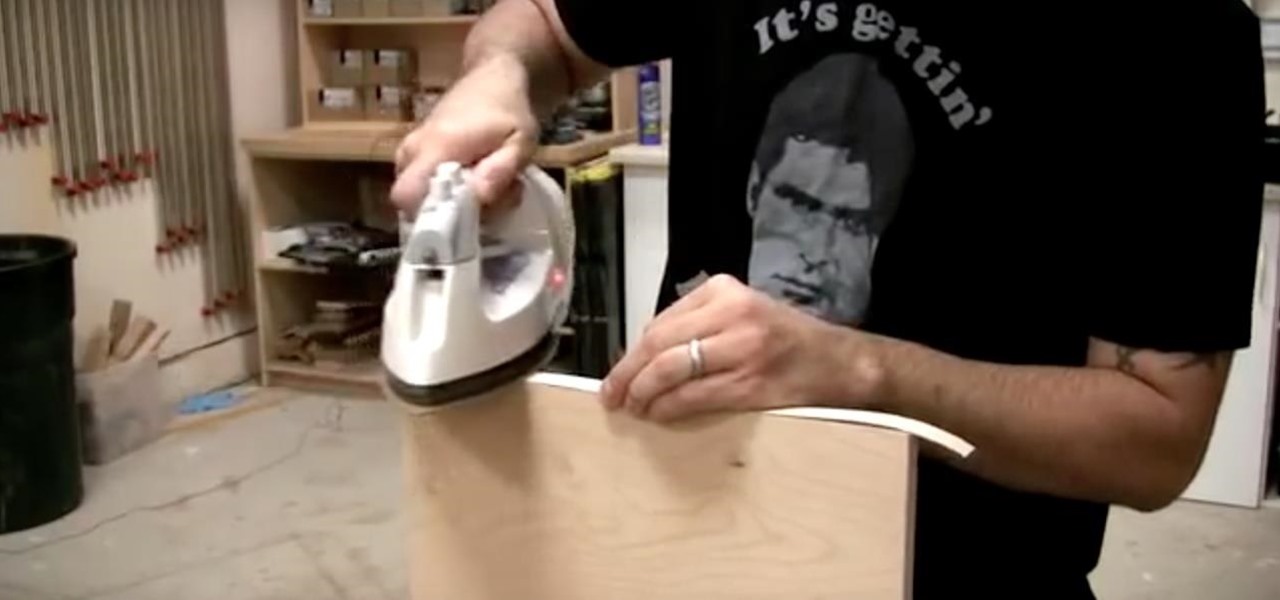
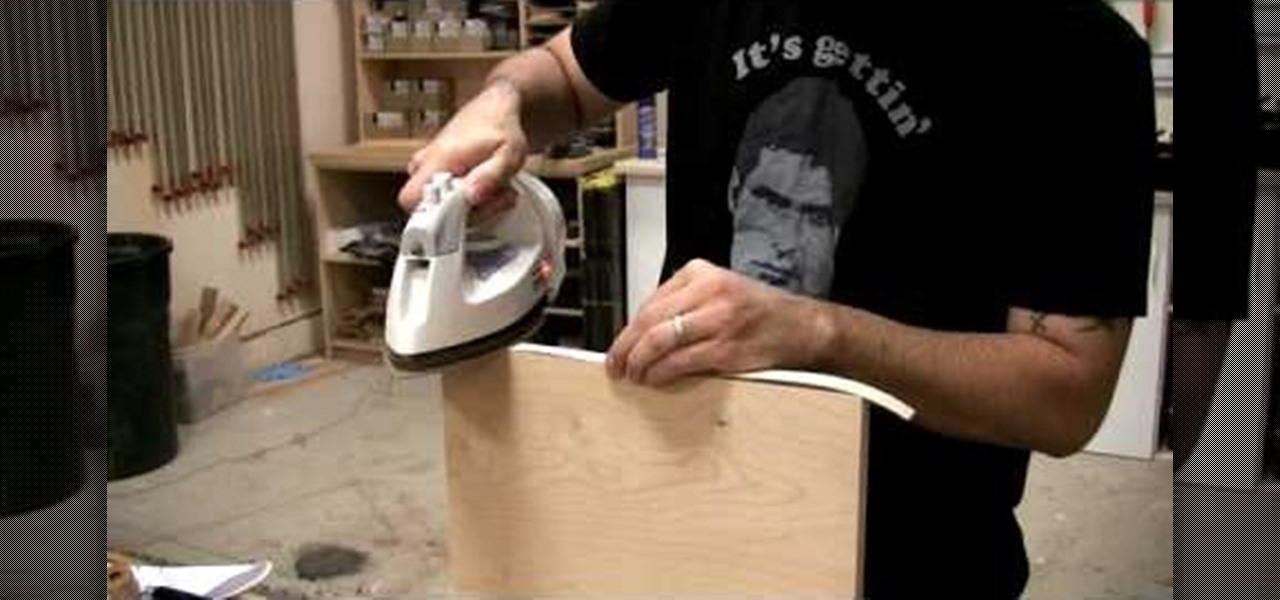
Plywood is flat, stable, and comes in lots of varieties. You can even use your plywood as a base for exotic veneers. But there is a consistent problem with plywood: how to treat the edges. This how-to video teaches you how to apply edge banding so it will hold up to wear and tear. All you need is iron edge banding, roller, sandpaper and an utility knife.
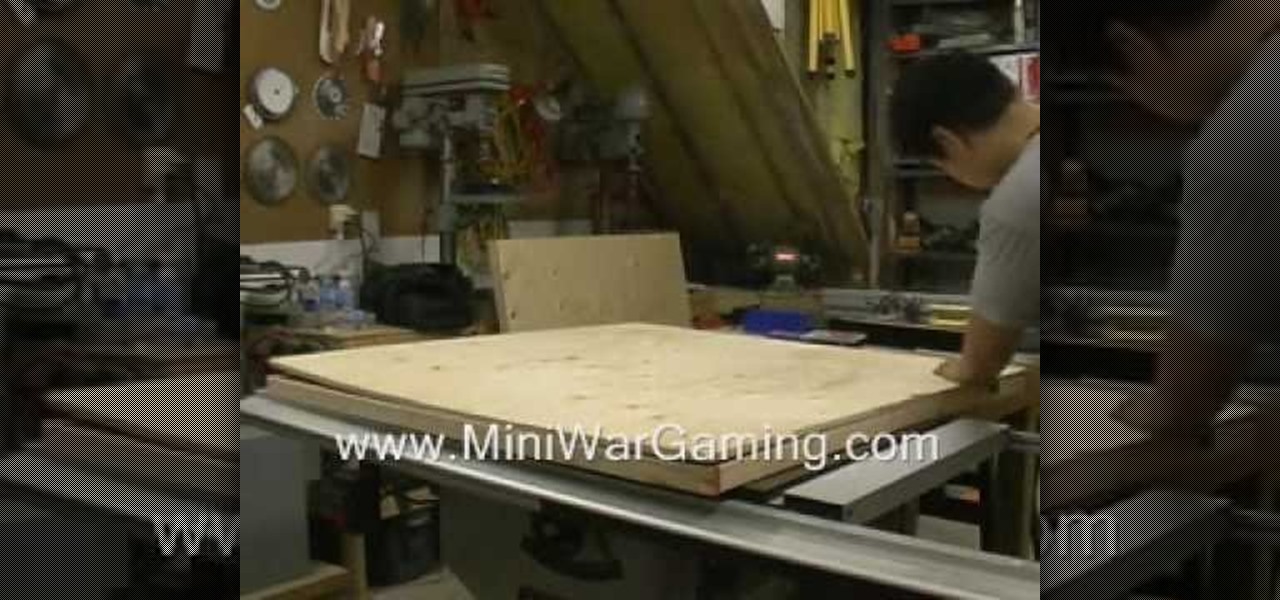
This new video shows you step-by-step on how to make a Warhammer gaming board. Stop by your local hardware store and pick up a sheet of 1/2 inch plywood. They usually come on 8'x4' sections, so you may need them to cut the sheet in half.
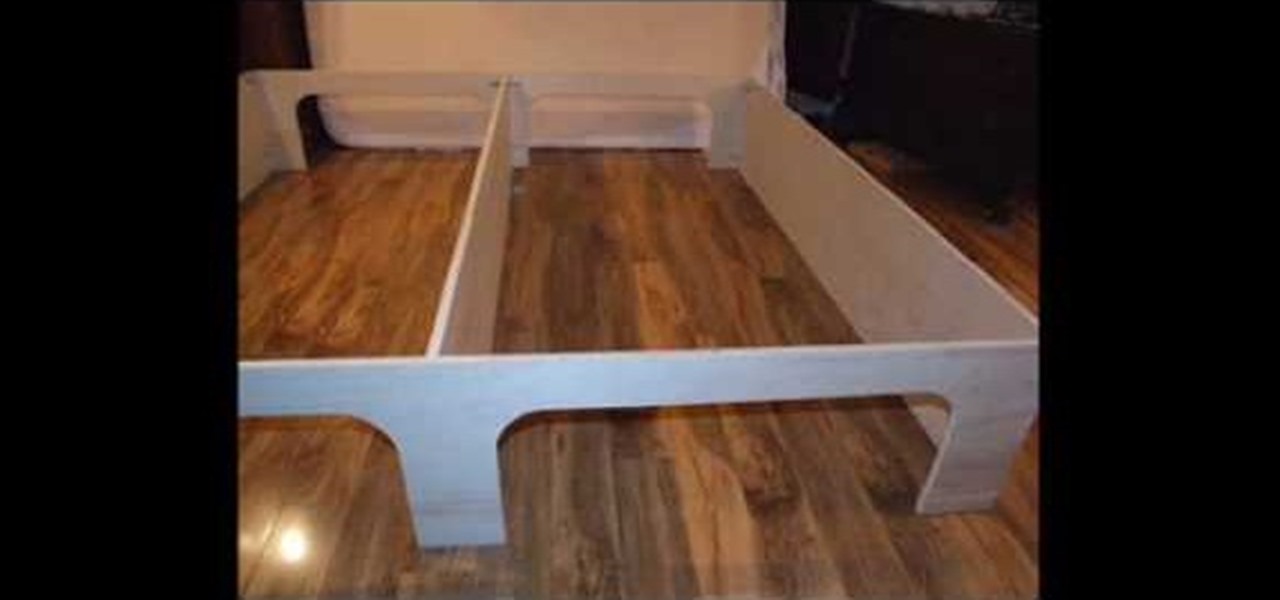
Following are the steps to describe how-to build a platform storage bed at a low cost: 1. All you need are the following materials: (Say a bed size of 16. 5 inch)4 sheets of plywood, 3 (1x4x8) plywood, 20 2-inch corner braces, 1 (1/4-inch) drywall screw, few nails.
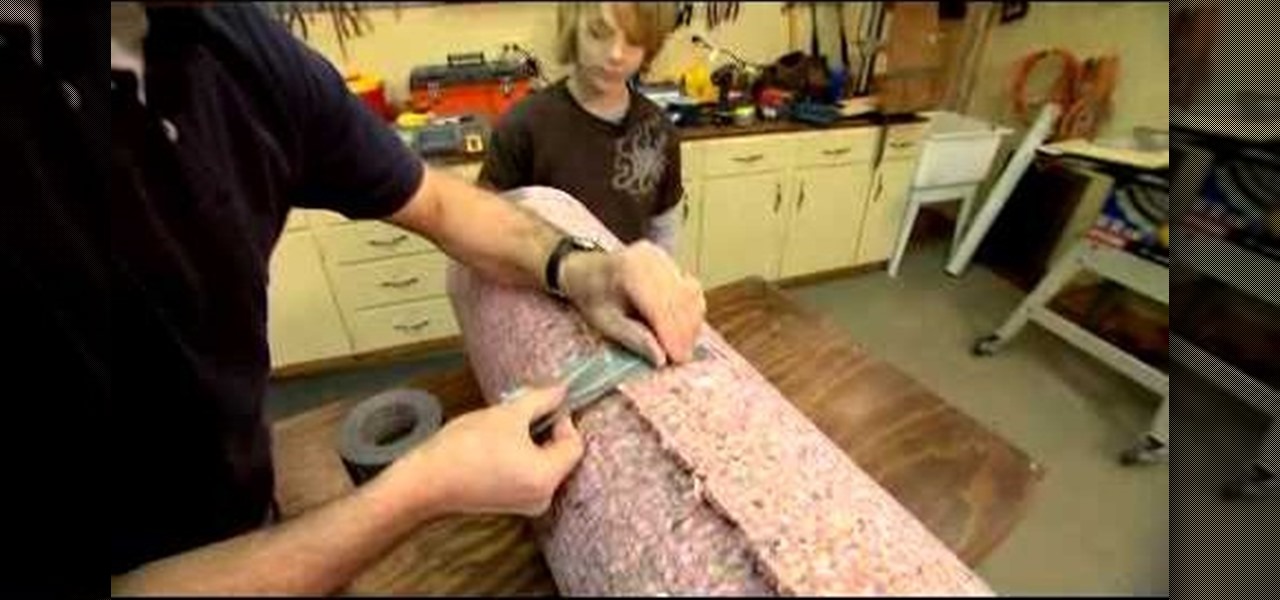
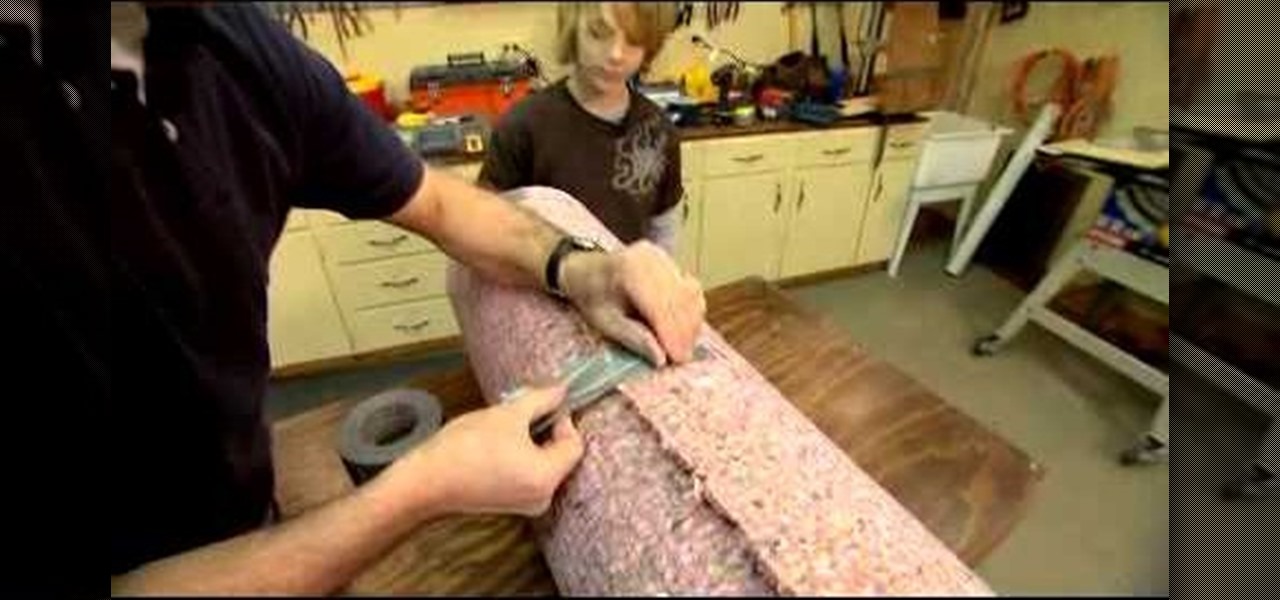
In this video, Danny Lipford will show you how to make a punching bag with trash found at a construction site. First, a circle of plywood is cut out about one foot in diameter (in this video, a bucket is traced in pencil over the plywood). This is for the base of the punching bag. A large piece of PVC pipe is used for the center of the punching bag, which carpet padding is wrapped around to makeup the main part of the bag. Finally, duct tape is wrapped around the whole thing. Out of these ver...

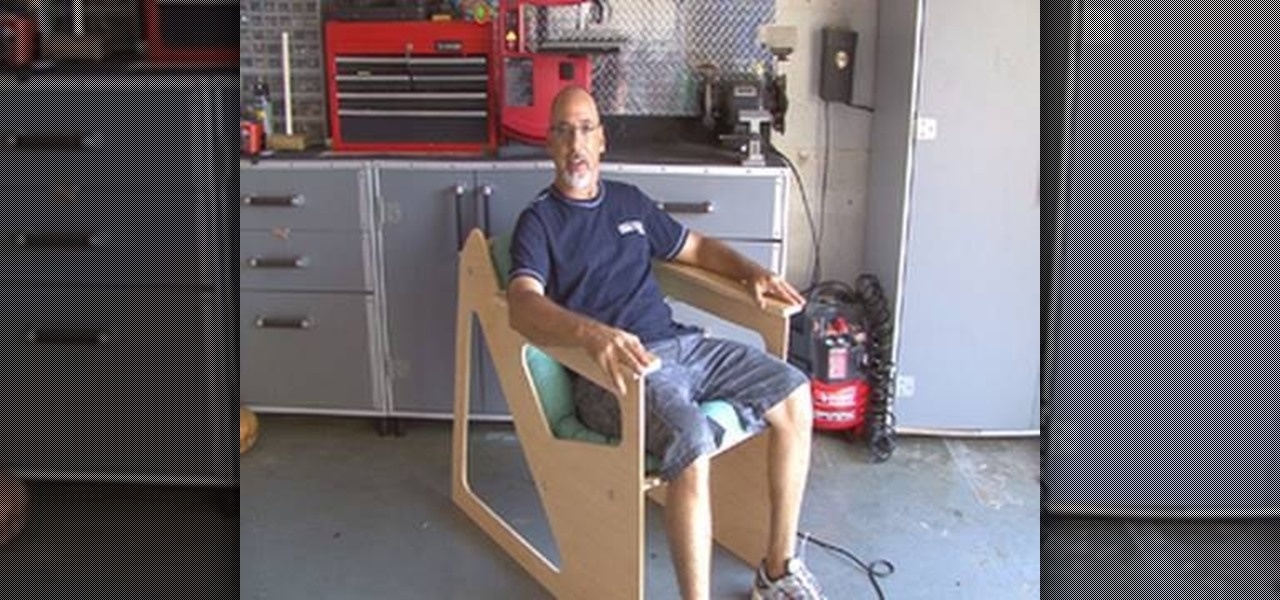
This is a guide to making a recliner which is comfortable, inexpensive and easy to make. All you need is one 4 by 8 half-inch piece of plywood, as well as a few power saws and some paint. Then follow along, and end up with your own chair!

Skimboarding is a fun sport similar to both surfing and skateboarding. Plywood boards are ridden out into the surf from the shore or are used to perform tricks in the shallow water. This how to video demonstrates how to build your own skimboard and customize it to your liking. All you need is plywood board, a jigsaw, sandpaper, and paint. Happy skimboarding!

Watch this video to learn a few of the many ways you can cover the exposed edges of plywood. The Wood Whisperer demonstrates how to iron on veneer, thin solid wood, and thick solid wood.

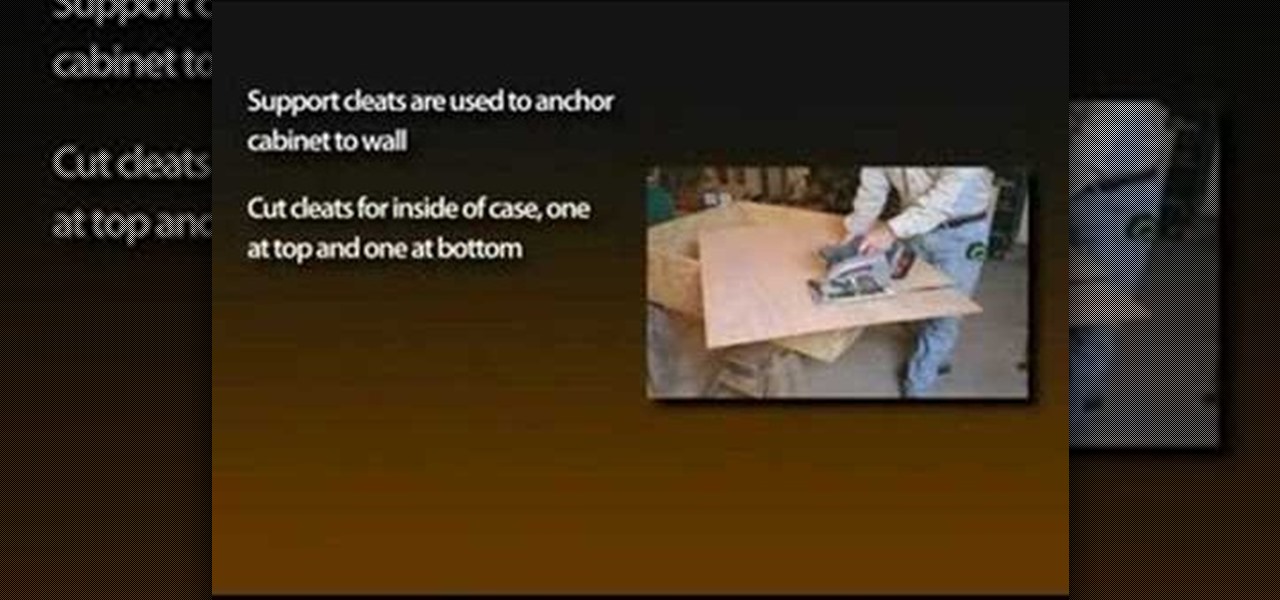
With the growing popularity of cordless power tools, it's extremely easy these days to accumulate a lot of portable tools, and when you add in quality corded tools, such as circular saws, routers, planers and air nailers, you can end up with a pretty hefty investment. These same tools are the first to “walk away” in a theft. Left lying around a shop or garage, they can also be somewhat dangerous for youngsters. A locking cabinet not only provides a secure place, but protects the tools as well...

This tutorial video will show you how to build a hovercraft using plywood, a leaf blower, and various other materials. This hovercraft works best on a smooth, flat surface.

Jack takes you throught the steps of creating a plant light. Begin with a large sterolight container, all thread,bolts, nuts and washers, and a power strip with tie wraps to hold it togethers You'll use flourescent lights and two pieces of plywood. Two nuts are used to hold this together and its painted white. The plywood reinforces the lid because it isn't very sturdy. This allows the seeds to grow faster because they're in a controlled temperature. The sterolight is waterproof so you don't ...

Follow along as Josh Gardner gives us step by step instructions on how to build a punching bag from trash.

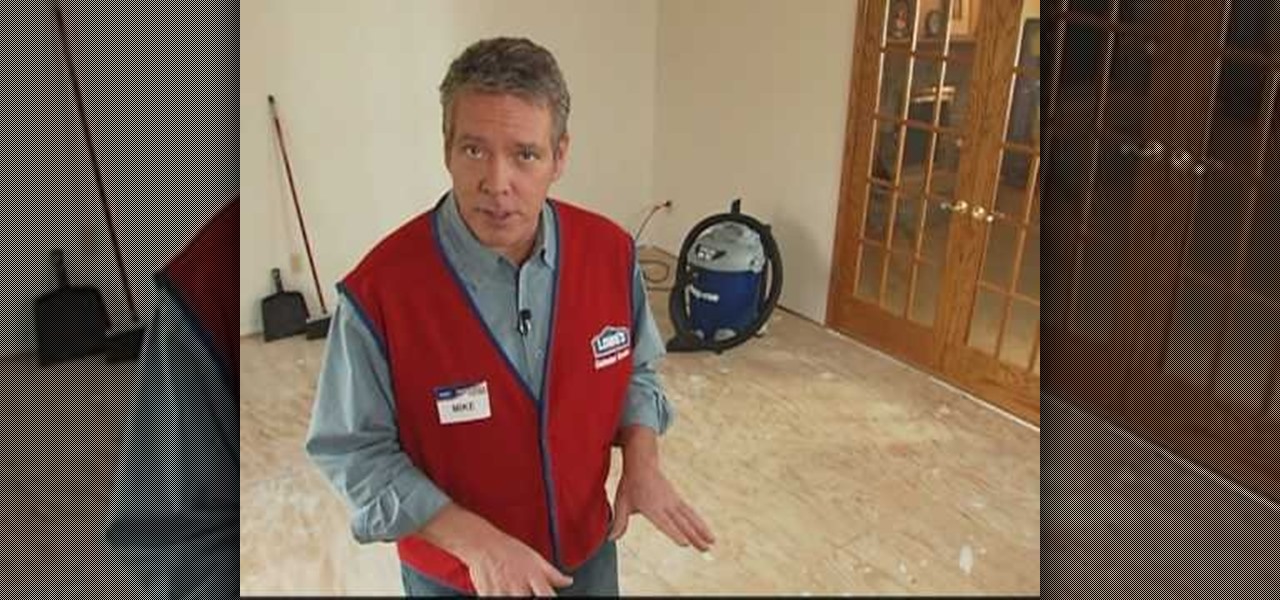
In this tutorial, we learn how to prep plywood subfloor for hardwood and laminate with Lowe's. Before you prep your floor, read the manufacturers direction and information on the flooring. After this, gather all of your materials and tools you need to complete the job. Then, measure out the floor to figure out how much material you will need. Take off all the carpet and base boards from the room, then clean off the floor from dirt or dust. When finished, cover the subfloor with the right type...

In this video, we learn how to build a house out of trash for free. First, find pallets from grocery stores and place nine of them together in 3x3 rows. Now, you will lay down a tarp that you can find over the plywood and start to add scrap pieces of plywood that you find around for the walls on the side. After the walls are up, cut down tree trunks that are long and then nail them together and place a tarp over the top. After this, tie the tarp down and tie it to the trees and your free hous...

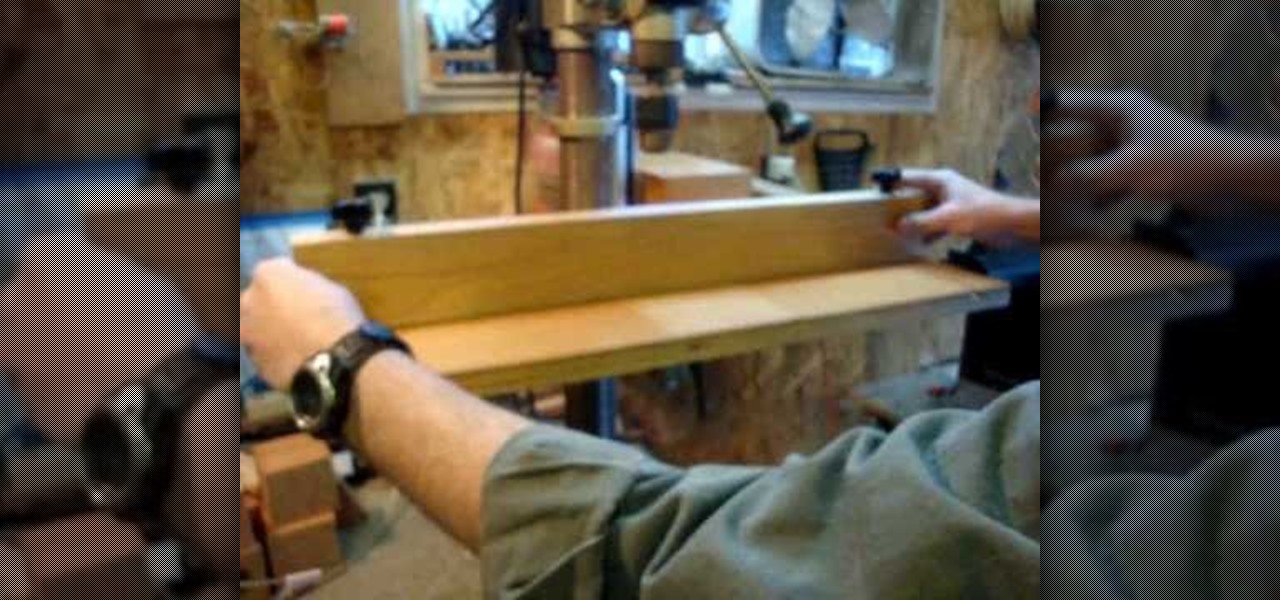
It is not that hard to make your own drill press table. Start with a 3/4-inch piece of plywood. Cut a 3/4-inch dado cut on both ends of the 3/4-inch board about two inches from the end. Top the 3/4-inch plywood with a 1/4-inch piece of oak cut into three pieces. When you cut the board into three pieces cut the center piece out with a 10-degree angle so that when you glue the two end pieces down the center piece will slide in and out but be held in place by the angle. This allows you to change...

Board up a window for protection against strong storms and hurricanes. Learn how to board up a window.

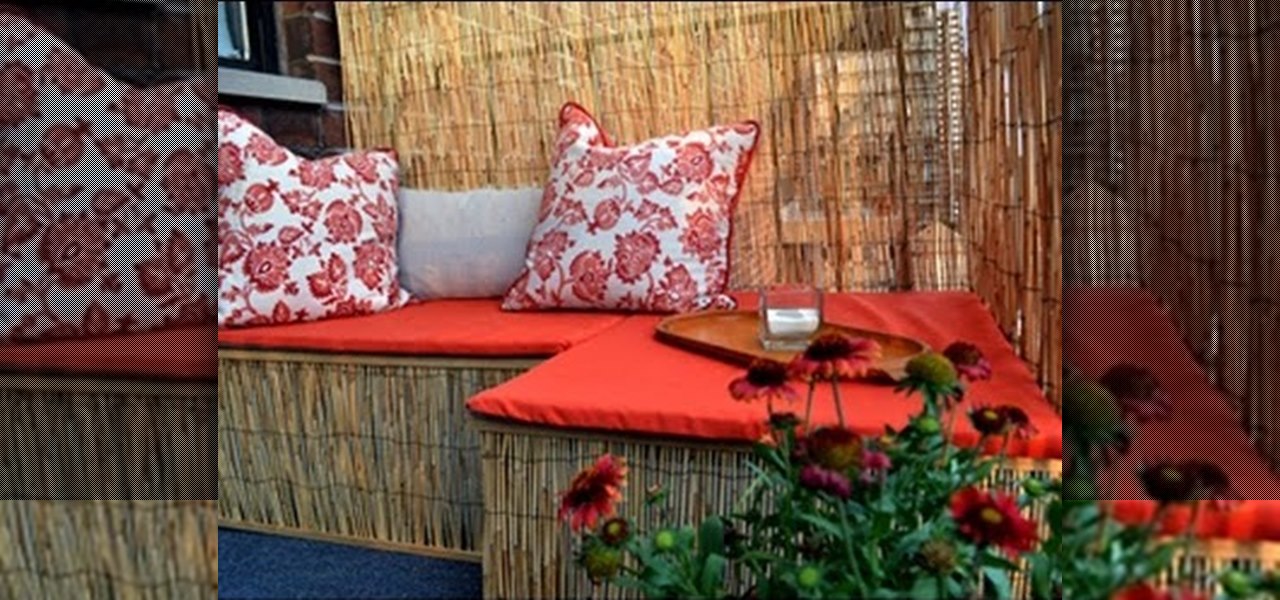
In this episode, see how to decorate a small balcony to add livable square footage to your apartment by installing a reed fence, and making a bench out of a few plastic storage containers and plywood. There’s even room to include a balcony garden with a raised planter. These balcony decorating ideas can also be used for small patios and decks and will inspire you to create your very own outdoor oasis.

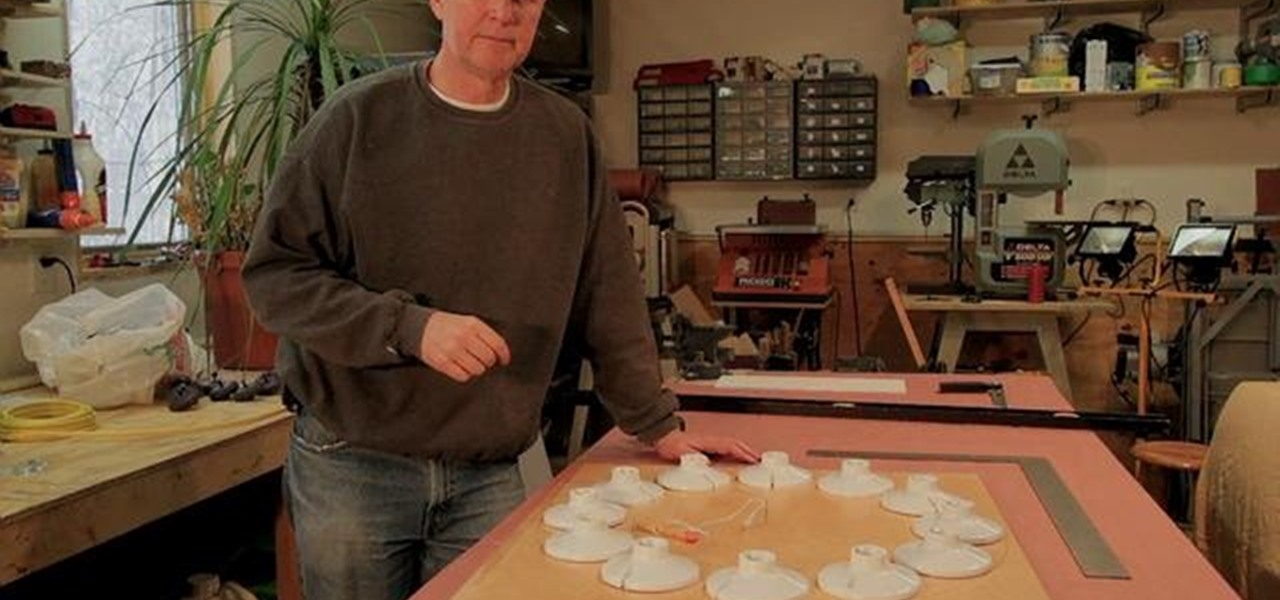
You don't need to buy an expensive ring light, you can make your own at home. You'll need a sheet of sturdy plywood, a pencil, some string, a dimmer switch, the light bulb sockets, some electrical wire, a drill and some hardware.

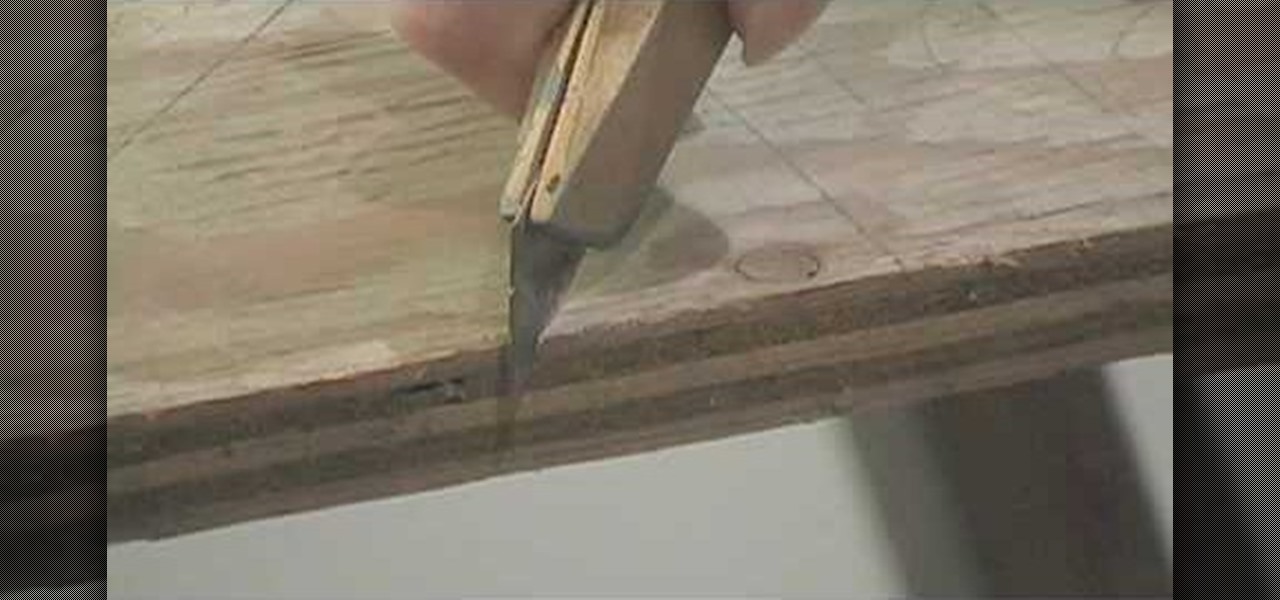
If you need to snap a diagonal chalk line on a sheet of plywood, you could hope that the hook will hold when you pull on it or try to find a third hand – or you can follow this video guide, which demonstrates a method for snapping chalk lines using a utility knife. For a complete overview of the technique, watch this free DIY tutorial.

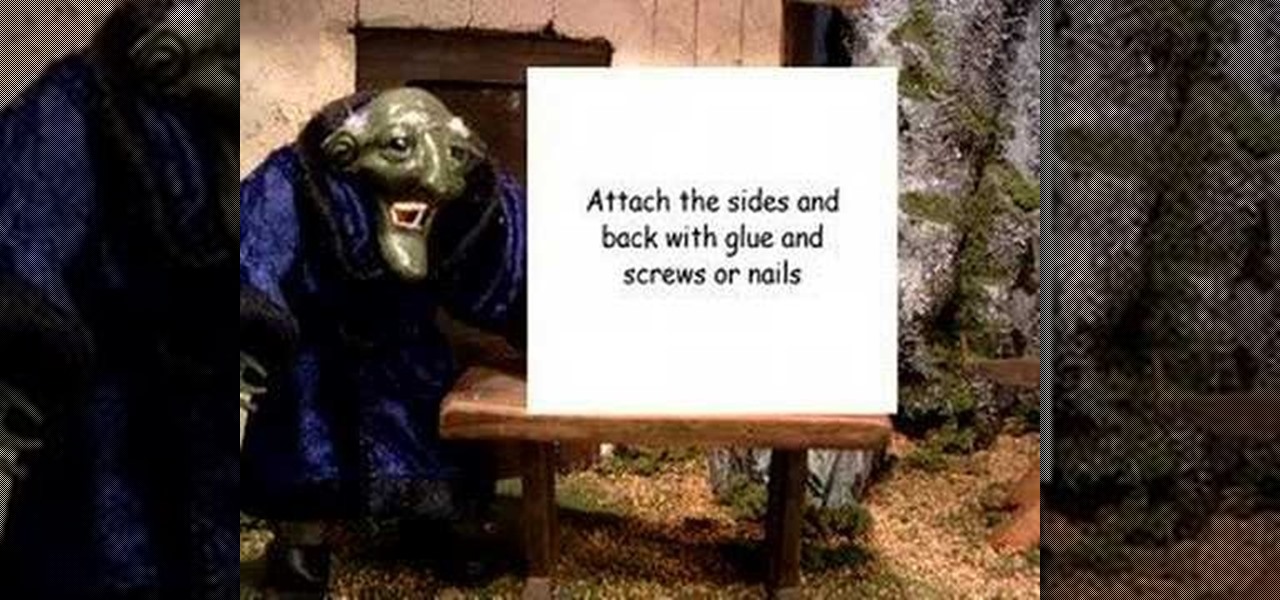
Check out this fun animation tutorial video that shows you how to build a simple stage that sits on a table for your animation using a stop motion puppet. It will be a small, compact and easy to make stage. You will need a sheet of plywood and some screws. Follow the step by step instructions, add puppets and create your own stop motion animation video.

This instructional woodworking video demonstrates how to cut out a wheel for a wood mechanism clock. You can use a band saw. The wood needs to be at least marine grade plywood.

Tim Carter, of Ask the Builder, demonstrates tips you should know before installing ceramic tile over plywood or OSB. Following these tips will make your looking sharp and beautiful, and practical.

This prank has it all. It's easy to do, requires few materials, won't cause physical harm to anyone or anything (hopefully), and will absolutely terrify your victim while amusing you for days. All you need is a securely passed-out person and a big box (flat piece of plywood optional). You cut out one side of the box so that it will cover the sleeping person like a coffin, then pound on the top to wake them. They will likely think that they have been buried alive and flip out like the guy in t...

If you feel tht your porch or patio is a bit too bland for your taste, putting a planter box outside is a smart idea. But if you don't like anything that you see at the store or don't want to pay an arm and a leg to buy one, then make it yourself.

Josh Copp and Madeline Donahue show us how to build a light table from pine wood and plywood utilizing two fluorescent light fixtures as the light source inside the box. The frame of the box is fashioned out of two 1X8 planks cut into four pieces so that two sides are 30 inches and two sides are 22 3/8 inches. The base of the box is made of plywood or OSB and is 30X22 3/8. Once the pieces are cut and assembled using a pocket hole jig and wood screws, the inside of the box is painted with whit...

Eagle Lake Woodworking, hosted by John Nixon, offers great do-it-yourself guides for building your own furniture, especially in the American Arts and Crafts style, and turning your garage into an amateur woodshop. Search Eagle Lake on WonderHowTo for more carpentry tutorial videos. From Eagle Lake Woodworking on this specific lesson:

This video tutorial provides step by step instruction on how to make a scare box. It's a simple wooden box with a creepy surprise inside. When someone opens it up, a spider or something else scary jumps out onto them. You will need plywood, wooden dowels, and the spider or whatever else you're using to do the scaring. Watch this video tutorial and learn how to build a scare box.

Watch this video to learn how to use a circular saw to cut ply wood. Do it the right way, without wasting material. The more teeth your saw has, the finer cut you will have.

Hey war-gamers. This video teaches you the step-by-step process to make a Warhammer gaming board. You just need plywood, glue, and sand.

This video will show you how to set your circular saw blade to the proper depth, so that you can cut a piece of plywood back to the rafters.

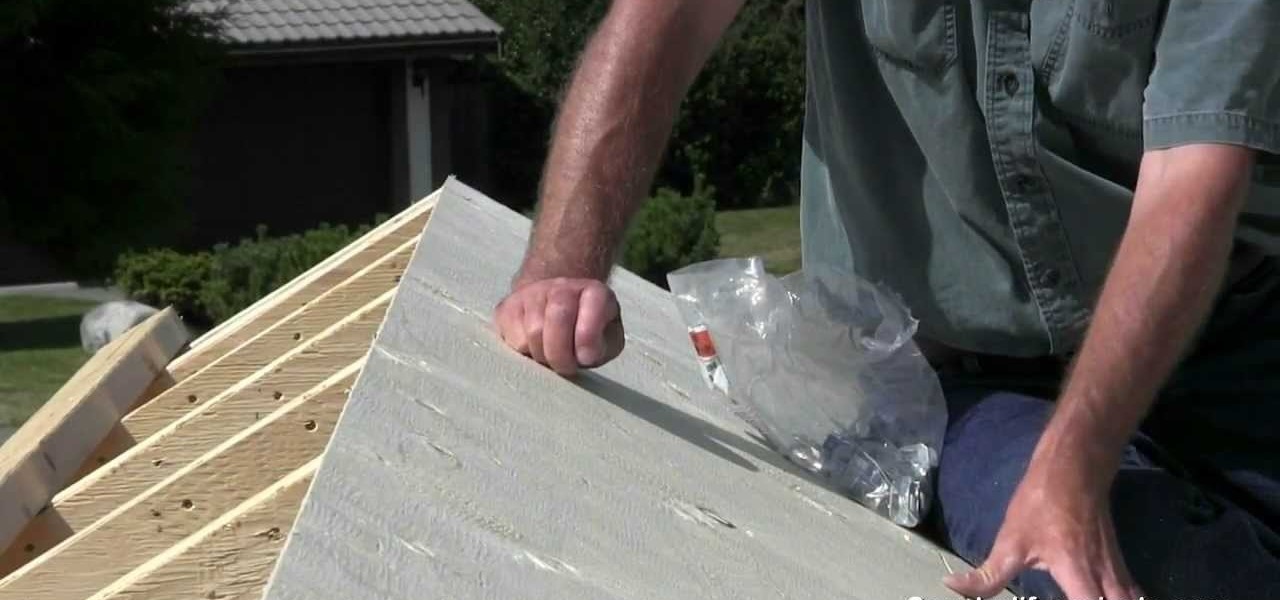
Henry shows you the right way to install roof sheathing (1/2" Plywood) including the proper spacing and importance of using H-Clips to extend the life of your roof.

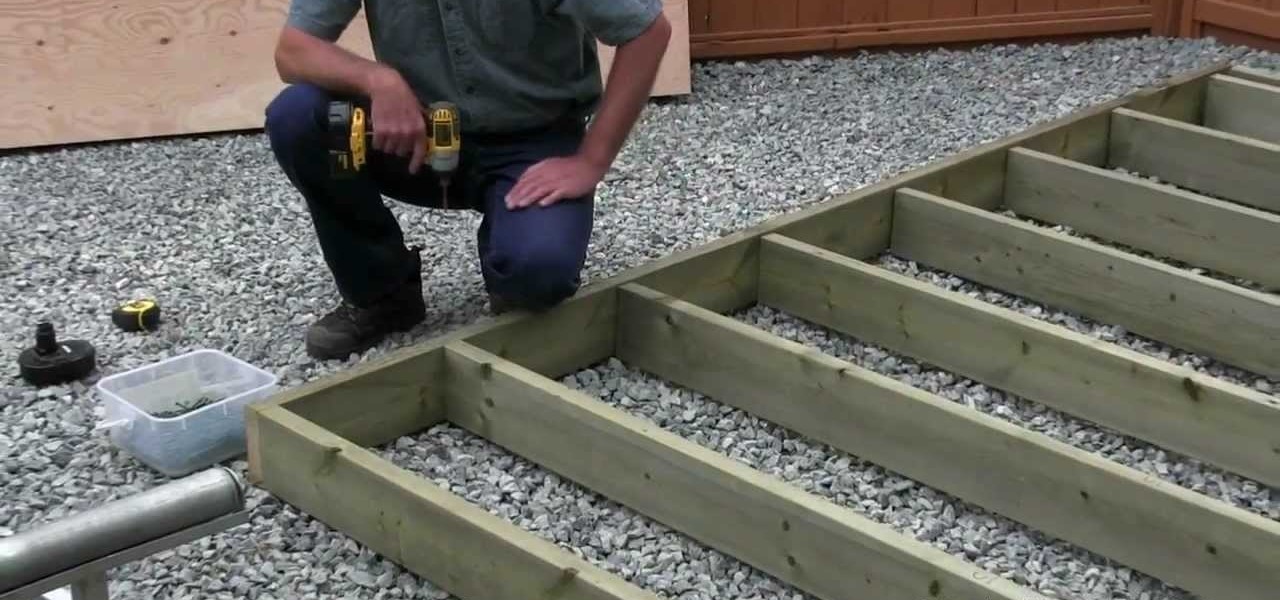
Building the base of your shed is one of the most important parts of the shed construction. In this video, Henry shows you how to do the floor framing and plywood sheathing and build it square, flat and level.

In this video you learn how to make tombstones for yard decorations for Halloween. You will need two pieces of plywood. In this video the measurements for the wood are 14 by 24 but this can be altered. Also used are, two spikes that resemble the posts in a small picket fence. Using small nails, hammer the two spikes into you board on each side with about 6 inches in between. These will be what you use to stick the tombstone in your lawn. Using another piece of wood with the thickness of the s...

Not enough storage space? No problem! In this tutorial, learn how to recycle an old cereal box into a very cool magazine holder. This video will take you step by step and soon you will be on your way to being both more organized and more eco-friendly!

In order to make a Weight Bench Cake, you will need the following: rice krispy treats, fondant, weights, a weight bench, butter cream icing, sheet cakes, weights, and plywood.

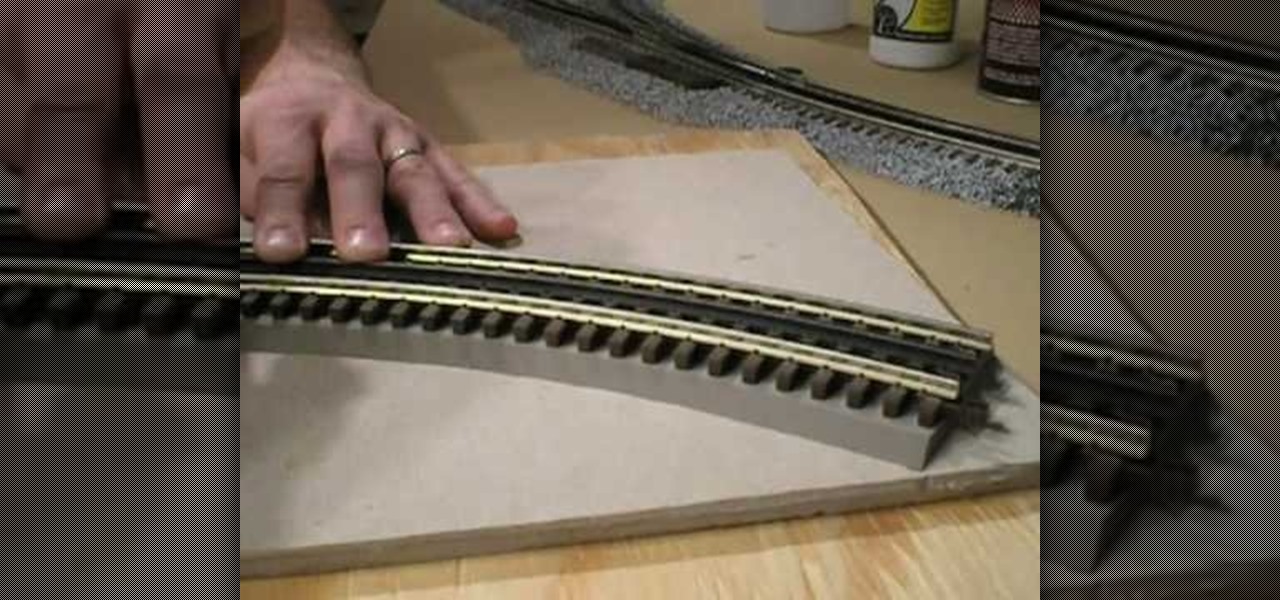
In this tutorial we learn how to lay and ballast O-Scale 3-Rail track. First, lay the track down on a piece of bare plywood. Also, you will paint the wood to prevent it from absorbing liquid when you place glue on it. Put the track down onto a flex bed and then set the flex bed on the wood. From here, place the track onto the road bed and line it up. Make sure the track is centered completely. After this, take a track screw and secure the ends down. Continue to do this throughout the entire t...

In this video, we learn how to make a snowboard box. The box will be 10 ft long by 1.5 feet wide and 2 feet tall. For the box structure, make small cube like structures that are surrounded by large boards holding them up. Screw all the pieces of wood together, then cut out your plywood and place it on the wood to make a shell. Check to make sure the box is sturdy by standing on it, then place plastic on the bottom of the wood to keep it away from snow or rain. When finished, use the board to ...

First, the plywood or oriented strand board (OSB) subfloor floats on a corrugated or “cleated” waterproof underlayment, so the wood never actually touches the floor. The underlayment material can be made of Styrofoam or heavy-duty polyethylene, the same material used in corrugated plastic drain pipe (one of the toughest plastics available). This underlayment creates an air gap above the concrete. Combined with the wooden panels, the air in this space provides a thermal break that acts as insu...

Tree Climbing Man demonstrates how to lay ceramic tile with drywall spackle. You don't need to rip up your existing floor and put down plywood or a sub floor to lay down a new floor. You can put ceramic tile right over existing linoleum with less work, less heartache and less problems. First, spackle the back of each tile and lay it down. You can also use a stapler and tape to fix problem areas. You don't need to go crazy with the adhesive. Spend your money on quality tile. You can use clay f...


