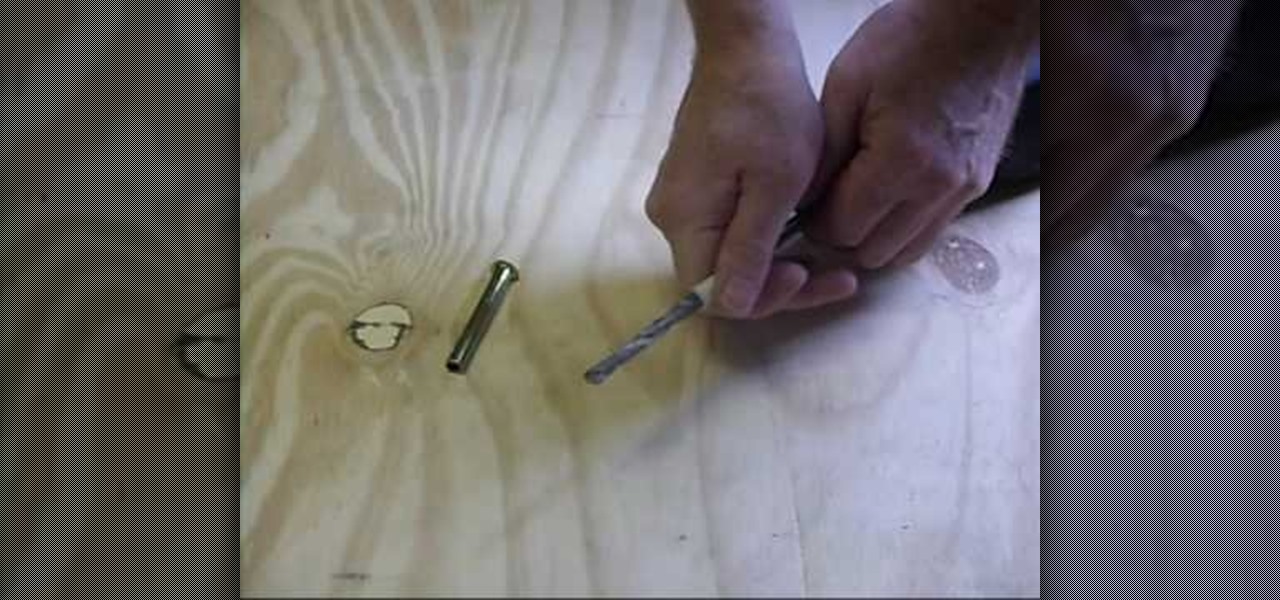
In this how-to video, you will learn how to build your own custom Pochade box for oil painting. You will need 10 feet of 3/4 x 1/2 trim, 1/4 underlayment plywood,, a table saw for squared cuts, a cordless drill, a dowel no smaller than 3/8, a set of hinges and screws, an Allen bolt and nut for triPod mounting, a piece of glass for the palette, gorilla glue water, and chemical proof. Pre-drill everything to make sure the wood does not split. Make sure that when you drill the hole for the dowel...

What's a kegerator, you ask? Why a keg and refrigerator built in one. This short instructional video shows how to find the hot line for the compressor in a home-made keferator. Mount the tap by aligning over the hole and screw it down to the plywood underneath. Carbon dioxide lines run out a hole in the back. Watch this video tutorial and learn how to build a kegerator, keg refrigerator, for your beer out of a Sanyo 4912 fridge.
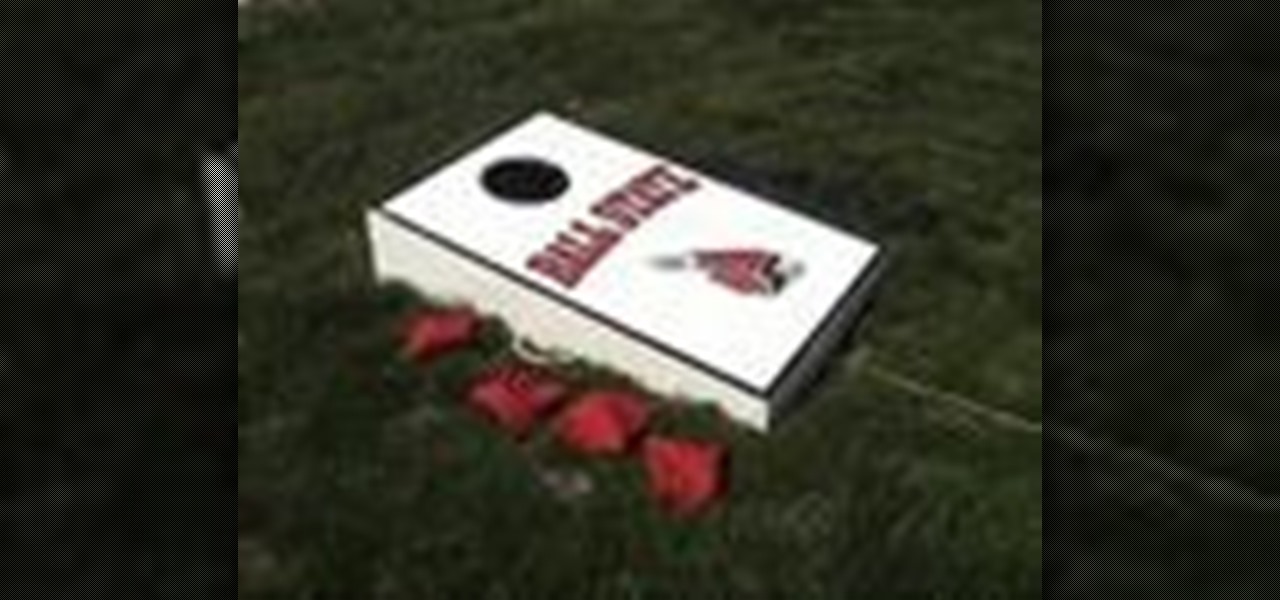
Check out this instructional video that will teach and demonstrate how to play corn hole. What is corn hole? Corn hole is a game in which players take turns pitching small bags filled with corn (or sand or beans) at a raised platform with a hole in the far end. These platforms are usually plywood sometimes plastic and either all white or decorated with a team name or any other custom creation.
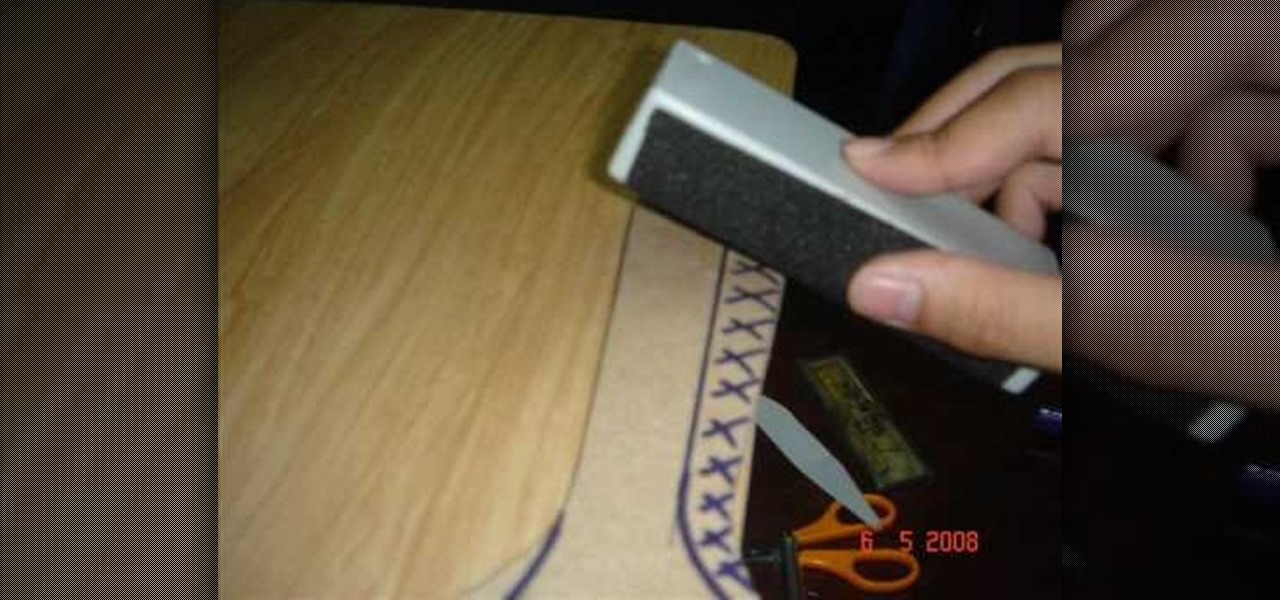
In this Home & Garden video tutorial you will learn how to make an accurate boomerang. Material required are 4-6mm thick ply wood or hard board or paper-mache, saw and some spray paint. Search for and download boomerang plans from the internet. The boomerang has three protrusions or handles equally spaced with each protrusion being 14cm long and the diameter of the circle at their ends being 4.5cm. Trace the plan on the plywood and cut it out with a ‘U’ shaped saw. Next draw out the line for ...
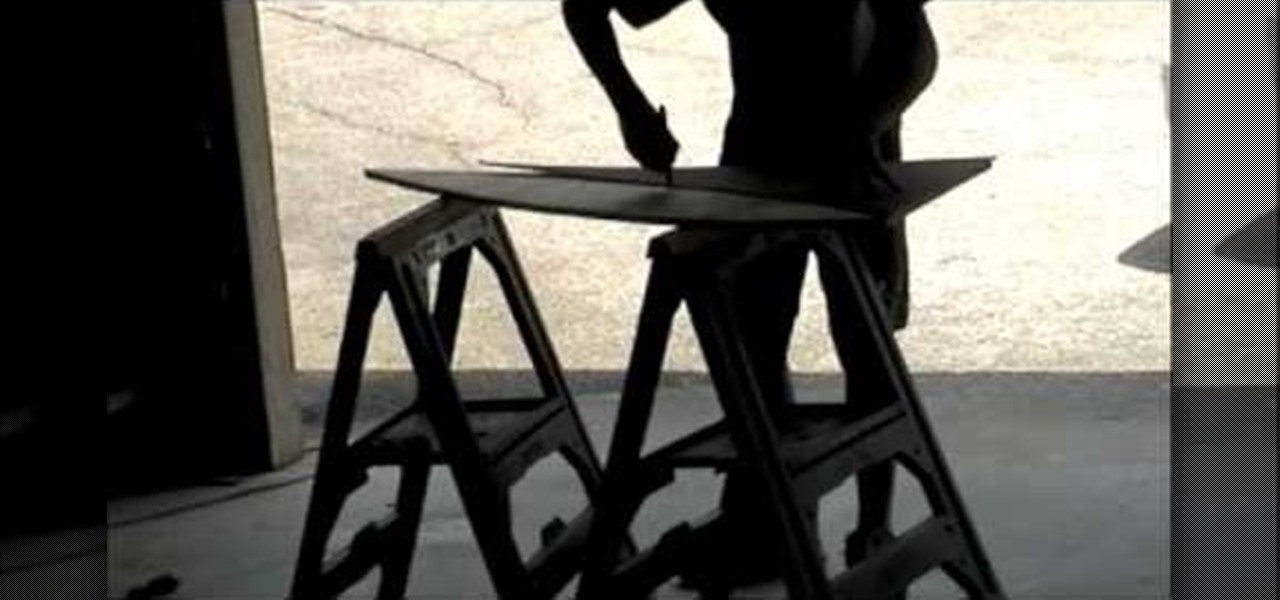
Watch this video to learn how to build a launch ramp. Step by step process to building you very own wooden launch ramp for skating or biking! Fast and economical way to have fun while skating! First make sure to draw a stencil to make cutting the wood easier. To save money you're going to want to get 2 cut-outs from each sheet of wood. You will need 7 or 8 two foot 2x4's to connect the outer shells. Next you put 3/8" sheet of plywood on top to finish you ramp! To make it even easier try getti...
"Twas the week before Christmas and all around the house, no decorations were outside, my wife called me a louse. The columns though pretty, were tall, white and bare, it soon became clear that candy canes should be there."

How to build a really easy, but AWESOME Grind Box.! A grind box, or a skate box is a must for any skater. The grind box in this video is not only very easy to build but it can be made in under a day and with minimal tools. This grind box also has wheels that makes it incredibly easy for the kids to move around. The coping is galvanized steel with a slightly rounded formed edge. This makes for an ultra smooth grind! The skate surface is thick plywood, which makes for a very solid and tough gri...

You may remember string art from your elementary school days. If so, it probably makes you think of the 2D geometrical designs that took every ounce of patience you had as a kid. Or those laborious curve stitch drawings, which string art was actually birthed from. But thanks to some innovative modern artists, string art has gotten a lot more interesting. Here are some of the most creative applications so far.

Need some smooth pan shots for your indie film? How about a cool dolly zoom effect? Well, you don't need to be a professional filmmaker to use such a device, but you do need the money for the gear. But—if you can work your way around the workshop, you can probably build your own camera dolly and track just fine. And for under $100! This video shows you how to build your own DIY dolly and dolly track, and all you need are the parts listed below. Then you just need to learn the art of the dolly...

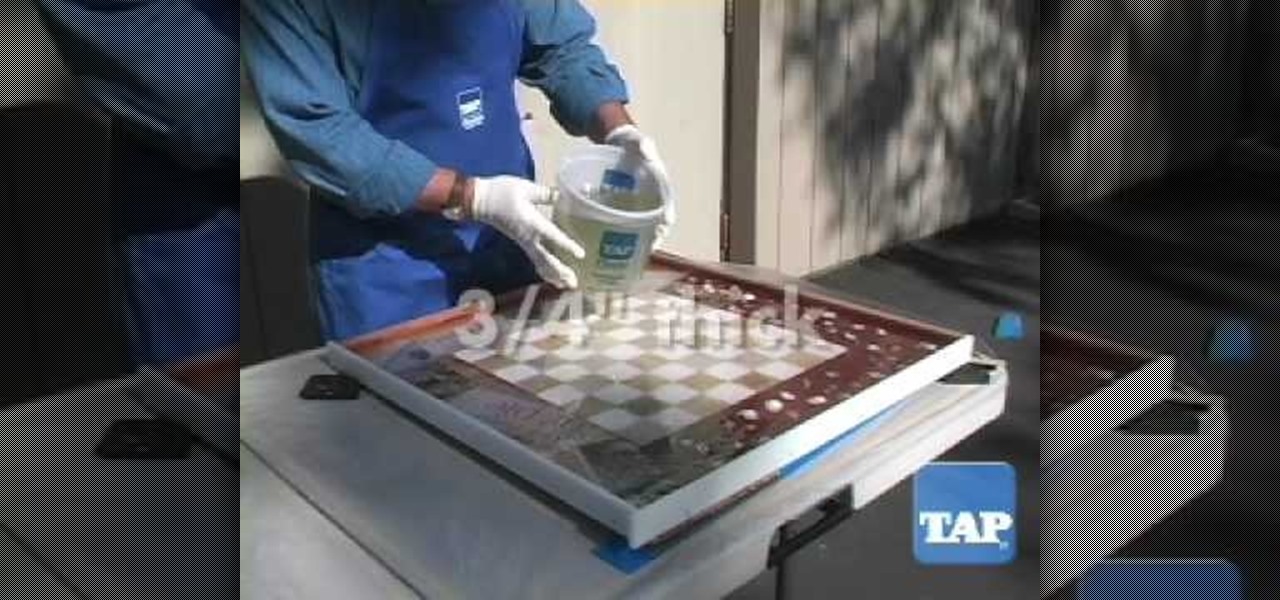
In order to make your own resin tabletop, you will need the following: a clean piece of wood (e.g. 2' x 2' piece of plywood, resin, gloves, objects to imbed in the table, and ultra seal.

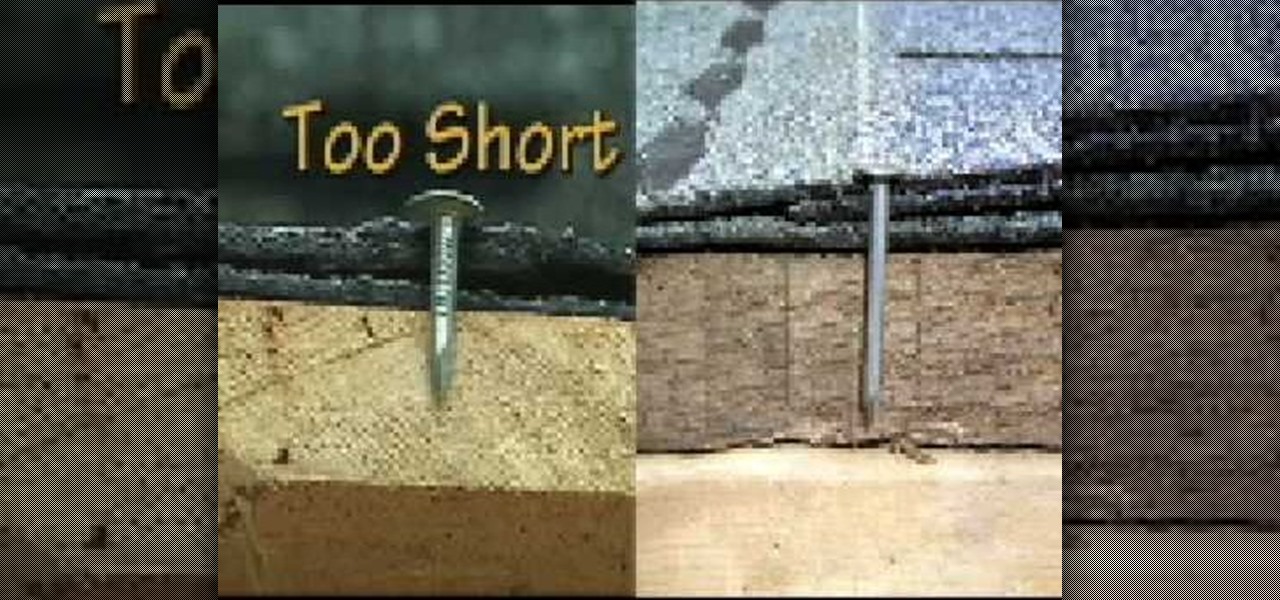
How to properly nail shingles on a roof

Mark Donovan is remodeling a ceramic tile shower, and shows how to install a mortar shower pan. First consider the framing of the shower. Plywood, 2x4's and 2x6's provide a good foundation for the weight of the tile. Then remove the cover from the drain. Use duct tape to cover the drain hole. Staple 15-pound felt paper onto the floor of the shower, and up about an inch on the sides, trimming around the drain, to protect the wood from moisture. Then staple down metal lath to reinforce the floo...

Texas supports your glass of beer! Learn how to make a coaster in the shape of Texas out of wine corks in plywood in this free wood crafts video.

How a Hovercraft can be build.Brittany is demonstrating how to make a Hovercraft. Since hovercraft needs a base she is using plywood for it. She takes square plywood of 48*48 and finds out its center to cut plywood in circle. Don’t forget to wear safety goggle while cutting the plywood. Then she takes a square plastic to make it an air cushion so that the hovercraft should float. In order to secure plastic to the wood she used screws and a plastic top. Then cut the vent hole and plastic by si...

If you want to play some beanbag games try making your own cornhole board. With wood and a few tools you and your friends can enjoy endless fun with your very own homemade cornhole board. Now all you need are some beanbags.

If you’re into cinematography try creating your own dolly camera platform to get those seamless tracking shots. This is a fun project that will allow you to take your film to the next level, or at least get the shot you want.

If you're into photography, you're probably no stranger to the myriad of ways you can take macros with your smartphone. Your phone's built-in camera may not take great pictures up close, but you can modify it to do so with anything from a magnifying glass to a drop of water. However, those types of DIY macro lenses can only get so close.

You may have never heard of vacuum forming, but you use products made with the technique all the time. The lid on your coffee cup, the plastic bowls you used at last week's barbeque, and the blister packs your prescriptions come in are all made with a vacuum forming machine.

Admit it—at some point or another, you've wished that you had your own personal hovercraft. Don't worry, we've all been there. Well, a company called Aerofex wants to make a hovercraft that's way more than your standard leaf-blower-powered one, taking a queue from the swoop and speeder bikes from the Star Wars franchise, building their own sort of repulsorlift. This hover bike may not be quite as fast as the ones from Star Wars, but if the company has its way, it could be on sale by the end o...

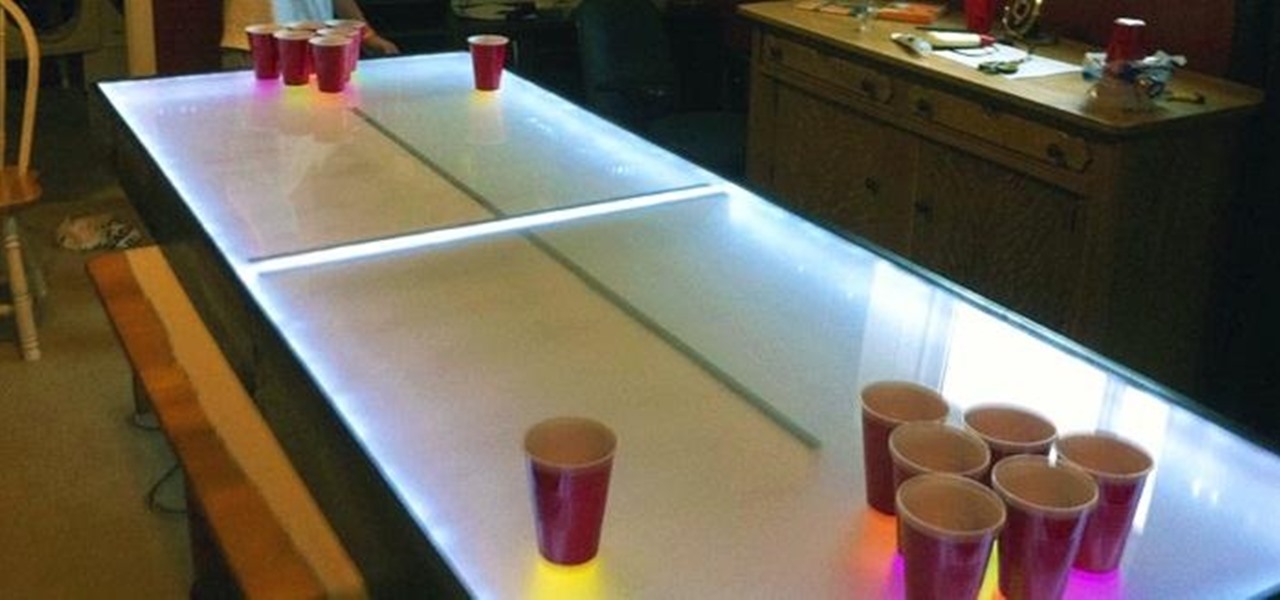
Want to liven up your game of beer pong? You could always add more cups or play with paddles, or you could make your own custom table with 500 LED lights that flash in sync with your favorite tunes like Redditor did.

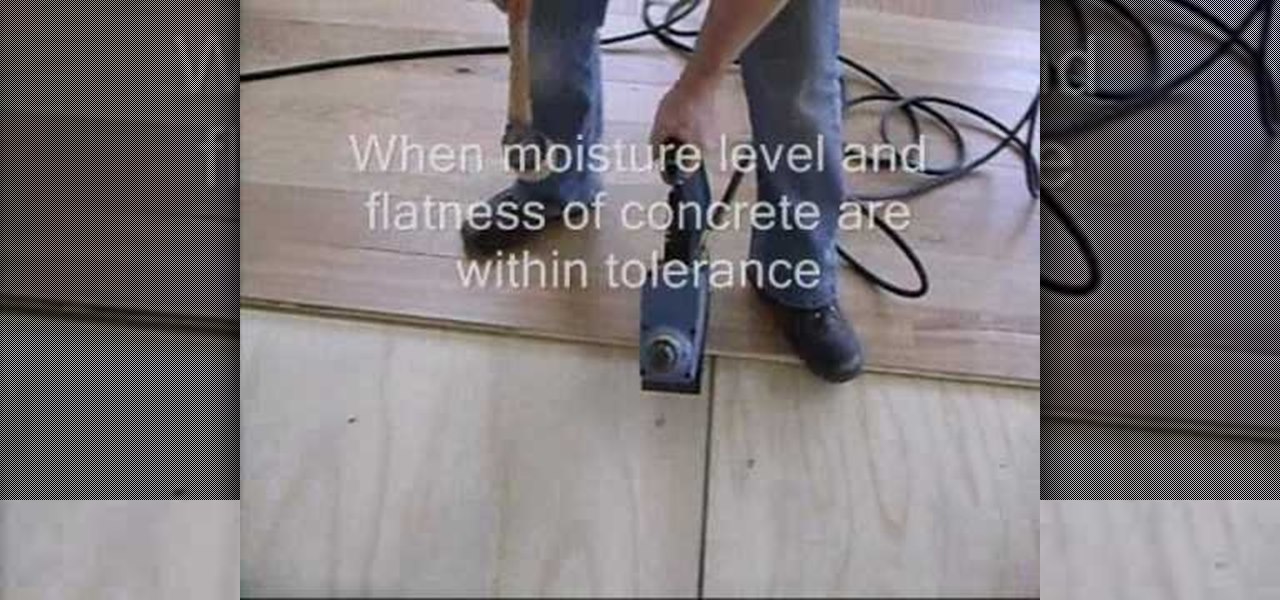
Tired of that ugly concrete floor? Check out this tutorial for information on how to attach plywood to concrete as a floor base. Grab your tools and get started on that long-awaited home repair project.

Graffiti— do you have the guts to get out there and tag some property? There's a whole lot more than just spray paint involved. To be great, you'll need things like a sketchbook, pencils, pens, markers, spray can tips, latex gloves, legal (or illegal) wall, and most importantly… creativity. If you think you’ve got what it takes to be an urban graffiti artist, follow these steps to become da ’hood’s next da Vinci.

You don't have to live with an oil-stained driveway. Get rid of the mess with these stain-busting techniques. This video will show you how to get grease off a concrete driveway.

This tutorial teaches you how to make a decorative wooden bucket. This project is suitable for a use as a planter or inside a wishing well. You will need a piece of plywood, a couple of strips of wood, a piece of rod for the handle, two copper straps, nails, and staples. Watch this step by step how to video and make a decorative wooden bucket for your garden.

The concept and structure of Christmas hasn't changed much since its inception. In its infancy, Christians recruited Roman pagans by associating Christmas with the Saturnalia, an ancient Roman festival in honor of the deity Saturn (also held in December). The pagans had long worshiped trees (as did other historical cultures) and would bring them into their homes and decorate them, something that influenced our modern holiday decorations. While certain things such as gifts and ornaments have b...

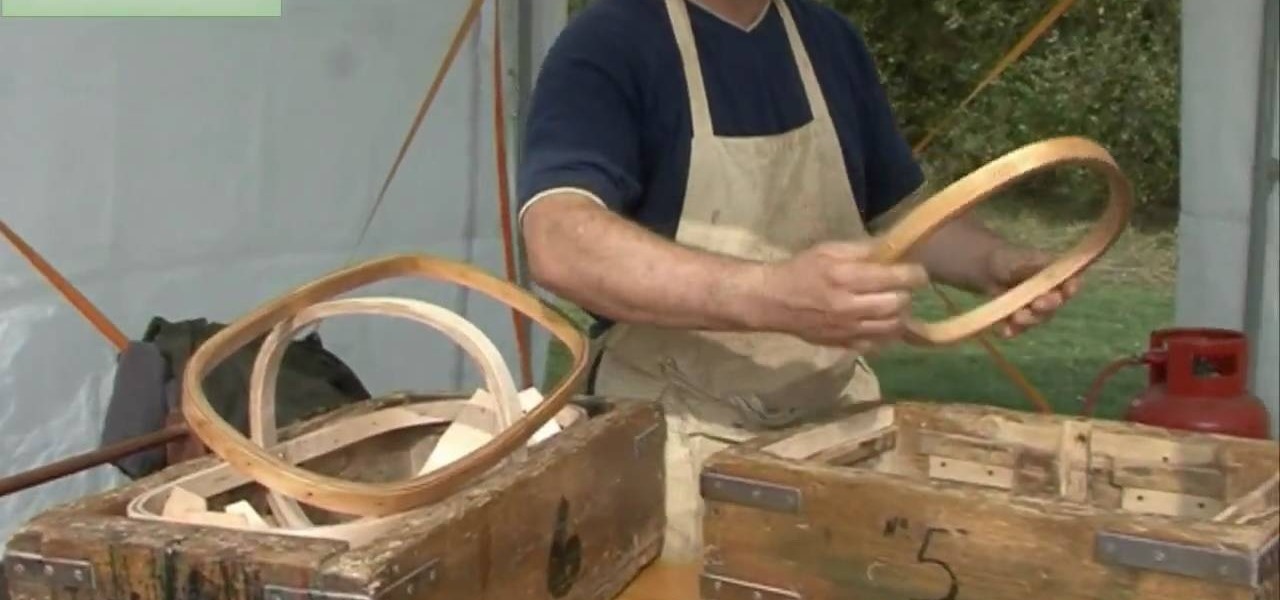
The trugs are made from finished birch and lamium (sp)birch plywood. 1 inch wide and 4 millimeters thick plywood in three thickness. Laminate three pieces together to make a handle. Make a rim in the same way. It is made in two halves, put in a drying rack overnight and then trimmed and pinned together at the side with solid brass pins which won't rust. They are placed in a former where the boards are plced into the trug. The boards are 1 1/2 millimeter aircraft ply. The handle and rim are so...

This tutorial teaches you how to make a headboard from an old closet door and a red recycled curtain fabric. You will need a closet door or plywood cut to size, batting, fabric, a staple gun, foam, scissors, a circular saw, and an exacto knife. Watch this how to video and you can spice up your bedroom with this homemade headboard.

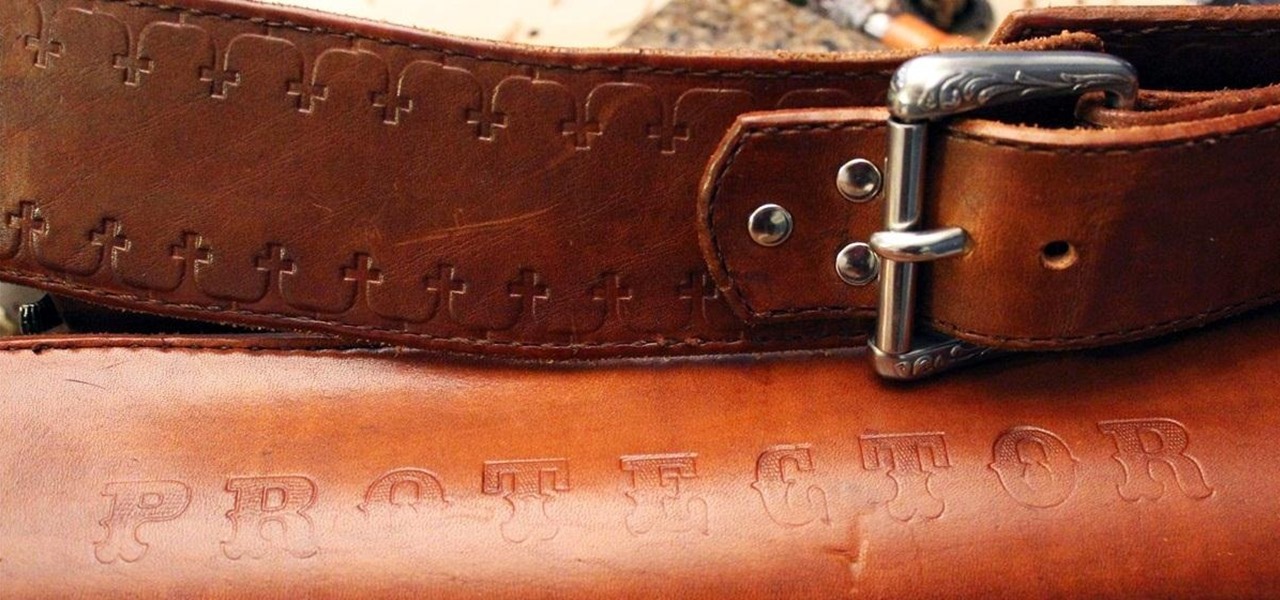
This two-part series (second part here) will teach you literally everything you need to know in order to make pretty much anything out of leather.

This video shows you how to install a hardwood floor over concrete. You will need a plywood base. This video demonstrates the nail down method. You will need 15 nails per 8 feet by 4 feet sheet; plan according. The entire process is very easy and gives you easy steps to follow. The demonstrator gives some good pointers that might help you avoid any serious mistakes. The flooring installed will be suitable for solid flooring or multiply engineered flooring with a heavy wear layer. This is a ve...

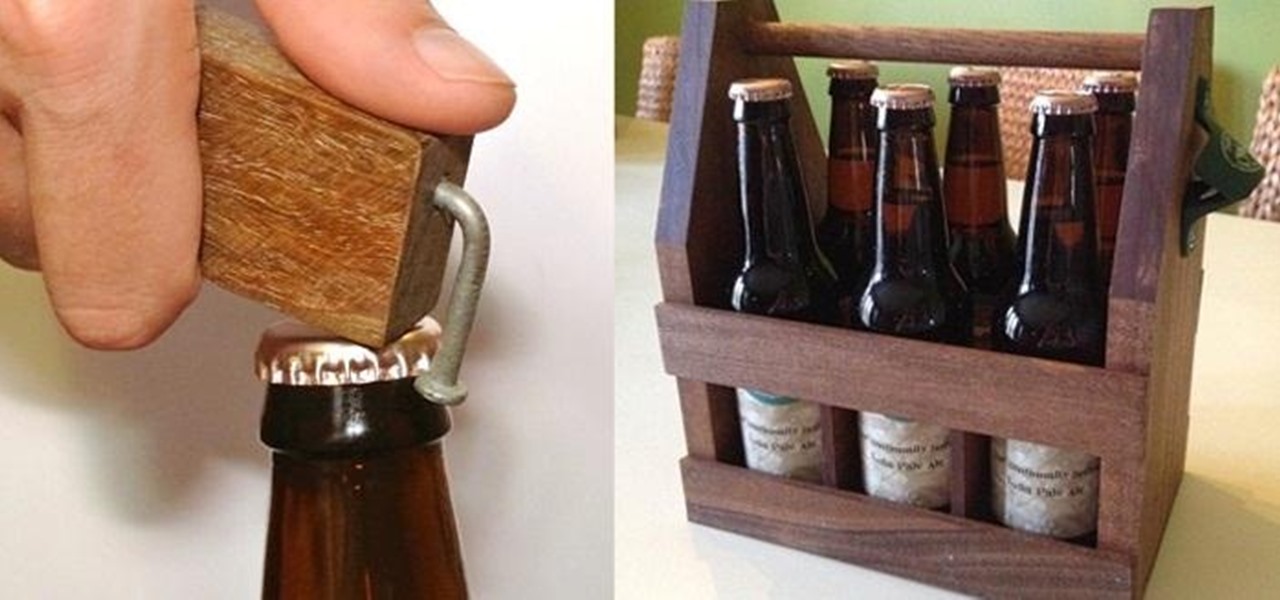
There's nothing better than gulping down an ice cold beer to calm the senses and ease the mind. The holiday season can be very stressful as people scramble around trying to find the best gifts for friends and family. And we all know that gifts can be very hit or miss, but it's pretty hard to go wrong giving someone a nice bottle of whiskey or a nice selection of beers.

Summer is in full swing! Everywhere you look, plants are in full bloom and green is a way of life. Gardeners are clearly living up to their full potential. I cannot think of anything else that personifies summer better than gardening.

If you want to make clothes for your cat, you're on your own. As I recently said in this article, cats will just totally flip out if you make them wear things. Your dog may also flip out, but I've found them to be more tolerant, personally.

One of the smaller frustrations of the coronavirus pandemic is unlocking your iPhone with Face ID while wearing a mask. If you have an iPhone with Touch ID, you won't need to punch in your passcode every time Face ID fails since you can use your fingerprint. But for those of us without Home buttons, unlocking our iPhones just got a lot easier — even if we're wearing a mask.

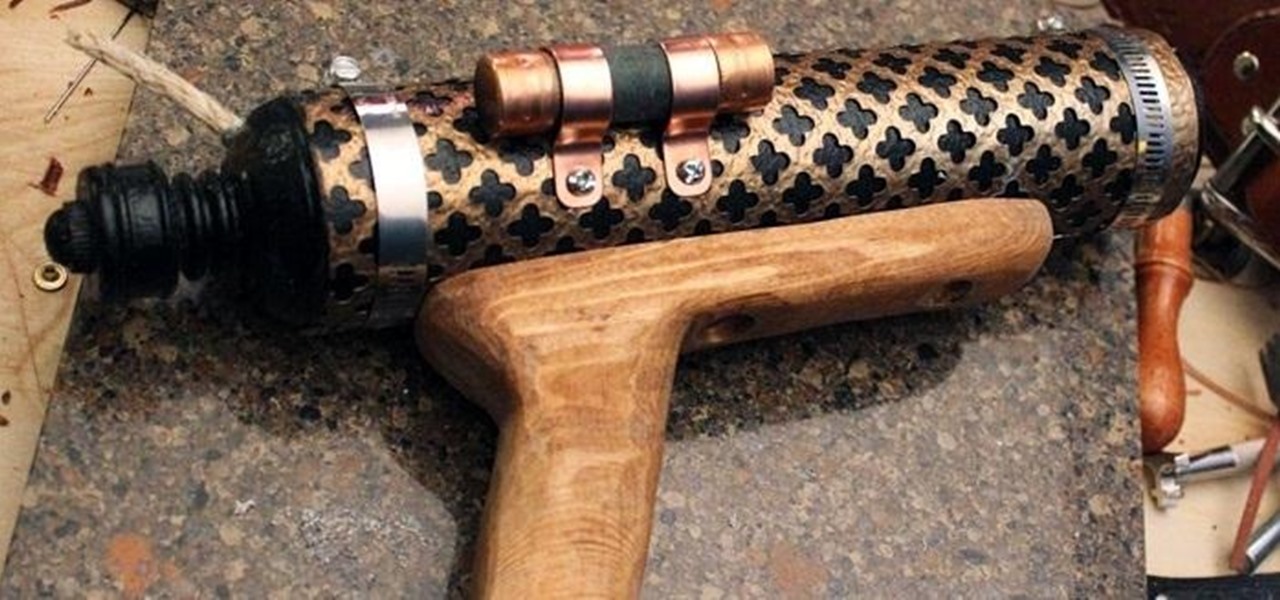
One of the hardest, most intimidating parts of making your own Steampunk guns from scratch is the wooden stock of the gun. To be fair, it's probably the hardest part. It requires the most artistry, and is the easiest to mess up.

Say whatever you want, but Steampunk is primarily a maker culture. Consider that Steampunk has existed since the 1960s and yet more or less languished in obscurity until approximately 2005, which is when it made the leap to costuming. That costuming was what provided the leap to the tangible, despite the fact that Steampunk art had also existed for years.

Cutting plywood on the table saw can be difficult because you have to move the unwieldy 4x8 sheet across the blade. A better solution is to move a circular saw over the sheet. For rips, the saw table rides next to a guide strip and for cross cuts, a fence squares the jig to the work. Watch and learn these alternatives to cutting plywood on a table saw. Cut plywood without a table saw.

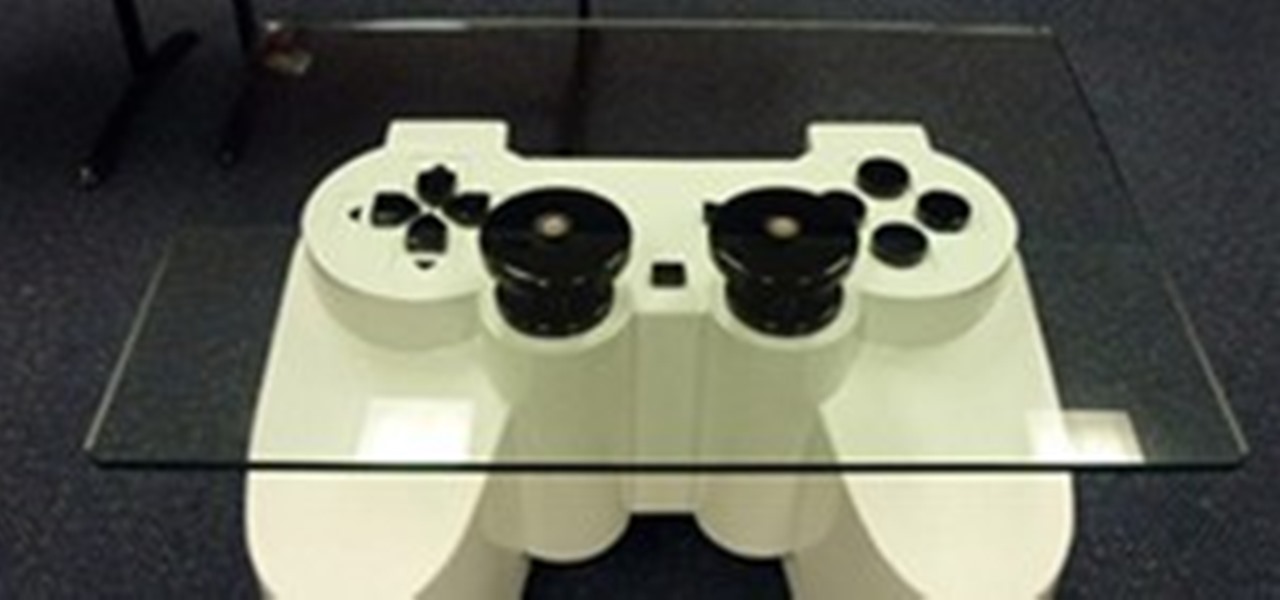
he Playstation controller coffee table is an Industrial Technology project made by Mark M.

Watch this video from This Old House to learn how to attach a deck to your house. Steps:

This video will show you how to build a full-featured router table that is portable, lightweight and easy to store. All it takes to put a compact, versatile router table in your shop is a half sheet of plywood, a small supply of solid-wood lumber, a handful of hardware, a router mounting plate, and one of the newly designed routers. Build a stow-and-go router table.

Apartment Therapy posts this neat, space-saving idea for bookshelf rafters. No explicit HowTo, but pretty self-evident.


