Writer,Directer And Producer Johnathan Williamson shows you how to model eyes for a character in Blender 3D in this software tutorial. Whether you are creating a video game character or a model of a human for something else, you will learn everything you need to model eyes for characters in Blender 3D.
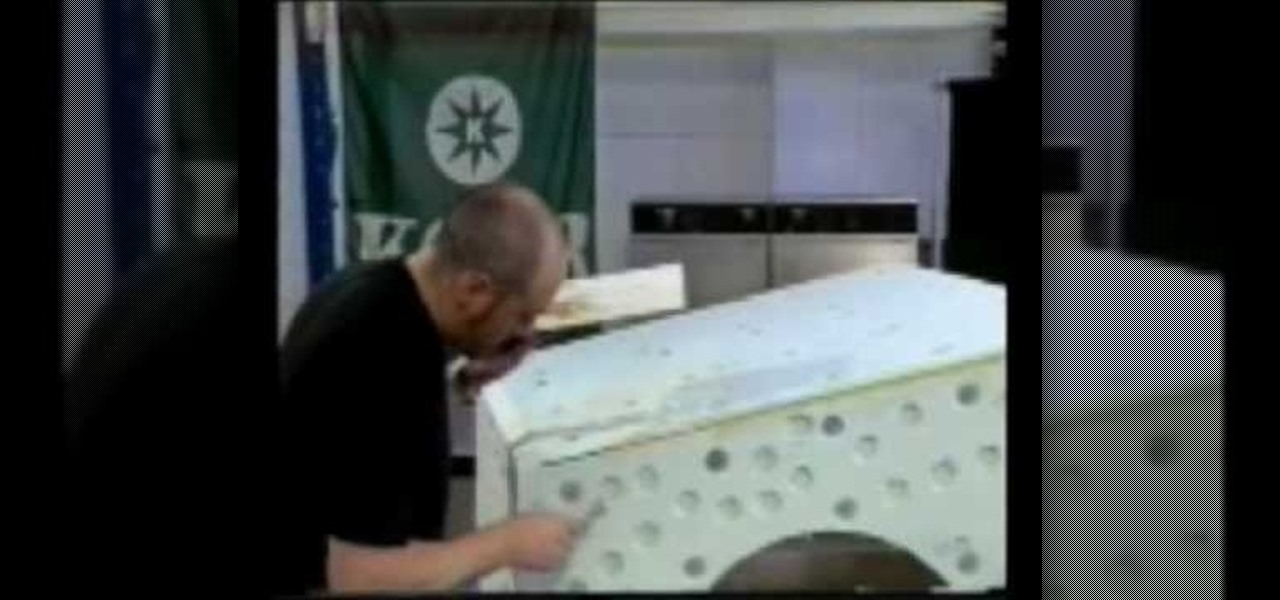
Getting bored, or need some sort of car that costs practically nothing? This three-part video tutorial will show you how to create a life-sized foam and clay automobile model. You'll learn how to build an automotive clay model. Why would you want to build an automotive clay model? Well, for the fun of it, or because you're an automotive designers or modeler and you need to design and build a prototype of a new vehicle.

Learn how to separate your model based on texture and material in the pre-modeling stages in Zbrush 3.1. This is important for people who hard model in another software and texture in Zbrush.
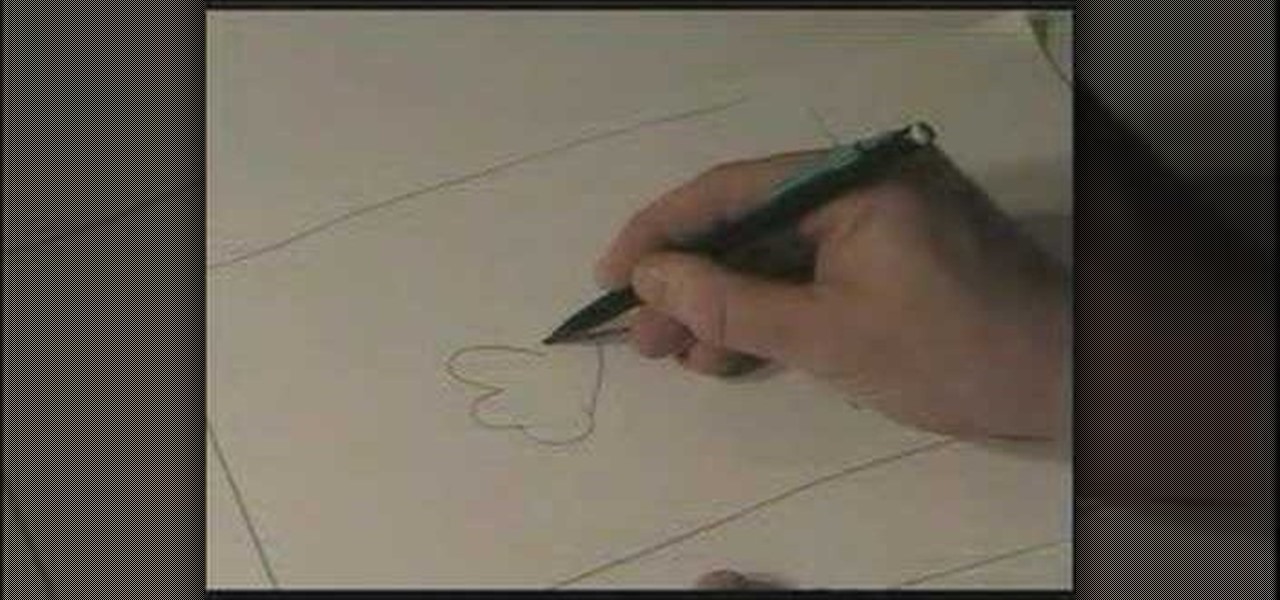
In this series you will first learn how to break down a character or idea when drawing into shapes. Then learn how to draw your character in a front view, clean it up, then draw an accurate side view. These front and side views are then used on image planes in a 3D modeling software to actually create a 3D character.
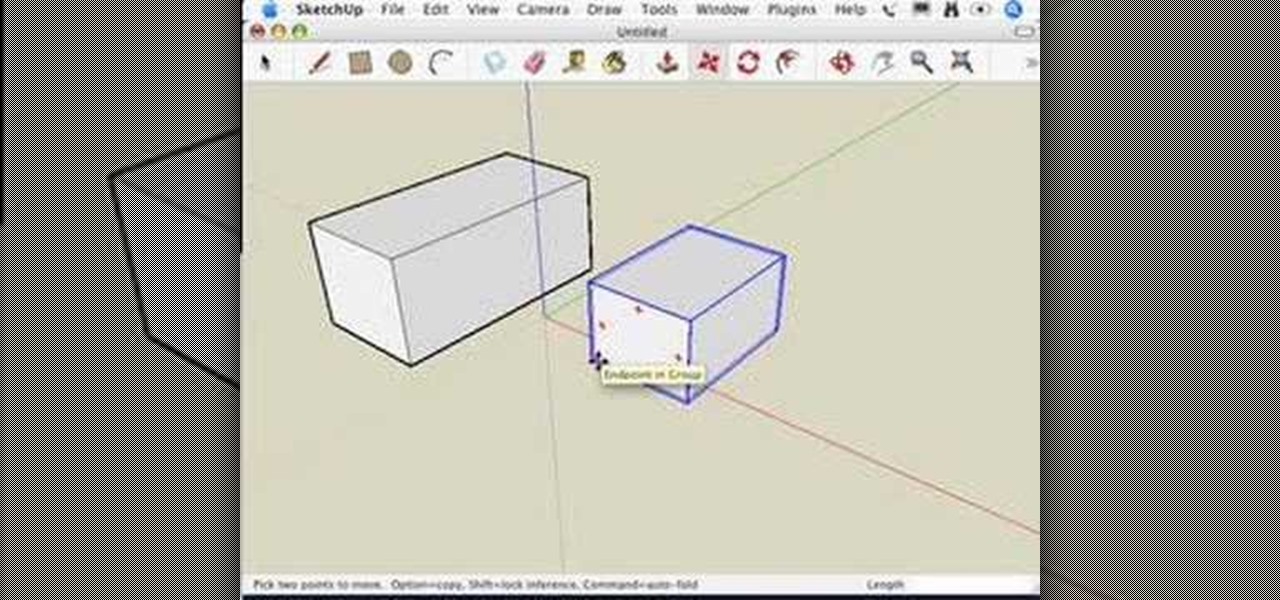
This video series explains how to keep your SketchUp model organized. The videos correspond to Chapter 5 of the book Google SketchUp for Dummies. PART 1 explains how to group things together. PART 2 shows you how to select and replace instances. PART 3 covers making new components (like groups but changing one changes them all). PART 4 shows you how to make your own doors and windows. The last part, PART 5, shows you how to put it all together.

This video series shows you everything you need to know about completing a model from photographs in SketchUp. It follows Chapter 7 of the book Google SketchUp for Dummies. PART 1 shows you how to add photos to faces. PART 2 explains how to move, scale, rotate, shear and distort your texture. PART 3 shows you how to stretch a photo over a face (of your object that is)! PART 4 shows you how to stretch or scale the model until the photo texture looks right. PART 5 covers how to map photos to fa...

Using a UVW unwrap modifier, this tutorial shows you a few Autodesk technqiues to unwrap a 3-D model and then apply your own texture to it. It also outlines a couple pitfalls animators sometimes experience, and how to avoid them in your own work.
The nose is the most prominent feature of the face, and cannot be obscured by sunglasses or hats like the eyes and hair. This two-part video will show you how to add detail to the nose of a 3D model of a human head using 3D Studio Max. You have to have a face already for this to really matter, but if you are up to the task of modeling a basic face in 3D, this video will help you make it look a lot better.
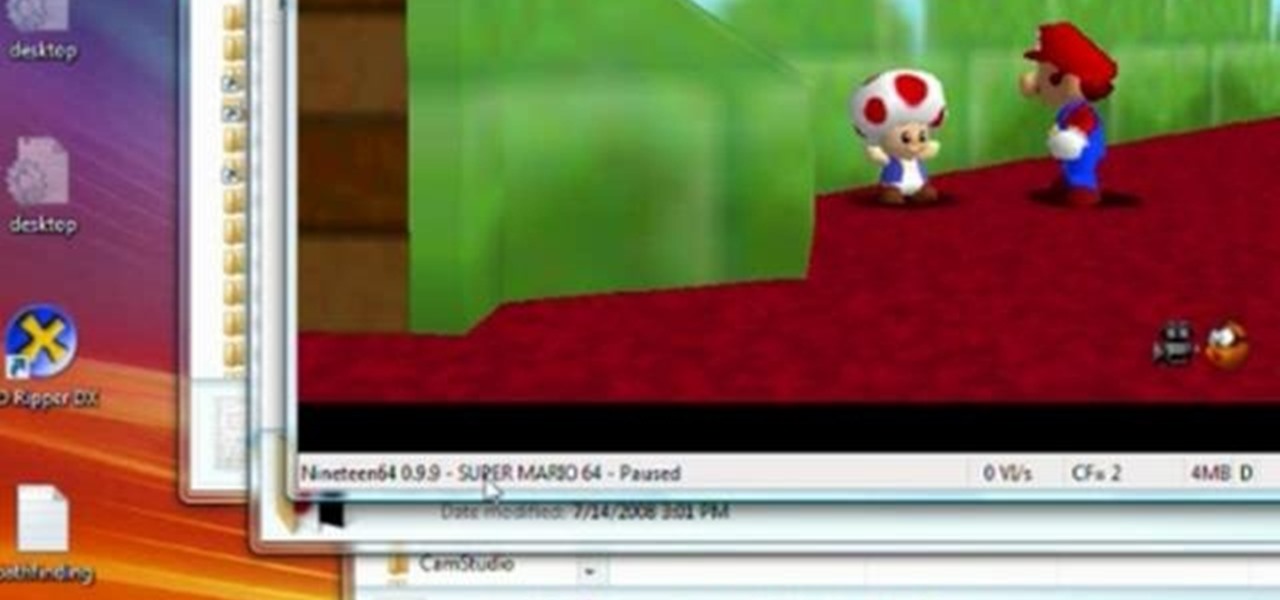
With paper crafting you can build intricate paper models of your favorite characters, from Jack Sparrow to Nintendo's own Toad. This video tutorial shows you how to rip 3-D characters from your favorite Nintendo 64 games for the purposes of paper crafting. It will take some editing to be able to get your favorite videogame characters into a workable papercraft format.
In this tutorial, you will learn how to model this cool looking diving knife. The model can be set apart into two pieces, blade and handle. Both having some nice features.
You don't have to have an authentic 2-dimensional CAD drawing to model a house or building in SketchUp, all you really need is a floor plan or good image. If you don't have a CAD drawing to use to create your SketchUp model, learn how you can take an image of any floor plan and quickly turn it into a house in SketchUp 6.
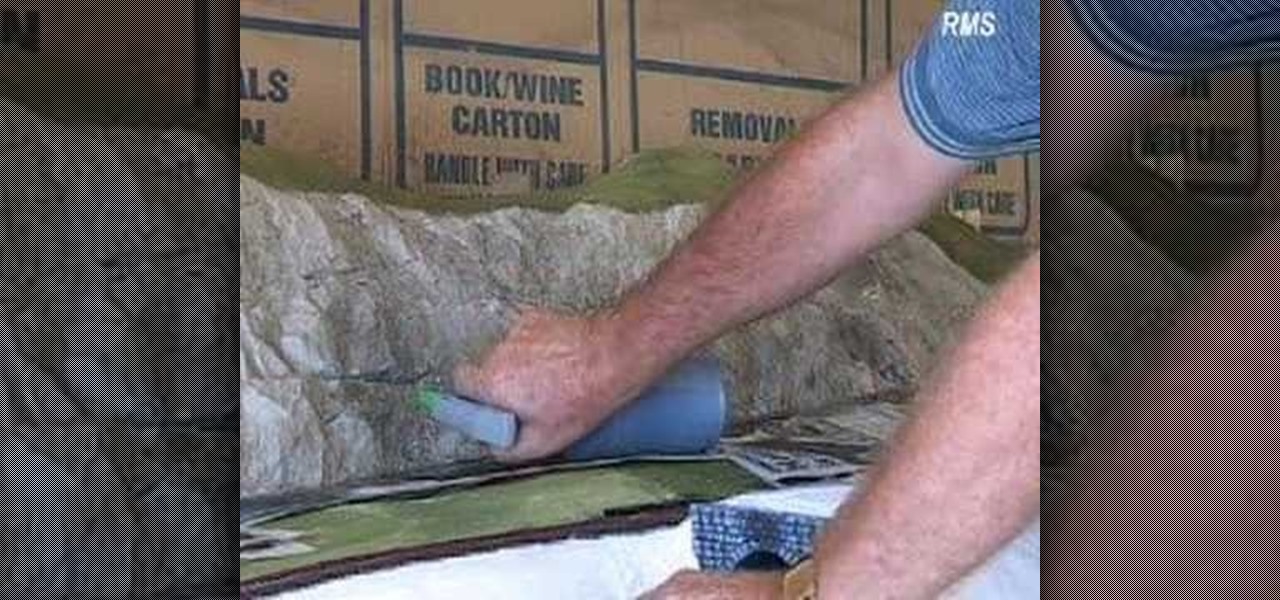
This video demonstrates how to spray paint realistic rock faces on hills and mountains using acrylic paint washes. The process is easy and enhances model train track backgrounds.
Take a plaster board and convert it into a fake brick wall to use in your modeling projects.
The video deals with a clear step by step process of making a plastic airplane. He asked us to select the model of the airplane we are going to make first. He has selected the North American F86A SABRE model in this demo.
When developing for the HoloLens, keeping a constant 60 fps (frames per second) while making things look beautiful is a challenge. Balancing the processing power to display complex models and keeping the frame rate where it needs is just a straight up painful process, but a solution seems to be on the horizon.
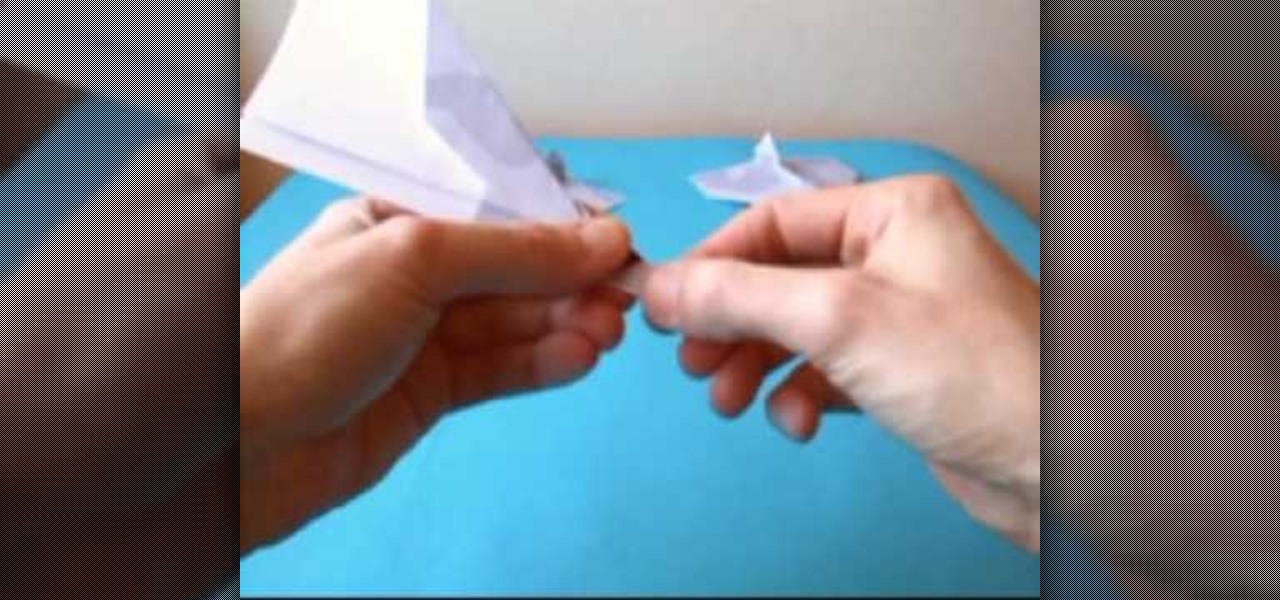
Paper plane designed by Joost Langeveld. This one is not very difficult to fold and flies like a rocket. Just a little glue needed.
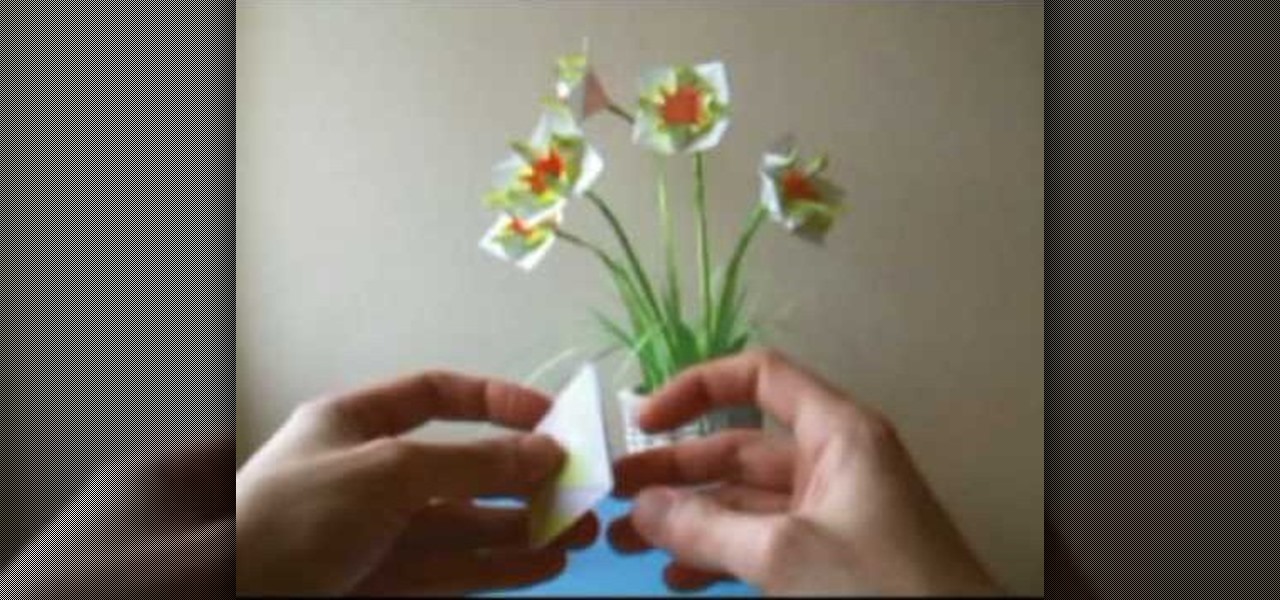
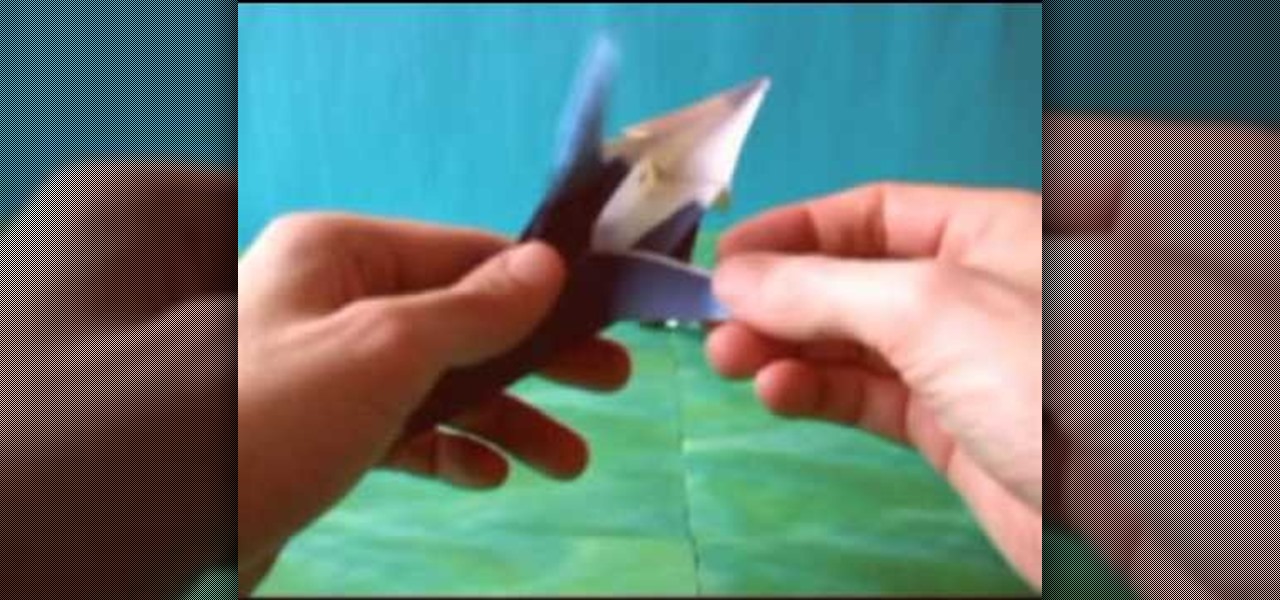
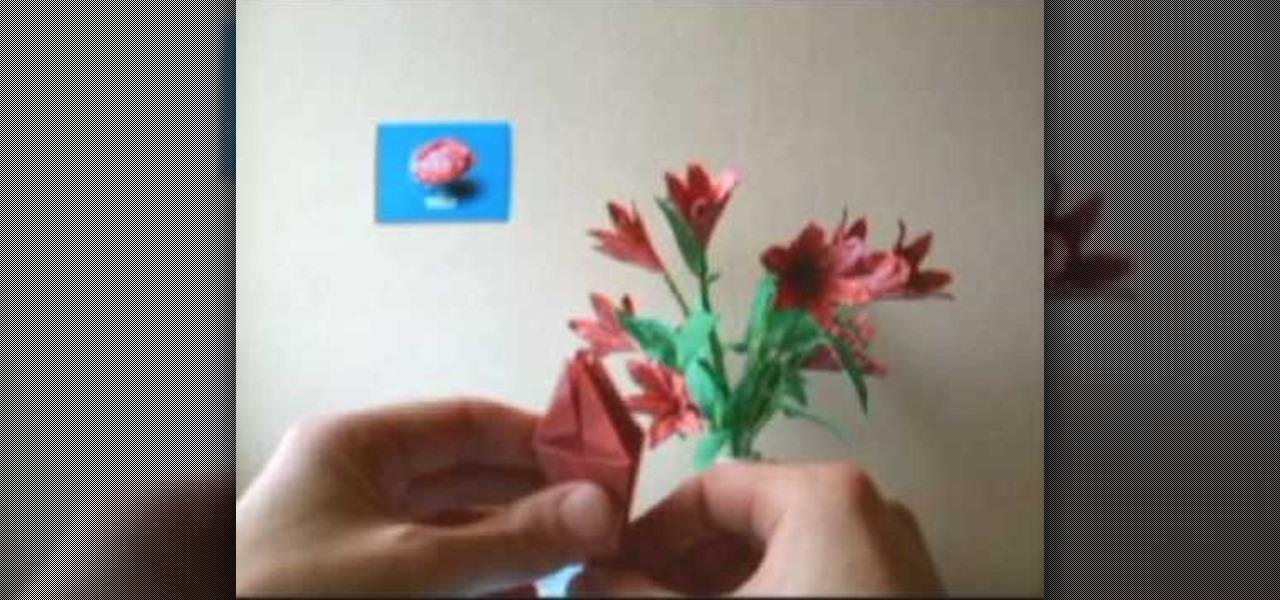
All coloured patterns are drawn by hand for making these origami flowers. The flower looks like a daffodill but it's slightly different. Design: Joost Langeveld
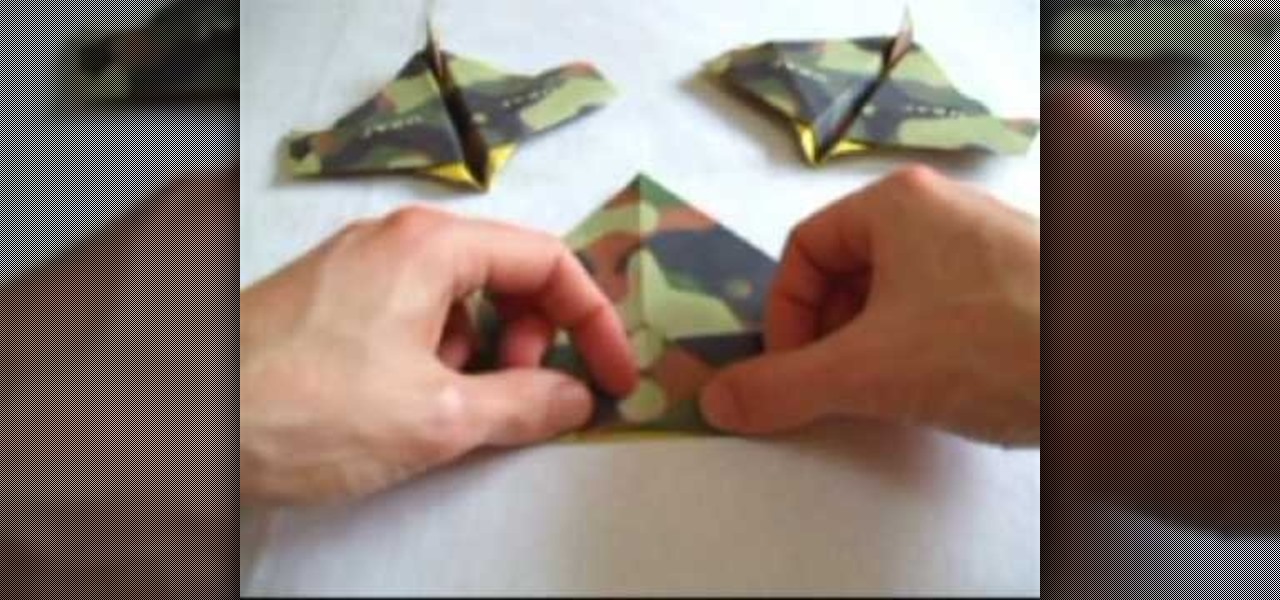
Origami plane designed by Joost Langeveld. This bomberjet is pretty easy to fold. This is an origami tutorial brought to you by Joost Langeveld origami, a dutch origami artist. Joost offers some of the prettiest, most creative models. Joost has been doing origami for seven years and about a year and a half a go, started designing models.
Funny origami toucan designed by Joost Langeveld. This is an origami tutorial brought to you by Joost Langeveld origami, a dutch origami artist. Joost offers some of the prettiest, most creative models. Joost has been doing origami for seven years and about a year and a half a go, started designing models.
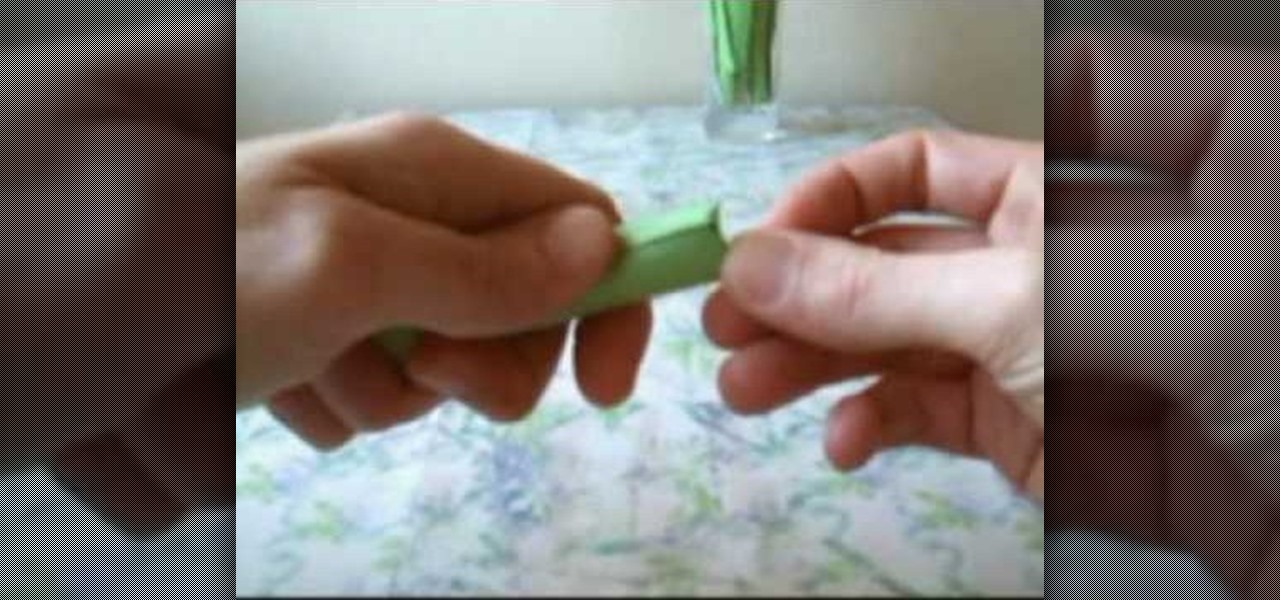
Origami amaryllis folded and designed by Joost Langeveld. The stem for this flower is made of two large papers. The flowers themselves are not very difficult to fold.
Folding this tiger lily is almost the same as folding a normal origami lily, but for this tiger lily a hexagon shaped paper is used.
This tutorial shows you how to take a model figure created using the Poser program and export them for use in Autodesk 3DS Max. While you can use Poser Fusion, it can be somewhat unstable on a Mac, and this tutorial shows you a few workarounds and alternate methods.
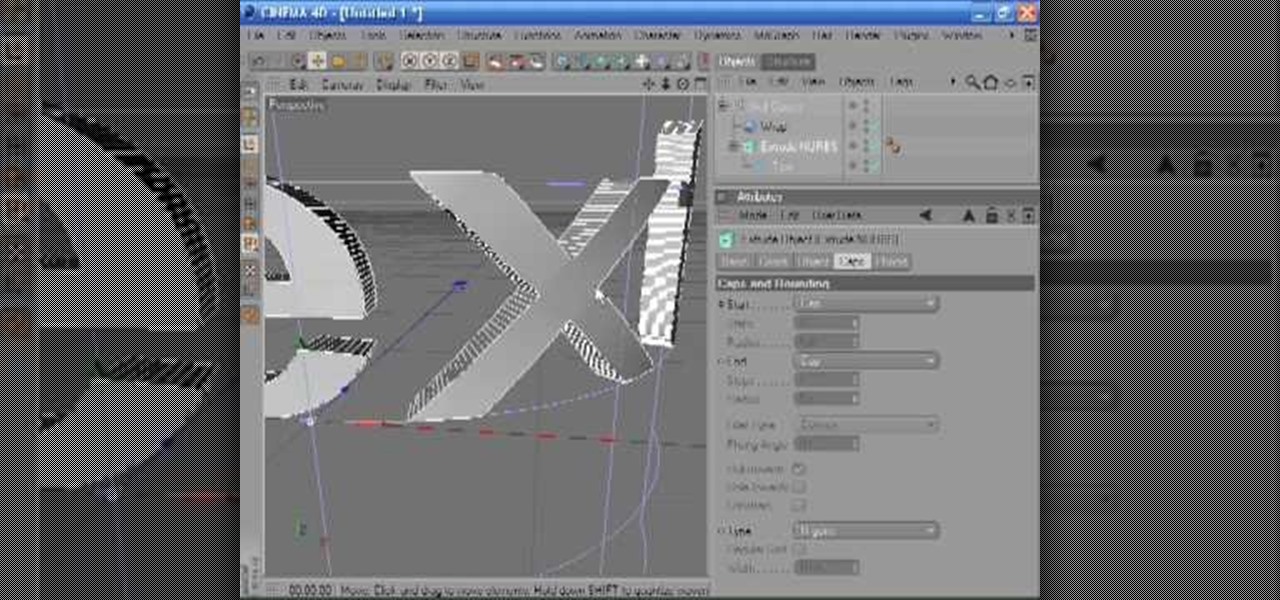
Occasionally you can run into problems when you try to wrap, bend or twist 3D text. This is usually because the faces or sides of the text need more segments so that the text can be deformed cleanly. This tutorial shows you the main controls for getting clean text every time. Whether you're new to MAXON's popular 3D modeling application or are just looking to get better acquainted with Cinema 4D and its various features and functions, you're sure to enjoy this free video software tutorial. Fo...
In this tutorial, you'll see how to create a dynamic cascading text animation with C4D. Whether you're new to MAXON's popular 3D modeling application or are just looking to get better acquainted with Cinema 4D and its various features and functions, you're sure to enjoy this free video software tutorial. For more information, including complete instructions, watch this 3D modeler's guide.
In this tutorial, you'll learn how to use Cinema 4D and Mograph to create spinning text with specular highlights. Whether you're new to MAXON's popular 3D modeling application or are just looking to get better acquainted with Cinema 4D and its various features and functions, you're sure to enjoy this free video software tutorial. For more information, including complete instructions, watch this 3D modeler's guide.
Need some help figuring out how to generate proxy objects in RealFlow? Never fear. This guide will show you how it's done. Whether you're new to RealFlow's popular fluids and body modeling software or are just looking to get better acquainted with the application its various features and functions, you're sure to enjoy this free video software tutorial. For more information, and to get started using this trick in your own RealFlow projects, watch this 3D modeler's guide.
In this tutorial, you will learn how to utilise UV maps for both root colour and hair length. This guide also offers a quick look at polygon selection tags and organising a scene with hair objects as well. Whether you're new to MAXON's popular 3D modeling application or are just looking to get better acquainted with Cinema 4D and its various features and functions, you're sure to enjoy this free video software tutorial. For more information, and to get started using this trick in your own Cin...
Almost every 3D image depicted on a digital screen is made from thousands of tiny polygons. Modeling with them is the most fundamental part of 3D modeling. This video will introduce you to the basics of 3D polygon modeling, helping you to create a 3D shape that is smooth and cool-looking, if not terribly similar to any real-world object.
See how to spin images using Blender. First, you'll see how to use the UV-Textured plane rig and physically rotate the mesh. Next, you'll see how to use Nodes, and then the Sequencer. This clip discusses Orthographic camera scaling, animation, and considerations about clipping. Whether you're new to the Blender Foundation's popular 3D modeling program or a seasoned graphic artist just interested in better acquainting yourself with the application, you're sure to be well served by this free vi...
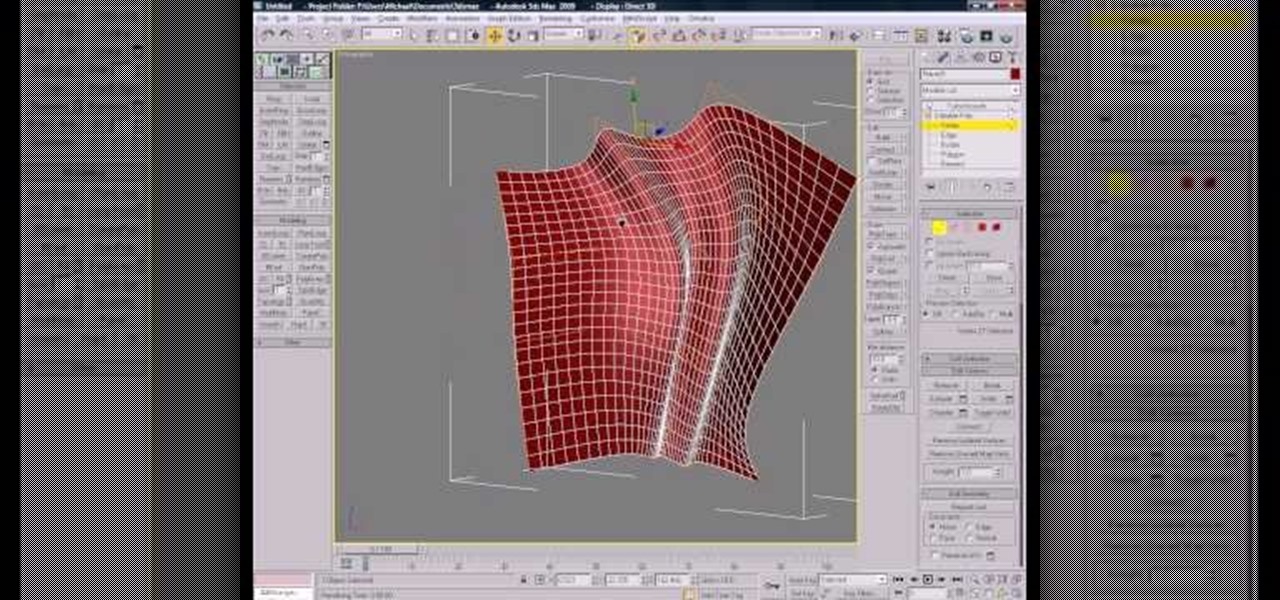
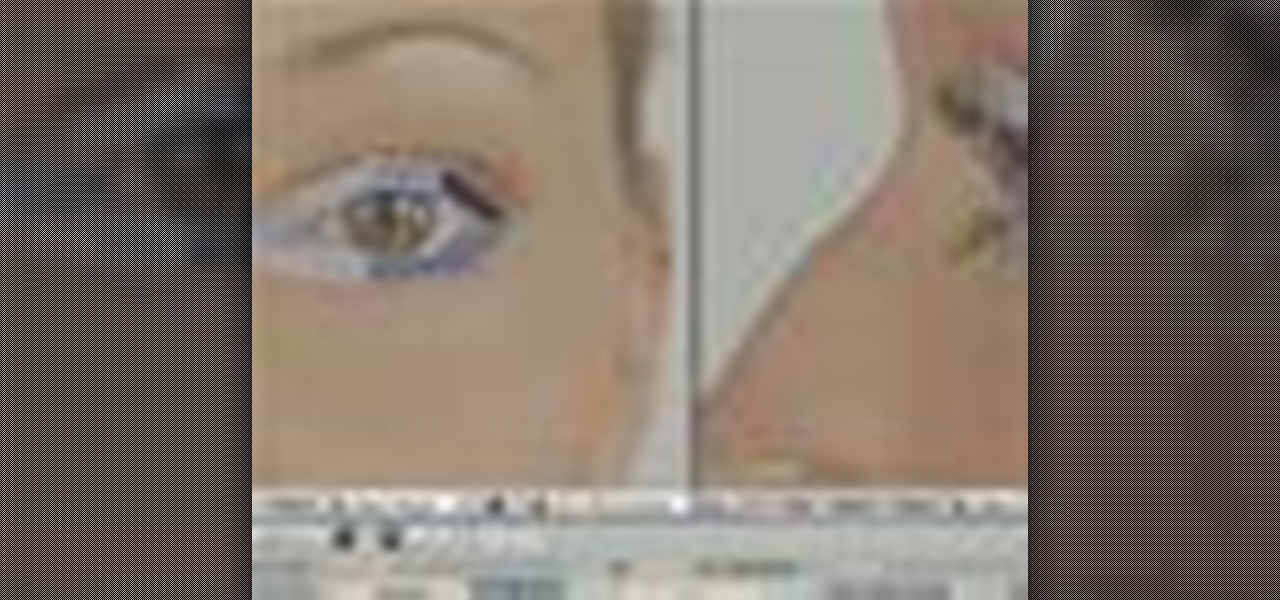
See how to do localized image distortion using Blender. The rig is a simple UV-textured plane filmed using an orthographic camera. You then subdivide the plane, add some curve guides, and use proportional editing to alter an image. The above before-after shot shows a nose job (rhinoplasty), teeth filing, raise cheekbones, enlarged eyes, and a lengthened face. Whether you're new to the Blender Foundation's popular 3D modeling program or a seasoned graphic artist just interested in better acqua...
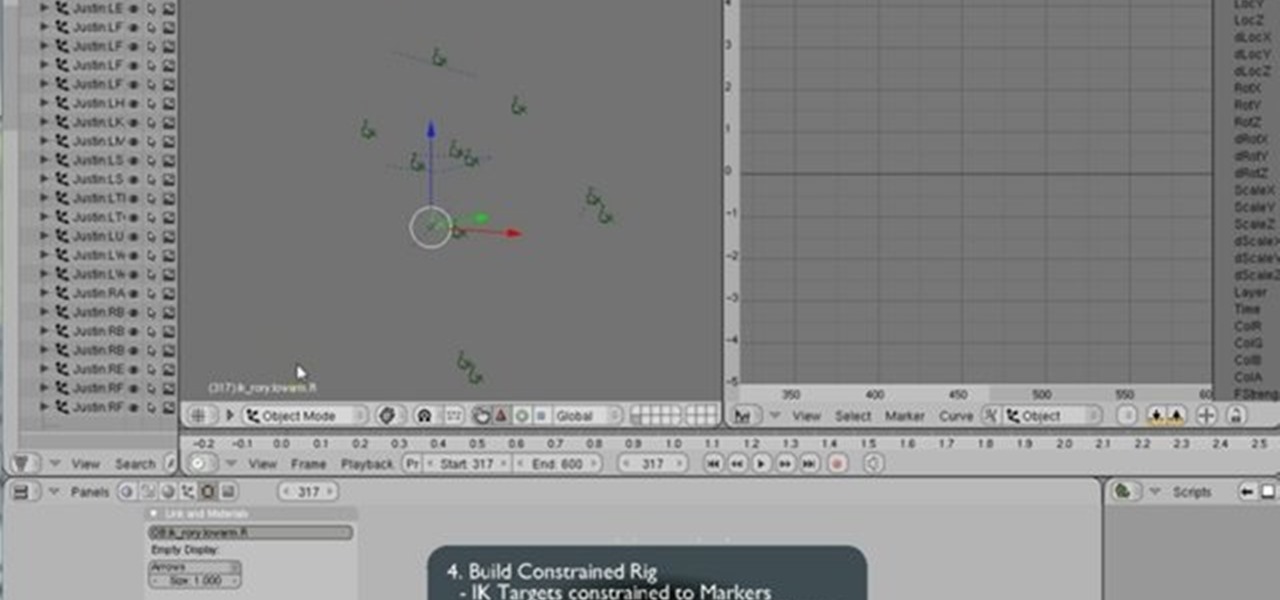
In Blender, you can build up a library of Actions, Poses, and IK Target motion based on real-world motion capture sessions. These session files are freely available and cover hundreds of everyday motion. Use these libraries to study and augment your hand-animation skills, or use directly to animate your character. Whether you're new to the Blender Foundation's popular 3D modeling program or a seasoned graphic artist just interested in better acquainting yourself with the application, you're s...
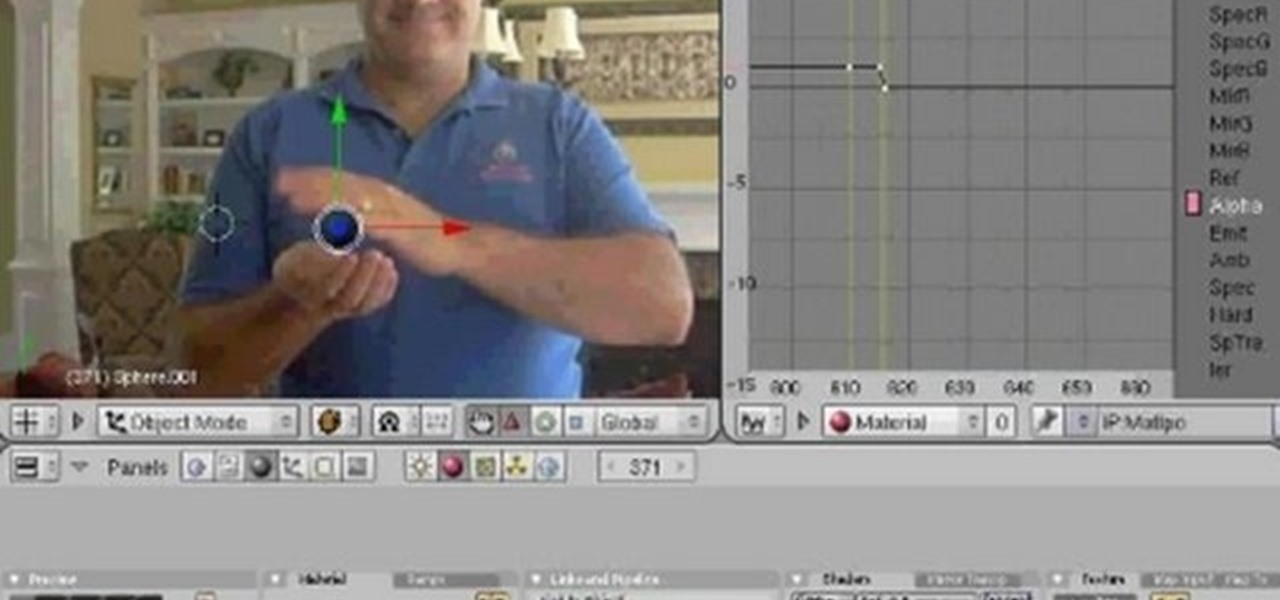
In this video, I match move a 3D virtual object on top of a movie which is set as the background image. This tutorial will show you how to integrate your CG objects into a real-world video. Whether you're new to the Blender Foundation's popular 3D modeling program or a seasoned graphic artist just interested in better acquainting yourself with the application, you're sure to be well served by this free video tutorial. For more information, including detailed instructions, take a look!
Blender is really cool in that you can mix your modes of editing between projections of that video in 3D space, 2D-based compositing, and 2D-based mixing in the VSE, all at the same time. An über-cool idea is to use your video to texture something - a plane, or a sphere commonly, and then film that texture using the camera (orthographic or lens-based) to get all sort of very cool distortion effects. Whether you're new to the Blender Foundation's popular 3D modeling program or a seasoned graph...
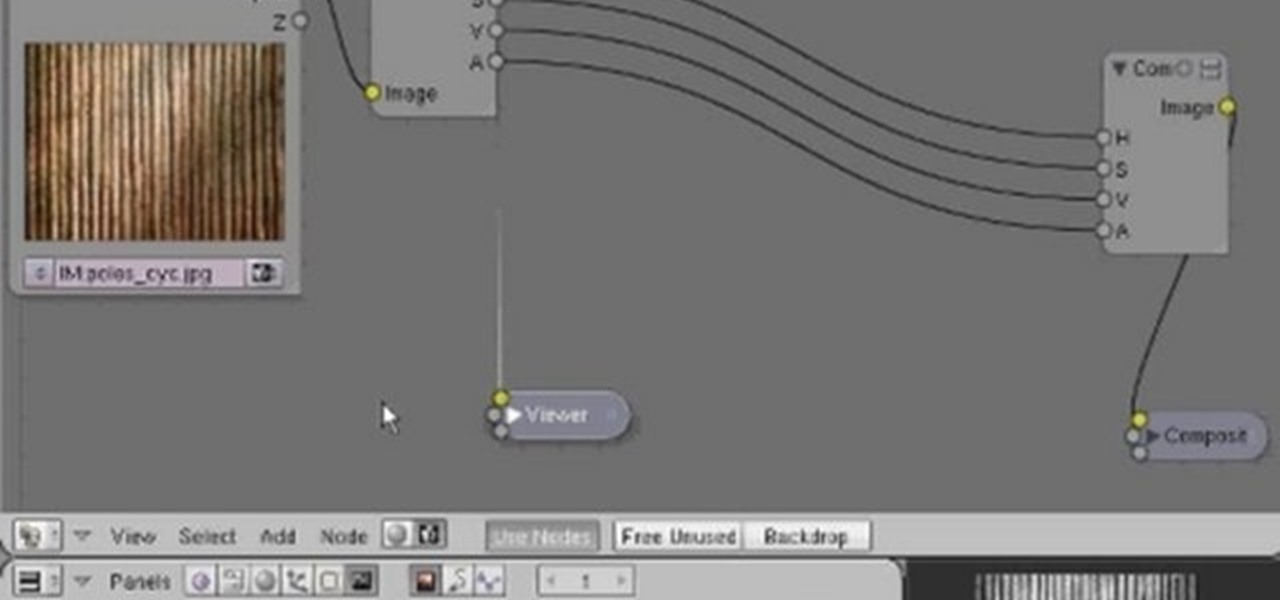
In this clip, you'll see how to construct a pass filter, commonly called a high-gain or band-pass filter. To do this, you'll use the HSV channels to identify what to do, the RGB curve to make an inversion mask, or negative, so that the image is added to itself, thus evening out the contrast and making a very flat image. This image can then be tiled and used as a seamless texture. Whether you're new to the Blender Foundation's popular 3D modeling program or a seasoned graphic artist just inter...
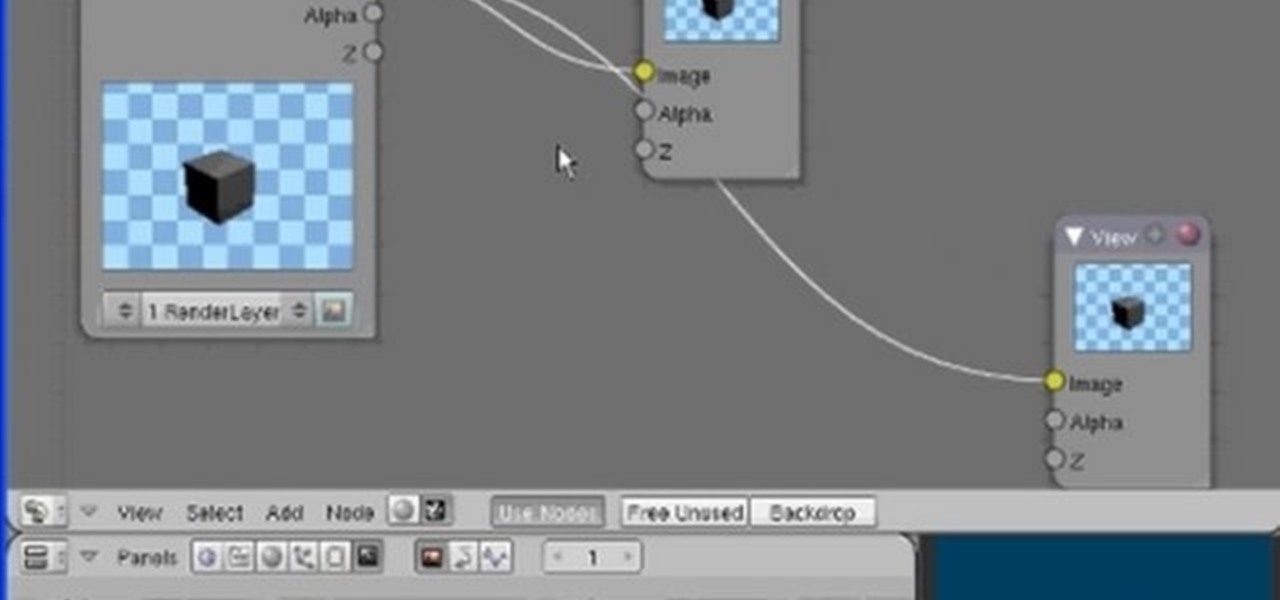
The Node Window is a workspace or desktop for compositing. This clip covers all the mouse and hot keys you use for navigating around and in that workspace and discusses how to add/delete/move nodes, pan/zoom/autozoom the window.
Learn how to create a motion blur effect with Mental Ray in 3ds Max 2010 or 2011. See how to control the camera's shutter speed, the quality of motion blur, and how to decide if a single mesh has motion blur or the entire scene. You'll also take a look at fast motion blur option using Scanline Fast Rasterizer option. Whether you're new to Autodesk's popular modeling software or a seasoned 3D artist just looking to better acquaint yourself with the application, you're sure to be well served by...
See how to use the contour shading feature in Mental Ray to create basic inking or schematic rendering and how you can mix it with standard shaders, ambient occlusion or ink&paint shader to achieve better results. Whether you're new to Autodesk's popular modeling software or a seasoned 3D artist just looking to better acquaint yourself with the application, you're sure to be well served by this video tutorial. For more information, and to get started using Mental Ray countour shading in your ...
This tips tutorial takes a look on how you can use Reactor's dynamic features to simulate a scene with rigid and soft body meshes. See how to configure it and how to use the constraint to animate it. Whether you're new to Autodesk's popular modeling software or a seasoned 3D artist just looking to better acquaint yourself with the application, you're sure to be well served by this video tutorial. For more information, watch this Max user's guide.
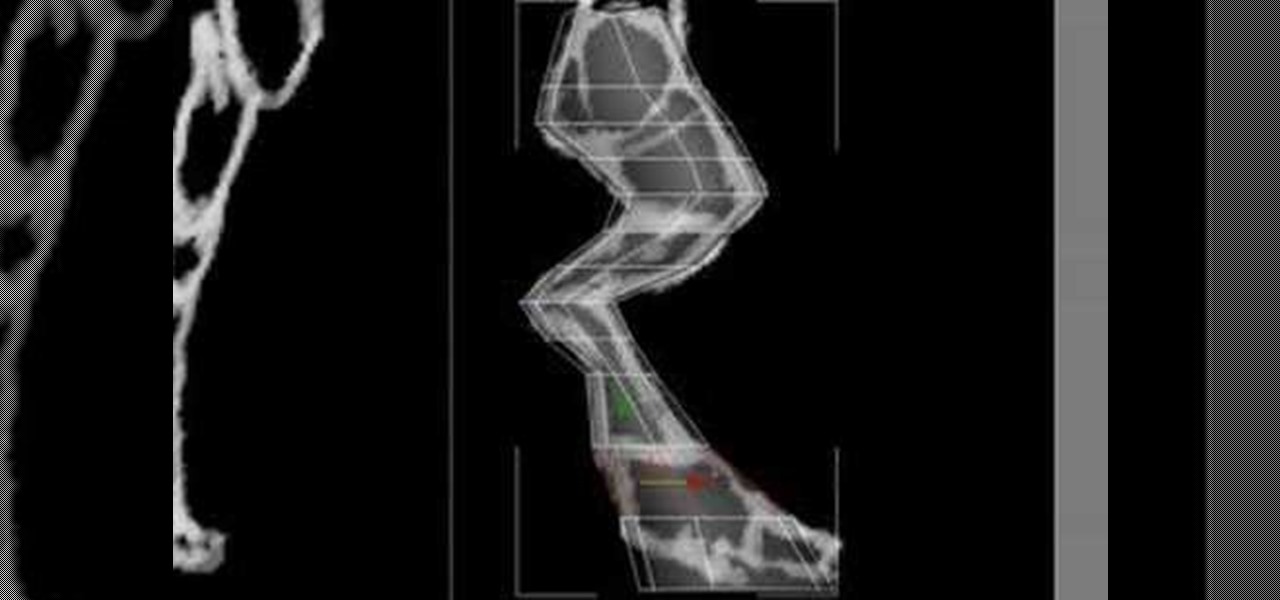
Modeling a 3D image successfully requires proper workflow, or moving from one task to the next in the proper order. This video is a demonstration of the workflow process for modeling the leg of a Protoss, the alien race of Starcraft fame. It does not include instructions, so newbies may have trouble following along, but for those looking for more advanced help in modeling one of these very cool-looking legs, watch on.
Designing 3D graphics is one of the most challenging and lucrative fields of computer design. This video for beginning 3D graphics artists features a tutorial on how to make materials and textures in Blender, one popular 3D modeling software suite. Making this pair of pants will have you well on your way to making more elaborate images.