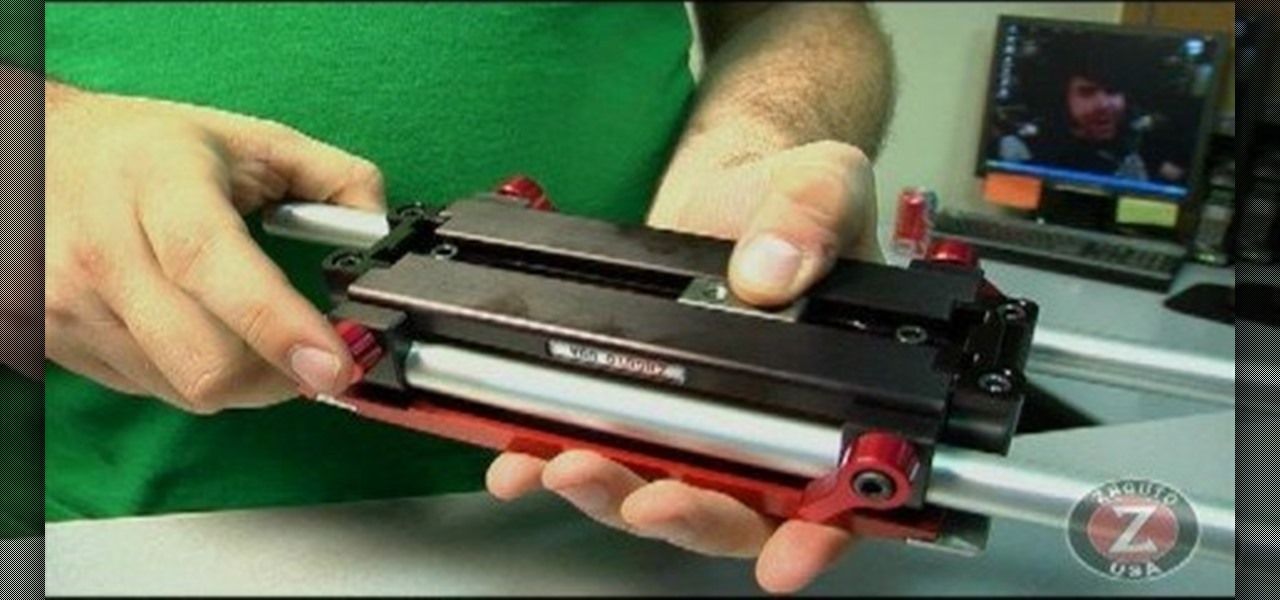
Zacuto Universal Baseplate V3, includes 12-inch rods and works with all cameras. Zacuto's Universal Baseplate allows mounting accessories off the front and the back of the rods. Our new version 3 Universal Baseplate is 22% lighter then Version 1 or 2. The baseplate measurements (excluding rods) are 7 x 4 x 1 ½

Vincentwiliamphilips teaches you how to install the ultimate vshmenu plug-in on a PlayStation Portable. This is an improved version of the vshmenu plug-in, with added features. You download the needed file, called Ultimate VSH Menu v2.00 for 5.00m33-6. Open the file and extract vshmenu.prx and the vsh text file to your desktop. Connect your PlayStation Portable to your computer. You will then see the root of your memory stick. Put the vshmenu.prx in your seplugins folder. If you don't have on...

This video demonstrates how to make penultimate units for origami.
The Central Processing Unit, or CPU, is the electronic brain of your computer. Learn how how to install a CPU in a desktop PC. To get started use a flat workbench or desk, and don't forget to ground yourself.
This is it. The last one. The last mission in Battlefield Bad Company 2. Airborne. This is where you and your unit finally find the scalar weapon. If you're scared of heights though, this might be the most terrifying mission of all, with a freefall plummet down to the Earth's surface. Yo have to shoot and kill Kirilenko when you're falling, too, so don't panic. Watch this video walkthrough to learn how to complete the Airborne mission in Bad Company 2 on the PS3.
This is the third mission in Battlefield Bad Company 2 called the Heart of Darkness, where you need to follow your unit through the ruined village. But first you have to survive the helicopter ride with the hippy pilot. You need to destroy the M-COM stations to succeed in this mission. Watch this video walkthrough to learn how to complete the Heart of Darkness mission in Bad Company 2 on the PS3.

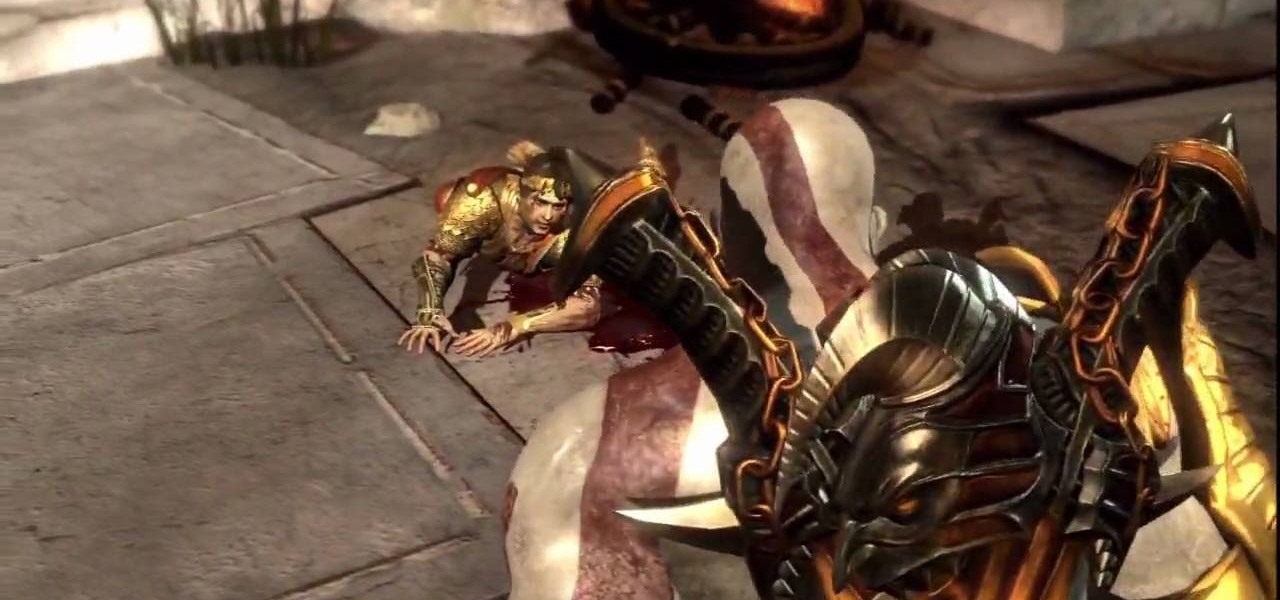
In the City of Olympia, you'll find Helios. This is one hard battle Kratos must endure, and your want to get the Head of Helios. At first, Helios will be protected by a bunch of men with shields who you can't immediately attack. Once you win, you'll need to lay your hand over Helios to block out the sunlight. Watch the walkthrough for Helios's Head in God of War III on PS3.

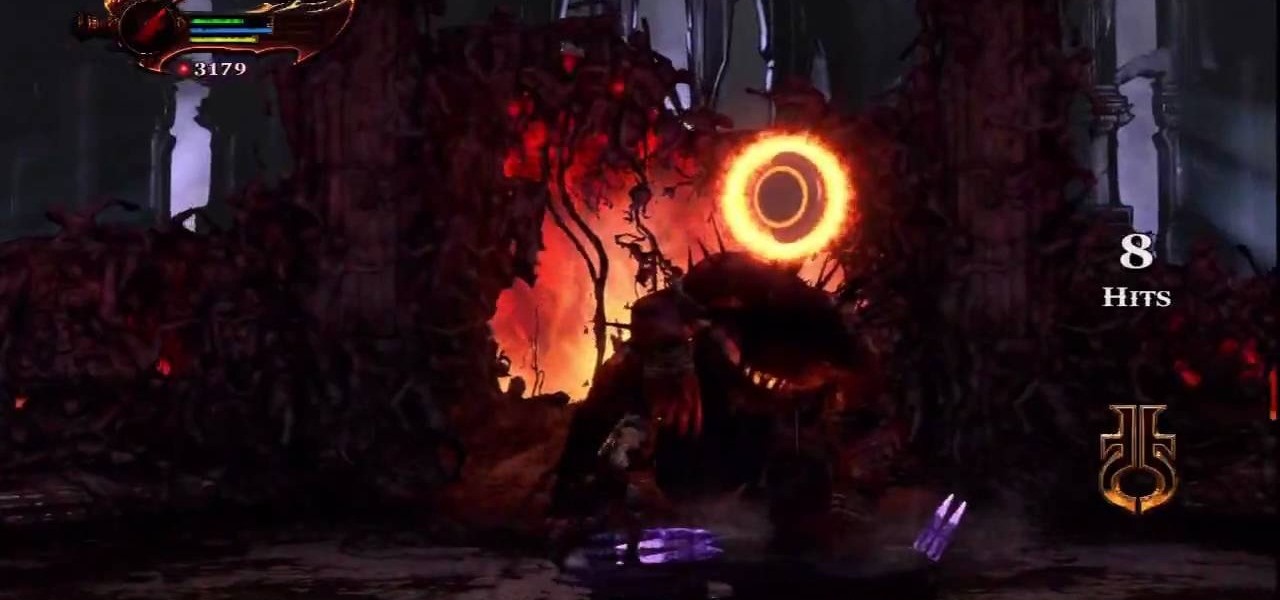
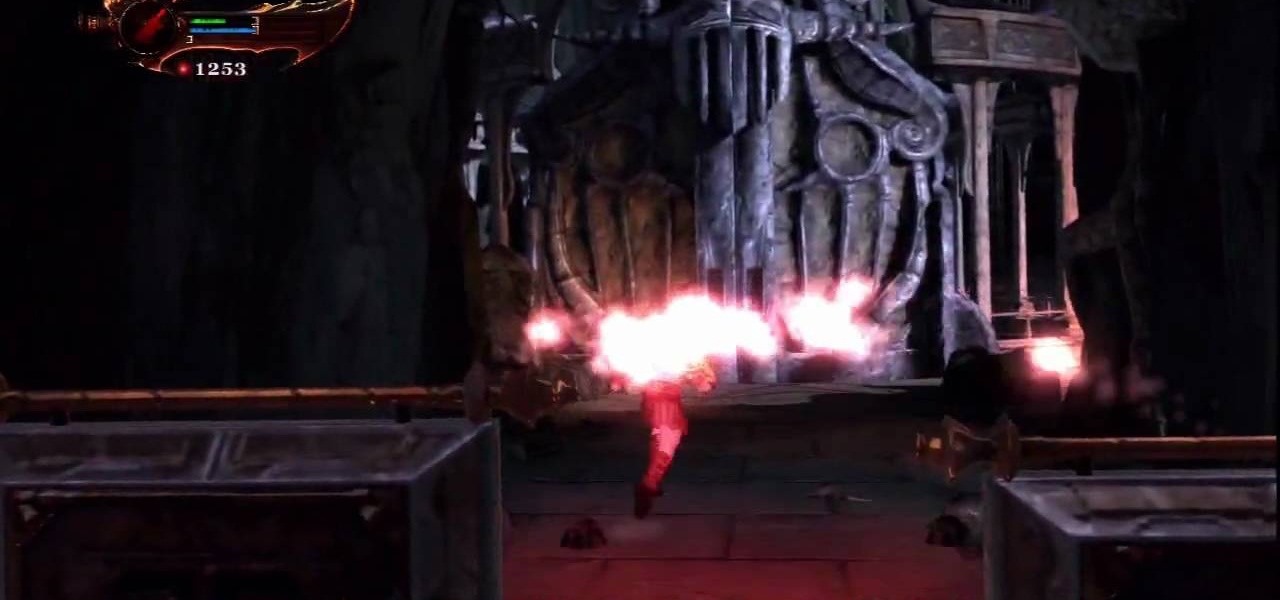
Watch and learn how Kratos can survive opening the Hyperion Gate. There's one hell of a battle to get past first, so make sure you have enough energy for the fight. Watch the walkthrough for the Hyperion Gate in God of War III on PS3.

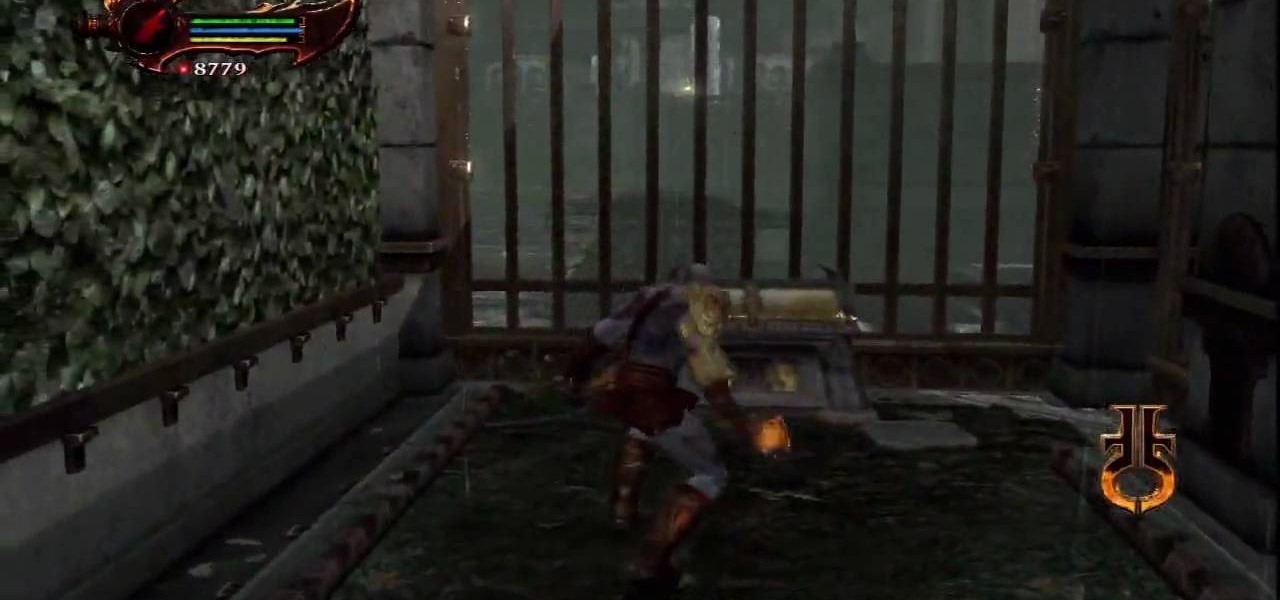
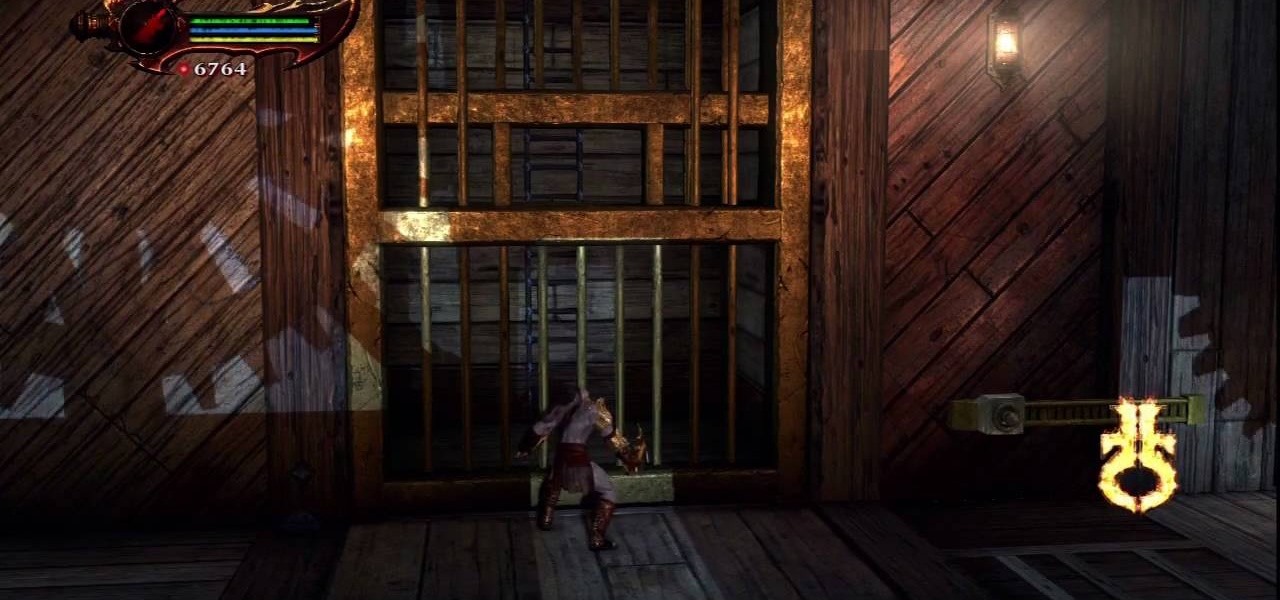
See how to get past the Gorgon Elevator in the Caves of the Cavern. You will need to activate this to go down into the lower levels.. Watch the walkthrough for the Gorgon Elevator in God of War III on PS3.

Find out the secret to solving the Muses Puzzle. If you're having trouble with the solution, this video guide will show Kratos step-by-step what to do to win. Watch the walkthrough for the Muses Puzzle in God of War III on PS3.

Find out how Kratos can get Hera's Chalice in this God of War 3 video guide. This chalice can drain health meters. This all takes place in the Olympic Gardens and the Stone of Hyperion. Watch the walkthrough for Hera's Garden in God of War III on PS3.

Can you solve the portal puzzle in this mission of God of War 3? Ready Kratos Ballista for this, because the ballista is the main weapon for which you will solve this dilemma. Watch the walkthrough for the Portal Puzzle in God of War III on PS3.

Watch as the Nemesis Whip is being constructed by Hephaestus, but be careful, as soon as he's done, he's going to try to kill Kratos. Can you survive the Whip?. Watch the walkthrough for the Nemesis Whip in God of War III on PS3.

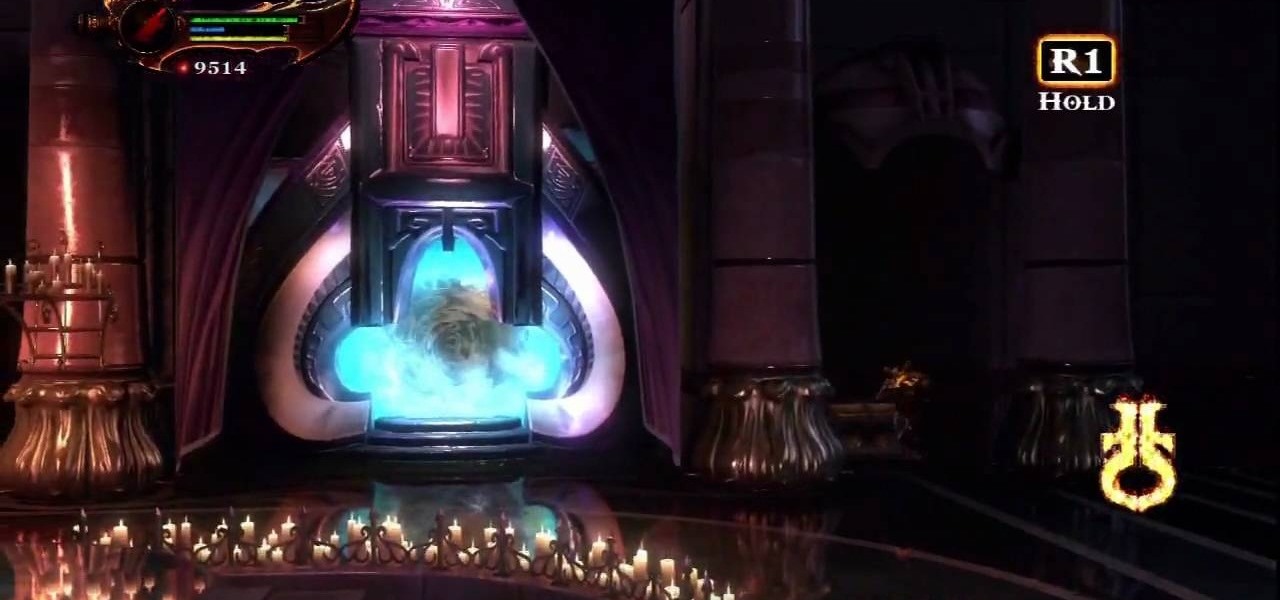
Aphrodite — the goddess of beauty, fertility and sexual love, and once you find her in Aphrodite's Chamber, you'll know exactly why. Before speaking with Aphrodite, grab the Minotaur Horn out of the chest, then start the minigame with Aphrodite. Watch the walkthrough for the Aphrodite's Chamber in God of War III on PS3.

You meet with Hephaestus yet again, and this time, Hephaestus has quite the story to tell Kratos, and ask him of a favor. Will Kratos do what Hephaestus asks? Watch the walkthrough for the Return to Hephaestus in God of War III on PS3.

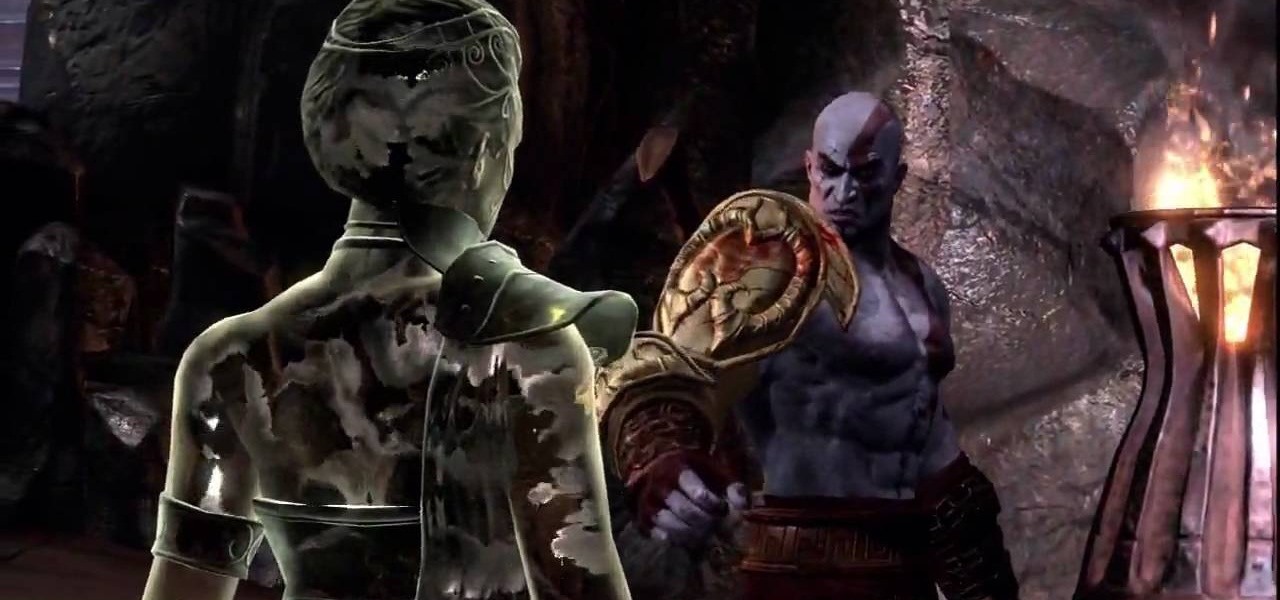
Inside Poseidon's Chamber (Chapter 6: Chambers, Gardens, and the Forge), Kratos must find the Poseidon Princess. She can be very helpful to you and your journey. Watch the walkthrough for the Poseidon Princess in God of War III on PS3.

Eventually, you and Kratos will make it to the Path of Eos in the City of Olympia where cave fighting will be met. You'll be entangled with harpies, reapers and other enemies. Watch the walkthrough for the Path of Eos in God of War III on PS3.

Here you first speak with Hephaestus, where you express to him your plans. If Kratos can find his way out of the underworld, he can surely find his way to the Flam of Olympus. Hephaestus points Kratos in the direction of Tartarus. Watch the walkthrough for the firriest encounter with Hephaestus in God of War III on PS3.

After Kratos has met Hermes at the Flame of Olympus, you must give chase to Hermes. This is no ordinary chase, so be prepared to jump ledges, climb ladders, and fly fast. Watch the walkthrough for Chasing Hermes in God of War III on PS3.

Kratos finally made it to the Caverns. In these caverns, your Bow of Apollo is your best friend (weapon). There's lots of minotaurs and archers to defeat, and once you demolish them, you have to fight a Cerberus. Watch the walkthrough for the Caverns in God of War III on PS3.

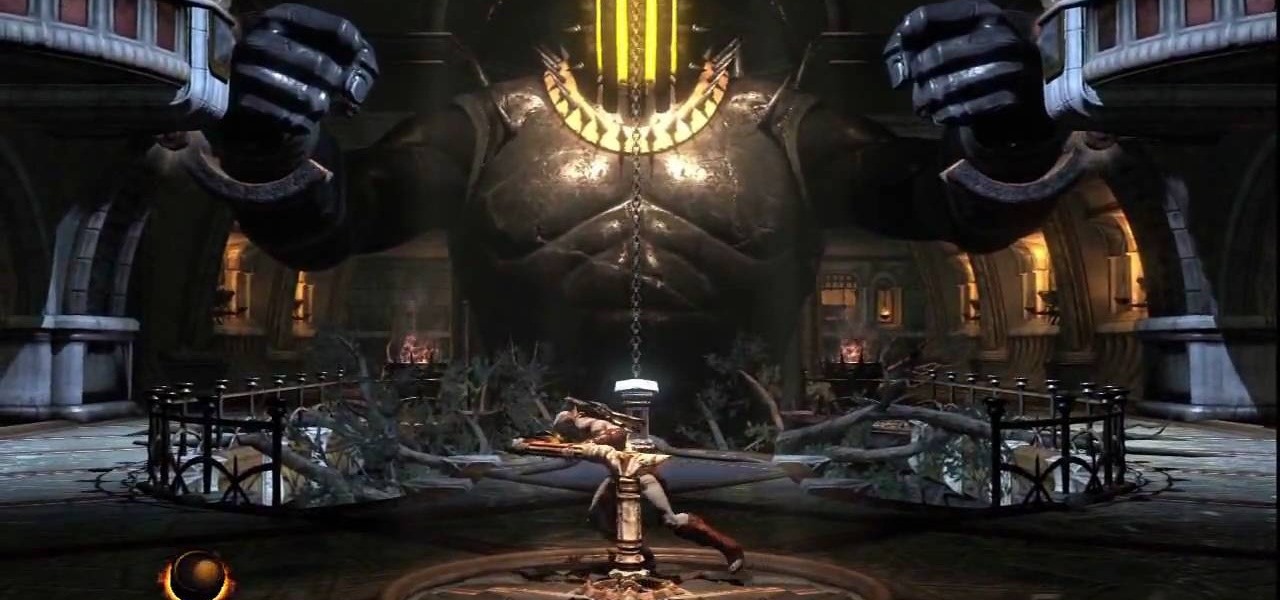
During Chapter 4 (The Caverns) of God of War 3, Kratos will make his way to the Chain of Balance. This is a trick part for Kratos, so don't lose your "balance" and when complete, you'll fly up into the Caverns. Watch the walkthrough for the Chain of Balance in God of War III on PS3.

In Chapter 4 of God of War 3, you'll encounter the Flame of Olympus. Here, you need to reveal pictures on the walls with the Head of Helios. Then approach the Flame, where Hermes will show up, for which you will need to give chase. Watch the walkthrough for the Flame of Olympus in God of War III on PS3.

The City of Olympia is the 3rd Chapter in this game, where you first leave Hades and enter into the City of Olympia, and where you'll follow the Path of Eos. If you need some help with the chapter, follow this guide. Watch the walkthrough for the City of Olympia in God of War III on PS3.

At the end of Chapter 1 - Mount Olympus, Kratos will have to battle Poseidon, his first real boss fight. Poseidon is the God of the Sea, which means there's a risk of drowning, so be careful. Follow this guide to winning the fight. Watch the walkthrough for the Poseidon Boss Fight in God of War III on PS3.

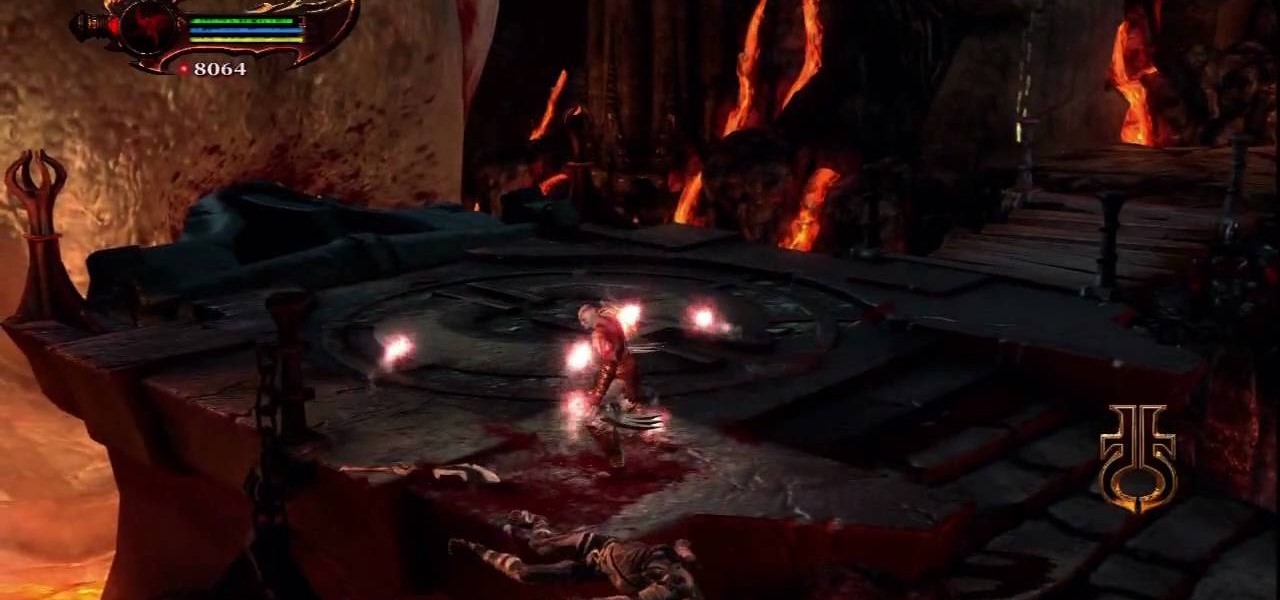
The Three Judges of the Underworld is a complicated mission for Kratos. There's a lot to accomplish, like battling unarmed souls, gorgons, and minotaurs. Among these battles, you'll need to acquire the Gorgon Eye and Minotaur Horn and Phoenix Feather. Watch the walkthrough for the Three Judges in God of War III on PS3.

See how Kratos makes his way through the Realm of Hades, which includes such levels as the River Styx, Peirithous, Judges of the Underworld, the Forge, Place of Hades and Hades himself. Watch the walkthrough for the Realm of Hades in God of War III on PS3.

Now that Kratos had made it past the Palace of Hades, he must confront none other than Hades himself. This is the ultimate boss fight in the Realm of Hades, so be prepared. Try stealing the Claws of Hades to help. Watch the walkthrough for the Hades Boss Fight in God of War III on PS3.

The Palace of Hades in Chapter 2 —the Realm of Hades, is no easy place to be for Kratos. During this level, there's much to fight, but you need to save your energy for the battle against Hades himself. Watch the walkthrough for the Palace of Hades in God of War III on PS3.

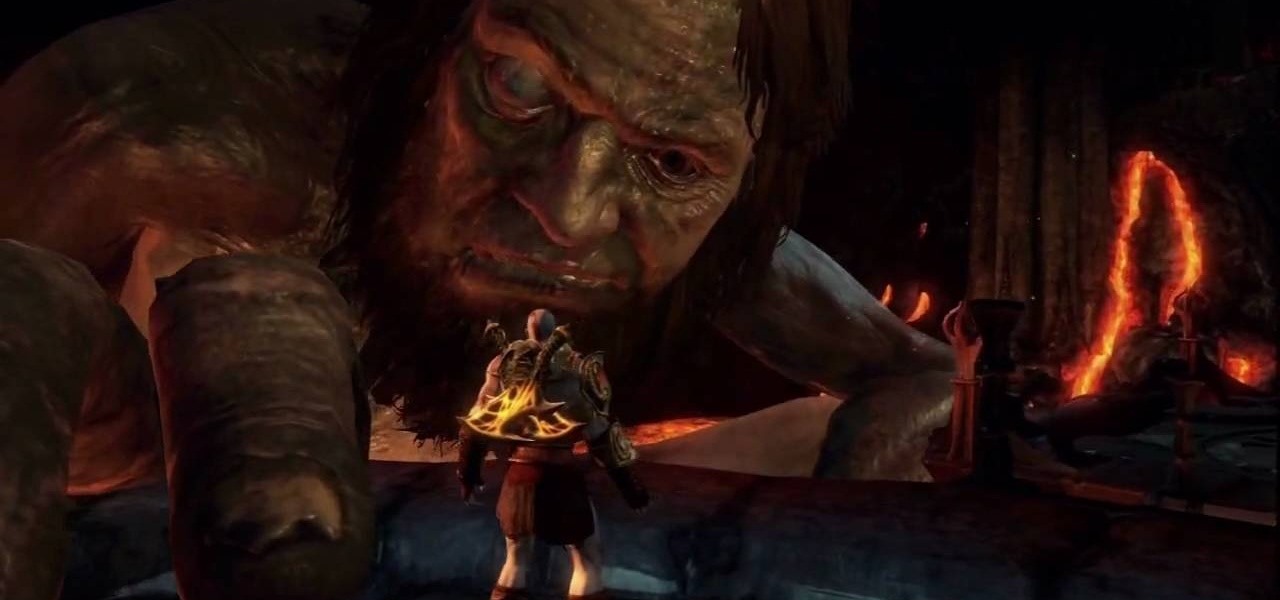
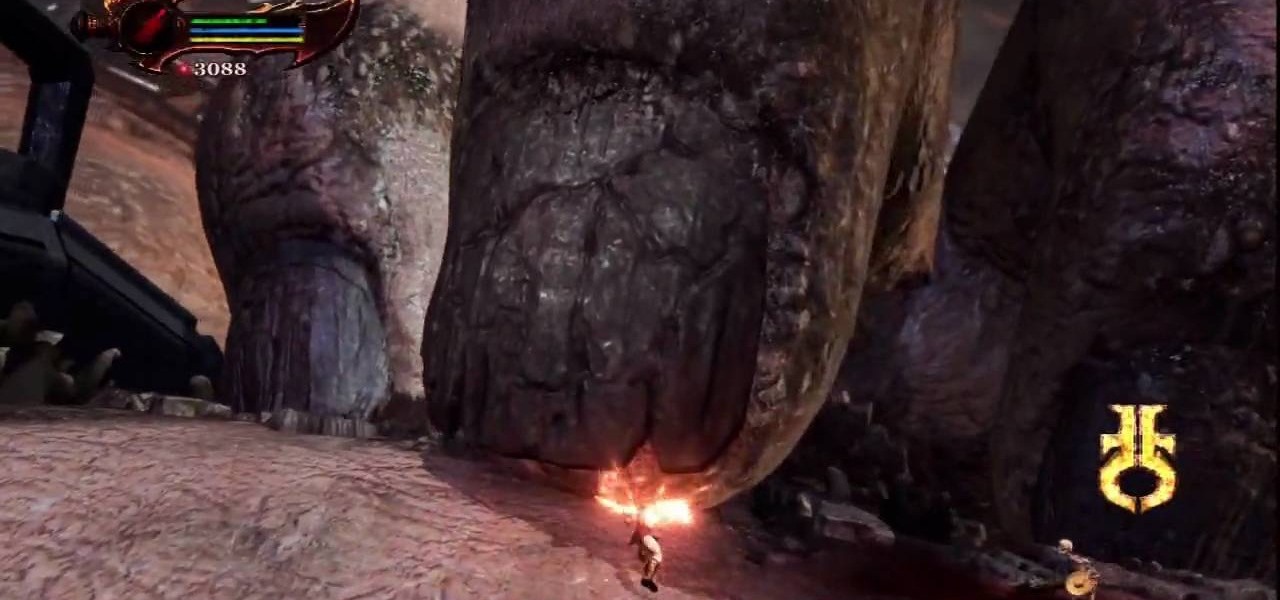
The name alone sounds like something not to be reckoned with… Cronos. But Kratos can prevail against this titan boss. This could be the deadliest boss fight you've ever encountered. Watch the walkthrough for the Cronos Boss Battle in God of War III on PS3.

You and Kratos have met the Three Judges in the past, now you must return to them in the Realm of Hades. You're going to have to break the Chain of Balance that the 3 Judges have held in place for so long. Watch the walkthrough for the Return to the 3 Judges in God of War III on PS3.

It's time for Kratos to rescue Pandora. But is she dead or alive? Once you reach her, can you both survive the challenges of the Labyrinth and all its traps? If you need help, this guide should help. Watch the walkthrough for Rescuing Pandora in God of War III on PS3.

The Labyrinth. It's Zeus's main layer. Can you make it through the Labyrinth unscathed? Can you find your way to the key for Pandora's Box? See what it takes to reach Pandora's Box. Watch the walkthrough for the Labyrinth in God of War III on PS3.

Zeus. He's one of the worst. Can you defeat Zeus on your own? If not, you may need help — you may need a walkthrough to guide you along the ultimate battle against the boss Zeus. Watch the walkthrough for the Zeus Boss Fight in God of War III on PS3.

This level in God of War 3 has you trying to find and get Apollo's powerful bow. Can you find this weapon? Or does your "God of War" status defy you? Find out for yourself and watch the steps needed to win. Watch the walkthrough for acquiring Apollo's Bow in God of War III for PS3.

See how it all begins in God of War 3 with this video walkthrough of the opening introduction to the video game. Learn all about Kratos and his status as God of War. The hands of death could not defeat him, the sisters of faith could not control him, and on this day, the man, the legend, the Kratos, will have his revenge! Watch the walkthrough for the Opening Introduction of God of War III.

Start with one cup of boiling water then a one stick of butter to the boiling water and let it melt. Add one cup of all purpose flour slowly. It will get really thick and form a ball. Transfer to a bowl and let it cool while you prepare the filling for the eclairs. Add 1/4 cup of cocoa six table spoons of flour and 1/2 teaspoon of salt an 3/4 cup of sugar in a pan and stir together. Slowly add 3 cups of milk unit all dry ingredients are wet. Cook over medium heat until as thick as mayonaise. ...

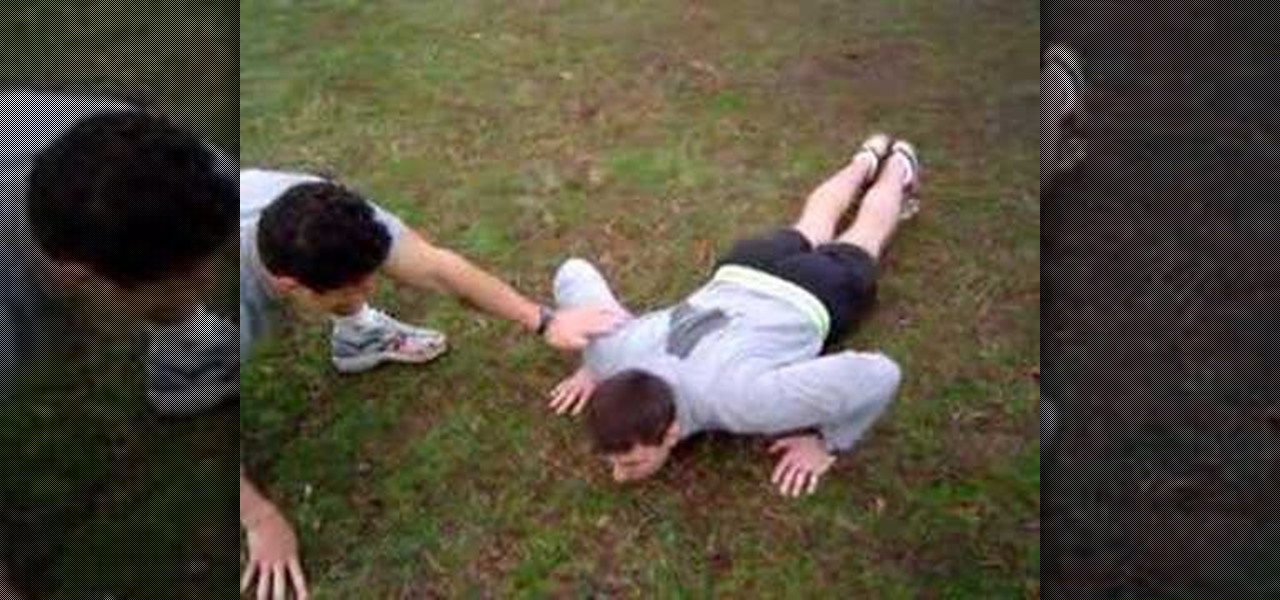
The Georgetown Army ROTC program first describes the benefits, and then demonstrates a proper army pushup to standard. Pushups are common in the army, they increase the strength and endurance of your chest, shoulders, and triceps muscle. The push up is also a part of the Army Physical Fitness Test (APFT). In order to be contracted and received scholarship benefits male cadets in the age range of 17 - 21 must perform 43 pushups while female cadets in the same age range must perform 19 pushups.

The Mac OS's Disc Utility allows for the encryption of files. To open Disc Utility click on the magnifying glass (spot light) up in the top right hand corner, and search for Disc Utility. Click on the first result in the list. Once Disc Utility is open, click on "create a new image" in the top tool bar. A new window will drop down, where you choose what you want to save the new image as. Give it a name, and choose the size you want it to be. Moving down, choose the encryption you want to use ...

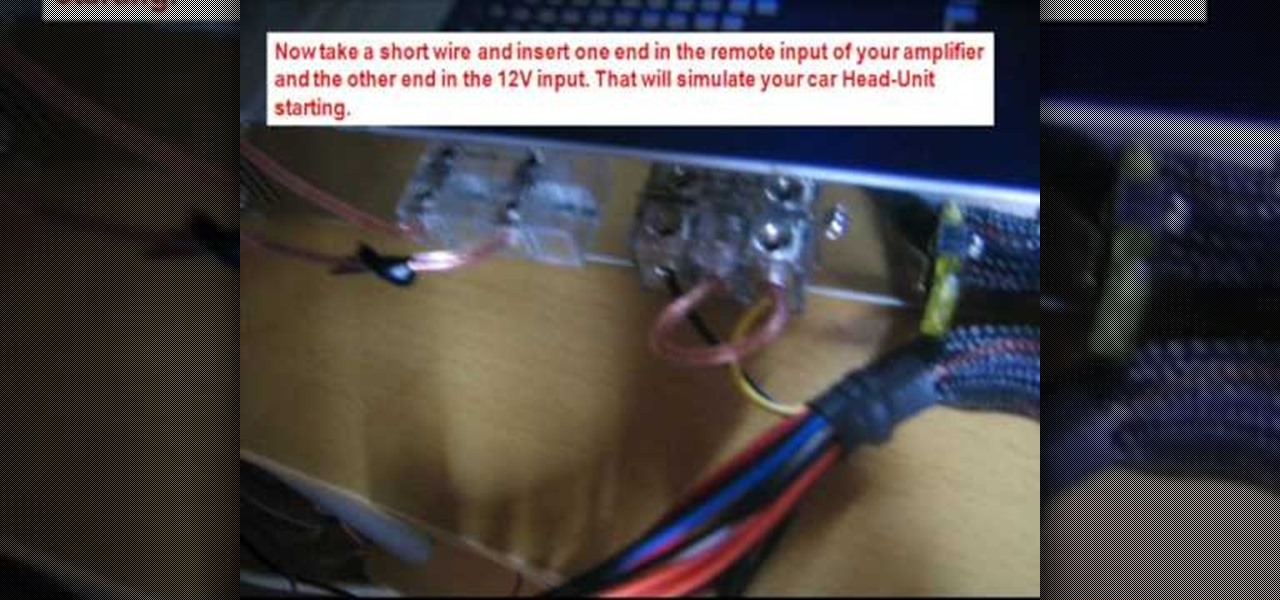
This easy to follow silent and accurate video will guide you quickly and easily through what you'll need, (like a Power Supply, a sound system that has a Subwoofer Pre-output and a High Input adapter, which may already come with your amp.) First learn what colored wires should be connected to simulate your PC starting. Then connect the amp to the power supply to simulate the car Head-Unit starting. Once the power issues are handled, the video assists you with connecting your audio input. It i...

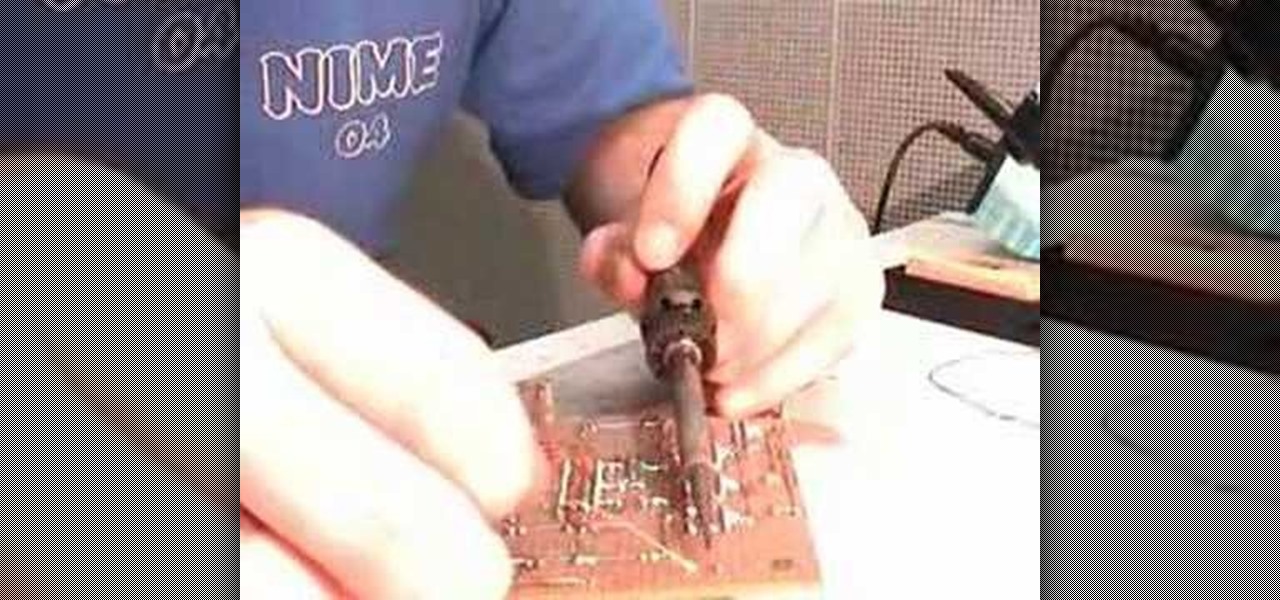
Learn how to solder wires with this video. Clean the area to be soldered, scraping the wire down to bare metal and then wiping it clean with alcohol or acetone. Use rosin-core solder for electronic applications. This solder normally comes in coils. Tin (coat with solder) the soldering tip first: Wrap one or two inches of solder around the tip while the iron is cold; set the iron to the solder's temperature range; and allow the solder to melt. Clean the tip with a sponge. Set the soldering too...


