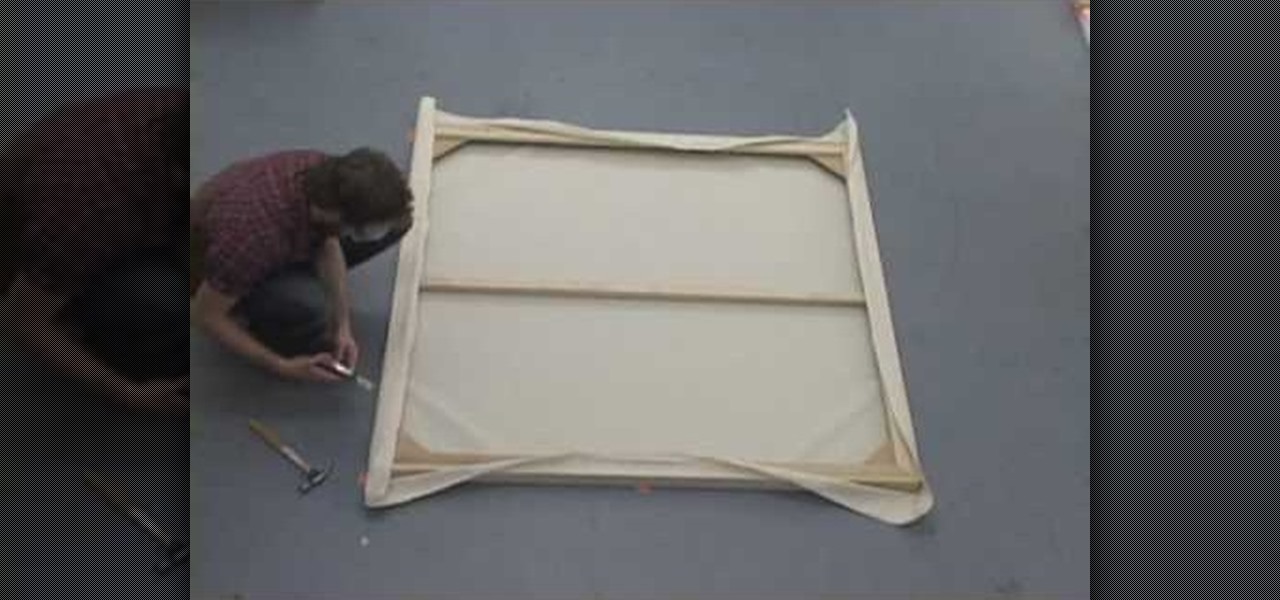
In this tutorial, we learn how to stretch the perfect canvas. First, measure the canvas. After this, center the canvas and make sure there are no wrinkles. Then cut the canvas and staple it to the frame. This will take several minutes, and you will work your way from the inside to the outer corners. After you are finished stapling hide the folds on all of the corners with the stapler gun. When you are finished with this step, you will be done and ready to paint on your new canvas! These steps...
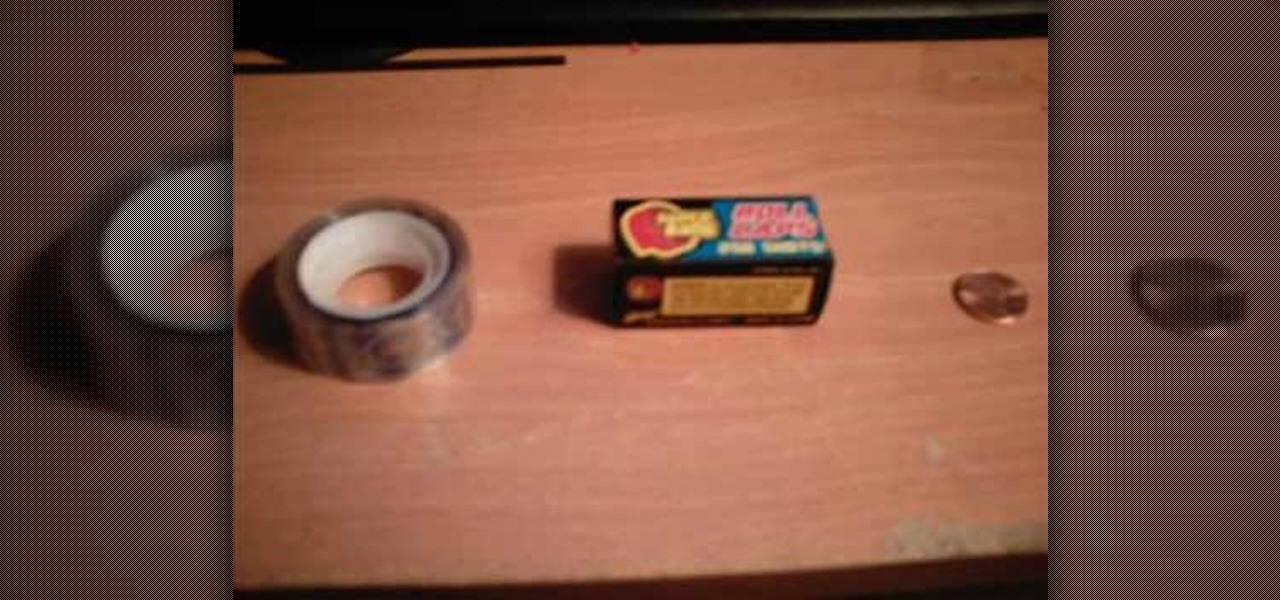
Do you like playing with those little popper things that you throw on the ground and they make a loud popping noise? The ones that come in the box full of sawdust? Well those are for noobs. This video will show you how to make a similar, but louder, device out of a penny, some paper caps (the kind for cap guns, remember those?) and tape. It's loud, easy, and cheap. It may not look pretty, but it'll do the job magnificently.

In this video you will be shown how to make a light out of a condom. What you will need is a condom, a 600 Ohm resistor, a Led, a scissor, a glue gun and a bottle. Start by drilling a hole in the top of your bottle then cut the top off with the scissor. attach the resister to the positive side of your light. Put the condom over the plastic bottle top. Glue the condom in place. Then quickly blow the condom up and add the Led light to the hole you first drilled. Hook the condom lamp up to your ...
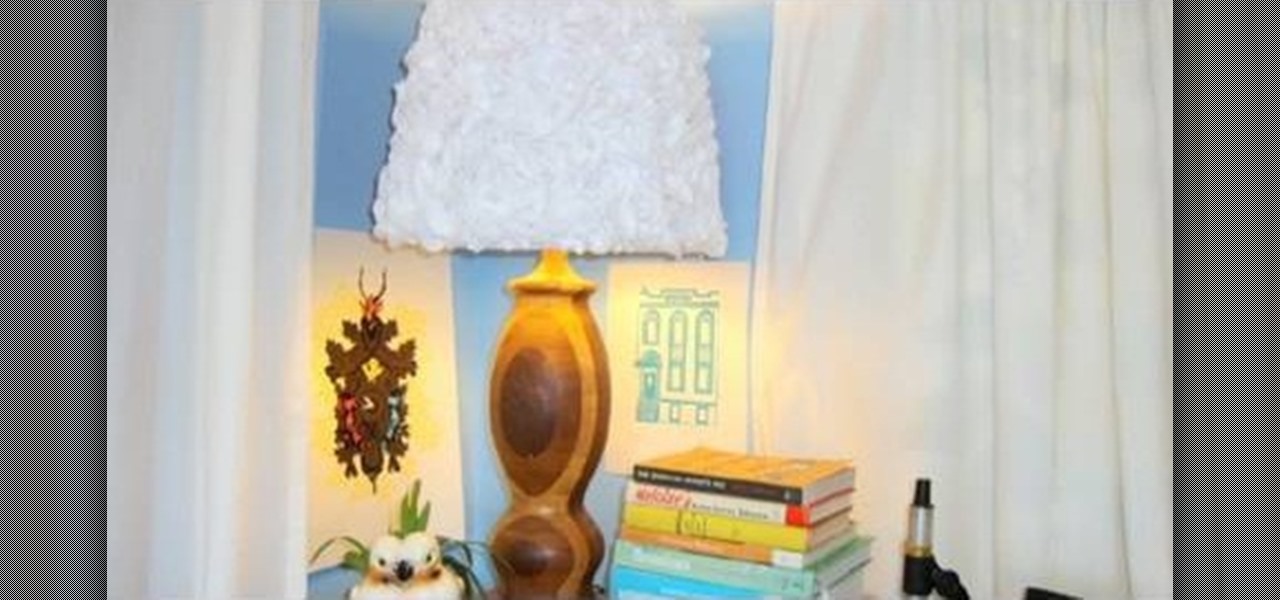
In this video tutorial, viewers learn how to upgrade an old lamp shade into a blossom lamp. The materials required are: 1 1/2 yard of felt, old lamp shade, bias tape, glue gun and scissors. Begin by folding the bias tape in half and iron it down. Then glue the bias tape from the half fold on the top and bottom of the lamp shade. Cut the felt into 3x3" square pieces and then cut them into circles. Fold the felt circle in half and glue it onto the lamp shade. Continue doing this for the rest of...
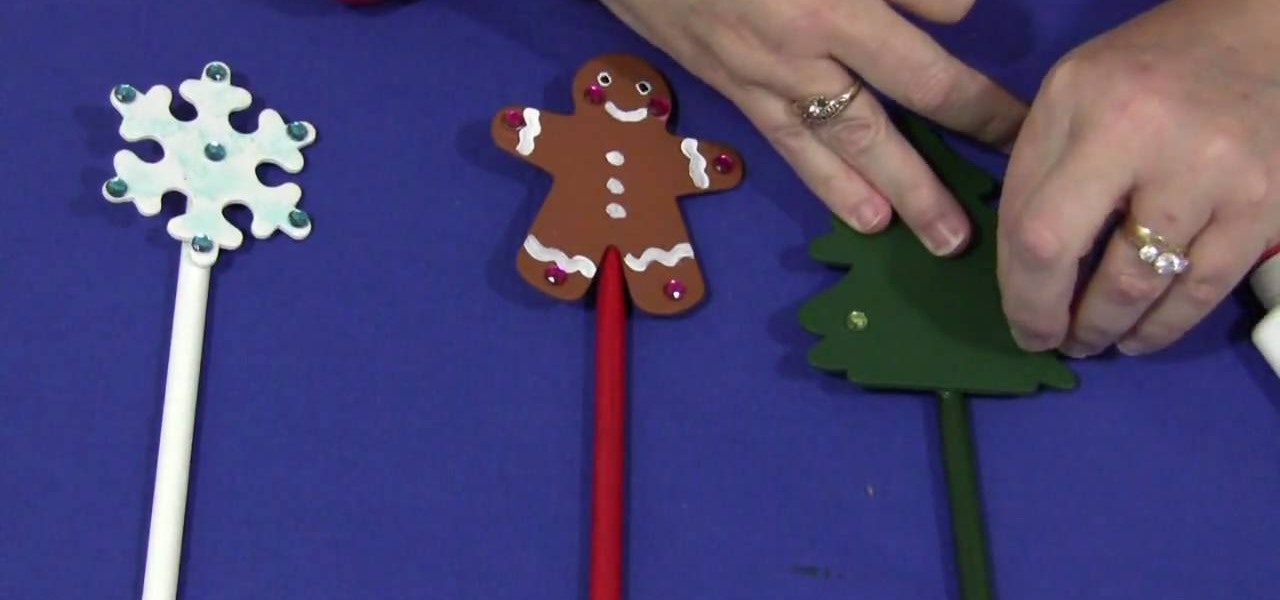
Shelley Lovett with Child Care Land demonstrates how to make your own classroom pointer sticks. You can use pointer sticks as a prompt to help enhance learning in your classroom. You can make the pointers in accordance with holiday seasons. To make a pointer, you will need a 12-inch wooden dowel, an unfinished wooden shape, paint and accessories for decoration. First, paint your dowel and wood topper in your desired color. Next, using a hot glue gun, glue the shape to the dowel. Apply embelli...
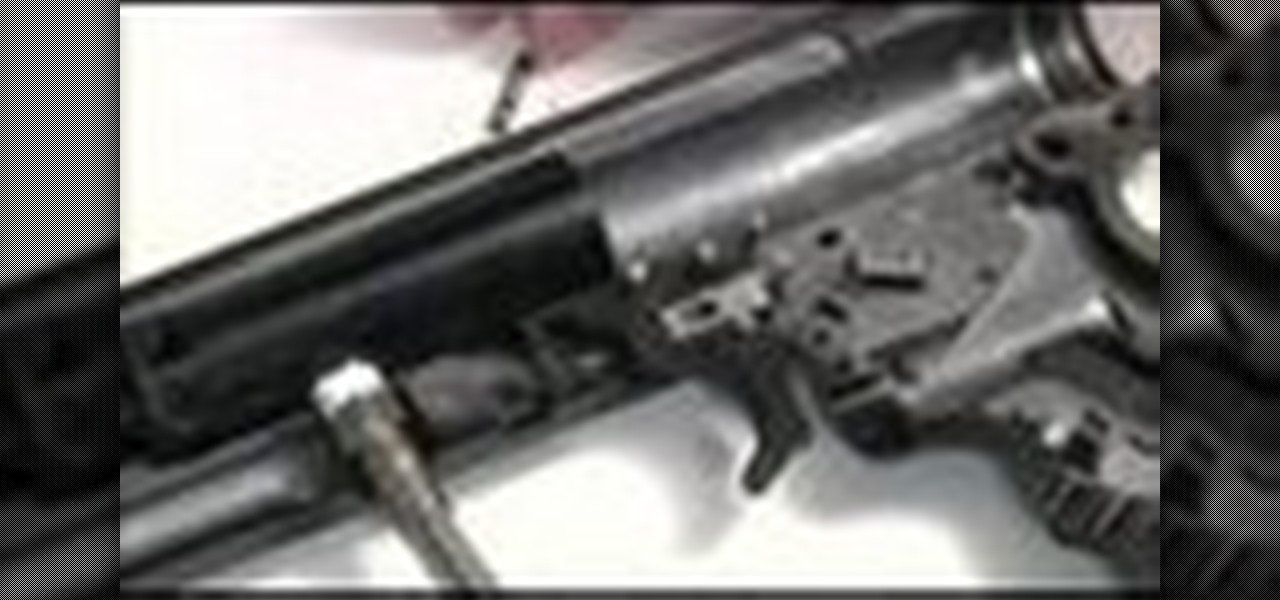
Instructions on how to disassemble and reassemble on a Tipmann 980. He explains that you have a sear, sear spring, trigger, trigger spring, and five pins. They all come right out. The sear pin is supposed to be black. Take the pine, clean them up, dry them up, and put them back. Four of the pins go right along the top and the sear pin goes on the right of the other pins. The sear spring goes over the sear spring and is snapped in. You then place the trigger and trigger spring back on the gun,...

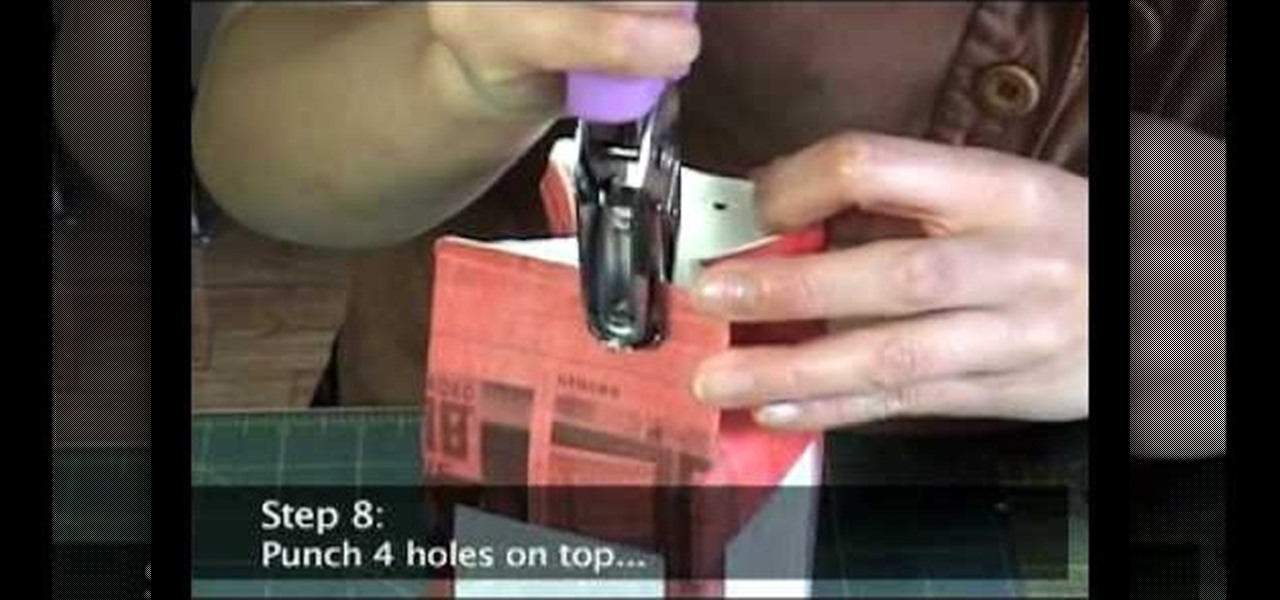
In this video tutorial, viewers will learn how to make a milk carton lantern. This lantern uses recycled items. The materials required for this lamp are: a milk carton, unryu paper, colored newspaper, raffia, ruler, glue gun, hole puncher, X-acto knife, glue stick and scissors. Flatten the milk carton. Draw a rectangle with each panel and measure about 1/2" form each of the sides. Measure about 3/4" from bottom and top. Cut out the rectangles with the X-acto knife. Glue the newspaper to the c...

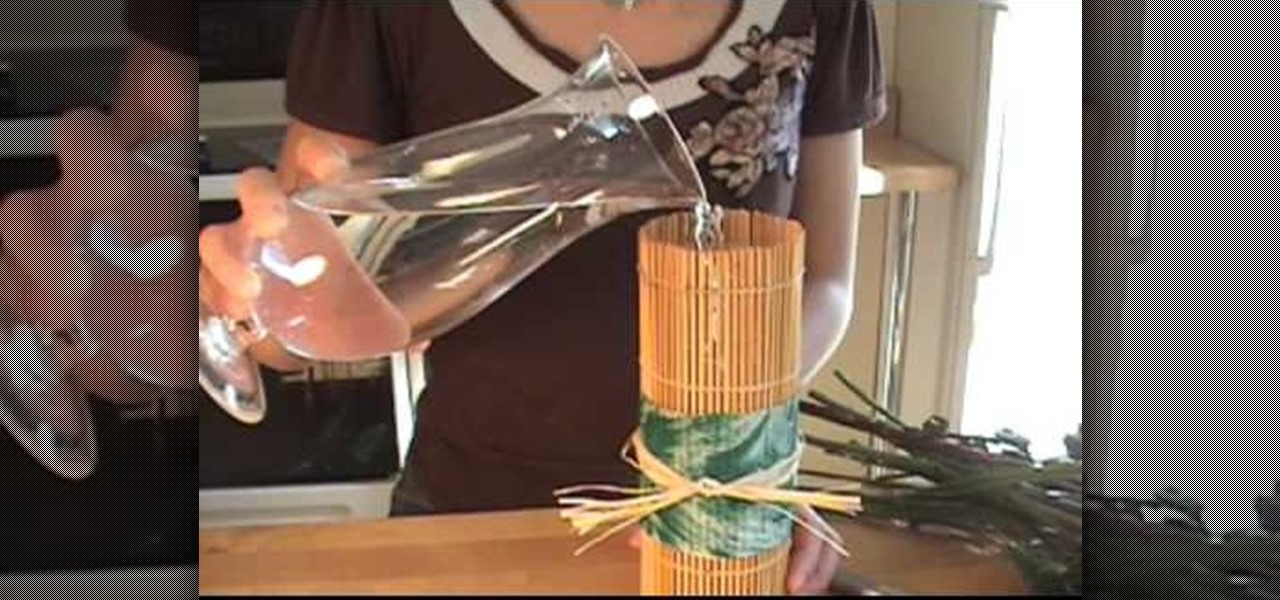
In this video tutorial, viewers learn how to make a Japanese-style sushi roller flower vase. This flower vase uses recycled items. The materials required to makes this vase are: a newspaper, scissors, raffia, sushi roller, acrylic paint, brush, tin foil, tape (or glue gun) and an empty bottle (300 ml). Cut the newspaper to about 3" x 12". Paint the newspaper to your preferred color. Cut the top part of the bottle. Roll the bottle in the sushi roller. Wrap the newspaper around it and tape it. ...

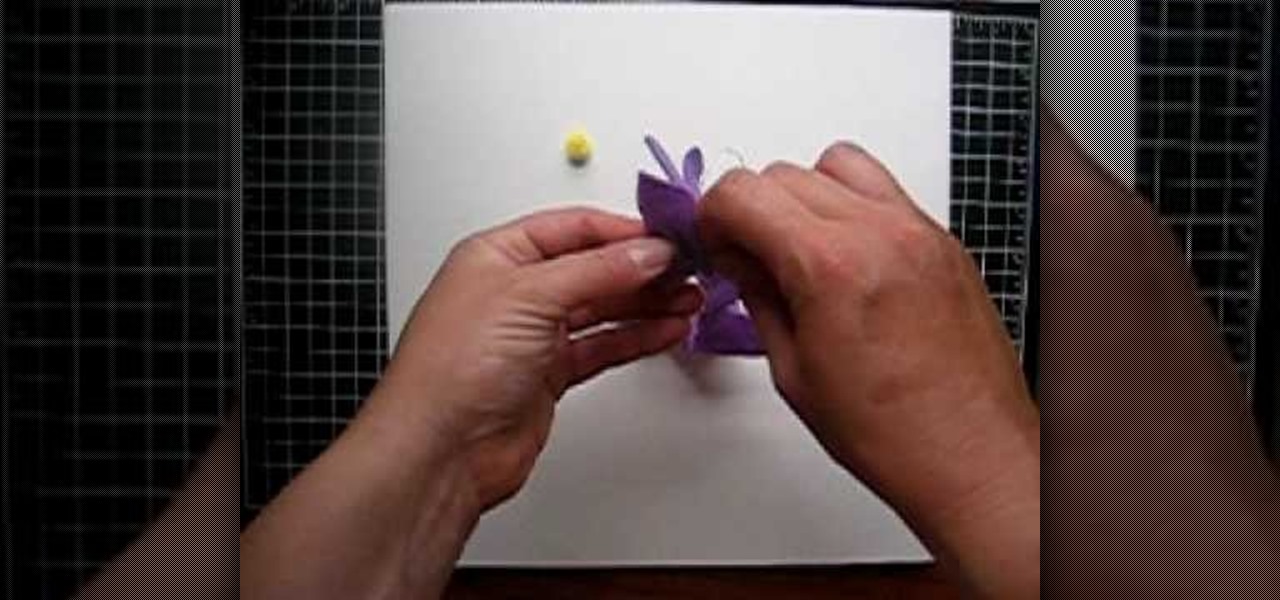
This video is going to show you how to create purple felt flowers for your children or a nice little gift. The items you will need are an 18in piece of tread doubled knotted at the end, hot glue gun, a needle, a pom pom, and felt cut into the shapes you want to make your flowers out of. You want to begin by take the thread attached to the needle and doing a running stitch through the felt. Pull the thread as much as possible and then take the two ends and do a whip stitch to connect the two e...

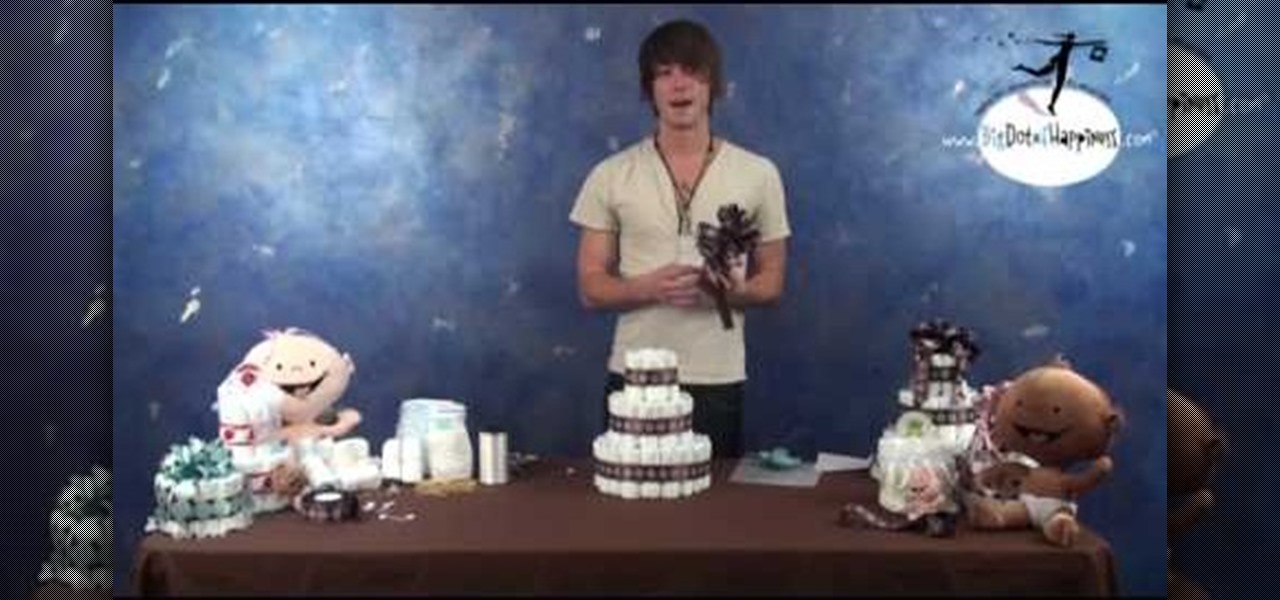
Here is an interesting idea for a baby shower: a diaper cake. Using various materials such as a tube, a glue gun, some safety pins, string, rubber bands, scissors, and 63 diapers, you are on your way to making this bizarre yet interesting cake. After rolling together each individual diaper, holding them together with rubber bands, you are on your way to making this cake. While this cake is not meant to be eaten, it is a very interesting centerpiece or gift for your next baby shower.

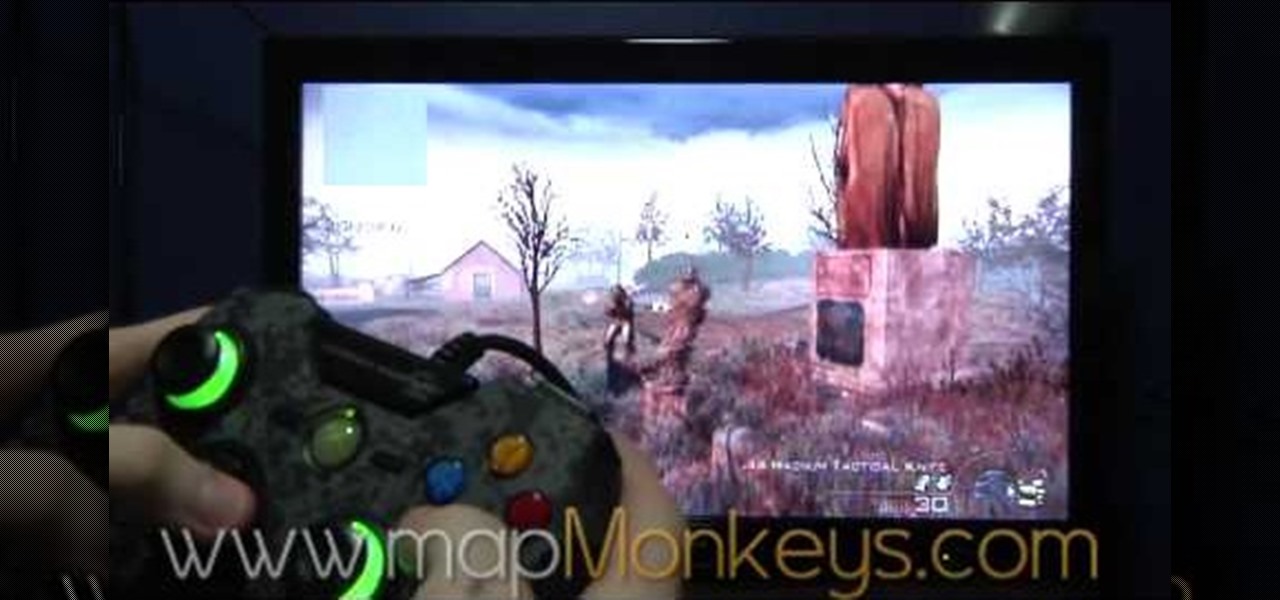
In this video by Modern Warfare glitch professionals Map Monkeys, learn how to complete the unlimited care package glitch, after patch, in Playstation game Modern Warefare 2. To do this glitch, the first sep is to get a care package, sentry gun, or emergency air drop. Then, find something to climb over, by pressing A (X on PS3). Hold the care package, climv over, and as you're climbing, press right on the D-Pad twice quickly. If done correctly you will still be holding your care package once ...

Get creative with an old disposable camera by setting up an aerial photography rig using akite! Get a new perspective by taking pictures from a bird's eye view.

SAS: Zombie Assault 2 is flash game from Ninja Kiwi. Learn how to hack Zombie Assault 2 with tricks and cheats. Watch this video tutorial to learn how to hack Zombie Assault 2 with Cheat Engine (09/13/09).

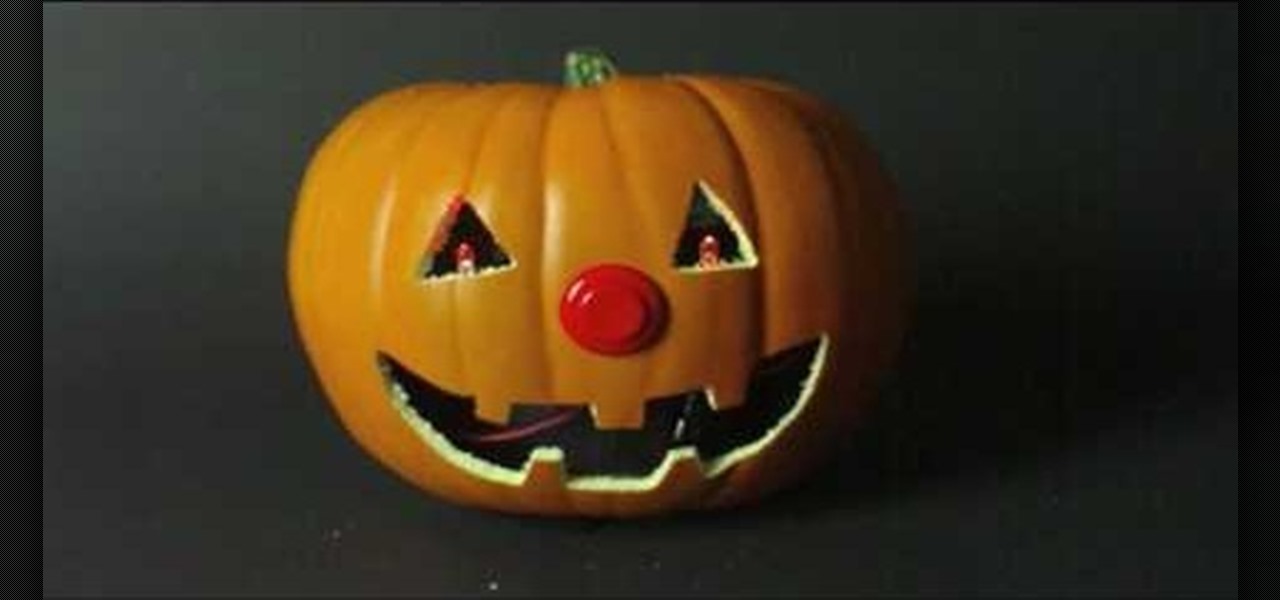
Warning: this video does not demonstrate the actual instructions for making this spooky Halloween LED light up pumpkin that blasts a truck horn. Check out http://blog.makezine.com/archive/2008/10/howto_tuesday_scariest_pu.html for more information and a complete build process. Learn how to make it with the text and image process step by step. Halloween fun!!

You're not really going to smash that guitar are you? It's a piece of art. Parker put together this tutorial to show how to build a prop guitar you can smash and let out all that rock and roll angst. You will need a glue gun, chess pawns, cardboard, duct tape, a gift box, glue, a garbage can, paper, paint, string, and a ruler. Watch this video prop-making tutorial and learn how to build a prop guitar for smashing.

You know how sometimes you'll wake up in the morning gunning for a fabulous hairstyle, then spend an hour curling your strands to perfection only to find that when you step outside it's raining? Rain literally rains on your hair parade because it brings lots of frizz-causing humidity and wetness.

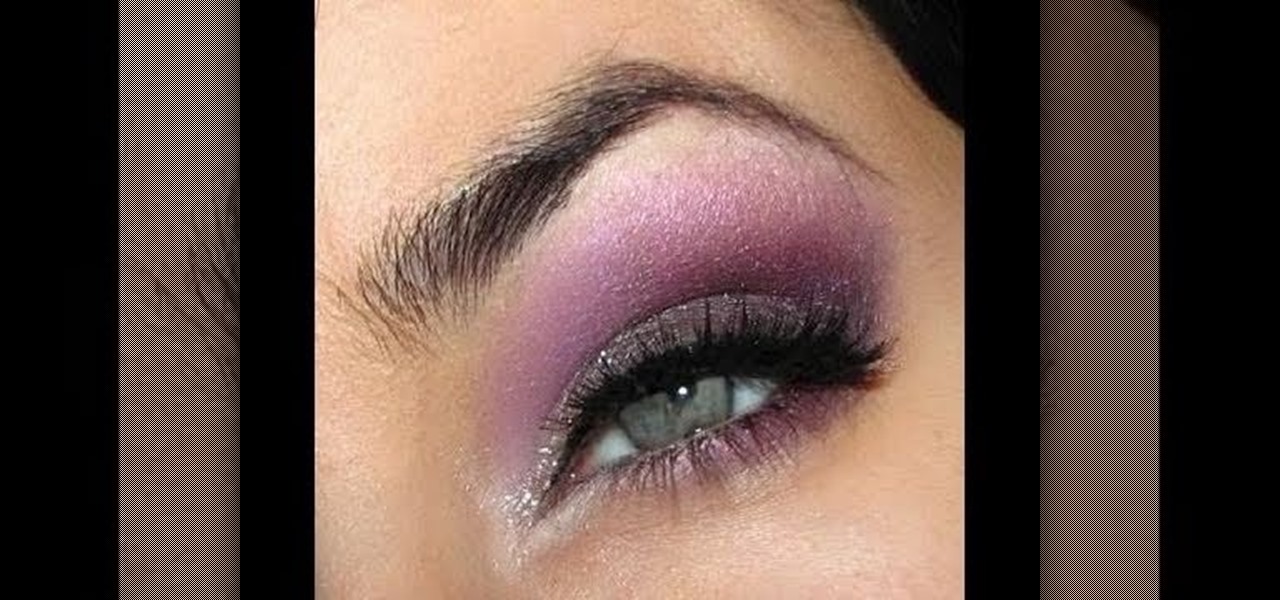
Today on the Victoria's Secret Fashion Show runway you'll definitely see more smoky eyes than you can count. But don't expect to see your run-of-the-mill black and brown smoky eyes. Rather, this year it's all about amazing, dazzling color.

In this tutorial, we learn how to make a Deadpool sword. To do this, you will need: a marker, scissors, hard plastic, cardboard, silver spray paint, duct tape, saw, electrical tape, sandpaper, and hot glue gun. First, cut the plastic into three thin knife shapes. Then, use sandpaper to smooth edges. Then, use the cardboard to create three layers of a rectangle. Make the corners round and then tape around them with duct tape. Put a hole in the middle and then put it into the plastic. Now, glue...

In this tutorial, we learn how to draw a scene from Star Wars. Start off by coloring the background peach, then adding orange with the spray paint tool to the bottom. After this, color in clouds to the sky with a light tan. From here, add in a spaceship in the sky and then two large machines on the bottom of the ground. Draw in another spaceship in the far right background. Then, start to add in details to each of the different ships or tractors. Draw a person on the ground carrying a gun wit...

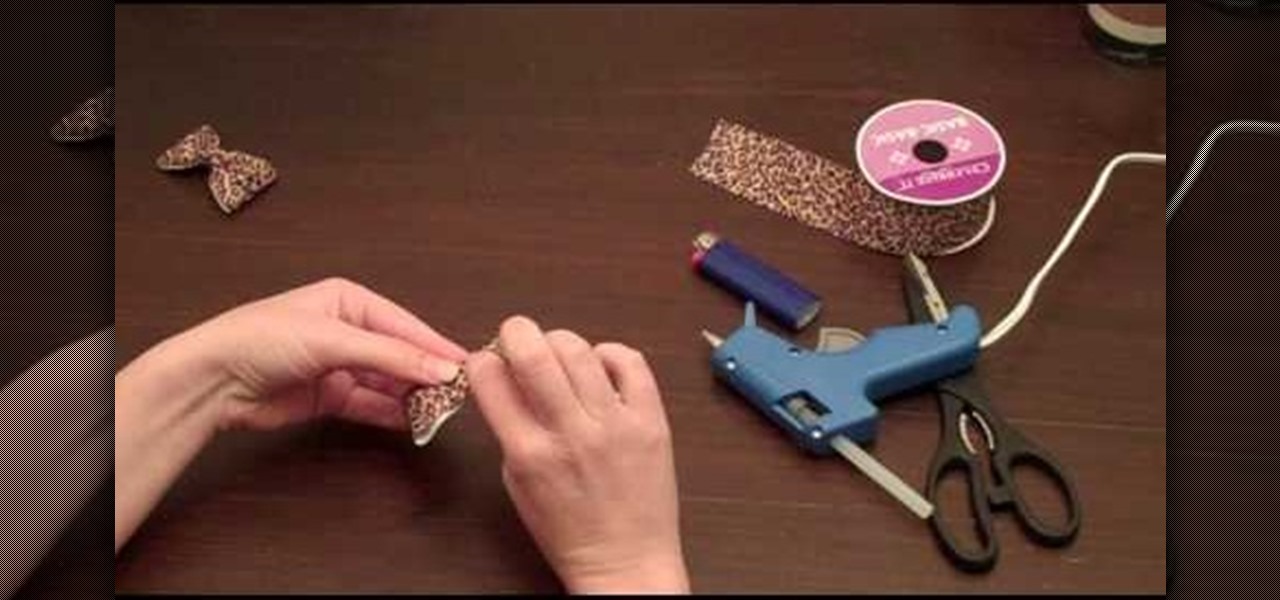
In this tutorial, we learn how to make cute little hair clips. These will add a fashion statement to any hair style and they are easy to create! To start, you will take some thin ribbon and bend it all together until it creates a large ribbon. After this, you will wrap it together in the center until it's a bow shape. From here, add in more colors or accessories. Then, use a hot glue gun to attach a clip to the base of it. Let this dry and then you can clip it into your hair! Make a lot of th...

In this tutorial we learn how to make a Universal Soldier eye. You will need: old head set, cardboard, hot glue gun, screwdriver, pen, flash light, knife, saw, black paint, and masking tape. First take the cardboard and cut it out into two rectangles. Place these around the headset and stick a rectangle in the eye piece. After this, you will connect the flashlight to the side of the head piece. Once finished, you can spray paint the entire eye piece and then wait for it to try. When done, wea...

In this tutorial we learn how to make a Christmas wreath card holder. To do this, you can use a Styrofoam wreath, feather boa, glue gun, and pictures. First, glue the feather boa around the Styrofoam wreath in any color that you would like. After this, attach your favorite color of ribbons to the boa and then attach some wire to the back of it with the glue. After this, you can place the pictures on the frame and then attach anything else you would like! This is a fun craft that looks great i...

In this video, we learn how to make Naruto gloves. First, you will need to take an old black sock, thread, needle, and scissors. After this, you will cut the top off the sock and then put it on your hand. After this, you will need to use the needle and thread to sew in between the fingers on the sock. When all of these are patched, up you will add a fake metal plate to the top of it. You can glue this on with a hot glue gun. When finished drying, you will be able to wear this out, enjoy!

In this tutorial, we learn how to make a miniature table. Materials you will need are: a wood slat, 4 popsicle sticks cut in half, paint, paintbrush, and glue. Heat up your hot glue gun and then grab your popsicle sticks. Glue one stick to the side of every corner of the slat. After this, you should have two on each side of all four corners of the wooden slat. After you're finished placing them on, let the glue cool and then harden. To finish, you can paint this and decorate it and use it ins...

In this tutorial, we learn how to make Splinter Cell prop goggles. You will need: goggles, a saw, pipe, a brush, black paint, duct tape, batteries, chop sticks, glue, a ruler, and a pen. First, mark three cuts on the pipe to 3 cm and 5.5 cm. Now, use the saw to cut these. Then, use sandpaper to smooth all the edges. Next, place these onto the goggles and glue them with a hot glue gun. Next, grab two batteries and wrap them in duct tape. Place these with them and then paint these all black. Af...

In this video, we learn how to make a prop Michael Myers knife. You will need: six pins, a pen, a sharp knife, black paint, hot glue gun, cardboard, thin cardboard, and medium foil. First, print out a picture of the knife that's given in the video. After this, cut out the pieces and tape them together so it looks like a real knife. Then, cut off the points from the pins and draw the handle of the knife out on the regular cardboard, making two layers. Then, cut out the large part of the knife ...

In this tutorial, we learn how to use foam to make diorama terrain. Foam will make a realistic diorama because it comes in so many different shapes and sizes. You can buy this from hobby shops and even online. To put these together, you will simply use some wood glue. You can easily cut this with a sharp knife, scissors, and anything else that is sharp! You can use a hot wire cutting tool to mold and sculpt the foam as well. You can also use a hot glue gun to connect the pieces of foam togeth...

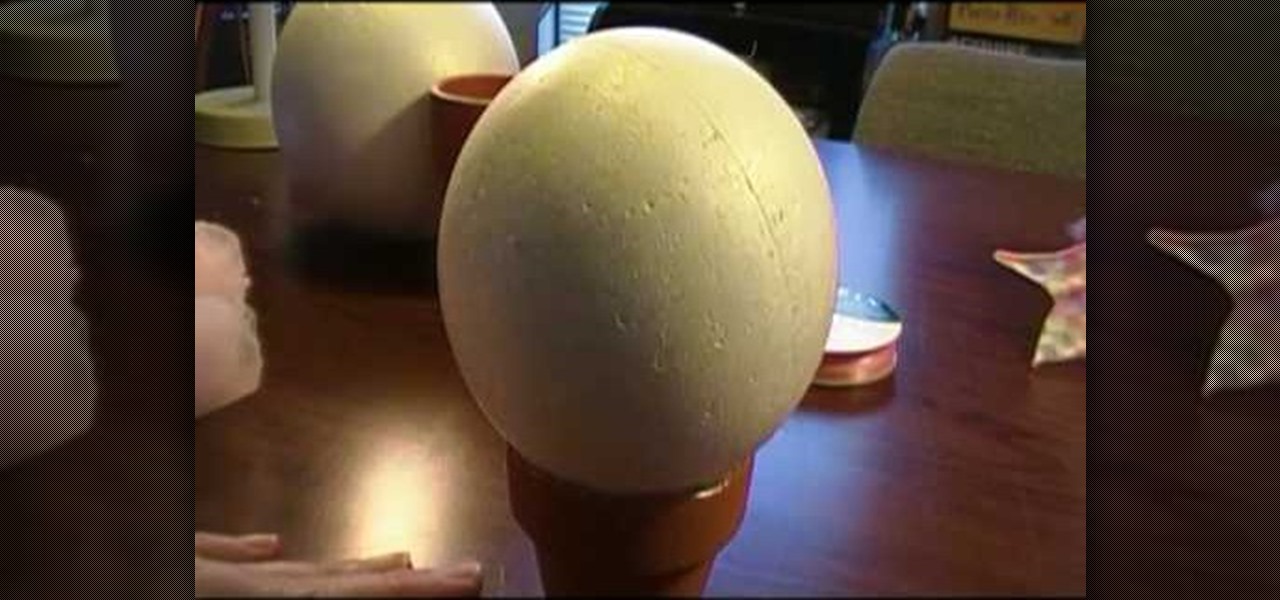
In this video we learn how to make a baby and child hat stand. First, you will need to purchase flower pots from the store along with Styrofoam balls. Use different sizes of balls to fit the size of hats that you are creating. Use marbles to weigh down the flower pots. From here, you will use a hot glue gun to glue the ball to the stand and then let it cool From here, you will be able to use this as a stand for your hat. This will help your hat set after you are done decorating it and display...

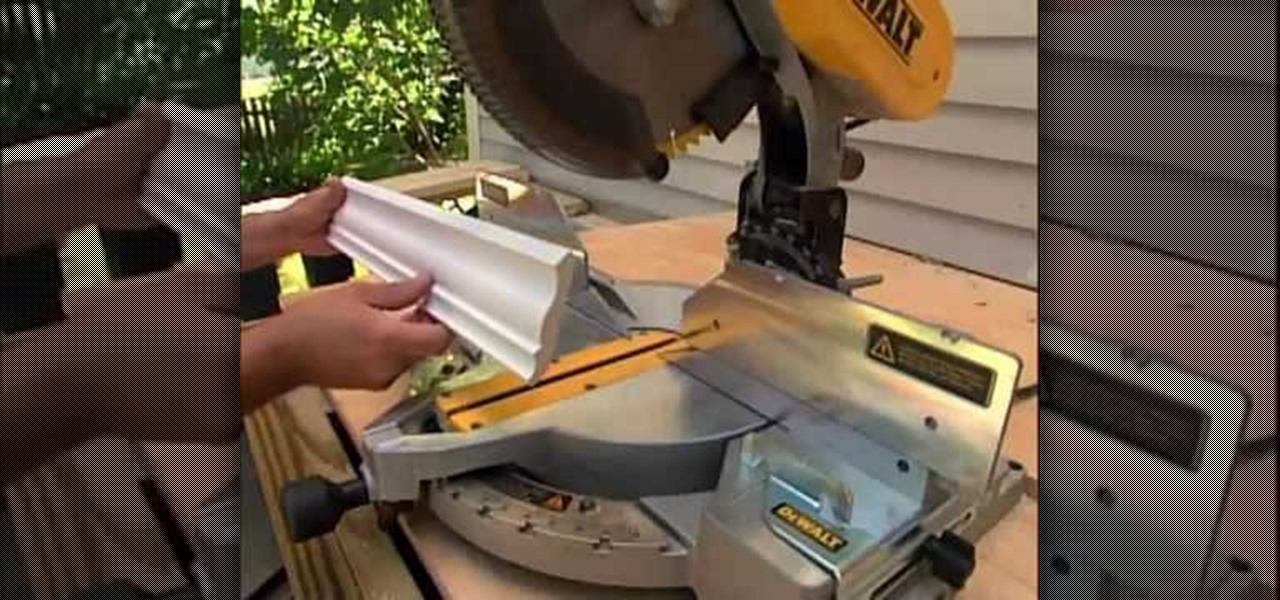
In this tutorial, we learn how to install crown molding to your room. First, choose the right size and style of molding for the room, then measure your room to find out how much you need. After this, you will need to buy a saw to cut the molding when you're ready to install. After you have the pieces cut, you will need to place these against the wall and then nail them in with a nail gun. Secure the molding to the joints in the ceiling and to the studs in the wall. To finish, putty the holes ...

In this tutorial, we learn how to make fur suit eyes for a mask. First, grab a simple paint pallet that has dips down in it for the paint. Then, cut the dips out of the tray they come in with a small saw. Then, grab a hot glue gun and melt down the middle of the dip so it's hollow. Then, apply hot glue to the top of the hollowed out eyes. Then, apply felt around this and cut it out so you can see the eye. Push the material through the bottom to create the pupil, then your eyes are finished.

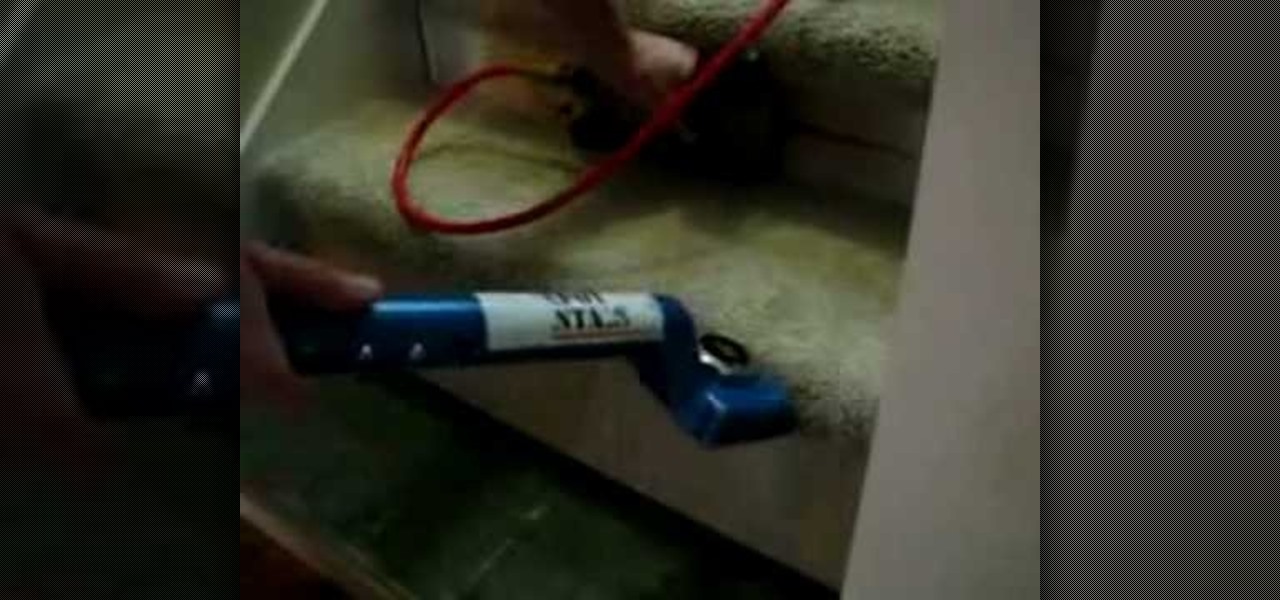
In this video, we learn how to install carpets on stairs. First, install a tack strip along the back edge with a distance between the riser and where you place it. Then, you will place the pad down on the stairs, and then you will place the carpet down. Use trim to cover up the backs of the stairs and the underside of the bull nose. Use a nail gun with staple brads to fasten the carpet to the stairs. This is the easy way to do it, and you must make sure you have the right measurements to fit ...

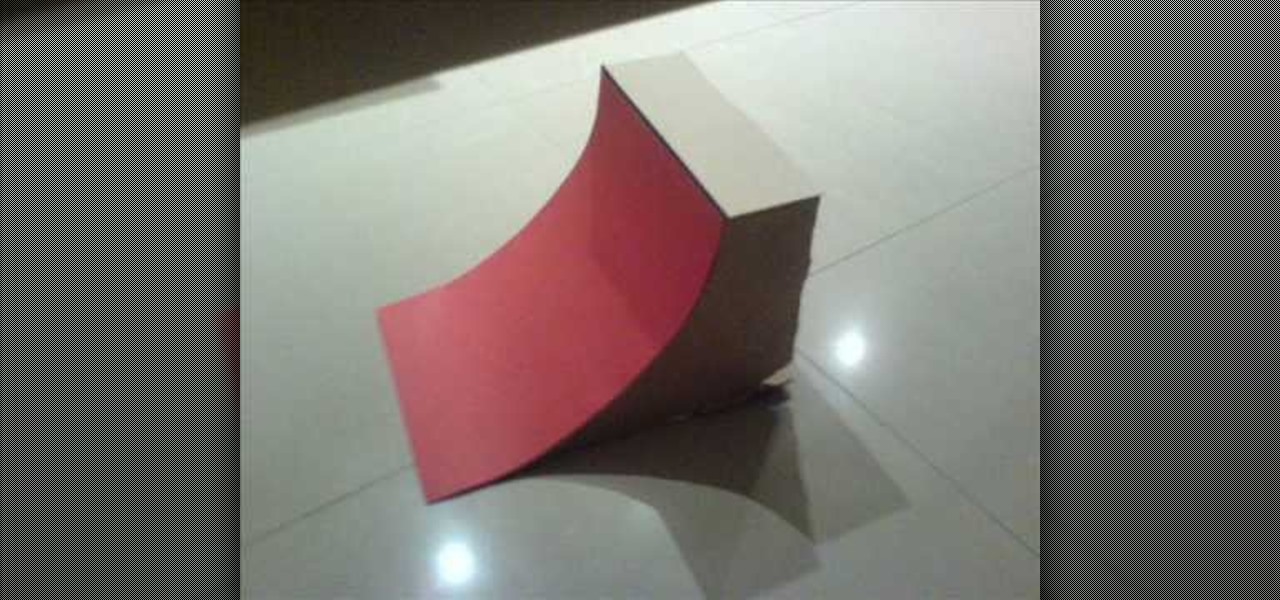
This is a video tutorial in the Hobbies & Toys category where you are going to learn how to build a Tech Deck quarter-pipe. For this you will need hot glue gun, hot glue sticks, coat hanger, cardboard, card and scissors. First cut out the three pieces of the frame out of the cardboard. Then glue a support to the bottom of the 3 pieces. Now glue the card on top of the frame. To make the coping, cut off a length of the coat hanger that is equal to the width of the quarter -pipe and glue on the ...

In this tutorial, we learn how to make an easy hair bow. First, grab some thick ribbon in any color or material that you want to have. Use more ribbon if you want a larger one and less if you want a smaller one. Measure it out or use your eye to measure. After this, heat seal the ends so they don't fray by passing them through a lighter quickly. Now, fold the ribbon in half length wise, then place a crease there. After this, use a hot glue gun to fold down the two sides of the ribbon with a k...

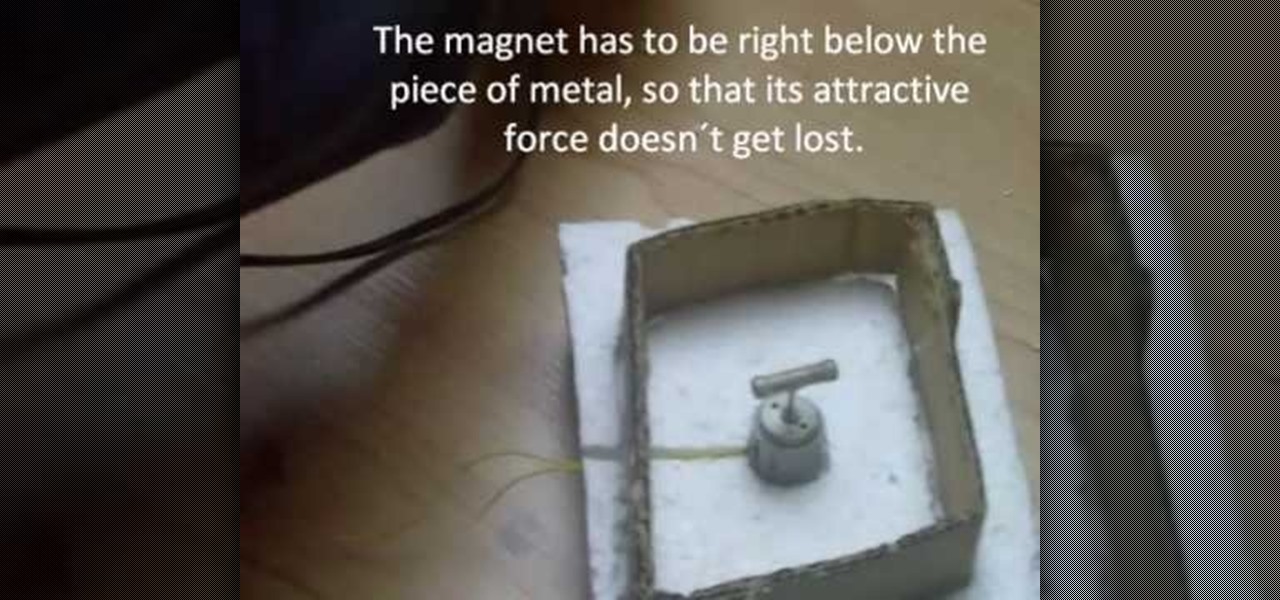
In this video, we learn how to build a magnetic stirring device. First you will need: a block of 1 inch thick Styrofoam, a piece of cardboard, 2 magnets, a small electric motor, a piece of non-magnetic metal, a hot glue gun, and a soldering iron. First, draw the shape of your cardboard square on the foam and cut it out. After this, take your soldering iron and melt away the Styrofoam from the outside. Then, make a hole in the middle for where the motor will be placed and push it inside. After...

Chris Rutter teaches us how to use off camera wireless flash in this tutorial. First, attach the flash to the camera and aim it towards your subject. For a more flattering result, place the flash gun on a tripod that is placed on the right hand side of the subject. Now, go to your camera and set the control so that the flash with go at the same time you take the picture. Now, turn the camera on and take a picture of your subject again. Your flash should go off at the other location, and your ...

You've probably heard of cheetah print nails and even cheetah print eyeshadow (think the eyeshadow "rub-ons" at Sephora), but we can bet you've never heard of cheetah print hair. Your first question is probably whether or not this is even possible, but trust us, with a compressor doing cheetah prints on your hair is as easy as pie.

In this tutorial, we learn how to make a Freddie Krueger glove. You will need: a saw, sandpaper, silver spray paint, black paint, brown paint, old glove, tin from a can, plexi glass, shiny cardboard, and a hot glue gun. Start off by using your paper roll to cut off a strip of it that will start on the joints of your hands, then cut this in half. After this, make a cut in the top of it and on the sides of it. Do this again for the four fingers, then wrap it around the glove fingers. After this...

In order to make a ribbon tree, you will need the following: 50 2" pieces of ribbon, scissors, a hot glue gun, hot glue sticks, and a floral tree.

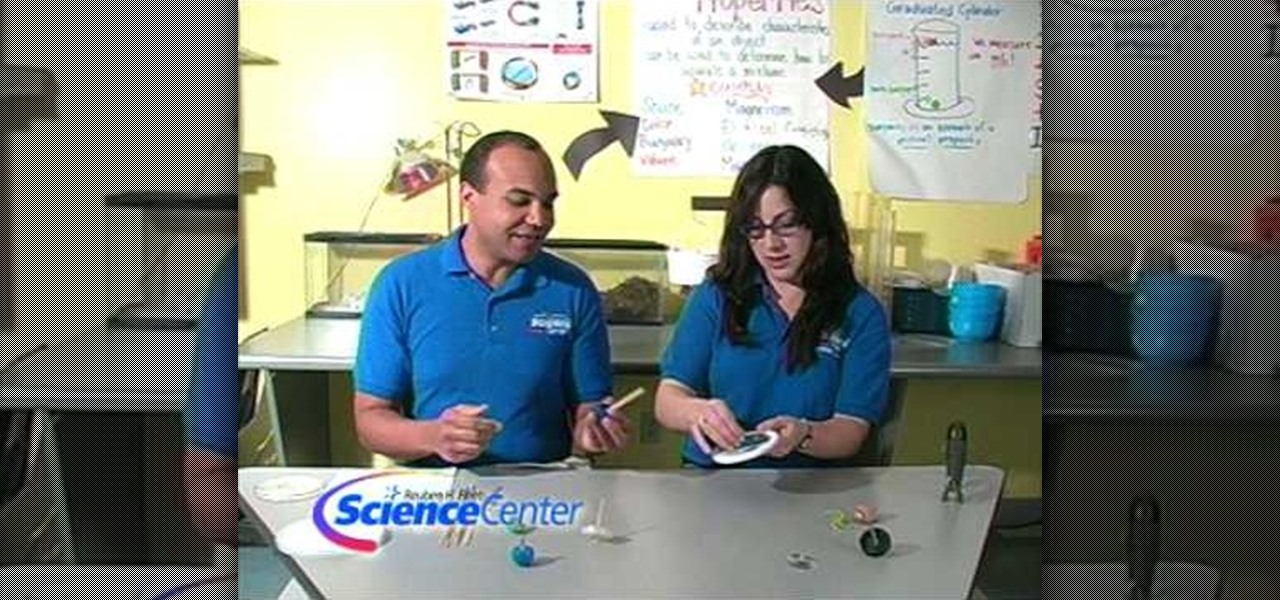
In this tutorial, we learn how to build spinning tops with everyday objects. You will need: round recyclable plastic lids, skewers, hot glue gun, and washers or pennies. First, take your plastic lid and weight it with a penny, then poke a skewer through the middle of it. After this, you will have a top made out of homemade products! You can use anything that is laying around your home to make a top, no matter what it is. Just make sure you have something to place int he middle and the weight ...

In this tutorial, we learn how to draw Shadow the Hedgehog. Start off by drawing the head and then add in the spiked hair. After this, draw in the details of the eyes and continue down to the arms and the rest of the body. Draw in the feet and a gun in the character's hand. Now, use a pen to start drawing the outline over the pencil marks that you just made. Continue on to draw in details on the picture that make it look more realistic. After this, color in the picture with colored pens and u...


