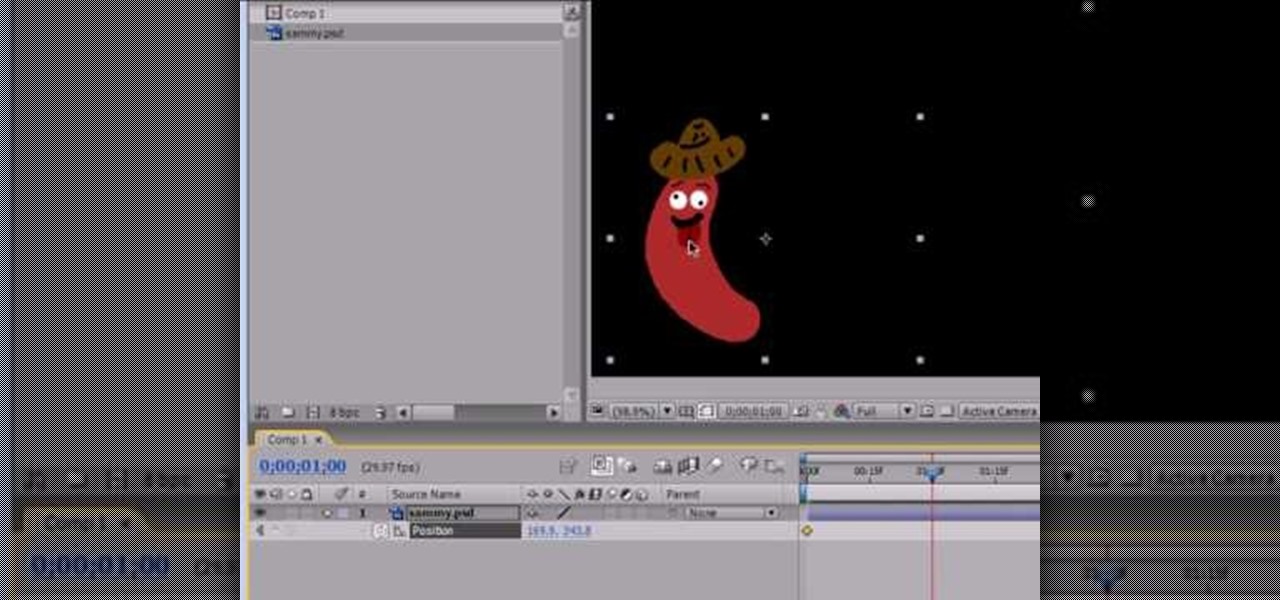
Get started using Adobe After Effects with the help of The New Boston! This beginner's tutorial is bound to answer the many questions you have about the popular digital motion graphics and compositing software. The main purpose of After Effects is for film and video post-production.

Get started using Adobe After Effects with the help of The New Boston! This beginner's tutorial is bound to answer the many questions you have about the popular digital motion graphics and compositing software. The main purpose of After Effects is for film and video post-production.
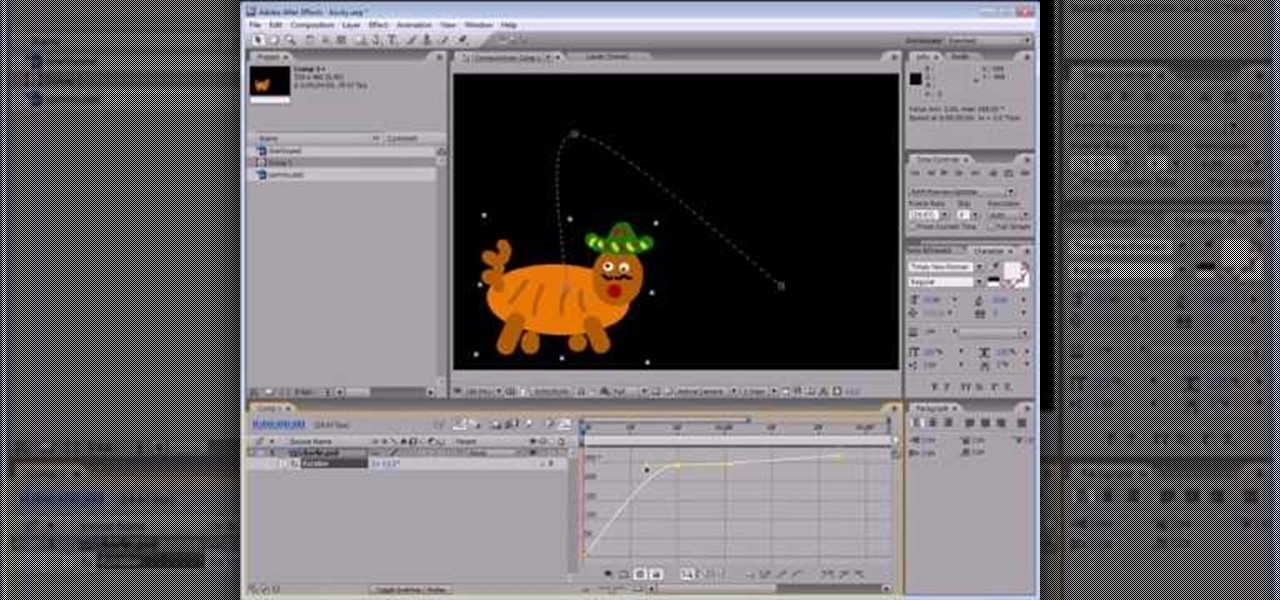
Get started using Adobe After Effects with the help of The New Boston! This beginner's tutorial is bound to answer the many questions you have about the popular digital motion graphics and compositing software. The main purpose of After Effects is for film and video post-production.
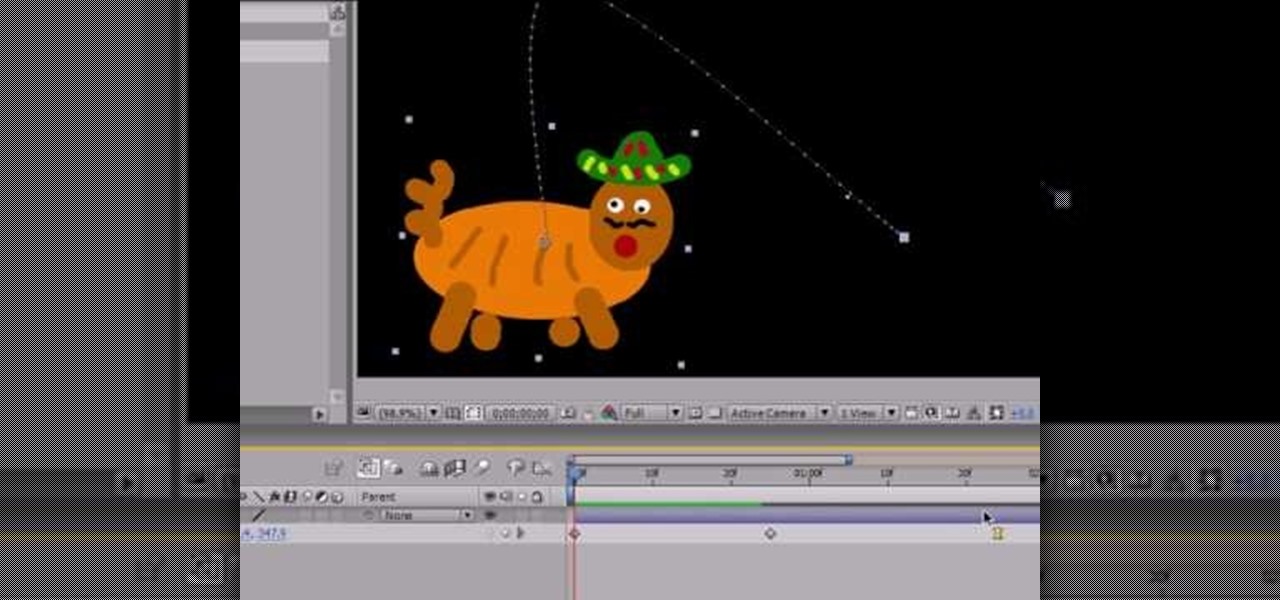
Get started using Adobe After Effects with the help of The New Boston! This beginner's tutorial is bound to answer the many questions you have about the popular digital motion graphics and compositing software. The main purpose of After Effects is for film and video post-production.
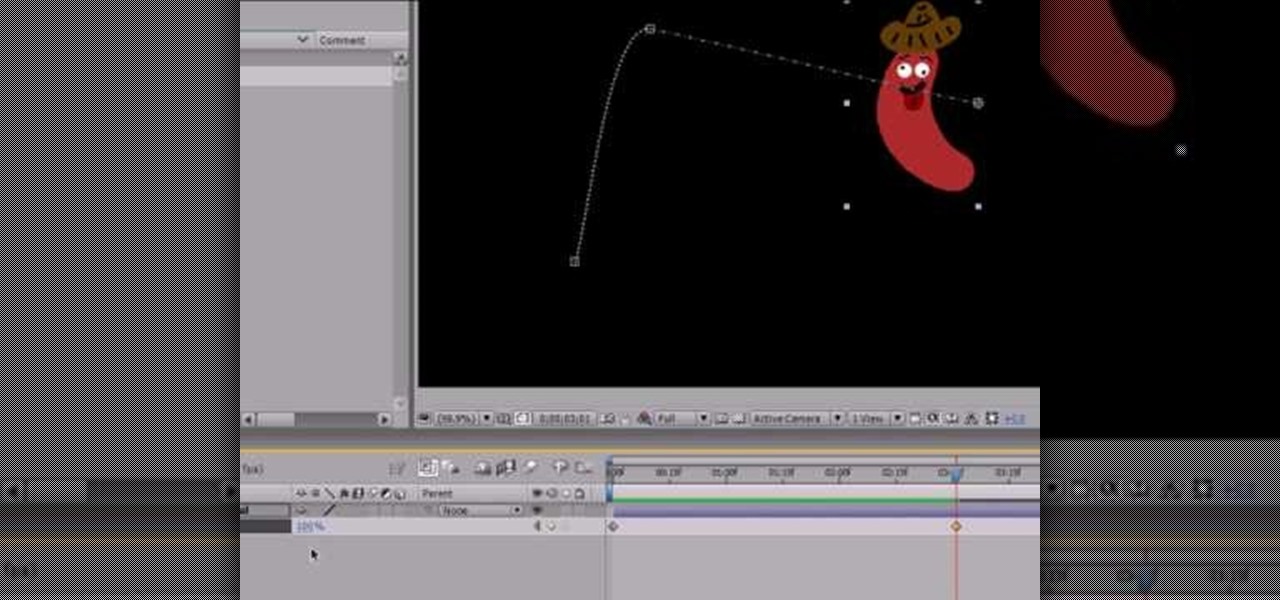
Get started using Adobe After Effects with the help of The New Boston! This beginner's tutorial is bound to answer the many questions you have about the popular digital motion graphics and compositing software. The main purpose of After Effects is for film and video post-production.
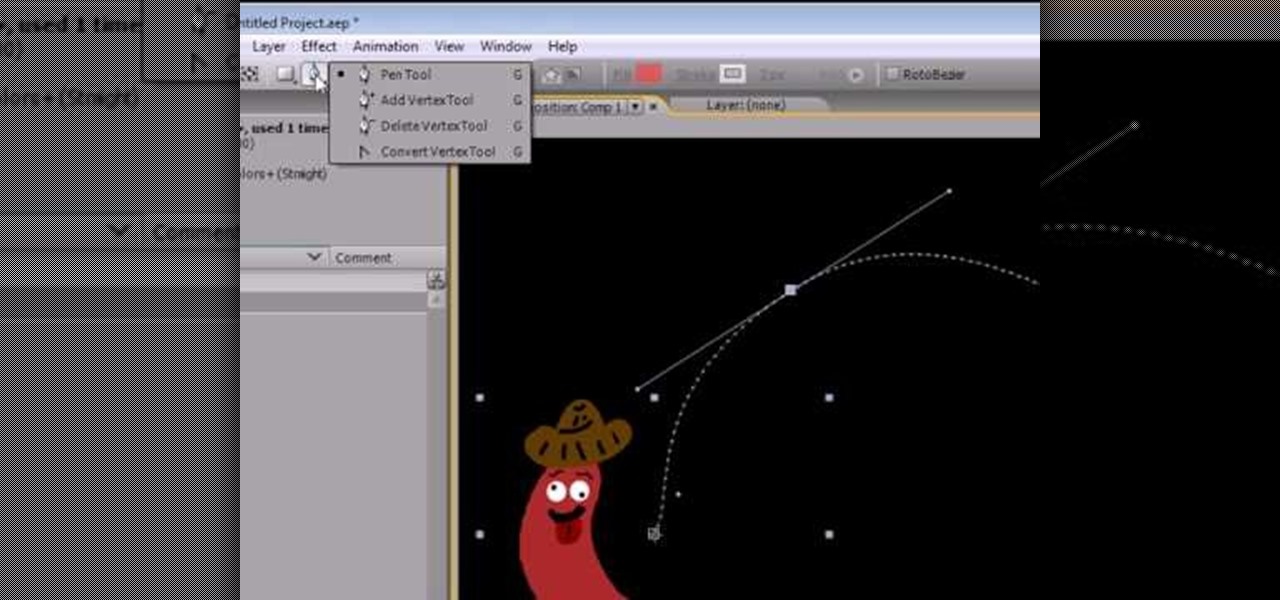
Get started using Adobe After Effects with the help of The New Boston! This beginner's tutorial is bound to answer the many questions you have about the popular digital motion graphics and compositing software. The main purpose of After Effects is for film and video post-production.

Get started using Adobe After Effects with the help of The New Boston! This beginner's tutorial is bound to answer the many questions you have about the popular digital motion graphics and compositing software. The main purpose of After Effects is for film and video post-production.

Get started using Adobe After Effects with the help of The New Boston! This beginner's tutorial is bound to answer the many questions you have about the popular digital motion graphics and compositing software. The main purpose of After Effects is for film and video post-production.

Instead of using Photoshop, why not give Apple's Aperture a try? Aperture is designed more for post-production work for professional photographers, letting you cull through shoots, enhance images, manage massive libraries, and deliver stunning photos.

Instead of using Photoshop, why not give Apple's Aperture a try? Aperture is designed more for post-production work for professional photographers, letting you cull through shoots, enhance images, manage massive libraries, and deliver stunning photos.

Instead of using Photoshop, why not give Apple's Aperture a try? Aperture is designed more for post-production work for professional photographers, letting you cull through shoots, enhance images, manage massive libraries, and deliver stunning photos.

Instead of using Photoshop, why not give Apple's Aperture a try? Aperture is designed more for post-production work for professional photographers, letting you cull through shoots, enhance images, manage massive libraries, and deliver stunning photos.

Instead of using Photoshop, why not give Apple's Aperture a try? Aperture is designed more for post-production work for professional photographers, letting you cull through shoots, enhance images, manage massive libraries, and deliver stunning photos.

Instead of using Photoshop, why not give Apple's Aperture a try? Aperture is designed more for post-production work for professional photographers, letting you cull through shoots, enhance images, manage massive libraries, and deliver stunning photos.

Instead of using Photoshop, why not give Apple's Aperture a try? Aperture is designed more for post-production work for professional photographers, letting you cull through shoots, enhance images, manage massive libraries, and deliver stunning photos.

One of the best extensions for Apple's Final Cut Studio is the visual effects and digital compositing application Shake. Shake is an image compositing package used for post-production, and it enables complex image processing sequences to be designed through the connection of effects "nodes" in a graphical workflow interface.

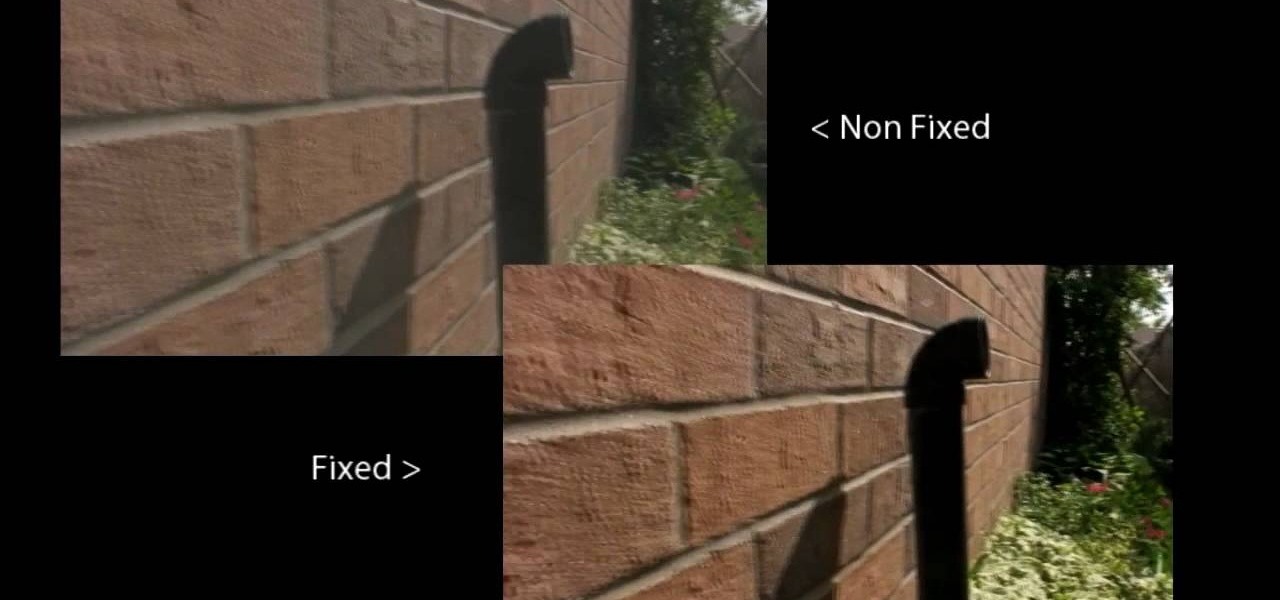
Ever notice the dreamy quality of a British sitcom? How about the "shellshock" look used in war movies? And we're all familiar with the look of an amateur home video, which can be...surreal. Believe it or not, these effects are created in the camera's shutter speed, and very rarely in post-production.

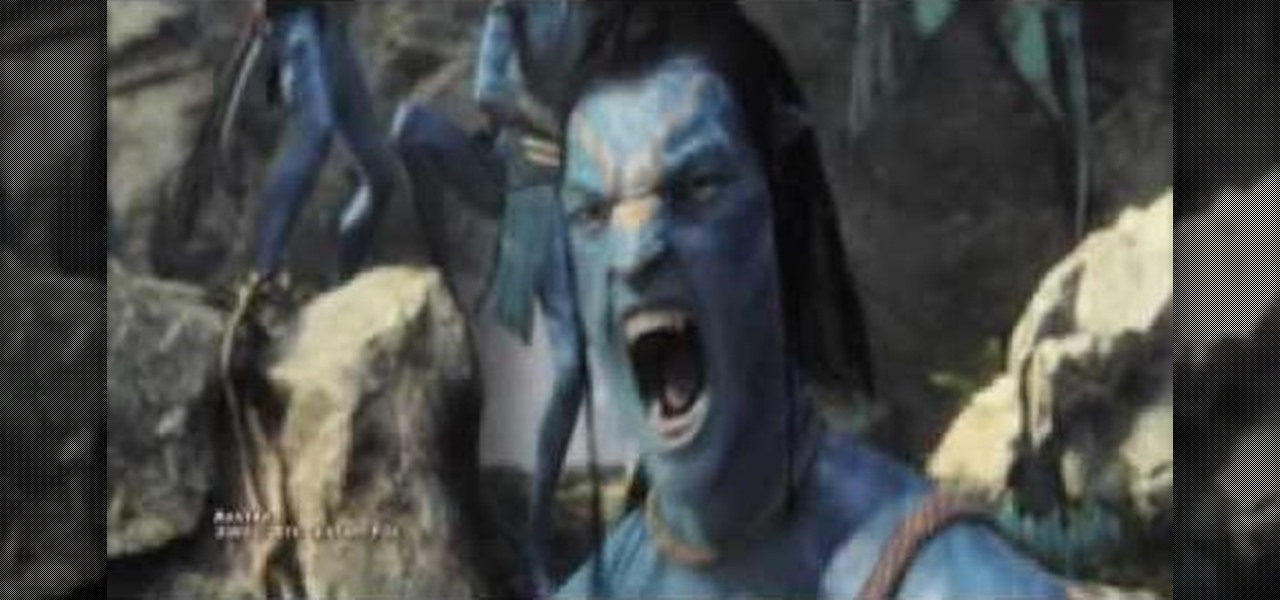
Is it your life goal to direct and produce a science fiction saga so tremendous and fantastic that people will be saying, "George Lucas who?" after they witness it? Then you need to begin your journey to geek stardom by learning the basics.

For various reasons — ranging from lens type to the frame rate to the storage medium —, footage shot with a camcorder doesn't really look anything like what one would see in a Hollywood film. However, with a little bit of work and a touch of post-production, you can make your consumera camera footage look a lot more like a commerically shot project.

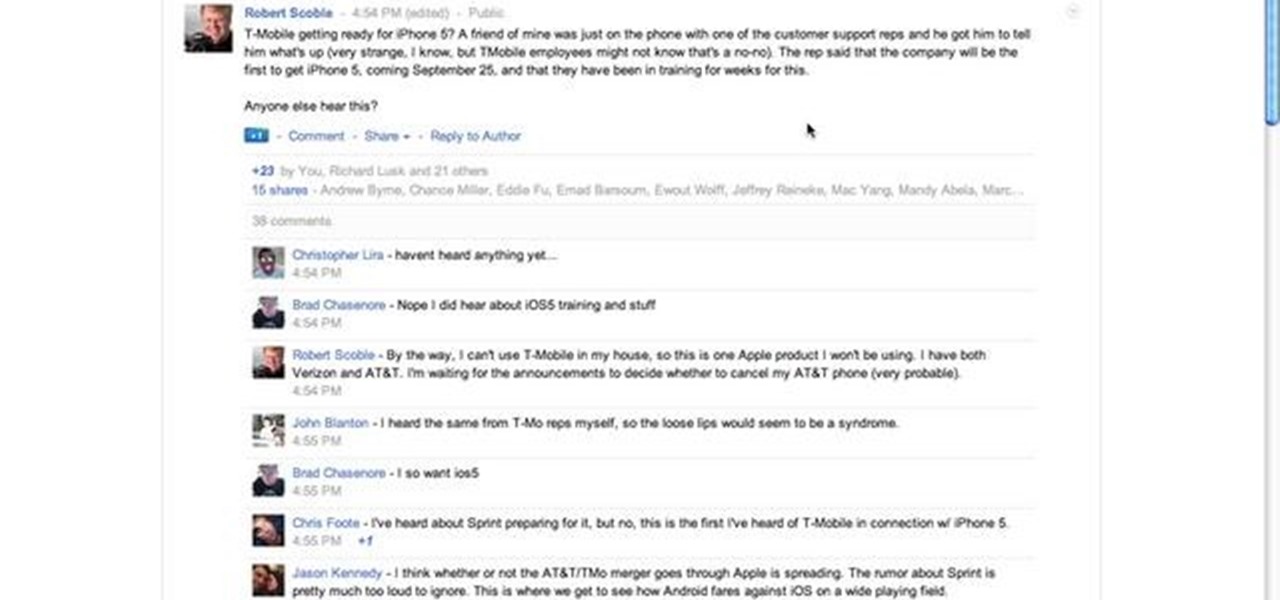
This tutorial features the different ways to interact with posts in Google+. For example, you can comment, share, reply to the author, or +1 a post that you see in your Google+ stream. Look for the buttons underneath the post to execute each option.

In this video tutorial, we learn how to use Tweet Auto Post, an application which permits its users to schedule and, later, automatically post tweets to the Twitter microblogging service. For all of the detailsm and to get started using Tweet Auto Post yourself, take a look.

Start blogging directly from Micrsoft Word! Use spellcheck, and never worry about your browser eating your post. You can write your own perfectly formatted blog posts using Word 2007. And when you're done, you can even publish the post directly from the program to your Word-compatible blog on the web.

Want to to blow up a subject to Brobdingnagian proportions in Final Cut Pro? Learn how to create a giant effect with masking in this clip. Whether you're new to Apple's Final Cut Pro non-linear video editor or just want to better acquaint yourself with the Final Cut Pro 6 workflow, you're sure to benefit from this video tutorial. For specifics, including a step-by-step overview of this great post-production trick, watch this FCP lesson.

Carlos Boozer teaches you how to master your post moves. Starting with getting good and deep post positions, posting up a defender, making use of basic post moves, giving defense a different look and passing out the post....Hope you learned something! And use it in your game! Carlos Boozer is showing you how to get to the post and score.

All the cash Magic Leap is amassing is probably going a long way toward hardware development and manufacturing, but it's also becoming increasingly clear that a large portion of that cash will be devoted to content. The latest proof is a new partnership between Magic Leap and the UK's Royal Shakespeare Company (RSC).

Make your cat happy by giving them a sturdy scratching post. They'll sharpen their claws – without tearing up your furniture.

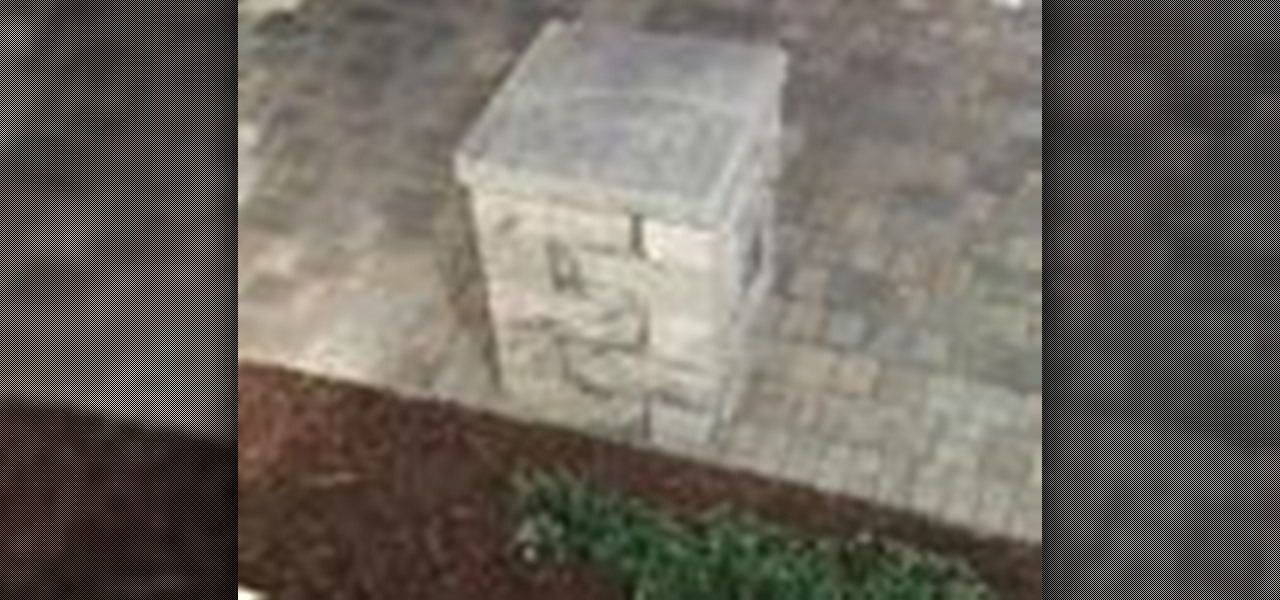
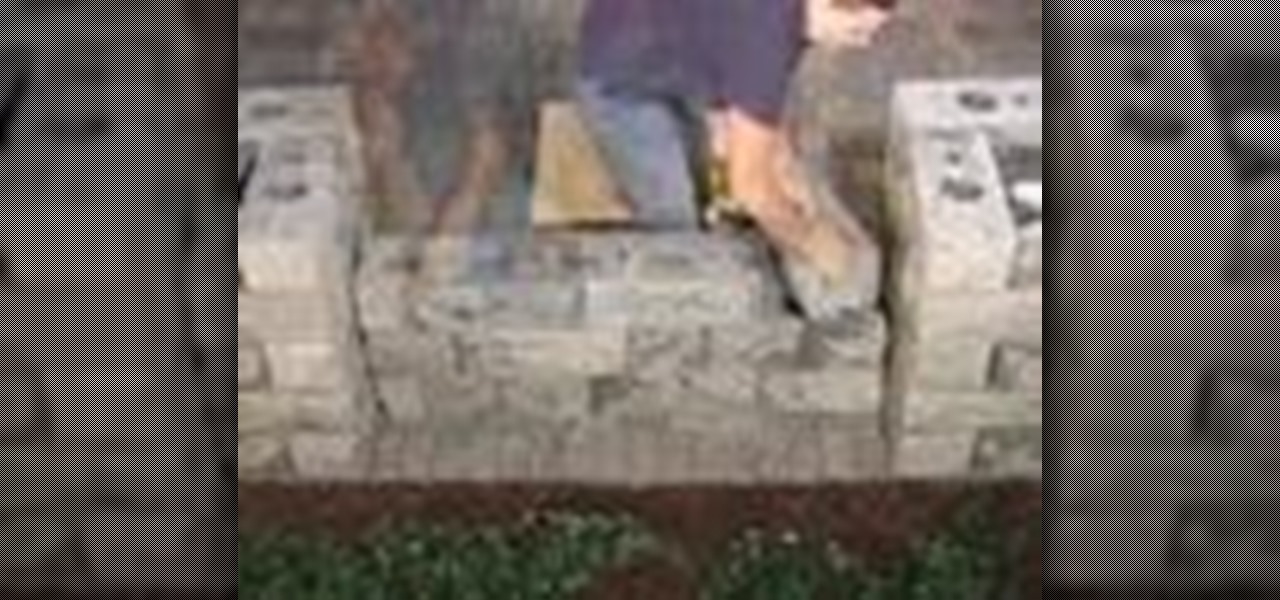
In this how to video, you will learn how to build a post. Court yard posts create beautiful accents to your yards. They can be used as entry monuments and fence posts. When using corner blocks, make sure the long sides are at the outside of the post. First, place these corner blocks in a square. Align the blocks with the square. Next, place four more blocks on top of the original blocks. Make sure the blocks touch two blocks. Keep on stacking them to the desired height. Add two post caps. Sec...

Instructions for building wall panels and posts using Alan Block materials. This is How-to Sheet #190, for the Courtyard Collection. Combine walls and posts in a three step process: build a post, build one wall off the post, then build a second wall off the first. Corner blocks help make perfect corners, and have one long and one short side. Offset the vertical seems by alternating. Blocks used for the wall include Dublin center-split, Dublin end-split, and York center-split. You will need to...

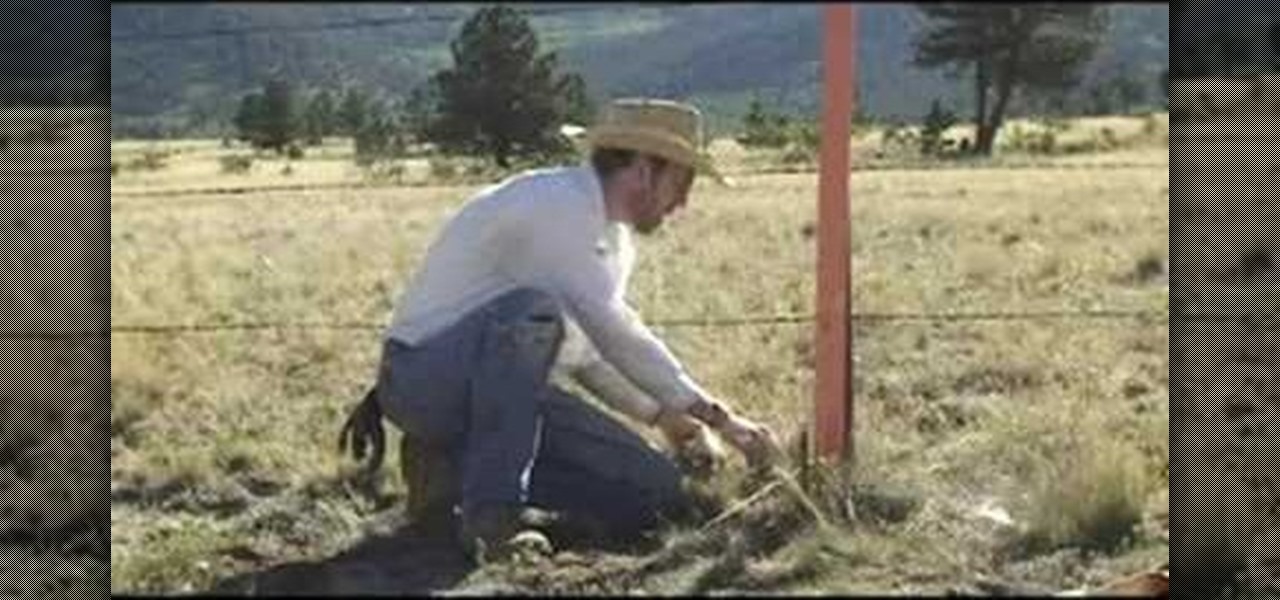
My how-to on Post and Dowel Fencing. My buddy Sven and I, with the help of landowner Rex, installing a massive post & dowel Fence. You need a level, post hill driller, rock bar, and stakes. There are terminator, corner and line posts that have holes specifically for its position in the fence. It's like Lincoln logs that snap together. Lengths of the post vary, but you want 1/3 of the post underground. This is great for lining your property or farm.

General Motors (GM) has begun production of 130 Chevrolet Bolt EV driverless test vehicles at its Orion Township, Mich. plant as it expands its fleet to total 180 models deployed in San Francisco; Scottsdale, Arizona; and Detroit.

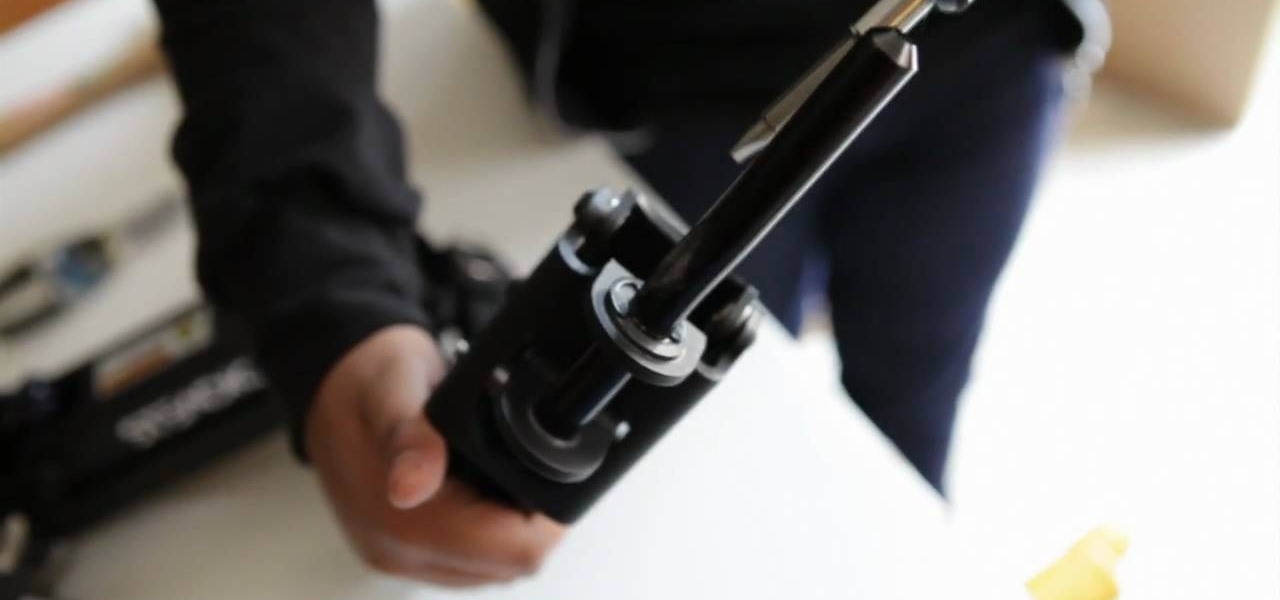
The lady shows how to make the steadicam arm to work with glidecam stabilizer. The steadicam arm is made such as only a steadicam can be fitted on that. The video describes how to make the usable for glidecam with three simple tools ,a 10 ounce hammer ,a long nose player and a flathead screwdriver. First take out the circular clip with which the post is secured with the screwdriver unscrew and pull the post out .Using the hammer straighten the post .The post will have a scratch but the straig...

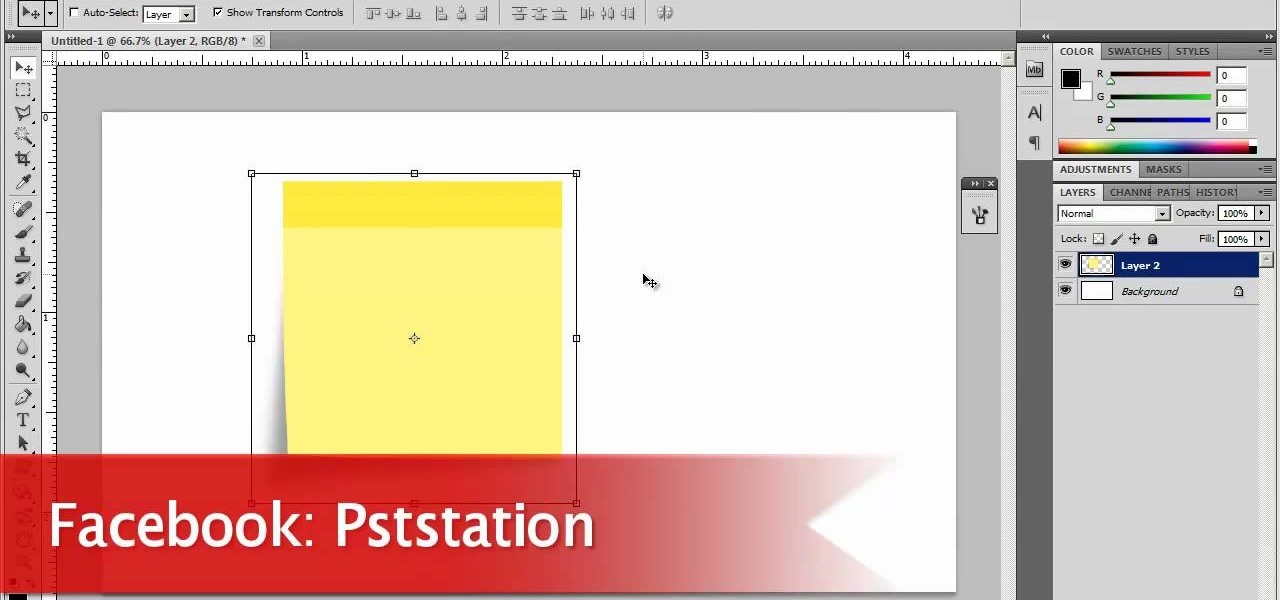
Now, instead of leaving Post-It notes on a monitor screen, you can create virtual Post-It notes in Adobe Photoshop! This is a quick tutorial for the intermediate to advanced user of Photoshop, showing you how to create a square, yellow graphic that looks strikingly like the Post-It notes you can find at office supply stores! Add to your website, incorporate in PowerPoint presentations, or use wherever you see a need for a virtual sticky note!

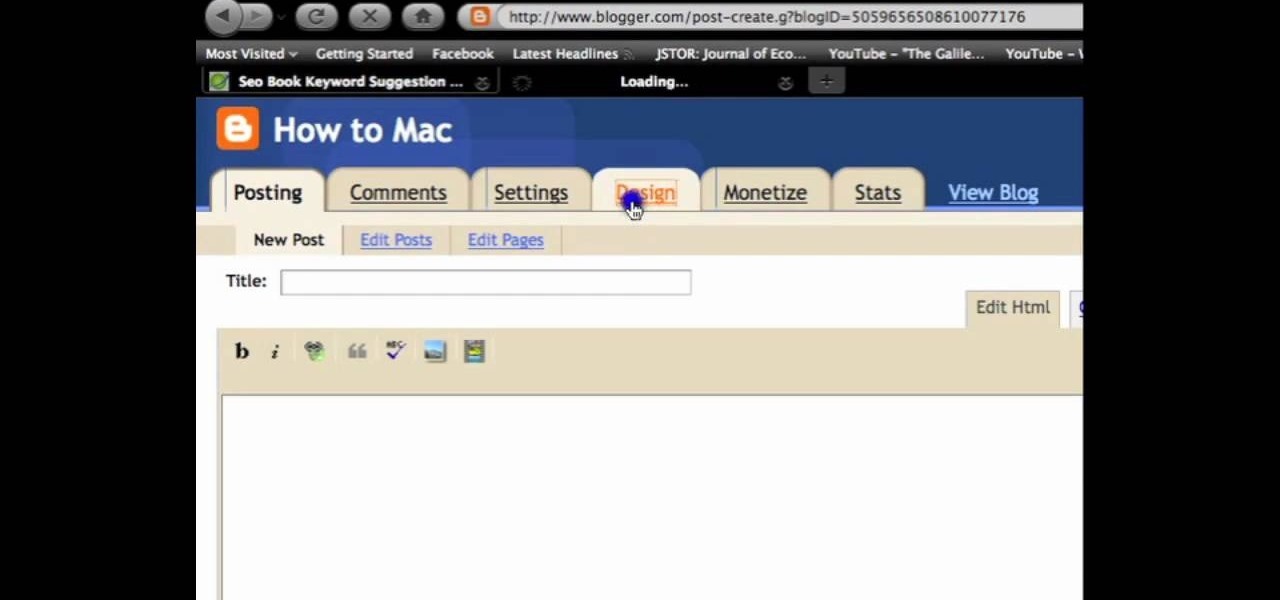
Sometimes when making a blog post you'll want to post it without any date whatsoever. To do this is easy, and this short how-to from How to Mac, makes it easy as pie. This is a tutorial on how to turn off dates on your blogger blog posts. If you want to change the blog post dating system click on the formatting tab and change the first setting. To completely turn the dates off make sure you de select both the first and third option in the edit blog post window.

Now when you use WPtouch to post a blog entry, you can select a graphic or thumbnail to go with it. All you have to do is add a media file and then associate with your post. Then you go into Post Listings Options in the General Settings and enable the thumbnail option. You're also shown how to change the font of your post titles.

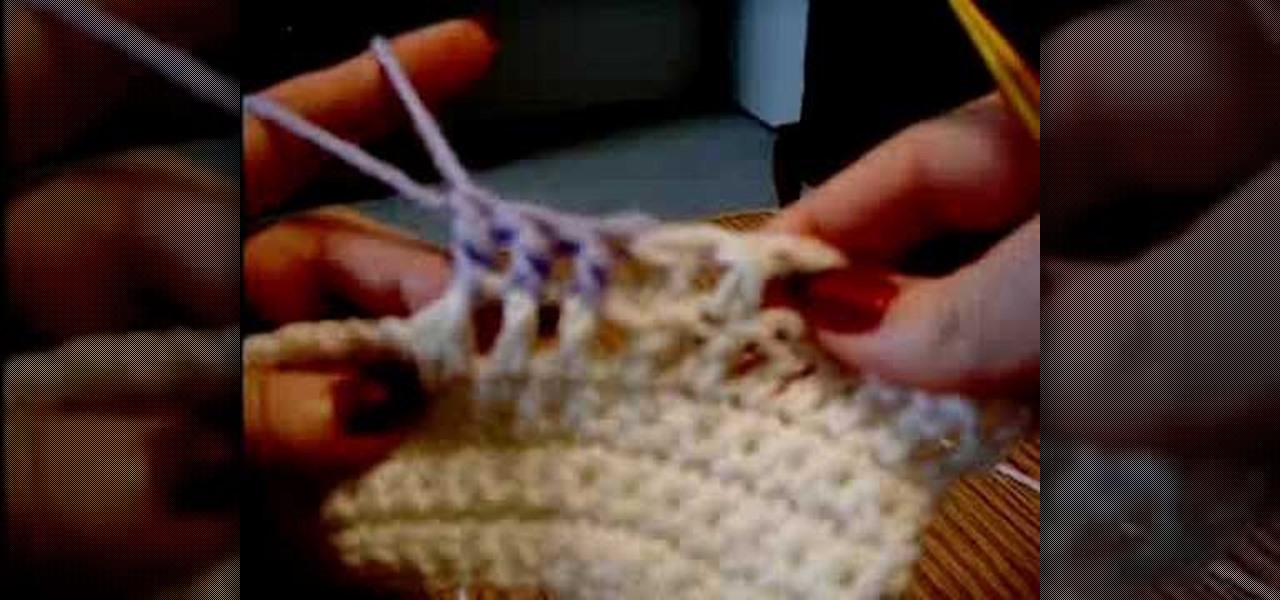
The person in the video demonstrates how to do a front post and a back post double crochet. First she shows you what a post is. The body of the previous row of double crochet is the post. To do a front post double crochet, you should loop the thread over the hook and put the hook under the post through the hole before it and bring it out from the hole on the other side of the post. Then you can loop the thread over the hook again and pull the hook out through the same way it went in. Then you...

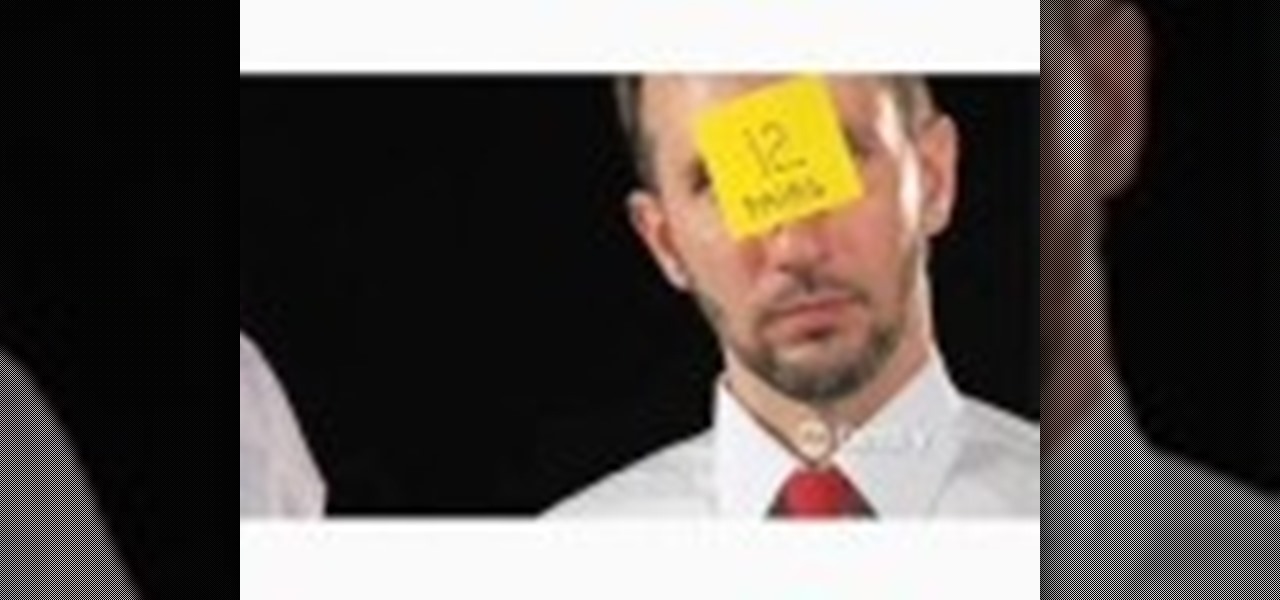
From the creators of the Diet Coke and Mentos experiment, EeepyBird demonstrates how to have fun with sticky notes. All you need is a stack of post its, and a glue stick. Glue each post it to one another, alternating sides, to create a chain. Next connect in a post it circle & you get an amazing post it pinwheel! Fun paper craft project. Enjoy.

Preproduction work when making glass beads will ensure your tools are working correctly, and your glass is ready to melt. Learn about preproduction for glass working with this free jewelry making video series.

This video series covers the three offensive moves for low post situations. After an introduction to the 3 in 1 moves, see how to do the fake and fade away, the shot fake and pivot, and the fake shot fake shoot.

Post-it notes are definitely not the chicest of accessories. After all, they spend 99% of the time grazing our office cube walls and computers and organizers. But they can be turned into a hefty decorative item when you slip one of the pads into this scalloped bright post-it note holder.

Post-mount brakes are just one of many types of brakes that can be installed on a mountain bike. This video features detailed instructions on how to set up a post mount brake on an IS mount, making your mountain bike stop like Deepwater Horizon spill refuses to. It is a complicated process, but a rewarding one.


