Peekfreak is a collaborative project between industrial designer Wai Lam and photographer Yann Huey, both hailing from Malaysia. The aim of the project is create experimental cameras made from household junk (such as plastic food containers, discarded bicycle parts, and floppy disks).

Do you know your constitutional rights if stopped by the police? Washington Post recently ran an interesting article on "10 Rules", a docudrama produced by the D.C. nonprofit Flex Your Rights.
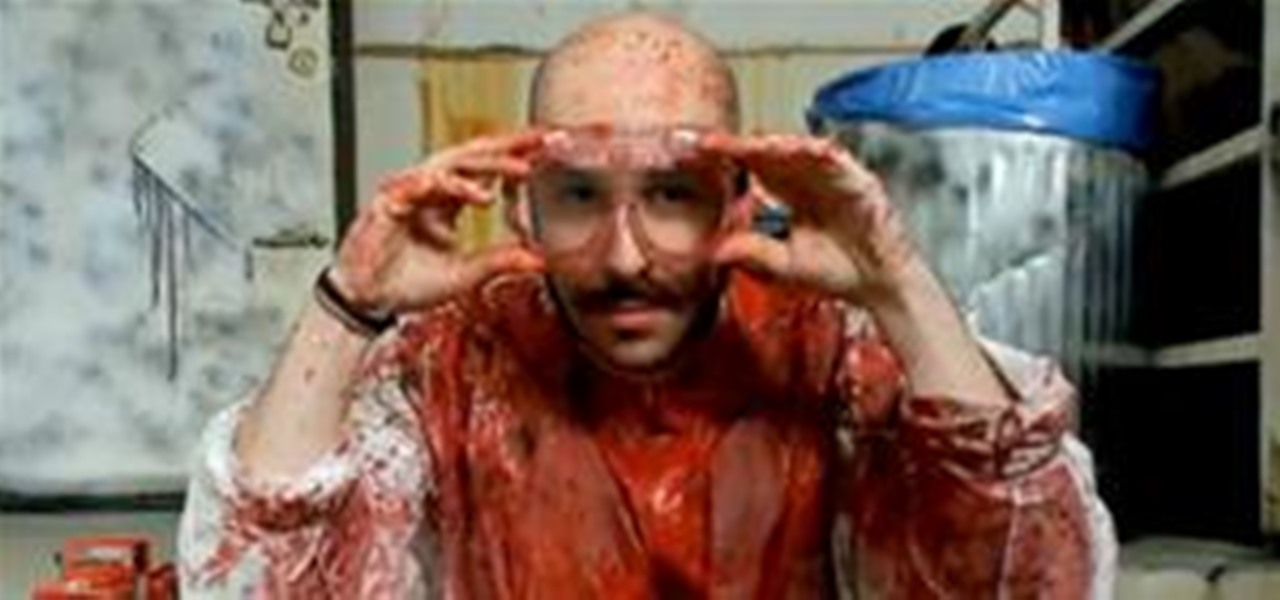
With an impressive series of viral music videos to their name, it is no surprise that the latest video from indie rockers OK Go is another hit. The video is directed by James Frost, in collaboration with Syyn Labs, a collective of engineers that work on elaborate art projects. A huge Rube Goldberg machine was built in a warehouse, for a one-take video for the song This Too Shall Pass.

Felix Baumgartner plans to leap a record 120,000 feet, breaking four world records. If all goes well, Baumgartner will set records for highest altitude freefall, longest distance freefall, highest manned balloon fight, and fastest speed freefall (he will actually break the sound of speed!).

Google announced that they are selling Motorola to Lenovo for $2.91 billion, seemingly marking the end of their partnership that began 19 months ago.

Imagine if Apple sold customized, jailbroken iPhones at their retail stores. Do you know how freaking awesome that would be? Knowing Apple and their extremely tight-assed regime, it's more likely that Tony Romo will actually win a Super Bowl (Cowboys burn).

Did you miss that new episode of your favorite show? You could get a hulu or a netflix account, but then you have to pay per month. Here are some free alternatives. Like always I am not responsible for anything that happens.

Do you know anyone that's infatuated with themselves and is currently in need for some good speakers? No? Well, just in case you do, here's a neat Christmas present idea for your narcissistic speaker-less friend. But, let's be realistic—why would you make these for anybody but yourself?

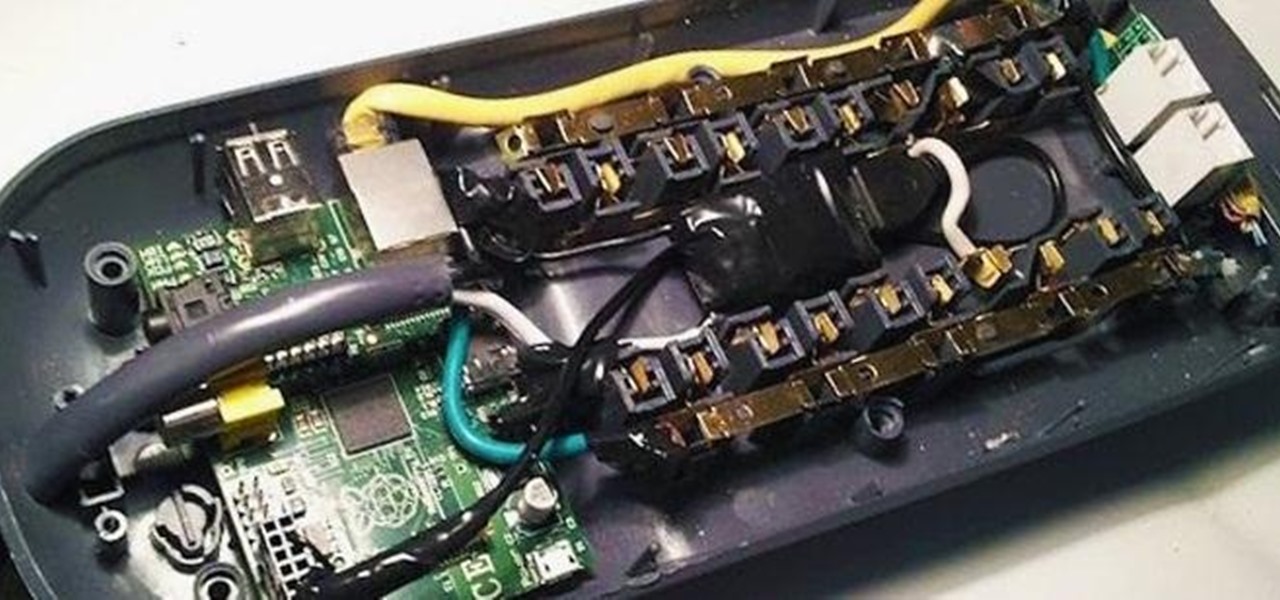
Remember the Power Pwn, the clever little hacking tool disguised as a power strip? It's great in theory, but with a $1,295 price tag, it definitely doesn't fit into most people's budgets.
HOW TO CAPTURE STREAMING MEDIA many websites stream songs and videos

If you're not into making your own Scrabble coasters out of Scrabble tiles, these are the next best thing (though a little more complicated). And better than having tons of tiles on the same coaster is just being one tile itself, so you can make words out of the coasters! Though these are undeniably cool, Pete Prodoehl of RasterWeb!, the mastermind behind these coasters, is calling this his beta versions. Why? Some minor problems with sanding, cork, and staining. I still think they look prett...

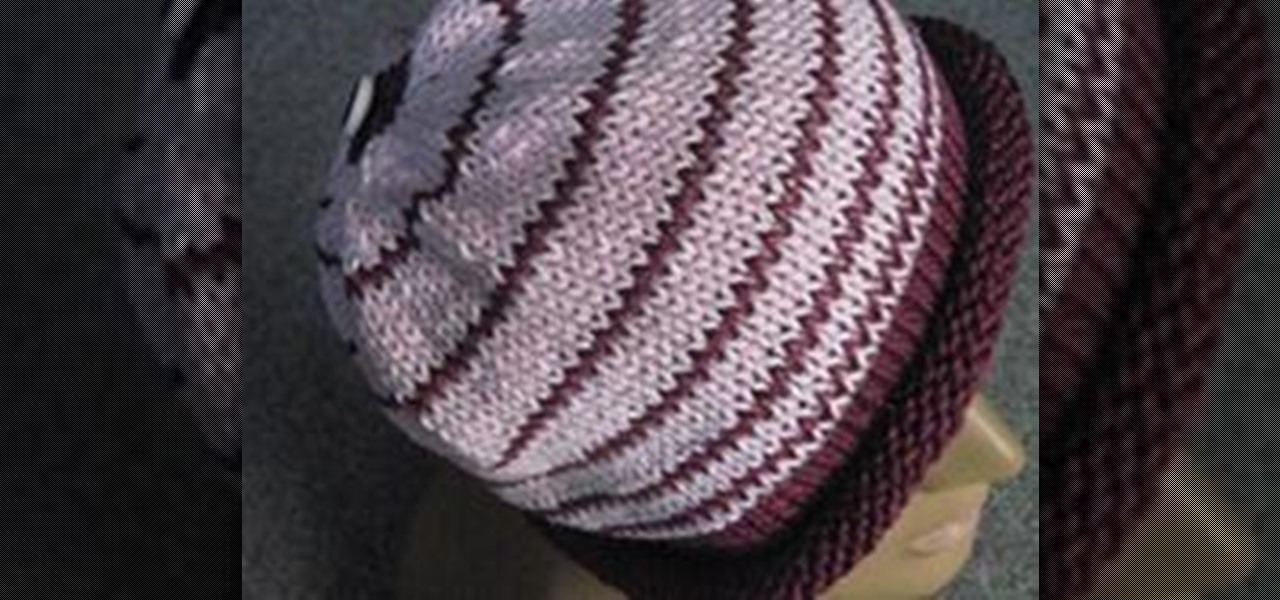
This is a fun project and a good way to use up small amounts of yarn. Just follow the easy steps below for knitting a color-graded hat.

Things you'll need: Glass or shallow bowl

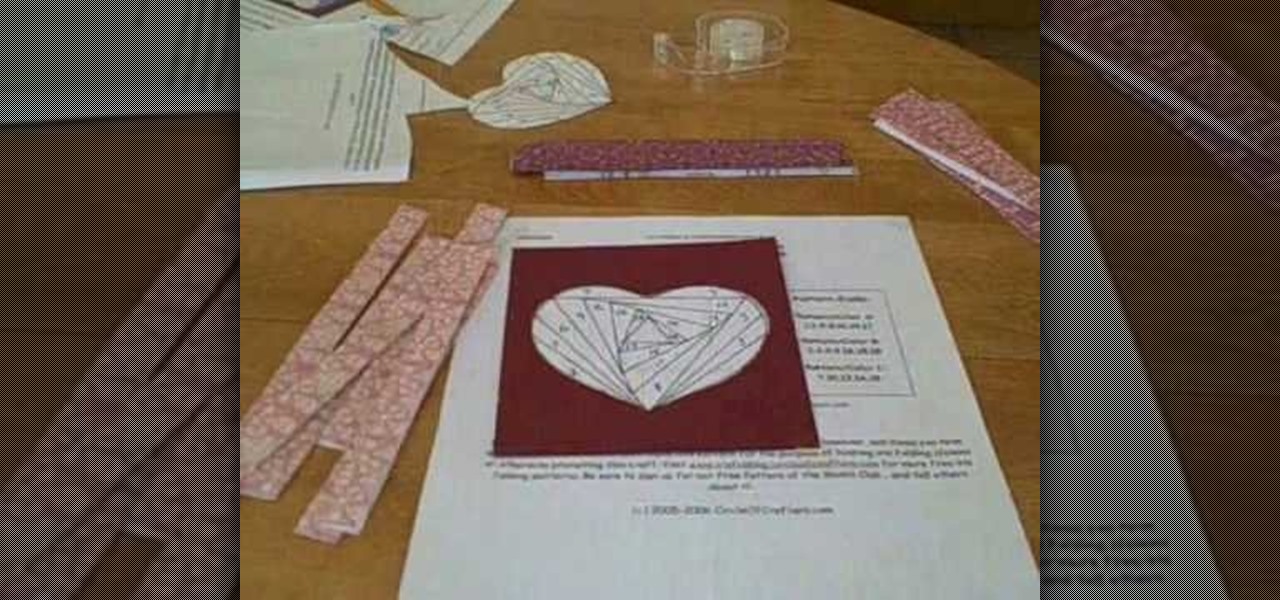
If you're new to iris folding, then let this beautiful Valentine's Day project be your introduction to this complexly layered yet easy to do paper folding style. Iris folding is based on the iris, or opening, of a camera, with multiple layers folding on top of one another until you get to the opening in the center.

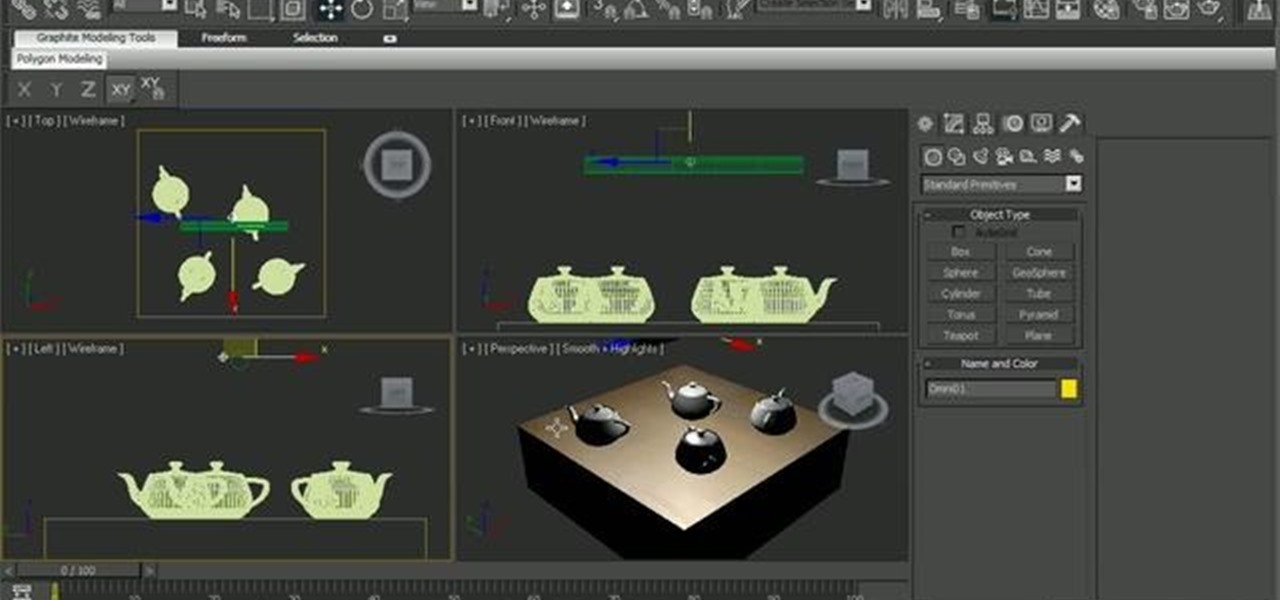
In this clip, you'll see how to create custom shaped light sources using simple meshes and adding an Arch&Design shader to it to render the scene with Mental Ray. Whether you're new to Autodesk's popular modeling software or a seasoned 3D artist just looking to better acquaint yourself with the application, you're sure to be well served by this video tutorial. For more information, and to get started using shape lights in your own Max projects, take a look!

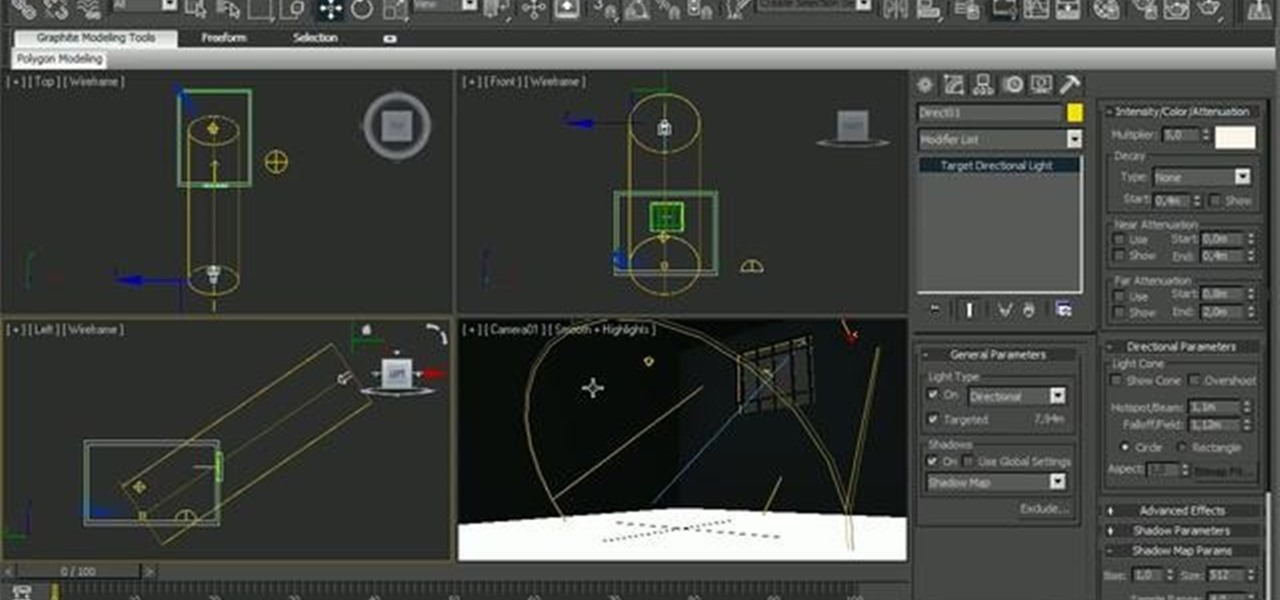
This clips presents a look at the standard volume light, one of the oldest 3ds max features. See how to add it on the scene, how to tune its volume parameters, attenuate it and create complex final looks like the addition of dust in the air. Whether you're new to Autodesk's popular modeling software or a seasoned 3D artist just looking to better acquaint yourself with the application, you're sure to be well served by this video tutorial. For more information, and to get started using volumetr...

See how to create a realistic depth of field effect with Mental Ray in 3ds Max 2010. Learn how to add it to a scene, working with its parameters, and how to control it to achieve desired results. Whether you're new to Autodesk's popular modeling software or a seasoned 3D artist just looking to better acquaint yourself with the application, you're sure to be well served by this video tutorial. For more information, and to get started using this useful effect in your own Max projects, take a lo...

This clip presents a general introduction to Blender's useful built-in interaction presets. Whether you're new to the Blender Foundation's popular open-source 3D computer graphics application or are a seasoned digital artist merely on the lookout for new tips and tricks, you're sure to be well served by this free video software tutorial from the folks at CG Cookie. For more information, including step-by-step instructions on how to use these presets in your own Blender projects, take a look! ...

Want to create a replica of your 3D object? This basic tutorial covers the duplicating of objects into copies and instances in 3ds Max. You will learn the difference between making a reference, a copy and an instance. For detailed information, including step-by-step instructions, and to get started duplicating objects in your own 3ds Max projects, take a look. Clone objects in 3ds Max.

Paths and vector masks will be discussed in this video. Vector masks give you the ability to cut through your images in a precise way in order to create cool effects. Whether you're new to Adobe's popular image editing application or simply looking to brush up on Photoshop CS4, you're sure to enjoy this free video tutorial. For detailed instructions, and to get started vector masking in your own Photoshop projects, take a look. Create vector masks in Adobe Photoshop CS4.

From ZDNet: "A group of students in China have created PhotoSketch, a project that does exactly what I just described: it takes a rough, hand-drawn sketch, scours the web for photos that match, and runs them through an algorithm, stitching it all together."

Create impact with your hanging baskets by following Rachel de Thame's comprehensive guide to planting up a traditional hanging basket, with advice on choosing and lining your container and tips on selecting and positioning your plants.

Discover the theory behind crop rotation, with Monty's back-to-basics video advice to giving optimum growing conditions for vegetable groups such as potatoes, legumes (beans, peas etc), brassicas (cabbages, cauliflowers, radishes), root vegetables (carrots, parsnips).

Adobe InDesign CS4 software is used to create compelling print layouts, immersive content for playback in the Adobe Flash® Player runtime, and interactive PDF documents. It is built for graphic designers, prepress and production professionals, and print service providers who work for magazines, design firms, advertising agencies, newspapers, book publishers, and retail/catalog companies, as well as in corporate design, commercial printing, and other leading-edge publishing environments. Simpl...

Adobe InDesign CS4 software is used to create compelling print layouts, immersive content for playback in the Adobe Flash® Player runtime, and interactive PDF documents. It is built for graphic designers, prepress and production professionals, and print service providers who work for magazines, design firms, advertising agencies, newspapers, book publishers, and retail/catalog companies, as well as in corporate design, commercial printing, and other leading-edge publishing environments. Simpl...

You can't get away with working in Flash CS3 and not using ActionScript and code forever. If you are ready to make the jump and get started with basic coding, watch this tutorial. This tutorial starts with a visual analogy about how streaming Flash video works and moves on to explain the basic Action Script code behind delivering Flash video.

Modo community member Roger Harris explores his techniques for modeling, texturing and lighting a glass bottle in modo 203. If you are new to modo, this tutorial series should help you learn the basics of the software by taking you all the way through a project. Learn basic modeling, texturing and lighting in this modo tutorial. Model, texture & light a glass bottle in modo 203 - Part 1 of 3.

In this sixth part in the series on building your deck, you will be installing the structure that will support the joists and flooring of your deck. It is critical that these parts are sturdy and solid. Before you begin framing your deck, you should have the ledger installed along the house and the concrete pads poured and dried thoroughly. These create the various supporting elements for your deck. Next to the house, the deck joists will be attached directly to the ledger. Meanwhile, the con...

Prefer a clear, hand-rubbed, "antique" finish to the shiny or satin sheen of varnishes? Then you will want to use a tung oil-based topcoat applied over an oil-based stain when you are staining or refinishing your special piece of furniture.

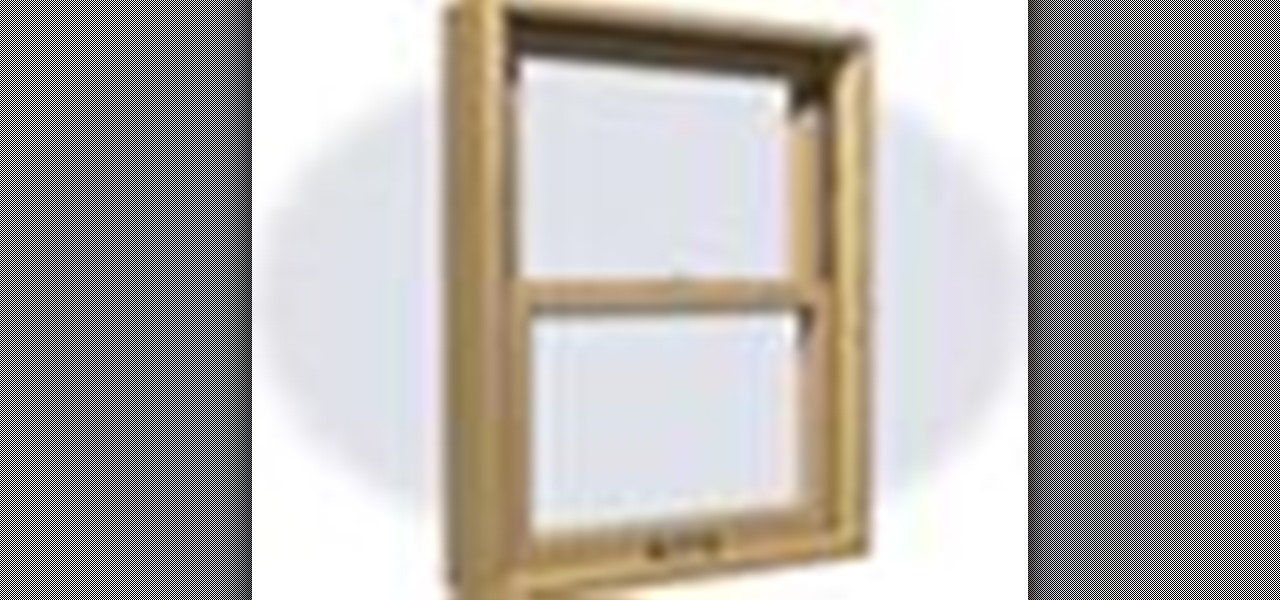
Windows are the eyes to the home's soul. Keeping your windows attractive and in good working order will only add value to your residence.

Feel that chilly draft coming through your doors and windows? It might not be as difficult or costly to solve as you might think!

As a home owner, you should pay careful attention to the trees that surround your house. Dead limbs and some smaller "roughage" can pose a danger to you and your family, as well as your home, if your trees are not cared for properly. Essentially, proper pruning is essential for a healthy and aesthetically pleasing tree. Pruning is needed when first planting a tree to control its growth and to help develop its shape. Pruning can help spur growth in foliage, fruit and flowers as well as remove ...

Do you need a simple, yet attractive way to move about your yard or garden? Stepping stones create a very natural looking walkway through a garden or to the front door of your home. There are a multitude of materials that can be used as stepping stones, everything from large flat field stones that you have unearthed from your gardens to flag stone or the manufactured stepping stones found at the local garden shop. These represent only a few of the choices that you have available. For complete...

Each year, if you have an asphalt driveway, it is important that you sealcoat your driveway against the elements. Doing so regularly will prevent the cycles of melting and freezing water from destroying your driveway. After you have patched the large cracks (over ¼") and holes in your blacktop by folllowing our tutorial on Repairing Asphalt Cracks, you are ready to start sealcoating the entire driveway. Be sure that you are wearing old clothing (this is not a "clean" project), that the temper...

Tommy had debated on whether he was going to show the viewers the hidden drawer in the Bombe, which is typical of a period piece. Considering how the early podcast at the museum showed how it was taken apart, he figured why not. Using scrap wood he has saved while working on the project, Tommy begins construction on his first hidden drawer. He’ll need to mill the pine, cut the sides and glue the bottoms. While waiting for the glue to dry, he demonstrates how to cut dovetails again.

In the first part of this video tutorial on creating a 3D watch animation, Creative Cow member Eran Stern shows you how to use Photoshop CS3 Extended to create different images of a 3D watch. In part two you learn how to use After Effects CS3 to create animated hands for the 3D watch, then in part 3 you'll learn how to transition between the different 3D images, and to create a final animation project. Create a 3D watch animation in After Effects CS3 - Part 1 of 3.

Knowing how to make a TASSEL is a very useful technique to know. You can attach them to a scarf, a hat, a shawl...there are many uses for a TASSEL.

This recycling project would surely make Salvador Dali proud. Kipkay outlines the process, from old vinyl record to cool analog clock. Just pick out an appropriate record, place on cookie sheet and soften inside the oven. Then take the clock mechanism from an old cheap clock and attach to the record. This may not fit with all of your décor, but who cares?

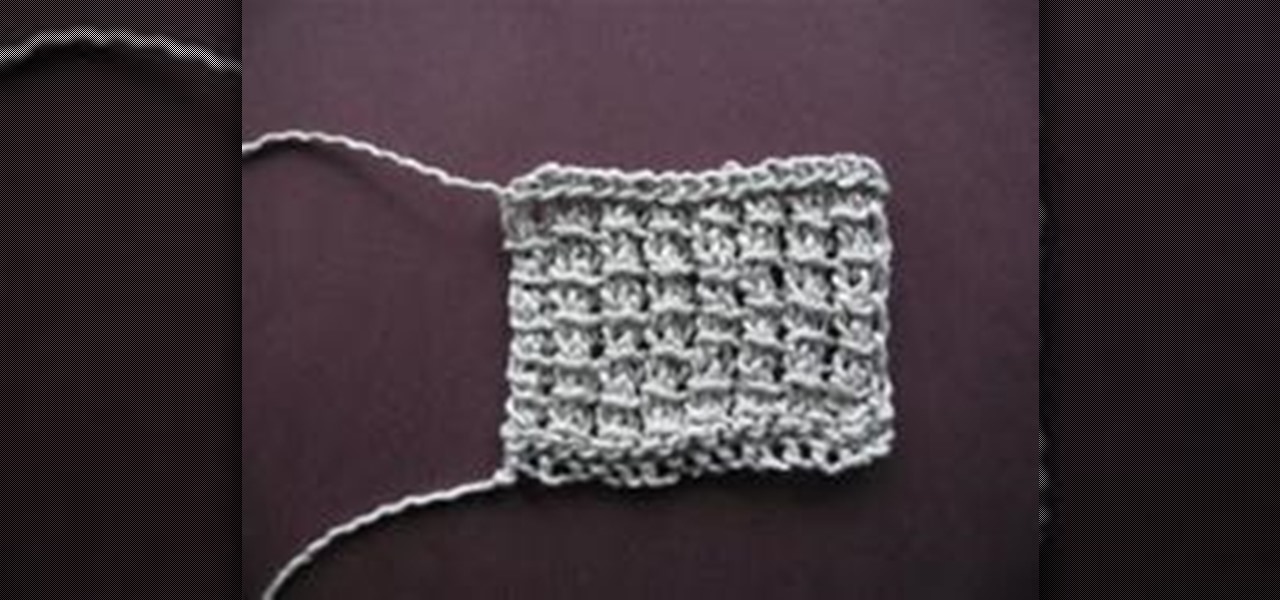
The bamboo stitch is a beautiful, versatile stitch that can be used for lots of different kinds of projects. I especially love using it for baby blankets and scarves. It is an easy, reversible stitch. Both sides aren't the same, but both are very nice looking.

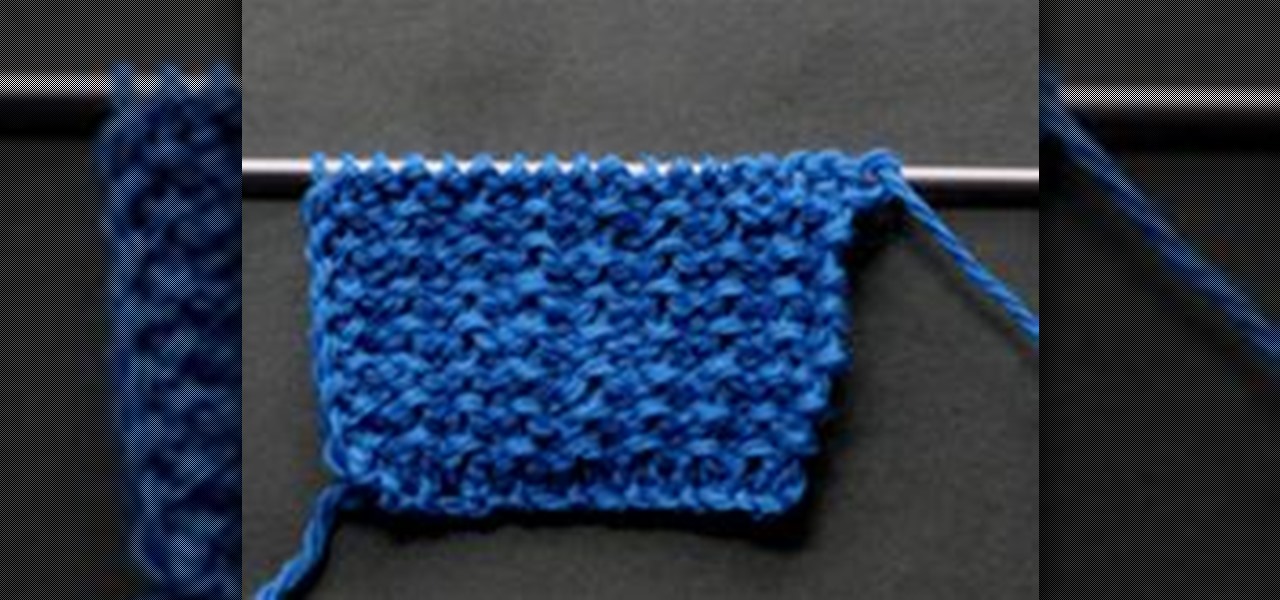
The rice stitch is another easy and versatile stitch. Both sides are different, however they both look nice. This means the work can be used on either side. Pictured in the thumbnail image above is side one of the rice stitch. Pictured below is side two of the rice stitch.


