Watch this ceramics tutorial video to learn how to use some more advanced glazing techniques to make the inside different than the outside. The detailed instructions in this helpful how-to video are best for intermediate to advanced potters who want to glaze both the inside and the outside of their pottery.
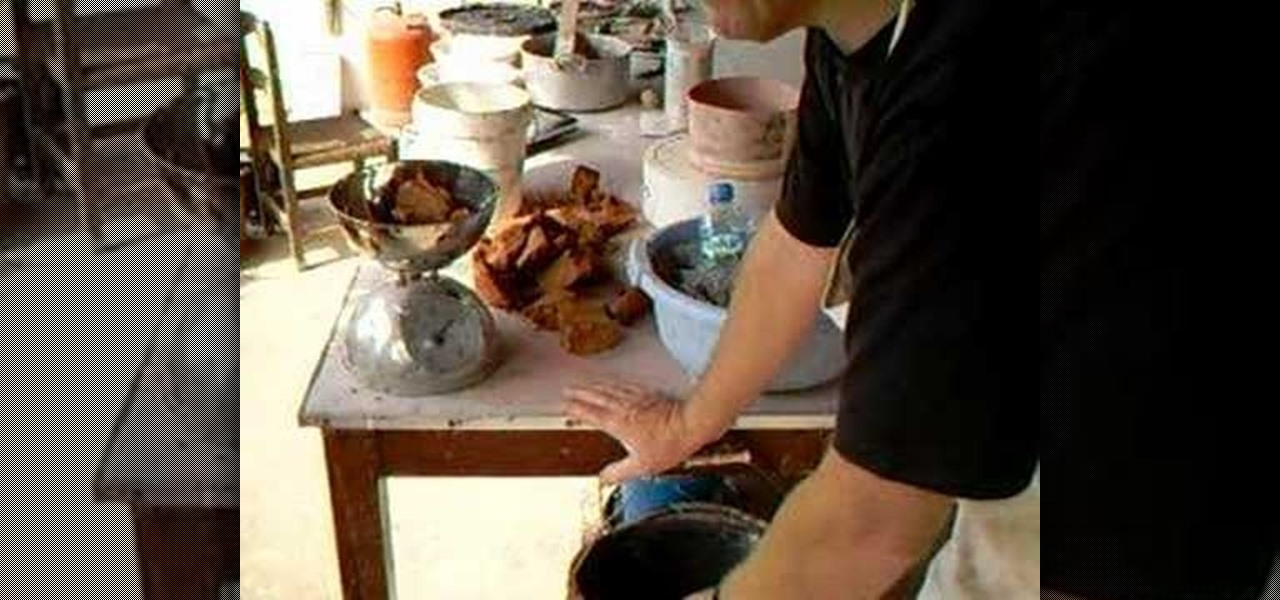
This method of making glaze utilizes environmental supplies. That way there's no need to rely on a clay supply store, so it's great to save money or time if it's a distance to the nearest supplier. Watch this video pottery tutorial and learn how to make a simple ceramic glaze for firing out of clay remnants and wood ash. It's appropriate for use on raw glazing projects as well.

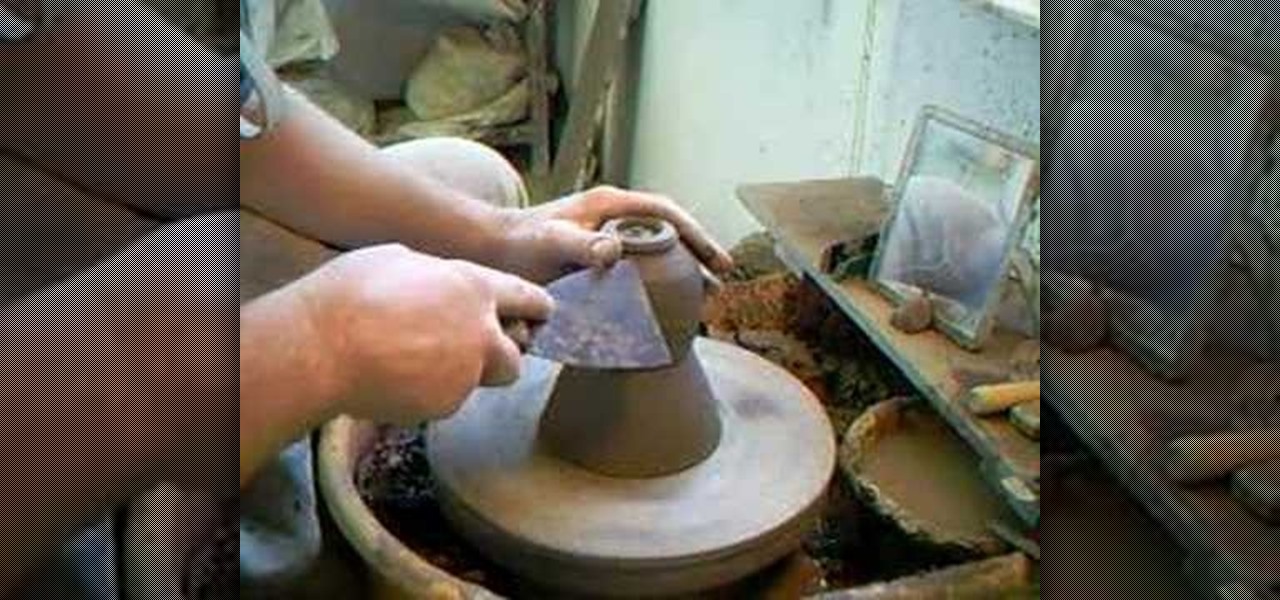
Watch this ceramics tutorial video to learn how to throw a squashed vase using clay and a pottery wheel. This how-to video offers detailed instructions that are not geared for beginners--a decent amount of experience is needed for this project. Intermediate potters will be throwing squashed vases in no time thanks to this instructional video.
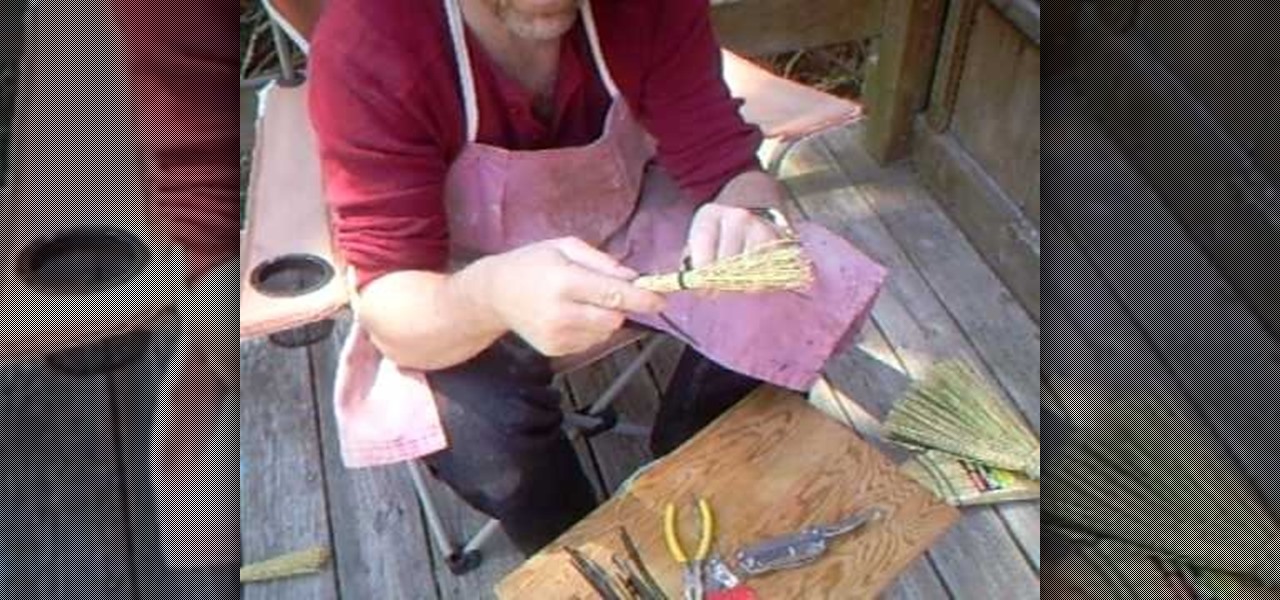
In this video, Simon Leach steps away from his wheel for a few minutes to teach potters everywhere how to make a "hakeme" brush at home out of basic items. This brush can then be used to slip decorate your pottery and other ceramics.
A perfect idea for a gift this holiday season! Throw a mixing bowl or ceramic serving dish on a pottery wheel. Make sure you use a non toxic glaze, with no lead in it, if you're using it to store or serve food!
We've seen lots of interesting inspiration for cake decorating, including trees, purses, and polar bears, but never a vase. In this video tutorial you'll learn how to craft an impressive cake inspired by Wedgewood pottery.

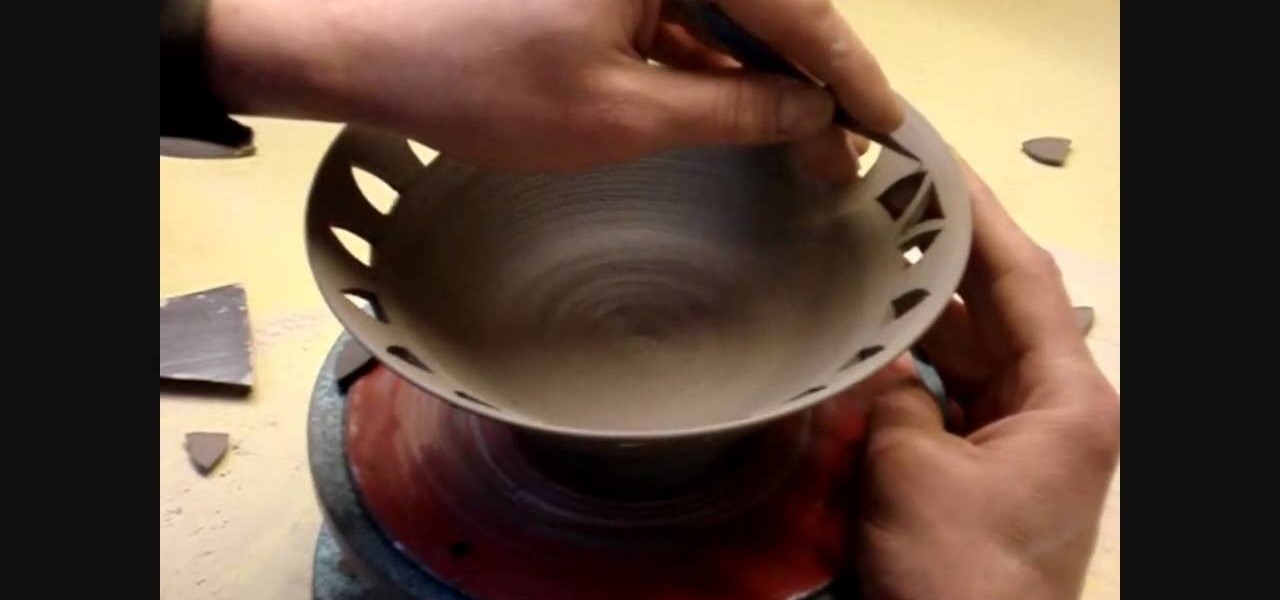
Ingleton Pottery demonstrates how to pierce carve a clay pottery bowl. First, form your bowl on a potter's wheel. Then take a blade to the undried clay bowl and score your design into the bowl using the piercing technique. Gently press out the design so that the clay is removed from the negative space created by the scoring marks. Continue making the design around the bowl. You can make intricate designs around the bowl using the piercing and scoring technique. Be careful not to damage the bo...
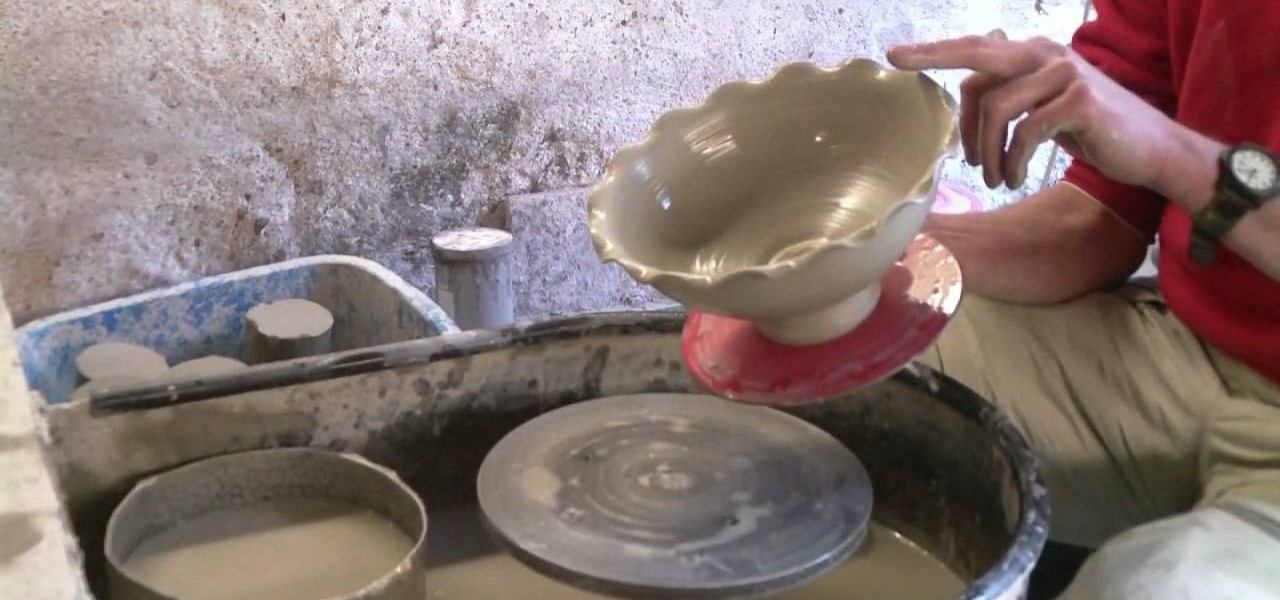
This video illustrates the method of throwing a wavy edged pottery bowl. This process comprises of the following stepsStep 1This process needs clay, pottery wheel and water in a bowl.Step 2Place the clay on the moving wheel.Step 3Now give the clay a desired shape with the help of your hands.Step 4keep wetting your hands at desired intervals and insert your fingers inside the clay so that it gives you the shape of a bowl.Step 5When your desired shape and size is ready take the clay bowl out of...
When you're putting a handle on a mug, you need to think about the state of the clay of both the mug and the handle. The ceramic clay needs to be a bit harder and drier than right after coming off the pottery wheel or being sculpted, but not so dry that the clay won't stick. Check out this video pottery-making tutorial and learn how to attach a handle onto a ceramic mug.
Check out this ceramics video sequence to learn how to shape tall pottery using a potter's wheel. Follow these easy steps by Andy Ruble to create shapelier, taller pottery. This video is great for ceramics enthusiasts.
Watch this ceramics tutorial video to learn how to trim your pottery using chuck. This technique and the tips on how to do it are best for intermediate potters with some experience. This instructional video will have you trimming you pottery using a chuck in no time.
Watch this ceramics tutorial video to learn how to throw a jewelry box using clay and a pottery wheel. This how-to video is best for beginner to intermediate potters with some experience with the pottery wheel. The tips in this instructional video will help you throw your own jewelry box.
Watch this ceramics tutorial video to learn how to throw a rounded raku bowl using clay and a pottery wheel. This helpful how-to video contains detailed instructions good for intermediate potters who have a little experience with the pottery wheel. This instructional video will have you throwing rounded raku bowls in no time.
Watch this ceramics tutorial video to learn how to center and sit with good posture when using your potter wheel to make pottery. The detailed instructions in this helpful how-to video are good for potters of any level.
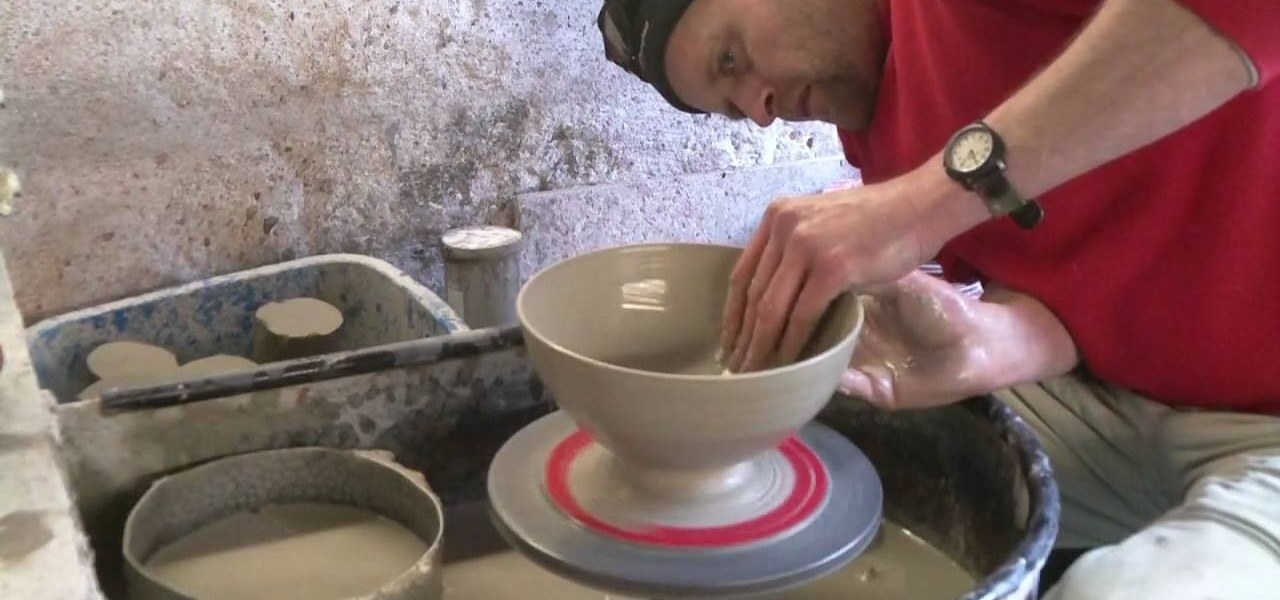
Watch this ceramics tutorial video to learn how to glaze your pottery. This helpful how-to video contains detailed instructions that cover the basics of glazing and are perfect for potters of every level.
Watch this ceramics tutorial video to learn some different ways to decorate little cups and other pottery. The cups used are leather-hard. You should start with a base color and then paint designs over it. The detailed instructions in this how-to video are helpful to any potter who wants to decorate his or her pottery, particulary little cups.
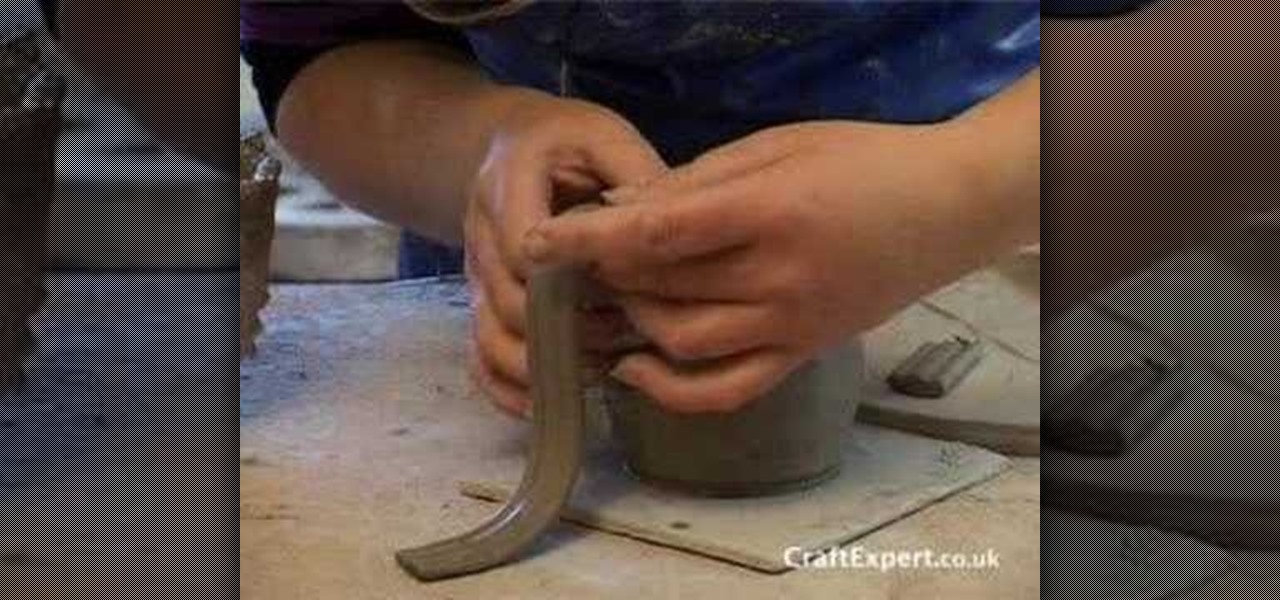
Watch this ceramics tutorial video to learn how to make handles out of clay for other pieces of pottery. The detailed instructions in this helpful how-to video are easy enough for beginners to follow, and there is no pottery wheel necessary to make these handles.
Watch this ceramics tutorial video to learn how to quickly make a plate on your pottery wheel. The detailed instructions in this helpful how-to video will allow intermediate potters to quickly make plates on their pottery wheels.
Watch this ceramics tutorial video to learn how to make some simple lips and rims with cut aways. The detailed instructions in this helpful how-to video will help intermediate potters make different kinds of lips and rims and put them on their pottery.
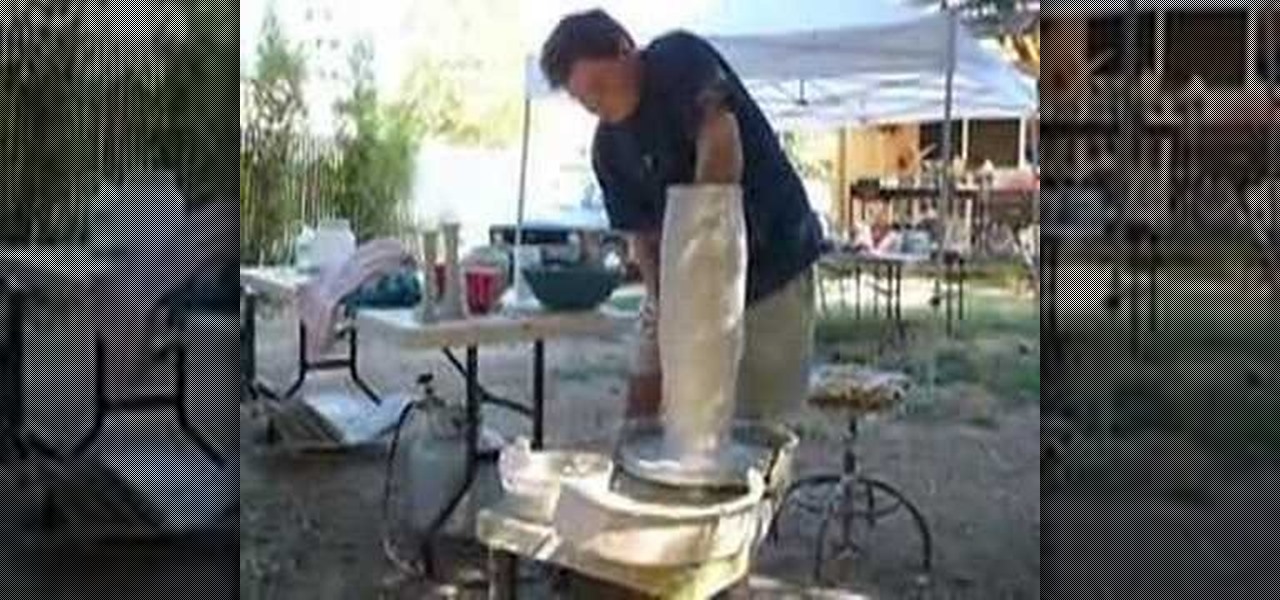
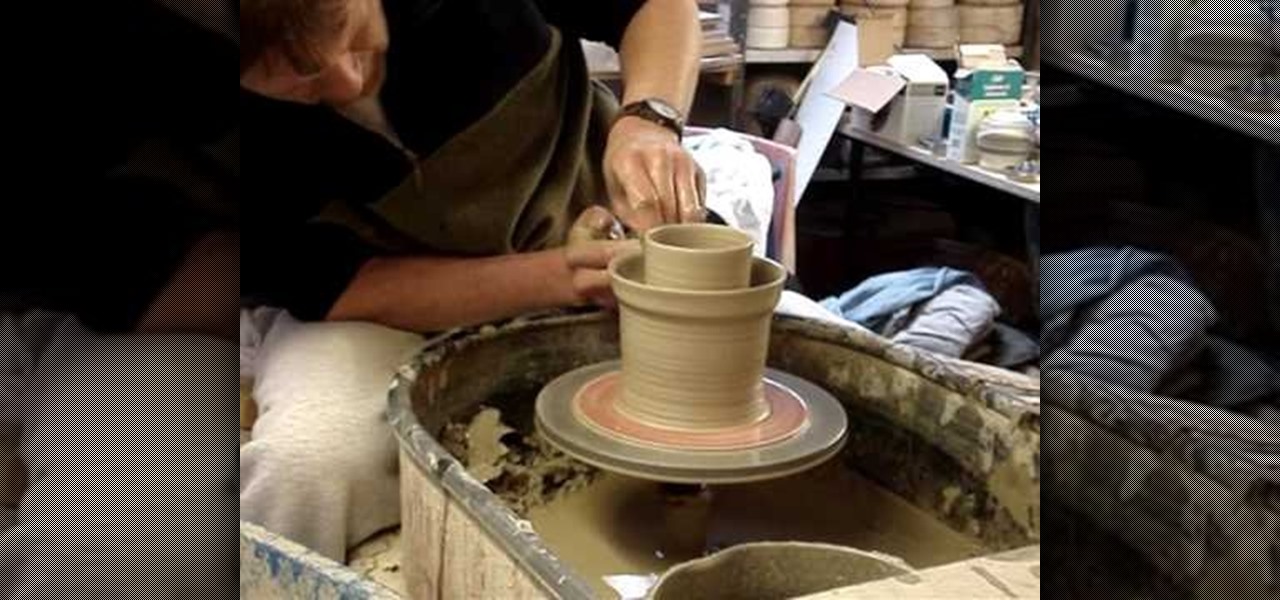
Watch this ceramics tutorial video to learn how to pull tall cylinders out of clay using your pottery wheel. This how-to video is not for beginners, but it features detailed instructions and explanations. You'll be throwing and pulling tall cylinders for vases and other types of pottery in no time after watching this instructional video.
Watch this three-part tutorial video to learn how to throw a bowl out of clay using your pottery wheel. This how-to video offers detailed instructions on throwing a bowl that will have you creating beautiful pottery in no time.
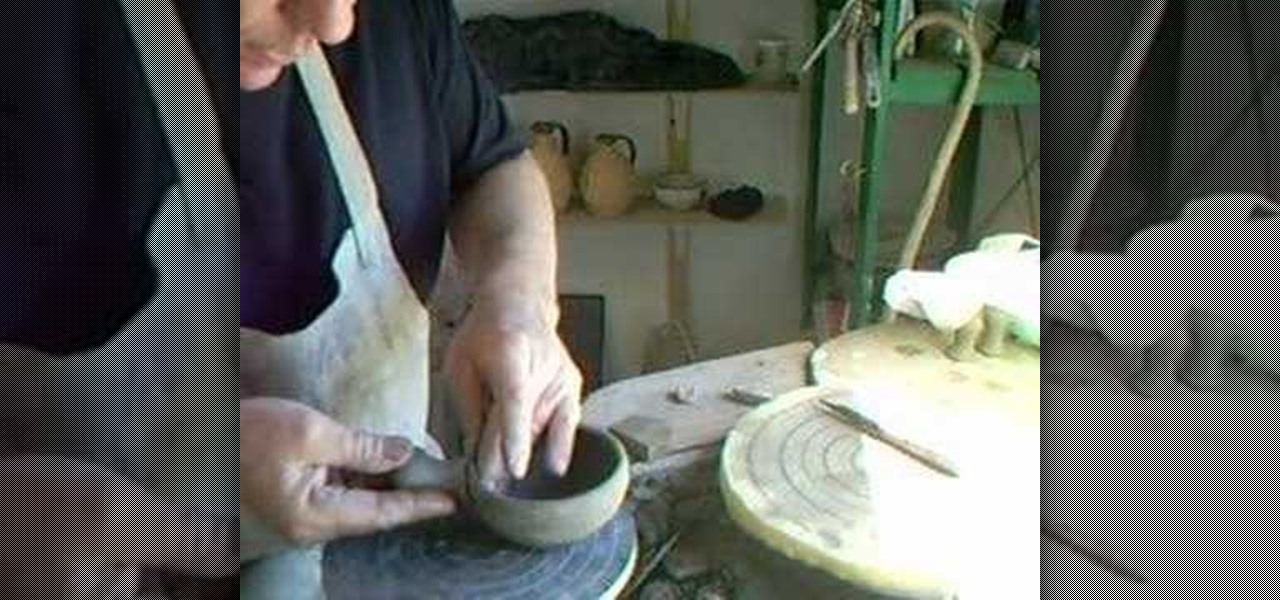
There are two rules to throwing clay on a potters wheel: keep the clay wet and keep the clay spinning. Centering clay can be tricky, but alignment is necessary to make an even pottery piece. Learn how to center a piece of clay on a potter's wheel by watching this video pottery making tutorial.
Simon leach shows us how to paint with a brush on a piece of pottery.
Simon Leach shows us how to tap into the center of a pottery wheel.
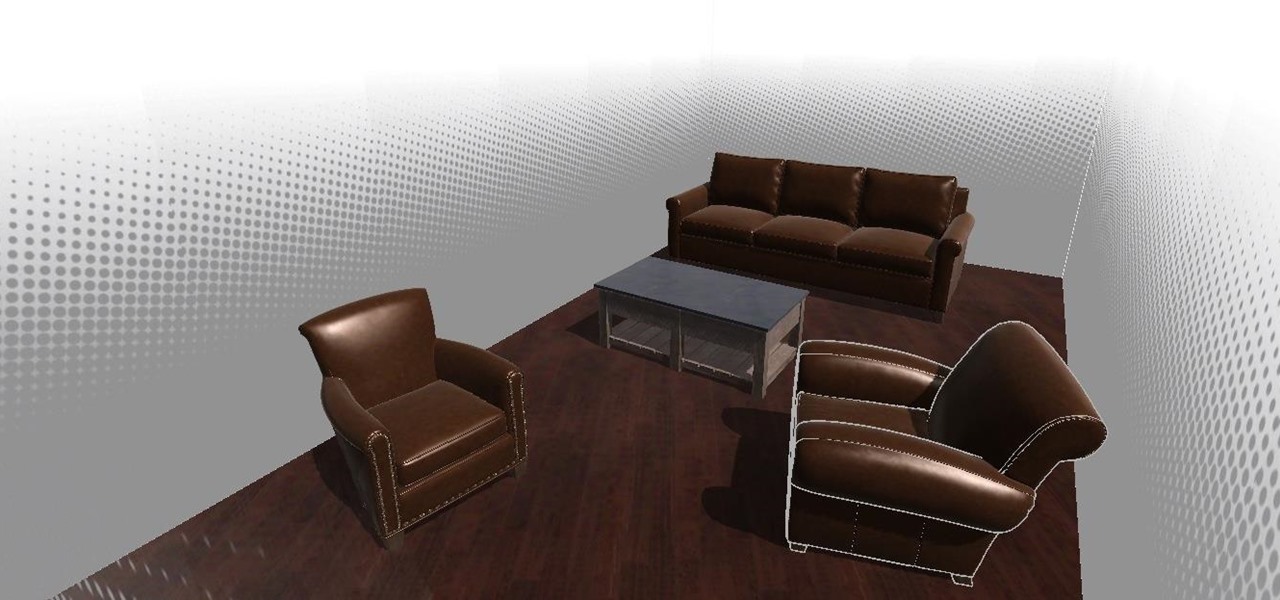
With the advent of ARKit, apps that can place virtual furniture in a real room have become nearly a universal practice for furniture retailers, with Pottery Barn being the latest to join the fray.
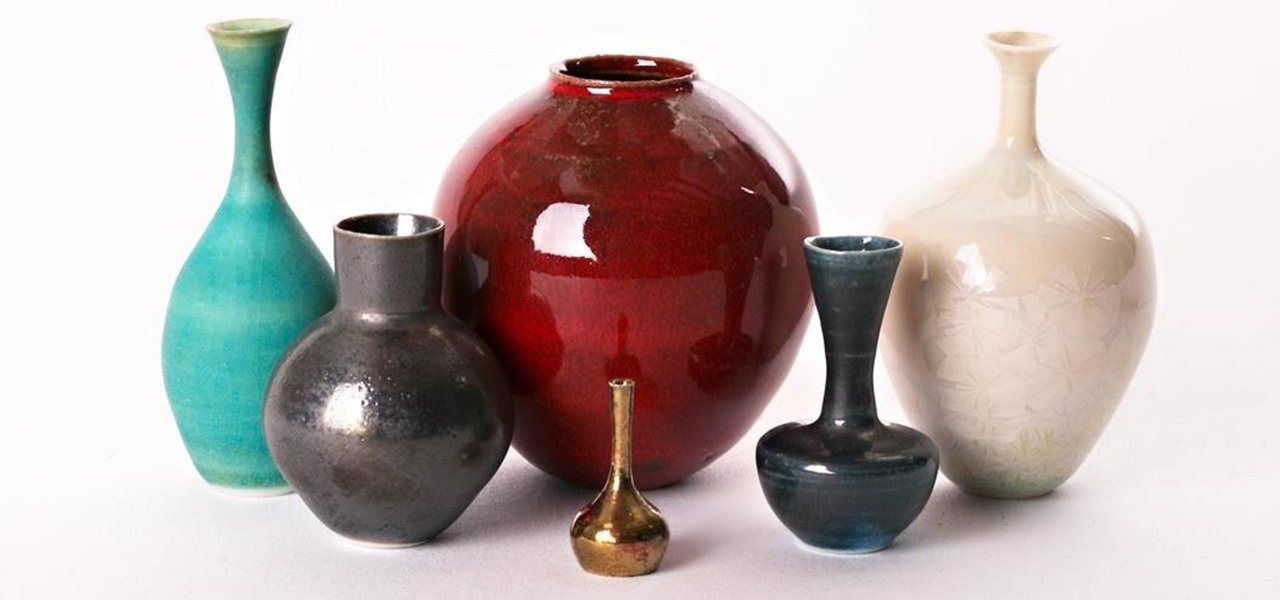
From a quick, passing glance at a photograph, you may not notice that Jon Almeda's impressive displays of ceramics mastery are actually the size of coins. It's well-documented how much tiny art is loved by WonderHowTo, but this petite pottery may take the cake as the most impressive display of craftsmanship.
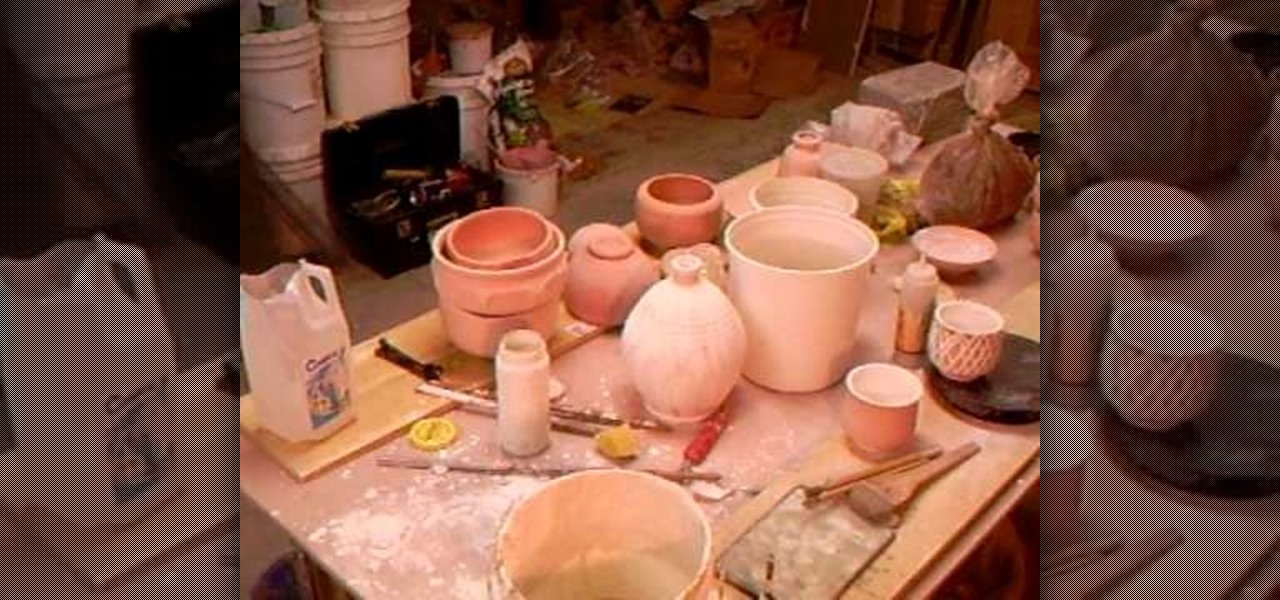
Simon Leach is an online pottery instruction legend, and in this three-part video, he instructs us in a procedure somewhat outside his normal area of expertise by creating a homemade plaster bat, which is basically a flat plaster block used for drying wet clay. For the hardcore at-home ceramics whiz this could be a very fun and rewarding project. Just make sure you are comfortable working with both plaster and clay!
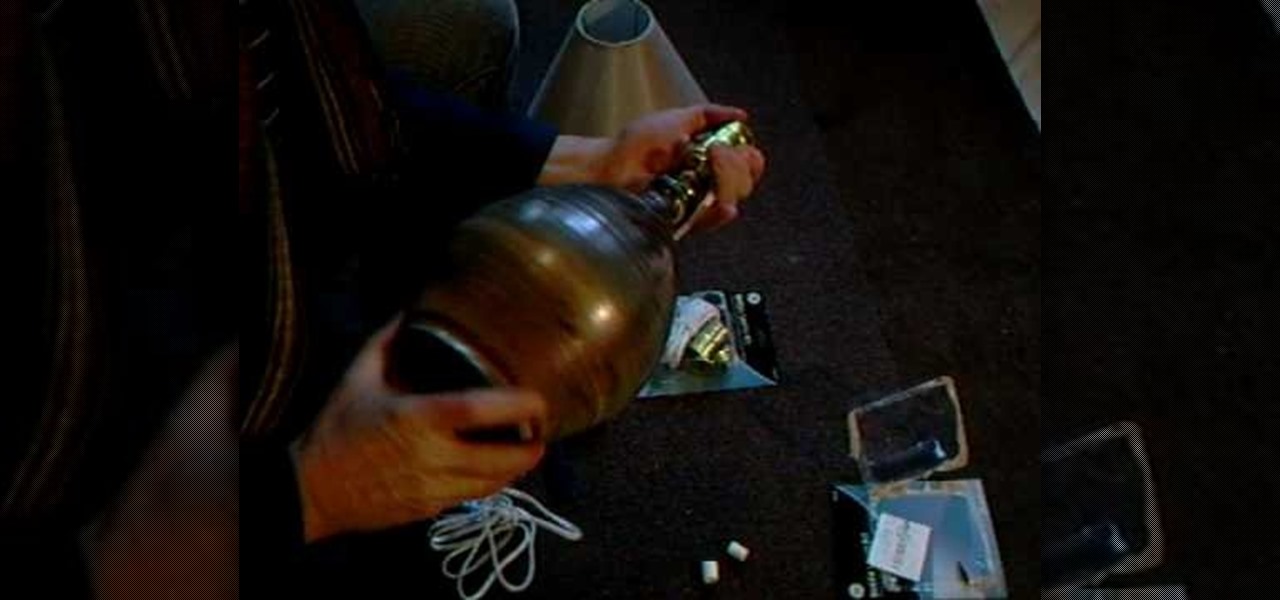
In this video by Simon Leach, we learn how to fit a lamp base into pottery with Simon Leach. First, you will take the lamp base that has all the wires inside of it. From here, you will wire the cables through the proper fittings for the light. Then, you need to put a hole in the bottom of the lamp base so you can string the light base through and then place the light bulb on top. When you are finished, the pottery can sit on top of the base and then you can add a light shade to finish up the ...
This instructional video demonstrates how to center a piece of clay on a pottery wheel. Using electric pottery wheels, a steady hand is necessary to prevent the clay from flying off center. It helps to lock one's elbows to control the clay and eventually sculpt a perfectly centered cylinder.
This video pottery-making tutorial shows how to attach a handle onto a ramikin bowl. As the handle and the ramikin need to be thrown on a pottery wheel separately, the two part need to be molded together. There is a bit of a trick to it so that the handle and pot join properly. Watch this instructional video and learn how to attach a handle onto a ramikin bowl
Stephen Hawks, resident potter in Westville, Georgia demonstrates how to throw a churn on a foot-wheel in two joined pieces. This fully functional clay churn can be used to make butter. Learn how to throw clay onto a foot-wheel pottery wheel to shape a butter churn by watching this video ceramics tutorial.
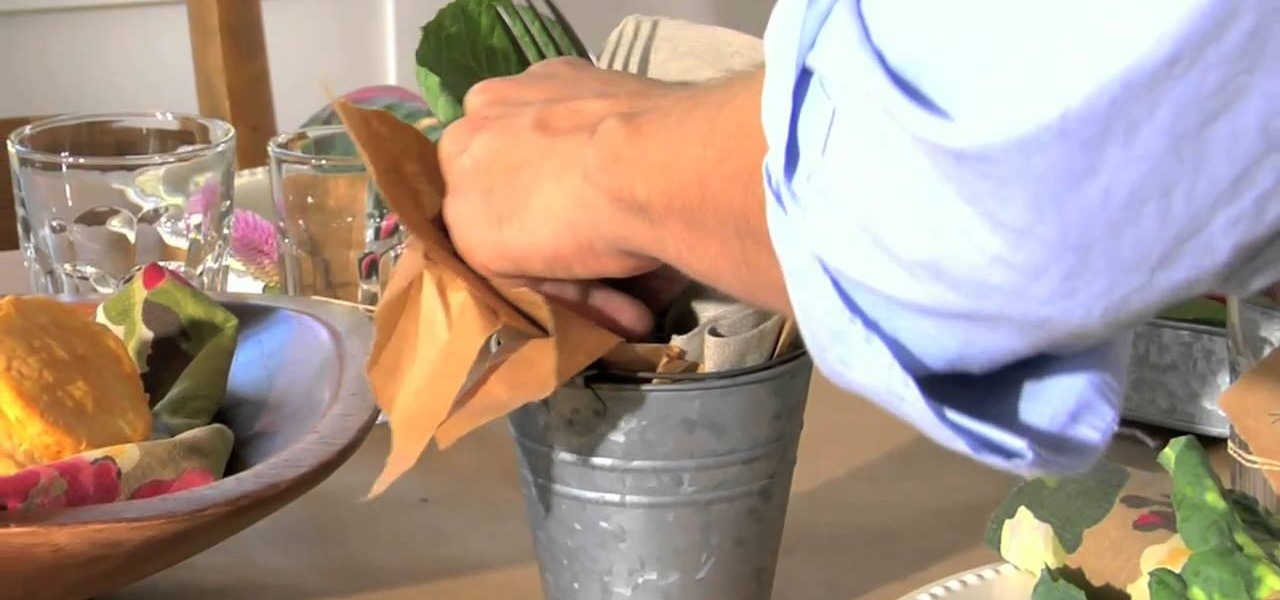
The wonderful thing about a "farmhouse brunch" theme is that most of the materials you'll need to decorate are natural and quite affordable. From sprigs of flowers to brown string to burlap, you probably already have most of the things you need lying around the house.
A Shino glaze is an umbrella term for a category of pottery glazes that range in color from milky white to orange and even charcoal gray. Chino glazes add a very pretty luster to pottery pieces and are made using a carbon trap, or trapping carbon in the glaze during kiln firing.
Long nails are bad for both your cat and your furniture. For cats, nails that are too long make it hard to walk comfortably, and in an effort to shorten them they will scratch up your precious Pottery Barn furniture. So to save both your cat's sanity and your own, check out this video to learn how to clip your cat's nails.
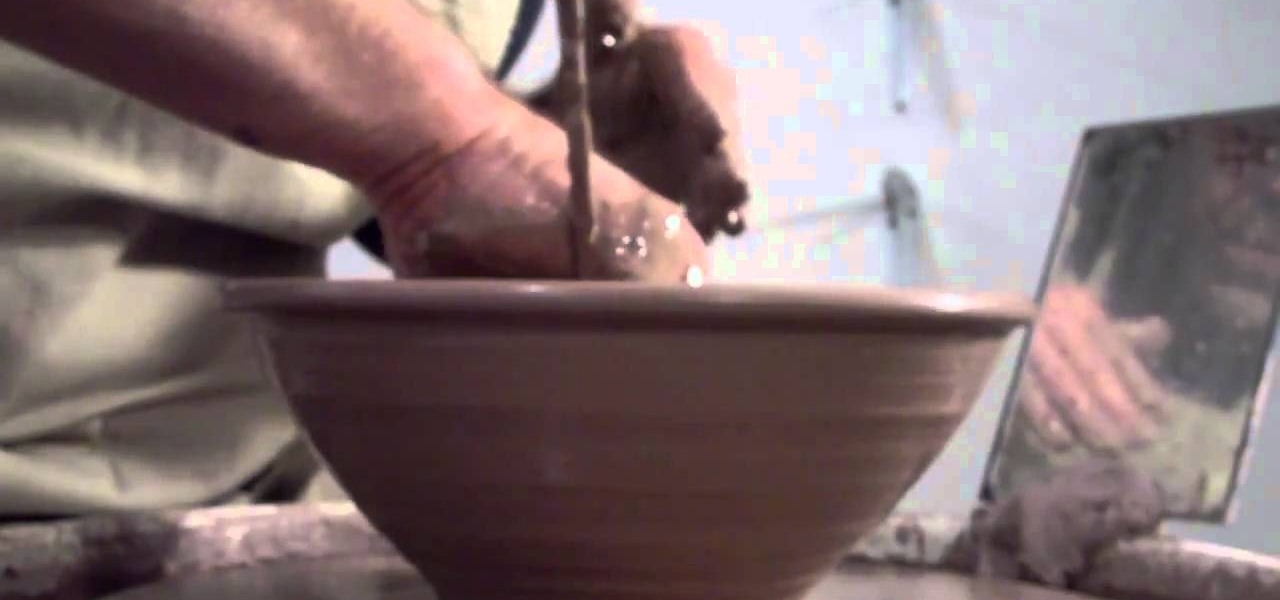
Simon Leach teaches us how to glaze trailing and pouring for pottery. First, you will dip the entire pot into the glaze after you have poured it into the middle. Wind up your wrist as you are pouring it out so you cover all of the sides in it. Just dip it down a little bit so it goes over the edge of the tip to cover the mouth of it. To use a balloon wand, fill it with the glaze and then use this to glaze the pots. Simply drop the liquid onto the pot in straight lines as you are turning it wi...
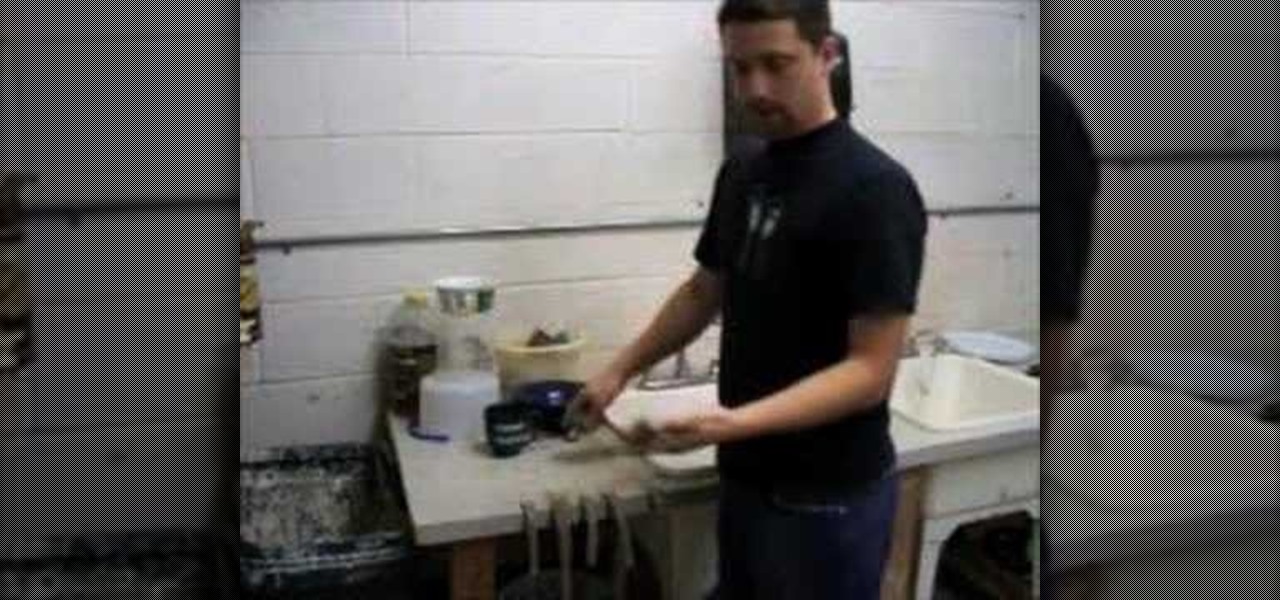
In this video, we learn how to unload and repack bisque pottery from a kiln. First, take the top off and then take out the smaller pots from the larger ones and set aside. Then, remove the large ones and set aside as well. When you are re-loading this, you will place in the large ones first. Then, place the smaller pots in the large ones if they fit. Squeeze the small ones around where you can. Stacking some into each other is fine. Turn this on for around 30 minutes on low heat, then you can...
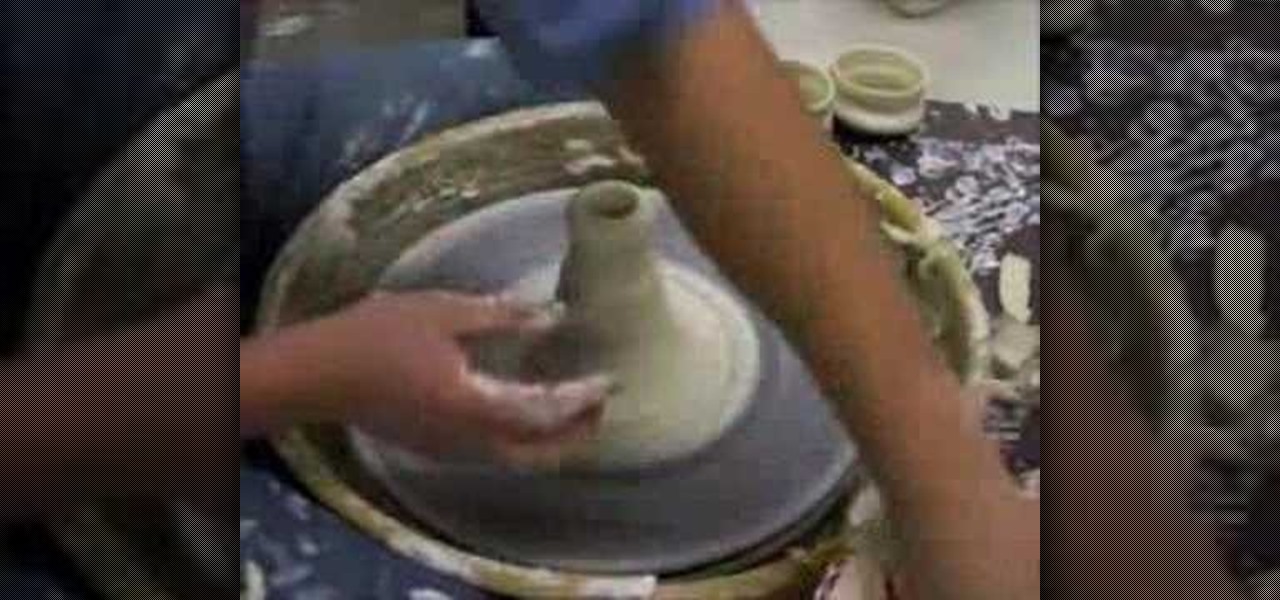
In this tutorial, we learn how to throw an upside down double walled pottery vase. Start off by using water every few seconds to craft your vase. Use your fingers to press down in the middle, to make the round shape and have the vase rise up into the air. Make this into a bowl shape, which will be into the air. Next, shape the middle using your hands into a triangle shape. Raise the side bowl around it, and keep using water to increase the size of the bowl. Collar the bowl in, then start to m...
To throw a clay pottery fruit bowl, place a lump of clay on the potter's wheel and wet it with water. Use the foot pedals to spin the wheel while shaping the clay with your hands. Draw the clay up and then use your thumbs to create an indentation in the center of the clay. Apply slight pressure and the clay should assume a bowl form. Use water as necessary to create the right clay consistency. Draw the clay up to make the bowl walls thin. While shaping the bowl walls with one hand, create a r...
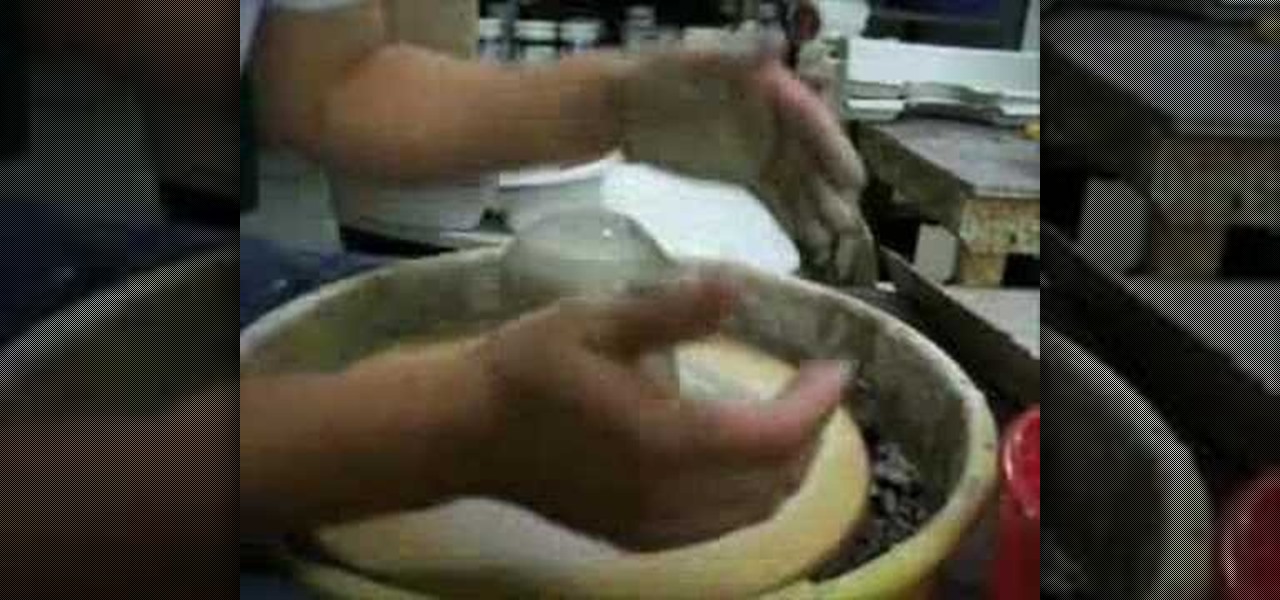
This video shows the method to use a puggmill in pottery throwing. Take the two packets of clay and take the clay out on the table. Take a thread and cut the two pieces of clay in the middle to form four bricks. Put the bricks in the puggmill one by one and wait for it to come out. The pugged clay comes out from the bottom in a cylindrical shape. Take out the four cylinders from the four bricks of clay. After this, put the cylinders in the pugmill again so that they are pugged thoroughly. Put...
This video illustrate how to throw and carve a double walled pottery vase. Here are the following steps.Step 1: First of all take a potters wheel.Step 2: Now take clay and put it on the wheel and rotate the wheel.Step 3: Make inner and outer partition and slowly shape the inner clay into long vessel shape.Step 4: Now take the outer clay and shape it into vessel, now join the neck of this vessel to the inner vessel and shape it into a vase.Step 5: After the pot has half dried cut the outer bou...