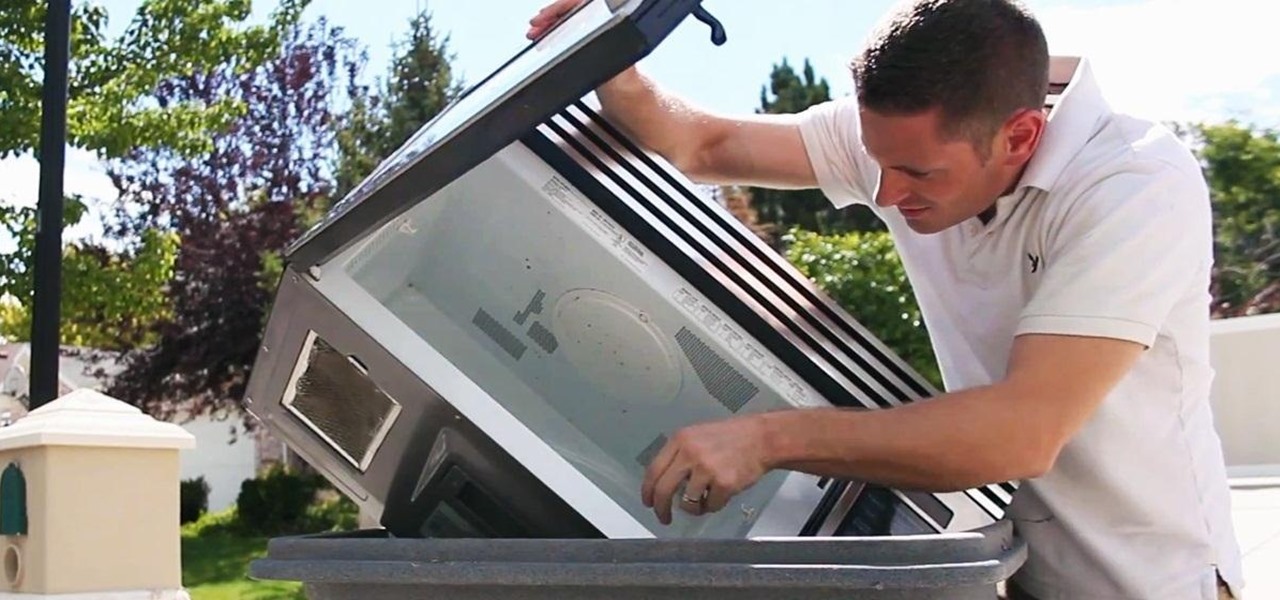
How To: Scavenge High-Voltage Components from Your Neighbor's Trashed Microwave
For this project, I decided to rip apart a microwave I found in my neighbor's garbage can to see what was inside. With permission, of course! True story!


For this project, I decided to rip apart a microwave I found in my neighbor's garbage can to see what was inside. With permission, of course! True story!

Dried out markers are the worst. They take up space, and for some reason, even though they're totally useless, most of us have at least a few lying around just for the sake of not throwing them out. Luckily, Julie Finn over at Crafting a Green World has come up with a way to repurpose them into alcohol ink, a versatile type of ink that can be used on non-porous materials like plastic, glass, and metal. This is truly a tutorial for the pack rat in all of us. First, a little primer on what you ...
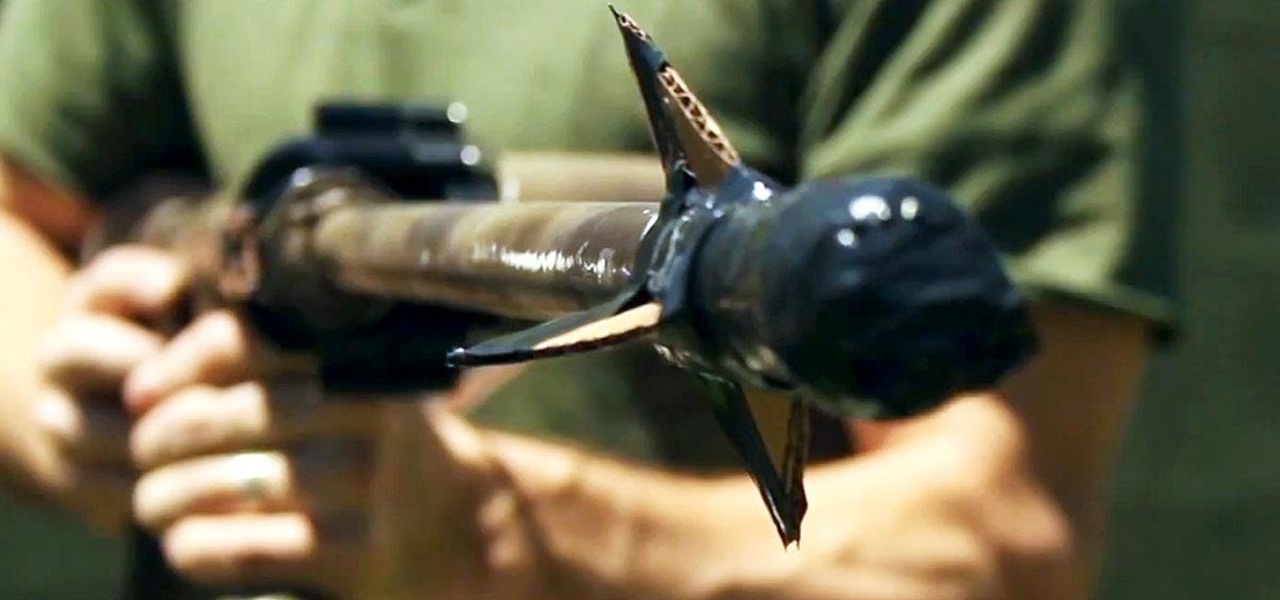
Take everyday sprinkler parts and form them into a high pressure rocket launcher that will shoot paper rockets nearly 300 feet!!! It's cheap to make and a lot of fun!
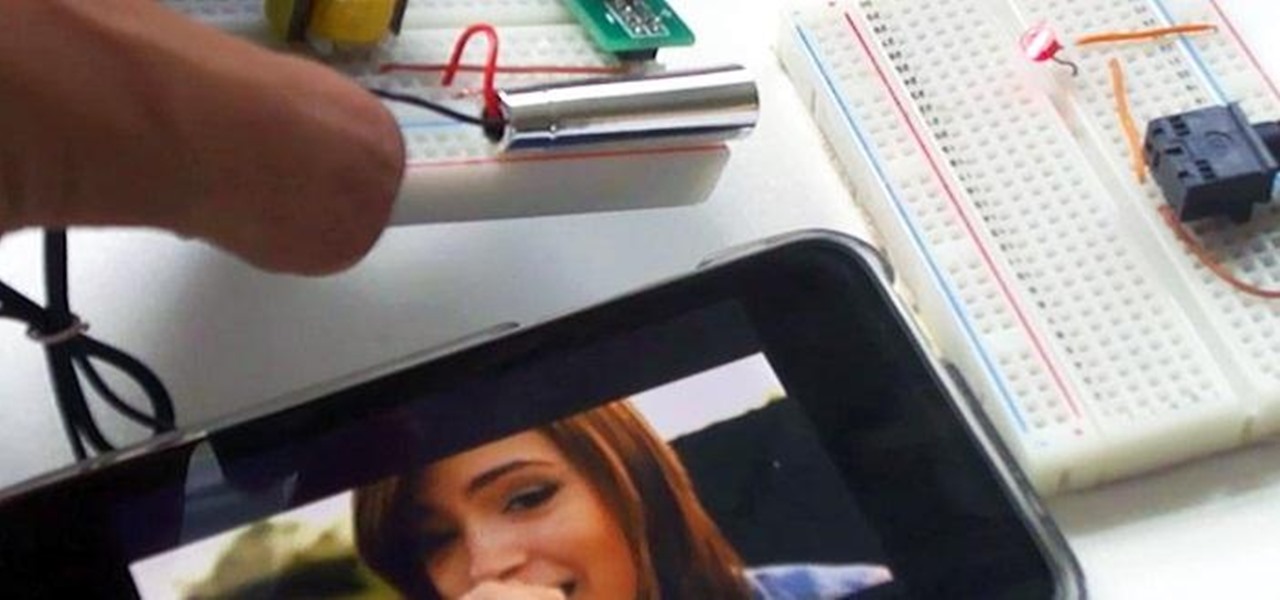
Looking to transmit some super-secret audio communications to your other spy buddies? A laser is the perfect tool for getting your sounds heard from a small distance—without anyone intercepting them— even if it's just a cover of your favorite pop song. A laser audio transmitter uses light rather than radio waves to transmit sound. This is a much more secure way to send audio communications because the laser is a focused beam of light, whereas radio waves are not controlled, so they can be pic...

You can take some absolutely gorgeous photos using the natural reflection that appears in people's and animals' eyes. With the right angle and lighting, you can even see a detailed picture of what the subject was looking at when the photo was taken. Photo by Martin Cathrae

For his thesis at Design Academy Eindhoven, artist/designer Tuomas Markunpoika Tolvanen created this incredible chair using tubular steel cut into thin rings. How did he get them to stay that way? He burned them. His project is called Engineering Temporality, and the inspiration came from his grandmother whose Alzheimer's disease is deteriorating her health and memories. Once he cut the rings, he laid them over an existing chair, only partially covering it. The fire acted as a varnish, creati...
Back in 2008, media artist Kyle McDonald created a 3D interface that could track movement, which he turned into a virtual Tic-tac-toe game.
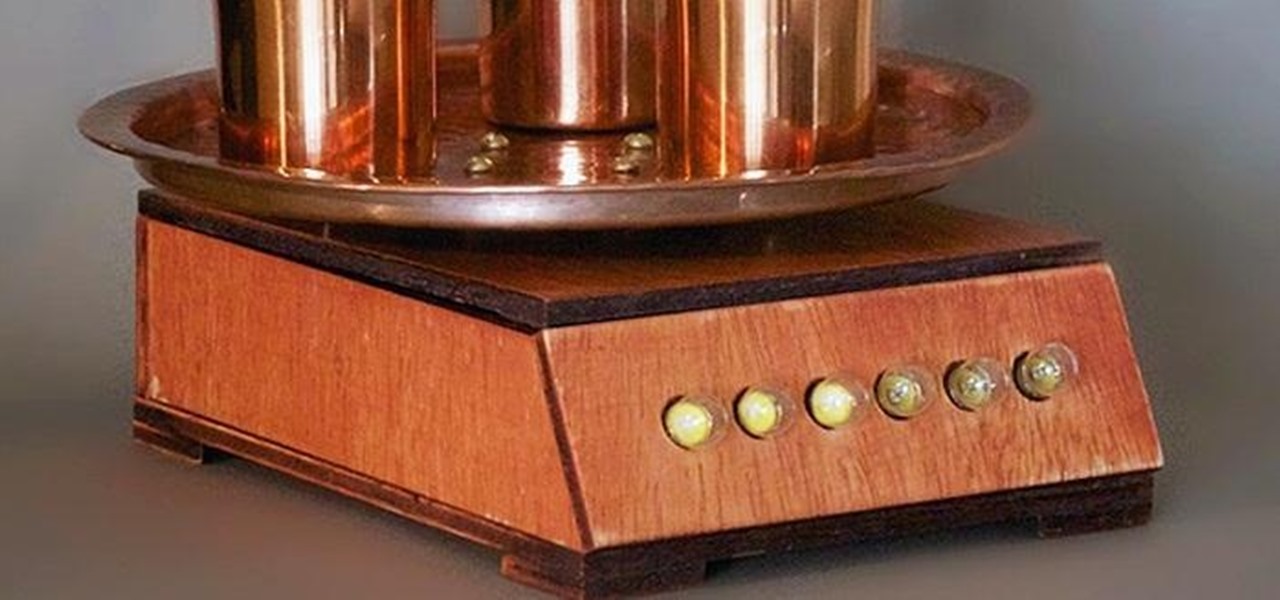
If you're a steampunk enthusiast looking to give your bathroom an extra kick, this just might be the project for you. This stylish and functional "vintage" toothbrush timer knows when you've grabbed your toothbrush, and will visually count down two minutes before alerting you when you've brushed long enough. All you'll need to put one together yourself is a microcontroller (the designer used a ATmega328p), a weight sensor, light bulbs, brass cups and a tray, an alarm clock's chime, and some w...

I've never really liked to type on a flat or low keyboard. Even the small flip-up stands underneath most keyboards were not good enough for me, as those little legs aren't usually more than 2 or 3 centimeters high. I'd like a minimum of 5 cm, so I decided to make this keyboard base for myself. Aside from giving me the right height and angle, this DIY keyboard base also features LEDs that light up my monitor, the table, and gives a nice background to my desktop. It's even got a built-in stand ...
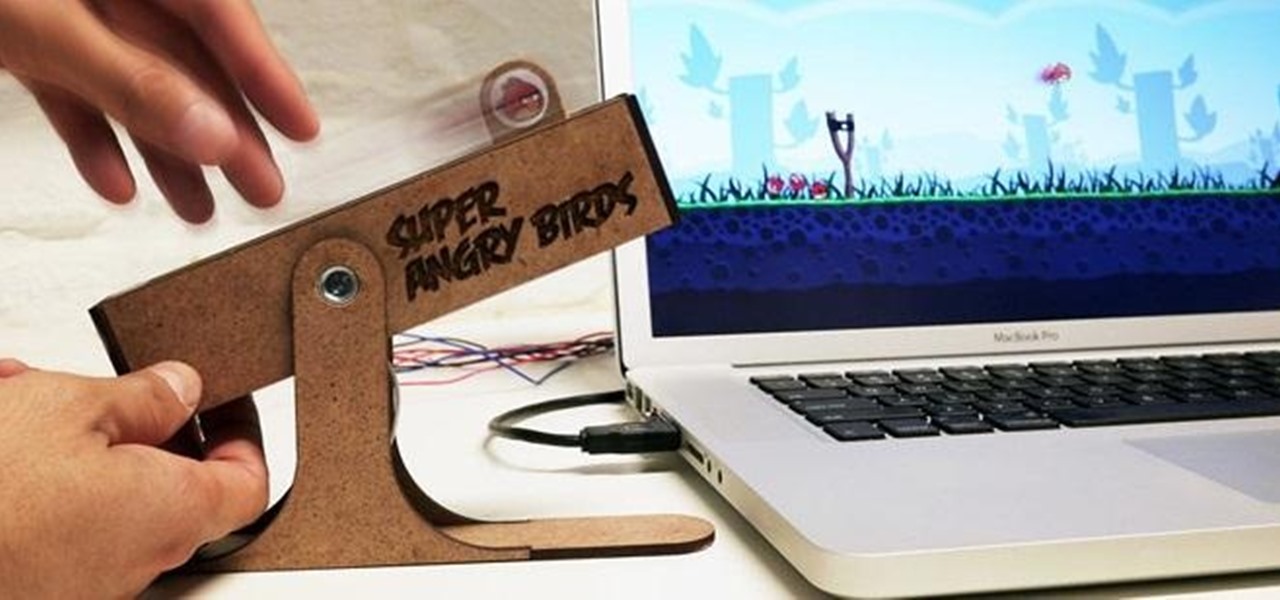
Playing Angry Birds on a computer just got a lot more interesting. Design students Andrew Spitz and Hideaki Matsui made this awesome slingshot controller for one of their classes at the Copenhagen Institute of Interaction Design.

Do you have two dollars and a water bottle? Then you can put together this simple but awesome solar-powered lantern that will provide more than enough light to read by at night.
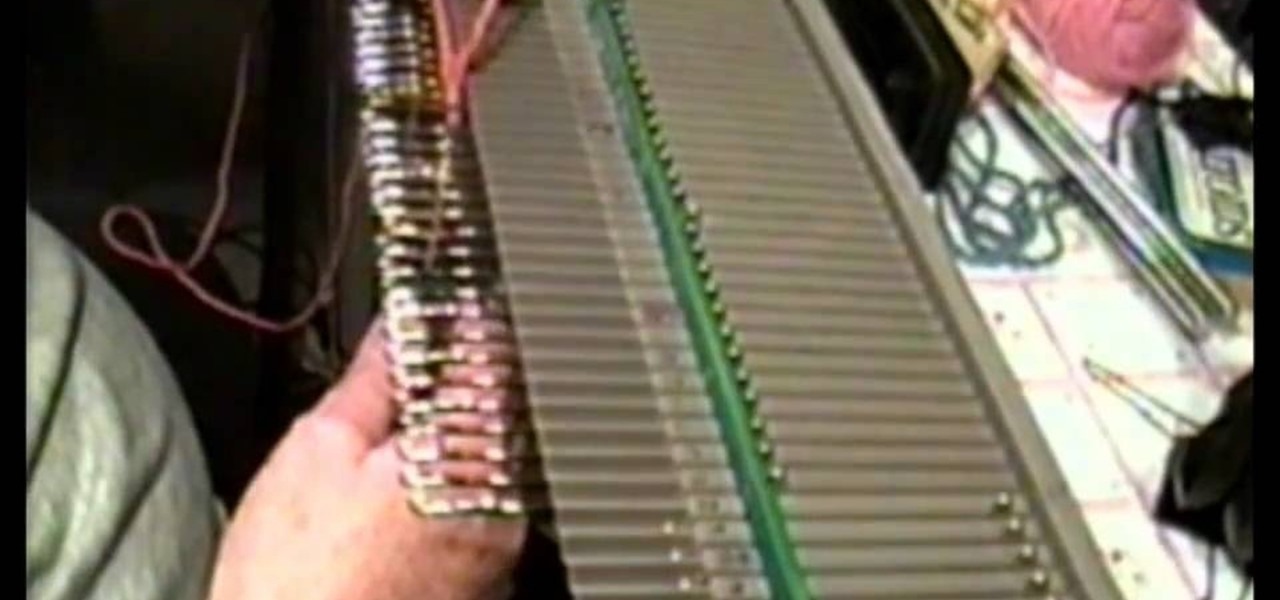
A baby cocoon is a snug swaddling blanket that can be used to easily keep a new baby warm. This tutorial shows you a few techniques that you can use to crochet a baby cocoon for yourself or as a gift. This technique uses a crochet loom, so you'll want access to one of those in order to complete this project. You will also need to use a few basic hand sewing techniques to join the different pieces together when you're done.
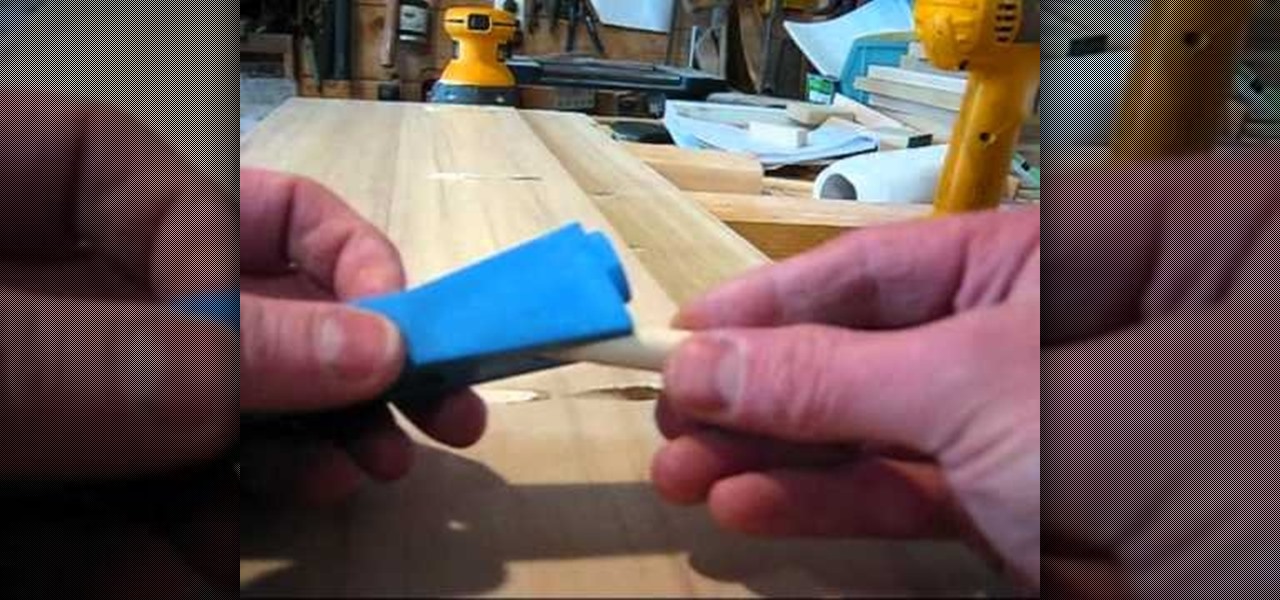
A piano hinge is also called a continuous hinge, and is a popular hinge to use on side doors and other small doors. This tutorial shows you the proper method of installing a piano hinge on your current project. Besides the door and the hinge, you will also need some basic hardware: a drill and some screws, as well as a chisel to carve out an inset for the hinge to rest. Make sure you always measure carefully before cutting anything!

Wow! It's a dress! It's a trash bag! It's a trash bag dress! This dress is similar to the one Ke$ha wore this year to the MVA show, turning the fashion world on its head and showing everyone that you don't have to spend a million dollars to turn heads. In fact, you can create something cool for less than $2 in you check out this video. You probably already have all the supplies needed. For this project you'll need a trash bag, some scissors, some tape and a stapler. For your own flair, grab s...
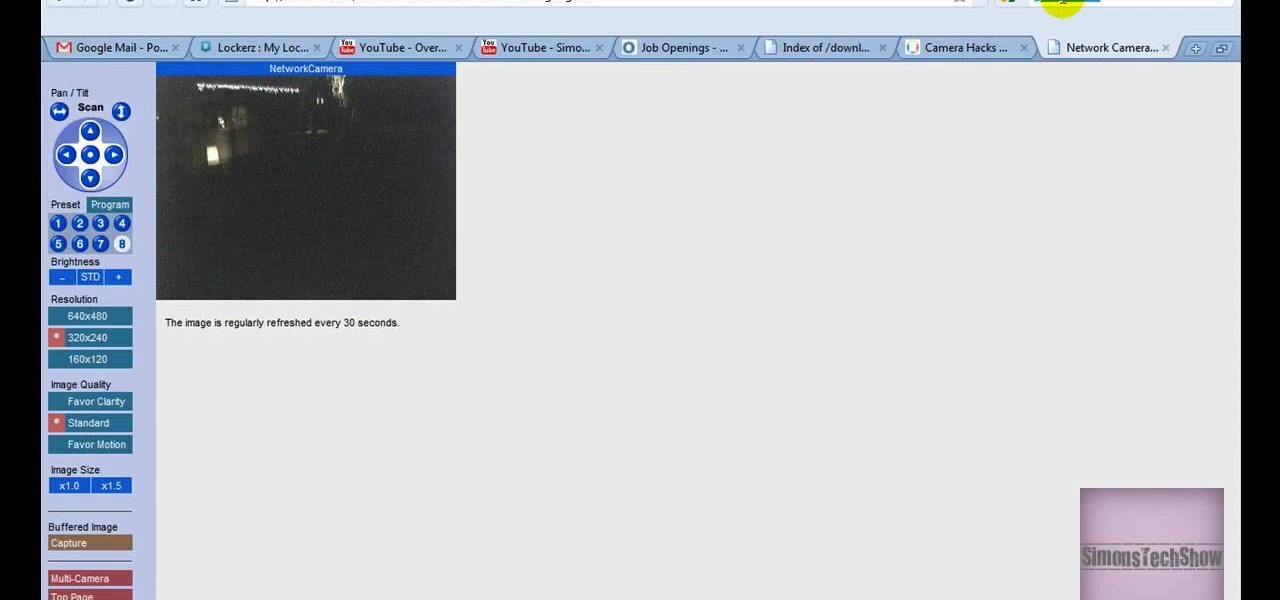
Given that megastar internet search engine Google became its own verb a few years ago, we've all come to acknowledge that the wide and ever-expanding engine is becoming more powerful than ever before. You can take a look at your own house from outer space via Google Earth, you can look at famous paintings - down to the very last grizzly brushstroke - via Google Art Project, and you can look at what's hot and what's not in Spain - or anywhere in the world - with Google Trends.
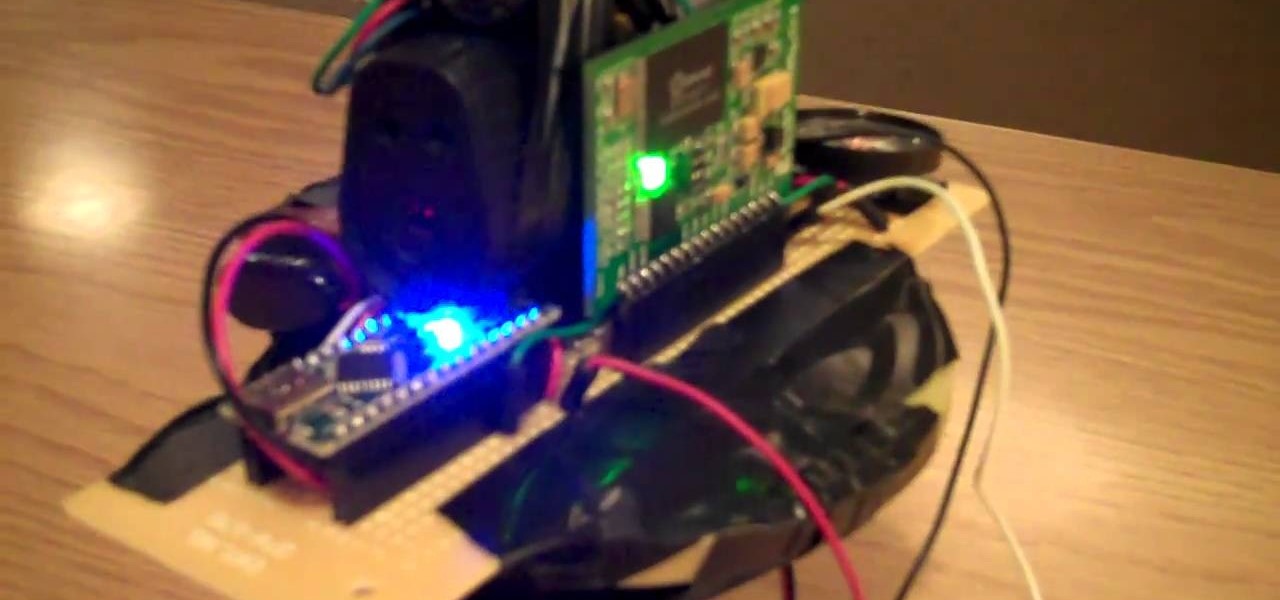
This do it yourself robot can be made out of many materials you can find around your house. You'll need a few special non household items, such as an arduino and a class 3 laser. However, once you assemble everything correctly, you can make a sentry robot inspired by the robots in the game PORTAL. Even if you've never built a robot before, as long as you have a basic knowledge of electronics, you can start with this simple and fun project.

Quilling is one crafting skill you probably picked up in fourth grade and then never touched again. But it's time to bring out those long paper strips once again. Quilling is one of the easiest ways to add complex and beautiful decorations to greeting cards and other paper projects.
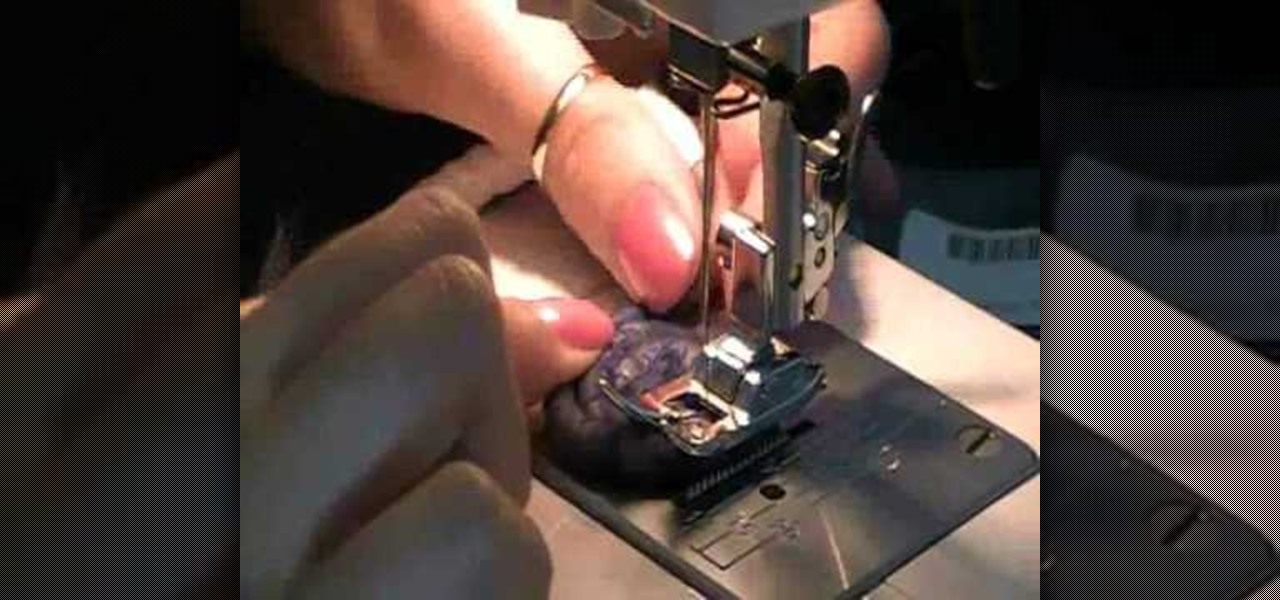
When it comes to quirky homemade DIY, cords - made from rope, twine, or other materials - aren't usually used in many projects. Other than tying nautical knots, it seems they're quite defunct.
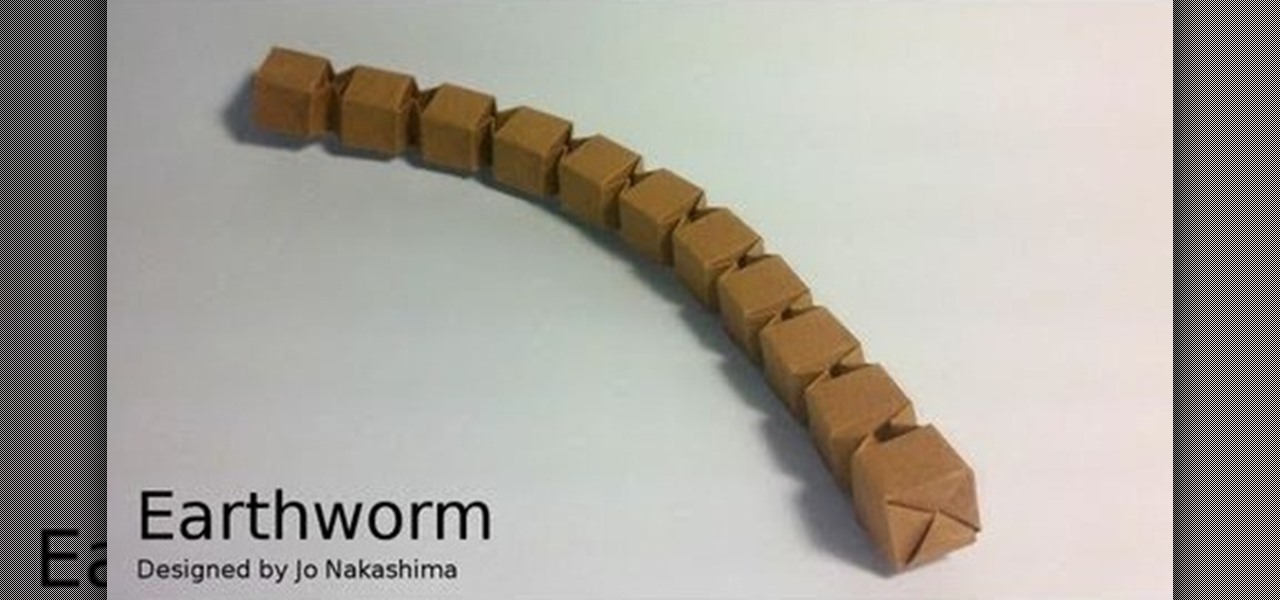
And you thought real earthworms were scary. This origami earthworm, which has segments that can bend and twist, is just as if not more icky than their living and breathing cousins.
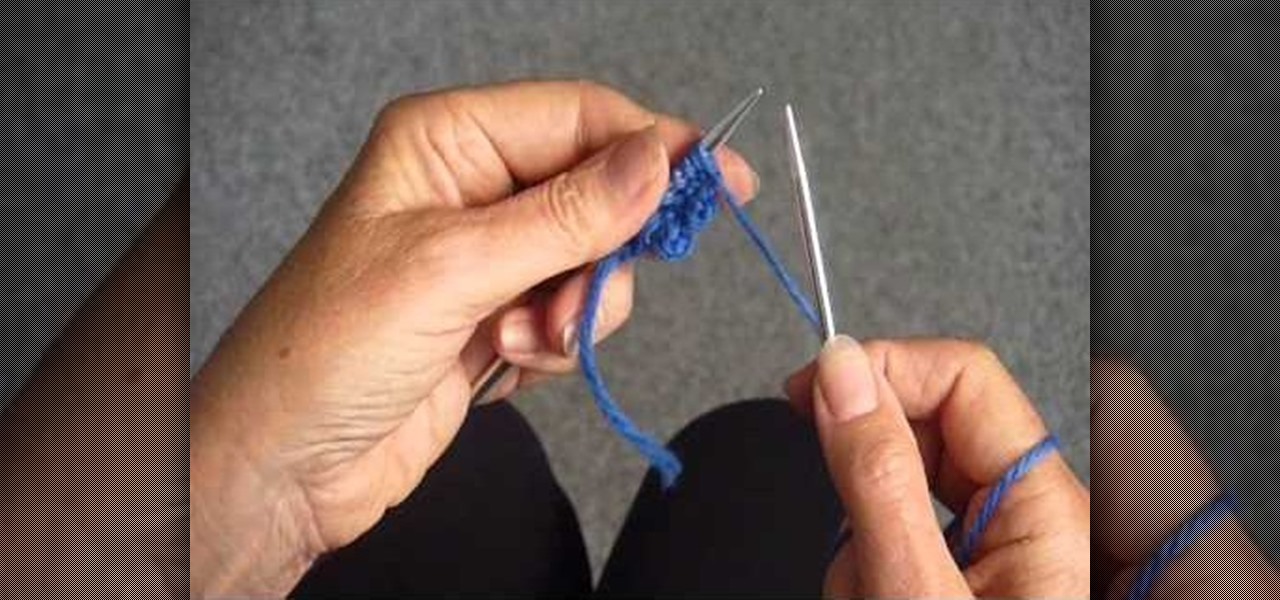
Master knitter Judy shows you how to knit a picot cast on in this knitting video. If you haven't figured out how to cast on yet, you should probably watch her video on that first. This is a sweet edging for the bottom of a baby sweater or blanket. There are many other instances where you would want to use a picot cast on, as well. Learn it with this up close demonstration by Judy Graham, Knitter to the Stars.
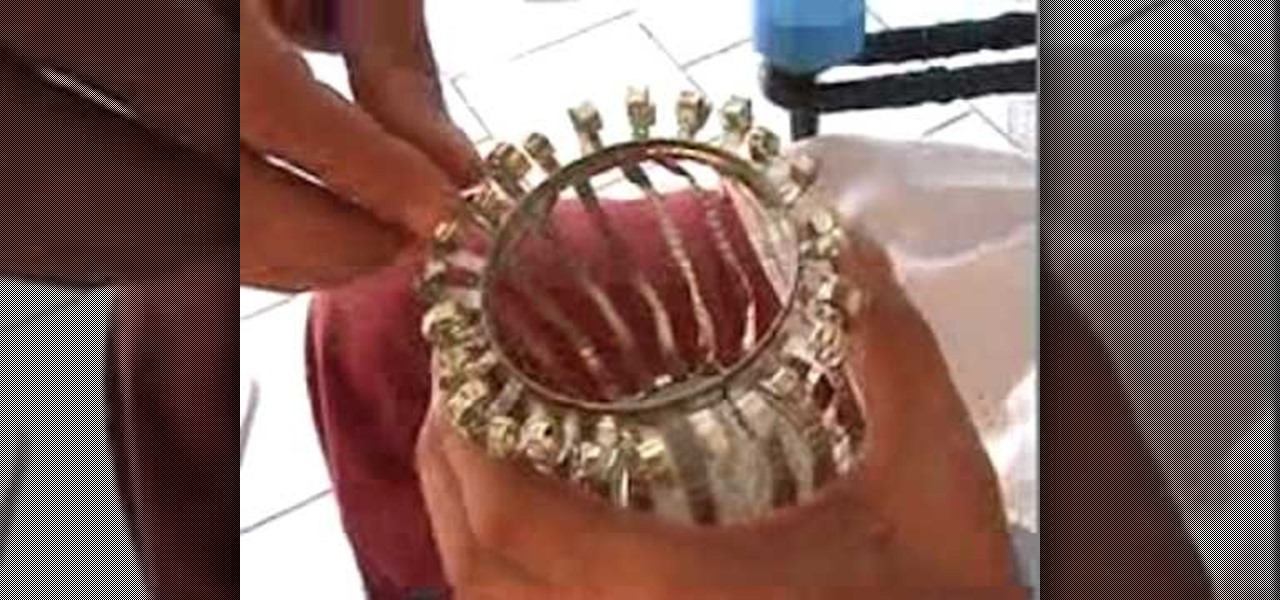
In this video, we learn how to recycle cans and make decorative candle votives. First, you will use a straight edge to remove any paper from the top of the can. Then, use the straight edge to cut parallel holes in the bottom of the can. Grab sharp scissors and continue to cut the holes from the bottom all the way up to the top of the can. After this, use scissors to help pry the folds up and into the air for a cute design. Make sure not to use your hands to pry these up, as the edges will be ...

In this video, we learn how to recycle plastic bottles to make hanging art. First, cut the bottom off of the bottle and then cut it in half. Then, cut the other end off of the bottle as well. After this, you can grab the bottle and start to paint your choice of color all over it. Use different colors and transition and blend with them. Lay these on one side to dry when you are finished. When you're done with these and they are completely dry, you can use them to decorate around your house. Th...
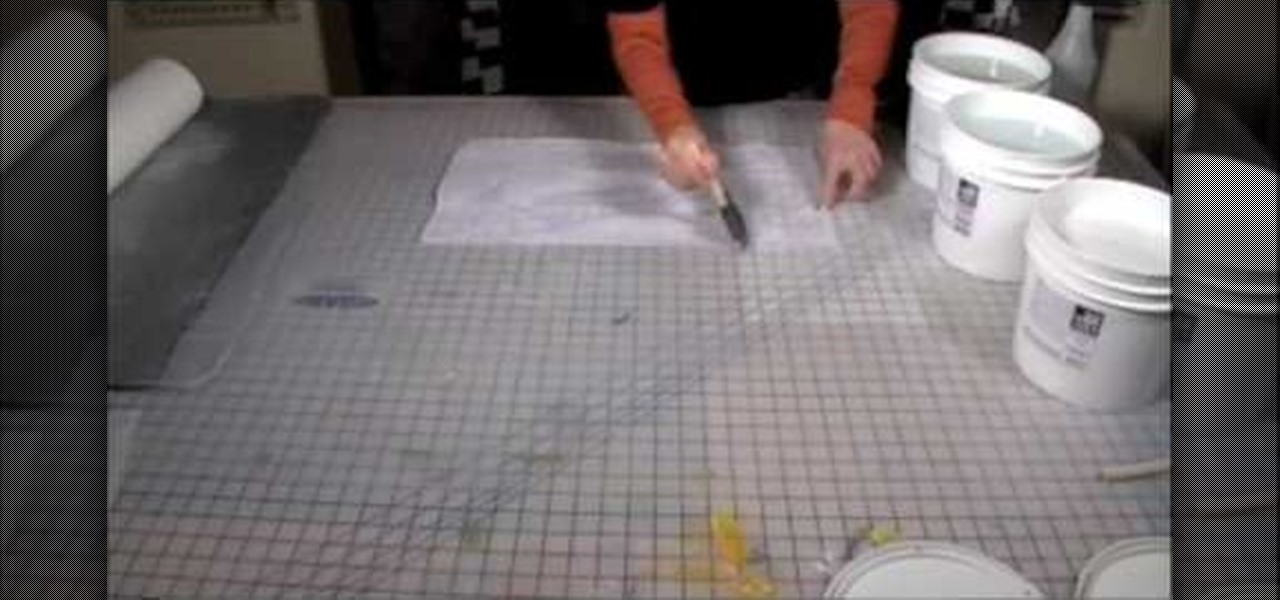
In this video, we learn how to digitally print on uncommon surfaces. First, you will want to apply the gloss evenly with a sponge brush. Use clear so that when it's printed you will almost be able to see through it. This will come out really crystal clear and look amazing. Take the top sheet off and set it aside to dry. Grab the underneath part and then cover this with the gloss as well. Doing this step beforehand will help the pre-coat look even better for when you are printing. Once you are...

This video tutorial is in the Electronics category which will show you how to make a Beetlebot from your parts bin. The Beetlebot project can be found in Make Volume 12. You will need a couple of small motors, 2 momentary switches, 2 AA battery holders, a piece of metal, a small bead, 2 paper clips, heat ring tubing and a couple of connectors. Cut off two pieces of the tubing and using a soldering iron melt them over the ends of the motors. Hot glue the 2 momentary switches at an angle with t...

This tutorial shows you how you can turn a single animation (like a bouncing ball) into a symbol. Once it is a symbol, you'll be able to reuse the animation in other projects and add it to other movies or animations you make using Adobe Flash CS4.

First you need to do is to open up the HD video file of Canon HV20 and then you can set the project properties. So go to file, import, media and open up the video file. Now drag it to the timeline and go to file, properties, click on the file folder called "match media settings" and open the same video file which you just opened. Now click on apply and then ok. But now video proportion is not fine. To fix it go to option, preferences, click on video tab and check the box which says "simulate ...

In this video, we learn how to program Geolocation on the iPhone. First, start up Xcode and start a new project. Name this "where am I" and then expand out your groups. Now, type in "corelocation/corelocation.h" and "mapkit/mapkit.h" in the view controller and space file. Type in the rest of the code to the program, then open up the program on your computer. Drag and drop the tabs into the viewing window, then grab buttons and other tabs to go onto the screen for the phone. Once finished, sav...
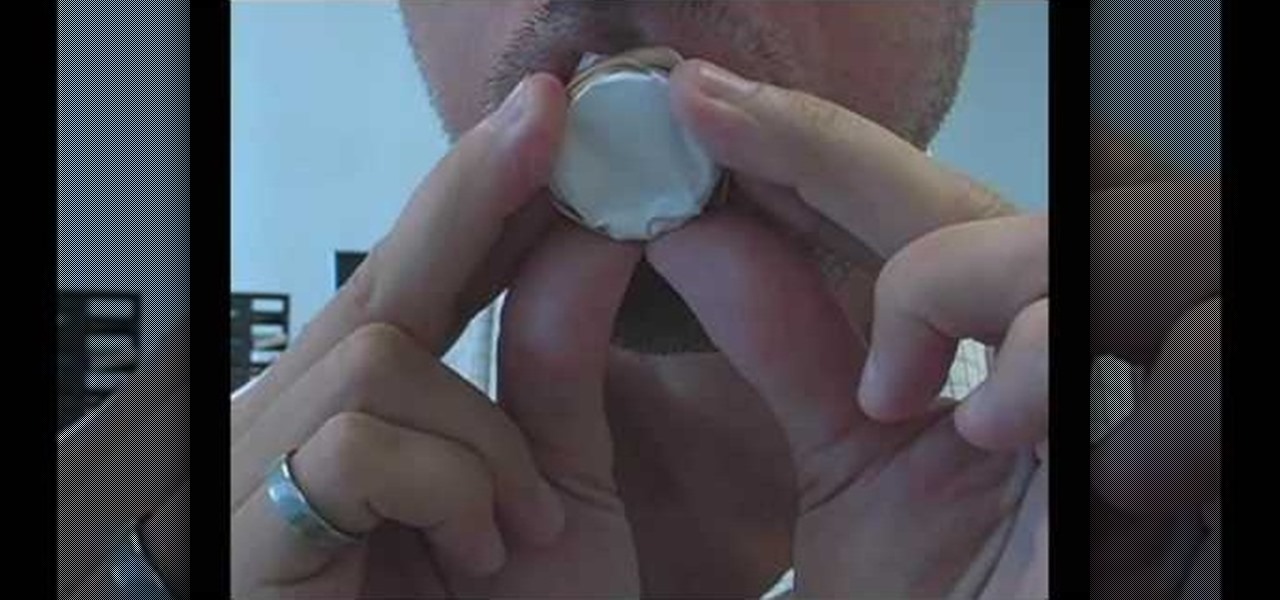
In this video tutorial, viewers learn how to make a realistic goose call. The materials required for this project are: a plastic bottle cap, scissors, rubber band and a piece of paper. Begin by making a small hole in the bottle cap. Then wrap the paper around the other side of the bottle cap and secure it with the rubber band. Now just blow in the hole and make a humming sound to create a goose call. This video will benefit those viewers who enjoy goose hunting, and would like to learn how to...
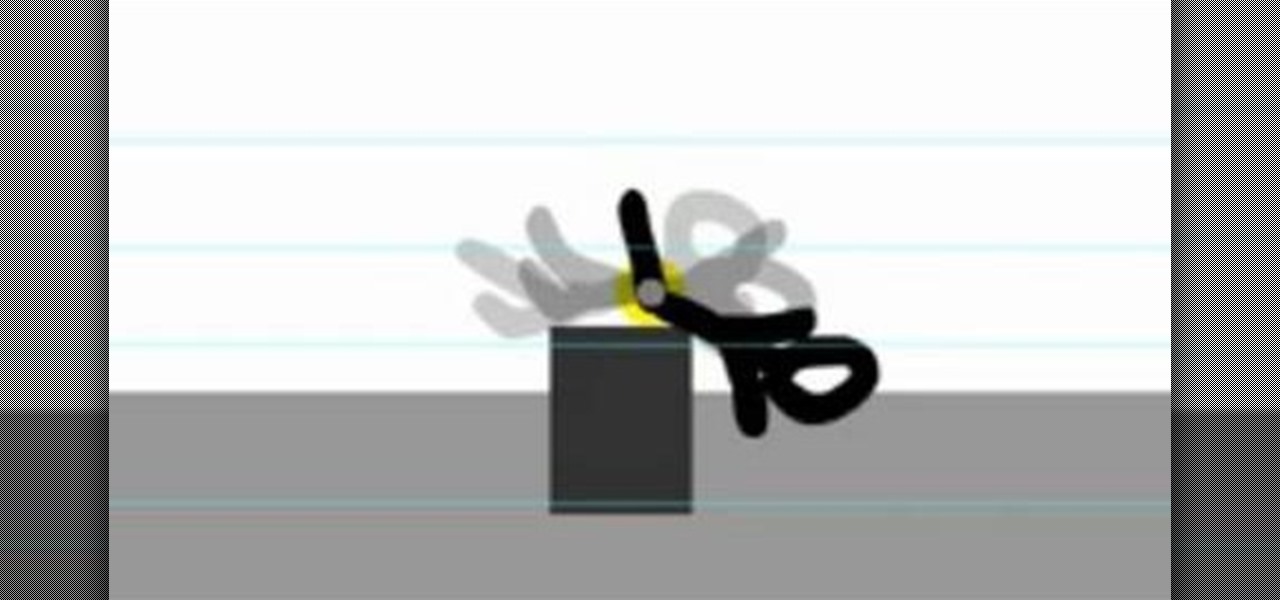
Looking to get into flash animation and not sure where to start? With this great video series you'll learn how to create a silly stick man animation that'll get your flash animation skills up and running! Go from the beginning to the end with these simple tutorials showing you exactly how to start your project and how to put on the finishing touches all in Adobe Flash CS4.
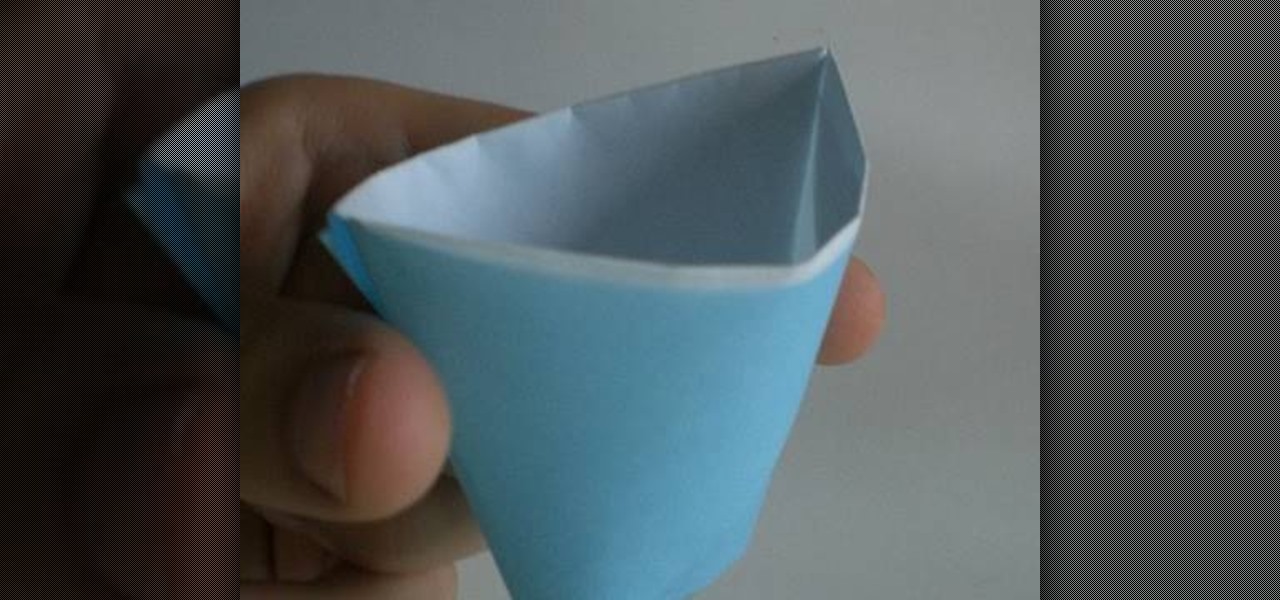
While this paper cup can't hold water or other beverages, it is actually very useful as a container. Whether you're having a birthday party soon and wish to produce inexpensive favor boxes (just fill the cups up with candy) or need little cups to store your tiny treasured knick knacks, these will fit the bill.

It looks like streamlined skinny jeans are here to stay, at least for a few years more, so if your collection of these skinnies has gotten quite large and all your jeans are beginning to look the same, why not try out a fun personalization project to make one pair unique?
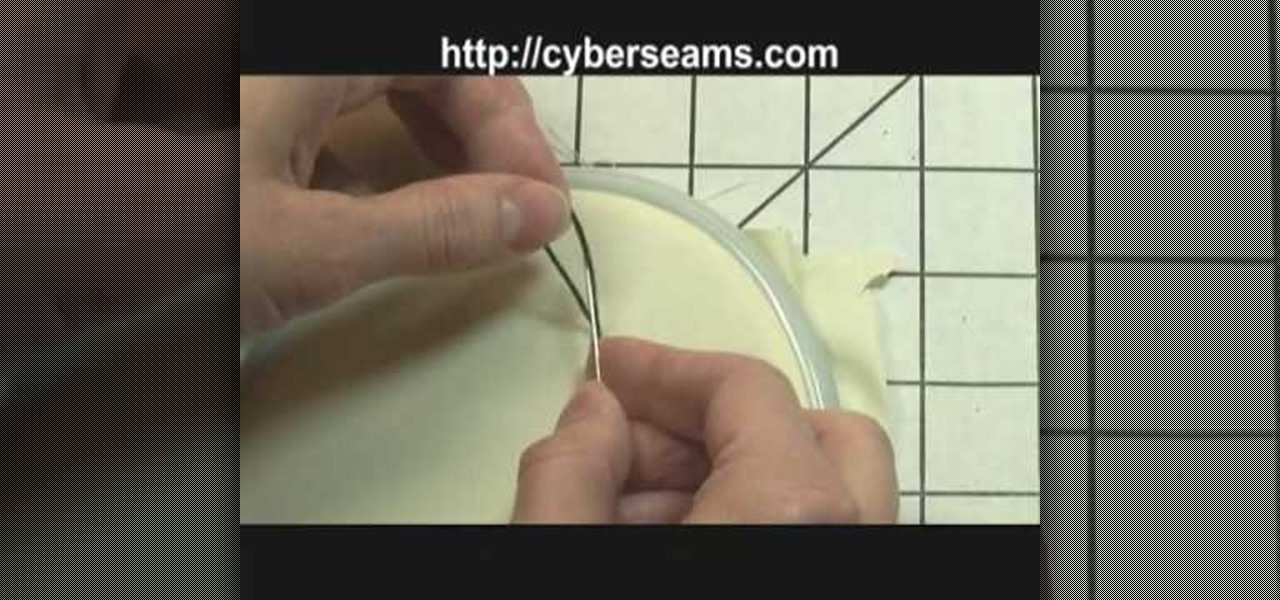
In this video, we learn how to tie off when sewing by hand. First you want to sew your fabric and complete your desired project. Next, you will push the needle into the bottom of the fabric where you won't be able to see the tie off from the front. Now, loop the thread and push the needle with thread through it, before you finish, push the needle through one more loop. Now, pull tightly until there is a tight knot at the bottom of the thread. Now, take your scissors and cut tightly next to th...

As any woodworker may know, having a sharp chisel is important than having a dull one. A dull chisel can ruin projects and make things much more difficult for anyone. This is also important when stockmaking.
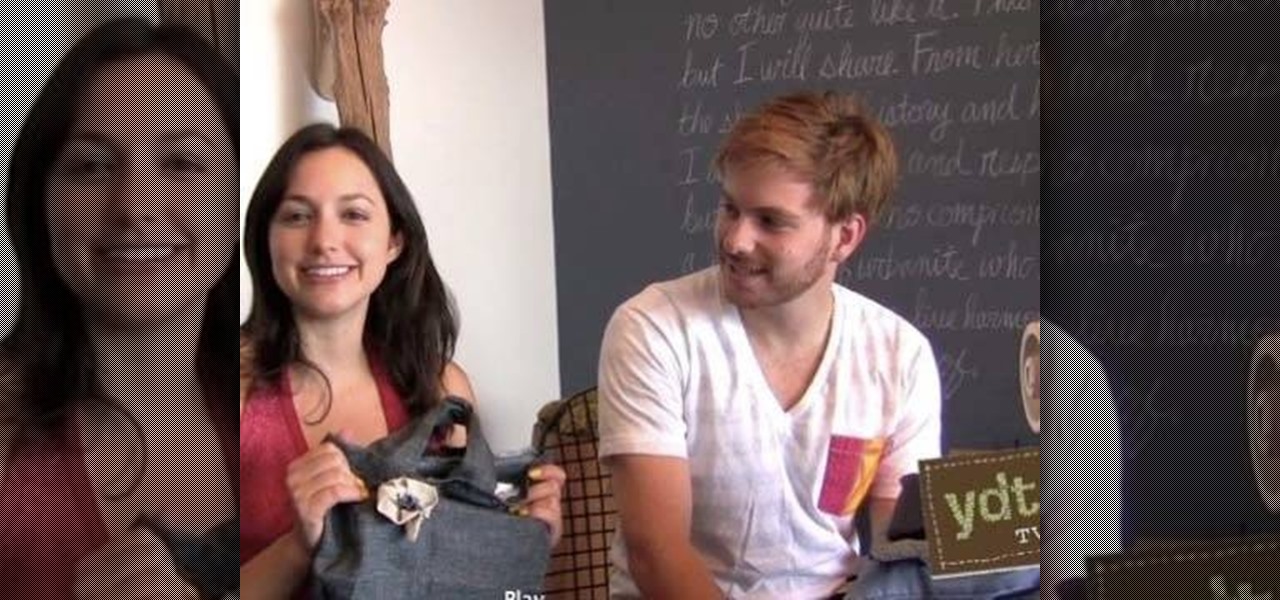
Chances are you have a pile of old, unused clothing lying somewhere in your house. You're sure as hell never going to wear any of it, but you also don't want to throw anything away just yet. So how do you eliminate the unsightly pile without completely tossing it into a trash can?
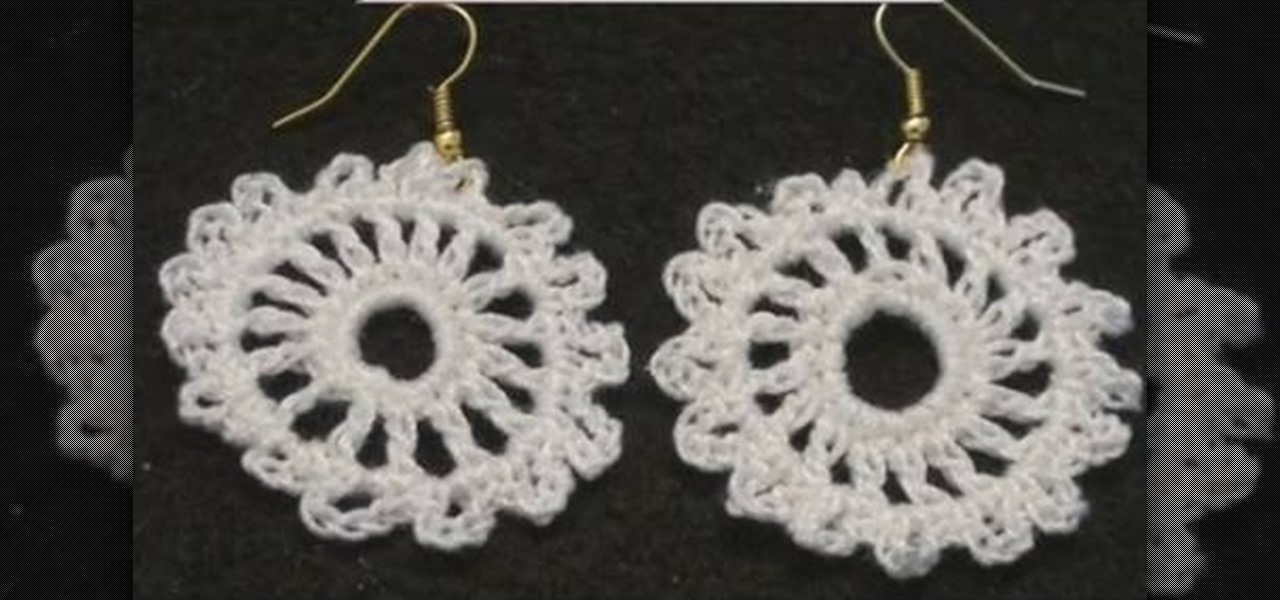
Well this is quite the alternative crochet project. You've probably already knitted a light, hole-y Afghan, and even a long, thick crochet scarf for the winter months, but we can bet you've never even thought of crocheting your own earrings.
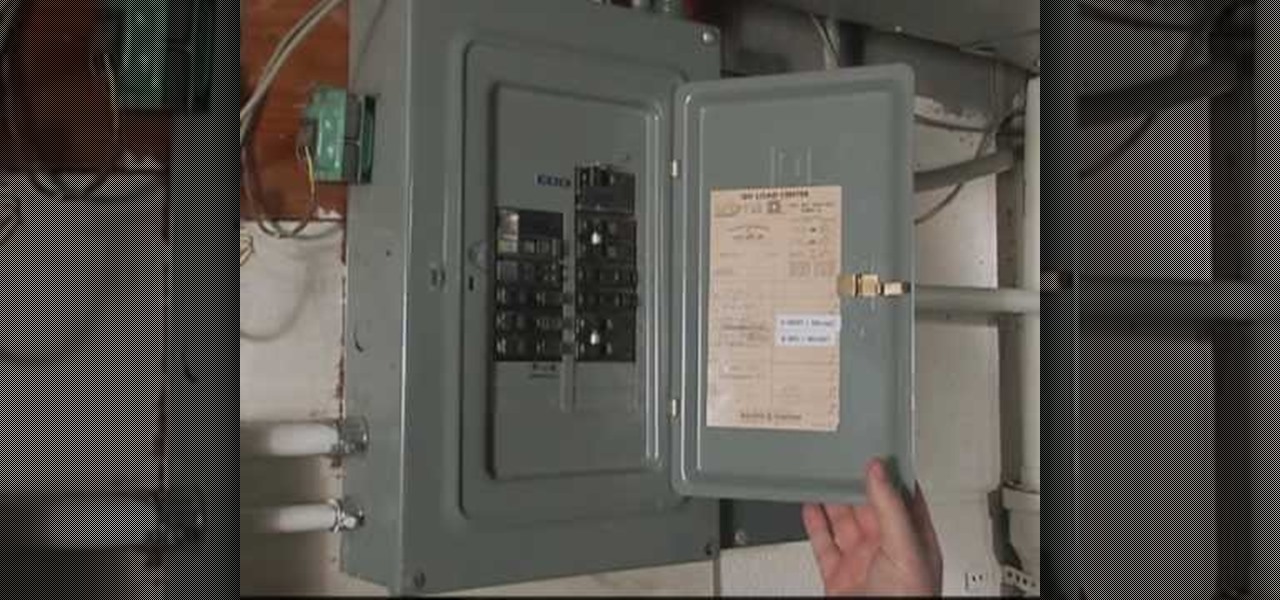
In this video tutorial, viewers learn how to replace and install a programmable thermostat. The materials required for this project are: a screwdriver, masking tape, marking pencil and batteries. Begin by turning off the power of the furnace. Then remove the face of the old thermostat and detach the labeled wires. Now remove the wall plate. Then mount the plate of the new unit and connect the wires to the corresponding codes. Finish by inserting batteries, placing the face plate on the wall p...
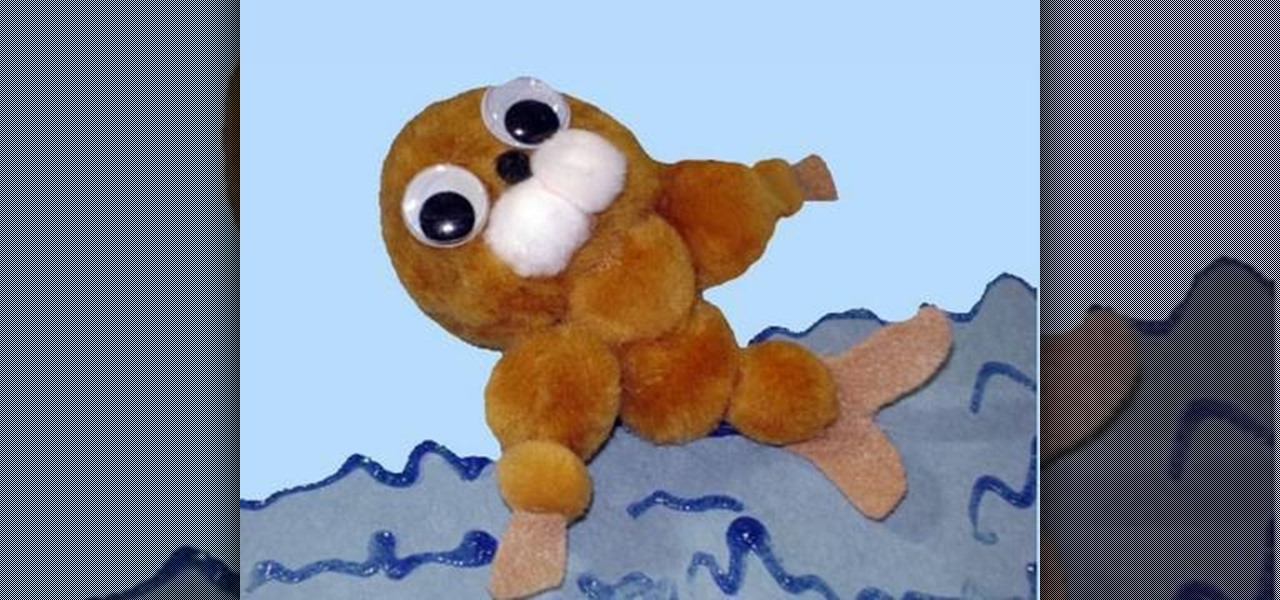
In this video tutorial, viewers learn how to make a pom pom seal. The materials required for this project are: 1 large brown pom pom, 4 medium brown pom poms, 3 small pom poms, 2 white pom poms, 1 small piece of brown felt, 2 googly eyes, glue and scissors. Begin by gluing the brown pom poms together. The large pom pom is the head, 4 medium pom poms are the body and 2 small pom poms are the hands. Then glue the 2 white pom poms and mini black pom pom on the head for the mouth and nose. Glue t...
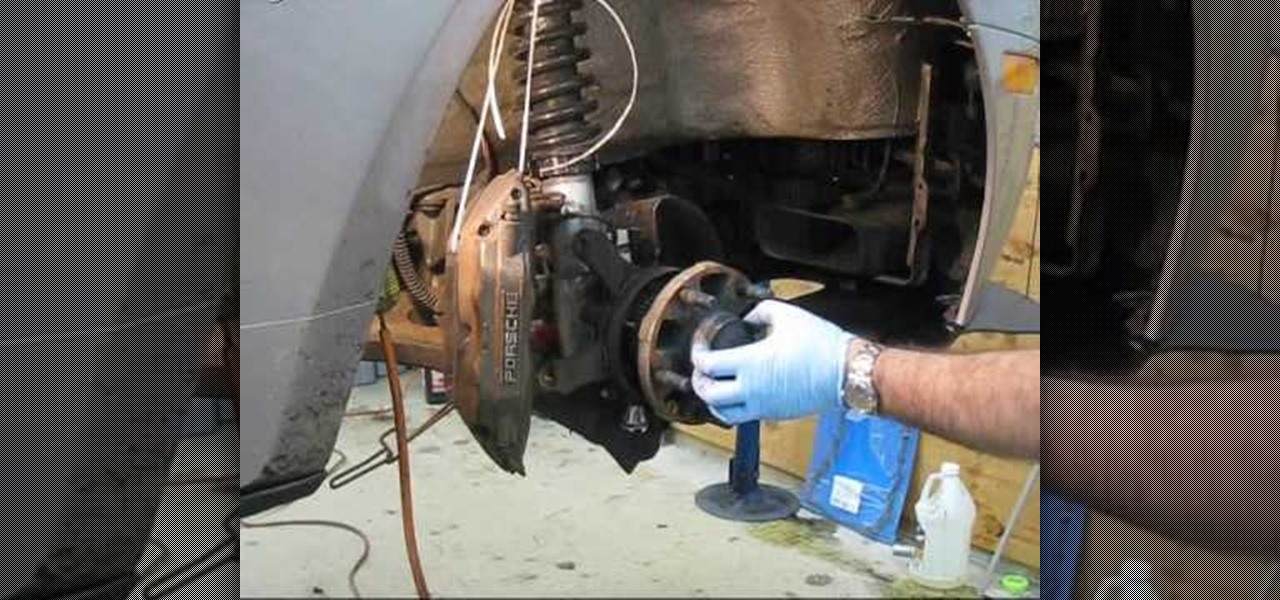
If you want to save a little dough so that you can use it to buy something more useful, performing your own maintenance on a car is a smart idea. Not only do you save money, but you get a bit closer to understanding your vehicle and how it works.
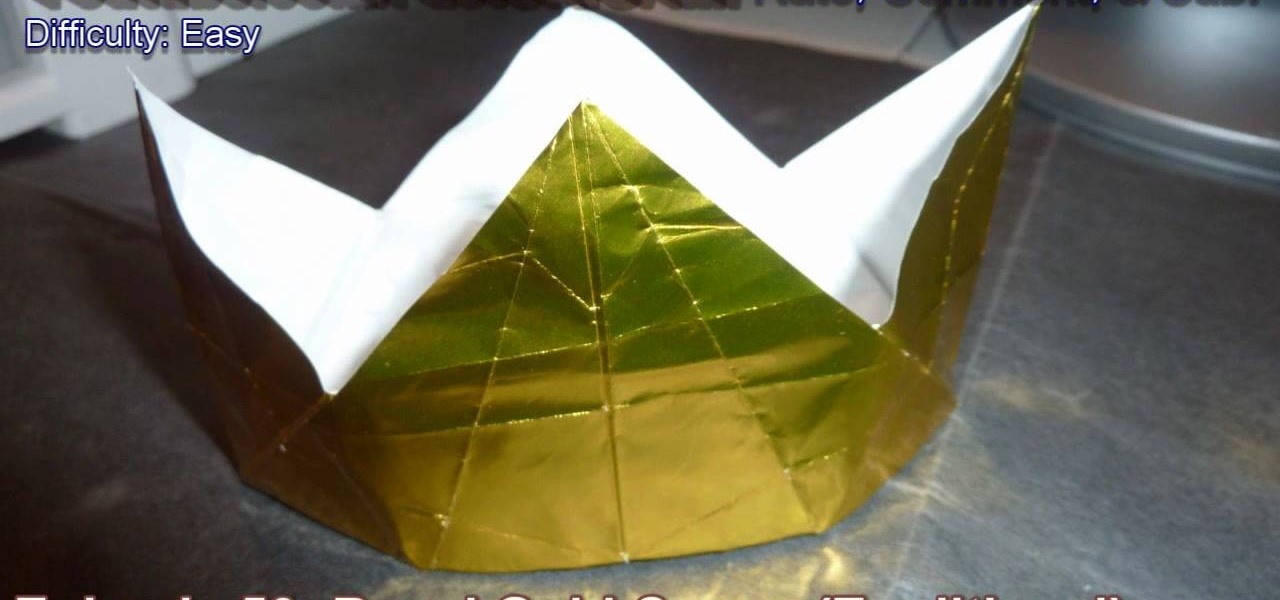
Okay, so watching "The Princess Diaries" gave us something of a princess complex. Come on, what girl doesn't want to own her own country (however small and fake), have Julie Andrews as her grandma, and be driven to even trivial places like the nail salon in a limo? Sounds good to us!
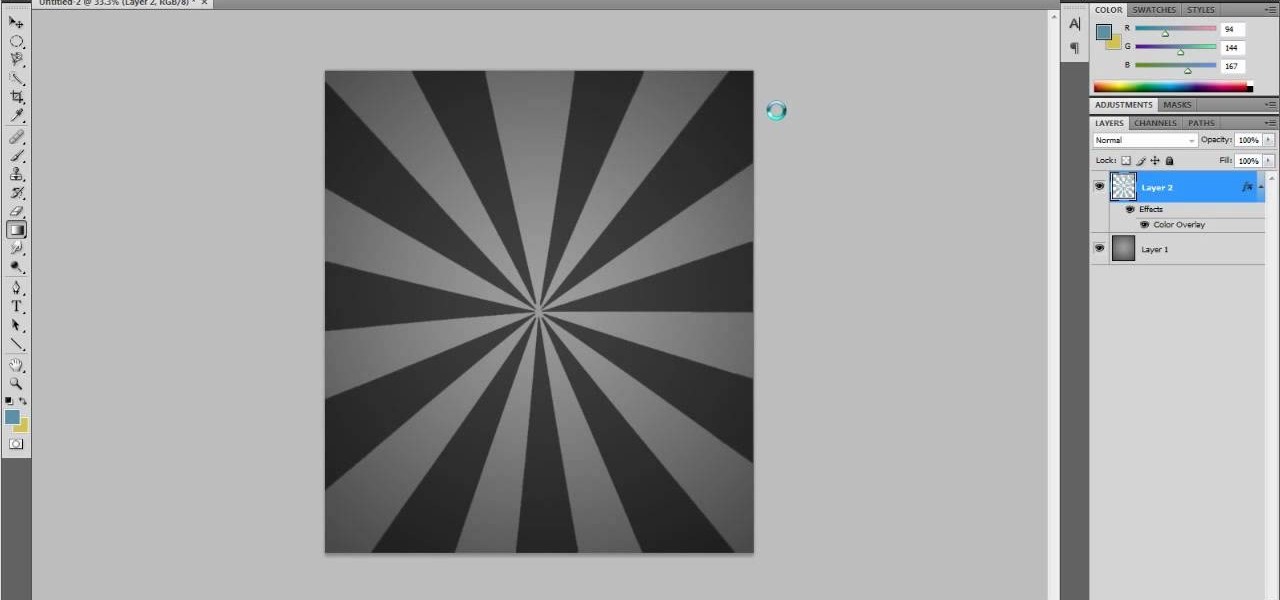
This is a very popular brush right now and I figured that their may be some people out there who would actually like to see how they are made. So in this tutorial I show you how to create the starburst effect by itself then take it a step further and show you how to make it into a brush that you can use on other projects! Hope you guys enjoy and leave any comments that you might have... Thanks!