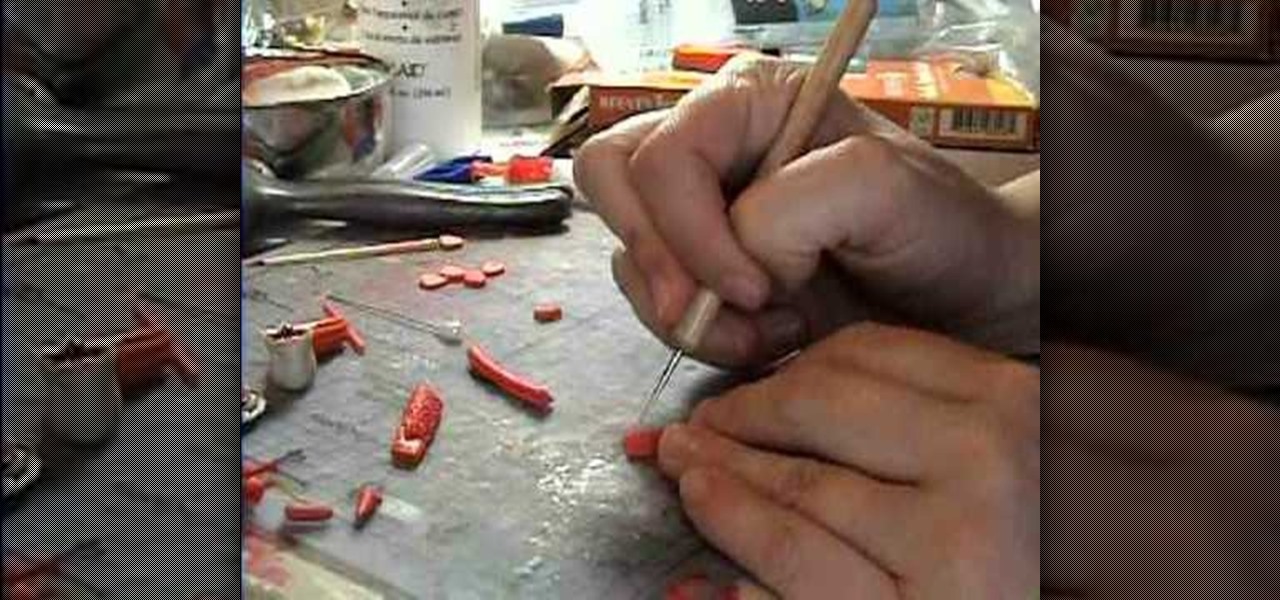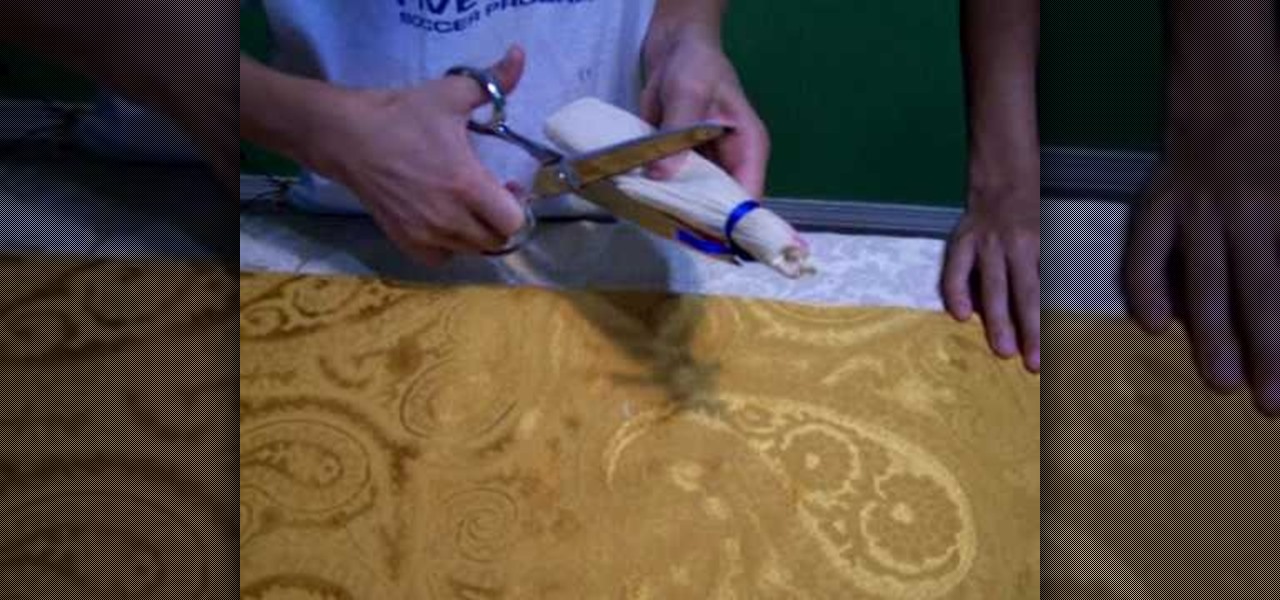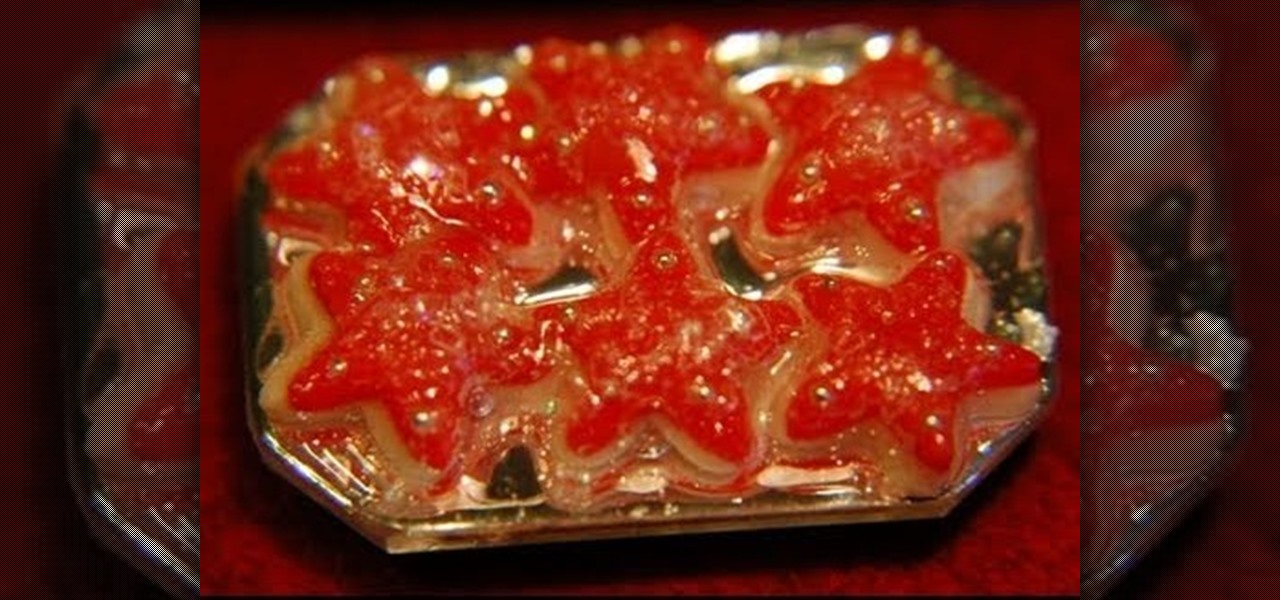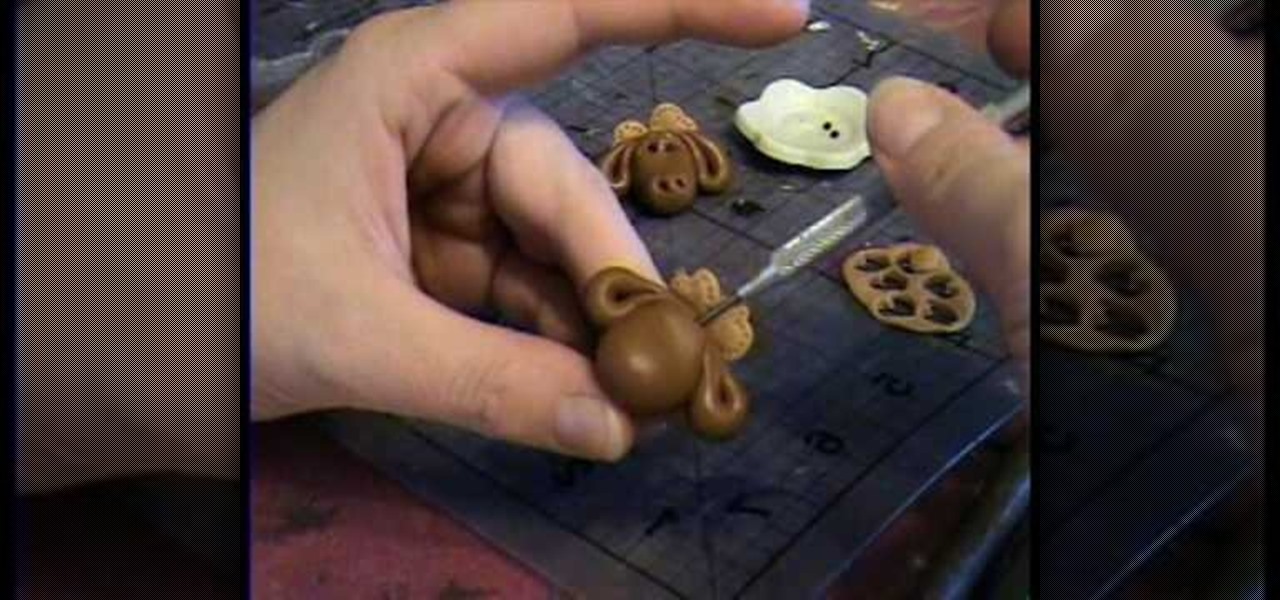
Fimo expert Corinne Bradd and Emma Ward with The Crafts Channel and magazine Craft Beautiful demonstrate how to create a striped cane in 5 minutes. To create the stripes, cut out rectangles of black and white clay and stack them in alternating colors. Then, roll out a cane in a nice, bright color so that it matches the length of the stacked clay rectangle. Then, cut the rectangle into slices. Then, press the rectangle stripes onto the bright cane so that it completely wraps the cane. Squeeze ...
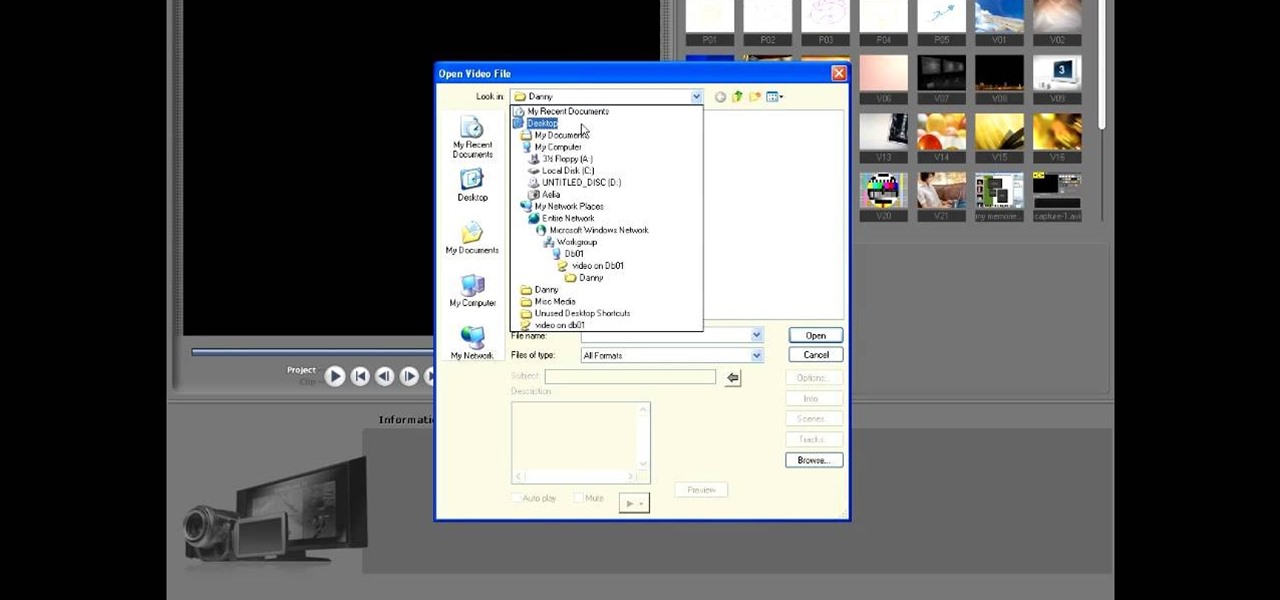
This video tutorial from toptenreviews presents how to import media from a hard drive into Corel Video Studio library.First you need to start the application.From top menu click on Capture tab. Normally you would select one of the four options to capture media: Capture video, DV quick scan, Import digital media, Import from mobile device.These options are below the library. But in this case you will need to click on the folder icon above the library.This action will bring up a dialogue box wh...
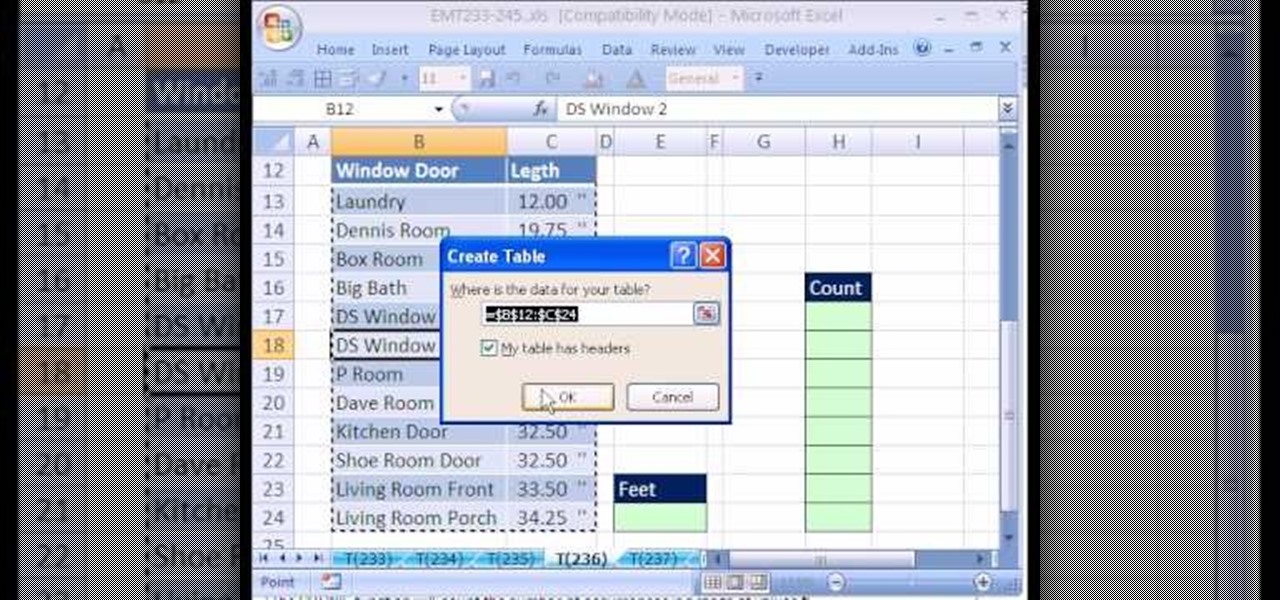
New to Excel? Looking for a tip? How about a tip so mind-blowingly useful as to qualify as a magic trick? You're in luck. In this Excel tutorial from ExcelIsFun, the 236th installment in their series of digital spreadsheet magic tricks, you'll learn how to create a database for keeping carpentry measurements as well as how to use a COUNTIF function formula for calculating how many lumber pieces you'll need to cut for your home improvement project.
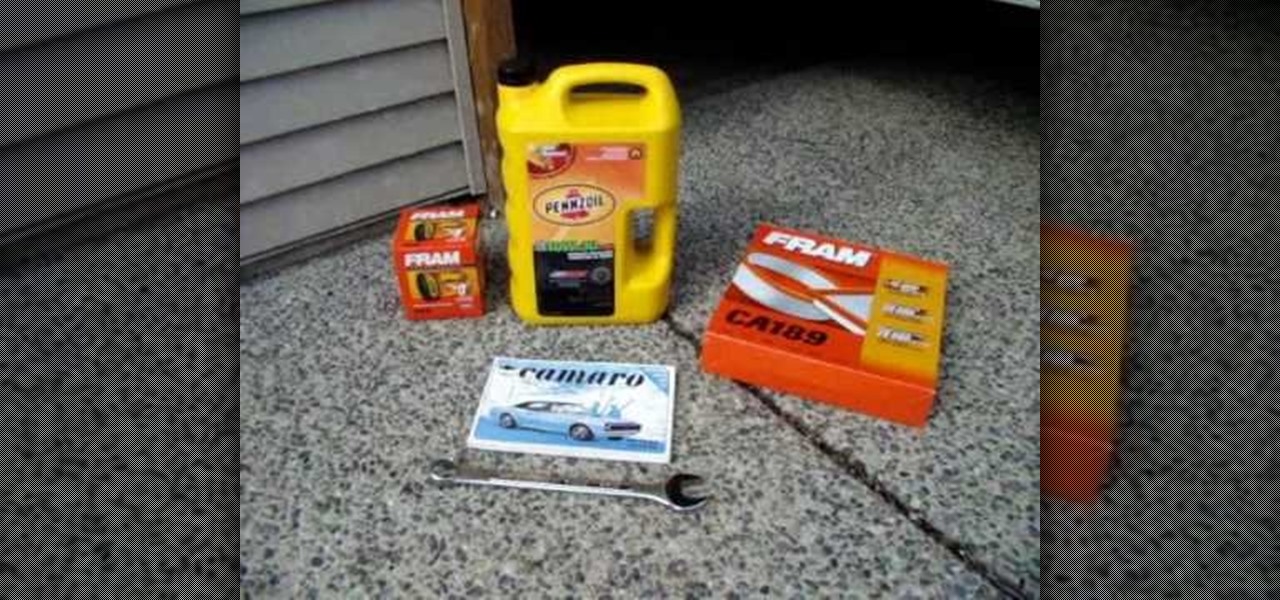
Changing your own automobile oil is a simple way to save money while completing an easy project. Don't Miss: A Beginner's Guide to Easily Changing Oil

In this two-part tutorial, learn how to create cute pew bows out of ribbon. Perfect to accent a craft project such as a scrapbook or to fasten on a headband, learn how to make these bows easily with these step by step instructions in this two-part video tutorial. Do it yourself and make these adorable bows for any occassion.
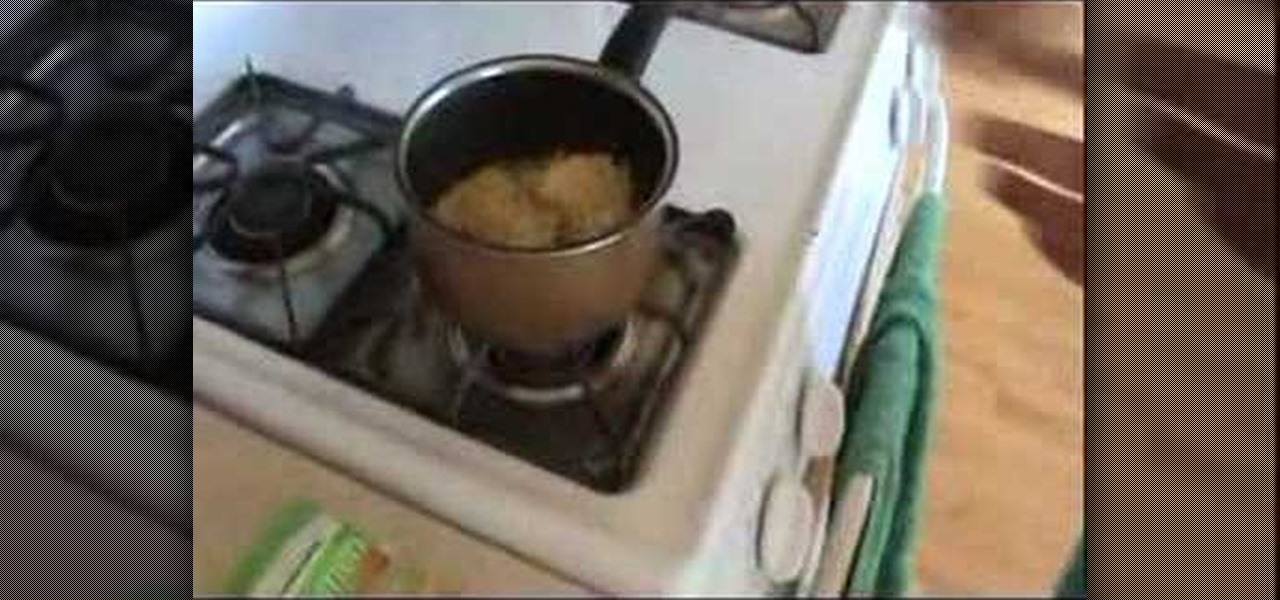
This video explains how to make homemade egg drop soup. What you will need for this project is a pot, noodles, water, an egg and a bowl. First, you'll want to heat up and boil your water in the pot. Next, add your noodles. The noodles and flavor you will use will be Choice Ramen. Before you add the noodles, crunch up the noodle in the package. When the noodles are half way done, limp and softening, add the flavor to the pot and mix. Next, drop in the egg and simply break the yolk of the egg. ...

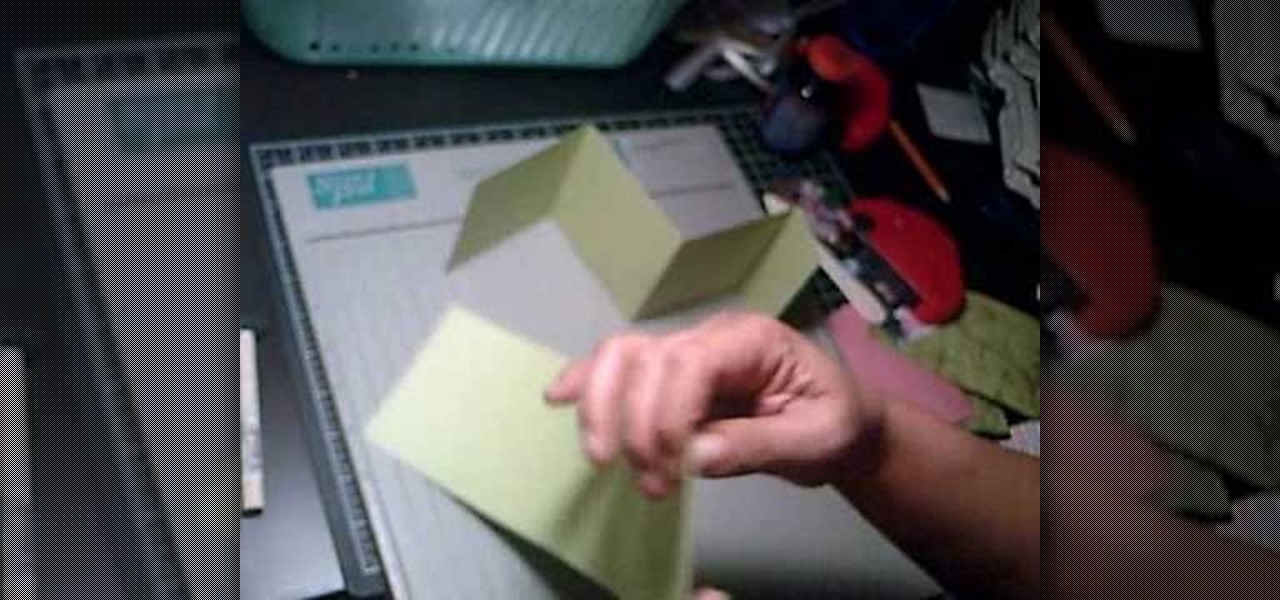
Maria from [www.stamininspirations.blogspot.com stampininspirations.blogspot.com] shows us how to make a 4x4 mini double accordion picture album. You will need a 4 x 9 in. piece of designer paper, a 4 x 9 in. piece of card stock, a 3.5 x 8.5 piece of designer paper, two 3.5 x 12 in pieces of card stock and two 4 x 4 in pieces of chipboard as well as some smaller pieces of designer paper and card stock and some ribbon. Rubber cement, a scorer and some double sided tape are also needed. Maria s...

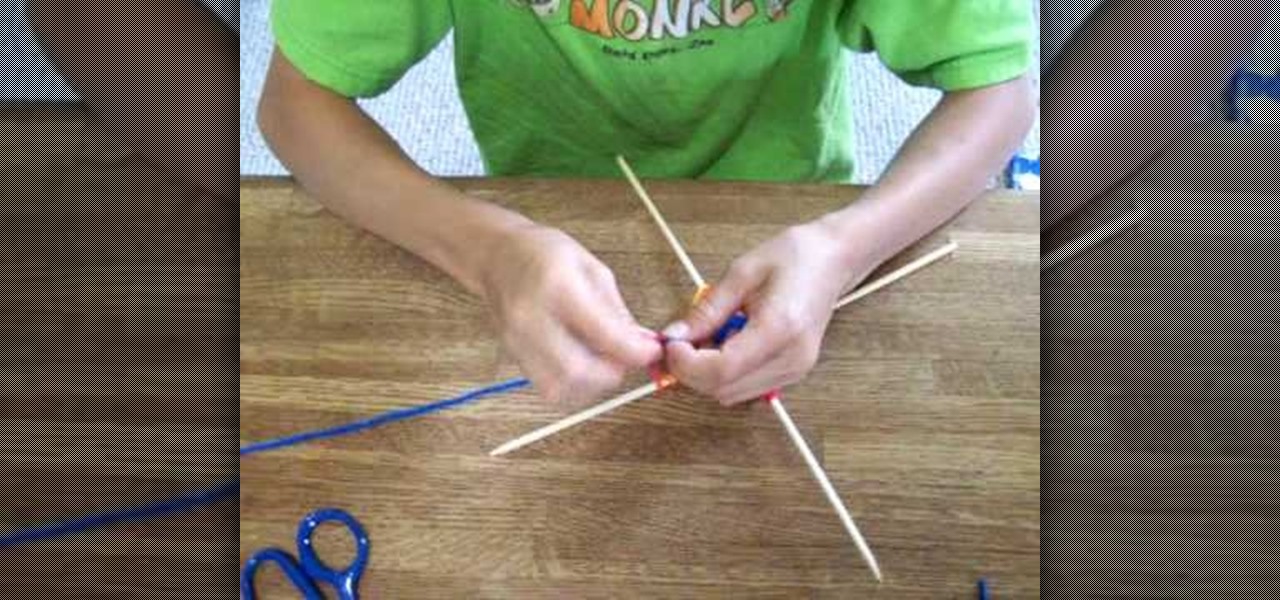
In this video and boy and a woman are showing you the steps to create a "God's Eye" or "Evil Eye". The materials that you will need are 2 sticks, yarn of your selected colors, and scissors. First, you take 2 sticks and use the yarn to knot around the middle wrapping diagonally to form a "t" shape. Then you take another piece of yarn, hold the end in the middle, and start wrapping around each stick going over one and under the next. Continue this pattern until you are done or unless you decide...

This video describes how to make a model or representative figure of a computer monitor using LEGO blocks. The process only requires six distinct types of LEGO blocks. One of each of the six types of LEGO blocks is used in the construction of a LEGO computer monitor. The author names, describes, and visually displays each different LEGO block necessary for completing this project. The author begins to construct the LEGO computer monitor out of the aforementioned LEGO types. The author shows t...

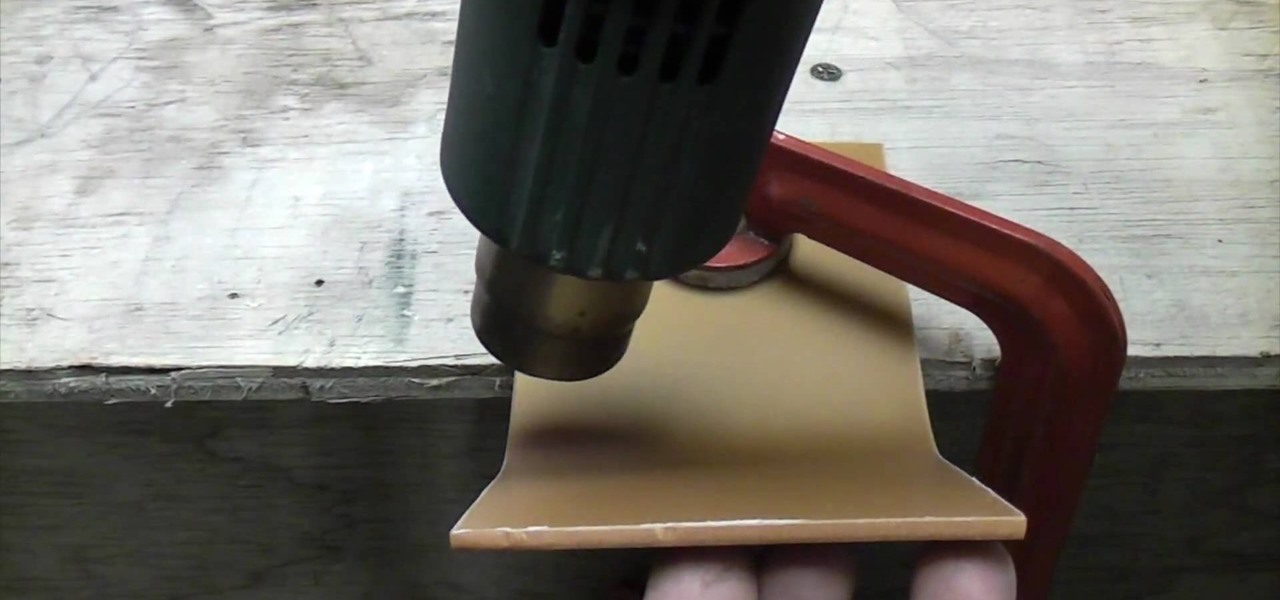
Have you ever wanted to bend a small piece of acrylic? Well now you can with the help of a traditional hot air gun and this informative video. Make sure to wear safety glasses and gloves before trying this project. Clamp the acrylic to a work table, and proceed to turn the gun on and heat up the piece of acrylic, using a steady back-and-forth sweeping motion. As it heats up, you can use your fingers to gently bend the acrylic upward. Leave it at 90 degrees to cool down for a couple minutes, a...

Marianna takes us through the process of creating a beautiful set of earrings! For this project you will need two sterling silver head pins, four fresh water pearls, some gemstones of your choice, two sterling silver ear wires, round nose pliers, flat nose pliers, and a cutter. Take your head pin and string your beads and gemstones on the head pin. Next using the flat nose plier, bend the end of the head pin to create a 90 degree angle. Then make a simple loop where the ear wires will be plac...

This video shows us a fun science project to do with our kids; it teaches us how to make flubber out of glue and cornstarch. In one container pour a small amount of liquid starch. You can find this in most laundry aisles in the store. Next in another container, pour in an equal amount of white school glue. Mix the two together by pouring the liquid starch into the glue. If the mix is real sticky, add more starch and if it is real runny, add more glue. To color your flubber you can dab it over...

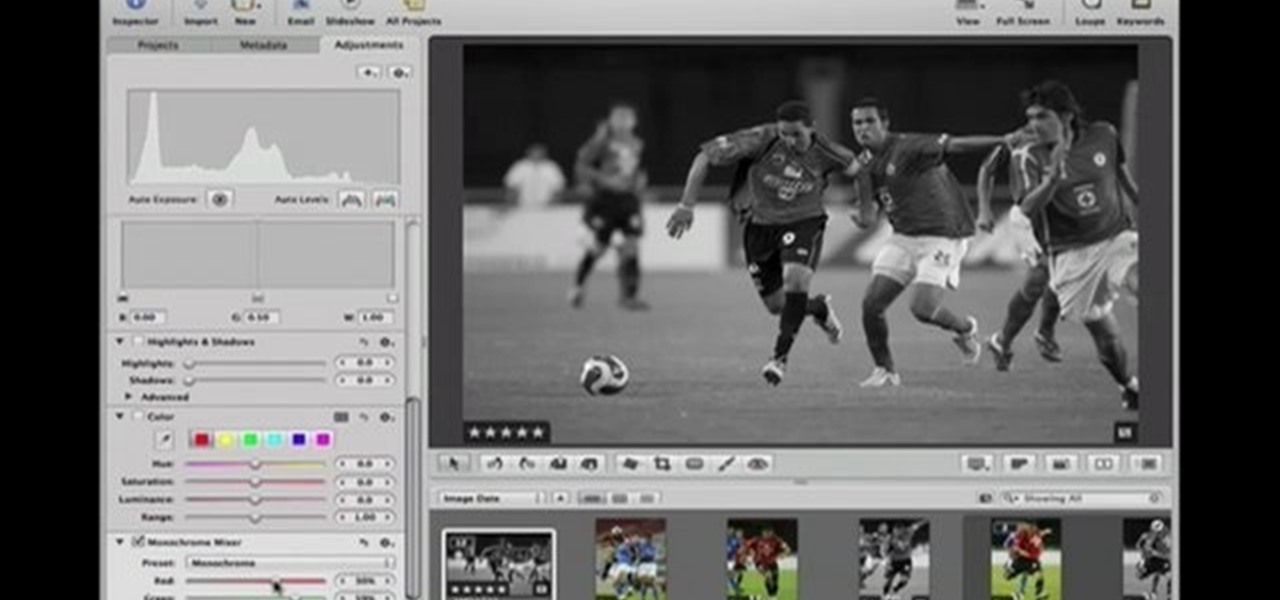
This Software video tutorial shows how to convert color images to black and white in Aperture. Scott Bourne presents this video. Open up ‘aperture’ program and select a color photo that you want to convert to black and white. Now move from the ‘projects’ page to the ‘adjustments’ page by clicking on it. Then click on the ‘+’ sign and select ‘Monochrome Mixer’. When you do this, the picture instantly turns to black and white. It’s as simple and easy as that. For editing the picture further, on...

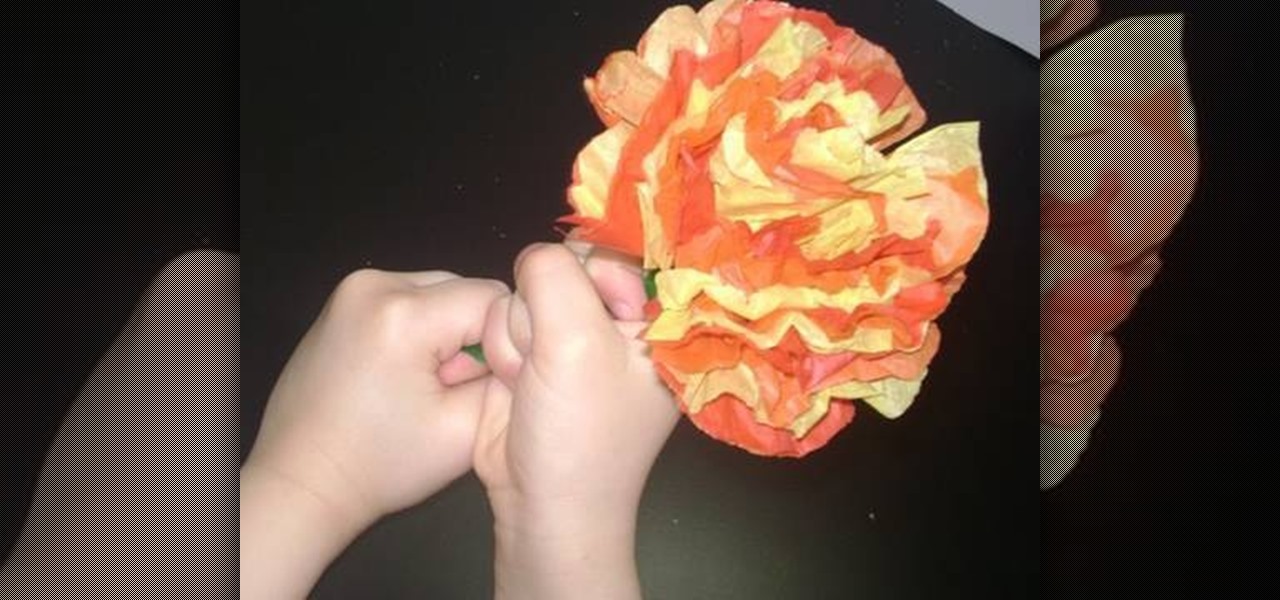
In this video you will learn how to make a tissue paper flower. The video begins with a little introduction to their website simplekidscrafts.com where you can learn more easy crafts that you can do with your children. The materials you will need to begin your project are colorful tissue paper, pipe cleaner, and scissors. This is a very easy to follow guide and only takes around two to three minutes to do. The host shows all of the steps to making her flower by filming an above view over her ...

In this Home and Garden video tutorial learn how to faux paint a crackle finish on furniture. When working on this type of project, it is best to work on a horizontal surface. However, if you have to work on a vertical surface, this video explains partially how you can faux paint the crackle finish. If you apply the glue to the surface lightly and while painting with a roller, you got to simply glide it over the surface. If you roll it back and forth, it will start to crackle again. But, if t...

If you've programmed a few Windows Mobile applications, you might need to perform some troubleshooting and debug the program to weed out all the problems. You can do this with AppVerifier. Marty Larson demonstrates installing, configuring and using the "AppVerifier" Application Verifier tool to debug Windows Mobile applications.

This video is about how exactly to make a mini strawberry cane. Strawberry canes are sliced into small individual slices to look like tiny little strawberry slices. This how to video is made by Garden of Imagination. This cane is made using many different colors or polymer clay. Making a strawberry cane is much more time consuming than many other canes. You can use these strawberry slices for things such as a mini cake for doll houses. These pieces are normally glazed when on a final project....

This video describes the easy process of building a garden retaining wall. First you will need to map out your area for your wall with strings and dig your trench for your stones. You will be filling the trench with gravel to hold your stones in place. Make sure to pack to gravel securely into the ground. You should have a leveling tool to ensure your base is very level. After you make sure that first level is secure and in place you will stack your next level of stone. Once the homeowner has...

This video teaches you a simple and easy way to make corn dollies. For those of you that don't know, corn dollies are the homes for the spirits of corn that have lost their homes during the harvest. The spirits will live in the doll throughout the winter and will be returned to the fields the forthcoming spring. To make these you will need corn husks, Sharpies, a pair of scissors, and ribbons of your desired color. These corn dollies are a fun project for kids and will be sure to help create ...

This video shows how to create mini decorated Christmas cookies using polymer clay. They are about the right size for a dollhouse. She shows the process of cutting the clay out in both colors, using a star stencil for the cookie shape and also the frosting. Make sure to have the frosting piece be a little bit smaller than the cookie so that it appears to be sitting on top. She also shows how to place the decorative silver pieces onto the clay. She explains how long to bake these pieces, and a...

In this video tutorial, viewers learn how to make a reflective text in Adobe Fireworks CS3/CS4. Adobe Fireworks a bitmap and vector graphics editor. Begin by opening Fireworks and create a new project. Create your text and then duplicate it. Align the duplicated text under the original and flip it vertically. Click on the color and select Fill Options. Select Gradient and keep the second option at Linear. Drag the opacity on the left to zero and the right to 100. This video will benefit those...

She teaches us how to make a beautiful jewelry pendant for a necklace out of polymer clay. She starts with kneading a black base. She then sends it through a pasta machine. After she has a black flat sheet she rolls it into a ball again. Then, she takes the other five colors and starts rolling tiny little ball. She attaches them to the base black ball. Next, she creates a snake with the colors swirling around. She sends it back through the pasta machine to create a perfectly flat surface. To ...

This video tutorial is going to show you how to make a Moose Bead from Polymer Clay by Garden of Imagination. You begin with clay and make a shape it like the head of the moose as shown in the video. Then take more clay and make the ears and attach them to the head. Now take lighter color clay, cut it out into heart shapes, poke around the edge with a pin, and attach them behind the head. Take a pin and make a hole at the top end of the head to make it a bead. Watch the video to finish the pr...

WhatEverHD shows how to shoot your javelin using a turret in modern warfare 2. This is made possible by using a glitch in the system that allows you to use the turret as a mechanism of projecting your javelin. You can walk up to the turret, zoom in and do what is instructed in the video to throw the javelin. The video states that the only advantage of this method over the normal javelin shooting is that you have a turret to use it on and thus the javelin travels a longer distance. You need to...

Make mini truffles out of polymer clay for a dollhouse. Watch this video to learn how to do this. You will need amazing mold putty for this project. It comes in two parts; yellow and white. Take equal amounts of each and mix them up; they are like clay. You will make a mold out of this for the mini truffles. Then you take whole black peppercorns and press them into the mold putty and keep it out for drying. After it is dry, remove the black pepper and you got the mold ready. Now you take clay...

Garden of Imagination demonstrates how to make a miniature corn on the cob out of polymer clay. First, roll and flatten two small balls of green clay to make the corn husks. Make the husks pointed on both ends. Take a piece of yellow clay and roll it into a conical corn cob shape. Insert the corn on the cob into the texture piece and roll it to achieve the textured corn kernels. Wrap the corn on the cob between the two green husks. Make sure the husk leaves overlap in the front. Squeeze the c...

This video loosely explains the method of how to make a blue colored slime from corn flour, blue food coloring, and a quantity of water which is undetermined. Quantities of ingredients to be added for this project vary and can be made up as the person goes along in combining the ingredients to produce the desired results. Ideally, the product should be of a slime like consistency, or can be described as 'gooey' in appearance. The resulting slime product should be easily stirred when it is sti...

Dragontrap uses 1/2 a yard of three different colors of fleece for this scarf project. She cuts the fleece into strips of twelve to sixteen inches in length and two to three inches wide. Then she sews the strips together lengthwise, rotating the colors of fleece. Once the strips are sewn together, she has a large rectangle of pieced together fleece This is folded in half with outsides together. She sews one edge of the scarf closed and sews all the way down the long edge of the scarf. Finally...

This video, for simplekidscrafts.com, tells us how to make an origami necktie. This is a very easy crafts project, suitable for kids and adults alike. It doesn't require a long list of materials, only a sheet of origami paper is needed. The sheet of paper is then folded ten times to transform it from just a square of paper into a decorative origami necktie. The video has no audio instruction, but encourages you to follow the folding technique exhibited by the child in the video. The camera is...

Anne, The Making Things Girl, demonstrates how to make play dough. Play dough is almost like clay in that you can bake it so it hardens. Then you can decorate it with things like paint, glitter and rhinestones. To make play dough you will need 2 parts flour, 1 part household salt and 1 part water with 2 tablespoons of olive oil. Mix the ingredients in a mixing machine for one minute. Next, work and knead the dough in a bowl and then on the counter. Knead the dough for a while because it makes...

This is a guide that will show you how to make a bow out of everyday items. First, you want to find a curved branch outside that's nice and thick so it won't snap. Also, if it's connected to other branches just saw them off, and then remove any smaller twigs or leaves from the branch. Then take a small knife and whittle down any nubs or small leftover pieces, then if the branch isn't bent to your requirements just bend it or use a vice to bend it to our liking and your bow staff has been crea...

Simple Kids Crafts demonstrates how to make a flower out of a toilet paper tube. For this project you will need one toilet paper tube, paint, a paintbrush, glue and scissors. First, paint the toilet paper tube and let it dry. Then cut the toilet paper tubes into rings. Scrunch up a ball of tissue and glue it closed. Bend the painted rings into flower shapes. Attach the flower shapes to the tissue ball. Paint the tissue ball. Next, paint the inside of the flower shapes. Let it dry. Add decorat...

For this project you will need 2 Wooden palettes (long as you can get), angle iron (coping made from steel), Sheet of ply (or any other wood will do fine) and the usual tools like nails, hammer and saw. Stick the two wooden palettes together using glue and make sure they're dry before using them. Cover them on all sides using the ply wood. Next, place the angle iron on the side of the top palettes, for grinding. Leave it all to dry and make sure it doesn't bend or break before using it.

Ilysa and Kira with Polymer Clay TV demonstrate how to make an incense burner out of clay. An incense burner is a great way to use up a lot of your scrap clay. You can also use molds, embellishments and pigments to create your incense burner. You can roll up your clay in a swirl to create the incense burner or use any other desired shape. You can also do pinch pot type shapes. To make an incense burner, you'll need a ball of scrap clay, a blade, and a rod. Use the rod to flatten pieces of a c...

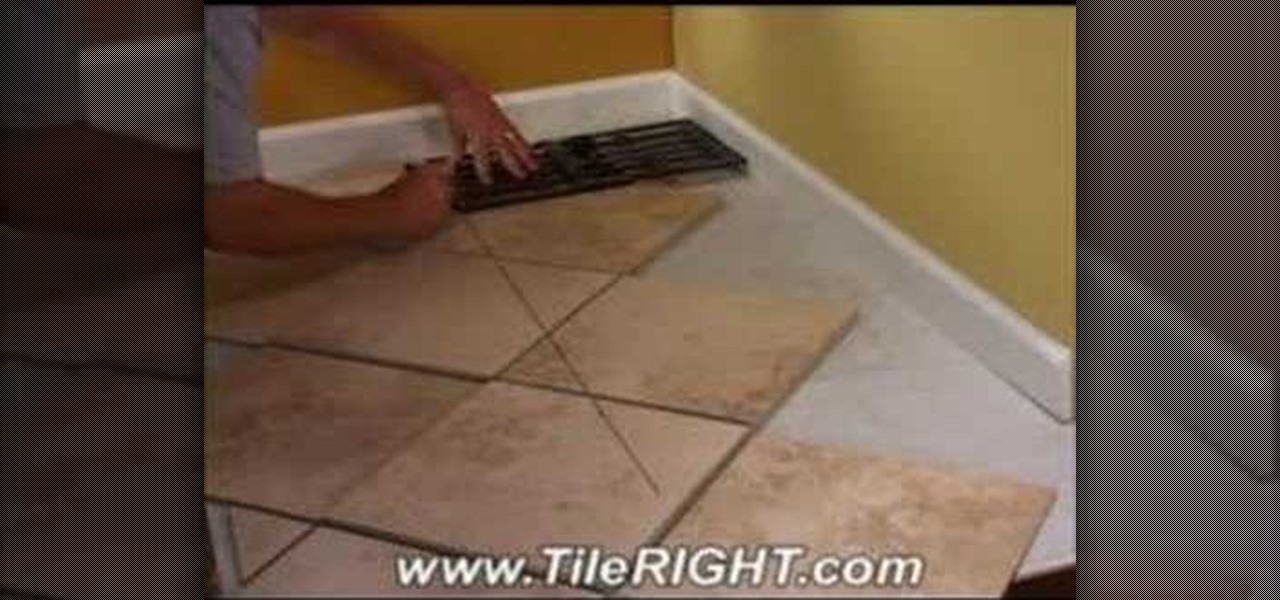
Tile RIGHT demonstrates how to tile a diagonally cut tile. First set the Measure Right Pro to the appropriate setting, extending it from corner to corner along your tile. Account for your grout line and the space up against the wall. Then, lock the tool. Next, place the tiles you're going to use on top of your set tiles. Slide the Measure Right Pro along the wall and mark the tiles. Place the sections in the appropriate place. Then, cut your tiles. Lay the tiles where you've previously marked...

Elizabeth Chamberlain, with Space Lift, demonstrates how to make room for love with feng shui at home. First, find your focus room with your energy map by laying the energy map on top of your floor plan. The love area is the far right corner from the front door, facing in. If the love area turns to be an outside area like a patio, clean it up. Remove the cacti and pointy plants to reduce arguments in the relationship. Clear out any unfinished materials and projects. Next, complete the area by...

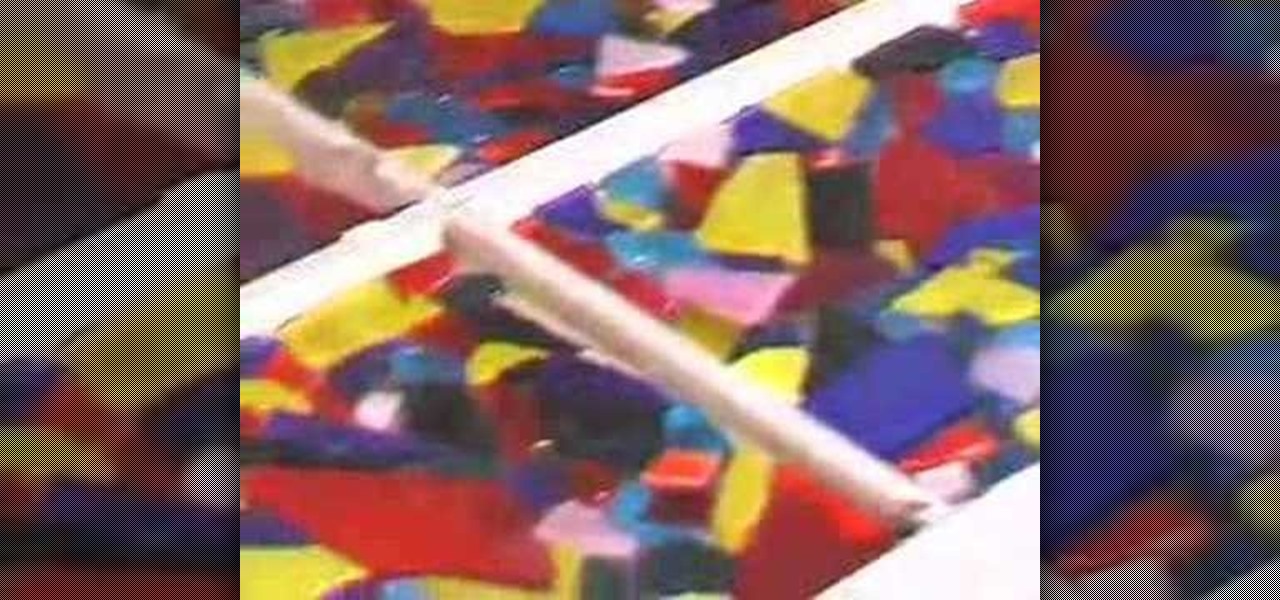
In this video, you will learn how to make a mosaic stained glass window as well as techniques for using mosaic to decorate other items in your house. Host Laura says she's decorated her house so much that her neighbors say if you stay too long, they will become mosaic by Laura. The materials you will need for this project are a window, stained glass of which Laura says you can buy cut up, silicon, and grout. Laura takes you with her to her local hobby store and shows some different stained gl...

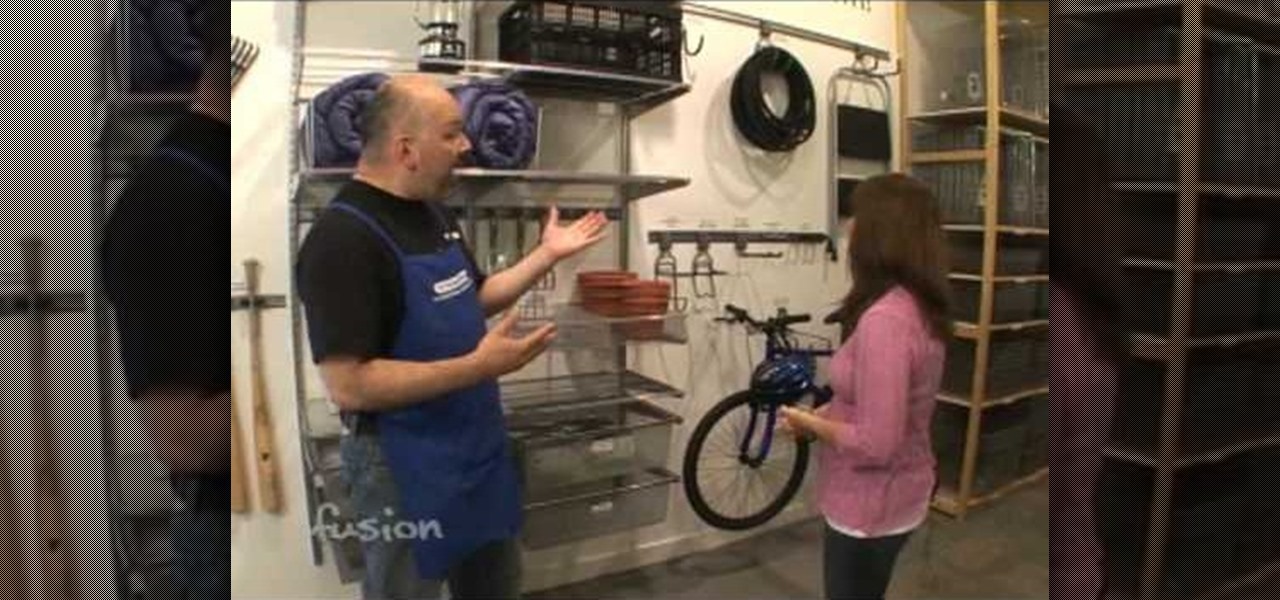
This video demonstrates the process for organizing your garage. The video interviews an employee from The Container Store which offers organizational products for every room in the house. They stress that organizing a garage is not a one day project. The Container Store recommends taking three full weekends to organize a garage, start out by focusing on one wall at a time. Labeling is a big part of The Container Store's organizational plan, everything has its own place with a label. The label...

If your replacement faucet is not the right size, pick up a connector and fitting from the hardware store. You will also need wrenches. First turn off the water supply. Then, brace the pipe with a pipe wrench. Use another wrench as a lever and remove the faucet. Take a piece of plumber's tape and wrap the brass connector. Make sure you thread the tape in the same direction that you screw on the connector. Screw the connector on by hand and tighten it with a wrench. Use the other wrench to kee...

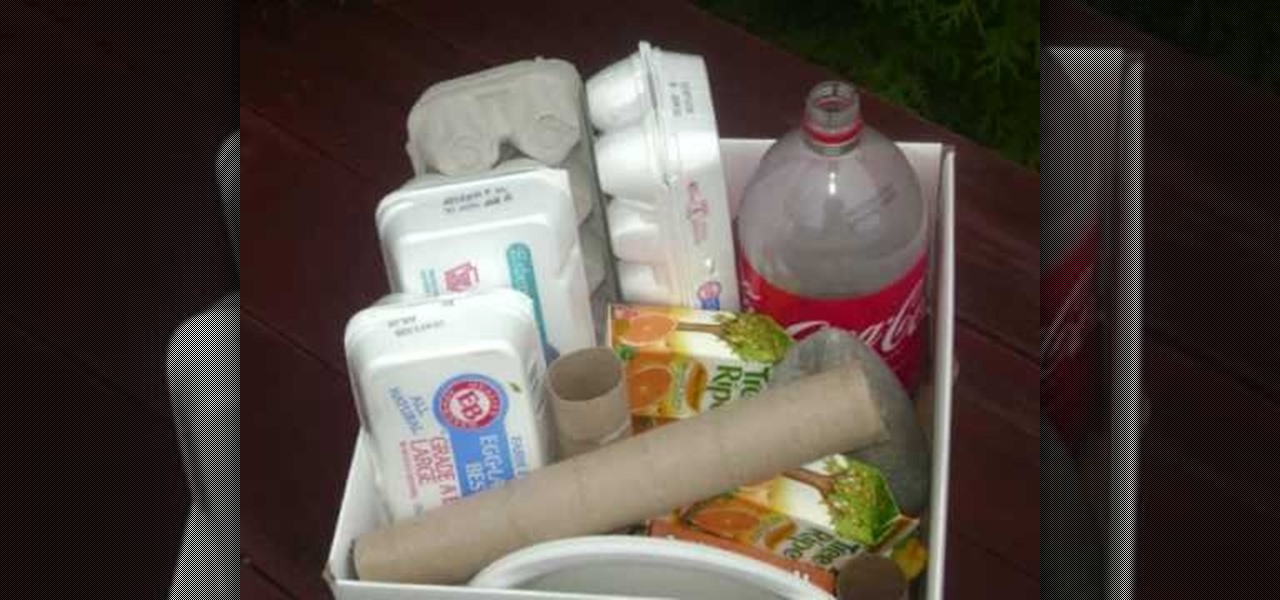
Making crafts with a group of children can get a little hectic and also maybe a bit costly. Recycling materials to use for creative activites with your kids can be a fun and and economicly fiscal alternative to your normal purchases. This video will give you some example on how to recycle materials for your kids arts and crafts. Using these everyday materials, accompanied with some great insight from this video, you can have a lot of fun creating all sorts of interesting projects with your ch...


