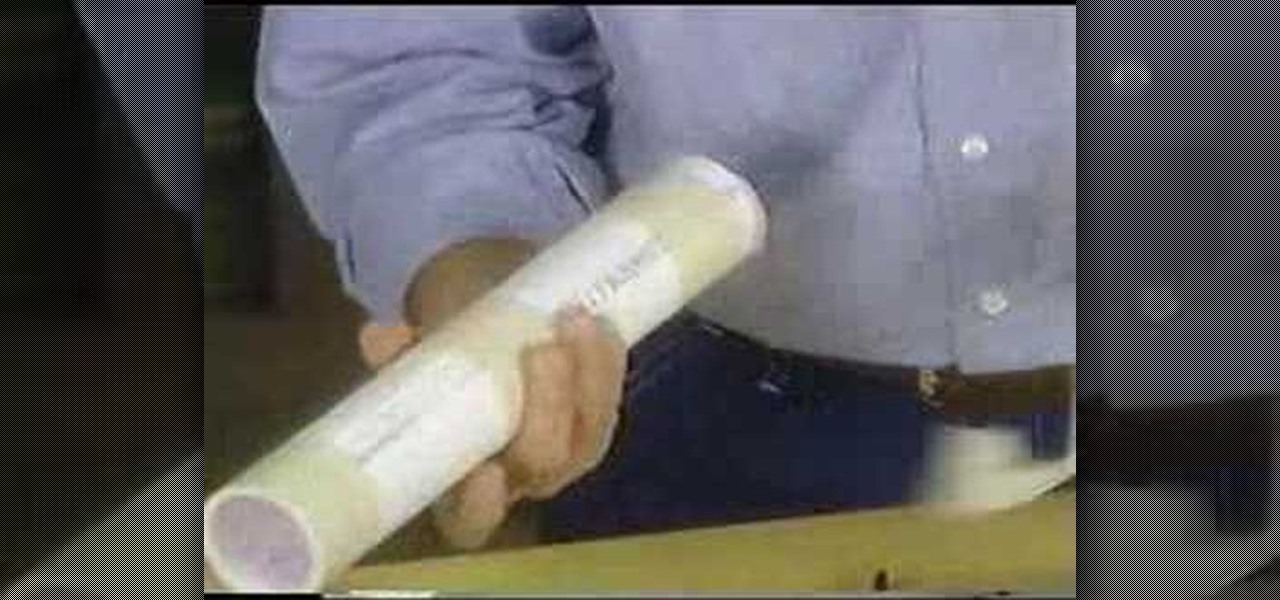
How To: Make faux bois wood mold candles with Martha Stewart
Martha Stewart uses OOMOO 30 Silicone Rubber from Smooth-On to make a twig candle mold and casts wax into it to demonstrate candle making. She make fake wood candles! Very cute.


Martha Stewart uses OOMOO 30 Silicone Rubber from Smooth-On to make a twig candle mold and casts wax into it to demonstrate candle making. She make fake wood candles! Very cute.
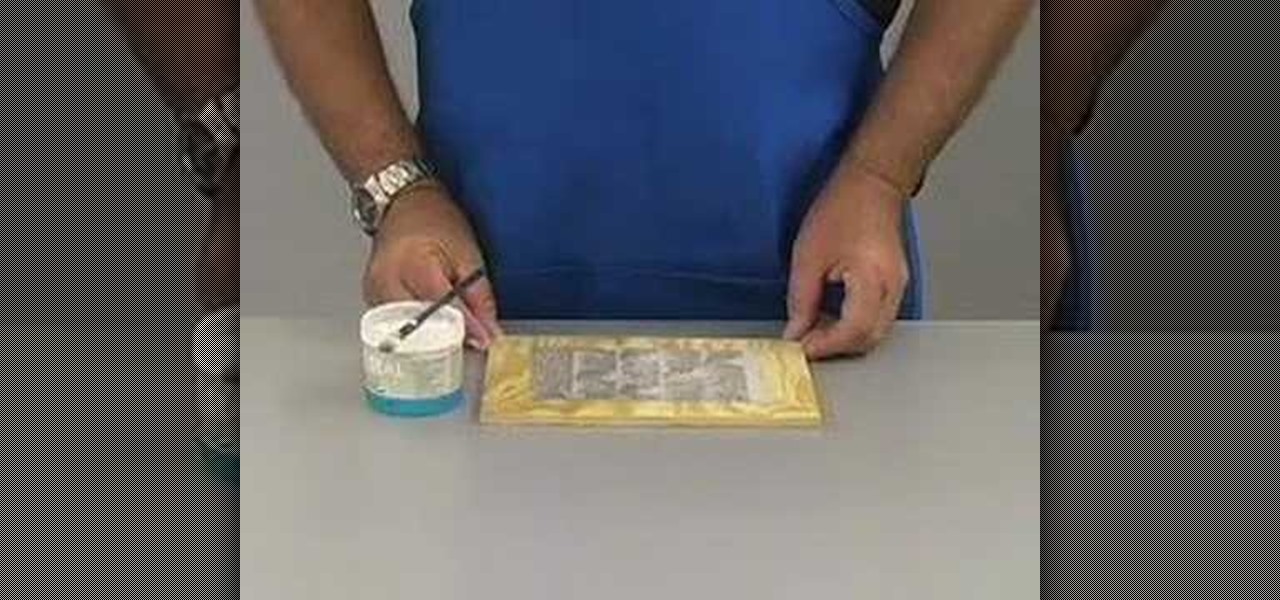
This video segment will show you how to use Ultra-Glo and Ultra-Seal to seal paper to wood.
Cinderella's plight has given mopping a bad name—but don't let poor PR keep you from a bright, shiny floor.This video will show you how to mop a wood floor.
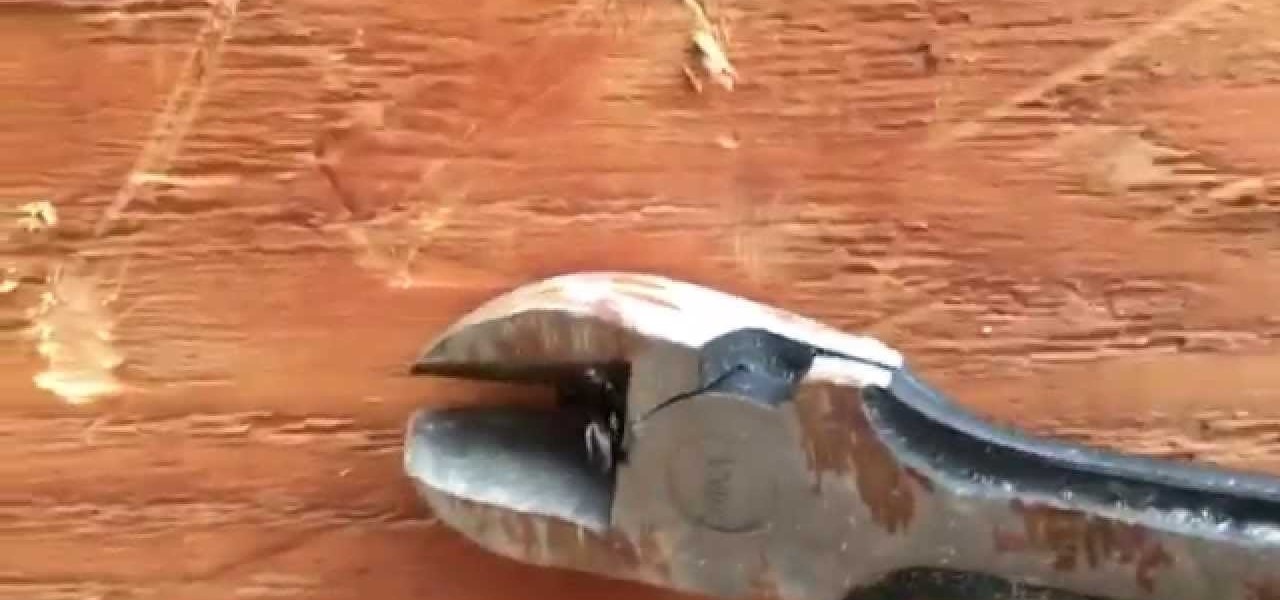
This video will show you how to remove broken nails without a nail head from a piece of wood, or your wood siding project.
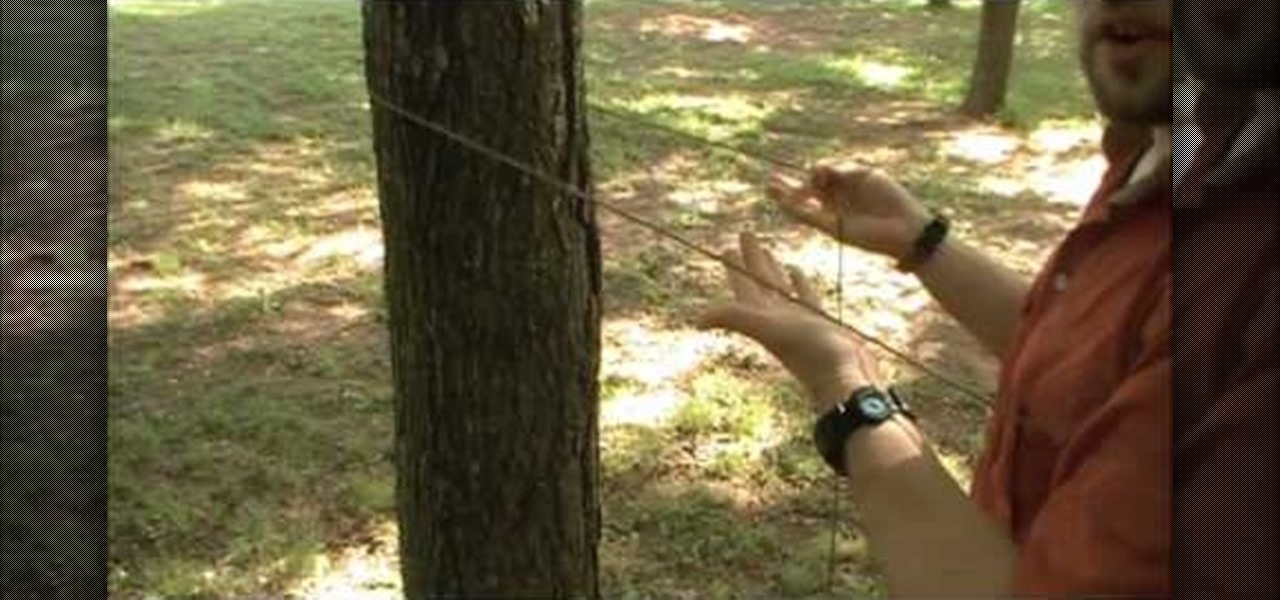
If you ever find yourself stranded in the woods, then making a shelter is one of your biggest priorities. ITS Tactical created this detailed and approachable video on how to rig a shelter in woods out of only a tarp, a ball of heavy-duty string, and four metal tent-posts, three items that anyone, wilderness inclined or not, should keep in their car at all times. It goes over the necessary knots in great detail, and should make it unnecessary for any of us to sleep unsheltered outdoors again.
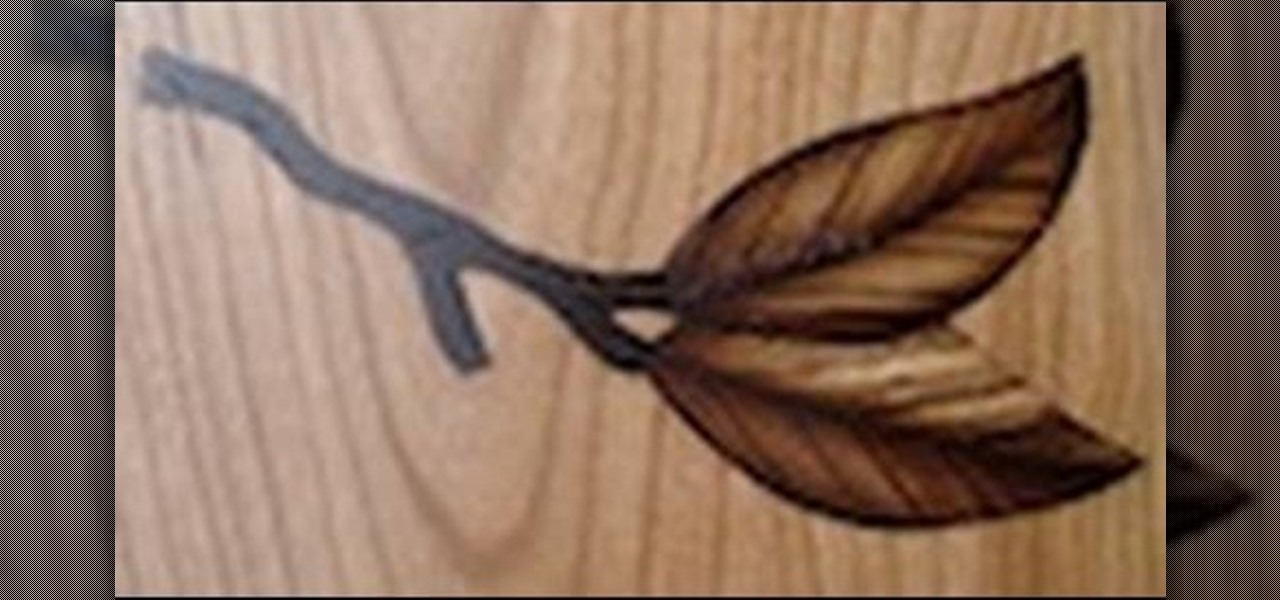
In this tutorial, you will learn exactly how to make a router-based inlay. And inlay is made up of small cut out sections of wood, and looks like a stencil or pattern when you are finished.
The Wood Whisperer thinks you have what it takes to be a great woodworker. In this 4-part series, the Wood Whisperer is building a steamer trunk for a friend. He takes you through the process of building a steamer trunk, from beginning to end. Check out more tutorials on woodworking by searching for woodworking on WonderHowTo.
The Wood Whisperer is Marc J. Spagnuolo, a professional and passionate furniture maker, who also contributes to Fine Woodworking and Popular Woodworking. In this video, Spagnuolo shows us how to build a French cleat storage system. It's a very versatile unit, and gives you plenty of storage space without cluttering up a room.
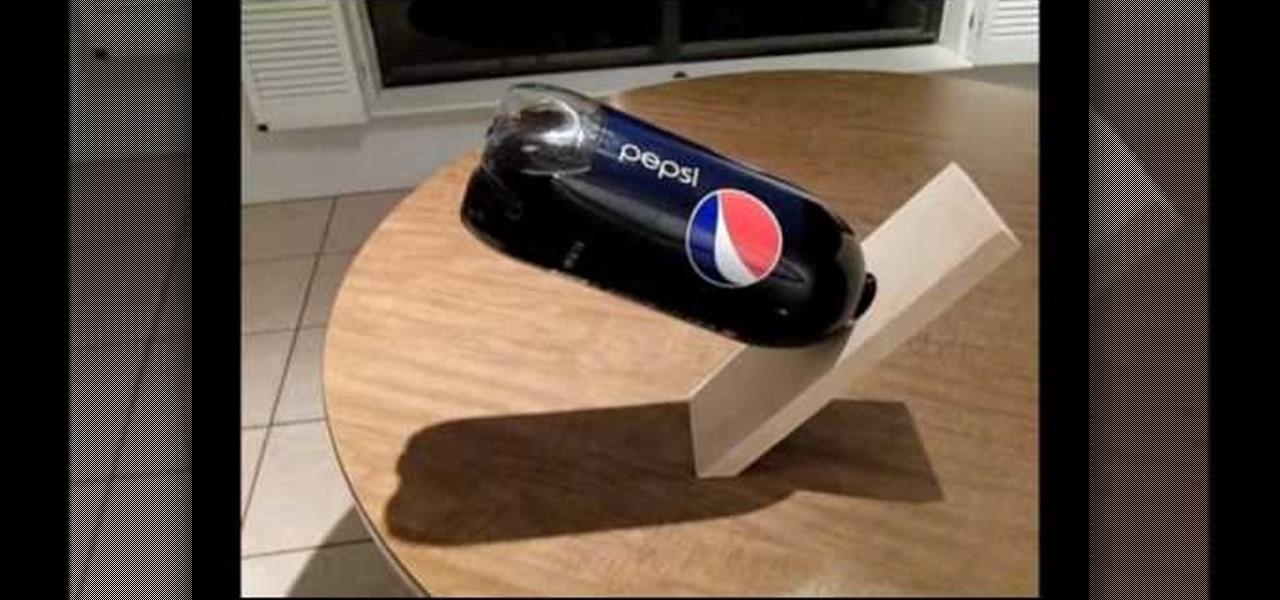
In this video, we learn how to make a wooden soda holder that defies gravity. First, cut a hole into a piece of wood that is large enough to fit the cap of a 2 liter bottle of soda. Now, with the bottle still full, place the bottle into the hole and raise the piece of wood up so it's sitting on the edge of a table. Now, the wood should stay there without you having to hold it. This will look like it's defying gravity, but it is just the soda and wood being positioned perfectly so it doesn't f...

Termite poop and biofuels — what's the connection? New research into termites' intestinal comings and goings describes a process that may speed the development and lower the cost of fuels made from plant matter.

This is a simple design built from reclaimed wood and purchased ¼” wood slats. It cost very little and only took a couple of hours to complete the build. The goal was light weight, shallow and wide for collecting leafy vegetables, easy to handle and somewhat attractive.
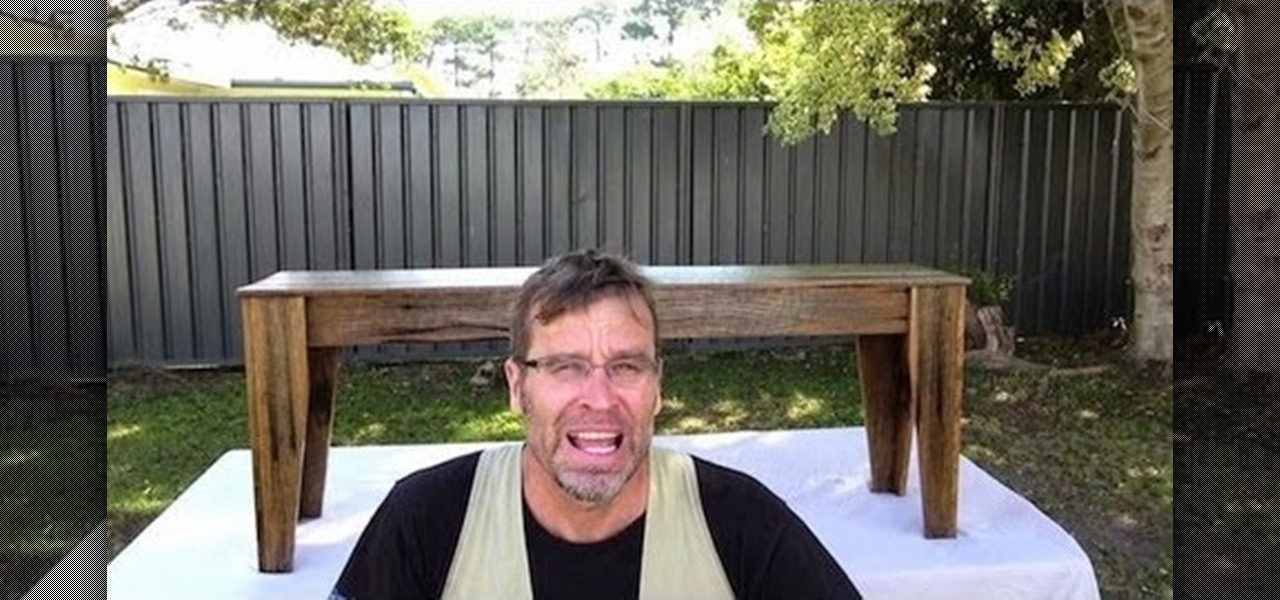
How to make a wooden bench from reclaimed wood. Recycled wood projects, whether it's from pallet wood or old fence palings, the end result can be fantastic! In this video l am using reclaimed hardwood fence palings to build a rustic wooden bench seat. Rustic wood furniture has to be one of my favourites.

Love chess, but hate having to stop in the middle of a game when you don't have time to finish? This DIY vertical chess set made by Redditor pigthunder will ensure you never have to abandon a game again. It hangs on the wall, so you can pick up where you left off anytime. Here's how to make your own.
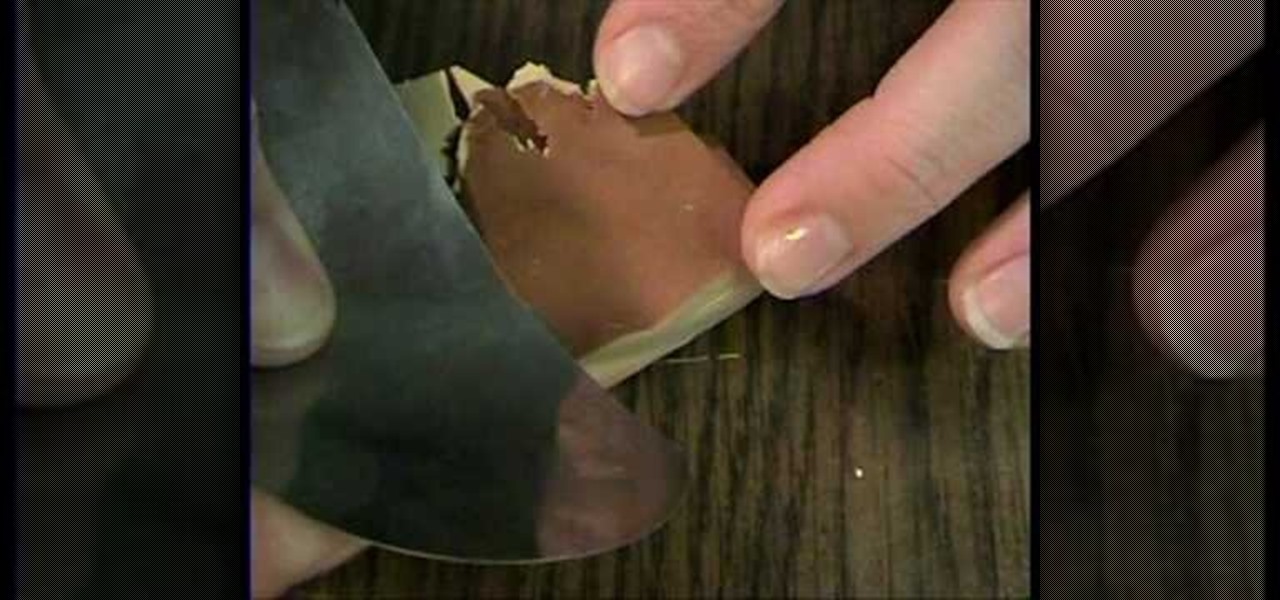
This tutorial shows the viewer how to make polymer clay look like wood. Begin by using a pasta machine and roll out ecru on a number four and rolling out brown on a number six. Stack the brown on top of the ecru and cut the stack in half. Then sandwich the two stacks so it goes light - dark - light - dark. Repeat the process by Cutting it in half and stacking them again. Roll this stack through the pasta machine on a number one so it squishes them together. Cut in half and stack. Repeat this ...
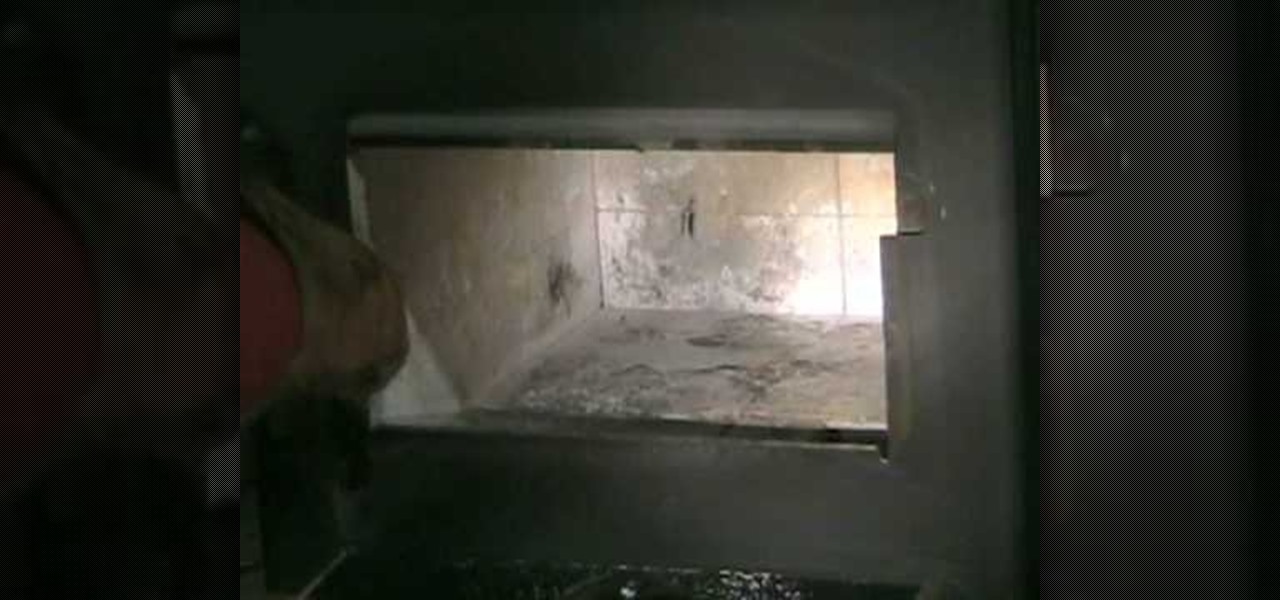
This video demonstrates how to clean a wood burning stove. Cleaning the wood burning stove is a rather uneasy and untidy task. But this video has good advice and simple to follow steps to simplify the task, in a clean way.
Learn how to remove stains from wood furniture. Make your wood furniture look like new again by getting out rings and spots.
What I'm going to do in this tutorial is, as the title implies, teach you how to make nearly anything look like metal. This can especially come in handy in Steampunk, as most of us don't have the ability to machine brass. We do, however, have access to wood, PVC, and spray paint. Not to mention that, as a costumer, I can speak from personal experience when I say that things made of brass are really, really, really heavy!
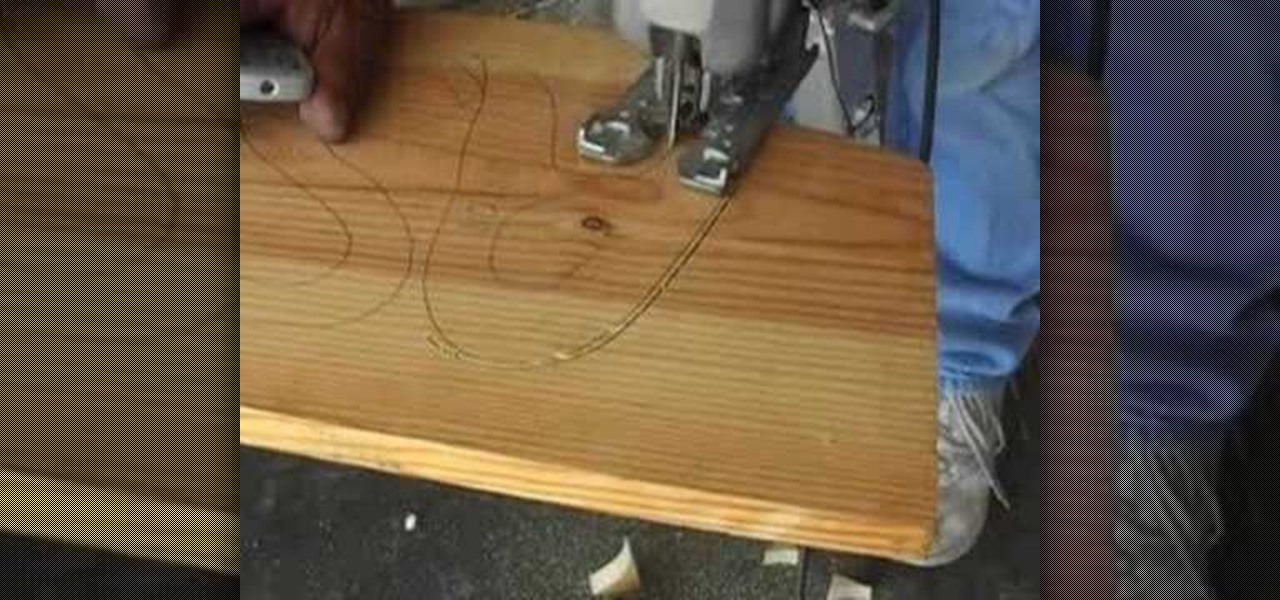
In this video presenter Dominic shows you how to use a Jig Saw correctly. Dominic suggests that if you are going to make a tight turn then you should use a skinnier blade in order to avoid banging up the wood or breaking the jig saw blade. He adds that you should be patient and try not to go too fast. With the jig saw you first have to drill a hole in the wood and then put the jig saw through as the blade is flexible and cannot be pushed through by itself. He suggests trimming off the first p...
A CNC router machine is probably the most useful tool a hobbyist can own, but the price for a CNC machine on the market is way more than the average hobbyist is willing to spend. You can build your own CNC with very basic tools, little knowledge of machinery, mechanics, or electronics, but be warned, these machines are inherently dangerous, so wear the proper protection and use common sense. At the very least, read the instructions and precautions on every tool you use.
Learn how to install rubber flooring on an unfinished wood floor.

BBQ season is just around the corner, so why not mix it up a bit this year? Instead of cooking on the same old boring grill, try out the steps in this tutorial. This video will show you how to cook using wood and add a unique, smokey taste to your meat.
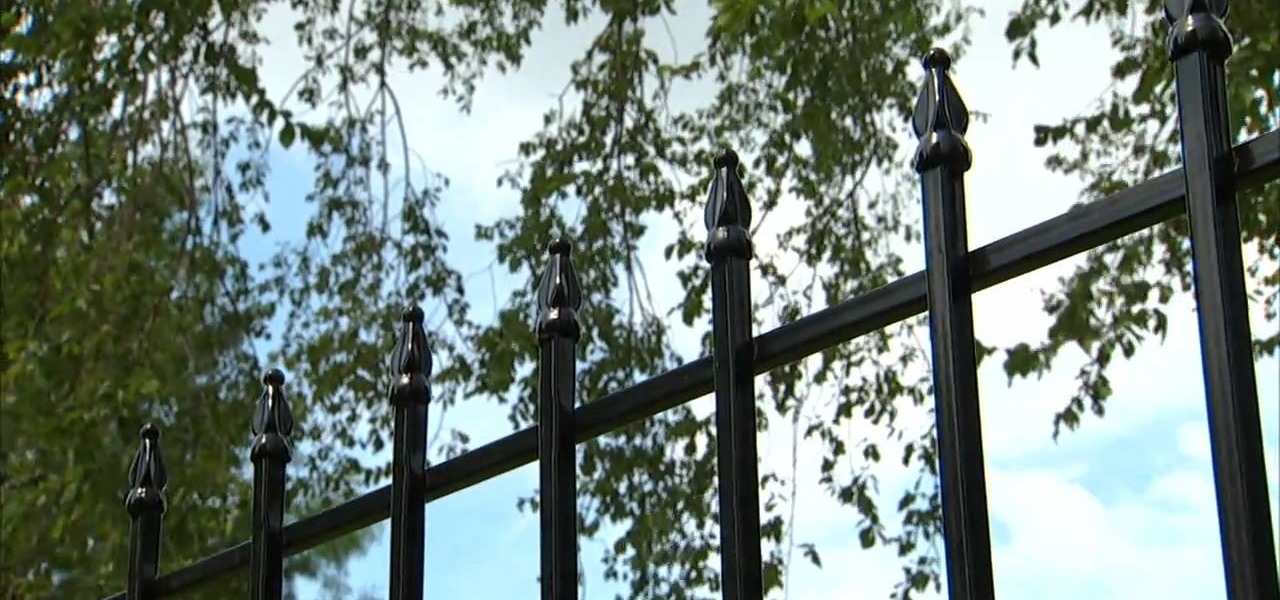
When it comes to fence-building, nobody knows better than Lowe's. And if you're thinking about fencing an area of your home, either for privacy, decoration or busywork, this video series will inform you on everything you need to know. Learn how to choose and plan out your fence, whether it be wood, aluminum or vinyl, then see how to start laying it out and digging the posts. Then move on to the actual installation.
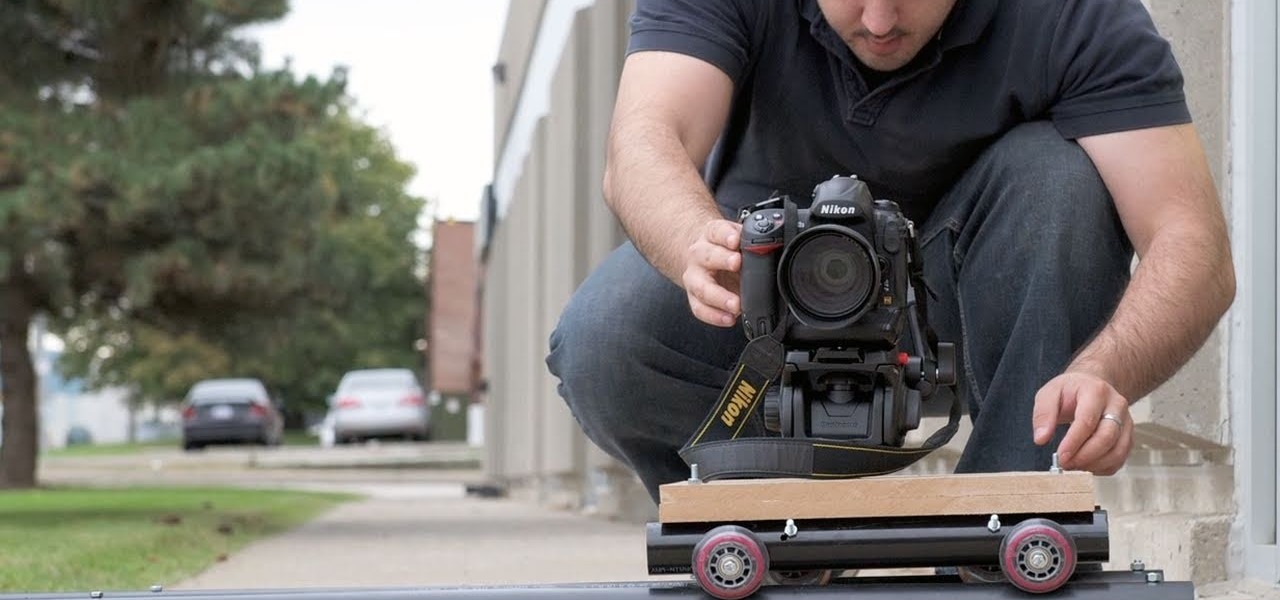
If you need a dolly for your movie masterpiece, you don't need to go with a professional dolly system. You can save that money for your expensive actors and actresses by building your own DIY camera dolly on the cheap. You'll need some nuts and bolts, PVC pipes, scrap wood, drill bits and a drill, inline wheels and a hammer. This homemade camera dolly will cost you around 65 bucks.
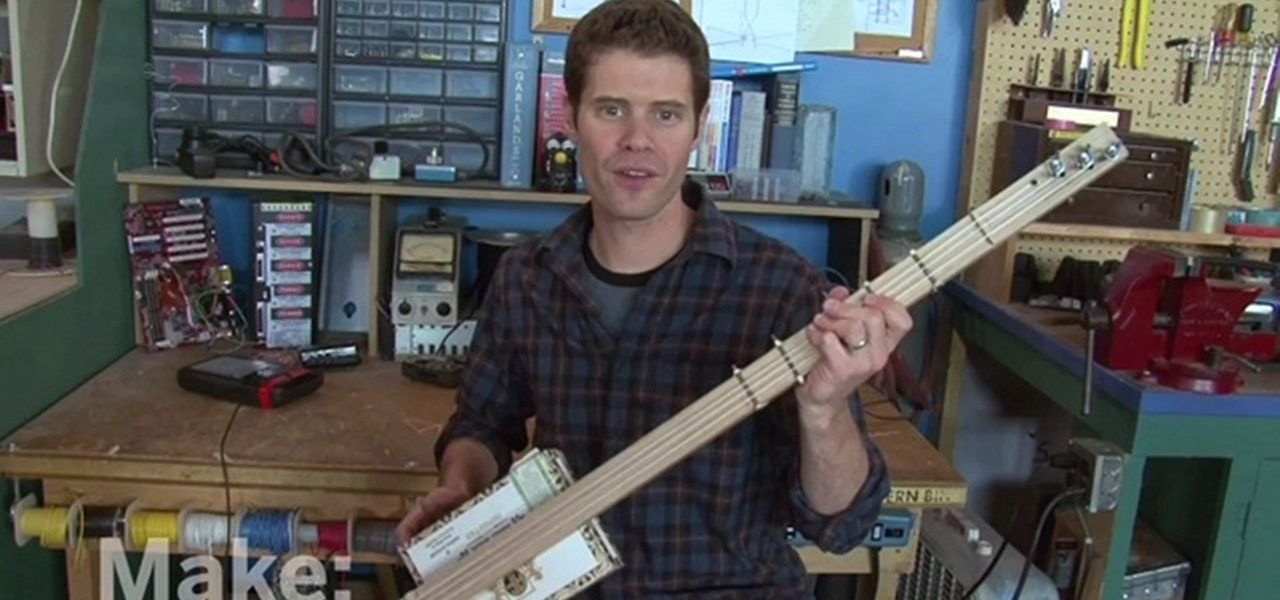
This video will show viewers how to simply make a 3 string guitar using an empty cigar box, a piece of oak, some string, and a few eyebolts. You start with a 1 by 2 piece of oak which is about 3 feet long. First, you should begin by making some markings along one side of the oak, first at 1/2 an inch and then at 1/4 inch spacing after that. Drawing 3 symmetrical lines where the strings should go, drill holes at the intersections of the lines you have drawn. The holes should be made using a 1/...

Karen Solomon shows how to make bacon. You need 2 1/2 to 3 pounds of pork belly with no skin or bone. Rinse the belly with water and pat really dry. Mix ingredients for cure which includes 1/2 cup sugar, 1 tablespoon blackstrap molasses, 1 teaspoon freshly ground pepper, 2 tablespoons kosher salt and 1 teaspoon curing salt. Curing salt may be obtained at local butcher shop or online at Sausage Maker. Curing salt helps preserve the color of the bacon and ensures no spoilage. Mix ingredients un...
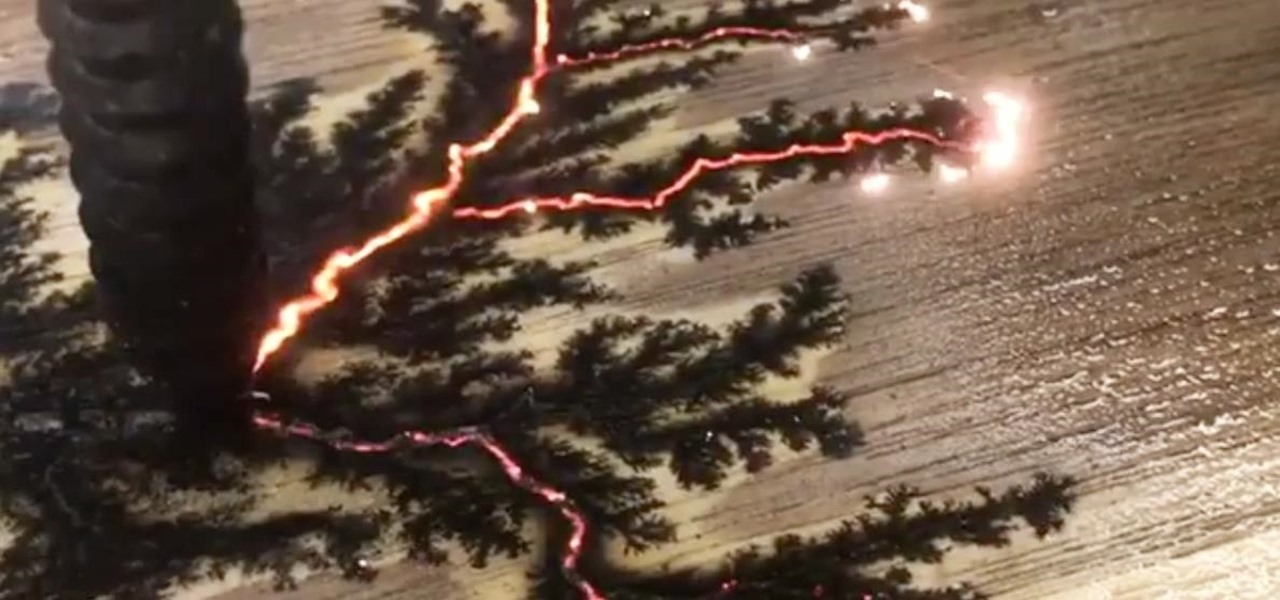
Lightning is scary and powerful, yet when harnessed correctly, it can become a beautiful pattern for hand-crafted wooden furniture. Muchd like Zeus in ancient mythology, Canadian Woodworks is harnessing the power and beauty of lightning, but they're doing it for aesthetic purposes.
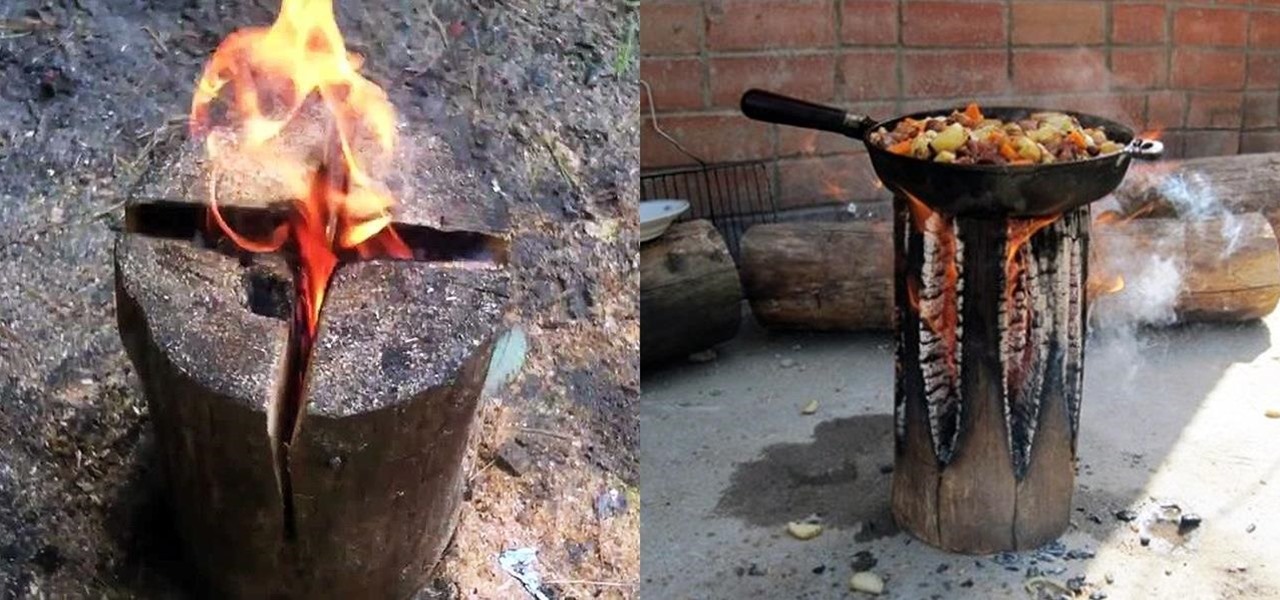
The next time you're out camping, whether it's outdoors in the wilderness or right outside in your own backyard, try this hack out for an effortless campfire all night long. While there is definitely some prep work involved, it's well worth it if you don't need a huge bonfire, and more so if you plan on cooking meals over the flames.
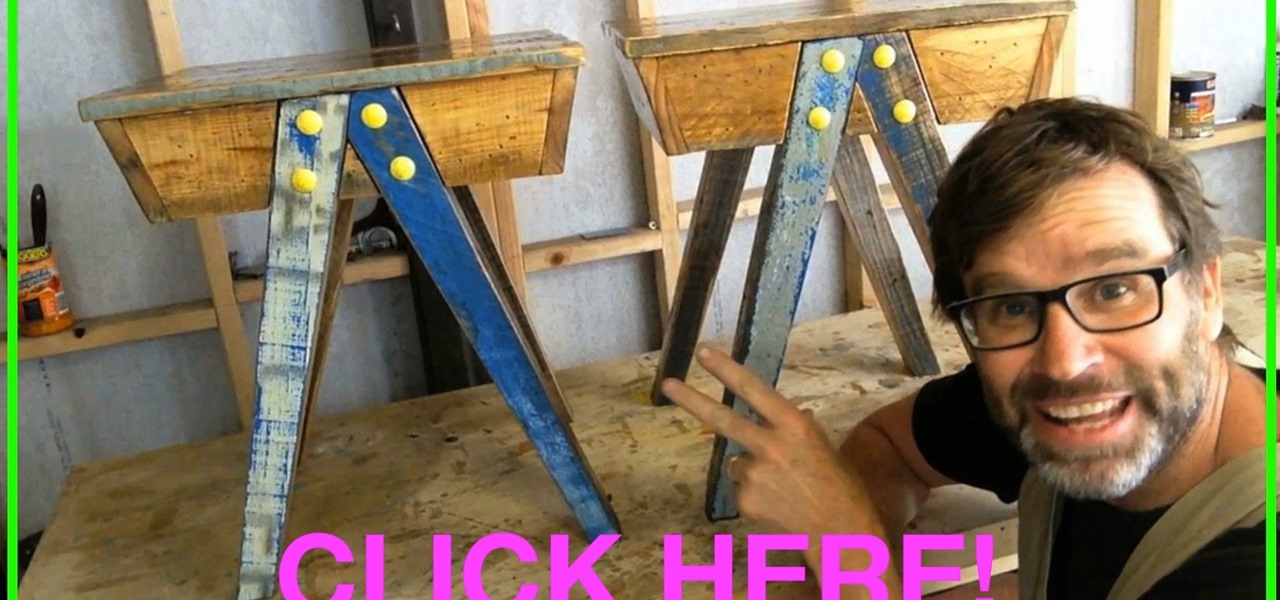
How to make a set of Rustic Bedside Tables from Pallet Wood! Pallets are a great source of recycled wood and are perfect for this project. I decided to make the bedside tables to replace the dodgy ones that l currently have and also to add to my ever expanding pallet wood furniture collection.
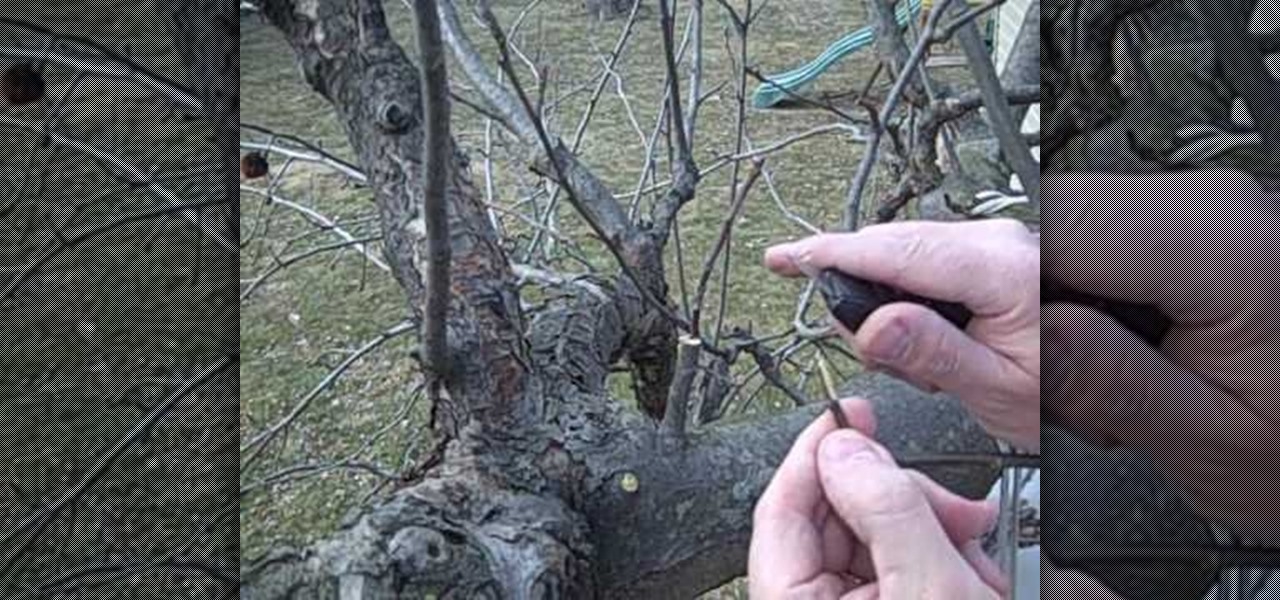
Cityslipper shows you how he uses the cleft grafting method to make a less appealing green apple tree produce better tasting red apples. 10-12 inches long scion wood is collected from the good apple tree while it is dormant. Care is taken not to let the twigs dry out. Selected scions should not have spurs rather they should have leaf buds that lay flat against the twig. A good host twig on a healthy-looking branch should be selected. A clean cut should be made with the fine teeth of a grafing...

Danny Lipford and Allen Lyle demonstrate how to turn an old door into a desk. First, remove the door hinges. Then, fill the biggest part of the voided hardware holes with wood and seal them with bonding adhesive. Don't leave too much excess bonding adhesive on the door or else you'll have to sand it off once it's dried. You may need at least two coats of bonding adhesive to get the surface level. Cut wood for the sides of the desk and then run them over a router. Sand down the door and the ne...

In this video you learn how to make tombstones for yard decorations for Halloween. You will need two pieces of plywood. In this video the measurements for the wood are 14 by 24 but this can be altered. Also used are, two spikes that resemble the posts in a small picket fence. Using small nails, hammer the two spikes into you board on each side with about 6 inches in between. These will be what you use to stick the tombstone in your lawn. Using another piece of wood with the thickness of the s...

Getting splinters is no fun, but making them can be if you've got the right tools and the proper technique.

Sanding is an important step when preparing wood for painting or staining. You Will Need

Longing for the coziness of a fire? Follow these tips for a safe and successful experience. You Will Need

Driven creatures undermining the very structure of your life – it might sound like a sci-fi flick, but it's all too real when these pests go after your home. Watch this video to learn how to deal with termites.

Board up a window for protection against strong storms and hurricanes. Learn how to board up a window.
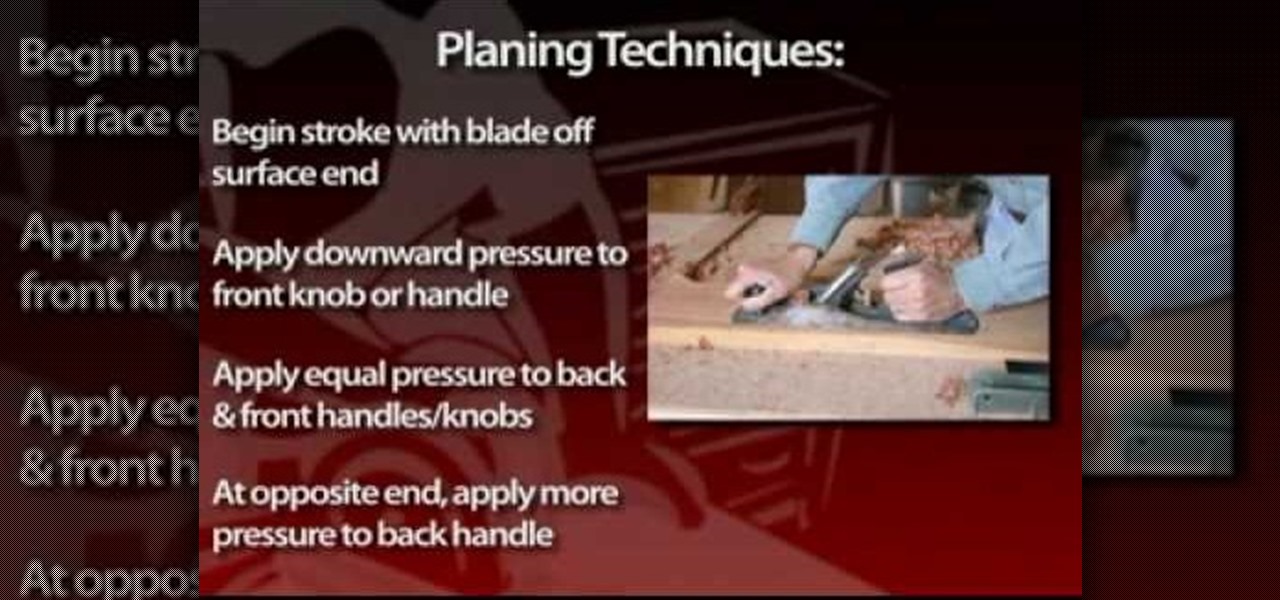
Hand planes are the epitome of fine woodworking. Extreme woodworkers use them, and serious collectors collect them. Planes come in a wide variety of sizes, styles and designs for specific woodworking purposes. Planes are available made entirely of metal, or made of wood with metal blades and parts. In fact, you can buy the blades and make your own planes, as the old-timers often did. Planes can range in price from about $25 for new, economical models to planes that cost several hundred dollar...
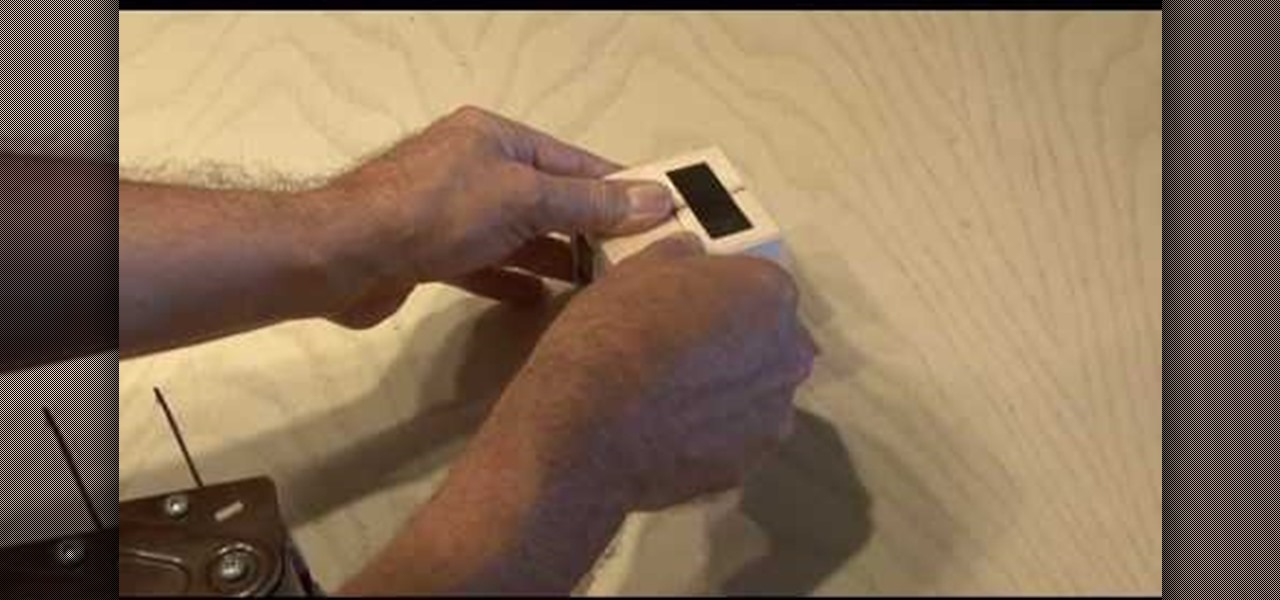
In this tutorial, we learn how to make a photo cube. This project can be done in a couple of hours and only costs a couple of dollars! To start, you will first get an exact measurement of the width of your wood. After marking these, you will cut the wood using a band saw. After the eight blocks are finished, line them up in a cube and use clear packing tape to secure them together. Use a sharp blade to trip the tape. You can then open up the cube to show six different sides and tape your phot...

In this tutorial we learn how to build pet steps for your animals with Lowe's. Start out with making the lines for the sides of our steps on a piece of ply wood. Cut these out with a circular saw and then start assembling the steps. Use wood glue, nails and a hammer to do this. After you have these assembled from the bottom up you can insert the steps for the inside of the stairs. Make sure all of this is secure and everything is nailed in properly. Then, add in padding to the steps for your ...

Forget surviving the wilderness— surviving the city is hard enough! This video talks about herbs, bushes, plants and trees that you can use in a survival situation in an urban environment. If you're down on your luck, forget about coins on the street corner and survive off your natural environment.