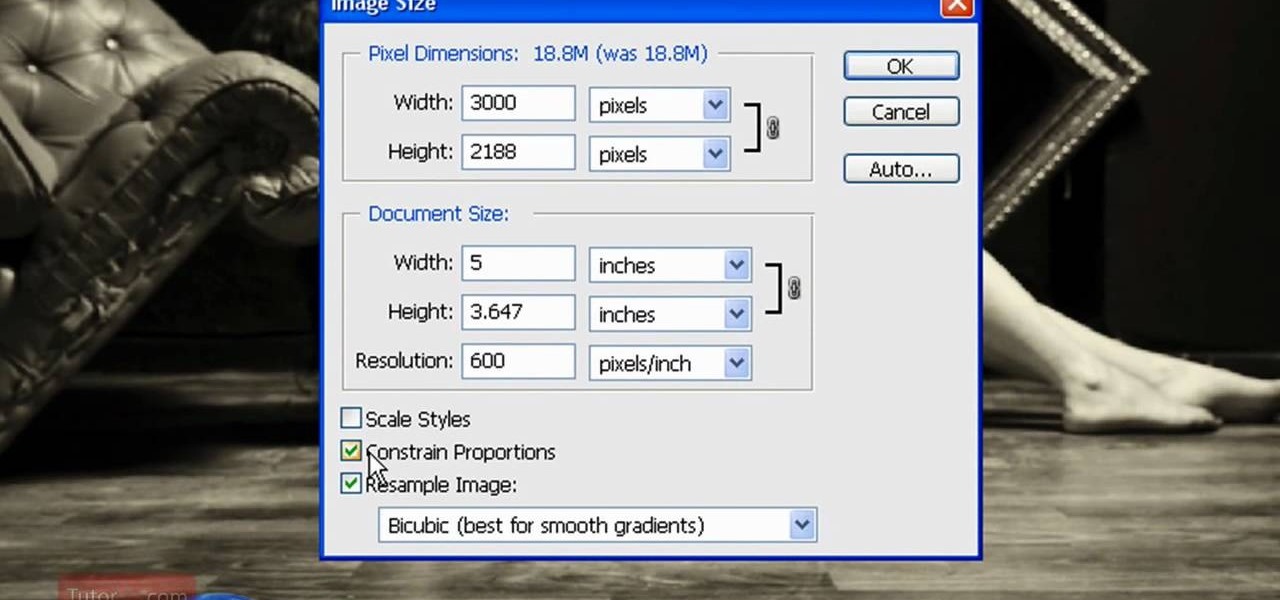
In this how to video, you will learn how to re-size an image for printing using Photoshop. First, open the image you want to re-size in the program. Next, go to image and select image size. From here, you will see the current size of the image. You can change the units of the sizing. The resolution is the number of dots printed per inch. De-select re-sample to change the resolution of the image only when printing. 300 is the standard resolution. When you re-size the image, make sure constrain...
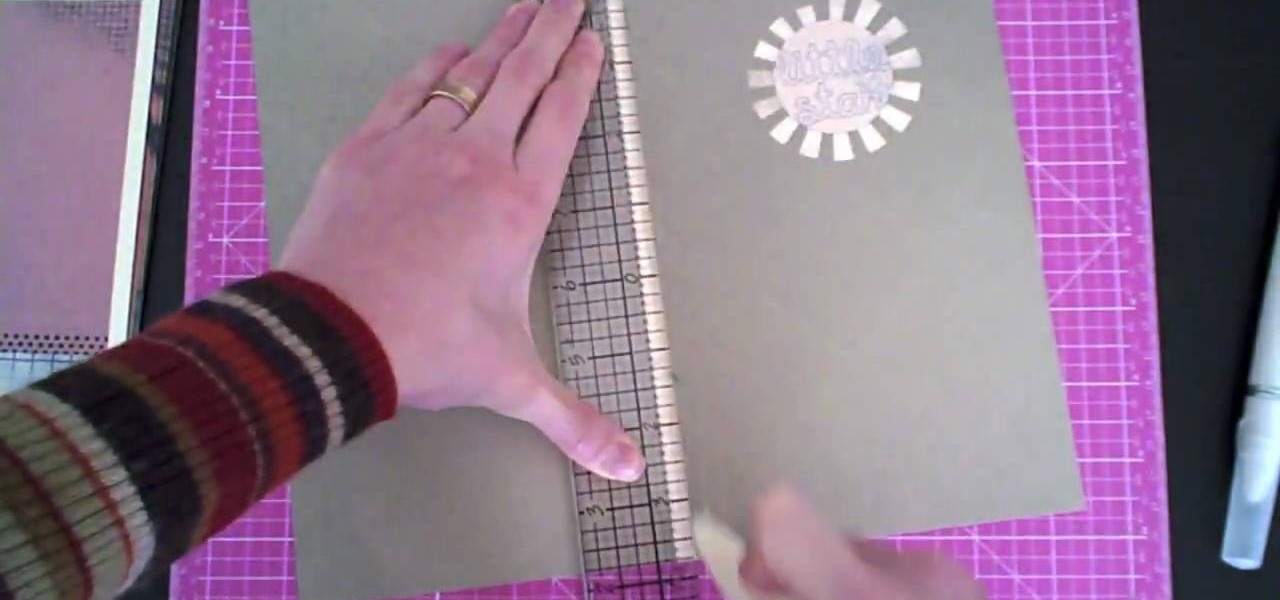
Creativity Prompt demonstrates how to make a hybrid board book. First, select printed paper of your choosing. Cut off the excess paper with a cutting blade and crease the paper for the spine. Fold and burnish the paper. Apply a generous glue stick layer to a recycled board book and adhere the paper to it. Burnish the paper with a brayer to strengthen the adhesion. Let the glue dry and trim off the excess paper. Cut the rest of the paper for the board book pages. Cut out photos and titles for ...
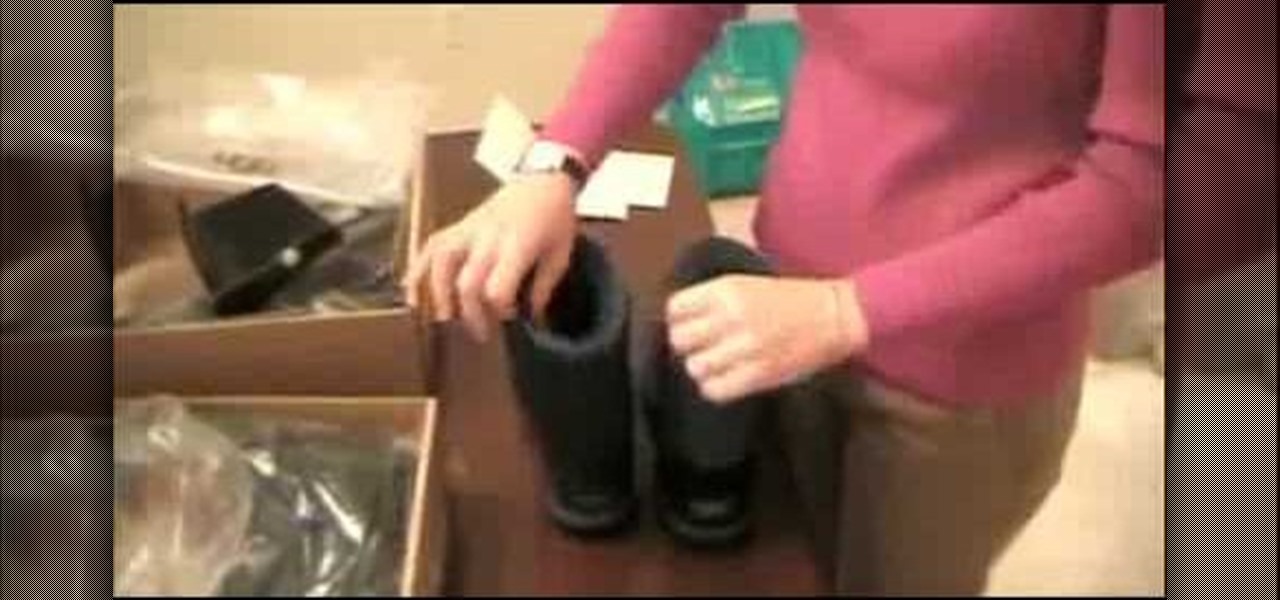
This video demonstrates how to determine if your Ugg Boots are counterfeit. If you purchase Ugg boots on the Internet and you are wondering if they are fake, you should examine the box closely. Uggs are made in Australia. If there are any labels affixed to the side that indicate other countries (e.g. China), then they are fake Uggs.
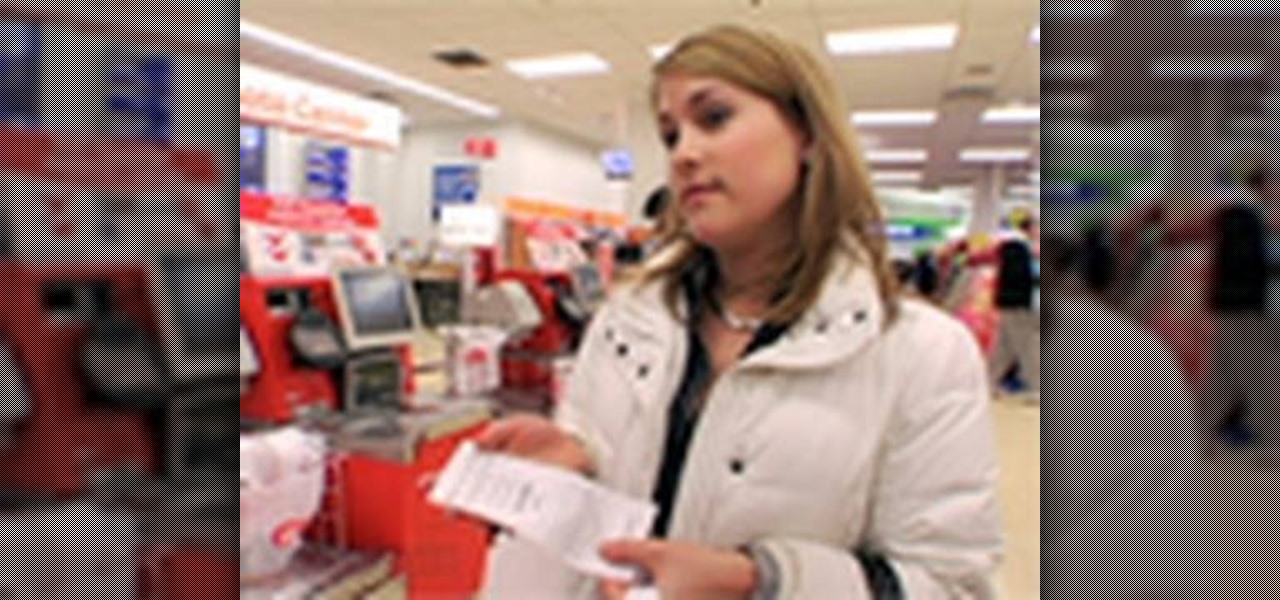
In this video tutorial, viewers learn how to save money on beauty products. In-store cards and frequent buyer programs can save a lot of money. When you scan the CVS Extra Care card at checkout or in-store kiosk, coupons based on your purchase will be printed automatically. It will give good discounts. Web only offers are becoming popular. Private sale sites have also become popular. You simply sign up on the site and take offers that the site has. This video will benefit those viewers who ar...
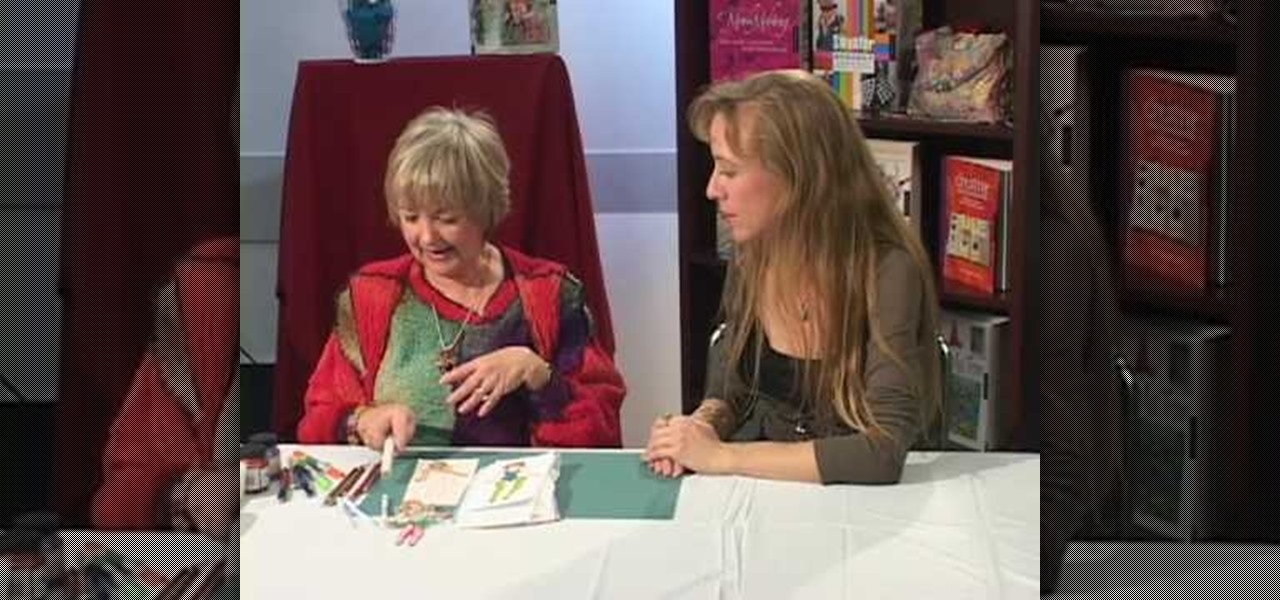
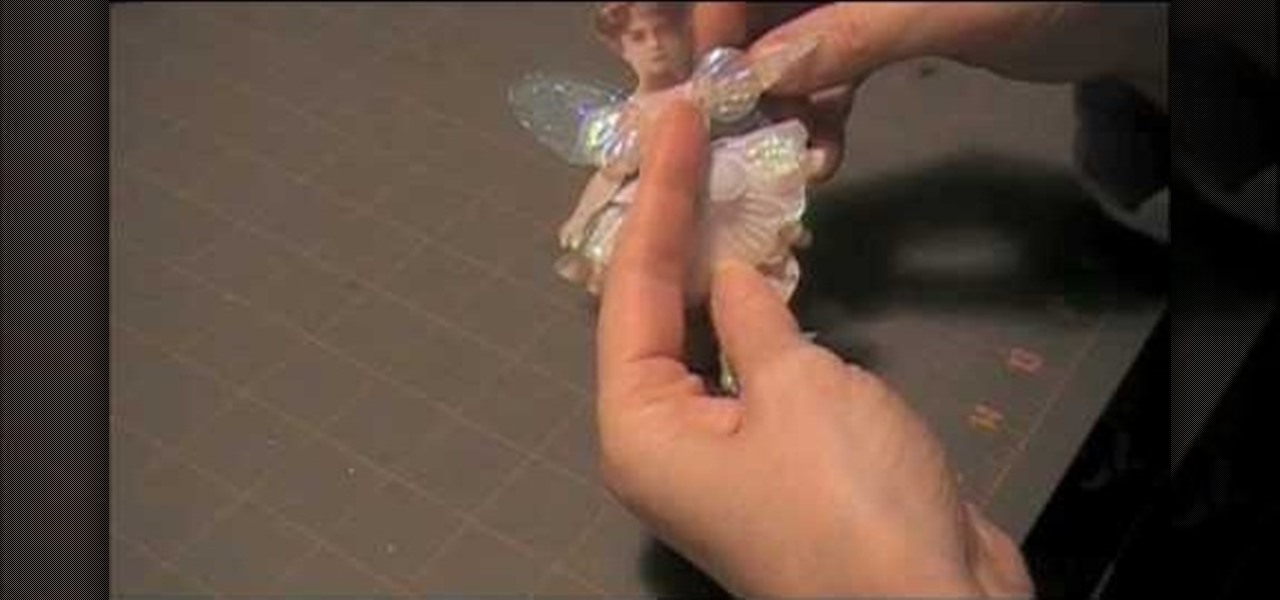
You start off with a printed design on your doll. Use regular paper, but you have to print the doll in individual pieces - body, hands, legs, head. You stick those on the front of hard materials like thick card stock or some thick fabric. Now you can putt the doll together and make adjustments. You put the doll together by using small thumb tacks. It's even better if you have ones that have a rhinestone on them. Once you've done the joints, you can also add a little tutu or some fairy wings. ...
The first step is to print 4 full sheets of paper, folded in half to make 8 physical sheets of paper, or 16 possible printed pages. In the video, the lady only prints on half the pages, and puts page numbers on the others. She then draws evenly spaced holes on the binding of each signature, and sews each of the signatures together. You then start sewing signatures to each other starting from the front of the book to the back of the book. You sew the binding of each adjacent signature with a p...

This video teaches the secrets of cheating on any test with a soda bottle. You will need: a beverage bottle, glue, scissors. First remove the brand label from the beverage bottle. Now scan the label to your computer or take a picture of it and use it. With any photo editing software remove the nutrition facts from the label and replace it with your notes. Now print it horizontally by adjusting the page setup for the full label to be printed. Use a quality glossy paper for printing to make it ...

In this video tutorial learn how to make a jointed flower fairy paper doll sitting on top of a trinket box. You will need three strips of paper and two circles cut out of paper. To create the box, curl the strip with a pencil. Then adhere scotch tape to the strip and tape the strip to the circle to create a box-like structure. Cover the perimeter with a larger strip of paper in whatever design you want to use. Follow these same steps to create a larger box. Fit these two pieces together and a...

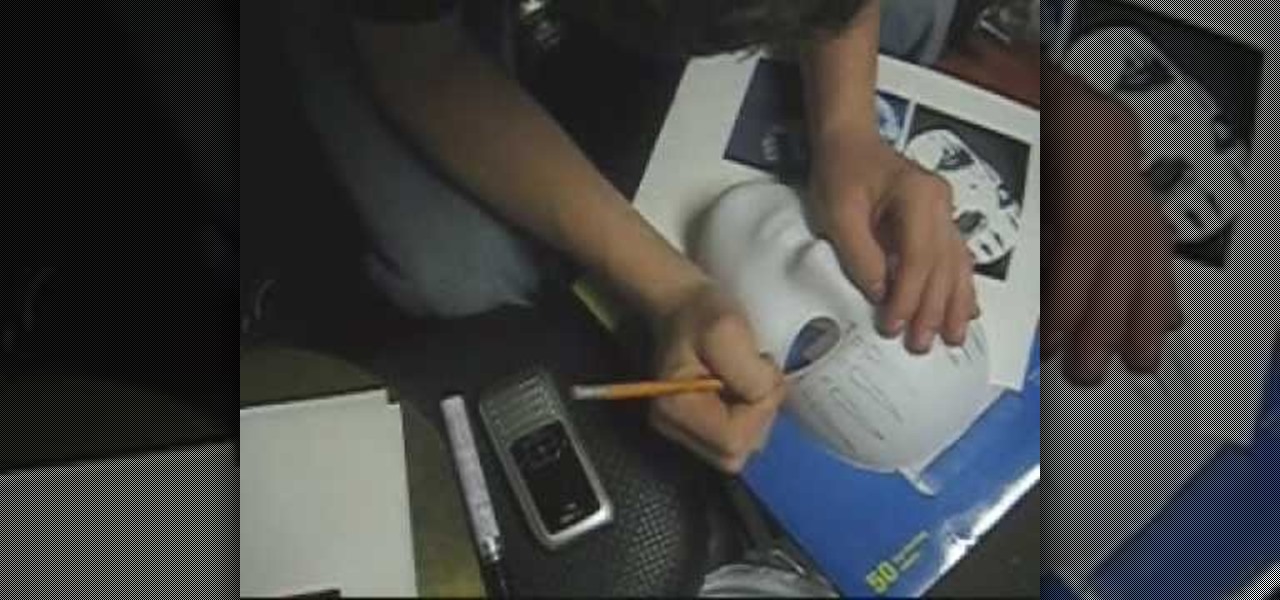
The materials that you need are a white mask, black sharpie, a printed copy picture of the mask, and a pencil. It is recommended that you sketch the picture using the pencil first. So, your first step is to sketch the picture using pencil on to the white mask. After you have finished sketching on the white mask. If you like, you can add extra details to make the mask looks better. You begin to go over it with the black sharpie. When you are done, the result will look like a Jordison mask from...

Cardcrazy09 teaches you how to make a thank you card using Cricut. You will need the Walk in my garden cartridge for this. The card itself is a Martha Stewart piece of double sided cardboard. You will need different types of punches to create the white decorative part and the text card. That will be printed with black text. The flowers and the pot are created using Cricut. The pot is placed on top of the flowers and each of them are individually stuck onto the card. Also make sure to add a so...

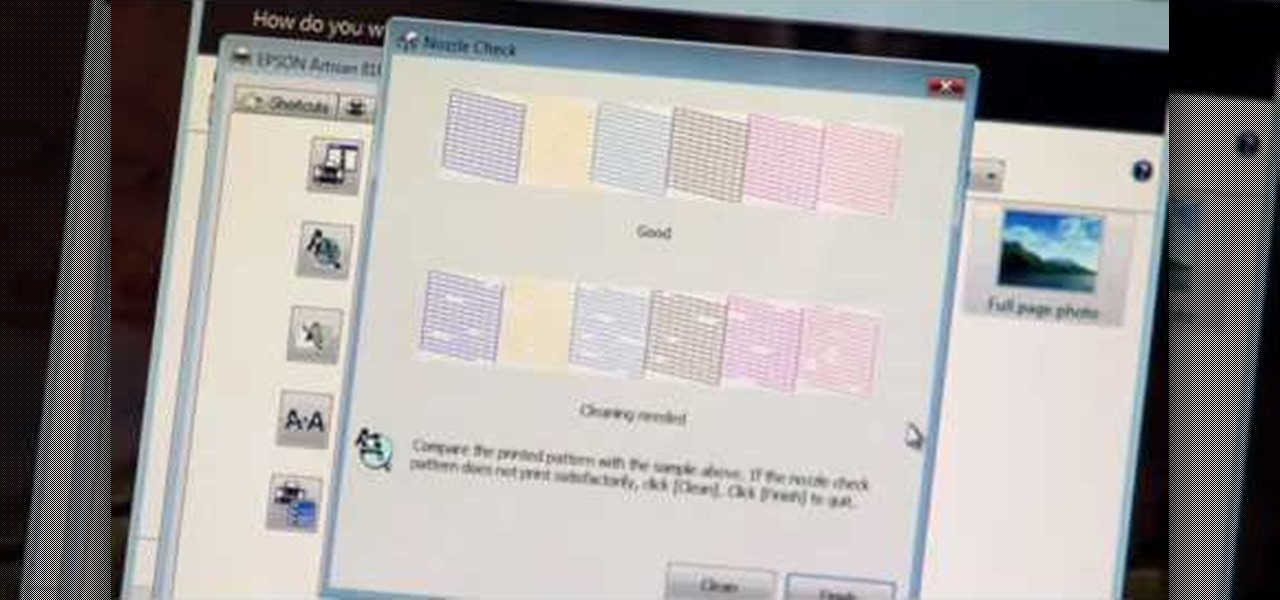
If you're printed pictures and photos aren't coming out the way you expected, then something might be wrong with your printer, specifically, the printhead might be dirty and might need to be cleaned. This is an easy troubleshooting step for Epson printers.

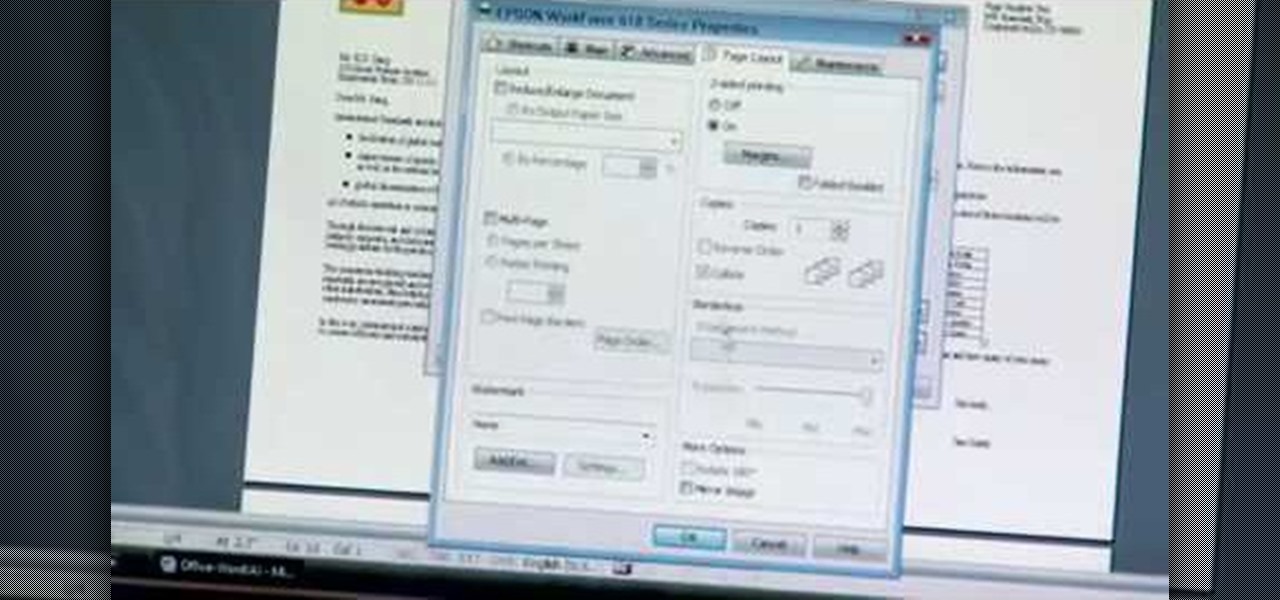
The Epson video describes how to print two-sided on one piece of paper. When document is ready, go to "File" and then "Print". Click the "Properties" button and select Page Layout tab and turn on the two-sided printing option. Click "OK" in print window. Wait for Epson printer to complete the first page. Take paper, flip over and put it back upside down in the paper feeder. There are instructions that will pop out on screen for this. Click resume and the second page will be printed on the bac...

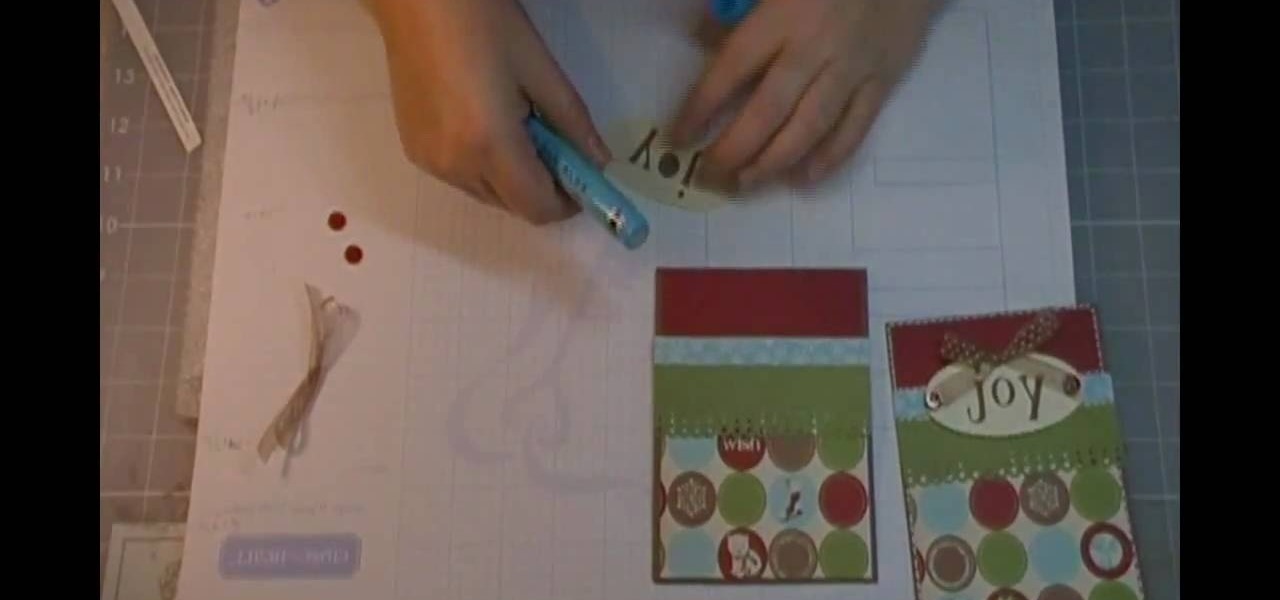
This video is about how to use Child's Year Cricut cartridge for a Christmas card.

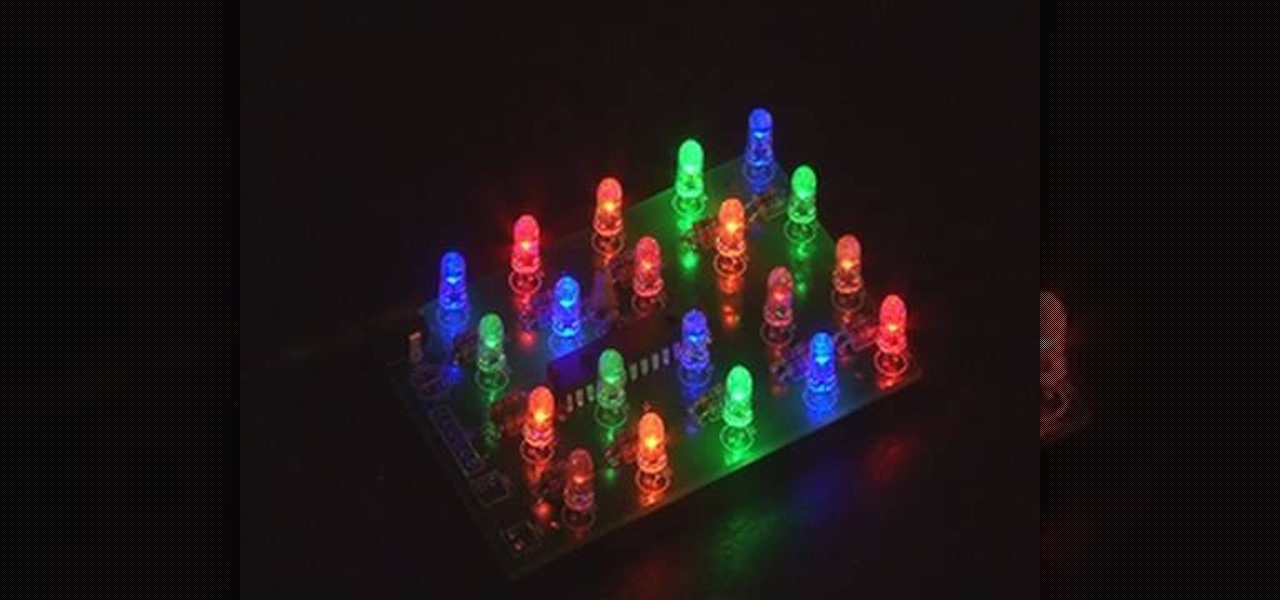
This video by makemagazine demonstrates a weekend project on how to make a LED light brick. The materials required for this project are listed on the link to the make magazine page in the info box or it can be orders as a kit from the make magazine store. Take the PCB (printed circuit board) and first solder the Resisters and Capacitors as shown. Next test the LEDs and separate them using a button cell batteries. Solder the LED, PIC micro-controller, DC power connector and tilt switch followi...

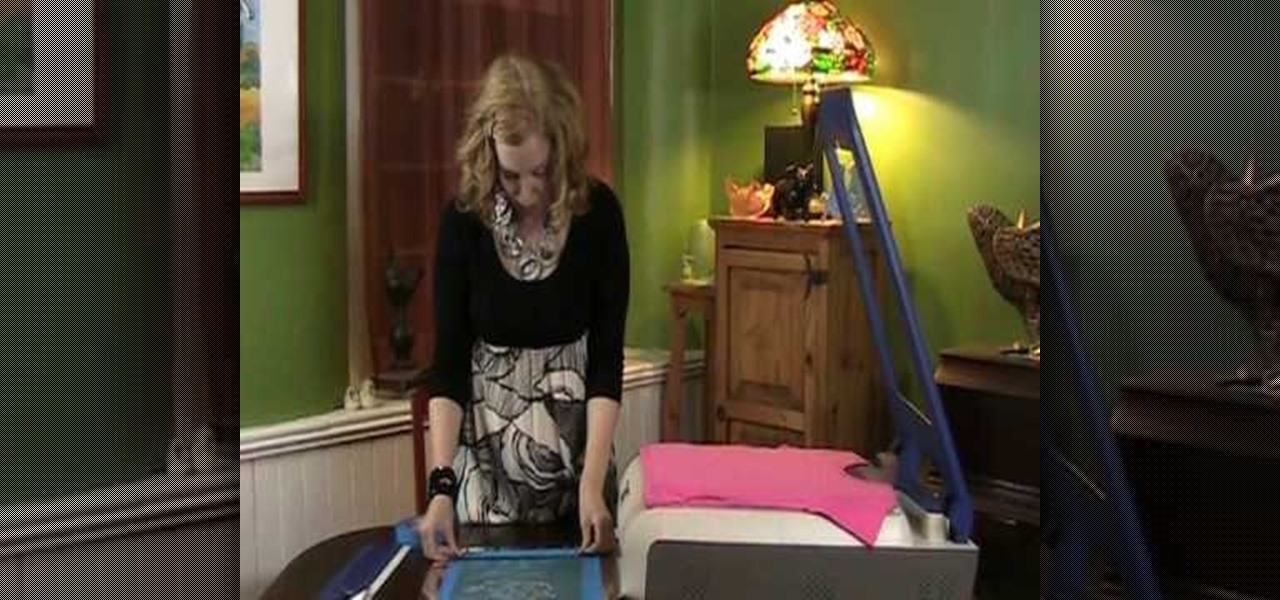
Margot Potter, otherwise known as The Impatient Crafter, provides a thorough examination and demonstration of the ProvoCraft YuDu home screen printing machine from start to finished product (in this case a screen printed tee-shirt). This video is effective both as an introduction to the product and what comes with your purchase as well as tips and tricks as to how to work with home screen printing. The 6+ minute video is entertaining as well as informative and keeps your attention in an irrev...

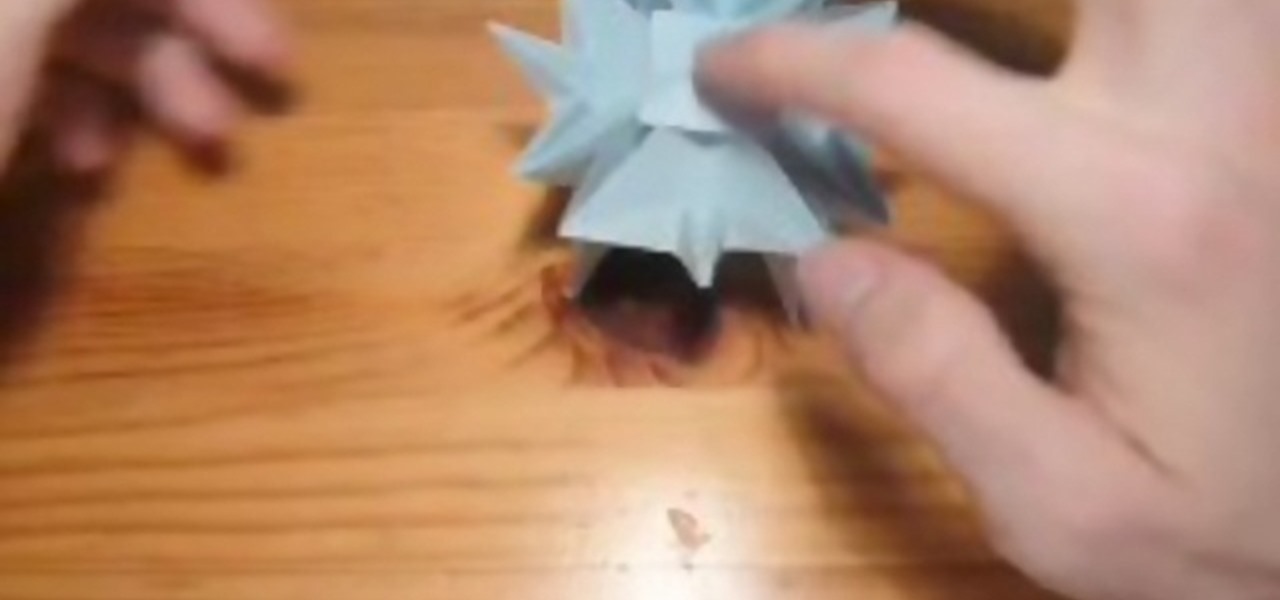
This video demonstrates the folding of the squishy blob. This model was created by Jeremy Shafer, and diagrams are published in "Origami to Astonish and Amuse."

This video demonstrates how to fold an origami heart. If you are a beginner, this is the video for you! This is a very simple model, and I thought it would be perfect for Valentine's Day! Even though this model is very simple, it has a very nice outcome when complete!

In this video you will see how to transfer a photograph onto a piece of flannel fabric. You will have to treat the flannel with Bubble jet Set 2000 to help the photo stay on the fabric longer. Use an inkjet printer to make sure the ink soaks into the fiber. Tape the treated flannel onto the printed picture and run the paper through the printer again. The printer should print directly onto the fabric without trouble!

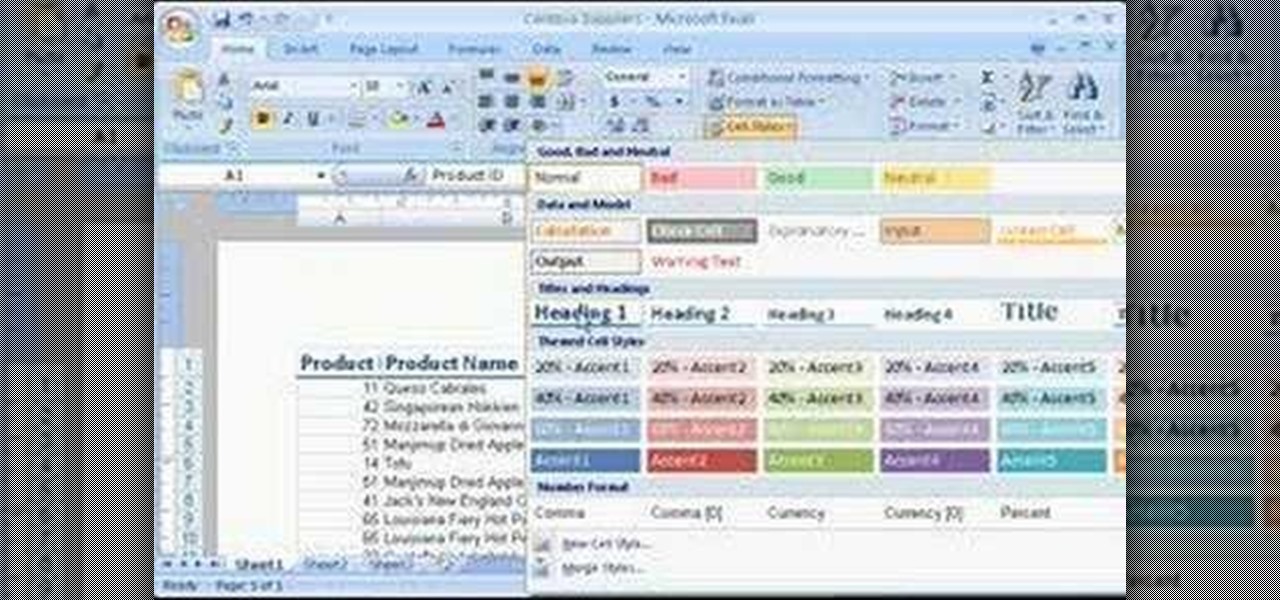
Microsoft Office Excel 2007 has a new design that makes your work easier, faster, and more efficient. The new Ribbon puts the commands you use most often in plain sight on your work surface instead of hidden in menus or dialog boxes. Ready-made cell styles let you quickly format your worksheet to make it easier to read and interpret. The new Page Layout view shows how your printed worksheet will look as you're creating it.

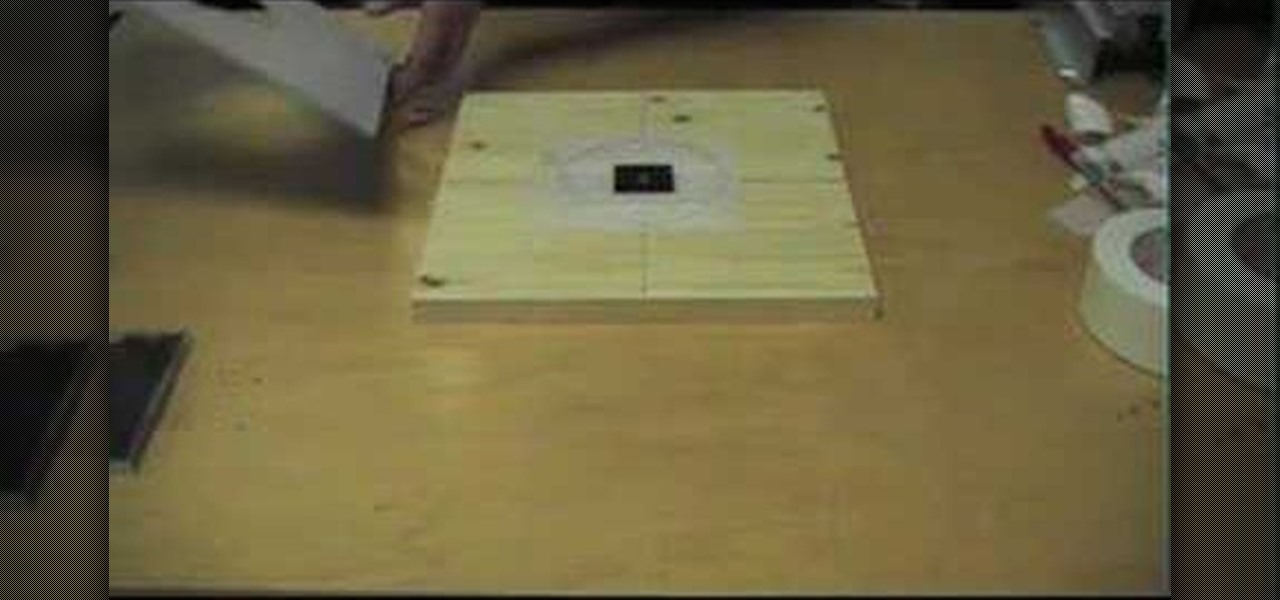
If you have ever screen printed, you most likely have been asked to print CDs. Here is a simple way to create a CD platen for under $15. This type of printing generally requires a vacuum frame, but not if you use the DIY CD Platen. It holds the CD in place extremely well and can be used to print more than one color. Print one color and let it dry completely before printing additional colors.

In order to make a photo album with a paper bag, you will need the following: a bone folder, paper bags, decorative paper, hole punch, matte board, adhesive, and paper fasteners.

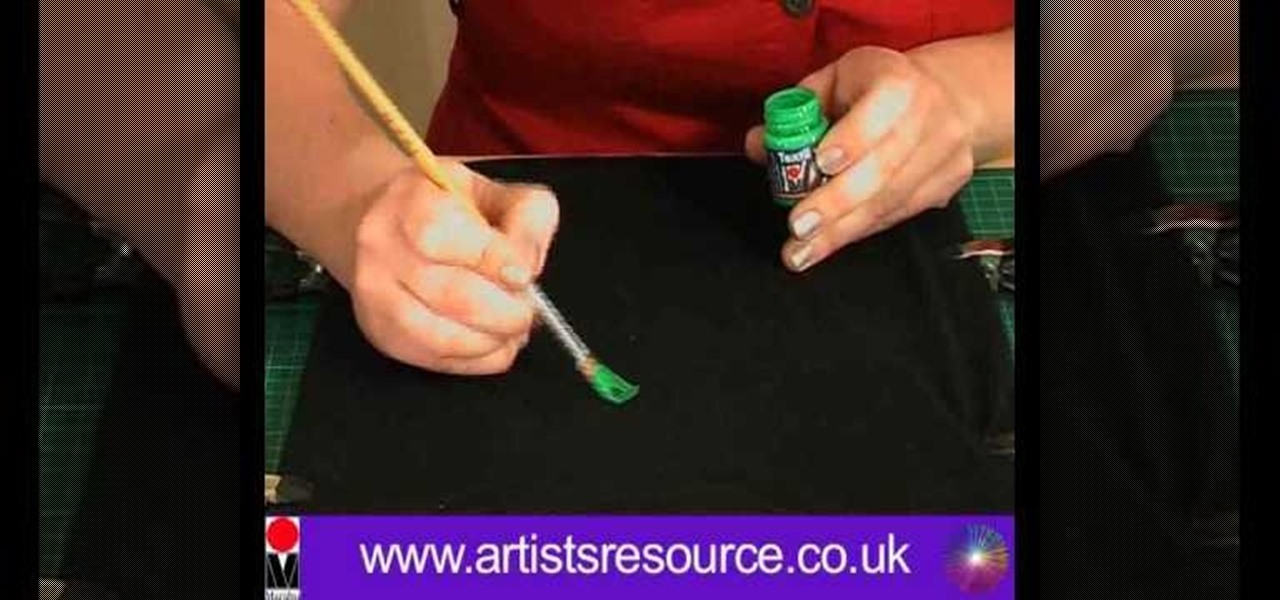
Learn how to ‘Paint onto your T-Shirt’ by watching this video. Materials required for this include the following:•Marabu Textil Plus Start Kit – 6 colors included with paint brush•Marabu Metallic Outliner Paints•Crocodile clips•Masking tape•Pencil•Design printed from the computer•Tracing paper•A large cardboard wrapped in cling film•A dark colored T- ShirtBegin by placing a tracing paper over the design and secure it to the table using masking tape. Next, use a pencil to trace the design on t...

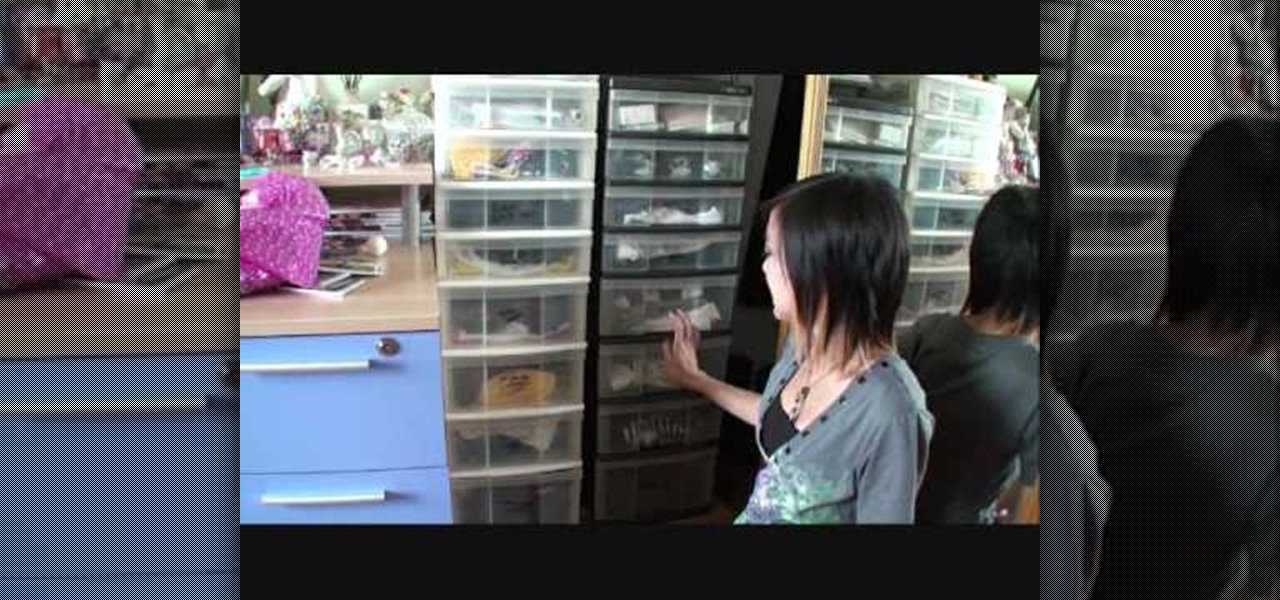
You can organize your closet with simple drawers and shelves or racks that you purchase at a discount store such as Target. Outside of your closet you can have drawer space (use transparent drawers) by labeling your own drawers with large labels that you have written the contents of the drawer on and placed this at the front where it will be visible. The drawers can be divided into short sleeved sweater tops, long sleeved sweater tops, tanks, vests, short sleeved tees, long sleeved regular to...

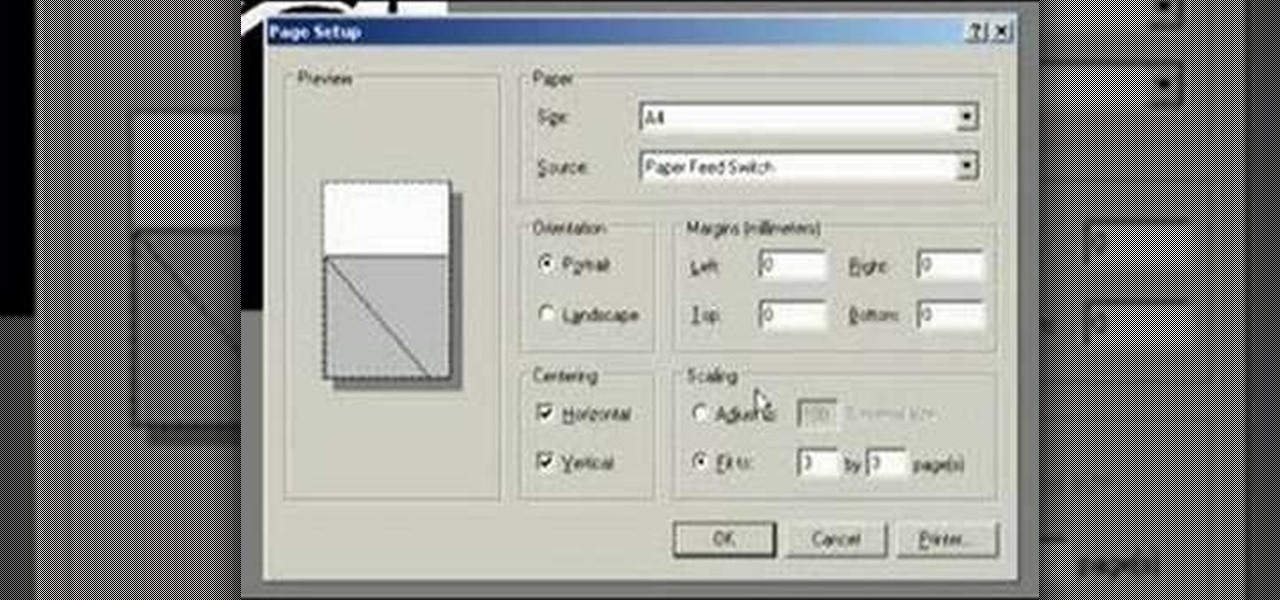
This video demonstrates how to change the Page Settings in Microsoft Paint for you to be able to print multiple page stencils. The first step is to open your stencil drawing. Then, go to File > Page Setup. In the Page Setup dialogue box, change the Top, Left, Right, and bottom margins' value to zero (0). Under the Scaling option, select "Fit to" and change the Pages values to two (2). Under the Orientation option, select Landscape. Switch back to Portrait and adjust the Pages values to three ...

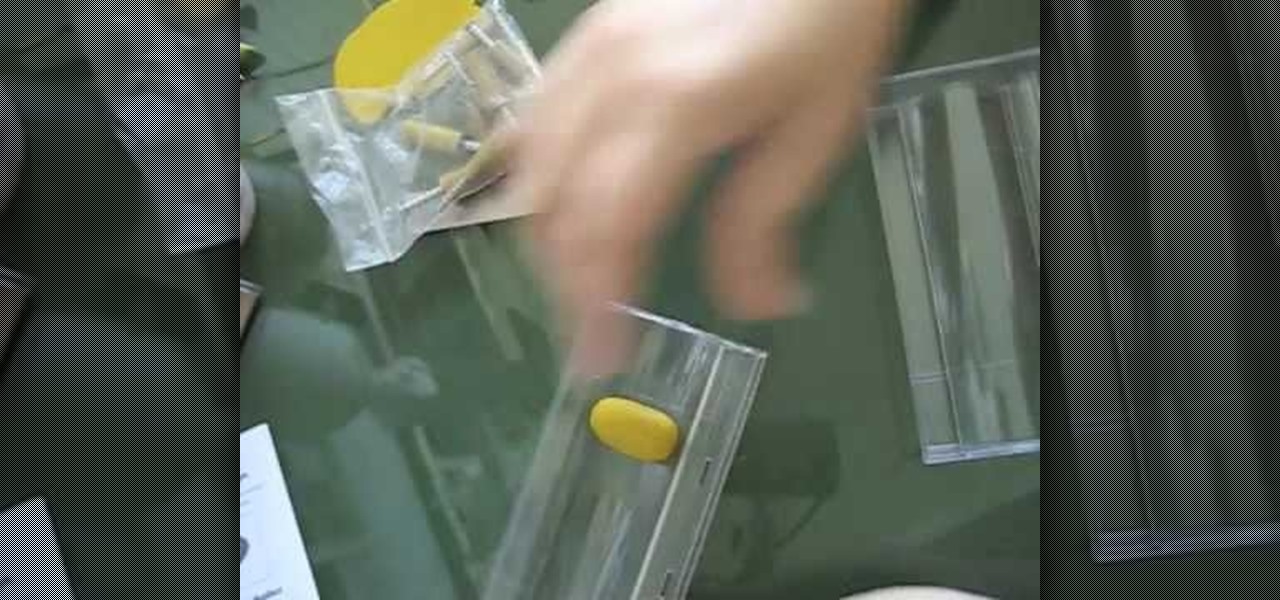
Our instructor will choose set 2, 6 and 8 to show you what the company offers. On the wrappers are pictures of the types of beads possible with each set. She will create from set 2 today, which makes oval beads. Inside of the packages, such as this package which holds set 2 are several items. First is the thin metal pins or rods that can go into the baking oven with the polymer clay molded around them. Next, two pieces for the mold, a bottom and top that fit together with grooves. There are a...

Look at the money you are receiving. Carefully inspect it for any strange colors, marks, or texture. Do not assume that a different color, texture, or design is simply a mistake made at the treasury. The bills there are all made the same based on the denomination.

If you've ever wanted to know how to write checks in Intuit QuickBooks program, this instructional is for you. To write a check in the QuickBooks program: Select banking from the menu bar, and then the write checks command. Select the checking account for which the checks will be drawn from the checking accounts drop down menu. Assign the check a number if you will be printing the check. If you are printing the check, make sure that the "to be printed" box is checked. Enter the correct date f...

Learn how to print double-sided and reverse printing order in Microsoft Word. * Go to the Start menu and open Microsoft Word.

Computer eyestrain can hurt productivity, but it's easy to prevent if you take a few precautions. You Will Need

This is my entry for the play it forward ukulele video contest: http://ukulelereview.com Play Phil Collin's "Another Day in Paradise" on the ukulele with this free video lesson, which demonstrates both the song's chords and the proper picking pattern. For more information, and to get started playing Phil Collins' "Another Day in Paradise" on your own ukulele, watch this video guide.

Relief printmaking uses carved wooden blocks to create intricate printed works of art. Learn the basics of relief printmaking with this free instructional printmaking video series.

Giclee art reproductions can be printed on high quality paper. Learn about the benefits of printing giclees on paper with this free giclee art reproduction video series.

Need to make a PCB quick? Well, this video tutorial will show you how to create a PCB with the toner transfer method using photo laser paper.

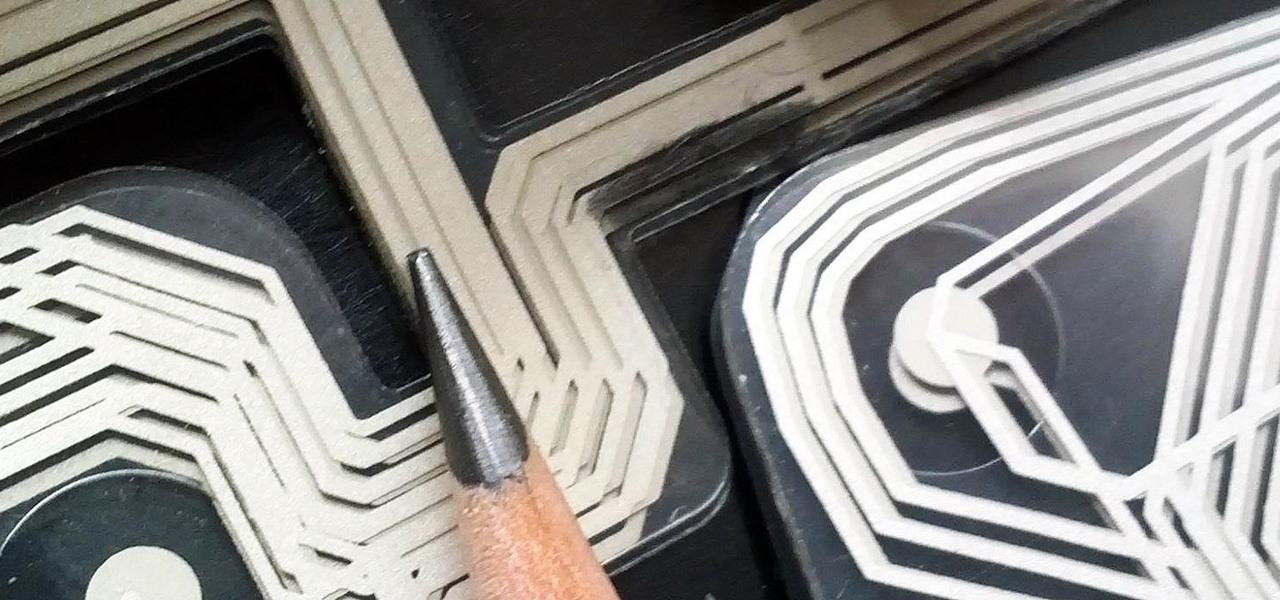
You may already know that you can build a functional circuit on a sheet of paper with the graphite from a pencil, but you'd probably never think of using it to fix an electronic device. This same principle can be used to bring back a bricked phone, but can also repair a damaged or corroded trace in a printed circuit board. Redditor 404ClueNotFound spilled water on his favorite computer keyboard (like so many of us have done before). The damage was minimal, but after drying it out, one key sti...

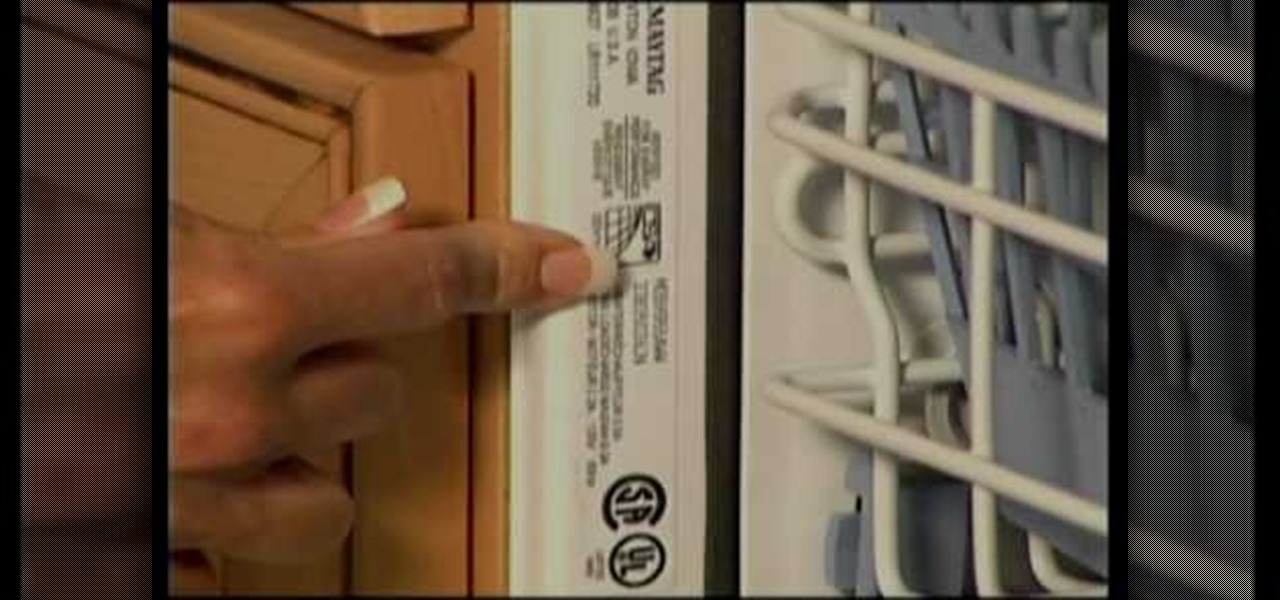
In June 2010, Maytag recalled over 1.7 million dishwashers due to fire hazard. In this video, learn exactly where to look for the tell-tale markings of a faulty appliance. Watch the video and then look for the items below on your own washer:

Taking photos that are actually printed and hung on a real wall, versus being shot and shared via a social wall, is a seemingly lost art, but PhotoBloom AR wants to change that with augmented reality.

Proud new papa Gjoci wanted to make sure he never had to worry about whether or not his baby girl was breathing, so he built this amazing breath-detecting baby monitor using a Wii remote, a printed circuit, and a laser. First, he opened up the Wiimote and took out the camera, then used an Atmel Atmega88 microcontroller to make a printed circuit. Low-power infrared lasers shine on the baby's clothing and the Wii camera detects the motion of the baby's breath, activating an alarm if the motion ...

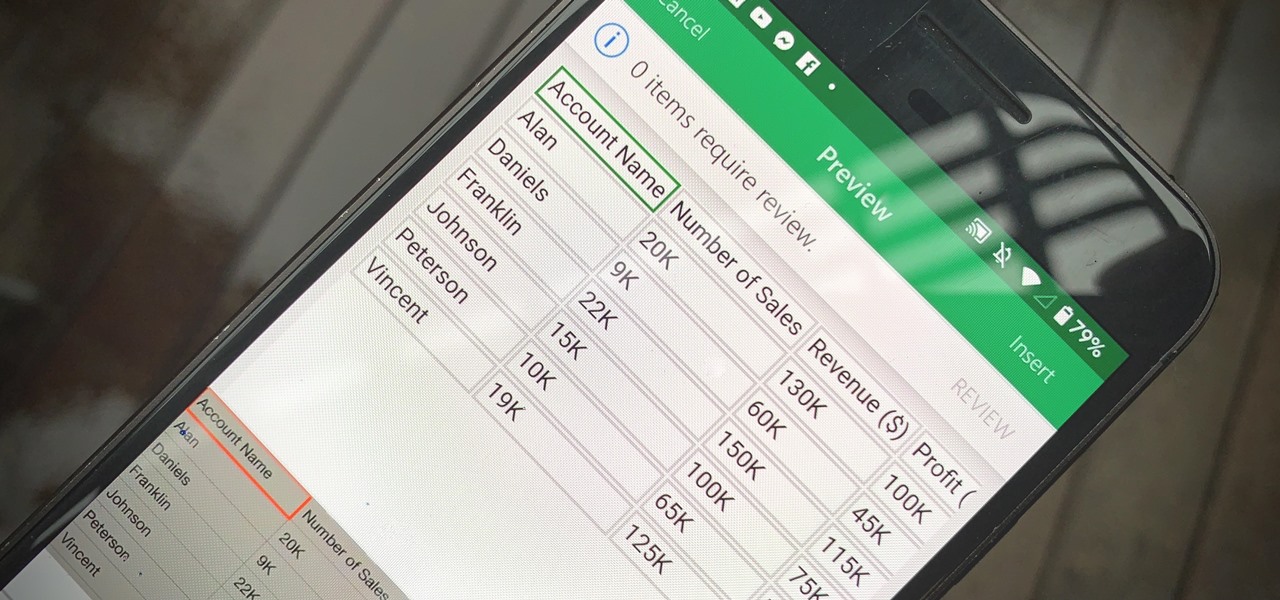
Creating a digital spreadsheet by hand can certainly be tedious, especially if you're copying a printed paper table word for word, number for number. Instead of typing information that's already there, however, use Microsoft Excel on Android or iOS to snap a photo of that printed chart and import it directly into your digital one.

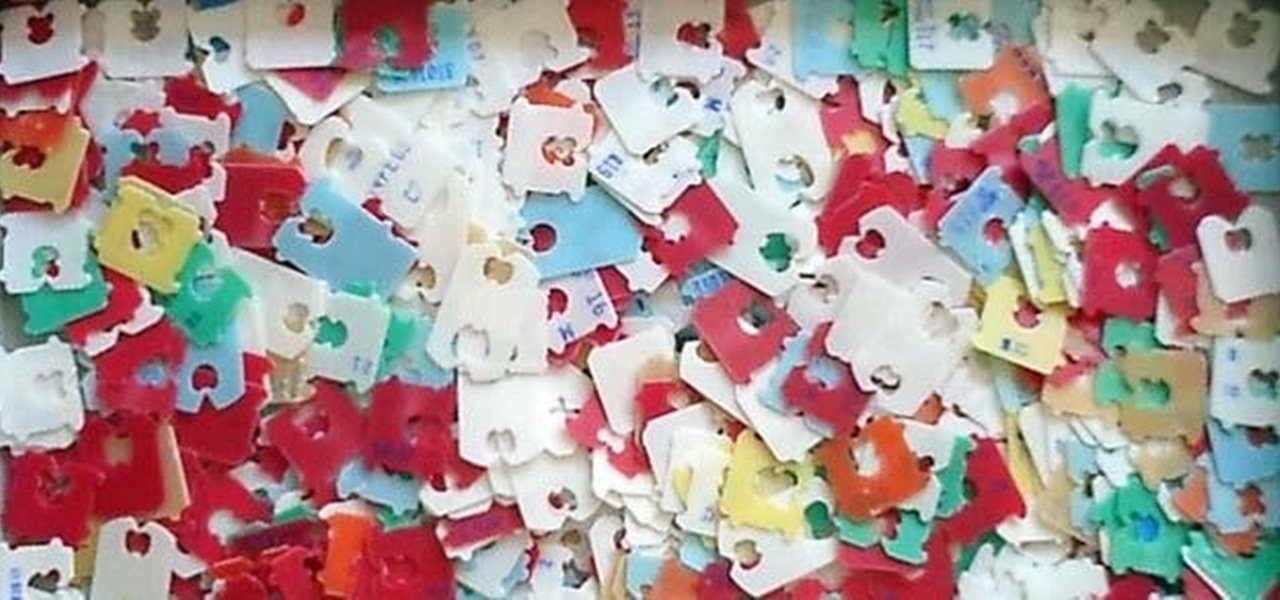
The bread at your local supermarket will most likely always be fresh, but how do you know which loaf is the freshest out of the bunch? You can squeeze and inspect them like an annoying TSA agent, but there's actually a much simpler way to do it.

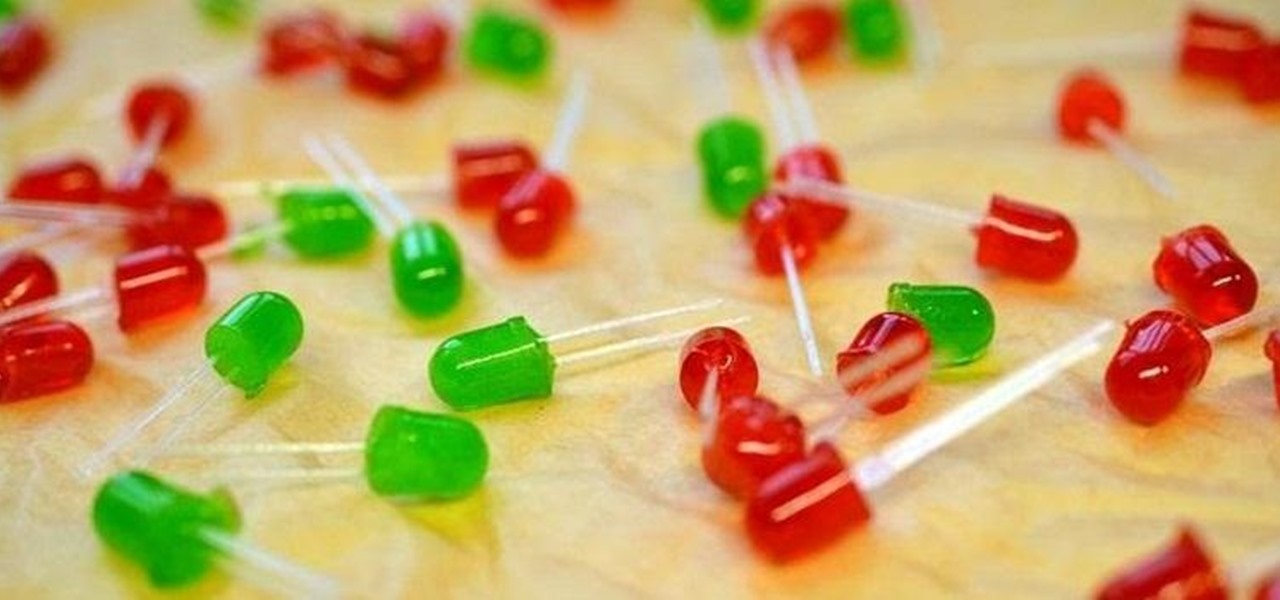
LEDs have slowly become the standard for DIY lighting projects because they consume less power and last way longer than regular light bulbs do. Light-emitting diodes have no filament, meaning they generate their light solely by the movement of electrons in a semiconductor material.


