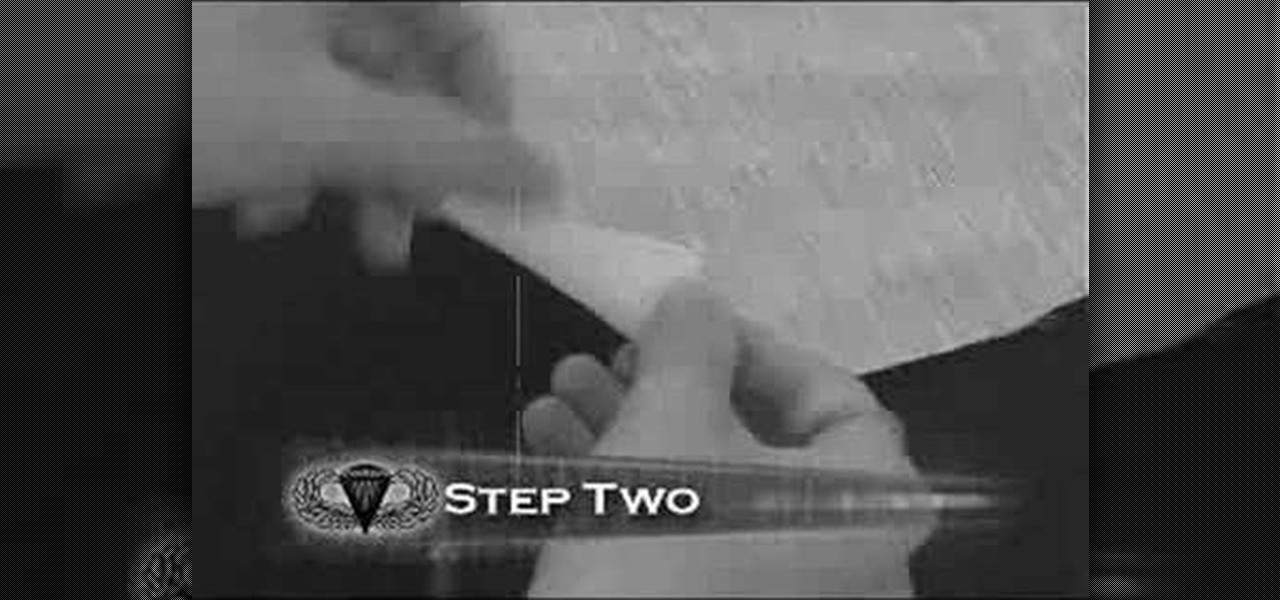
In this video tutorial, viewers learn how to de-stress with a self massage for the shoulders and neck. This process can be done anytime of the day and only takes 5 minutes to do. Begin by squeezing the sore shoulder with the palm of your hand. Now raise the massaging arm up and hold the elbow. Now start massaging the back of the shoulder blades. Then use the palm of your hand and press it against the neck. Continue squeezing the neck and shoulders until the pain is relieved. This video will b...
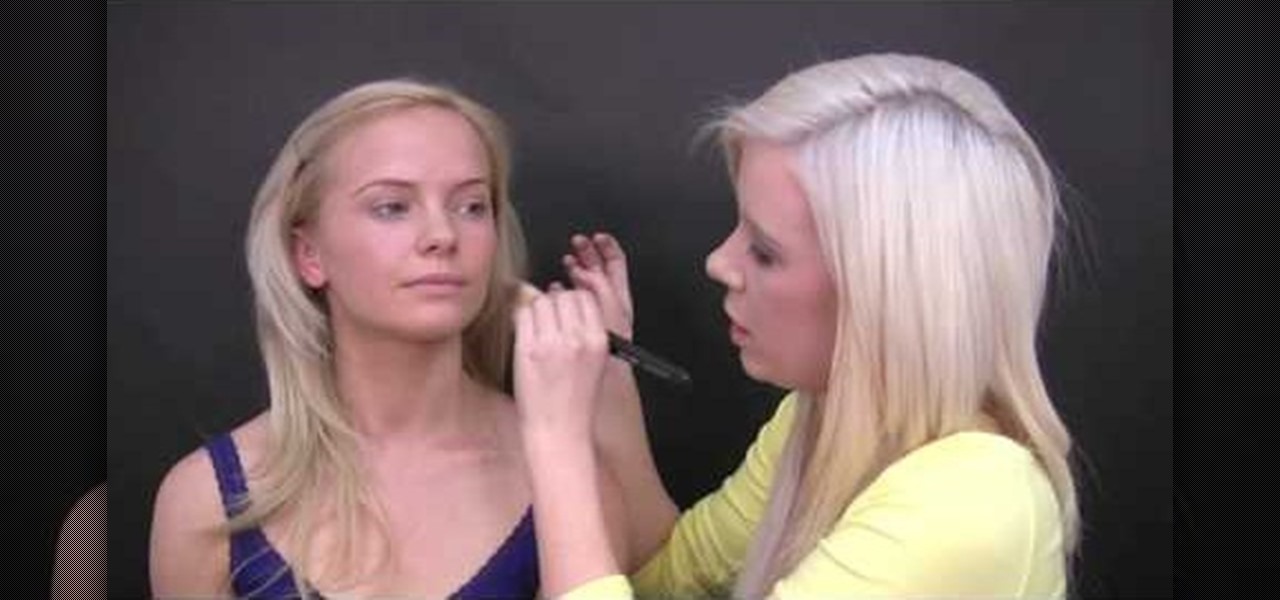
In this video tutorial, viewers learn how to apply foundation on the face. The material required are: liquid foundation, concealer stick, loose powder, foundation brush and powder brush. All the products are from the brand, BYS. Begin by adding some liquid foundation onto your hand and apply it on your face with the foundation brush. Now apply the concealer stick around the eyes and nose. Then finish by apply the loose powder all around the face with the powder brush. This video will benefit ...
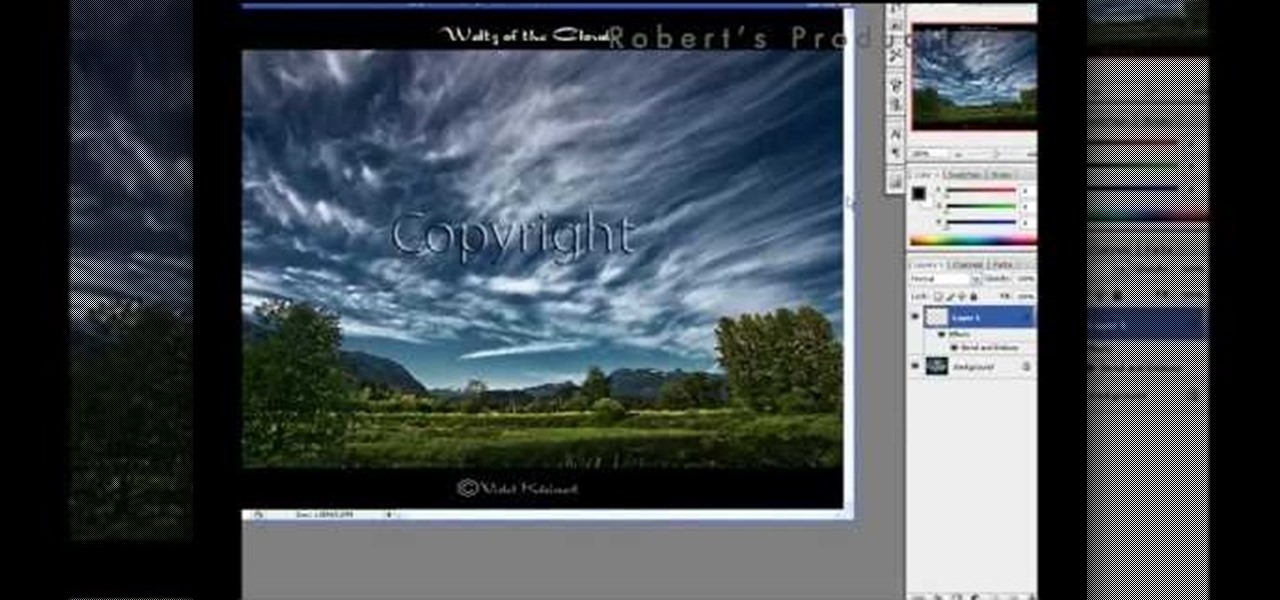
In this video tutorial, viewers learn how to add a watermark to an image using Adobe Photoshop. Begin by importing the image into the program. Select the Horizontal Type Mask Tool under the Text tool. Then select the font color, type and size. Now type in the text and click out of it when finished. Then press the Control and J key to open the text into a layer. Click on the layer and select the style. Now finish by editing and customizing the text. This video will benefit those viewers who ha...
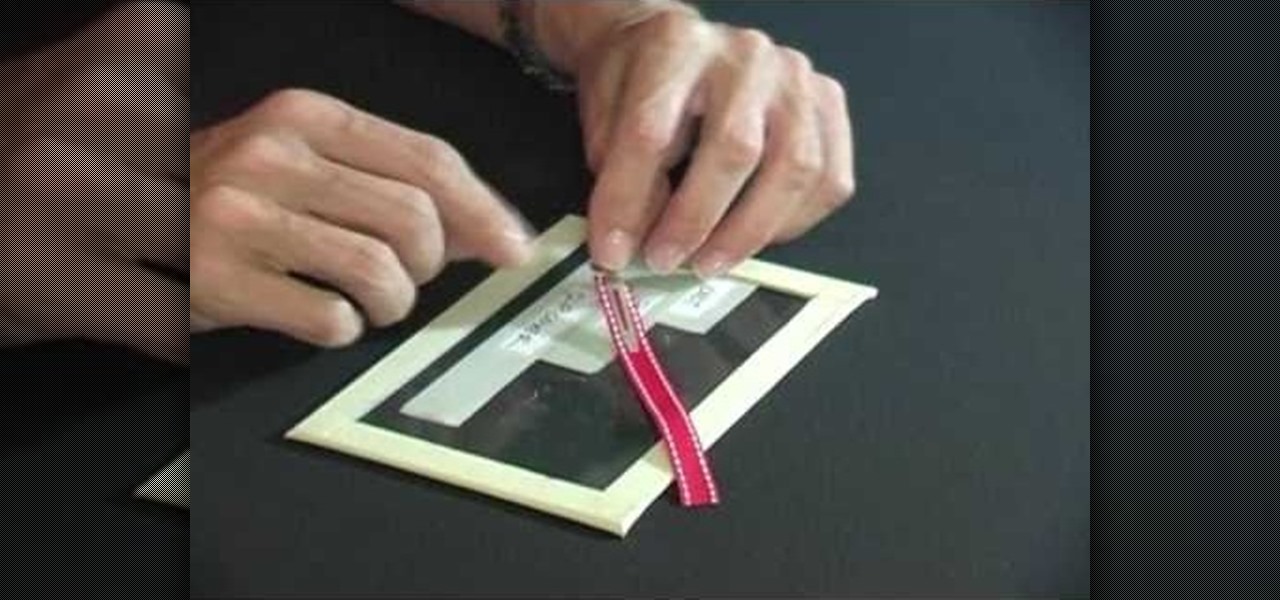
In this video tutorial, viewers learn how to make a ribbon covered pinch clip. The materials required for this hair clip are 4 1/2" x 3/8" of ribbon, glue gun and an alligator clip. Open the pinch clip and place the ribbon inside it. Align it to the clip so that it is straight. Then apply some hot glue onto the surface of the pinch clip and then fold the ribbon to glue it. Alight the ribbon to the top of the clip and flatten the ribbon. Now apply some more glue on the ribbon and push it into ...
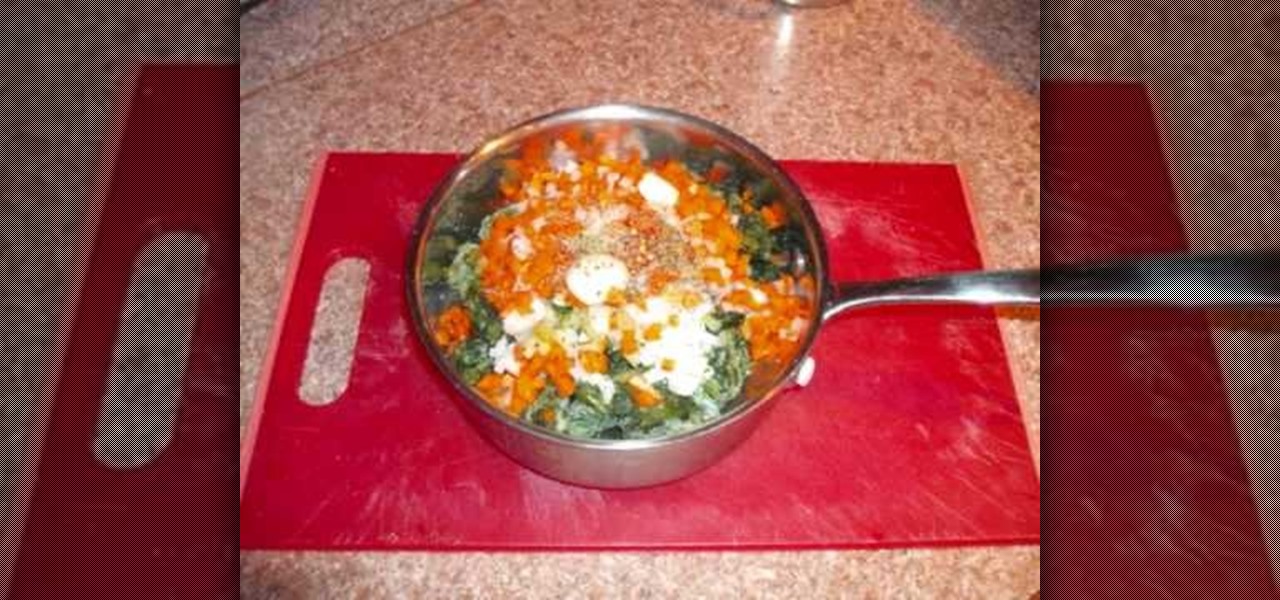
In this video tutorial, viewers learn how to cook cook kale, collard, mustard or turnip greens. The ingredients required are: frozen greens, chopped onion, chopped carrot, chopped celery, 2 cloves of garlic and 1 1/2 cups of chicken stock. Begin by putting the frozen greens into a pan and then add all the ingredients into the pan. To add flavor, add in 1/2 tsp of salt, 1/4 tsp of pepper, 1/4 tsp of freshly grounded nutmeg and 1/2 tsp of grounded mustard. Then cook it at low heat for 3 hours. ...

In this video tutorial, viewers learn how to view hidden files and folders in Windows Vista. Begin by clicking on the Start menu and select Control Panel. Click on Appearance and Personalization, and select Folder Options. In the Folder Options window, click on the View tab. Under Hidden files and folders, check the option, Show Hidden files and folders. Now click Apply and OK. This video also provides a demonstration of hiding and revealing a hidden file. This video will benefit those viewer...

In this video tutorial, viewers learn how to convert You Tube videos to MP3. Begin by going to the You Tube website and find the video that you want to take the audio from. Once you have found your video, copy the URL of the video. Then go to this website: and paste the You Tube URL. Change the Convert to format to MP3 and click Start. Now wait for the website to finish loading the MP3 and provide you with a download link. This video will benefit those viewers who enjoy lis...

In this tutorial, learn how to make delicious homemade sauerkraut. Sauerkraut is a tasty tradition, and no summer picnic is complete without this classic topping.

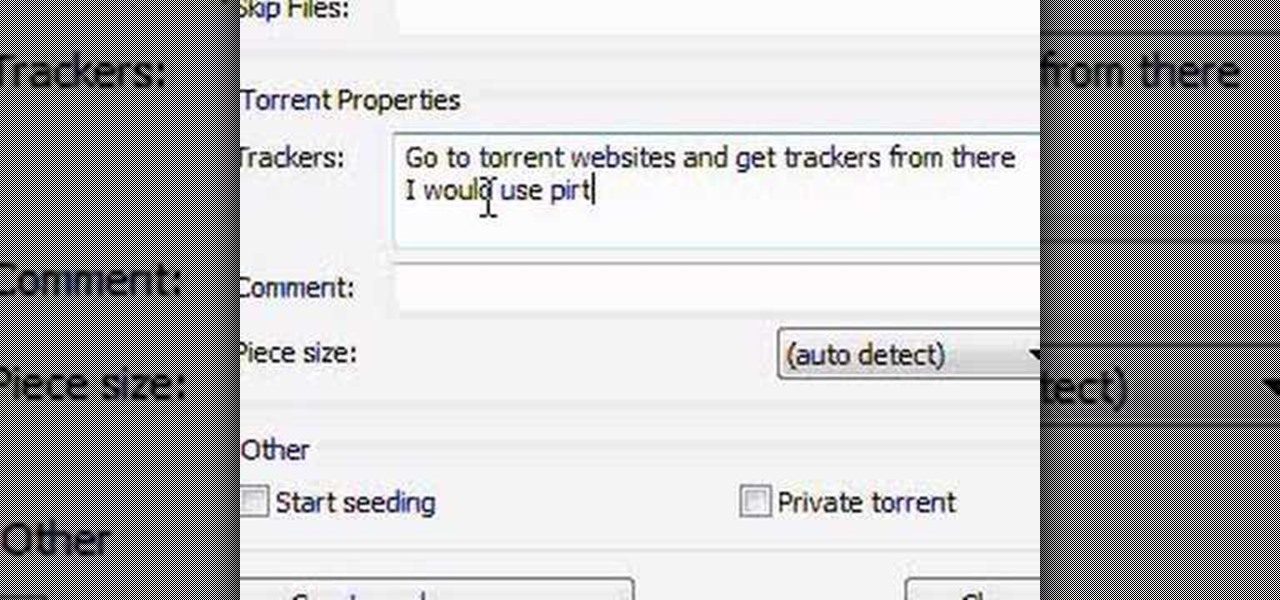
In this video tutorial, viewers learn how to create a .torrent file using u-Torrent. Begin by opening the program. Click on File and select Create New Torrent. Now select the file, select the directory and type in the tracker code. Then click on Create and save as. Once the file is created, click on File and select Add Torrent. Locate the .torrent file click OK. Now wait for the torrent file to finish downloading. This video will benefit those viewers who use u-Torrent and would like to learn...

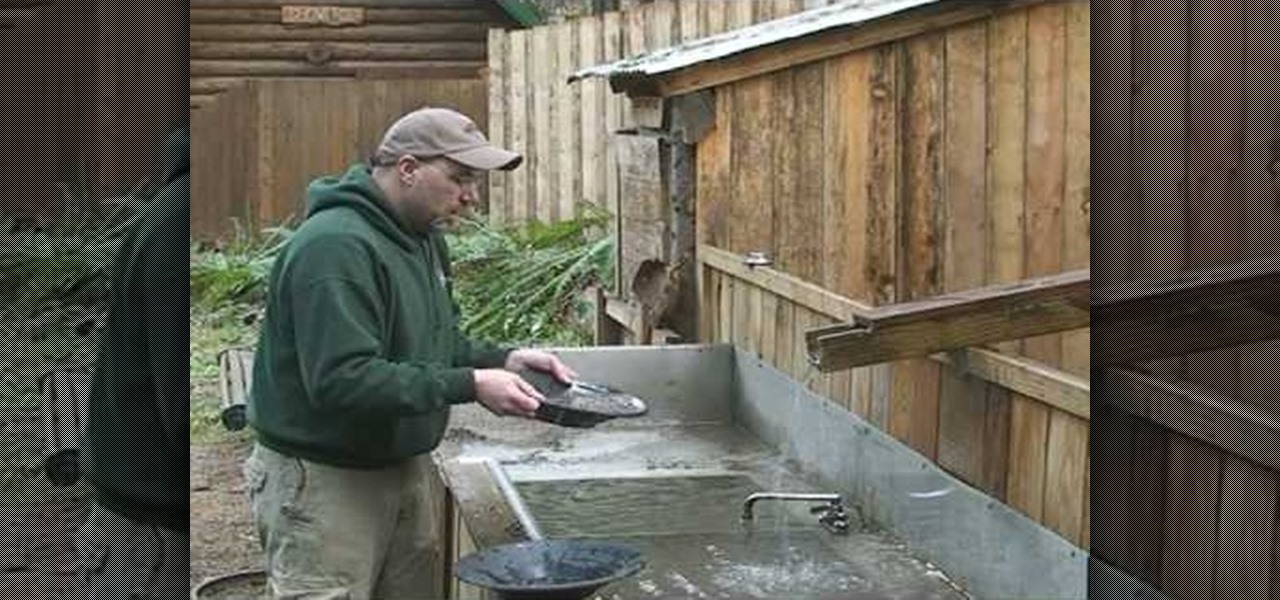
In this video tutorial, viewers learn how to pan for gold. Users will need a gold pan. Begin by add some dirt and rocks into the pan. Then pan has ridges that will keep the gold in the pan. Dip the pan and fill it in some water. Now gently shake the pan from side to side for 20-30 seconds. The gold will sink to the bottom as you shake. Then slightly tilt the pan forward to pour out some water as you're shake the pan. This video will benefit those viewers who are interested in searching for mi...

In this video tutorial, viewers learn how to use the Sticky Keys feature in a Mac OS X computer. The Sticky Keys feature is found in the Keyboard tab in the Universal Access menu. To turn on the sticky keys, check the On option. Underneath, users are able to set some options for how the modifier keys are treated. Sticky Keys will allow users to press the keys in a sequence, instead of all at once. This video will benefit those viewers who use a Mac computer and would like to learn how to conf...

In this video tutorial, viewers learn how to make a shimmer mist mixture for cards. Begin by filling a small spray bottle with rubbing alcohol. Now add about 1/2 tsp-tbsp of Champagne Mist shimmer paint into the spray bottle and shake it to mix it. Users can also use frost white or platinum shimmer paint. To apply the shimmer mixture on a card, spray the mist in the air and wave the card stock into the mist. The alcohol will help dry the paint faster. This video will benefit those viewers who...

In this video tutorial, viewers learn how to tie shoelaces faster. The knot presented in this video is the Ian Knot. Begin by doing an overhand knot by grabbing he two strings, cross one over, tuck it in the loop and pull down. Now grab the left string with your left hand. The string should be on top of your thumb and index finger. Do the same on the right side. Now crossover the strings and pull. This video will benefit those viewers who have trouble tying shoes or would like to learn a easi...

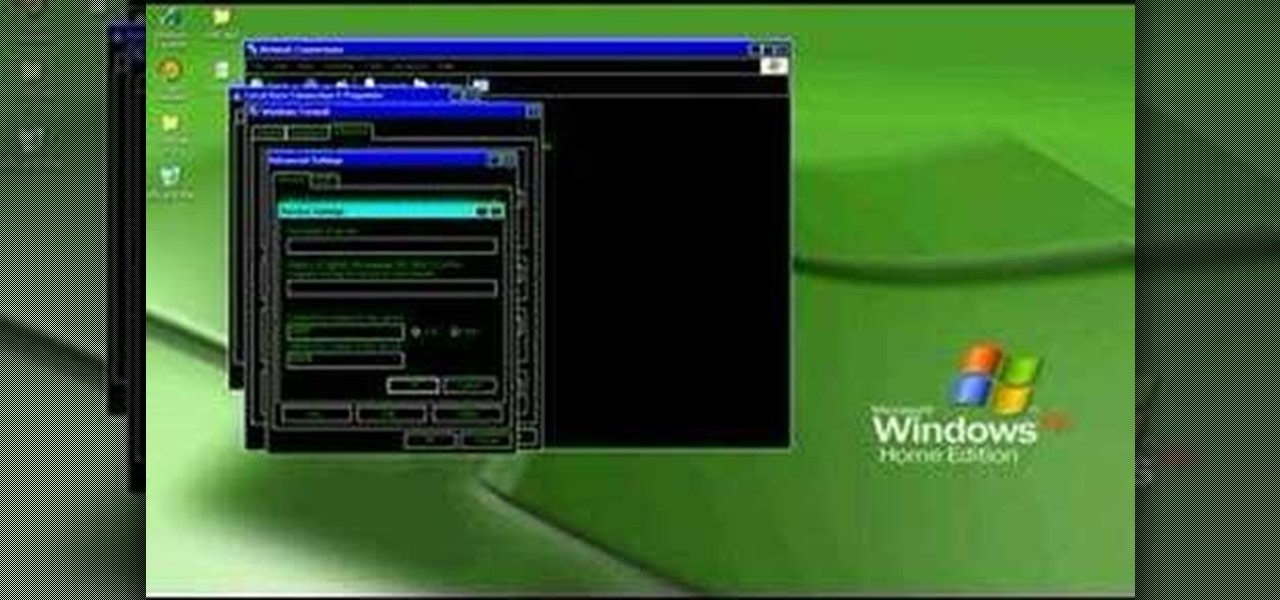
In this video tutorial, viewers learn how to open ports on a Windows XP computer. Begin by clicking on the Start menu and open Control Panel. Double-click on Network Connections and select your network connection. Right-click on it and select Properties. Click on the Advanced tab and click on Settings. Select the Advanced tab again. Click on your internet connection and click on Settings. Click Add and fill in the port information. Click OK. T forward a port, users need to go to their router'...

In this video tutorial, viewers learn how to use a tripod to improve photography. There are many different tripod manufacturers, but the operation of most tripods is similar. Look for a tripod that is easy to use. Make sure that the tripod can tilt forward, backward and side to side easily. It should be able to rotate at a 360 degree angle. This video also provides 4 different types of tripods in an image. Each tripod has different functions, size and movement. This video will benefit those v...

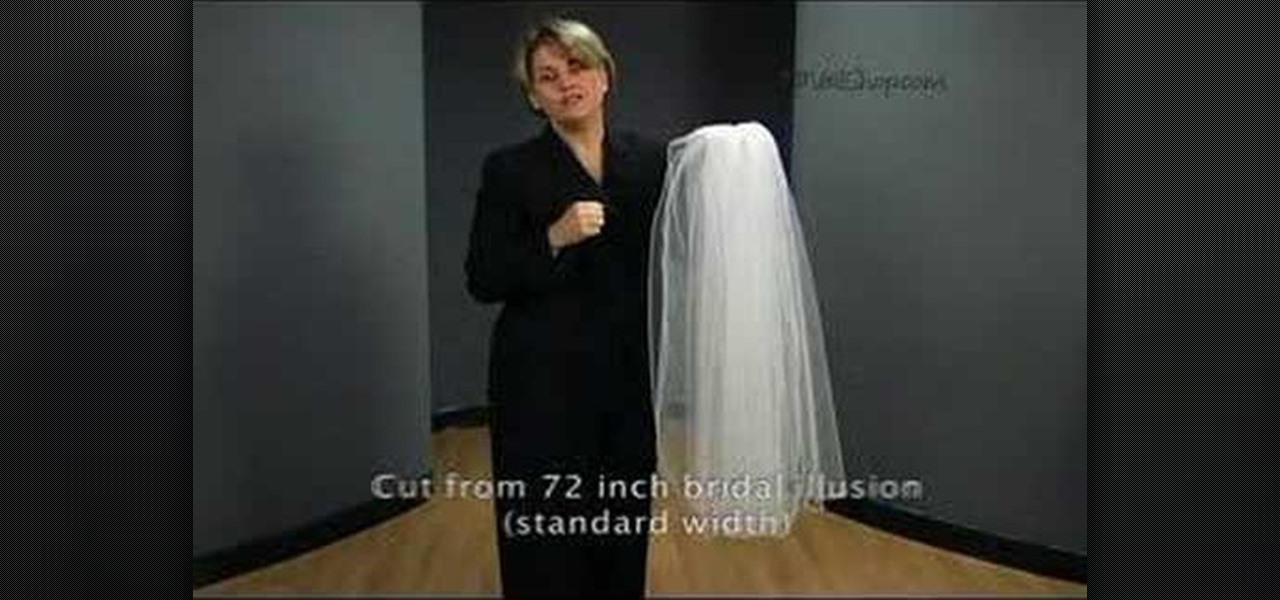
In this video tutorial, viewers learn how to cut an oval style wedding veil. The oval cut veils are exactly like the standard cut, except the sides are straight and the corners are curved. Only begin cutting 72 inches from the bridal illusion. Do not cut the veil any less than that. The standard width is 72 inches. The oval cut veil creates a more angular/squared off look. The oval cut style is only available in 2 layer styles. This video will benefit those female viewers who are getting marr...

In this video tutorial, viewers learn how to secure a home wireless network. There are 3 types of security protocols for connecting devices. The 3 types of security protocols are: OPEN, WEP and WPA. Users should use passwords that are secure but no so obscure that they are unusable. The password should not be dictionary words. They should be mixed with casing and contain the user's phone number. Go to your router's website and log into the website. Find the setting for wireless security and e...

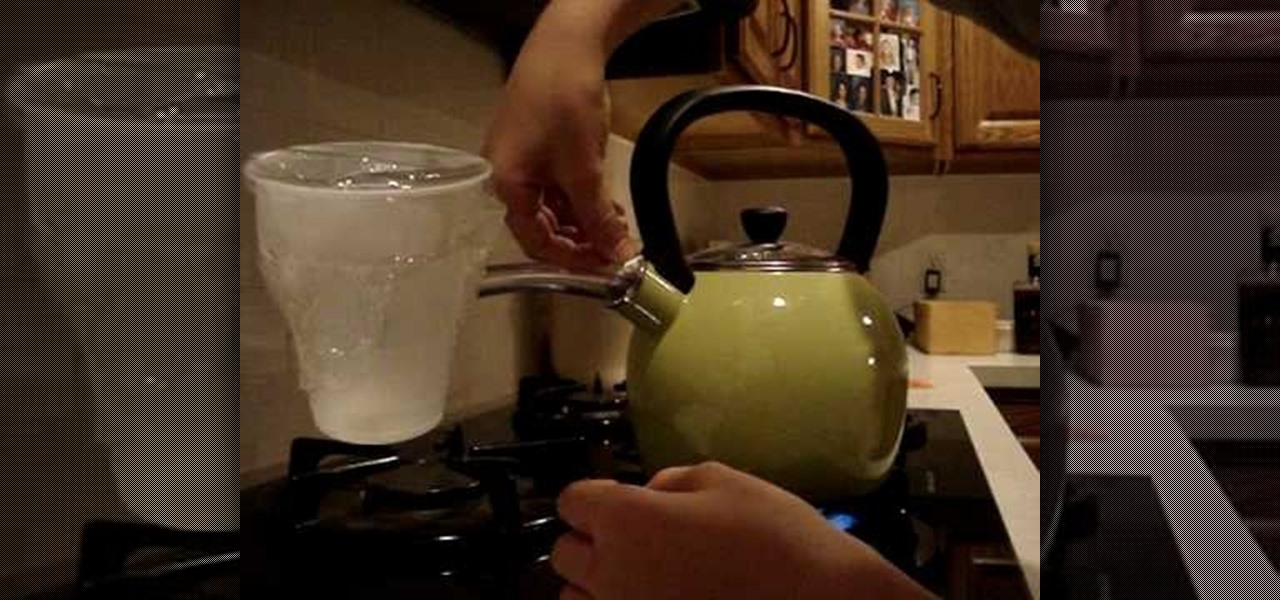
In this video tutorial, viewers learn how to make distilled water. Begin by pouring some water into a kettle pot and heat it at medium temperature. Then make a hole in the side of a plastic cup and insert a tube into the hole. Now cover the top of the cup with plastic wrap and insert the tube from the cup to the kettle pot spout. Seal the gaps in the spout with some paper towels. Leave the cup for several minutes to steam. Then take off the plastic wrap and wait 10-15 minutes for the water. T...

In this video tutorial, viewers learn how to automate tasks in a Mac OS X computer. This video will show viewers how to create a simple application, that when double-clicked, will open a new message that's already addressed to a specific person. Begin by clicking on the Macintosh HD and click on Applications. Open Automator. Users will be able to create a template for different work flows. Select Application and click Choose. On the left side of the window, there will be a list programs that ...

In this video tutorial, viewers learn how to write their own business plan. This video provides several options for viewers to decide from to write a business plan. Users may choose to purchase a business plan software for $50-$65, take a business plan course for $75-$500 or hire a consultant for $1000,-$5000. Business course plans are usually located at college campuses. It is not recommended to hire a consultant as it is very expensive and you will ne the one giving the consultant the infor...

In this video tutorial, viewers learn how to flash the screen when receiving an alert in a Mac OS X computer. To turn on this option, go to the Universal Access window and select the Hearing tab. There will be 2 options for users to use. The first feature allows the user to flash the screen when an alert sound has occurred and the second feature allows users to stereo audio as mono. To test the flash the screen, click on Flash Screen. This video will benefit those viewer who use a Mac compute...

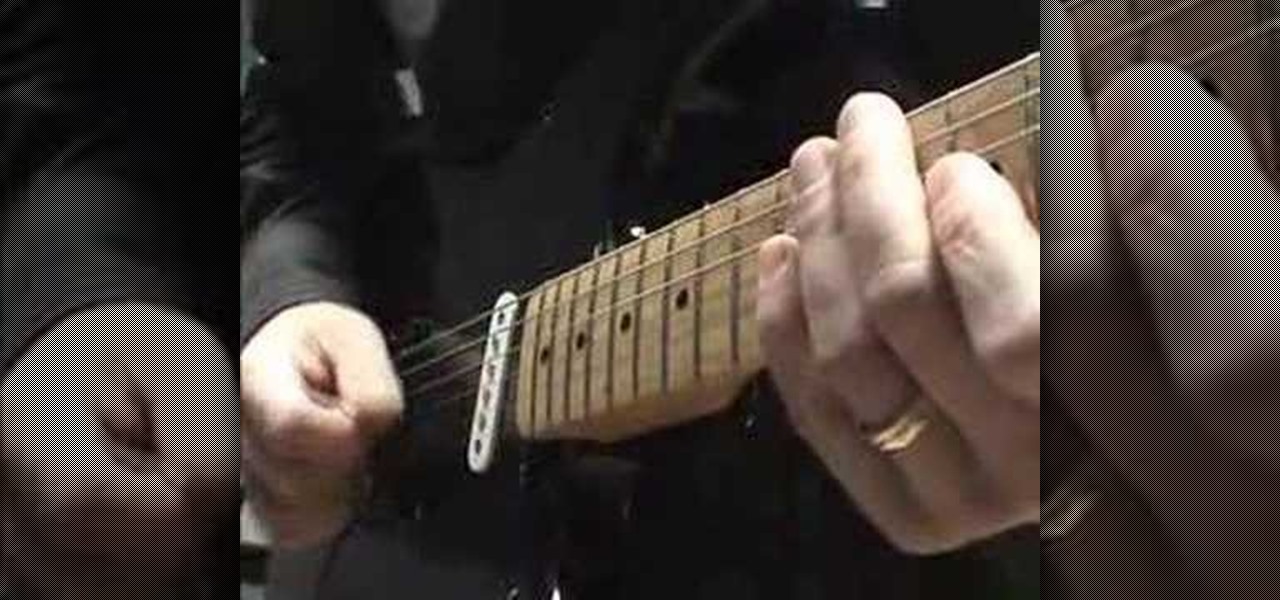
In this video tutorial, viewers learn how to properly hold a guitar pick. Don't hold the pick with the point facing down because it can easily slip and cause you to lose accuracy. Instead, hold the pick with the point facing forward. Don't let the pick stick out too much. Secure it behind the index finger and under the thumb. This video provides a visual demonstration for viewers to easily follow along. This video will benefit those viewers who are beginning to play the guitar and would like ...

In this video tutorial, viewers learn how to use the Outline View in Pages '09 from a Mac computer. Begin by opening a new document and then click on Outline from the toolbar. The first level will automatically be set as a heading when you type your text. Each time your press the Return key, another heading will be created. Using the buttons on the toolbar, users are able to demote and promote headings at different levels. In the pull-down menu, users are able to select the type of text level...

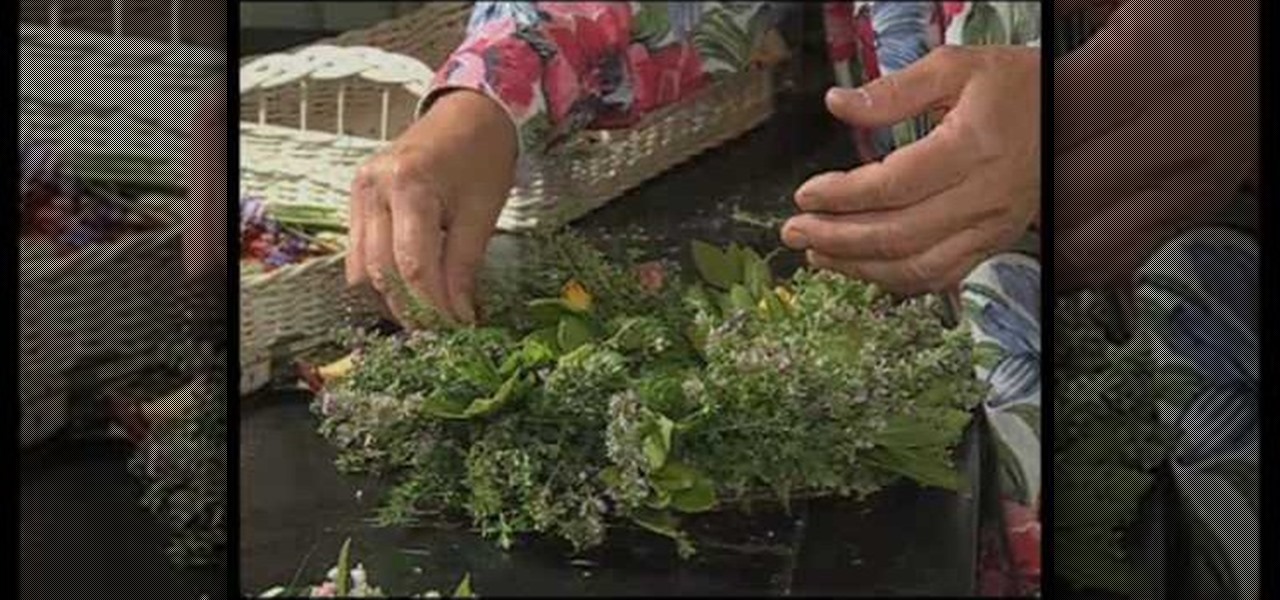
In this video tutorial, viewers learn how to make decorative wreaths from garden plants. Users will need a wreath thorn. Users may choose to make the wreath or purchase it. Then add on some greenery such as bay leaf. Now place the greenery onto the thorn wreath and secure it by wrapping it 3 times around with wire. Continue doing this for the rest of the wreath. This video provides a visual demonstration for viewers to easily follow along. This video will benefit those viewers who are interes...

In this video tutorial, viewers learn how to apply a digital tattoo using Adobe Photoshop. Begin by adding the image and tattoo image into the program. Then drag the tattoo image over the image. Now in the layer menu, change Normal to Modify. Now re-size the tattoo image to a preferred size (PC: Control and T, Mac: Command and T). Now right-click the tattoo image and select warp. Form the image so that it is perpendicular to the skin and decrease the Opacity. This video will benefit those vie...

In this Fitness video tutorial you will learn how to get lower abs with a hanging knee raise. This video is from www.fitwithmitch.com and here Mitch explains how to do the hanging knee raise and a few variations to this routine. Hang from the overhead bars, bend your knees and curl up from the waist till the thighs are horizontal. Do this as many times as is comfortable for you. Make sure while doing this your body should not swing. If the body starts to swing, stop and restart. As a variatio...

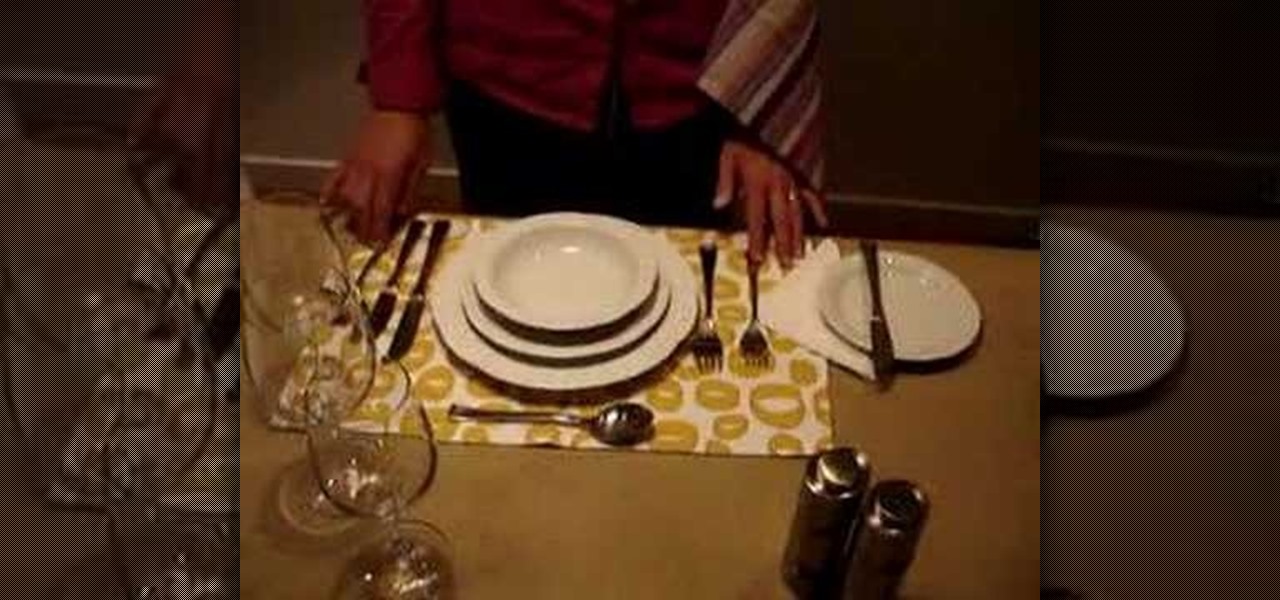
In this video tutorial, viewers learn how to set a beautiful dinner table. The utensils, flatware and glassware is paramount is correct setting. The utensils are arranged in the order that a person uses them. The butter knife, forks, napkin and bread plate are placed on the left of the dinner plate. The knives, spoons and drink-ware are placed on the right of the dinner plate. Utensils and flatware are lined up about 1" from the table. There should never be more than 3 utensils on the side of...

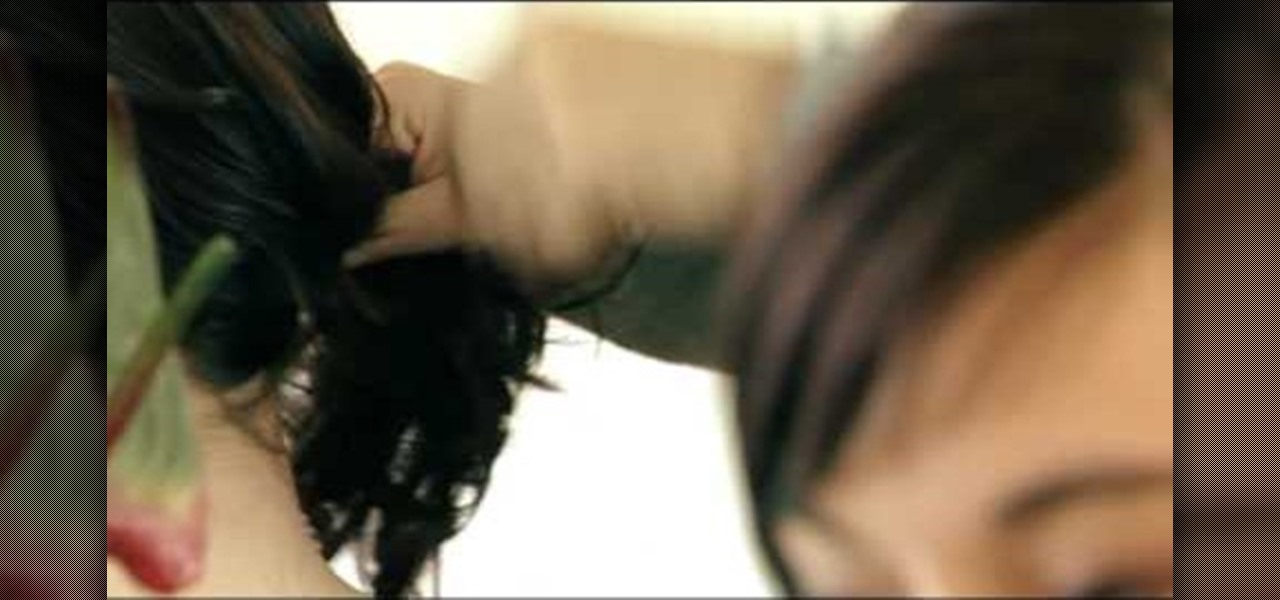
In this video tutorial, viewers learn how to create a red carpet look with the undone bun hairstyle. Begin by bringing all your hair to one side and apply a band around the bun to secure it. Then take a clip and randomly pin it to the ends of the ponytail. Continue doing this for the rest of the ends of hair in the bun. Users may use up to 30 pins. Make sure the pins don't move and don't overdo the pins. This video will benefit those viewers who are interested in beauty and fashion, and would...

In this video tutorial, viewers learn how to import and render footage in Adobe Final Cut Pro. To import files, begin by going to File, select Import and click on Files. Then browse for the file and click Open. Now drag the clips into the time line to edit. To render the footage, begin by selecting it. Then click on Sequence, select Render Selection and click on Both. This video also shows viewers how to cut a clip and add effects. This video will benefit those viewers who are just beginning ...

In this video tutorial, viewers learn how to make their own lip gloss. The materials required are: a lip gloss container, butter knife, chap stick, shimmer dust or pigmented powder, candy powder, bowl and microwave. Begin by cutting the cap stick tube into pieces and place it into a bowl. Heat it in the microwave 45-60 seconds. Stir the melted mixture and add some shimmer dust. Stir the mixture and add a drop of candy flavoring. Stir once again and add the lip gloss into a container. Finish b...

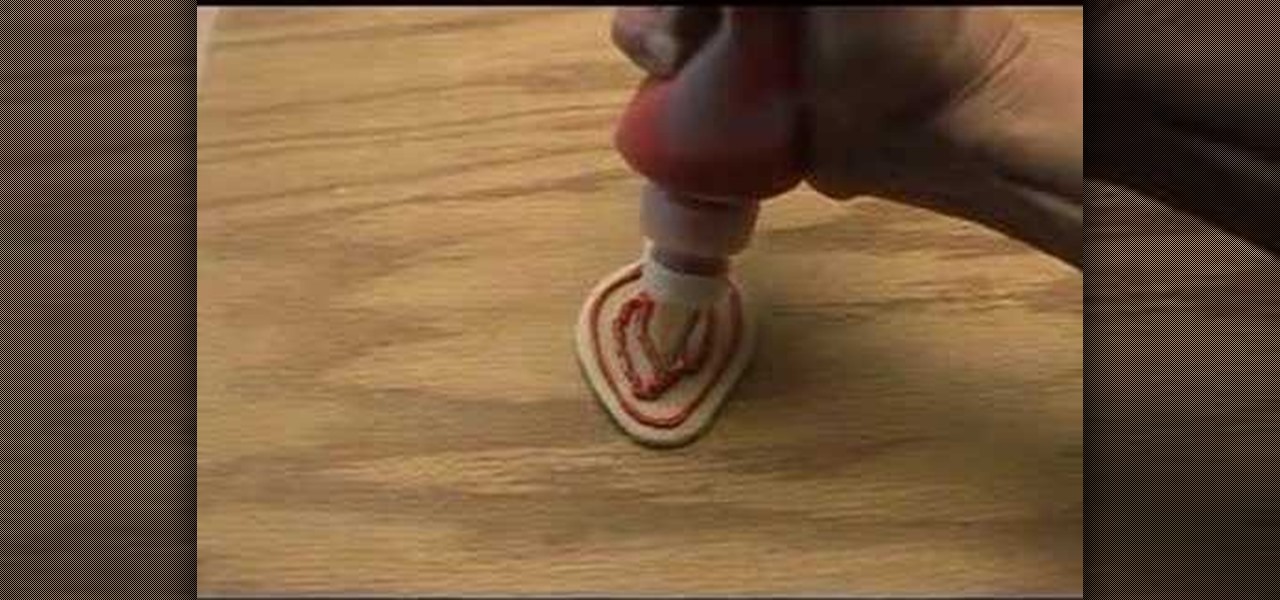
In this video tutorial, viewers learn how to use squeeze bottles to decorate cookies. Using a squeeze bottle is more easier than using pastry bag. This video reveals 3 sizes of squeeze bottles. There is an 8 oz, 2 oz and 3 oz. To get icing into a squeeze bottle, put the icing into a bag and clip the corner with scissors. Then gently squeeze the bag to let the icing go into the bottle. This video will benefit those viewers who enjoy baking and making cakes, and would like to learn how to use a...

In this video tutorial, viewers learn how to use the Mouse Keys feature in a Mac OS X computer. This feature can be accessed under the Mouse & Track-pad tab, in the Universal Access menu. Turn on the feature by checking On. Once turned on, users can use the number keys on the keyboard to move the cursor in any direction. Users are also able to use a keyboard shortcut to turn on or off the Mouse Keys, adjust the Initial Delay, adjust the Maximum Speed and change Cursor Size. This video will be...

In this video tutorial, viewers learn how to make a real flame text in Adobe Photoshop. Begin by opening a flame image in the program and select the text tool. Type in the text and position it over the flame. Now go to Select and click on Load Selection. Once the selection is created, delete the letter. Then select the marquee tool. Right-click above the selection and select Feather. Now create a new sheet and fill it in black. Using the move tool, drag the selection to the new sheet. Go to F...

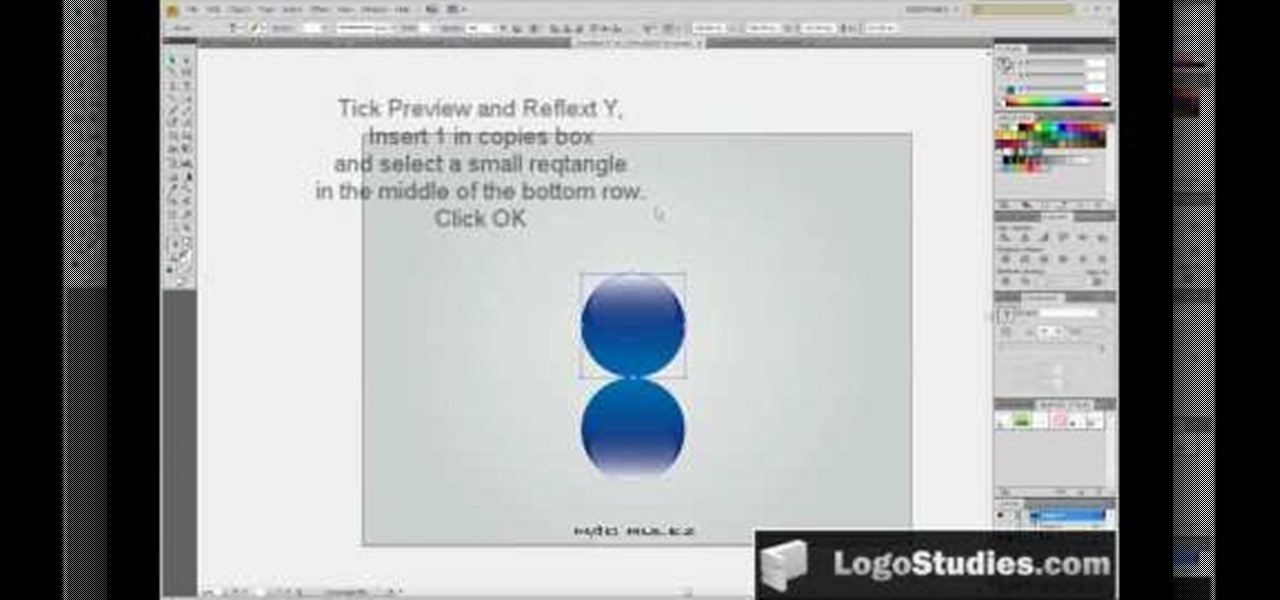
In this video tutorial, viewers learn how to create a 3D sphere and reflection in Adobe Illustrator. Begin by using the ellipse tool and create a circle. Select the black and white gradient, and drag the colors that you want into the gradient panel. Now hold the Alt key and draw a smaller circle inside. Fill it with white/transparent gradient. Select the sphere and go to Object/Group. Now go to Effect/Distort and Transform/Transform. Tick the Preview and Reflect Y, insert 1 copies box and sel...

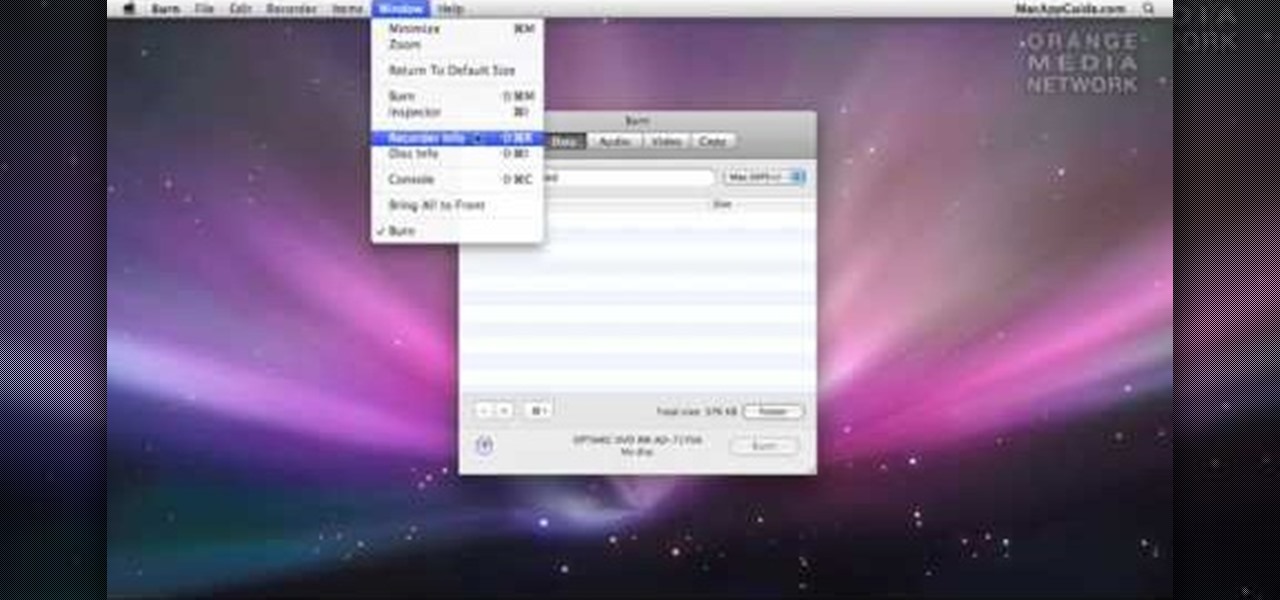
In this video tutorial, viewers learn how to burn a CD or DVD on a Mac computer with the Burn application. Burn is able to create data, audio and video discs. The Inspector window allows users to edit extra information about the disc. To open Inspector, press the Command and I button. It is also able to create disc copies. To burn a disc, name the disc and select a format. Them simply drag the file(s) into the program and click Burn. This video will benefit those viewers who have a file on th...

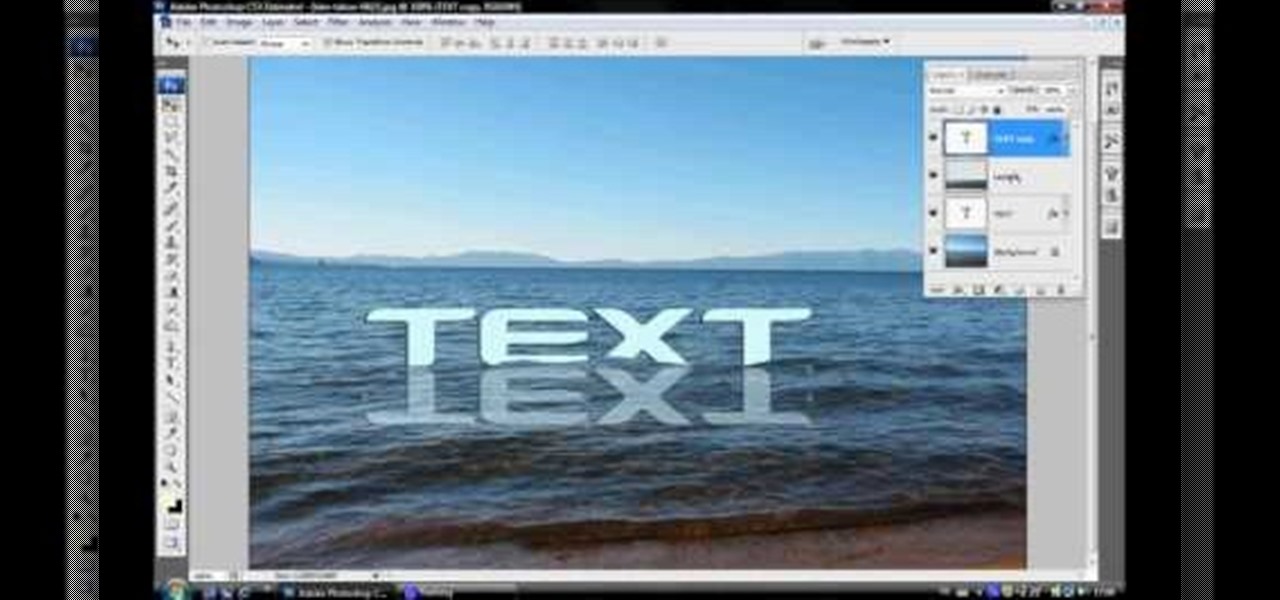
In this video tutorial, viewers learn how to make floating text on water. Begin by importing the water image into the program. Begin by selecting the polygonal lasso tool in the toolbox and select the top of the water. Once you have made the selection, right-click on it and select Layer via Copy. Then select the text tool and type in your text. Create a contour to make the 3D and give the text a light color. Then place Layer 1 over the ext layer and use the selection tool to place it behind t...

In this video tutorial, viewers learn how to make a toy parachute. The materials required are: lightweight fabric, ruler, scissors, string, 4 hole button and a toy army man. Begin by measuring a 10x10 inch square on the fabric and cut it out. Fold over each of the 4 corners and cue a small hole. Measure and cut 2 lengths of 36 inch string. Take the string and tie it to one end of the hole on the fabric. Run the other end through the button hole and tie it to the diagonally opposite hole on th...

In this video tutorial, viewers learn how to disable pop-ups in Google Chrome. This task is very fast, simple and easy to do. On your desktop, begin by right-clicking the Google Chrome icon and select Properties. Click on the Shortcut tab and in Target, add "-disable-popup-blocking" to the end of the code. Now click Apply and click OK. Then restart Google Chrome. This video will benefit those viewers who use the Google Chrome web browser and would like to learn how to disable the pop-up block...

In this video tutorial, viewers learn how to ice cupcakes. In order to ice a cupcakes, users will need a piping bag, tips, coupler and a spatula. Screw the coupler at the end of the piping bag and select a tip to put on the end of the coupler. Fold the bag 2-3 inches downward and place it into a cup to hold it. Now scoop some icing with the spatula and place it inside the bag. Squeeze the bag to bring the icing down and tie an elastic on top to close it. Viewers will learn how to 3 different ...

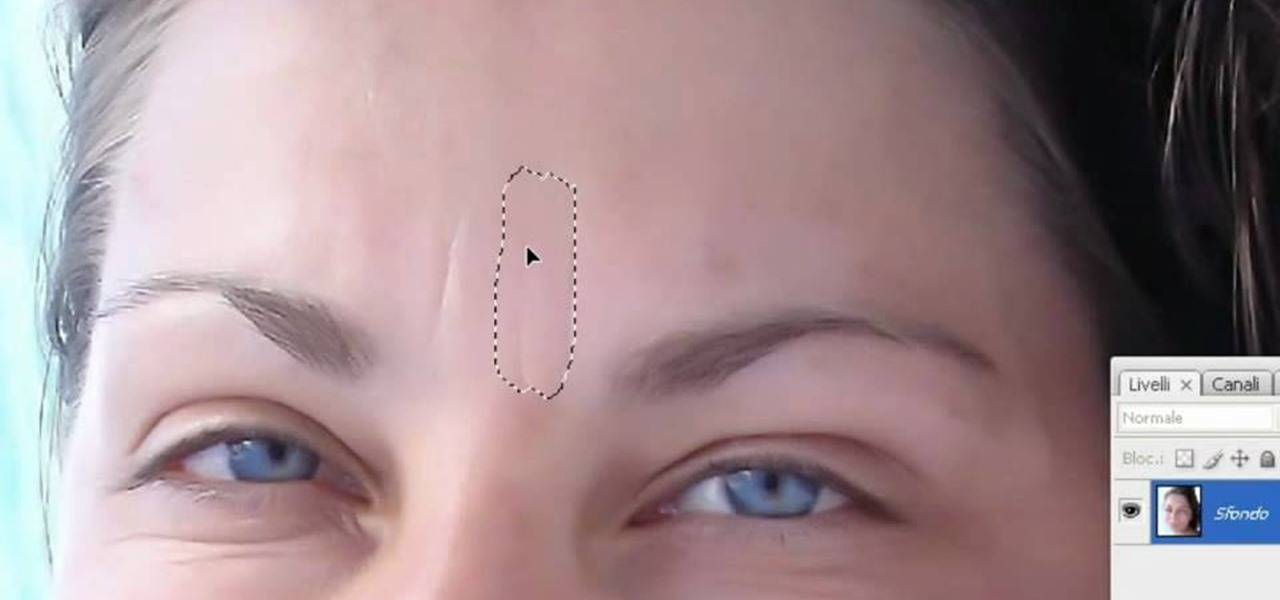
In this video tutorial, viewers learn how to smooth skin with noise-ware plug-in using Adobe Photoshop. Users will need to first download the plug-in to be able to use it from the menu of the filters. Now modify the values of Noise Level Adjustment and Noise Suppression. Max the Luminance and set the other values to 50%. Click on the preview from above to see the difference. Then use the filter a second time to make a stronger effect. Any small wrinkles can be eliminated with the patch tool. ...


