In this video, he takes us through the process of preparing the Santa Fe Spring Rolls. The recipe was done from the Hard Rock cafe, New Delhi. The video contains the explained way about how to prepare the Spring rolls step by step.

This video is a tutorial on how to arrange a dozen yellow roses for a vase. The speed of the video is increased four times faster than the normal rate of speed. The man arranging the flowers does not explain the step-by-step process of his arrangement. The viewer sees the man first arranging green leaves in the vase. Second, he dips the yellow roses into a liquid solution in a separate container before putting them into the vase. The tallest yellow rose is the center rose in the arrangement, ...

Apple released iOS 11.2 beta 3 on Monday to developers, with only a handful of changes over Beta 2. Still, it's always recommended you upgrade to the newest version of iOS, so if you are running any of the previous 11.2 betas, make sure to update.
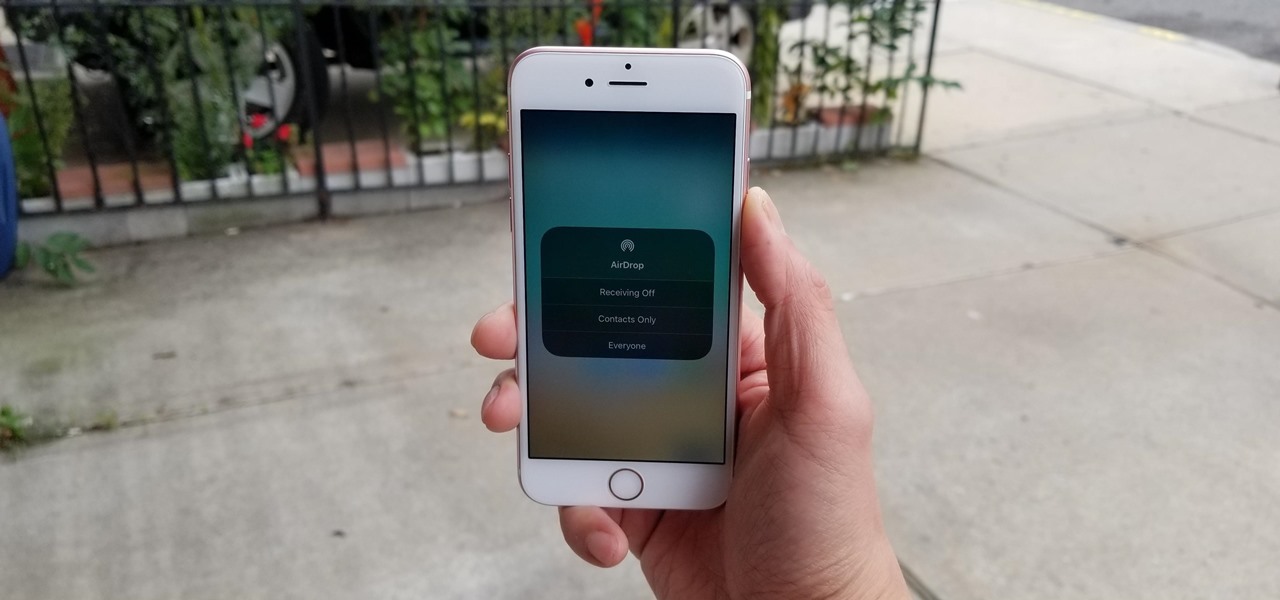
AirDrop is an underrated feature that lets you to quickly transfer files like songs and photos via Bluetooth and Wi-Fi from your iPhone to Macs and other iOS devices. It's been a staple in the Control Center ever since iOS 7, prominently displayed for easy access. However, with iOS 11, that quick access to AirDrop has seemingly disappeared.
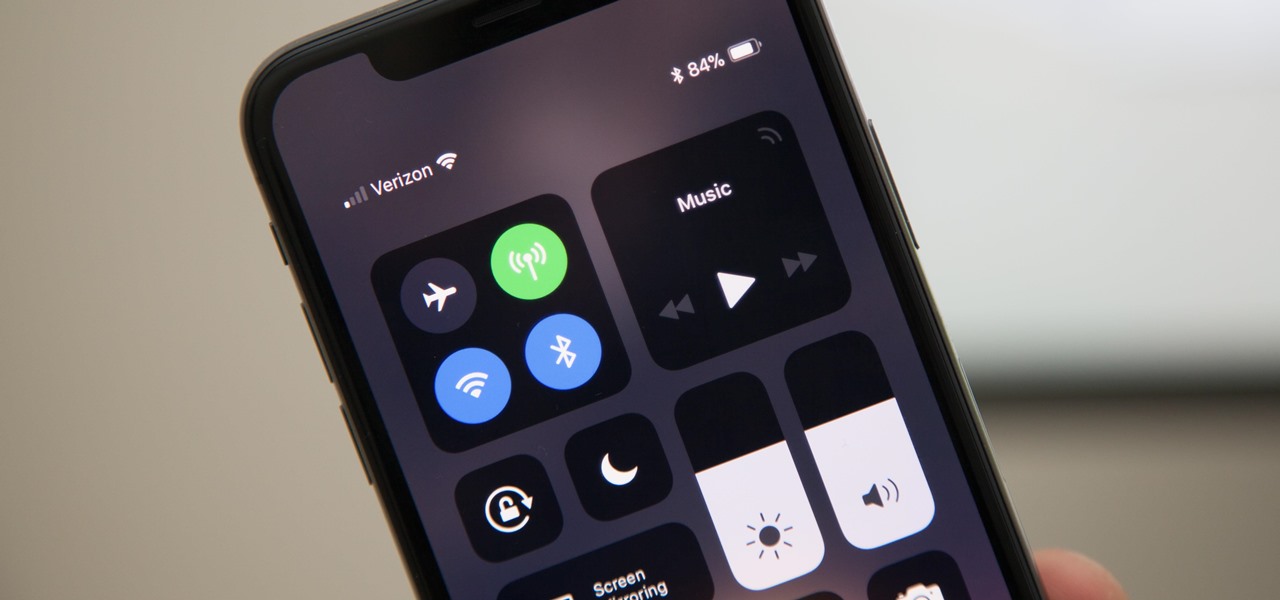
Gestures are a big deal on an iPhone X, XS, XS Max, XR, 11, 11 Pro, and 11 Pro Max. Without a Home button on Apple's super-premium smartphones, several actions had to be mapped to gestures instead, which impacts other areas of the system such as the Control Center.

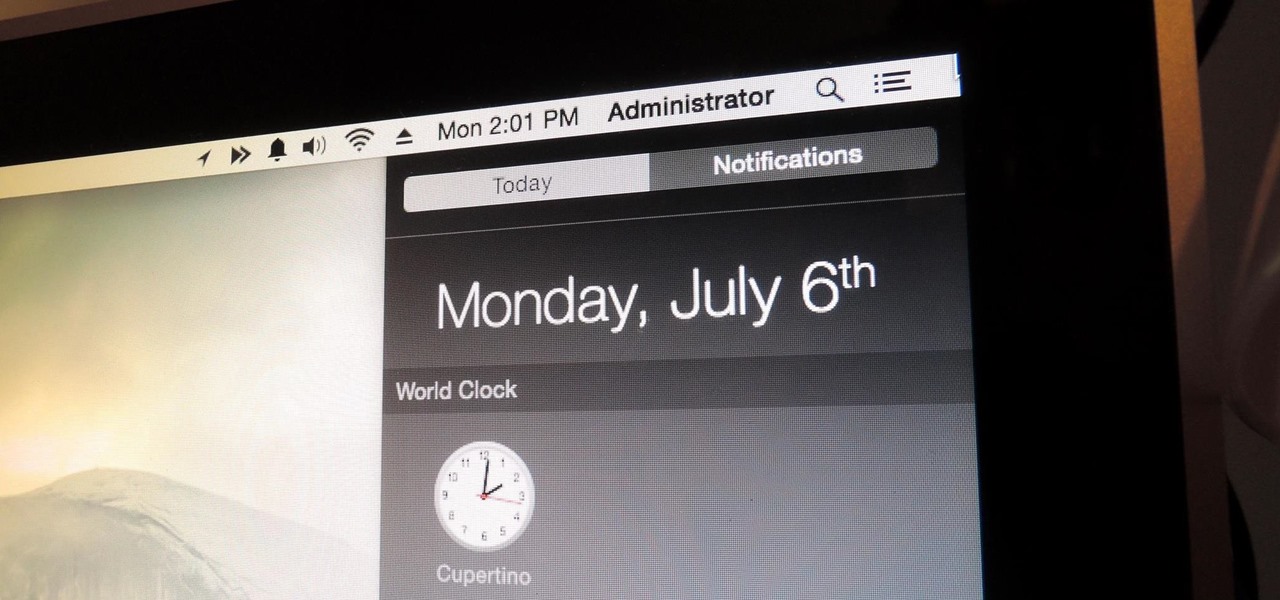
When Apple wanted to bring their Notification Center to Mac OS X, I loved the idea. But after using it since its integration in Mountain Lion, it's been more annoying and distracting than anything. More and more apps incorporate notifications, so I'm constantly getting sound alerts and banners in the top right corner that I don't want.

Apple has acknowledged a problem with the sleep/wake key, better known as the power button, on a certain number of iPhone 5's manufactured through March 2013. As a result, the company has announced the iPhone 5 Sleep/Wake Button Replacement Program, which will replace the power button mechanism, free of charge, for certain iPhone 5 models.

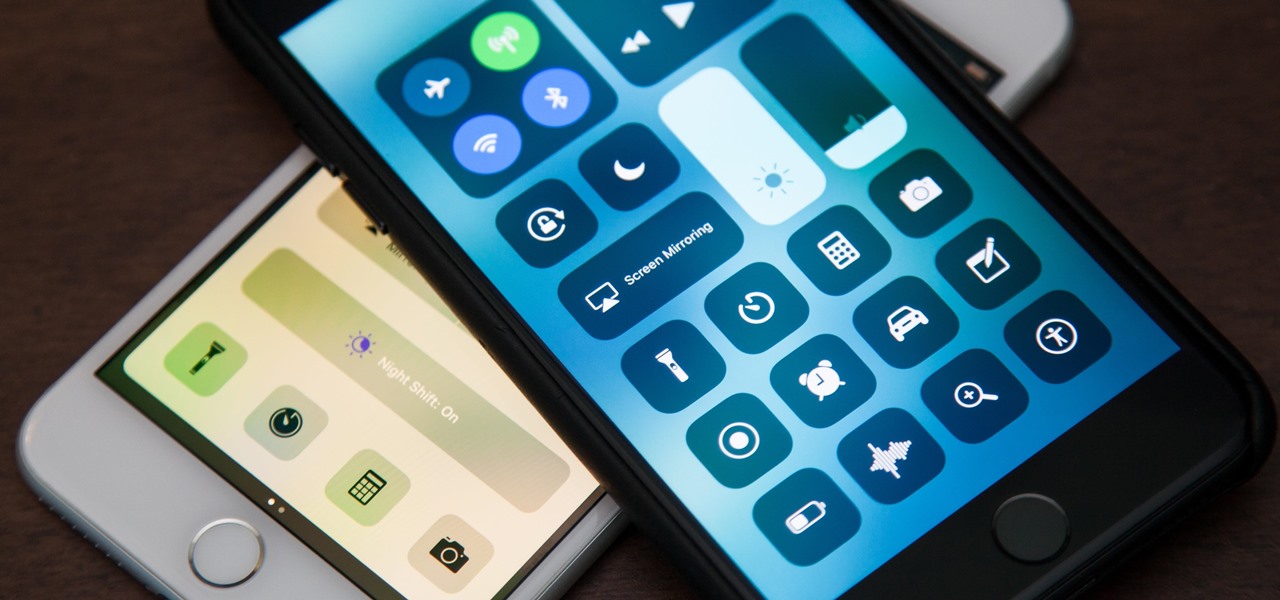
One of the best things about iOS 7 is the Control Center, which gives you quick access from anywhere on your iPhone to turning on or off Airplane Mode, Wi-Fi, Bluetooth, and more. It also makes it very easy to adjust the brightness of your display, and gives app shortcuts for your Flashlight, Calculator, Timer, and Camera.

The design of iOS 7 has its lovers and haters, and if you're an Android user who just happens to love it, there are plenty of ways to make your device feel more Apple-y.

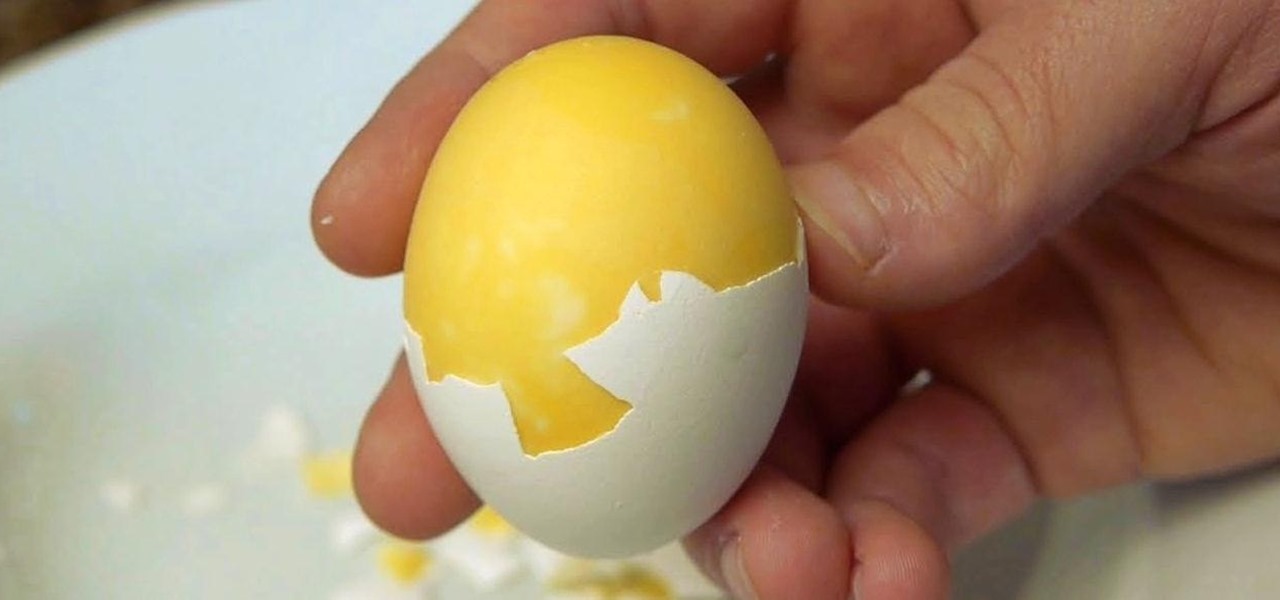
The following video will demonstrate a simple process by which hard-boiled eggs can be scrambled prior to cooking, creating a deliciously blended center once finished.

Using a LEGO Mindstorms NXT kit, a pair of awesome engineers put together this fully functional replica of the Curiosity Mars rover. Not only is it built completely out of LEGOs, it's motorized, programmable, and ready to explore the far reaches of your living room. The rover was built for the Build the Future in Space event at NASA's Kennedy Space Center. Four of the six wheels are powered, allowing it to make 360 degree turns, and the arm and mast are both fully controllable. The entire con...

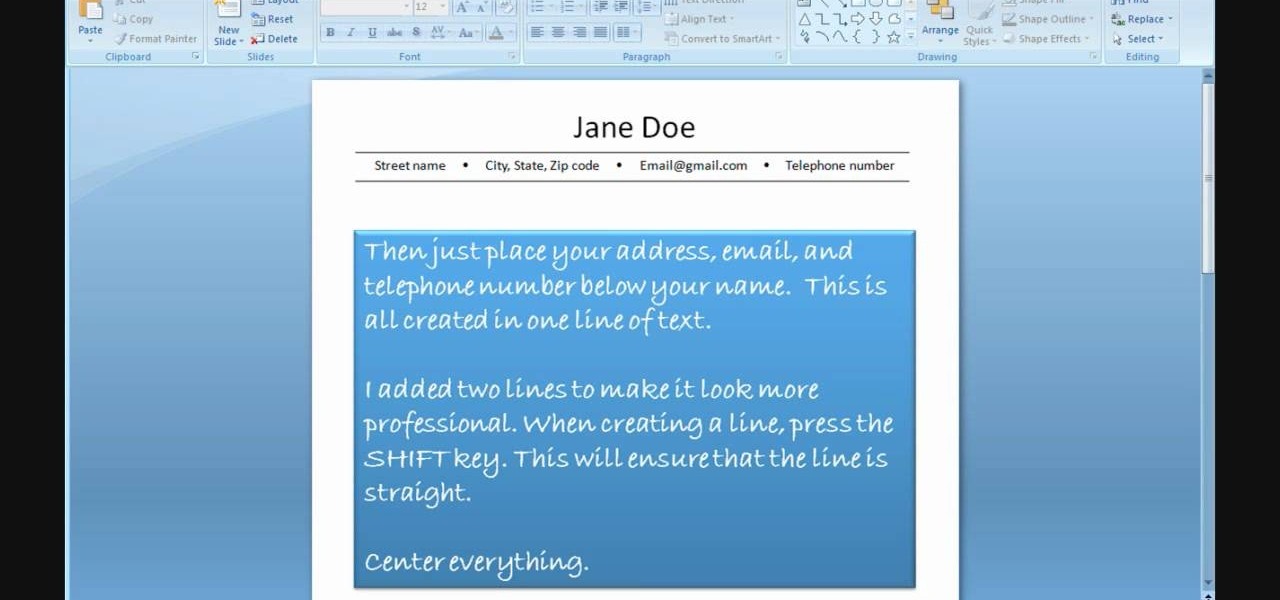
In order to use PowerPoint to create your resume, you will need to select "page setup", in order to change from landscape to portrait. Insert a text box in the center of the page and type your name in it. Next, click on the "format" tab. Next, select your alignment from the alignment center.

In this tutorial, Don McCunn teaches us how to draft a pants sloper. First, measure out the center line of the leg and then draw the center line onto a piece of paper. Now, measure from the waist and mark the measurements along with where you drew the center line. Now, measure down to the hip level and mark this as well, making sure to use the fullest area of the hips. Next, you will need to determine the crotch from the waist to the area where the subject is sitting, then mark it. Use a stan...

In this video tutorial, viewers learn how to make a pinhole lens for a digital camera. The materials required for this project are: a camera body cap, X-acto knife, black tape, small drill bit, sewing needle and sand paper. Begin by marking the center of the body cap . Then drill a hole in the center and punch a tiny hole in the center of the sheet metal. Now cut around the sheet metal and sand it flat. tape the metal piece inside the cap and darken it with ink. This video will benefit those ...

In order to make trendy hair bows for your hair, you will need the following: ribbon, scissors, a hot glue gun, and hair clips or bobby pins.

In order to make a bow headband without doing any glue or sewing, you will need the following: a headband, a hair tie or rubber band, and a piece of ribbon or a belt.

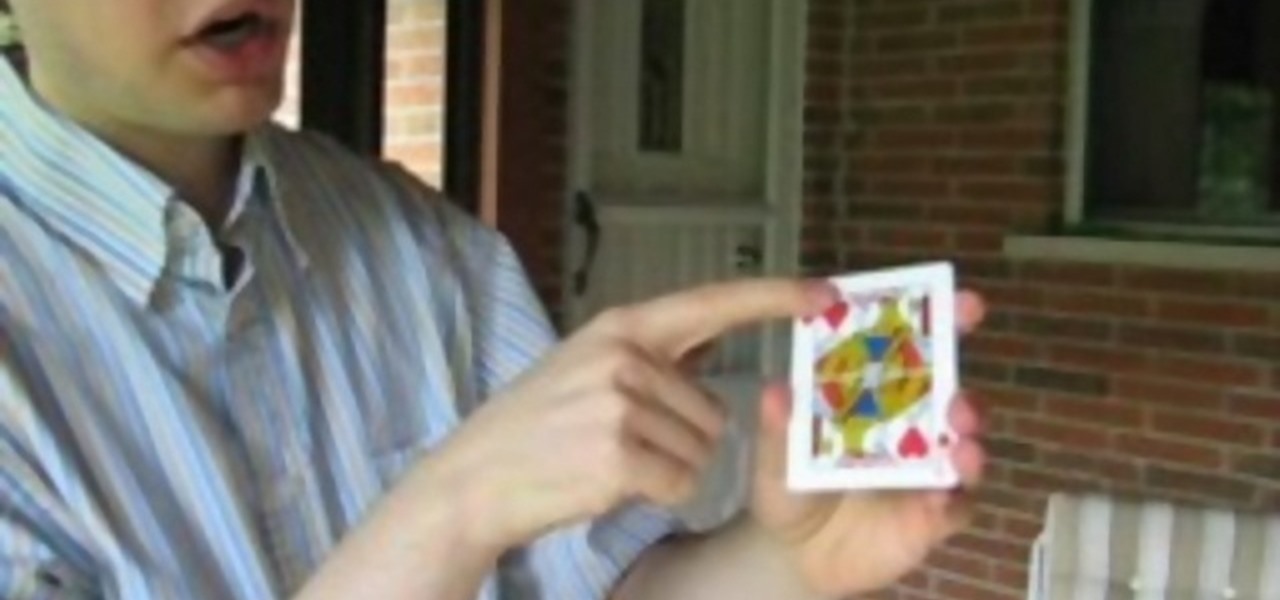
In this Magic & Parlor Tricks video tutorial you will learn how to do the gimmicked card color change trick. For this you will need two cards of different colors; a red card and a black card. Fold each of the cards right in the middle. Then glue the top half of the two cards at the back. The bottom halves of both cards should be free. Now take a third card and attach its face to the bottom halves of the two cards on the outer side. So, when you move the middle flap up or down, the card is goi...

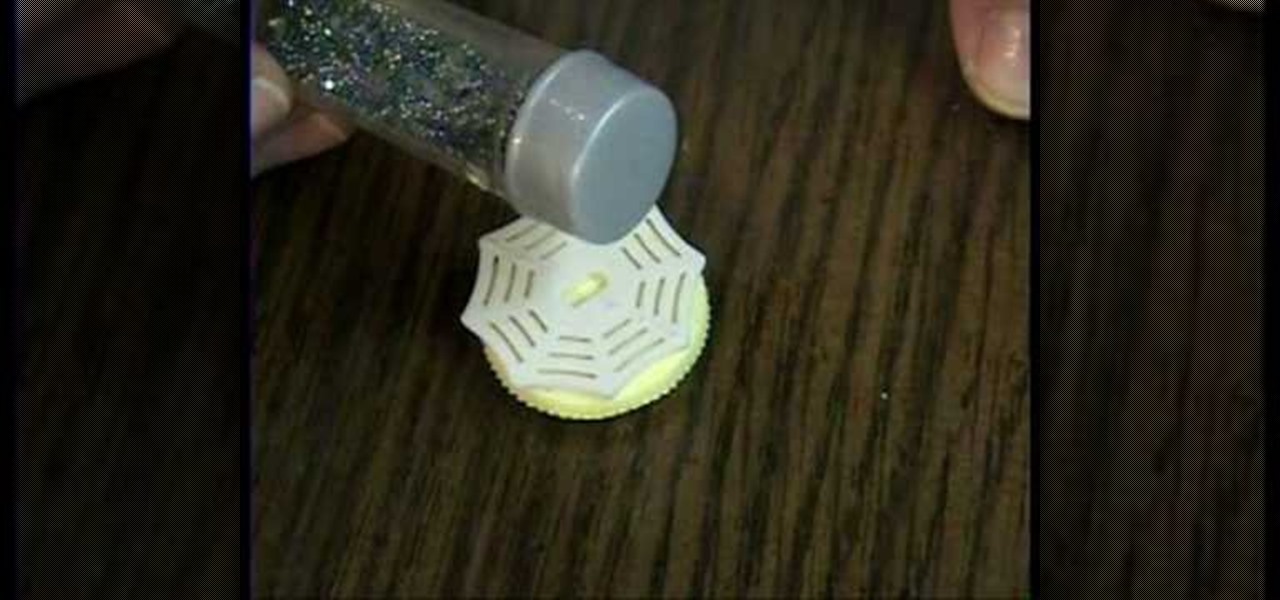
This video tells us to measure a 1:12 dollhouse polymer clay plate. You can use a 'MINI MAGLITE FLASHLIGHT' to cut out the clay from some clay that has been rolled out on a platform. Roll the toothpaste cap along the edges of the circular piece of clay. The center of the plate is made by pressing it in the center with a small bottle or the end of a pencil which has a flat base. Cut a smaller circle of clay and put it below the plate to form its base. Press the center of the plate again to sti...

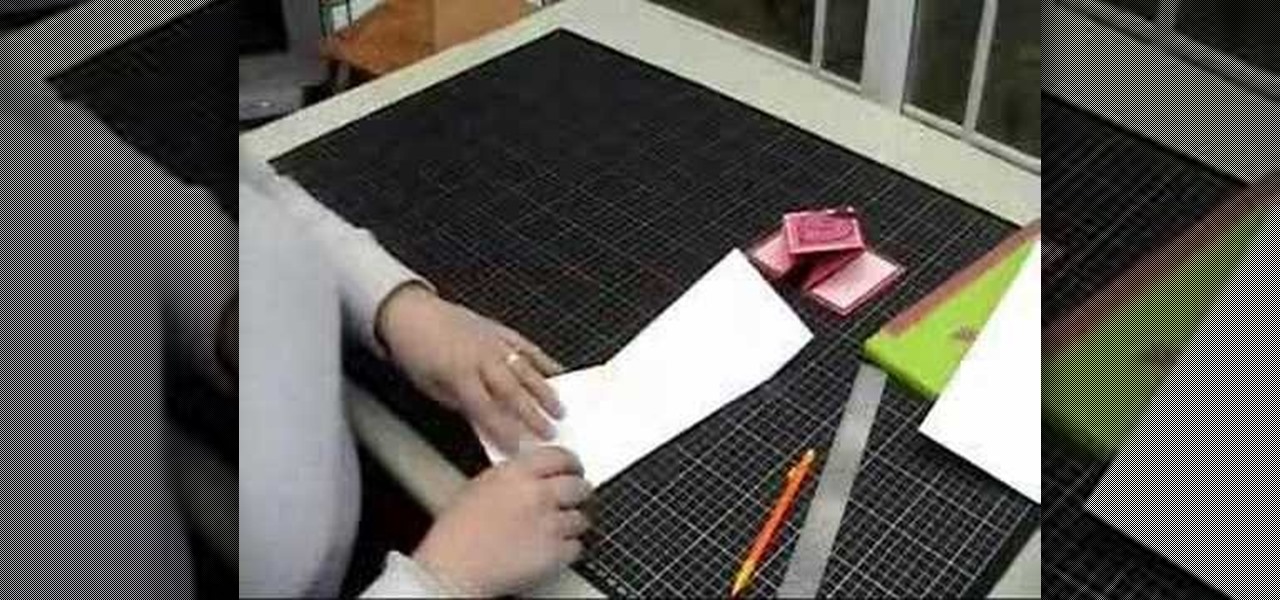
In this Arts & Crafts video tutorial you will learn how to make a diamond folded card. Get a sheet of paper 4x12 inches. Draw a pencil line at the half way mark, that is, at 6inches. Fold one of the lengths to the center pencil line. Do the same to other half of the paper. Open up the sheet and do the same fold in the opposite direction. Open up the paper and flip it over and you will see the diamond fold in the center. Now you fold from each side up to the cross where the diamond begins. Fli...

In this Arts & Crafts video tutorial you will learn how to fold a hexagonal, six-point paper star with origami. Take a hexagonal sheet of paper and fold in half from all corners. Then fold each side inward up to the center point. Open up all the folds. Now fold one side up to the center point. Then fold one corner back over itself and fold the next side of the paper up to the center point. Continue like this for all sides and you will now have a smaller folded hexagon. Then lift up each flap ...

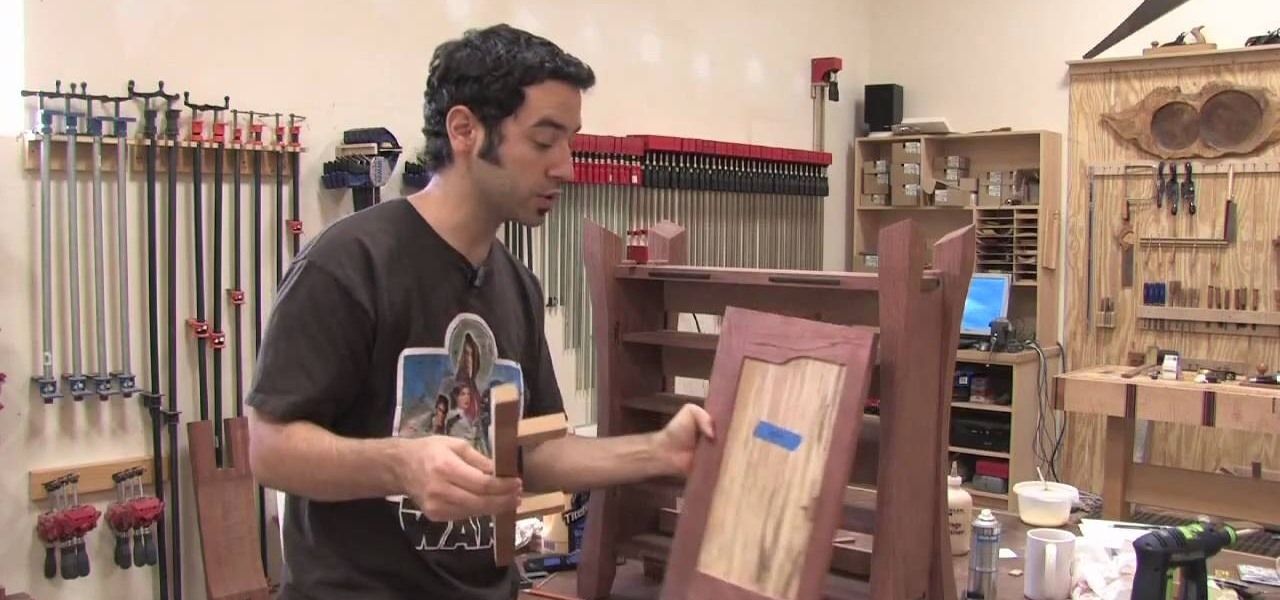
The Wood Whisperer demonstrates how we can install hinges on a cabinet without a tape measure, using relative dimensioning. In this example, we use center lines instead of marking the top and bottom of each piece that needs to line up. Using shims at the bottom and top of the door, we center the door on the cabinet to the desired spot. At this point, it's as simple as marking the center lines where you want your hinges to go on both the door and the cabinet frame. Now we can simply attach our...

This video demonstrates how to make a hexagon from a square paper. Fold a square paper into half horizontally. Fold this rectangle into half again forming a square one-quarter of the original size. Fold the open edge towards the center fold on either side forming a crease. Take the closed corner and fold towards the center crease. Open the center fold and fold it inwards. Fold the corner towards the diagonal edge on both sides, this forms a cone like structure with a paper edge at three-quart...

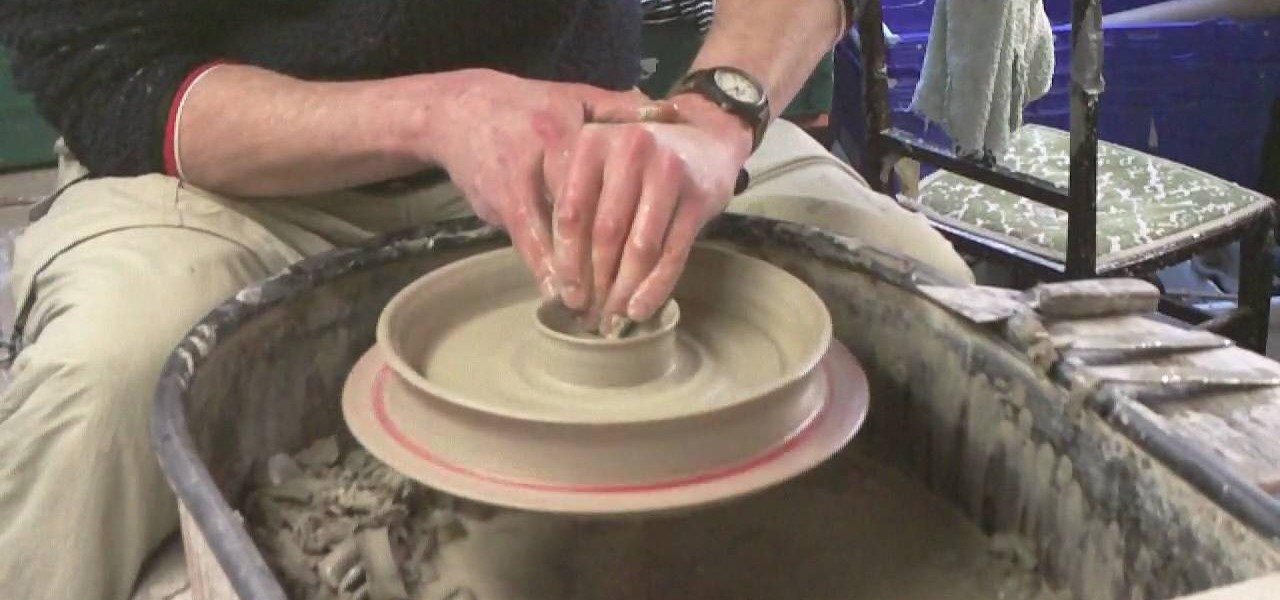
Ingelton Pottery demonstrates how to throw a chip and dip pottery plate. First, well a ball of clay and put it on a pottery wheel. Use your hands and ample amounts of water to depress the sides of the clay forming an indented rim with a raised center. Use your thumb to define the center hub. Create a thin side to the plate. Wet your hands and press down on the center hub, creating a depression. The plate should now have a two bowls with one sitting inside of the other one. Use a blade to scra...

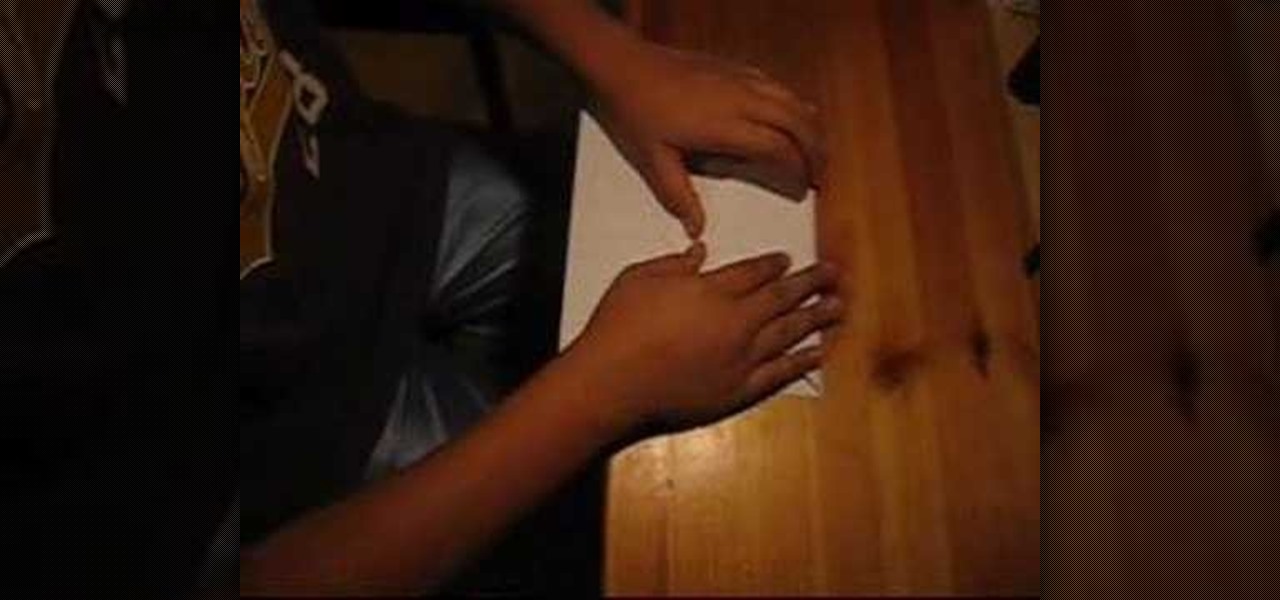
Follow this video to learn how to make your own paper airplane that can really fly. Acquire a sheet of A4 paper and fold it in half. Afterwards fold two of the edges towards the center line set out when folding. These should be folded in the form of two triangles. After doing so fold them downwards, towards the center line lower down. Fold another two triangles towards the center, one from each side. At this point a small edge will be formed at the tip of the two folds. Simply fold it upwards...

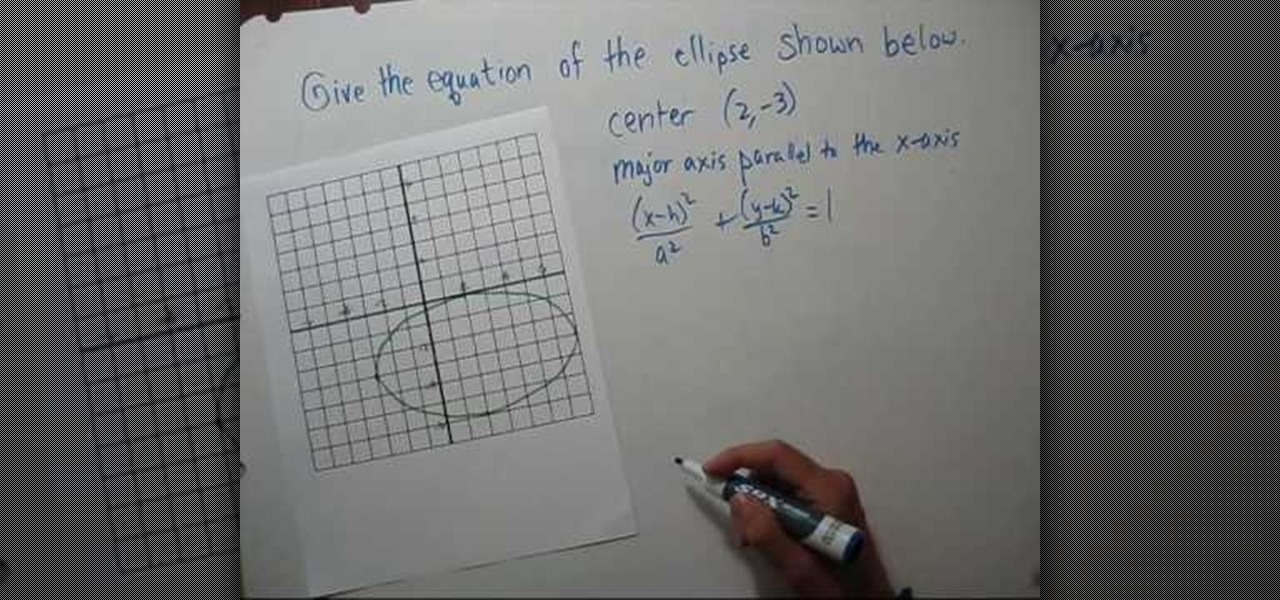
Notes College Algebra teaches you how to find the equation of an ellipse given a graph. You first want to find out the center of the ellipse, which in the video is (2, -3). The major axis is parallel to the X axis. The equation is (x - h) squared/a squared plus (y - k) squared/a squared equals 1. A is the distance from the center to either of the vertices, which is 5 over here. B is the distance from the center to the top or bottom of the ellipse, which is 3. You then use these values to find...

This video give you a step by step in how to cut your mango cheeks, and owszat shows you how to do it. Using careful tactics on the mango, you can see a slight edge. Where you distinguish your mango's center point is where you will be cutting from. Tear off your stem to have a flat relying surface. Cutting about five millimeters from the center point on each side, making one slice that releases your cheek, and doing the same for the other side leaves you with two mango cheeks and the center p...

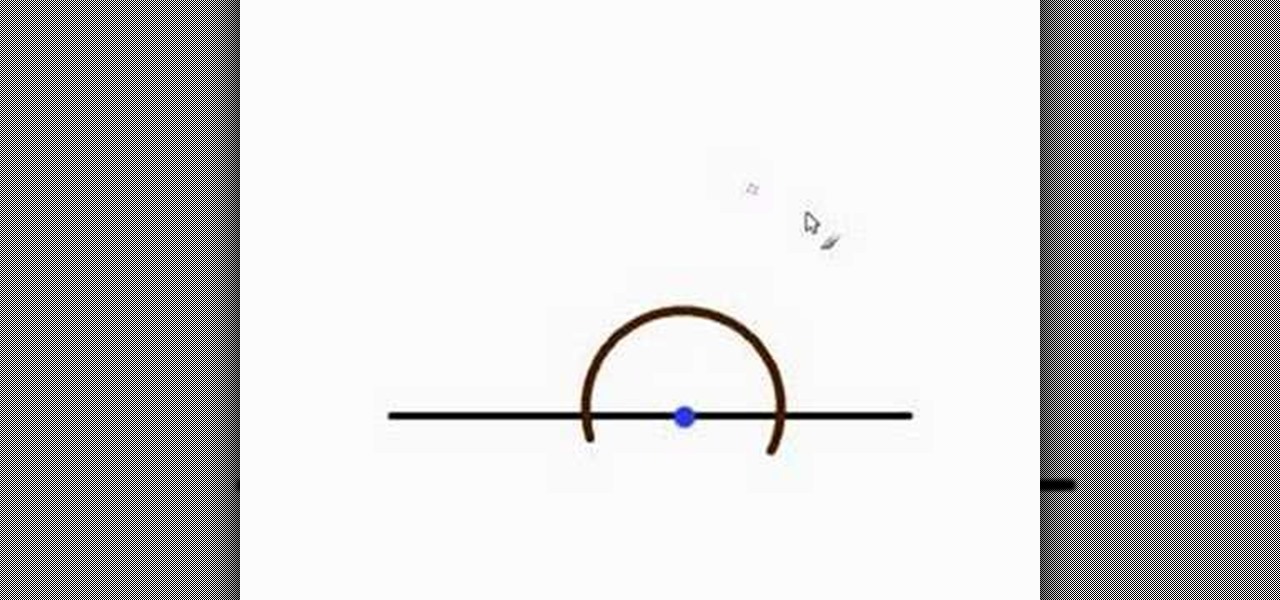
For people who are learning how to do basic geometry, this video will show you how to draw a perpendicular line from a point on a line using only a compass and pencil. You should first take your compass and place it on the center of the point on the line, drawing an even semicircle around the point. Then, finding the points where the semicircle intersects your original line, place the center of your compass on this point and then draw some arcs over where your point is. Repeat this on both si...

A TFU was set up to review Navy service uniforms. This uniform is approved for E6 and below. It will replace the summer white and winter blue uniforms. This is how the female uniform should be worn.

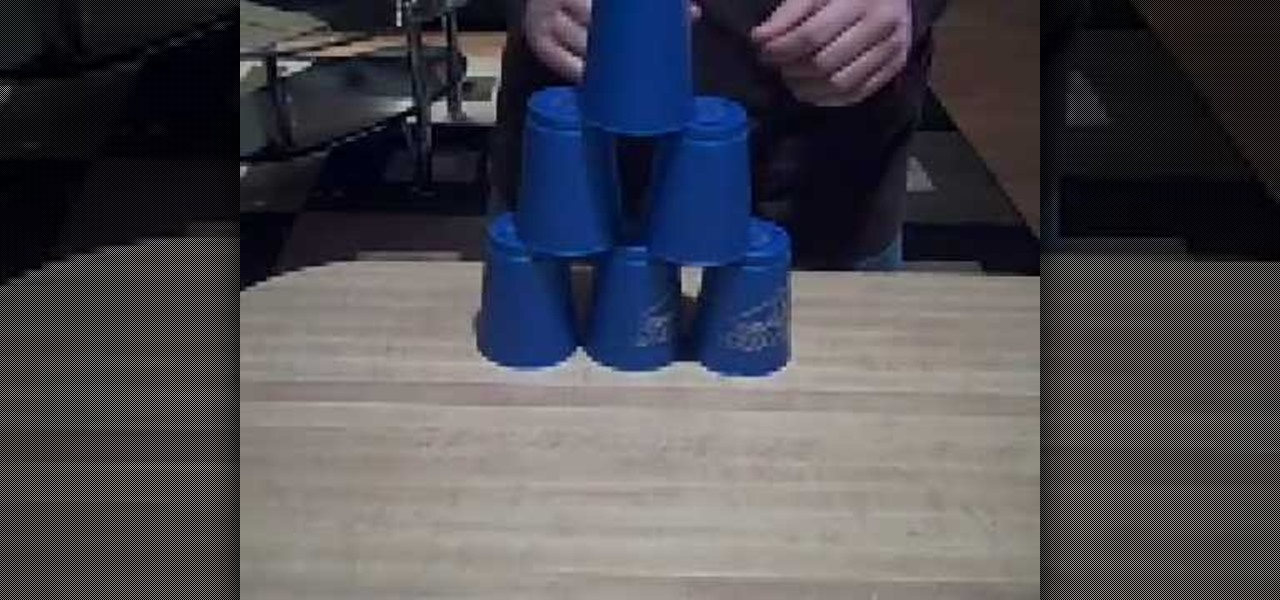
The video shows you how to do the 3-6-3 cup stack. Beginning with a stack of six cups, create a pyramid using the cups. To begin, have two cups in the right hand and three in the left, and one in the center on the table. Stack one cup from each hand on each side of the center cup and then stack one cup from each hand in between each cup so that they are on the second level of the pyramid. Stack the last remaining cup in hand on the top level of the pyramid. To take down the stack, simultaneou...

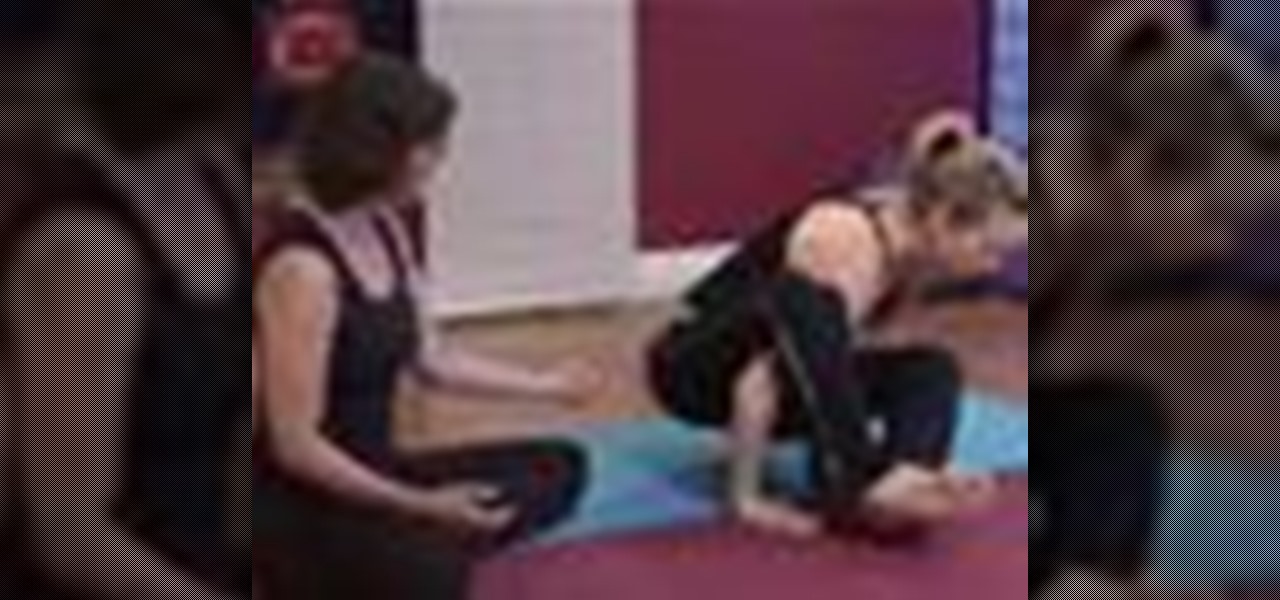
The Extended Side Arm Pose engages the core muscles and improves balance. Learn a new yoga pose in this video yoga lesson. Take action: let go of fear, engage core, find counter balance, use belly lock, and breathe and center. Cindy Mastry, the instructor of this how-to video, has practiced yoga since the age of eight, and also has a background in Jazz and Ballet. Active in the fitness industry for nearly twenty years, she teaches aerobics, kickboxing, and yoga at many fitness centers in the ...

Learn how to do stability ball center and oblique situps. Presented by Real Jock Gay Fitness Health & Life.

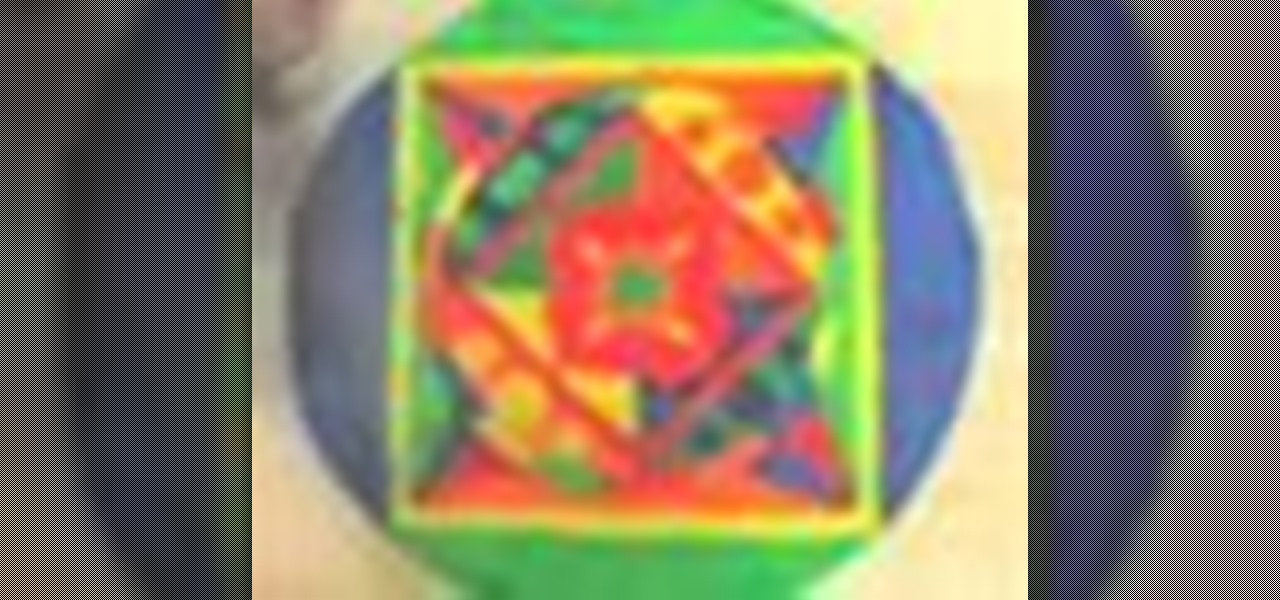
A Mandala is a sacred part of meditation. Instead of searching everywhere to purchase one, this tutorial will show you how to make your own, and feel spiritually closer to your creation.

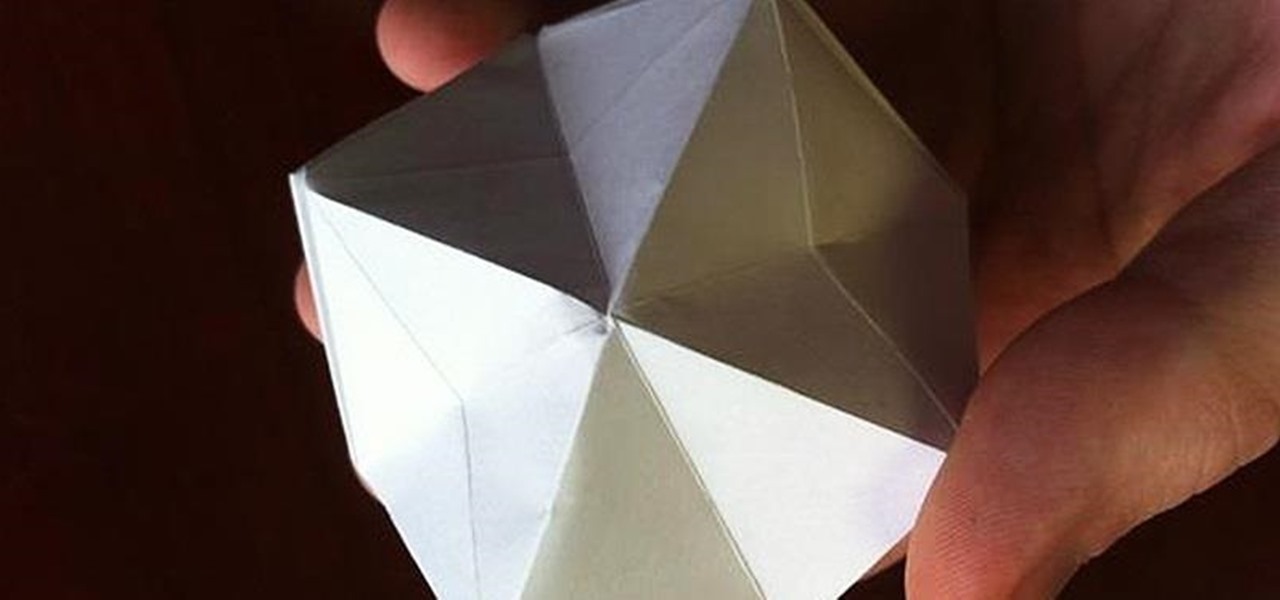
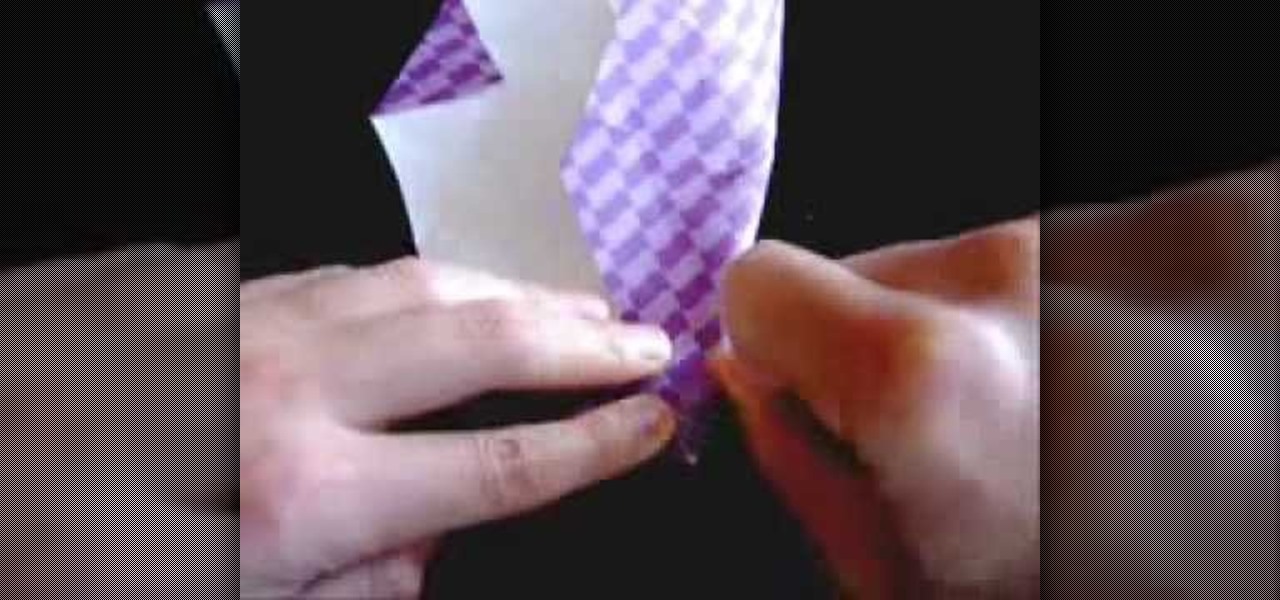
One of the most popular and basic origami geometric shapes is the "water bomb," which is a simple inflated cube. With a few extra folds and only a minor shift in approach, a more complex geometric shape can be achieved.

Fold paper in 1/2. Fold in half again into a square. Fold in half again, & again into a square about 1/16 of original size. Unfold paper. Fold marks divide paper into 16 small squares. Make 2 diagonal folds in each direction to form a big X in paper. Position paper with inside of folds facing you; fold paper in 1/2 again to form a rectangle. Using previous fold lines, fold lower 1/2 of paper in 1/2. This fold covers 1/3 of remaining visible paper. Grasp center where folds meet. Create 4 ridge...

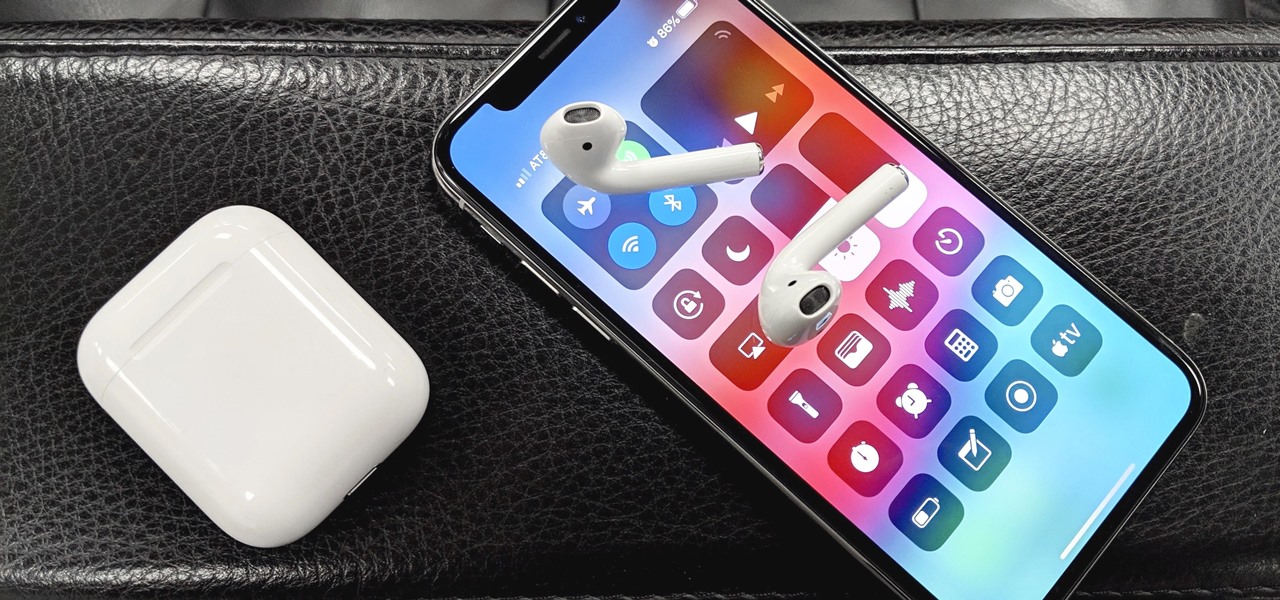
If you're an Apple fan, AirPods are the must-have wireless headphones to own. They know when they're in your ears, will pause music when one is taken out, and when you pair them with your iPhone they'll already work on your Mac, iPad, and iPod touch using the same Apple ID. However, whenever you use them on any other device, you have to manually reconnect them later to your iPhone.

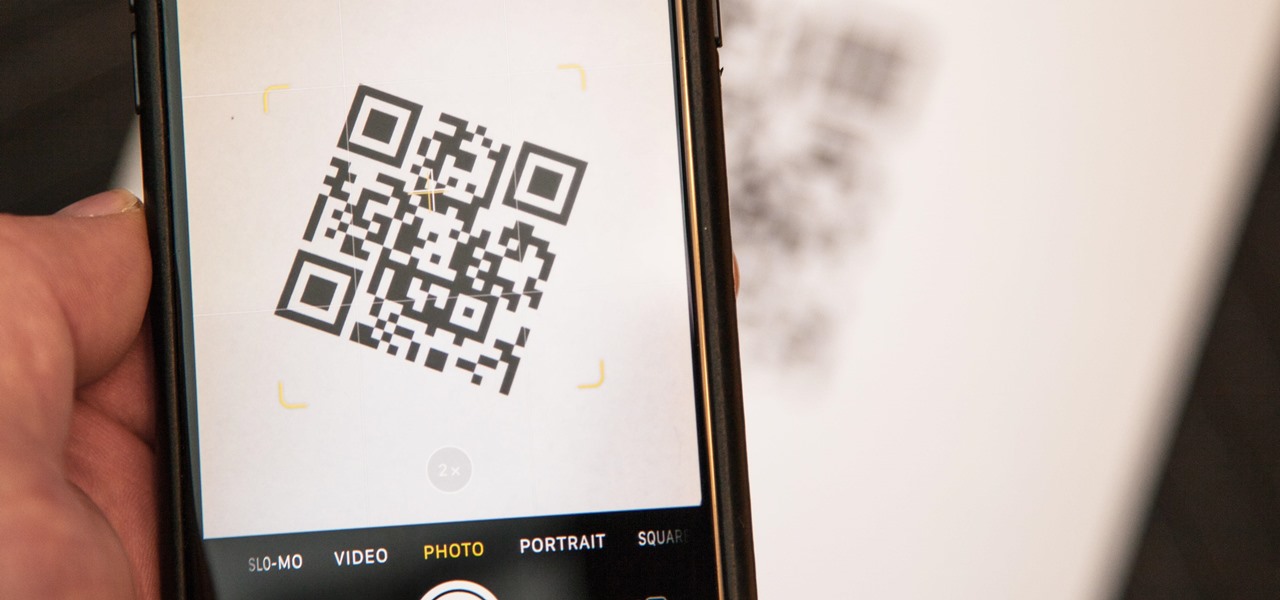
Starting in iOS 11, Apple introduced a QR code scanner for iPhone that's baked right into the Camera app, reducing the need for a third-party scanner. However, not everyone knew it existed, so a lot of users were still using third-party QR code scanners. In iOS 12 and later, Apple addressed the issue, making theirs much more visible, as well as improved QR code scanning in general.

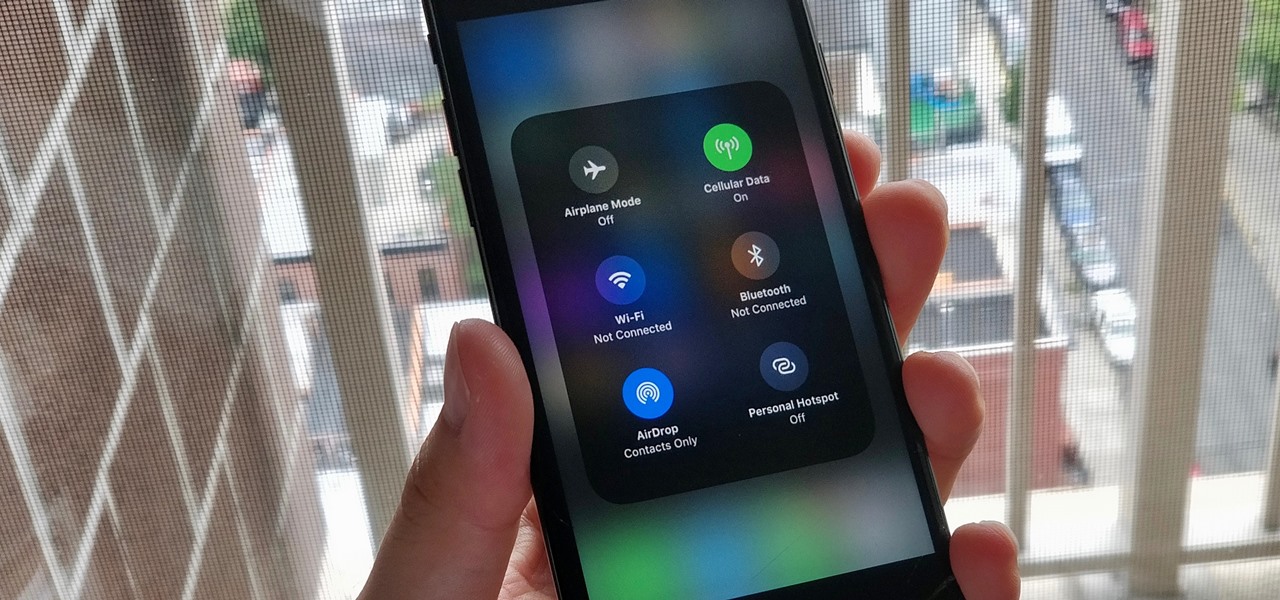
Apple took a giant step forward in terms of user customization with the new Control Center in iOS 11. With an improved design, buttons you can pick and choose from, and even a new default Cellular Data toggle, it's definitely a better iPhone experience. However, Apple also took a giant step backward with the confusing Bluetooth and Wi-Fi toggles.

It was extremely simple in iOS 10 to switch your iPhone's display to warmer colors at night, but iOS 11 buried the "Night Shift" toggle for some reason. So don't beat yourself up if you couldn't find the setting right away.

You can check stock quotes, make quick calculations, see the weather forecast, get reminders, and view upcoming calendar events all from the Notification Center on your Mac. But if that's all your using it for, you're just barely scratching the surface.

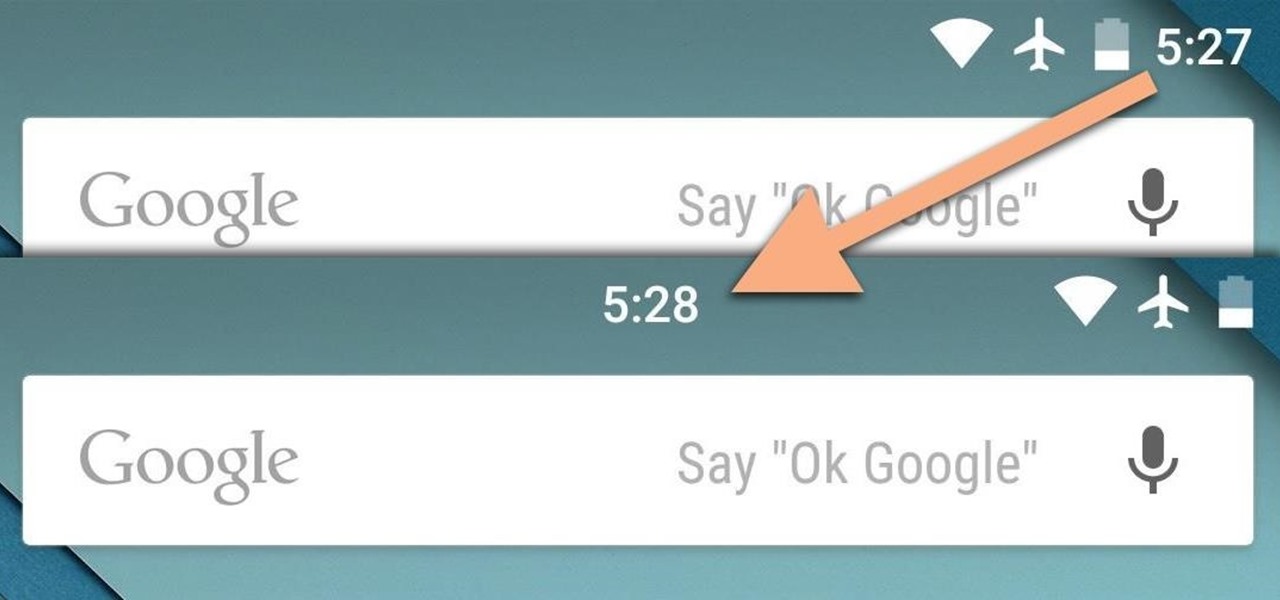
If you're like me, things just seem to look better when they're symmetrical. While Android's status bar icons are indeed weighted against the notifications that show up on the left side of this area, the balance still seems skewed to the right.


