In this tutorial, we learn how to carve a turkey. After your turkey has came out of the oven and sat out for around 10 minutes, grab your sharp knife. When you are carving this, you want to carve around the bones so you are getting the most meat off of the bird. Start off by removing the thighs from the turkey and cutting it in half. After both of these are off, but the wings off of the turkey and set on a serving plate. From here, you will use the knife to cut the middle of the turkey and pr...
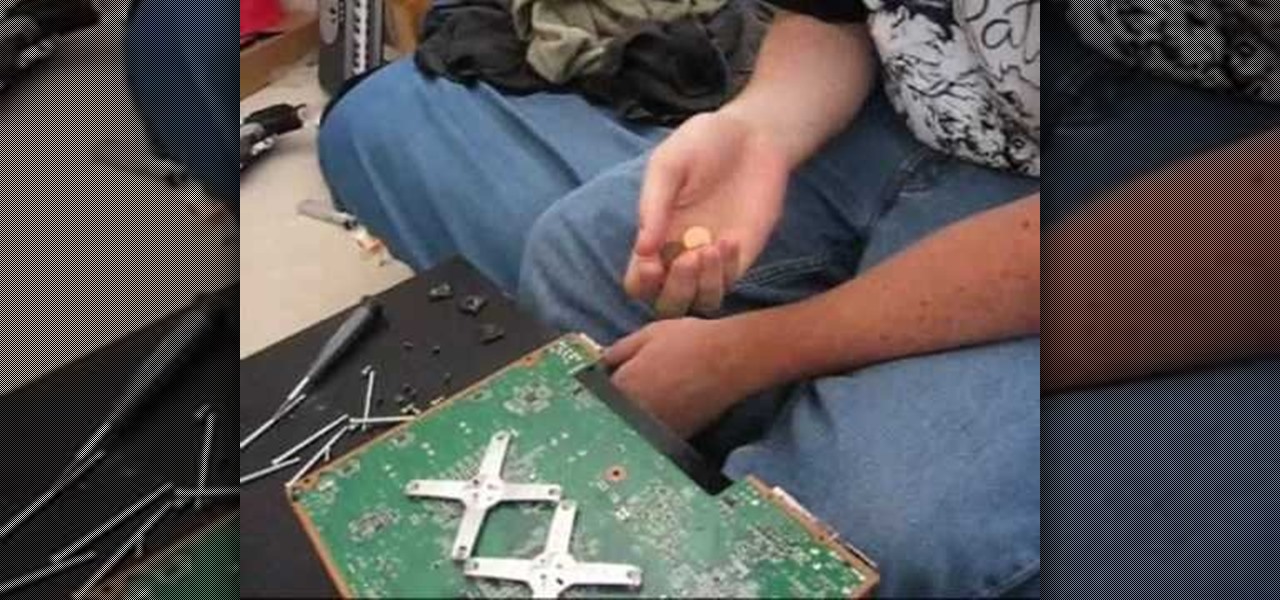
In this video, we learn how to fix the red ring problem on your Xbox 360 with pennies. First, unplug your console and then remove the casing around the insides. Make sure to set your screws aside by each side so you know where you place them. Once you have this opened, find the bottom area where there are four soft squares on the bottom. Grab eight pennies and place down two on each of the squares using glue. Stick electrical tape on the top of this, then clamp the side back on. When it's on ...

In this tutorial, we learn how to tie a scarf from Lucky Magazine. The first way to fold a square is to fold it into a triangle, then fold it down until you are left with the bottom. Put it around your neck, then knot it and tuck the knot into the neck area. The second way to tie a scarf is to take a long one and place it behind the neck. Then, wrap it all the way around and tie it in the back. Now your neck will be completely covered with no chance of chills. These are both great ways to tie...

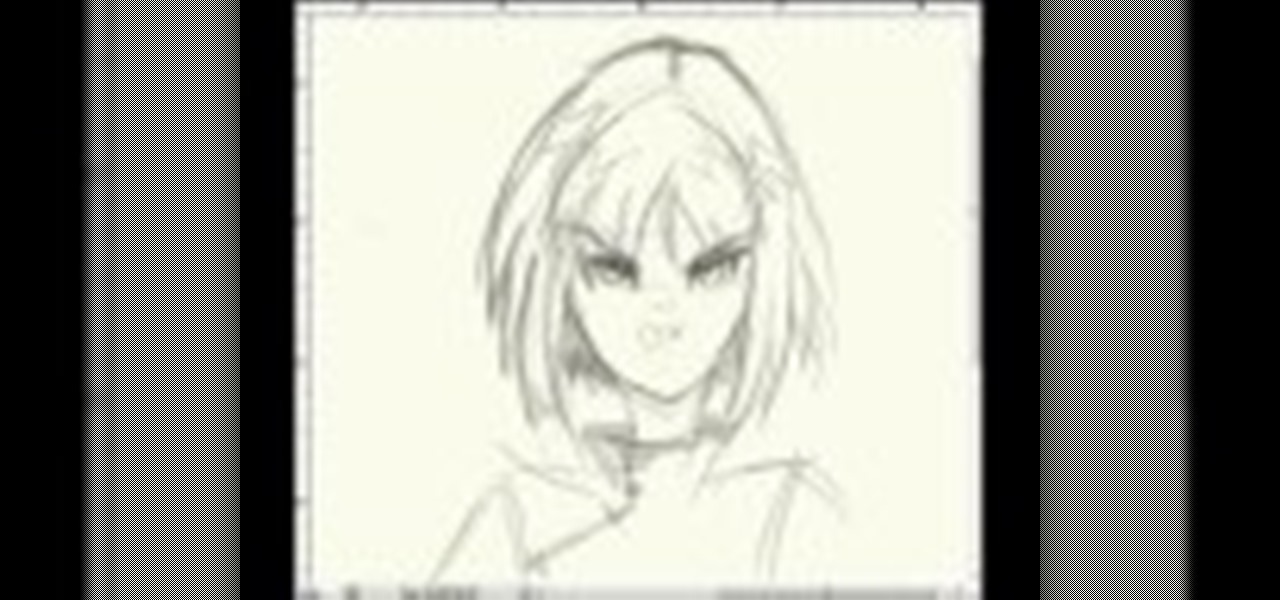
In this tutorial, we learn how to draw Tenten. To start this character, draw a light circle along with lines in the middle for reference points. Use a bolder line to draw the chin and then the eyes, nose, and mouth. also make sure to draw in slight eyelashes and eyebrows above the eyes. After this, draw a line around the head and erase the background lines. Draw ears on the top and then start to fill in the hair for the bangs on the front of the face. Finish this off with a headbands, then dr...

In this tutorial, we learn how to make rock candy with ease. First, add 2 cups of pure sugar to boiling water. After this, stir in flavoring and food coloring then stir the mixture until it's thick. After this, remove from heat and let it cool. Then, pour in cooled water to the mixture and dip a skewer into the mixture, then roll around in sugar and place back into the jar using a paperclip to hold it on the top. You should see rock candy form in around 2-3 hours. Let the skewer sit for longe...
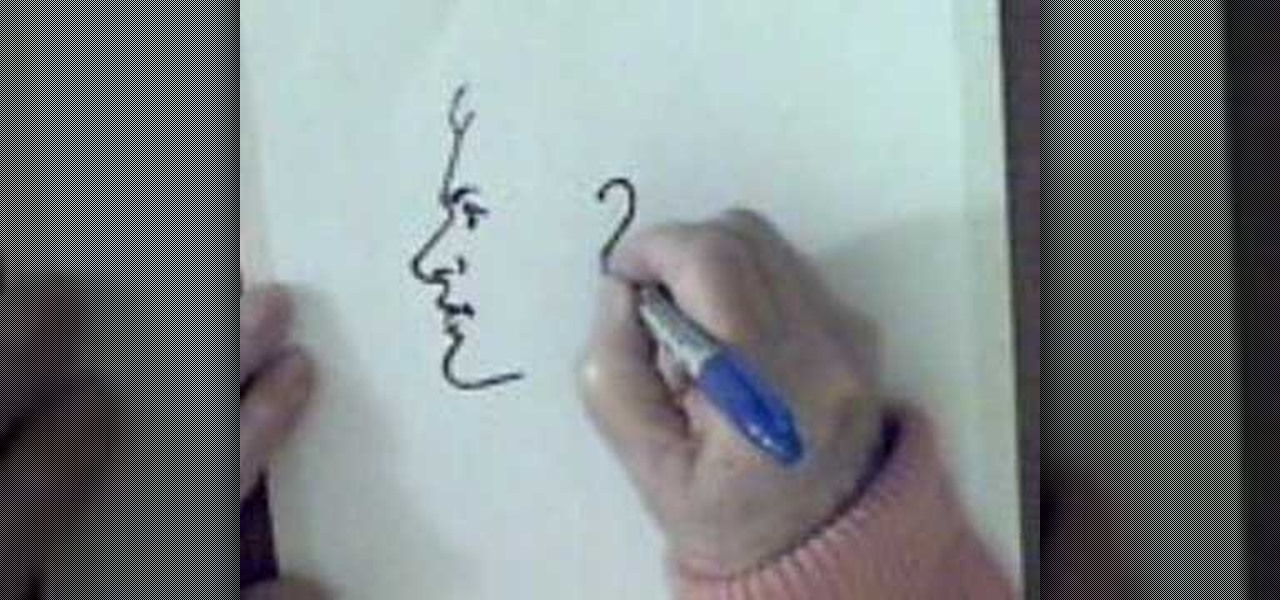
In this video, we learn how to draw a man's face in profile. With a Sharpie marker, first draw the bump to show the forehead of the face, then the bump for the nose. After this, draw the upper lip, then the bottom lip. Draw in a crease around the mouth the make the shape of the lips. After this, draw in the chin to the specifications you would like. After this, draw in the detail of the eye and the eyebrow around the area of the forehead. Next, draw in the nostril of the nose and then a creas...

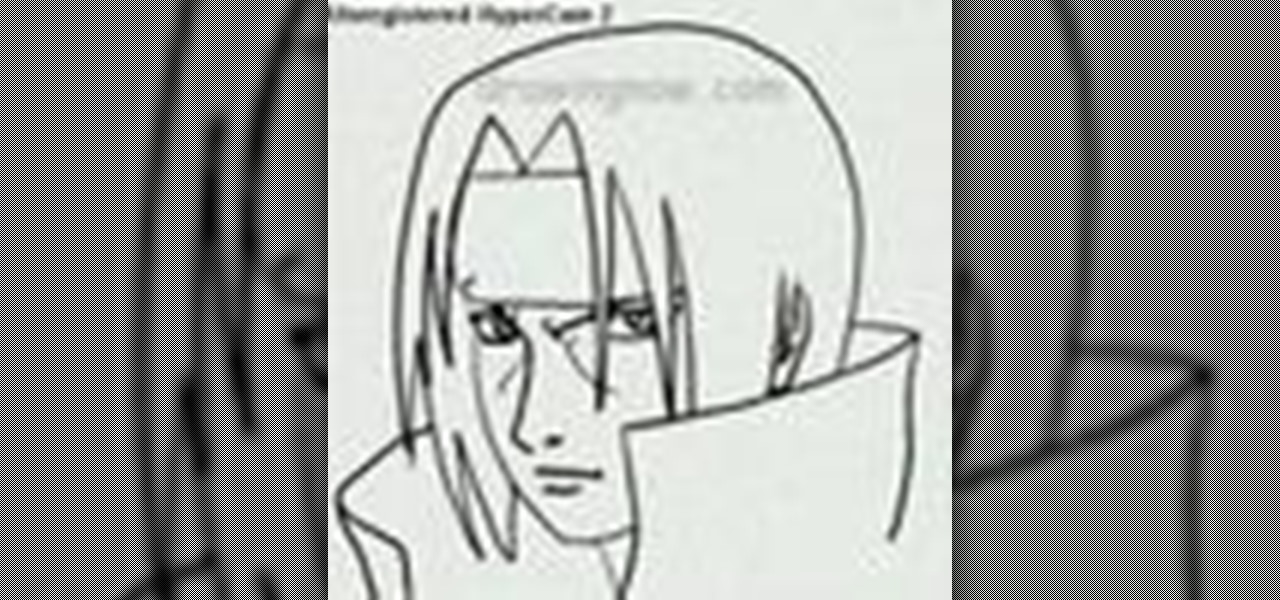
In this tutorial, we learn how to draw Itachi. First, draw your reference lines on the head so you know where to place the features of the face. Draw in the eyes, adjusting them so they are more towards the left of the face than the right. After this, draw in the bridge of the nose and the nose, as well as features of the cheeks. Next, draw in the nostrils and the mouth, as well as eyebrows and creases around the eyes. After this, draw in ears on the side of the head, then start to draw in th...

In this video, we learn how to draw Rukia. Start out by drawing a circle with a triangle shape at the bottom. Then, draw reference lines in the face to measure where the features of the face are going to be. After this, start to draw in the details of the face. Draw the eyes, mouth, nose, eyebrows, and any other details you need. Make sure the eyes match the original character and leave white for the pupils to show. Draw in the hair to finish up the drawing, making sure to draw the eyebrows a...

In this tutorial, we learn how to draw manga facial expressions. To draw an angry face, you will draw a circle for the head with a point for the chin. Then, you will draw in a slight frown for the mouth and half circles for the eyes. Then, draw in slanted eyebrows above the eyes to make the character look angry. Add in highlights around the face to make the expression larger. Then, add in lines around the face to show it being crunched up and the person being angry. You can also make the mout...

In this video, we learn how to draw Toad. Start out drawing toad with the out line of the body. Make sure to incorporate the mushroom helmet on top of the head. After you have the basic outline finished, draw on the features of the outfit. Include the pants and the scarf around the neck. Also, add on the features of the face and darken up the eyes. Next, draw in half circles on the mushroom helmet and then shade around the character to make it look 3D. Practice drawing this to perfect the cha...

In this tutorial, we learn how to understand sparring in boxing. A good technique is what you need when you are sparring. If you're a beginner, make sure someone with a little more experience is watching you and giving you tips. Sparring needs to be a controlled fight and can help you fight better when you are in a full on fight. When you are sparring, you will be in a controlled area and have experts around you, start out with the other person around you and take shots at the person to try t...

In this tutorial, we learn how to draw Marik Ishtar. Start with the outline of the head (in a circle shape) and draw the reference lines around the front of the face. After this, draw in darker lines around the features of the face and start to add in details throughout the entire head. Draw in hair, a nose, eyes, ears, and everything else. Once you have finished with this, draw in the neck of the character and then the shoulders. After this, finish the hair off on the back of the had, then a...

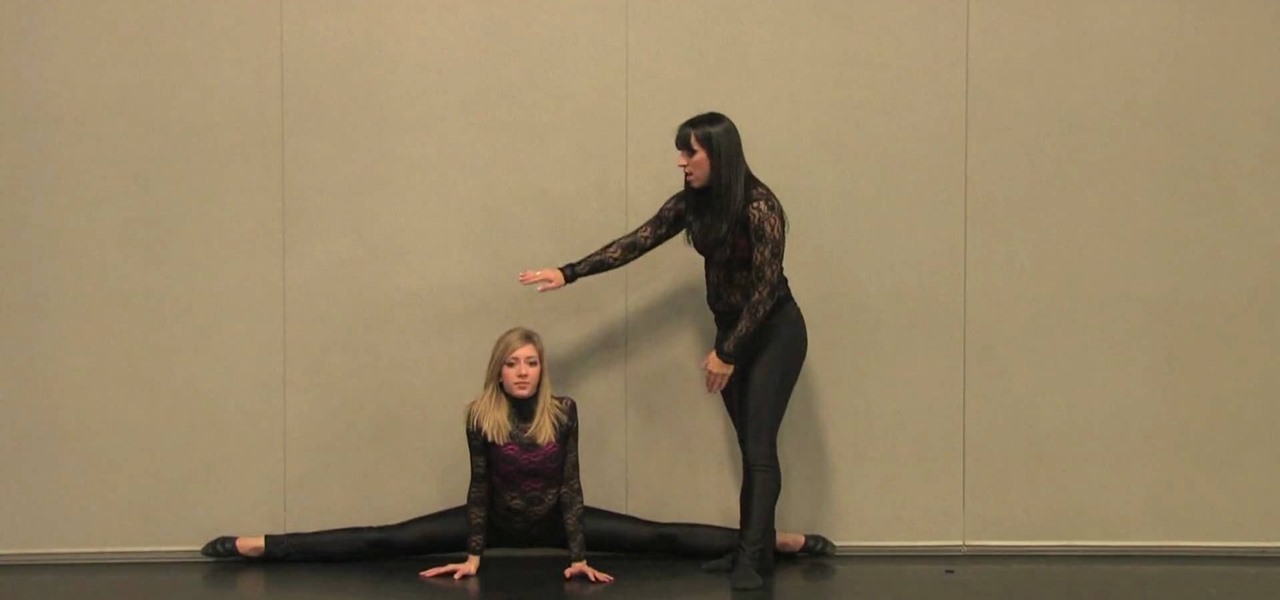
In this tutorial, we learn how to use a wall to do split stretches. Start out against a wall that has nothing around it so you can easily stretch with it. After this, face the wall and then lay on your back. Bring your legs up to the wall, then bring them out to the sides as far as you can for around 30 seconds. If someone else is with you, you can have them push on the inside of your legs to create a greater stretching effect. After this, flip onto your stomach, then slide down onto the legs...

In this tutorial, we learn how to draw Death the Kid from Soul Eater. First, you will need to draw in circles around the body where the joints would go. After you do this, draw the outline of the body around the joint markers. Next, you will start to draw in the arms for the character and add in the full detail of the arms and machinery. Next, use a darker line to create the details in the body and the outline as well. When finished, you will need to add in the details of the face as well as ...

In this tutorial, we learn how to make a toga in less than five minutes. First, you will need 6 yards of fabric and about 4 safety pins. Once you have these, you will be able to make your toga. Wrap the fabric around your body tightly, then take a safety pin and pin it to your shirt that you're wearing so you know where to sew it at. After this, bring the last portion of the cloth up and around your shoulder. Once you have done this, you will have a cute toga! You can take this off and sew it...

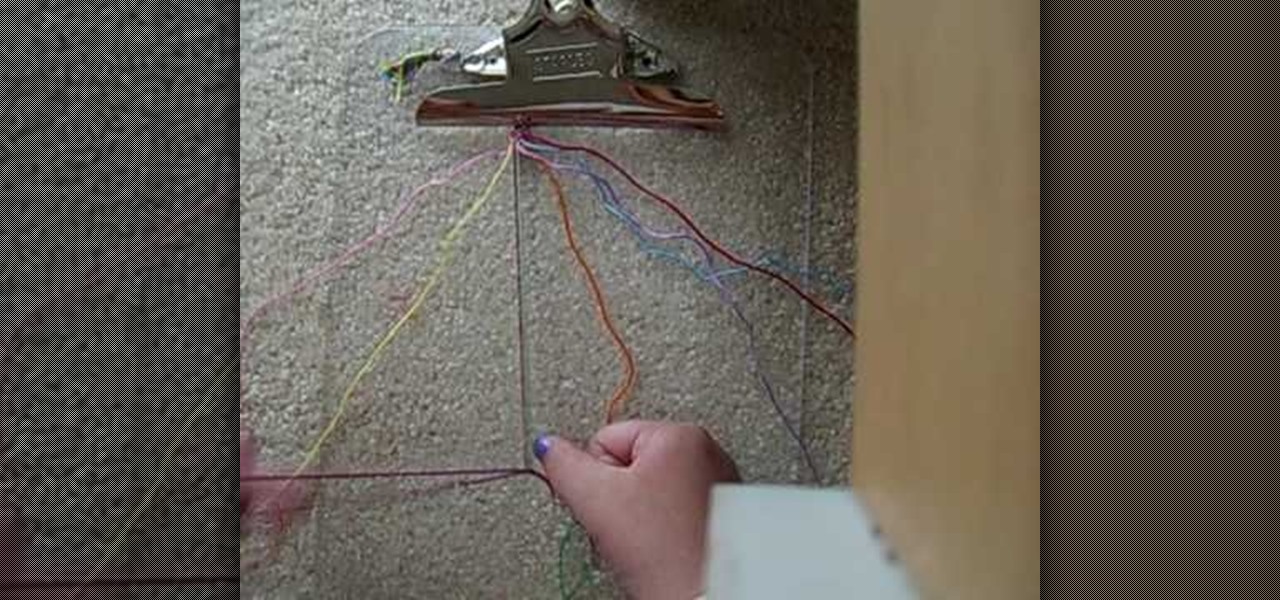
In this tutorial, we learn how to make friendship bracelets: the rag rug. First, grab eight different colors and arrange them all spaced out. Clip them to a clipboard at the top, then take your first strand and make a knot around your second strand twice. From here, you will take your third strand and tie it around your fourth strand. Continue to do this until you reach the rest of the colors that you have twice. Next, take the seventh and sixth strand and make a backwards knot. Then, do the ...

In this video, we learn how to protect the ball while in the box. If the ball is directly in front of your body, it puts it in a position where it can be moved by the defender. The box is an imaginary line just under your chin that goes just under your thigh and from the length of your torso. The ball should be on the top corner of the box when you shoot, where you can cross is around your face before you put it down. You can also sway it around your knees if you are ready to take off on a dr...

In this tutorial, we learn how to slip stream while cycling. The normal air flow around a single cyclist is broken at the front, then circles around the person and goes back to normal behind the person. While slip streaming behind another cyclist, your effort can be reduced up to 30%. To get the full effect, you will need to follow the other person very closely. You must be very careful and make sure you never hit their wheel. If there is a side wind, set to the side of the person by you so y...

In this video, we learn how to cook stir fried prawns with curry powder and eggs. You will need: fresh prawns peeled and deveined, ginger, garlic, black pepper paste, curry powder, white sugar, spring onions, onions, red chilies, two fresh eggs, roasted chili paste, chili paste oil, soy sauce, and oyster sauce. First, crack two eggs in a bowl, then add in the soy sauce, curry powder, sugar, oyster sauce, milk, and red chili paste. Beat this together, then heat up a wok on medium heat and add ...

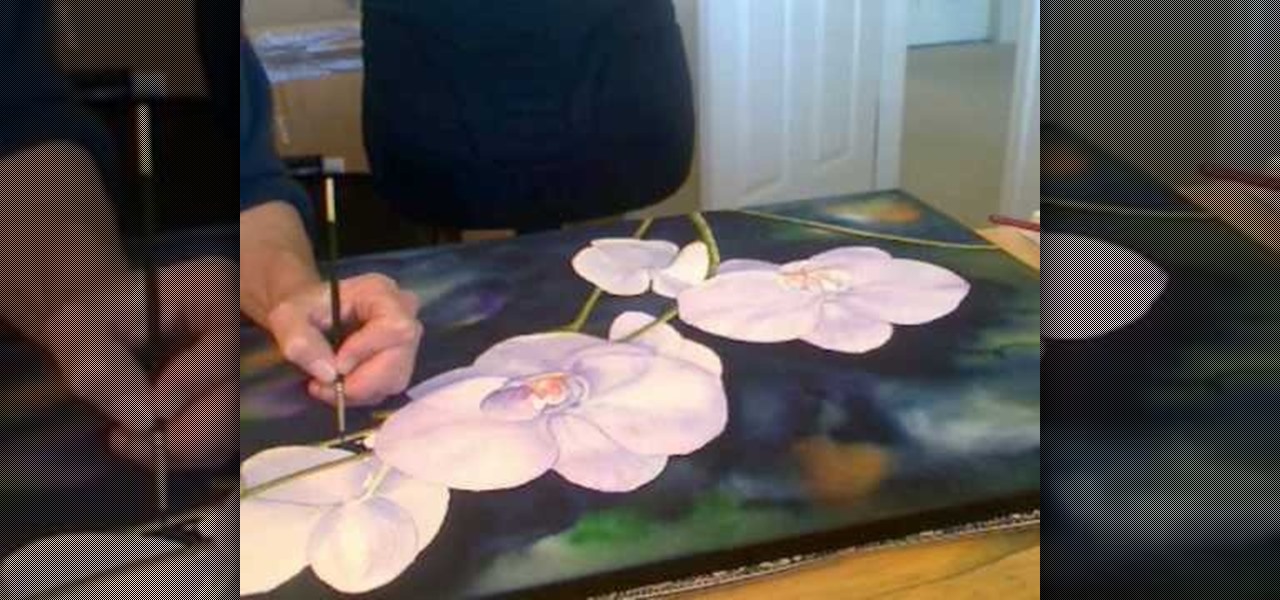
In this video, we learn how to pain orchid flowers with watercolor paints. Start out by using a light lilac color on the petals. Use a thin brush to push the colors around on the picture so you have slight shading around the different petals. Use a darker purple color in the middle of the flower. Then, use a yellow color in the very middle. Add in a green leaf and stem on the bottom of the flower. Use a paper towel to smudge any excess moisture or water off of the flower to make it more prist...

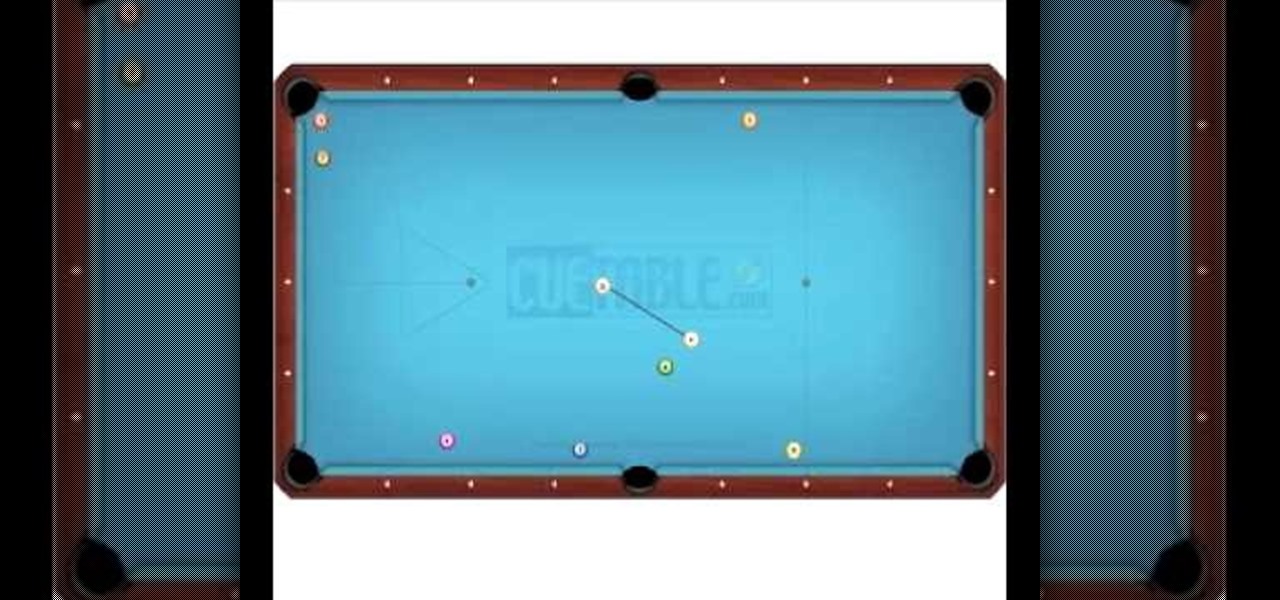
In this video, we learn how to push in pool. The push shot was designed to reduce the impact of the element of chance while playing pool. It's about creating a higher percentage shot or safety. The object is to turn a certain loss into a coin toss. Observe your opponent and be honest about yourself while you are playing. Practice playing a game by yourself with balls on the edge of the different sides of the pool table. As you shoot into the different pockets, avoid hitting the other balls th...

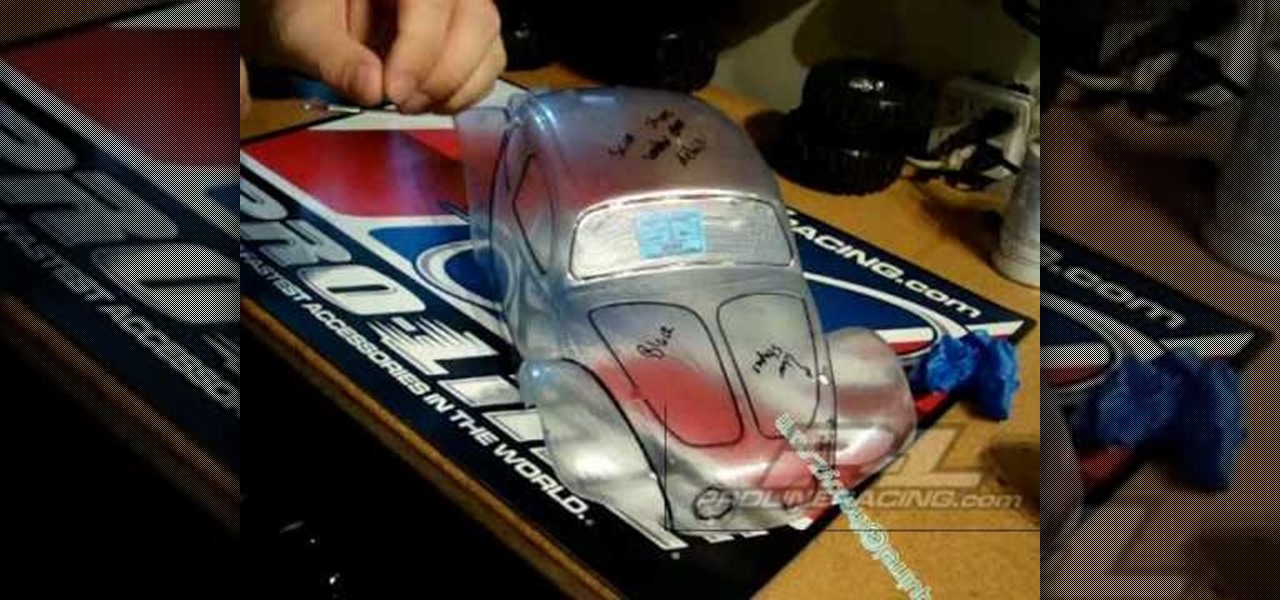
In this video, we learn how to apply stripes and add lines to RV cars. You can do curved lines or straight lines, depending on the look you want. For straight lines, you will take tape and mark from the hood to where you want the tape to end. Use different sizes to create the look you want to achieve. To get the lines straight, place the tape on a straight surface as a guide with the clear top that goes over the vehicle. Once you do this, you can paint around this to form opposite colors. The...

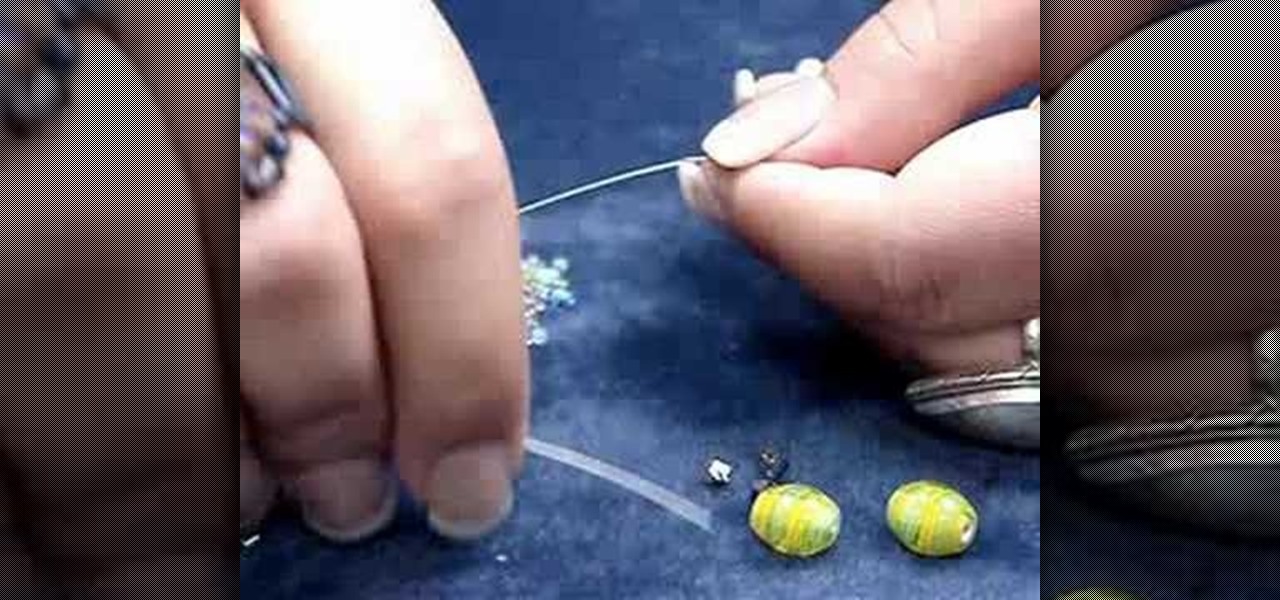
In this tutorial, we learn how to make a beaded bookmark or "book thong". First, take a wire and add on a small horse shoe shaped bead. After you do this, use pliers to help bend the wire around this pin to keep it in place. Next, add on a peace sign pendant, then tie the wire around and push the wire into a cylinder bead. Continue to add on more beads to the wire until you reach the end. Use different types of bead to make it more unique and completely your own design. To finish, apply a cla...

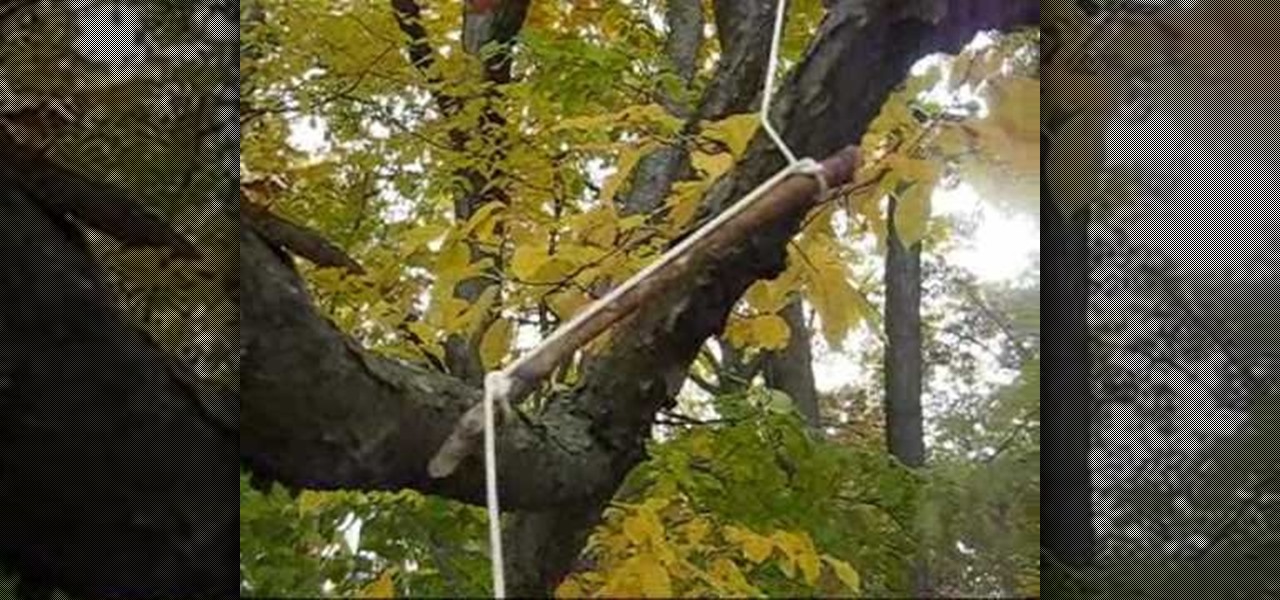
In this tutorial, we learn how to rig a counter weight trap. This is great as a fishing trap but can be rigged to be used as a tree trap. First, you will need to take a rock and wrap around it to create a counter weight. After this, bring the rope high over a branch, then down onto a lower branch. From here, wrap the rope around the trap and leave the rest of the string hanging. Now, the rock should be hanging high in the air and there should be a stick tied to the bottom of the rope to keep ...

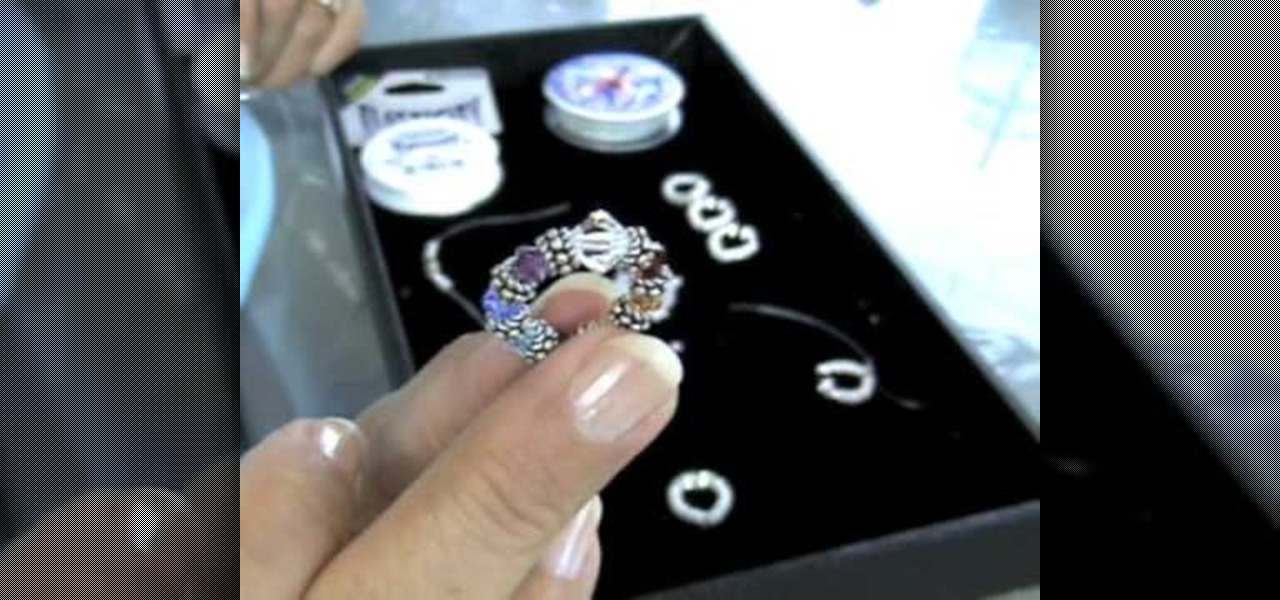
In this tutorial, we learn how to make an elastic Bali bead & crystal ring. First, you need to get all of your supplies together, which include: elastic cord, crystals, glue, beads, and scissors. Start by cutting a 6 inch piece of the elastic cord, then string a bead to the middle of it. Then take a crystal and string it onto one side along with another bead and a silver bead. After this, place more beads around the other side of the middle bead then put it around your finger to see if it's t...

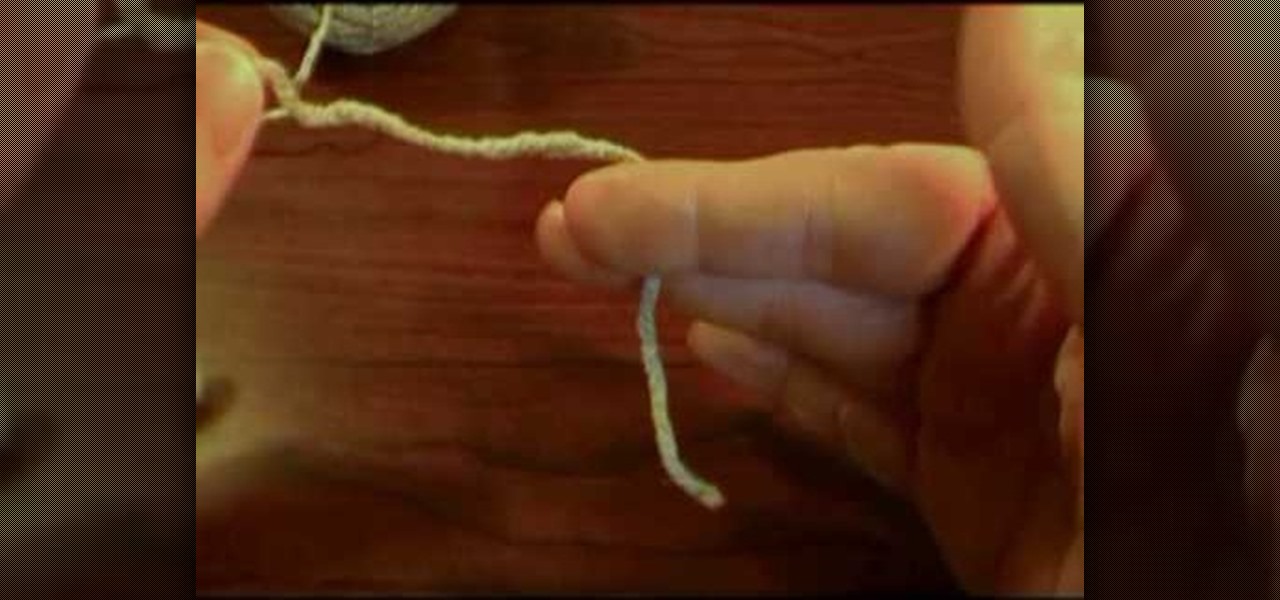
In this video, we learn how to hold a hook and yarn in crochet. First, grab your hook at the thumb grip. Then, practice how you like to hold your hook so it feels most comfortable with your hand. After this, grab your yarn and wrap it around the hook, placing tension in the string. To do this, wrap it around your pinkie then your pointer. Then, hold in between the thumb and middle finger. After this, you will be able to place the hook in the yarn easily to start out your stitch. After this, s...

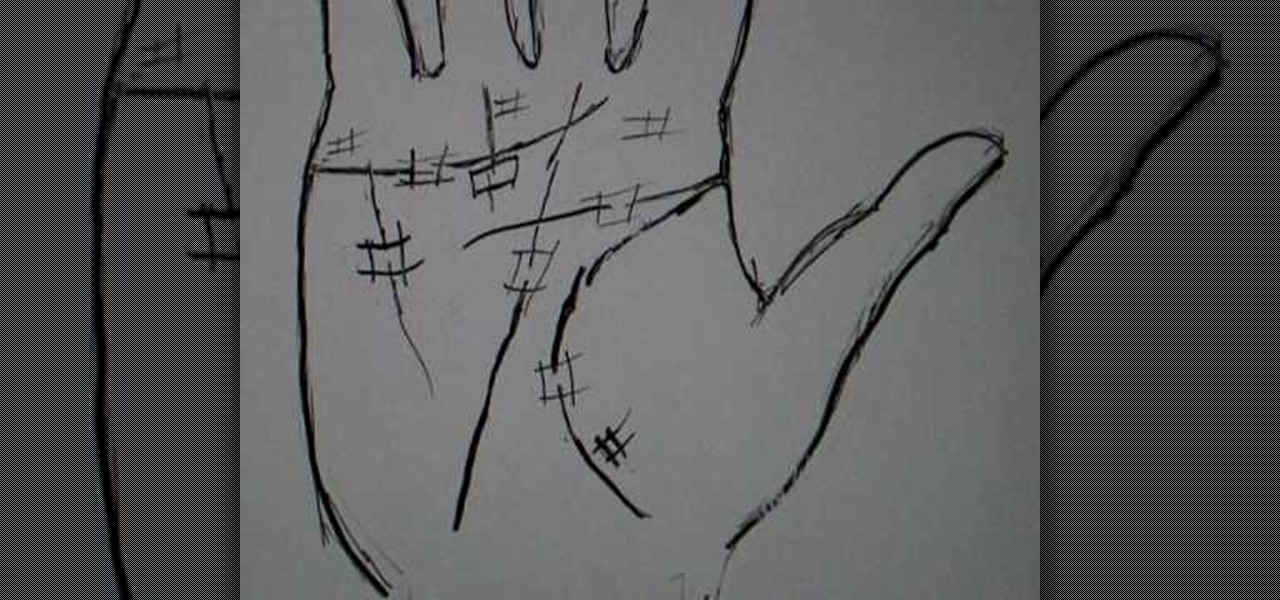
Peter John teaches us how to palm read: The squares on the palm in this tutorial, Squares come in all sizes all around the palm of the hand. If they come on the lifeline, this will mean that a person has a certain amount of protection in their life. If they have boxes that are overlapping, this will mean that a person is going to have a change in their life but they are going to be okay throughout it. The square is like the protection that surrounds the events that are going to happen in the ...

Giant Steps is quite popular for being an incredibly difficult song to play seeing as it's a string of II, V, I chord changes in three different keys, among other changes that are inherent in the song. Thanks for making our lives more difficult Coltrane! If you're having trouble making your way around the neck and improvising this video can help! He talks about similar tonalities out of each chord change and scale connection between different keys. Just be careful because the audio goes out o...

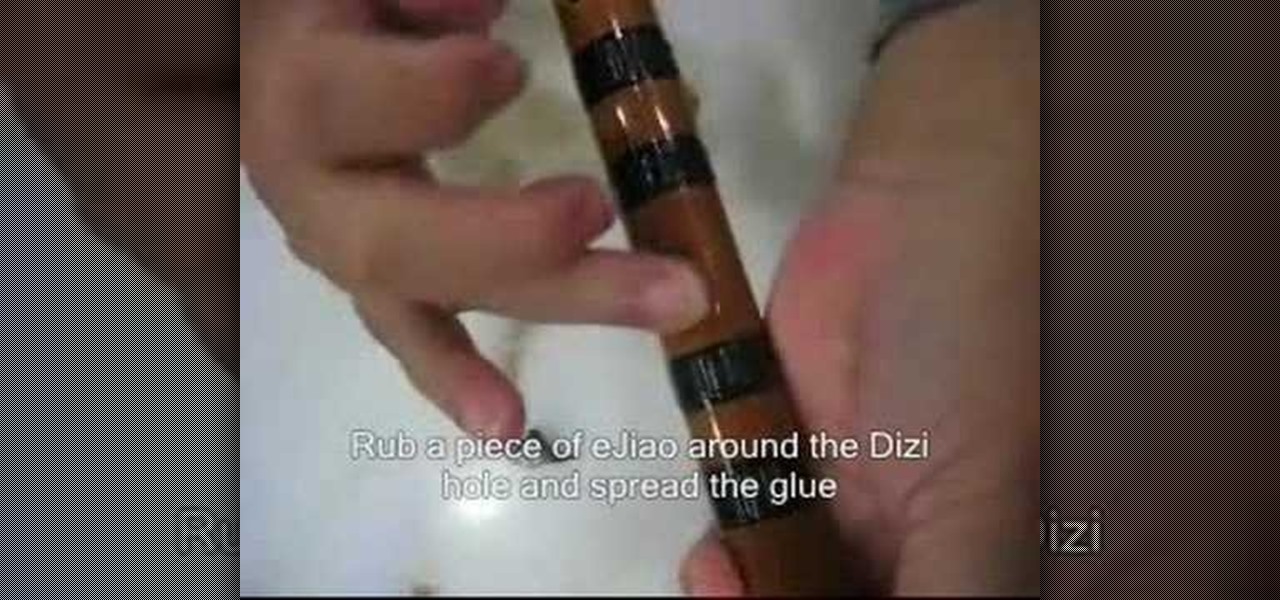
In this video, we learn how to fix dimo flute membrane. First, slice open a tube of dimo and cut a piece big enough to cover the dizi hole. Next, crumple and crease the dimo for better sound. Now, wet the area around the dizi hole with water and rub a piece of Jiao around the dizi hole. After this, spread with glue and paste the dimo over the hole making little creases that run perpendicular to the dizi hole. After this, try it out and see how your dizi sounds, if it sounds dull, press lightl...

In this video, we learn how to play blues guitar: a sliding 9th chord. First, play a G9 chord, where you will here all of the chords around it as you play. You can slide this chord around one or two frets to hear different sounds come from it. It's a great vehicle to slide up and down. You can also use the fifth string to go up and down, which will create a more funky sound while playing. Use the four and five chords for the most interesting sounds. You can also put the fifth in the bass to m...

In this video, we learn how to save time and money at the grocery store. At holiday time, grocery shopping can be extra tough. First, make sure you bring your own reusable bags. Then, place in your soda and water in the cart first so you don't have to re-arrange. Make a list before you go to the grocery store so you don't wander around the store. Also, see if you can place your deli order ahead of time so you don't have to wait around. Have your grocery clerk group like items together so unpa...

Bed bugs appearing in the office space is becoming more and more common. Often, someone brings a bed bug to the office on their clothes, and the bed bug roams away from the garment. These don't normally turn into reproducing infestation.

In this video, we learn how to build a bionicle switchblade. Start with the piece of the blade that has holes inside of it. Then, start to connect the edges and the other pieces that go inside of it. Grab the piece for the blade, then lock it into place by attaching the elbow pieces that connect around it. Once you have connected these together, you will have one entire piece with the blade on the very edge of it. The end of it should be bendy, so grab a rubber band that is thick and wrap it ...

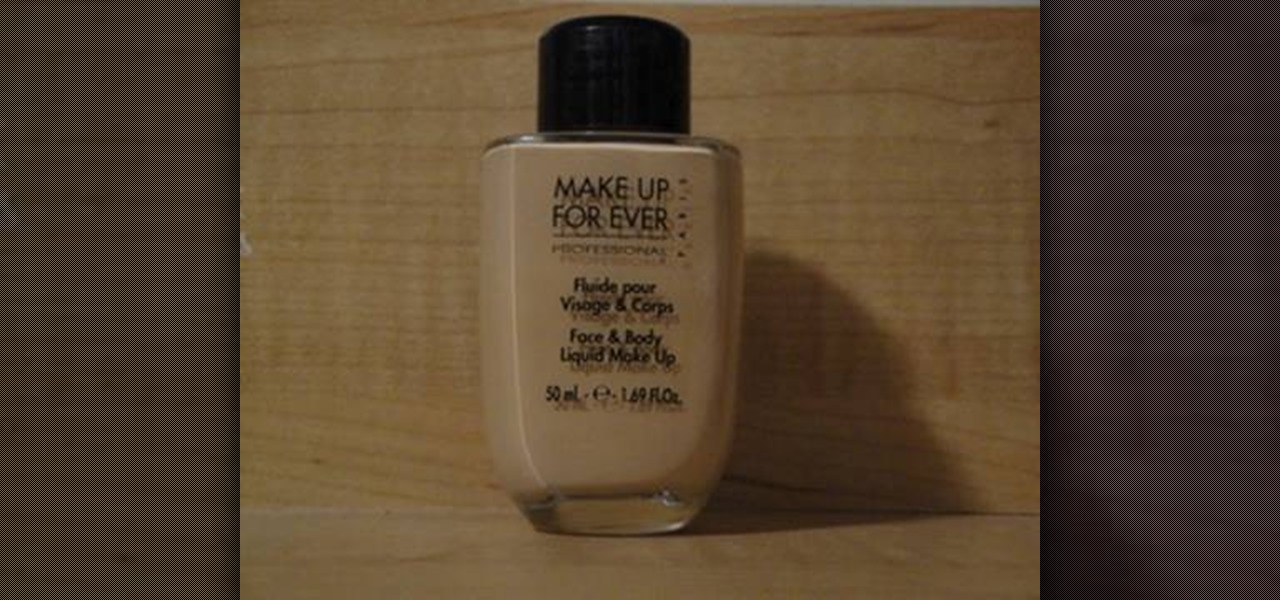
In this video, we learn how to apply MUFE face & body liquid makeup. First, pour the foundation out onto your hand and then take your foundation brush and dip it into the liquid. After this, start to brush the makeup on your face, starting with the side of the forehead and working your way around. This is a gel based liquid, so it's going to stick onto your face extremely well, you won't have to apply a lot of it. When finished applying, use a damp sponge and press it on your face around wher...

In this video, we learn how to get bouncy curls with a braided headband. First, you will need to spray heat protector on your hair before you put heat on it. Next, you will take small sections of your hair and wrap your hair around it, then pull straight down. Once you do this to the entire head, style as you prefer with your hands. Next tease the hair to give it volume, then spray hair spray on the entire head. Next, you will need to braid underneath your on both sides, then wrap it around t...

This video tutorial belongs to the Arts & Crafts category in which Maricela is going to show you how to apply a crimp bead cover. First take a crimp bead cover. Now slide it over the crimp bead through the open jaw. Next take your crimp forming tool and applying a slight pressure to close the crimp bead cover around the crimp bead. If too much pressure is not applied, the crimp bead cover will close evenly around the crimp bead and the effect will be that of a seamless round bead. And that's ...

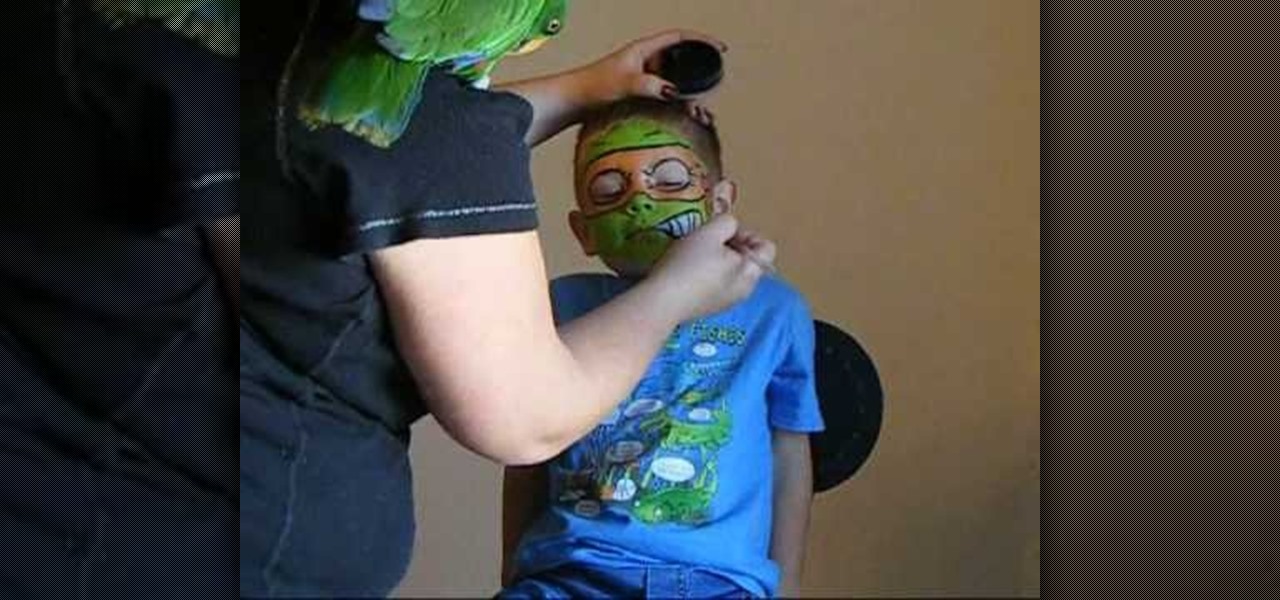
We are painting the ninja turtle-Michelangelo. Use orange metallic to cover over face. Put orange metallic around the eyes and ears. Use green metallic on forehead and across the nose, chin, mouth and cheeks. Use white close to the mouth for smile and teeth. Take black paint and give a bandit face. Outline the eyes, forehead. Place wrinkles around the eyes and make knots on the side of the face to make it look like a tie. Make the ninja turtle mouth smile.

In this video, we learn how to make tasty baked chicken with Kai. First, take your chicken and add in 1-2 tsp of seasoned salt. Next, add in 1 tbsp Chinese spices. Next, mix all of these together so the herbs and spices cover up all the pieces of chicken. Let this sit and marinate for around 30 minutes, then place on a baking sheet. Bake these in the oven for 1 hour on 375 degrees. When these are done cooking, bring them out of the oven and let cool and sit for around 10 minutes. When they ar...

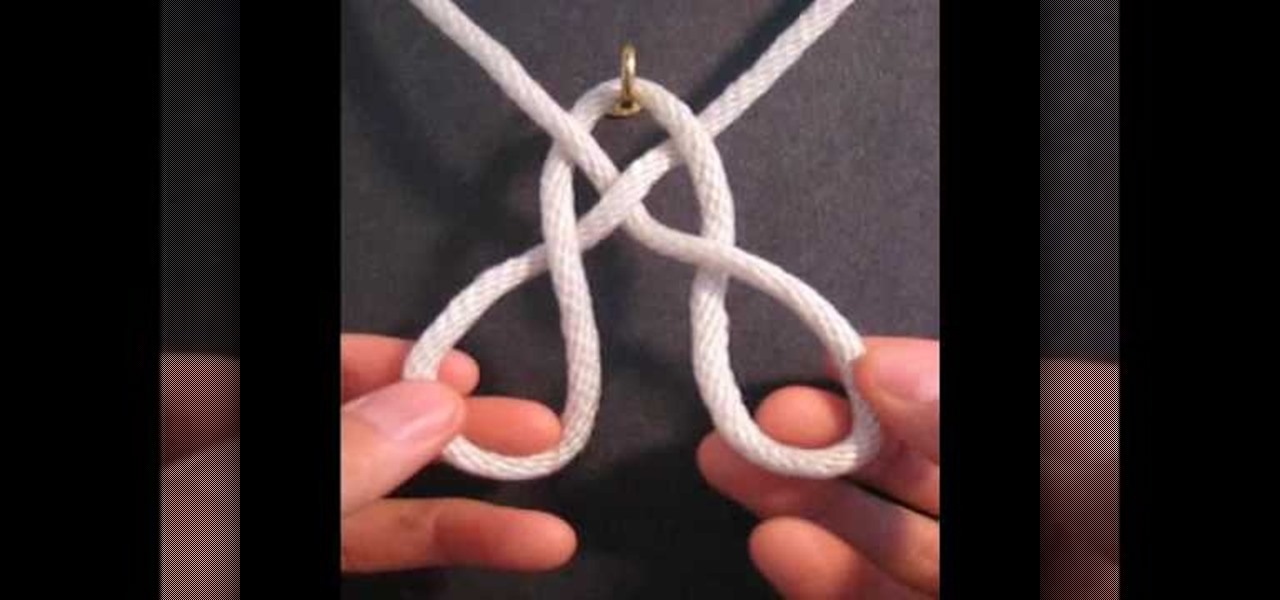
In this video, we learn how to tie the basket weave knot. First, place the string on a hook, then cross the two sides and make a loop. Next, make the loop wider and take the right and left strings up, then pull the loops down to make a pretzel shape. Now, twist the bottom loops around and place one on top of the other. After this, push them on either side of each other, then bring the right string around and loop it through the left loop, then bring the left string into the right bottom loop....

The Japanese Shoguns built their entire warrior culture around masochism. Did you lose in battle? Congratulations, you must cut off your own head! Did you dishonor your general? Punishment consists of swirling your guts around with your own sword (yes, you're doing this yourself) and then chopping off your head. As you can see, failure - and disobedience - was not an option, and to commit it shamed you so much it would be more honorable to be dead than alive.


