This video shows the method to suture arterial lines using a curved needle. We will use the new arterial line kit for our demonstration. We will use a curved needle as it is safer than the straight needle. Hold the suture with the hamostat at about sixty percent from the tip of the needle. Do the turn the key method to bring the needle out from the other side. Unclamp it and re-clamp it at the tip of the needle. Continue the turn the key method. Pull the suture up and through. Cut the suture ...

Brightstorm explains how to use definite integrals to find area. There are two basic area problems: one in which the area lies between the function and the x-axis, and one where the area lies between the two functions. In the first case, if the curve lies above the x-axis for x=a to x=b, the definite integral returns the area. If it lies below the x-axis for x=a to x=b, then the definite integral returns a negative area. In the second case, we assume that f(x) is the higher curve and g(x) is ...

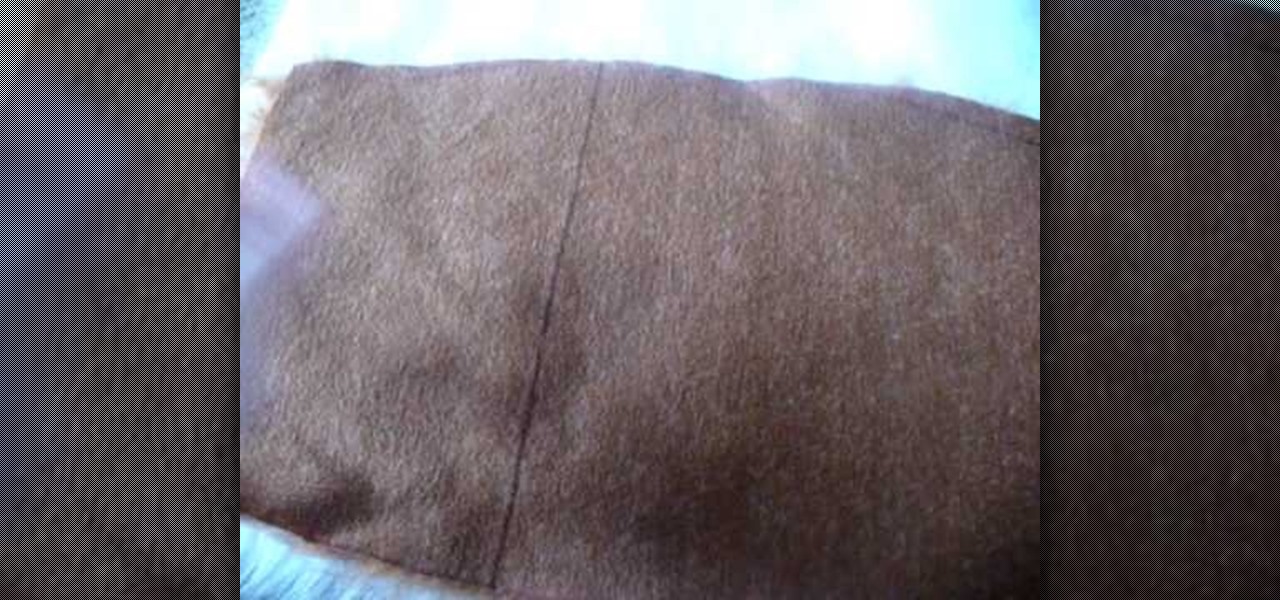
This video shows you how to measure the length of someone's sleeves precisely. For it, you will need a meter, and to keep your arm straight, near your body. Begin measuring from where the arm starts, where the shoulder naturally begins to curve. Measure straight down the arm until you reach the desired length, where you want the sleeve to end. Be careful to stop at the elbow and position the meter exactly where the curve hits its peek, so that you measure will be precise, and not come shorter...
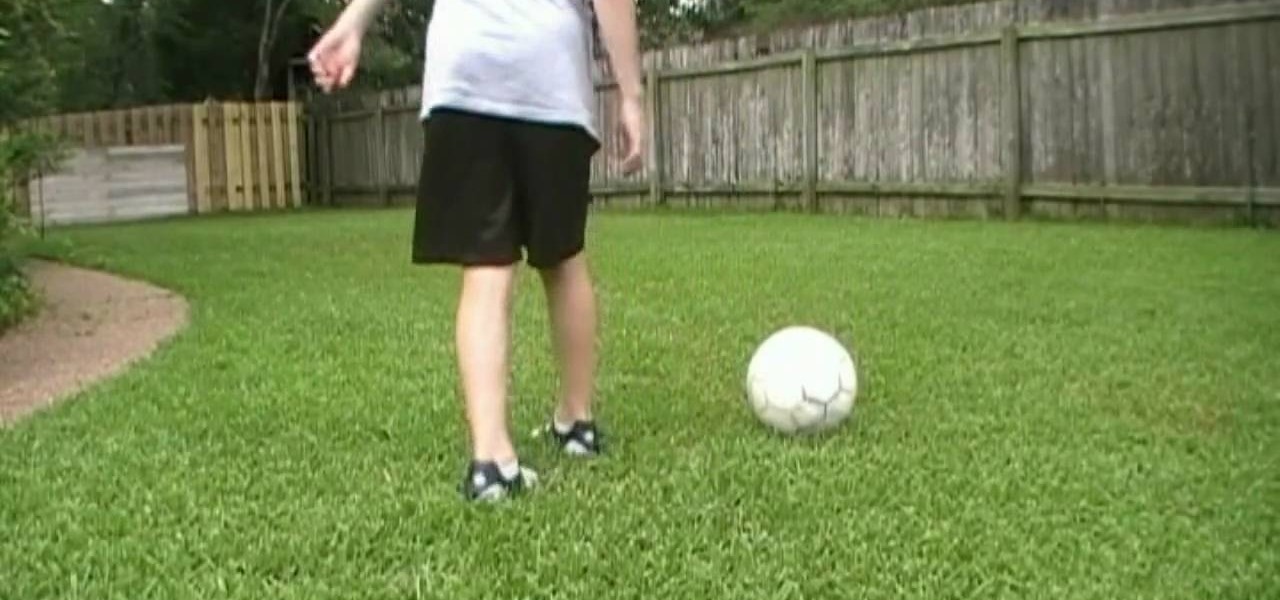
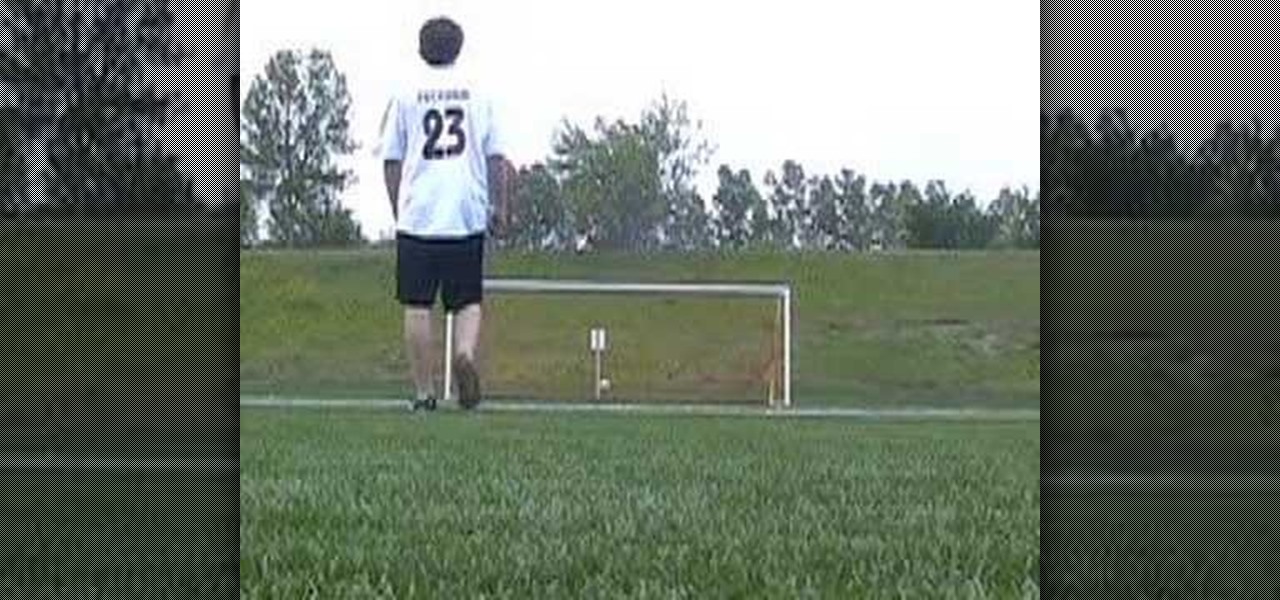
In this video tutorial, viewers learn how to curve a soccer ball with the inside of the foot. The kick is also referred to as the banana kick. When kick the ball, use the inside of your foot. Kick the ball at the lower middle section. As your hitting it, wrap your foot around the ball. Do not place your foot too close to the ball when your planting your foot and make an L-shape with the leg. Kick the ball at an angle. This video will benefit those viewers who enjoy playing soccer and would li...
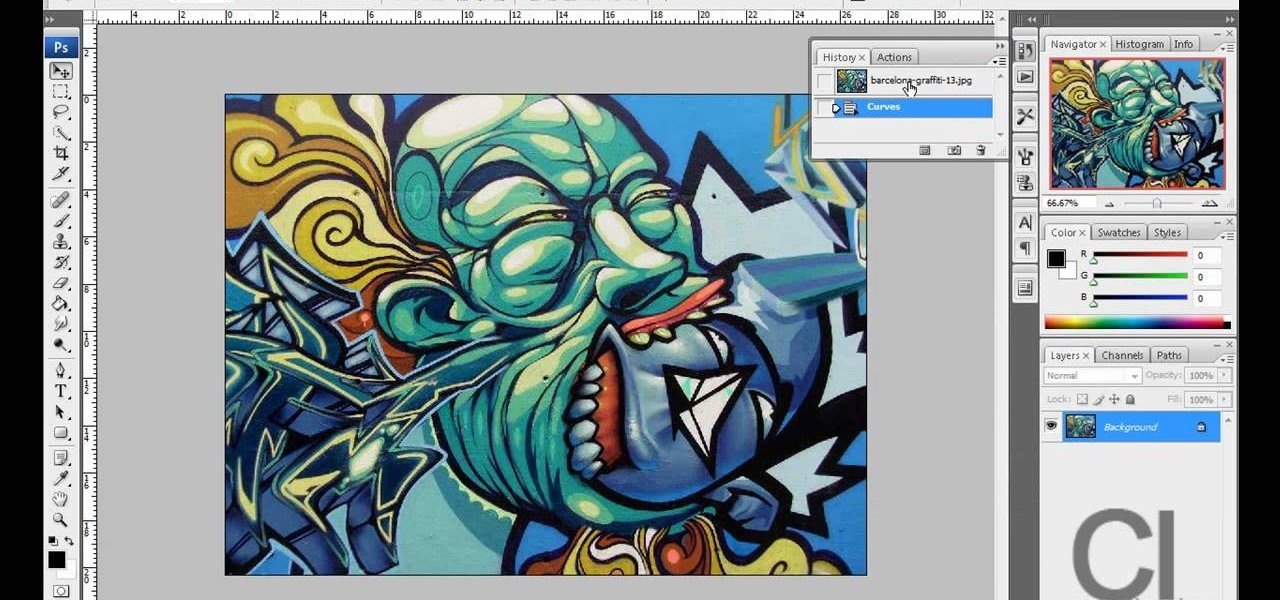
This video demonstrates a way to use the lomo effect on pictures in Photoshop. The effect makes colors stand out more, thus making the picture stand out more. The first step in adding the lomo effect is to change the color curve levels of the picture by going to Image > Adjustment > Curves in Photoshop. They should be changed very slightly, from a straight line to a slight "s" shape curve. After this, the gradient map should be changed to a black to white gradient. Finally, the mode of the ne...

Cross processing is a Photoshop version of slide processing. The result would be you get all these weird color shifts. For reasons best known to people who run the fashion magazines, this look became very popular in the 1990s. Start by adding in a curves layer. Add a new adjustment layer for curves. If you've never used curves before it is recommended that you take a curves tutorial first as for this effect we will need to adjust individual color channels. It is not difficult but if you don't...

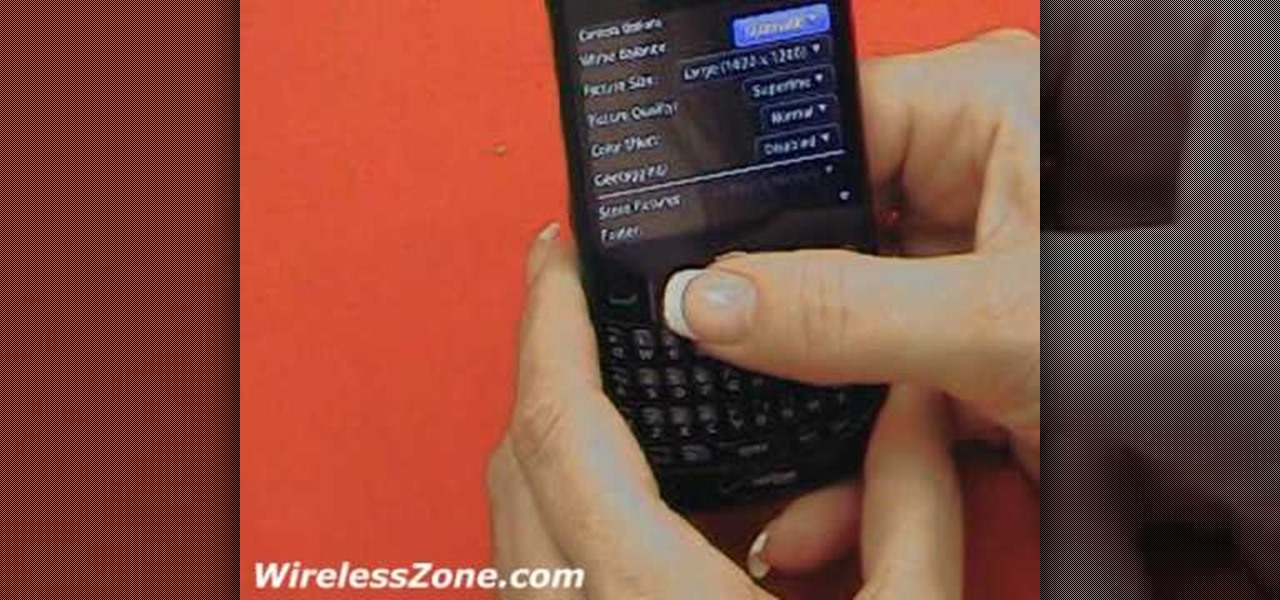
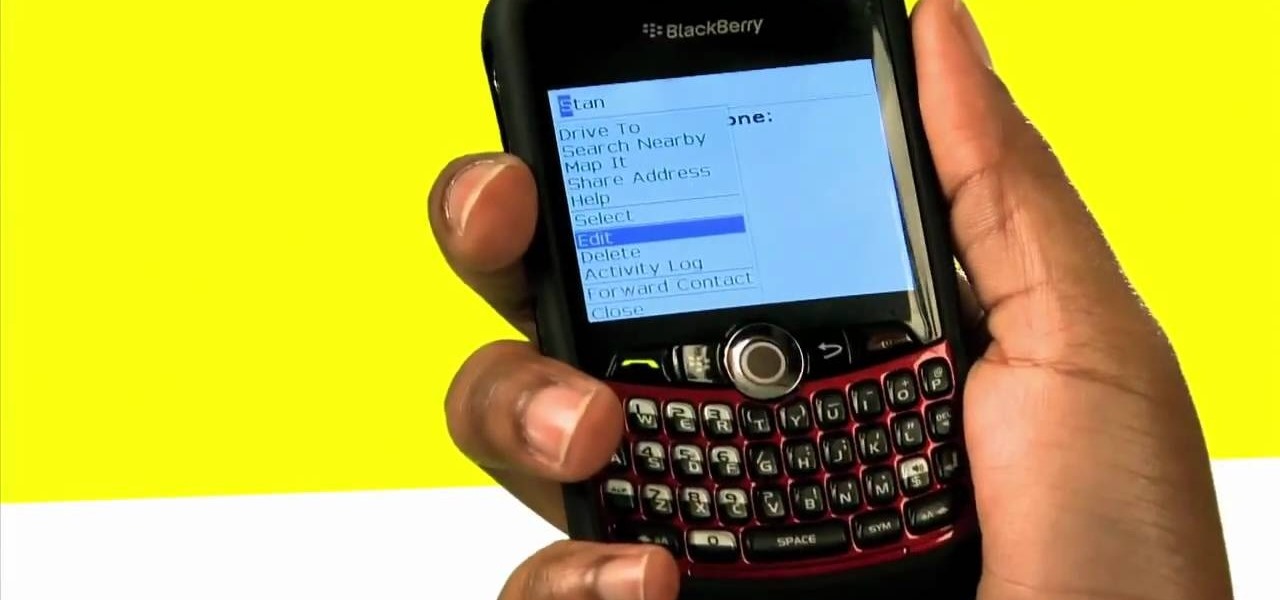
This video tutorial shows both the basic features and more in-depth uses of the Blackberry Curve II camera's capabilities. The tutorial goes through many options, providing a good description of how to access and use each. The viewer will learn the specifications of the camera including its mega-pixels, zooming capabilities, and so forth. Manipulation of lighting effects, color effects, and options when saving and deleting pictures are just some of the components reviewed.
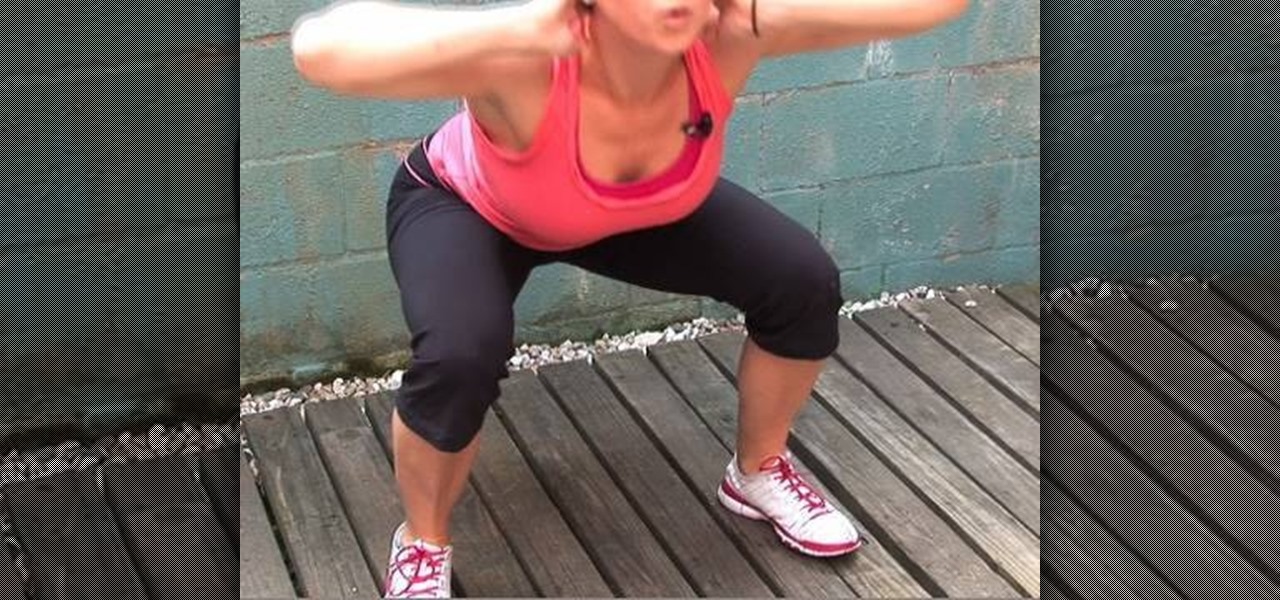
Skull crushers are an important part of strength training and weight lifting. This fitness HowTo video tutorial shows you the proper way to do skull crushers with a curved barbell. Start the skull crusher by grabbing the bar with a close grip. Proceed to lay down on the bench and lower the bar toward your forehead. Keep watching to learn more about proper form for doing barbell skull crushers.
Learn all about curves and how to manipulate their components in Autodesk's Maya 3D modeling and animating software.
This video tutorial shows you how build a retaining wall system with an outside radius curve. This how-to video is a must-watch for everyone in the building and construction business.
This video tutorial shows you how build a retaining wall system with an inside radius curve. This video is a must-watch for everyone in the construction business.
Get the finest level of control over your animation with the curve editor. Just check out this 3ds Max video tutorial on how to do low level animating.
In this home construction video Bob Schmidt shows you a building product that will help you build something with a curve in it.
1. To make tilt shift take one picture which is taken from high angle with any content like car and buses. Now open the picture in Photoshop and change it to quick mask mode to create and edit the selection.
You may know how to cut and sand plywood, but bending it is a totally different skill set you need to master, but this woodworking how-to will show you the right moves in seven easy steps. In the video, a bend is being applied to plywood for a curved chair leg, but this method could be used for any kind of plywood bends.
Alright BlackBerry users, it's time to wipe all that information before you sell, or pass on your BB to someone else. This simple how-to video will let you wipe it all, simply and easily. If you desire you can also choose to leave in your sim card and wipe the contents of that as well. The tutorial hose will guide you you step by step on how to remove your personal information from your Blackberry 8350i Curve. This instructional video is a simple but very detailed tutorial that instructs you ...
First of all you have to draw the two big eyes and a curved line supporting them. Now draw and darken the two eyeballs. Draw the top portion of the head and make some curves of hair at the top. Draw the round cheeks on both sides. Now you have to draw the round beak and the mouth as shown. Then draw the narrow neck and then draw two lines around it. Draw two nostrils over the beak and then also draw the two eyebrows. Now color the drawing as shown. Fill in black color in the face and neck. Le...
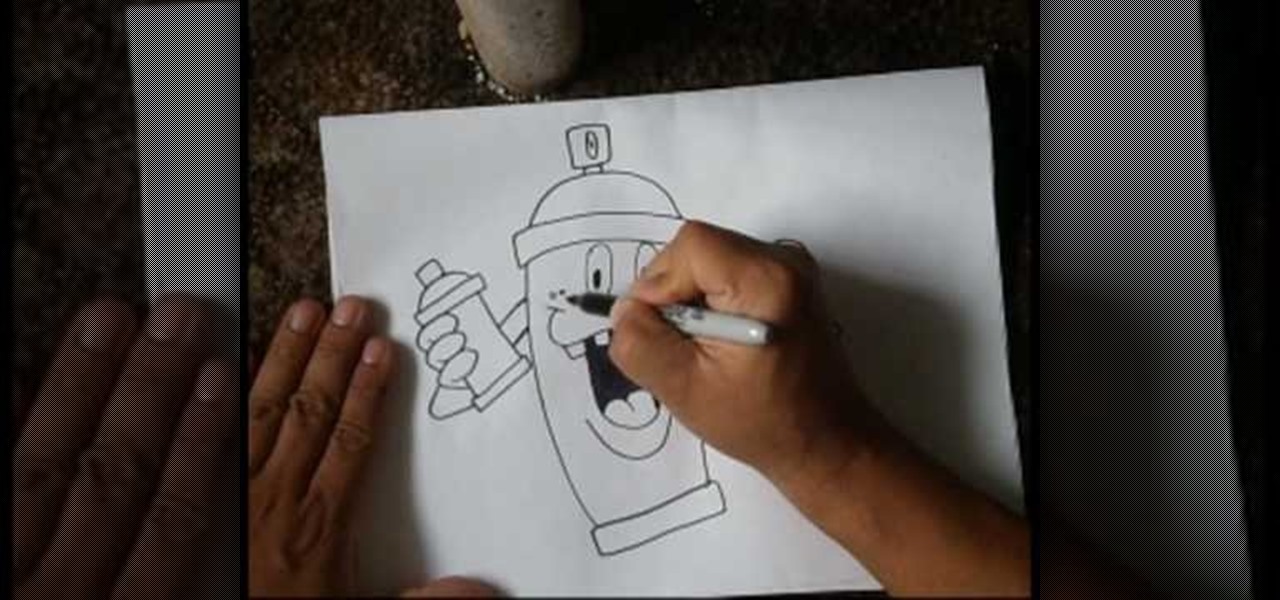
Cholowiz13 demonstrates how to draw an anamorphic spray can character, which can inspire your own cartoon characters for any artistic purpose. Without using any words, Cholowiz13 demonstrates the creation of a cartoon spray can character by starting with the eyes and mouth. He keeps the face simple and adjusts the body of the spray can to show action while fitting the face. A few simple curves form the hands and fingers. But for the best expression, add shading (especially inside the mouth, a...
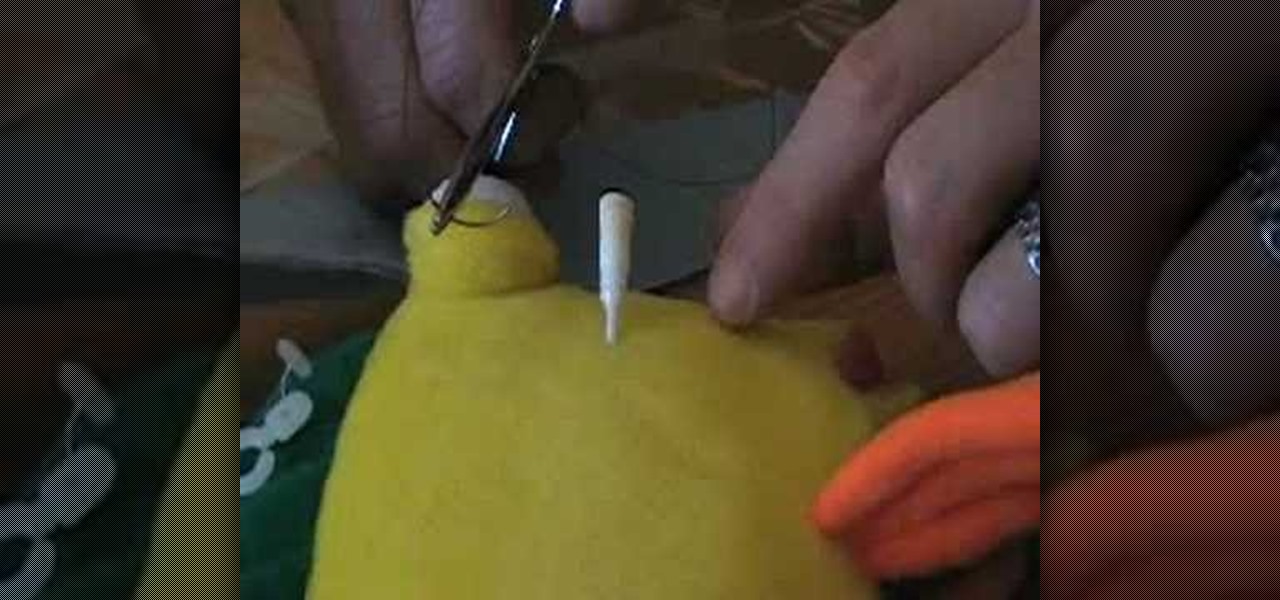
This video will teach you how to make a curvy fox tail for a fursuit! From the Creator:
Drawing Now presents this simple video tutorial on how to draw Betty Boop. Begin by drawing an apple shape for her head. In the center of her head draw her part and extend the curved line down to her cheek finishing off with an upturned curl. Next draw the other half of her part and the front curved line of her hair. Then add two circles for her eyes. Inside these circles, shade in small half circle areas so it appears she is looking to the side. On the opposite side of the eye, add an accent...
In this how to video, you will learn how to curve a soccer ball. First, you will need to know how to shoot a ball. To shoot, line up striaght with the ball and keep your knee over it. Strike it with your toe pointed down and on the center of the ball. To curve the ball, line up with the side of the ball. Kick the ball so that the inside of the foot hits the ball on the side. When you follow through your kicking foot, your arm should swing across your body. This causes the ball to spin which m...
This video shows how to a draw a boy wearing glasses using the letters b, o and y. First, write the three letters in the middle of your page, in lowercase, leaving about a letter space between each. Write the letters so they form the word boy. Next, take the tail of the y and drag it all the way over to the beginning of the b. Do this in a curve shape, it will create the bottom of the face. Next, from the top of the b draw another curved line back to the far edge of the top of the y. Draw ano...
Own a BlackBerry Curve 8330? Need a custom ringtone? Best Buy has answers. The Best Buy Mobile team explains how to set custom ringtones for contacts in your address book on the BlackBerry Curve 8330. There are many different ringtones to choose from and you may set a different one for each one of your contacts.
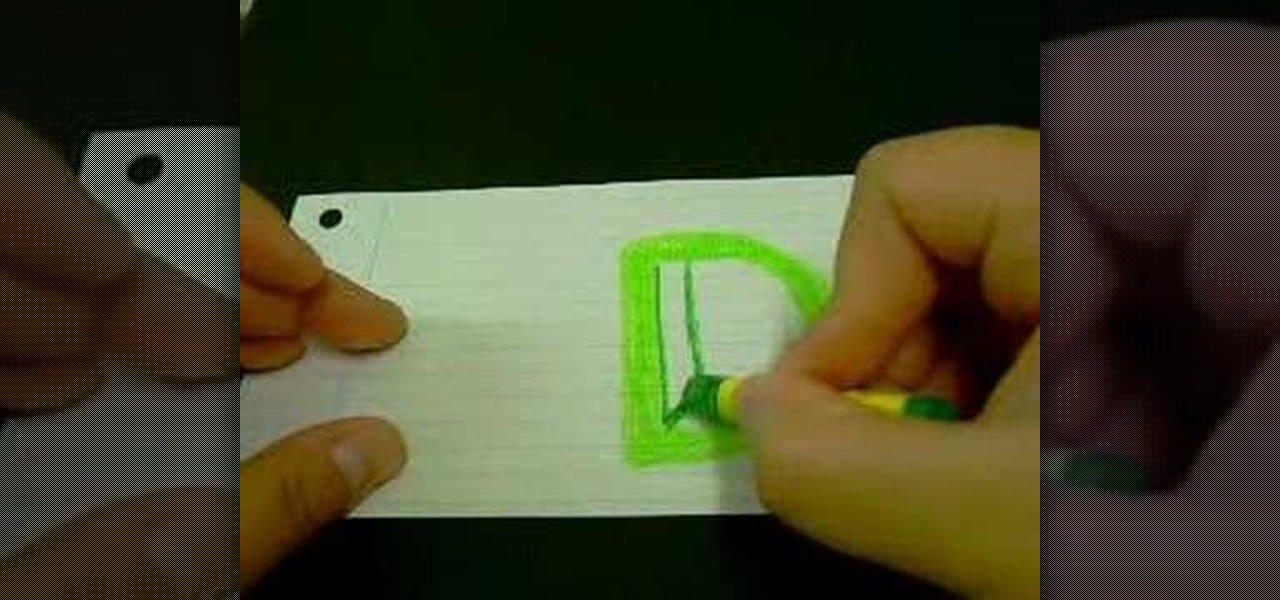
Drawing the letter D as a 3D block letter is easy and fun. To start simply draw the D like you normally would. Next, you need to draw another smaller D inside the first D. From there, draw another D on the outside of the first D. Color in the 3 stacked Ds with your first color. To continue, choose a darker version of your original color. In the bottom left hand internal corner of the D draw a short line that extends at about a 30 degree angle in reference to the bottom of the D. From the end ...
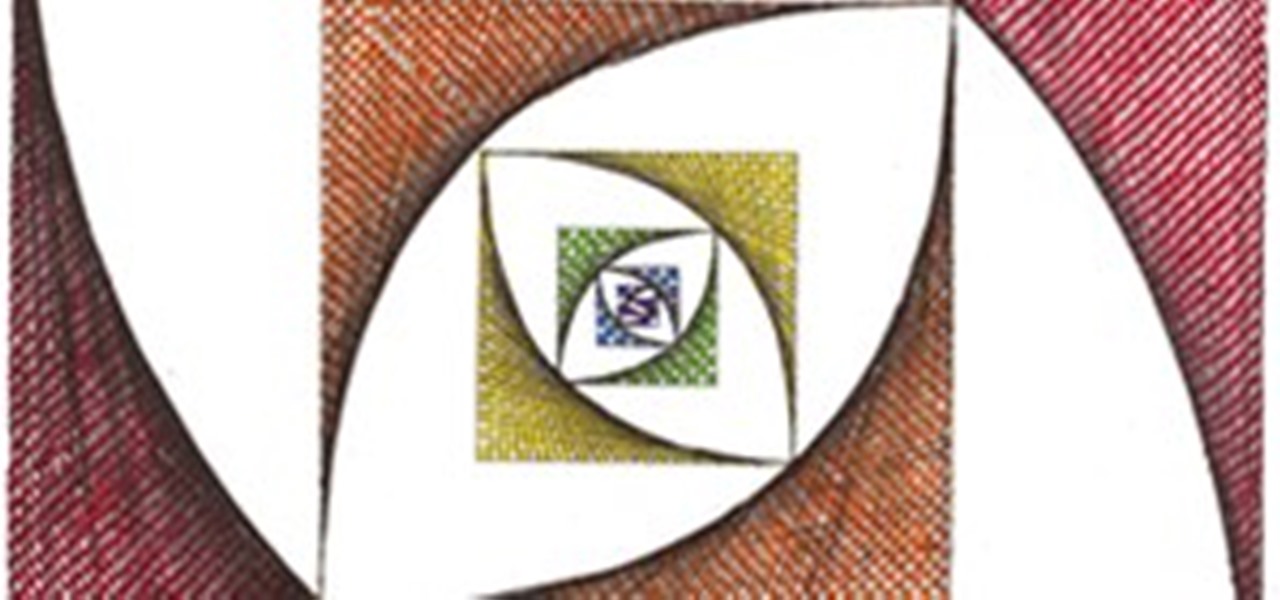
Curve stitching is a form of string art where smooth curves are created through the use of straight lines. It is taught in many Junior High and High School art classes. I discovered it when my math students started showing me the geometric art they had created.
This video will show you how to change the trackball on a Blackberry Curve 8300 series. The trackball is one of the Blackberry's best features, but it does have a tendency to get stuck. Looking under the hood to fix the trackball will save you many trips to the phone store.
Stylist Francesca Mills from Elle magazine shows how to find the right bathing suit for your curvy body type in this how-to video. Swimsuit shopping doesn't need to be stressful. Watch this video fashion tutorial and learn how to flatter curves with the right bathing suit.
Learn how to use the levels and curves in Paint Shop Pro to make your photos really pop.
Make an origami swan with a curved neck.
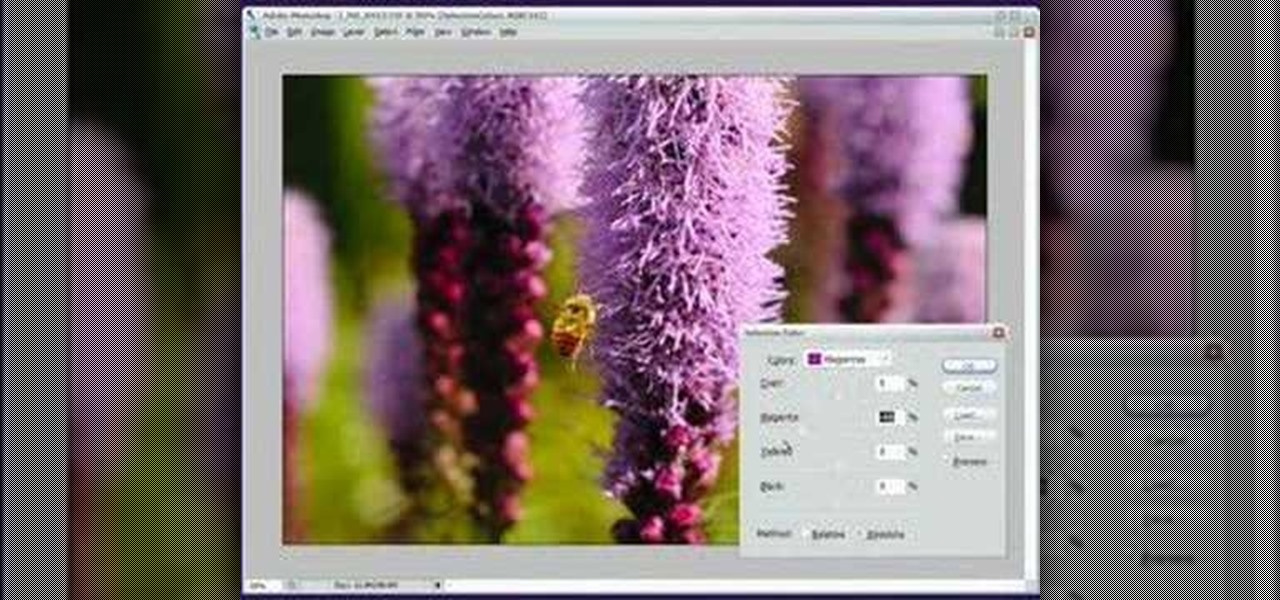
This is a tutorial that (tries to) demonstrate the power of the Selective Color dialogue in Photoshop. This video uses the dialogue on absolute instead of relative, but it works out anyway. For better results use relative.
This video shows how to curve paper using crimb folds. This technique is used in the Wu Eastern Dragon to shape the body and the tail. This video contains tips and techniques for origami.
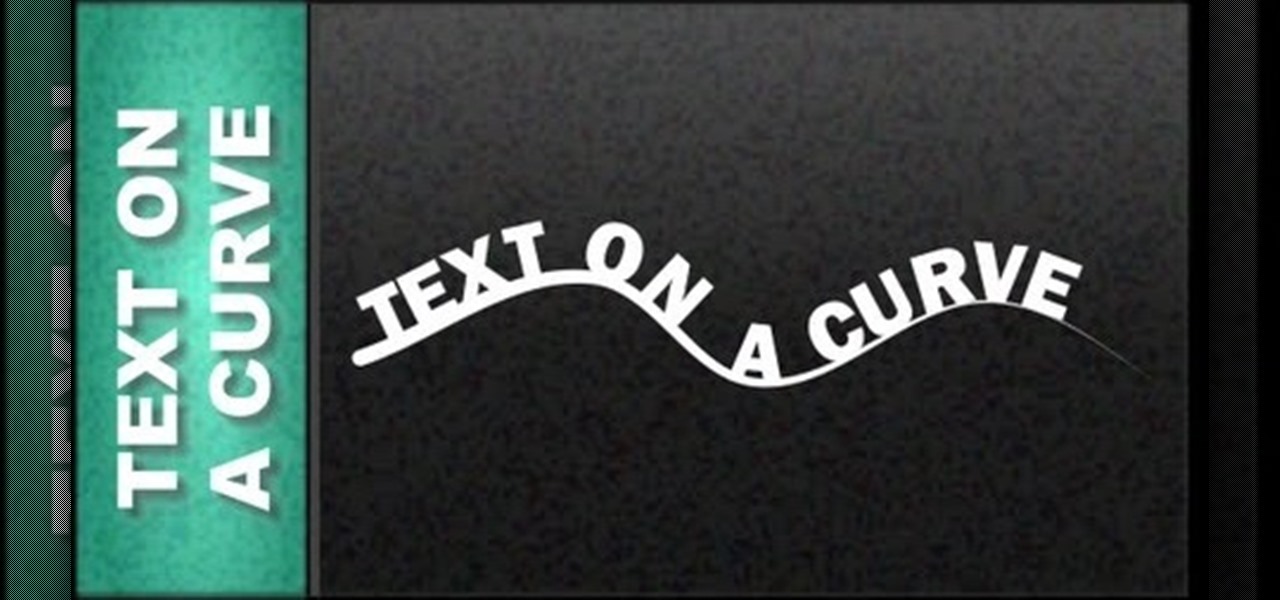
This Professional Website design Tutorial will show you how to place text on a curve using the line tool. However you can put text on the outline of shapes and other objects.
Modern bombshell Scarlett Johannson literally worked her butt off to get into shape for the role of Black Widow in "Iron Man 2." While always lean, Johannson whittled down her famous curves, losing about ten pounds (a major difference for a woman that small) and gaining a lot of lean muscle.
Cutting a hole into a curved mesh is a common problem, particularly for new modelers. This tip shows you how to go about doing it using Blender's retopology tools. Whether you're new to the Blender Foundation's popular open-source 3D computer graphics application or are a seasoned digital artist merely on the lookout for new tips and tricks, you're sure to be well served by this free video software tutorial from the folks at CG Cookie. For more information, including step-by-step instructions...
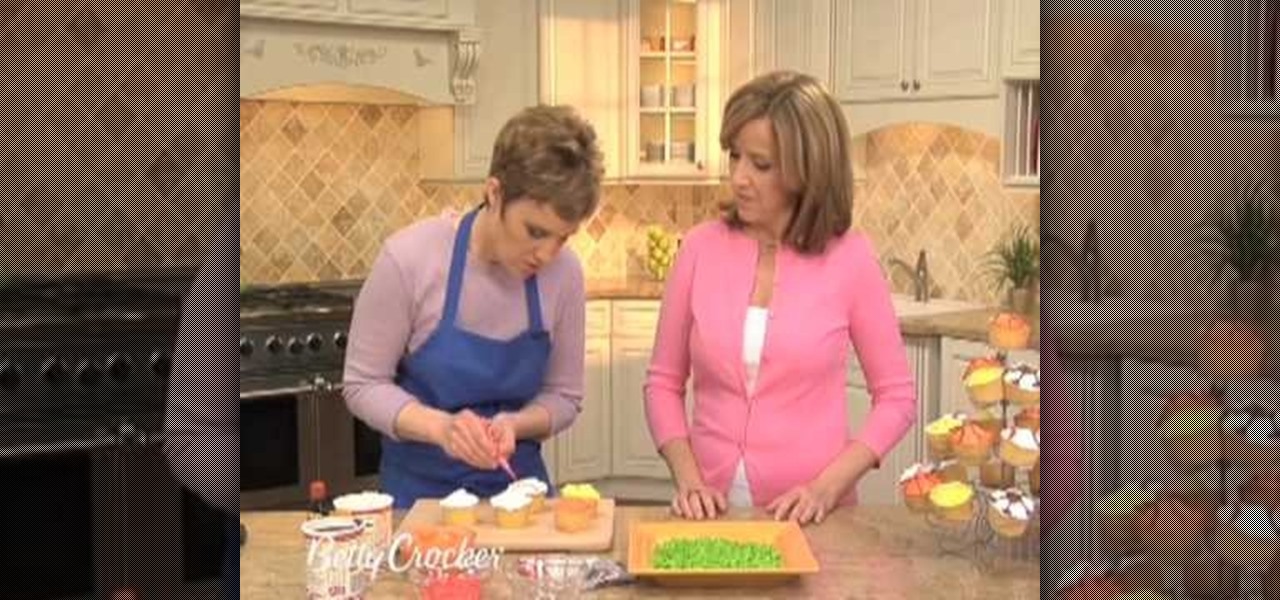
In this video, we learn how to decorate cupcakes into sports balls. To do this, start with pre-made cupcakes, any flavor you like. Let the cupcakes cool, then add a layer of vanilla frosting to each of them. If you want baseballs you will use black red and blue icing to pipe 2 arches on both sides of the cupcakes, then curve the lines like a baseball. Make stitching lines to make it more realistic. Not make soccer balls use black icing to make the pentagon shape of the soccer balls. To make b...
In this video, we learn how to draw children's heads. For the front view, first draw an oval with a slight point for the chin. Then, draw in the features of the face lightly with the side of the pencil. After this, start to shade the side of the eye in. The child's eye has a large eyelid, larger than an adult's eyelid. The pupil should also be large. For a side view, make sure to show the curves of the chin, nose, and lips. The eye should be soft and the ear should be soft as well. Fill in th...
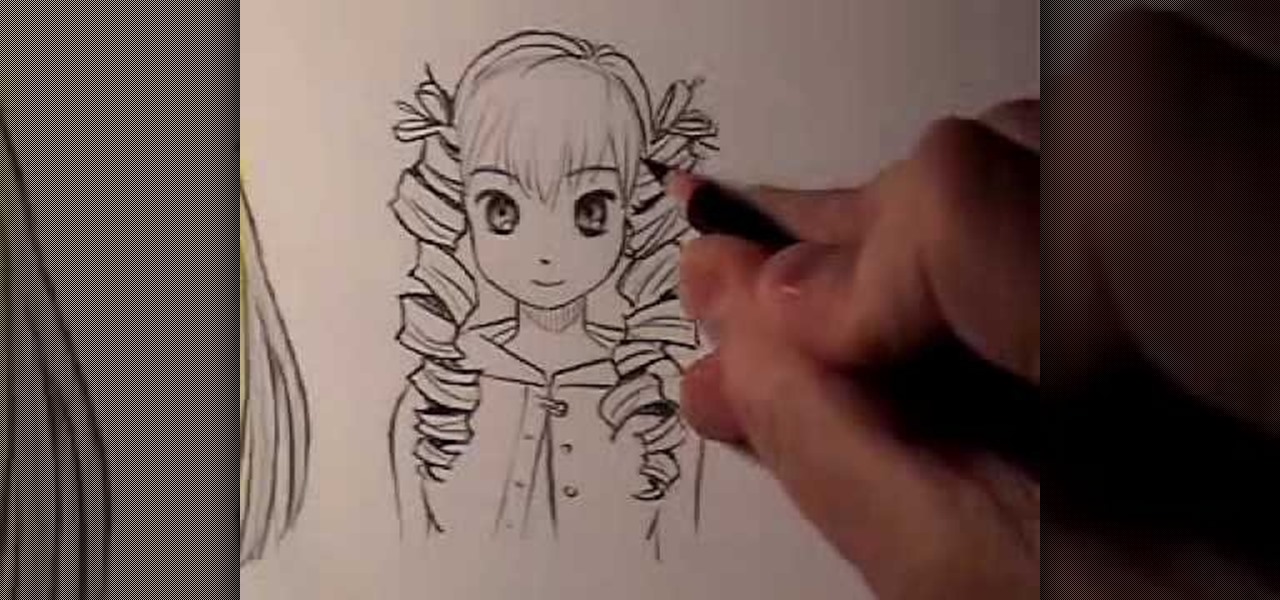
In this tutorial, we learn how to draw Manga hair (curly vs. straight). When drawing the straight hair, you will draw lines first at the top of the head to indicate how the hair is coming out of the head. Then, draw some lines around the head you've sketched. Curve the hair around the body and draw it going behind the shoulders. Draw gentle curves so it looks more realistic. Add in lines in the hair to make strands. For curly hair, start by drawing in different shapes that kind of looks like ...
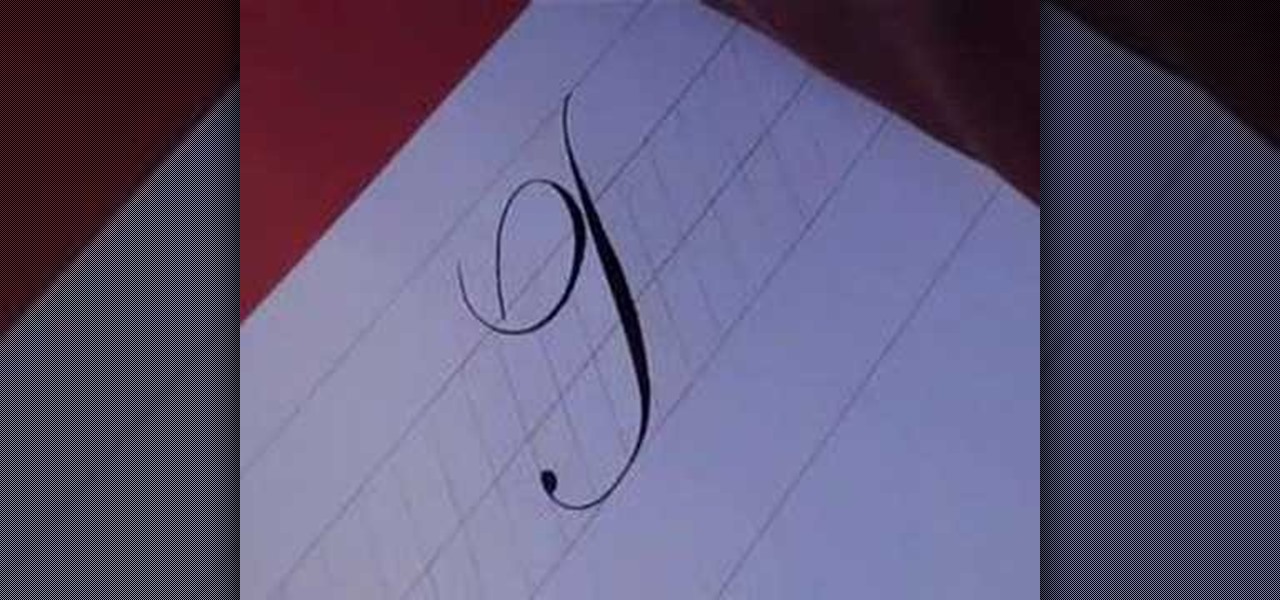
In this video, we learn how to write numbers in calligraphy copperplate. To write the number five, you will simply make the shape of the number, but add in a thick edge to the bump and curved edges to the end. To write the six, use a thick line on the side of the number and a thin line for the circle in the middle. To make the seven, the top should be curved and thick, and the lower line should be very thick with a straight edge. To make the eight, draw the number so that the left edge is thi...
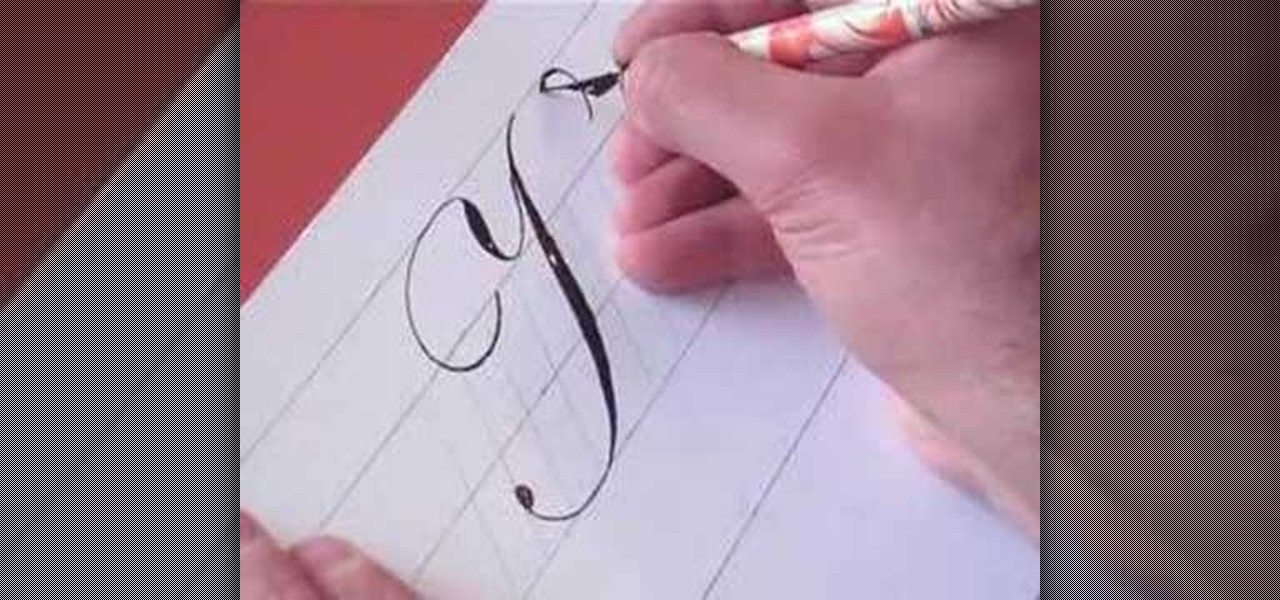
In this video, we learn how to write the letter T in calligraphy copperplate. Start by drawing a thick line that follows out a loop that curves to the left hand side. After this, create a loop at the top of the line, on the left hand side. Draw this out and cross the line over the top to make the T shape, ending with a slight curve at the end. To make the lower cased letter, draw a thin line, then draw a thick line over it, then cross a thin line across the top middle of the letter. Now you w...
In this video, we learn how to write the letter K in calligraphy copperplate. Start by running your calligraphy pen on the paper going from a thin line to a thick, making a line curved to the left ending with a dot at the end of a small loop. Next, make a loop to drag out across the top on the right hand side and curve it down to make the K letter. Do the same to make the lower case letter, except making a loop for the top of the letter instead. When finished, let the ink dry and you've got y...