In this Music & Instruments video tutorial you are going to learn how to hold a recorder properly with Mrs. Hill. The bottom part of the recorder has one thumb hole at the back and seven holes on the front side. The thumb of the left hand goes on the thumb hole and the top three fingers of the left hand go on the top three holes on front side of the recorder. The other four holes are covered by the four fingers of the right hand and the right thumb goes behind the recorder. The fingers should...
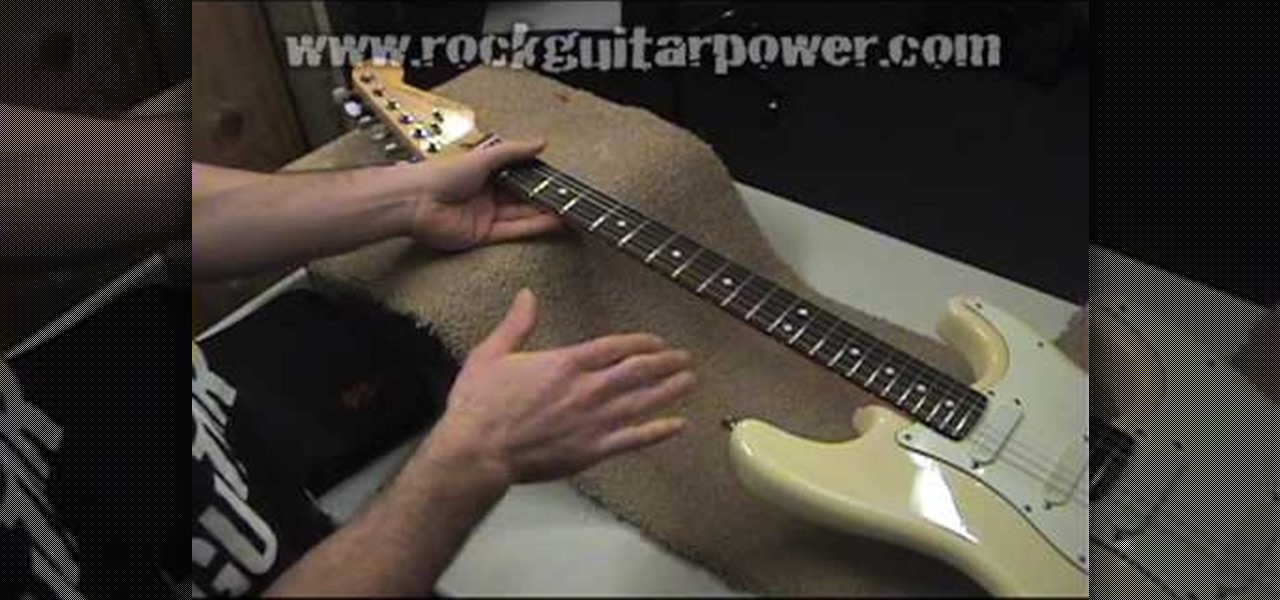
The truss rod is a big metal bar that goes through the whole neck on your guitar and is used to control the amount of arch that the neck of your instrument gets. You will want the neck to be essentially straight, with a tiny bit of curve. Lots of things can cause your wood to arc..weather, storage, age.. and the truss rod is used to fix this and keep the neck straight allowing you to play your piece properly. All guitars come with a truss rod and they are easy to adjust if need be. This tutor...
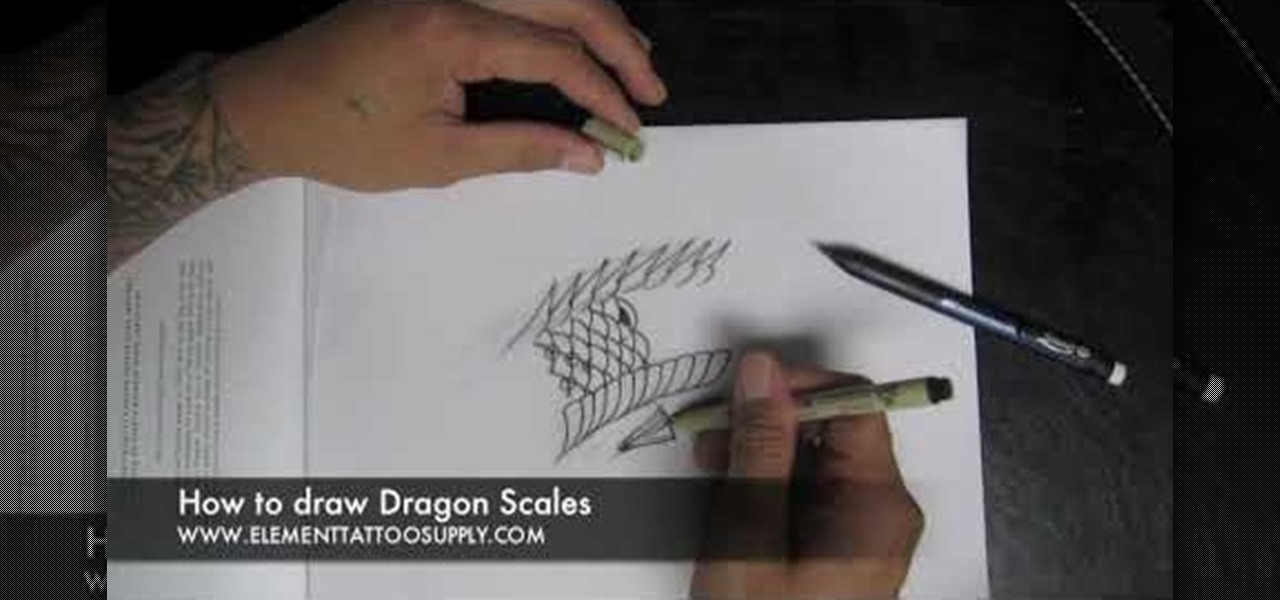
Drawing scales of a dragon could be difficult so lets try this method. First get the basic shape of the body,then draw those curves under the belly. After that,the scales which are on the top. Now the middle scales come in place. As we are done with our basic sketching,now its time to use a sketch pen for finalization. One can even add some shadows and highlights. This will help you draw some other amphibian as well as mammal figures.
This video shows you how to create a realistic shadow of window blinds over the picture of a boy in a photograph that had no window blind shadows using Photoshop. Creating a separate layer, he creates shadows first by using the rectangular marquee, then filling in with black and copying the black stripes across the photograph. The opacity is set to 40%. The shadows look like a casting of the shadows of window blinds over the boy, but is not as realistic as he wants them to be. He then makes a...

The Wood Whisperer thinks you have what it takes to be a woodworker. Watch this tutorial to learn about setting up and tuning up a band saw, one of the coolest tools in the shop.

In this tutorial, you will learn how to model this cool looking diving knife. The model can be set apart into two pieces, blade and handle. Both having some nice features.

Check out this video tutorial on how to carpet a fiberglass car subwoofer box for speakers. It's easy enough to carpet a fiberglass subwoofer box, but if you're having trouble just watch this car audio upholstery video. The carpet used is unbacked automotive carpet. If its unbacked, its pliable to bend to curves. A box made with MDF is different. Edges means you have to have seams showing.
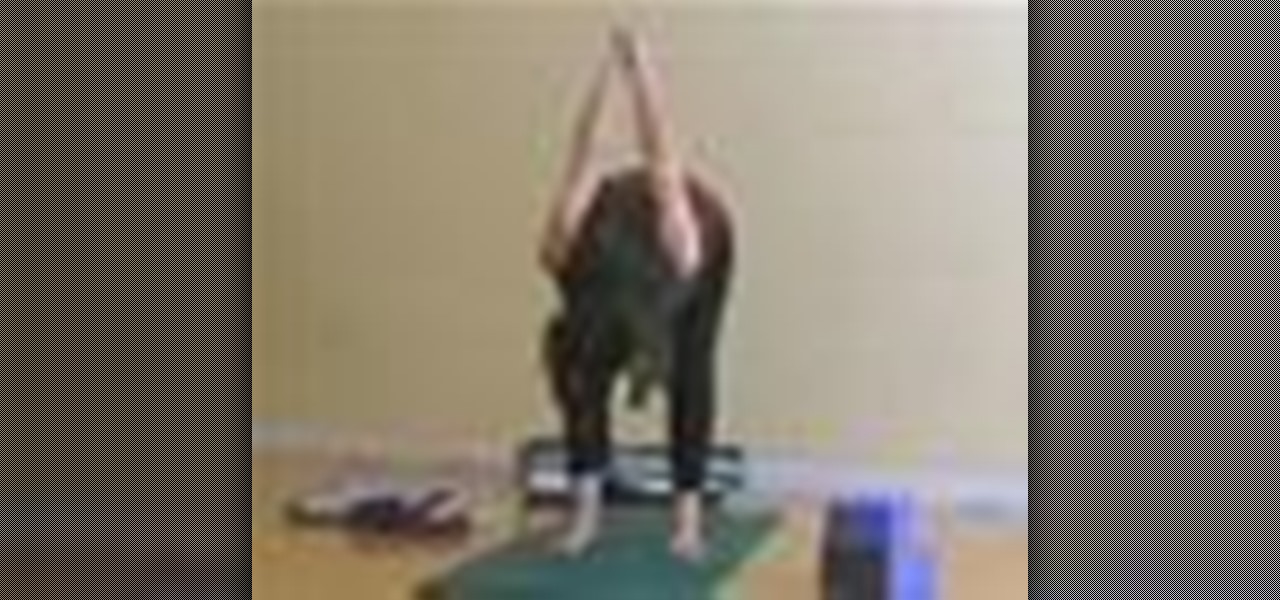
During pregnancy the natural curves of the spine become exaggerated causing the lower back to sway as well as the upper back and shoulders to round. This rolling forward of the shoulders causes the ribcage to collapse down compressing the lungs and diaphragm which results in a breathless feeling along with feeling like there is very little space left for the baby. Another unfortunate result of the ribcage compressing the stomach area is the stomach acid gets pushed up the esophagus resulting ...
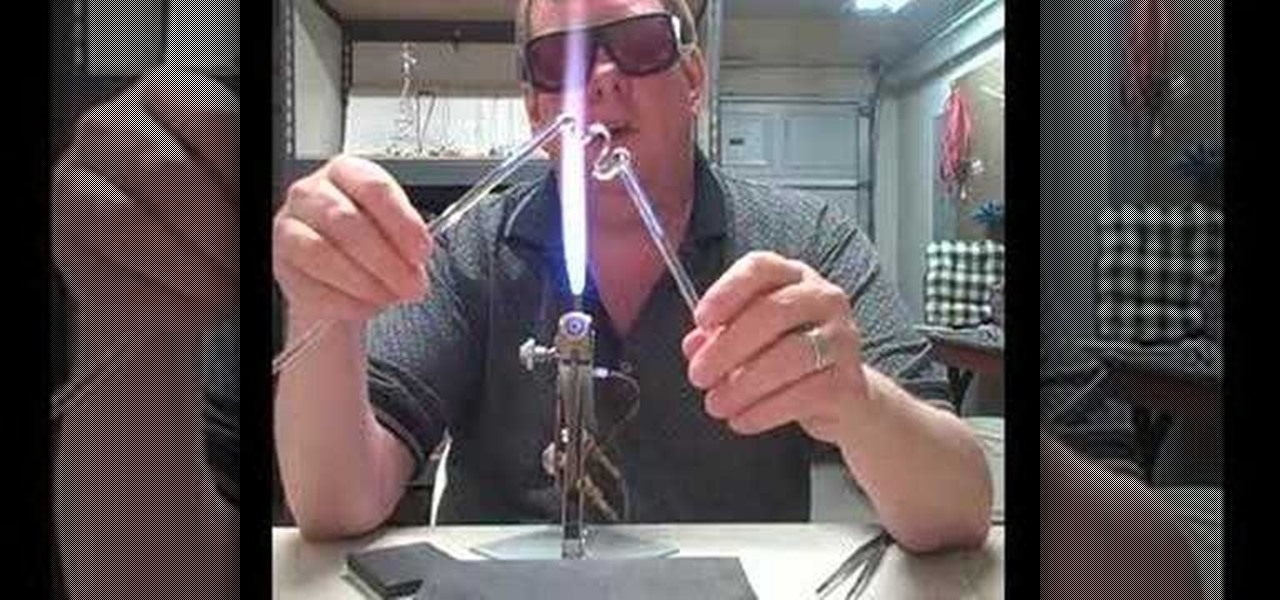
Tips for the beginner borosilicate glass artist. This video demonstrates cold and hot seals, pulling curves, and more.
This video shows how to do audio side chain compression to improve your production audio mix. Side chain compression is an easy way to balance the base and the drums. Using a compressor, you can cause your base to drop in volume when the drums are hitting so that one is not over-powering the other. This video walks you through step by step instructions for configuring your compressor to balance based on threshold level, the attack time, and release time. This is an excellent source of audio p...
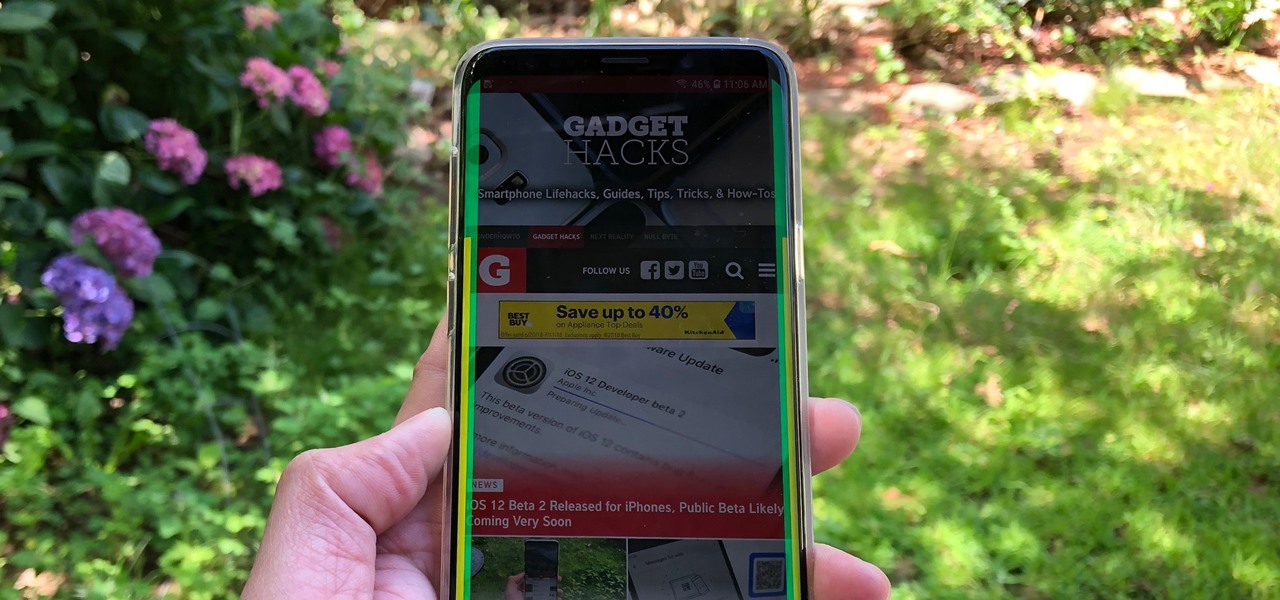
Samsung has made curved displays a signature element of their flagship phones, but the Edge Screen, as it's called, has proven to be a magnet for accidental touches. Fortunately, Samsung has developed a little known app to help prevent this problem.
When it comes to making smartglasses that look more like regular eyeglasses and less like sci-fi helmets, Corning International might be among the suppliers to make it happen.
The rumor train for Samsung's upcoming flagship phone is now running on full steam, and some of its cargo (or lack thereof) might not be warmly welcomed by many when it finally pulls into the station.
While iPhone sales are expected to dip for the first year ever, Apple is reportedly planning to release a souped-up, 4-inch iPhone 5 in hopes of boosting sales for users who prefer a smaller handset.
Diane Kruger is a veritable It girl always on top of the latest fashion, hair, and makeup trends. In fact, it's safe to say that the German-born actress is ahead of the curve, making all the trends rather than following them.
In this video, Linnea Rose teaches us how to paint in a Norwegian folk style called "rosemaling". With this, you will double load your brush and do the strokes in the correct way. To double load your brush, first dip one corner into a color, then dip another color into the other color. After this, stroke again in between the two colors. Next, go to your canvas and simply stroke a looped shake on the paper. Firmly press down with your brush and as your curve around you lift it up to the chisel...
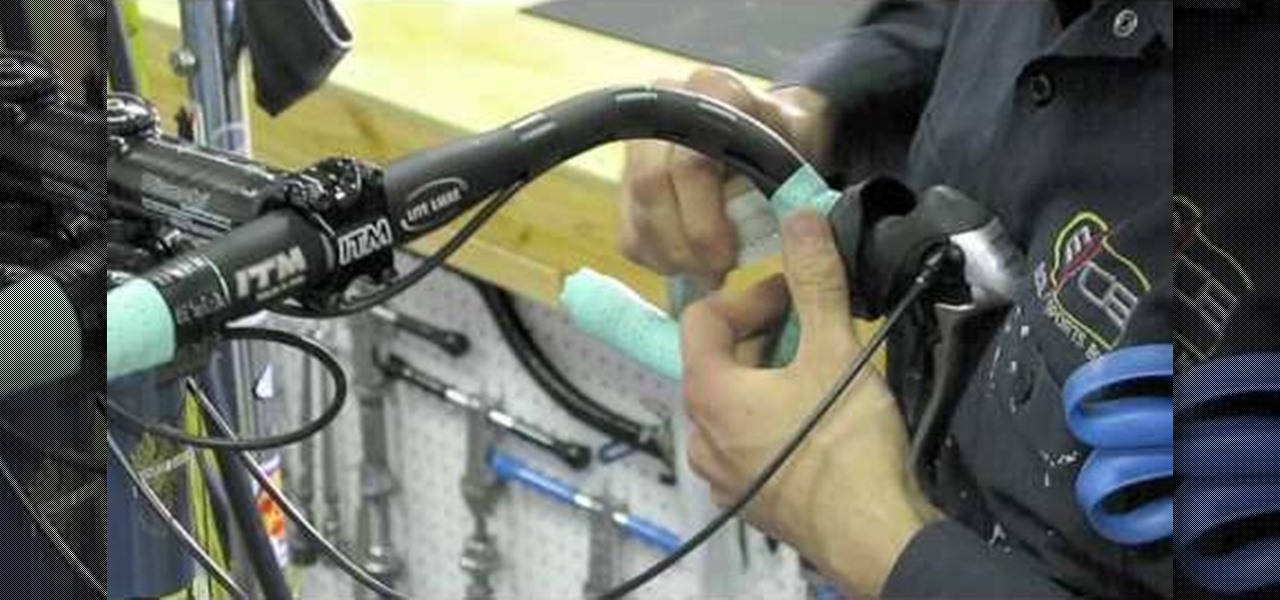
In this video we learn how to wrap handlebars. First, open up the tape and remove the adhesive. Place the tape on the bar and then tuck in one half as you work your way up the bar. The adhesive should be on the bars and there should be tension on them so they lay flat. Once you finish wrapping this, make sure they are tight and secure. Check your work to make sure you didn't leave any gaps and the curve is smooth. Don't pull too hard if you are working with cork tape, this will cause damage t...
Christina Hendricks, who plays Joan Holloway on "Mad Men," recently rendered a male reporter speechless during a live interview. And honestly we're not surprised.
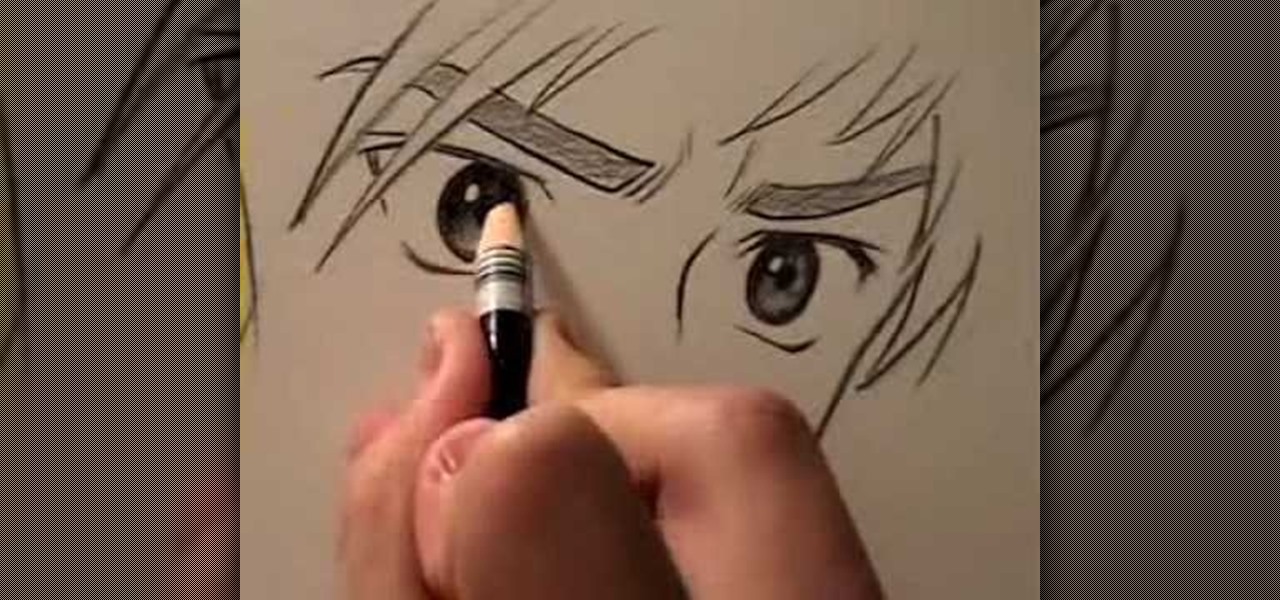
In this video, Mark Crilley presents viewers with four ways to draw anime eyes. The first set of eyes has an intense look to the them, with the face tilted slightly while the eyes are staring at the viewer. Eyebrows are added in a sloping manner in order to create a more dramatic effect and drawing attention to the eyes. The next set of eyes are more hexagonal in shape and look downwards while wide open, creating more of a surprised expression. Thick eyebrows framing the eyes also bring atten...
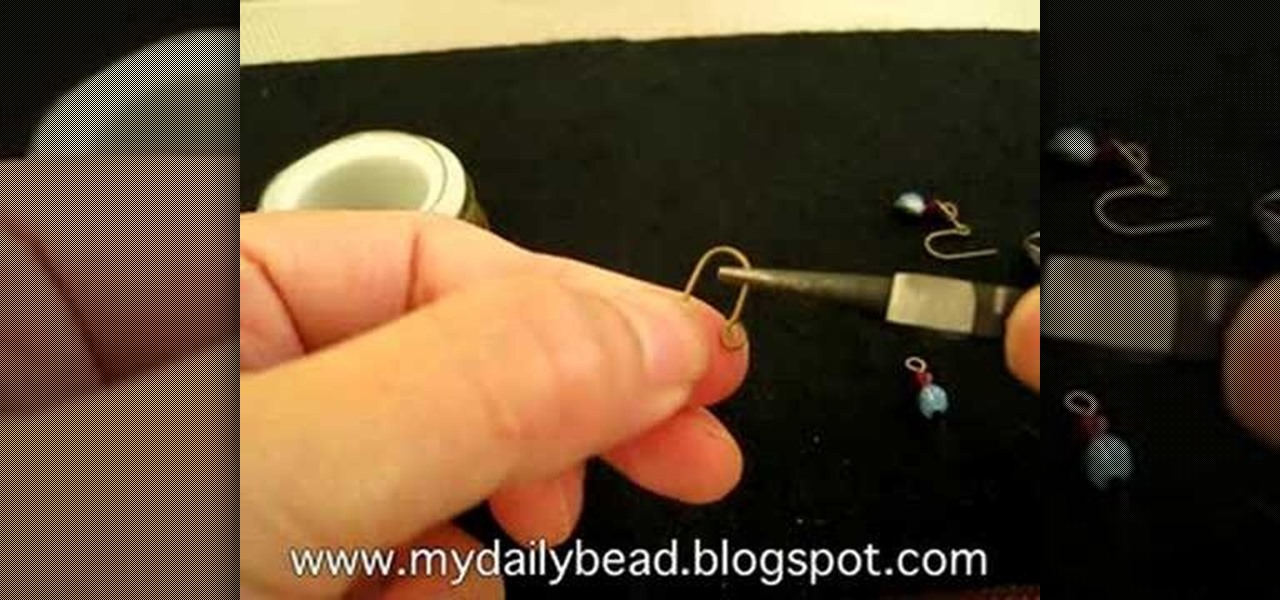
In this tutorial, we learn how to make earrings with Swarovski Crystal & coiled wire. You will need: 6 mm round bead, 4 mm Swarovski crystal, 2 inch head pin, and coiled wire. First, place the beads on to the head pin then bend the pin to 90 degrees. Cut this around 8 mm with a wire cutter, then use pliers to curve the bottom of the pin into a loop. Now grab the wire and cut it into a small strip. Form a loop at the bottom, then twist it into a wired circle. Attach this to the loop on the ear...
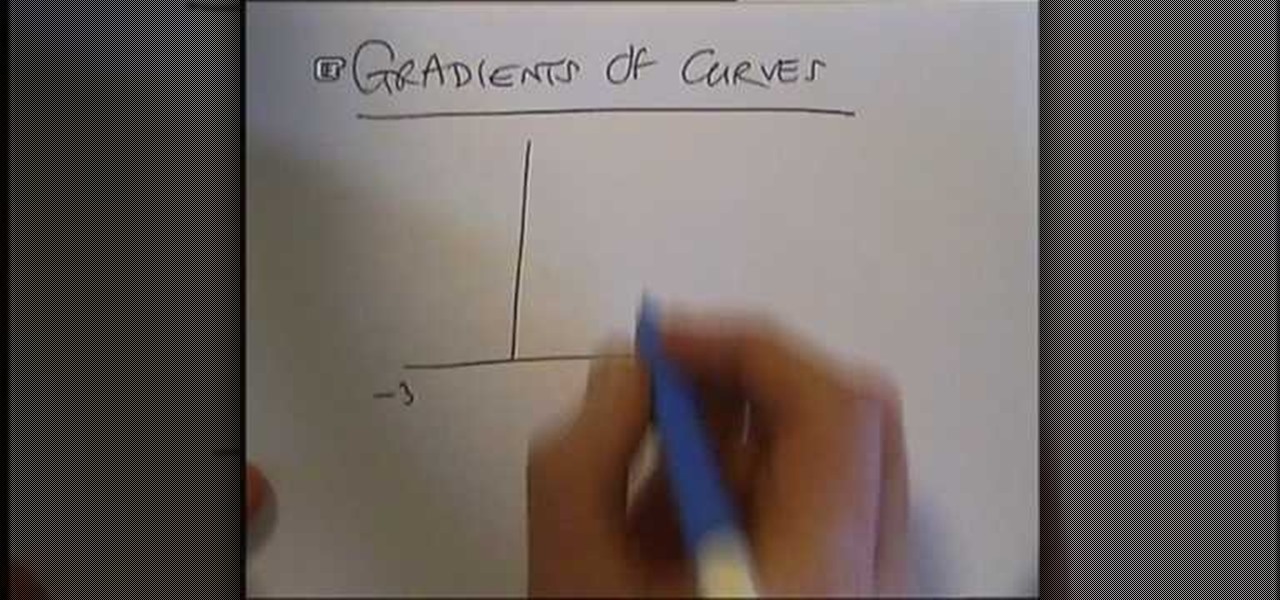
This informative video series will help you with finding your derivatives through the process of differentiation in calculus. Follow along and graph the gradient of the given curve and then solve it as you go along! Just make sure you follow along exactly!
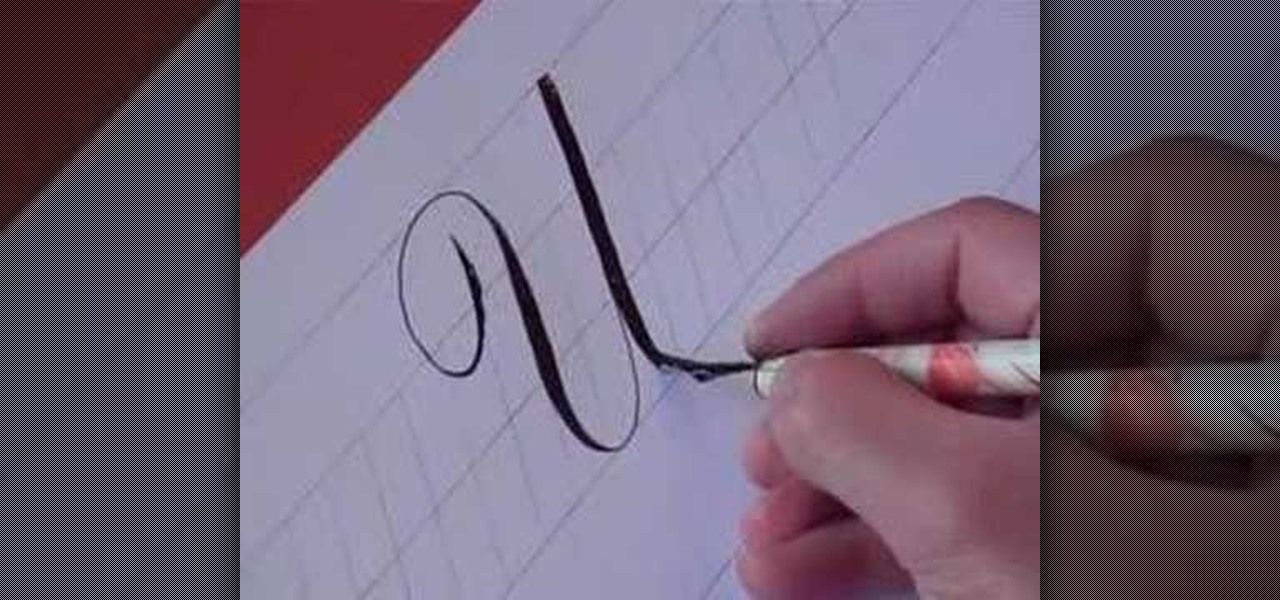
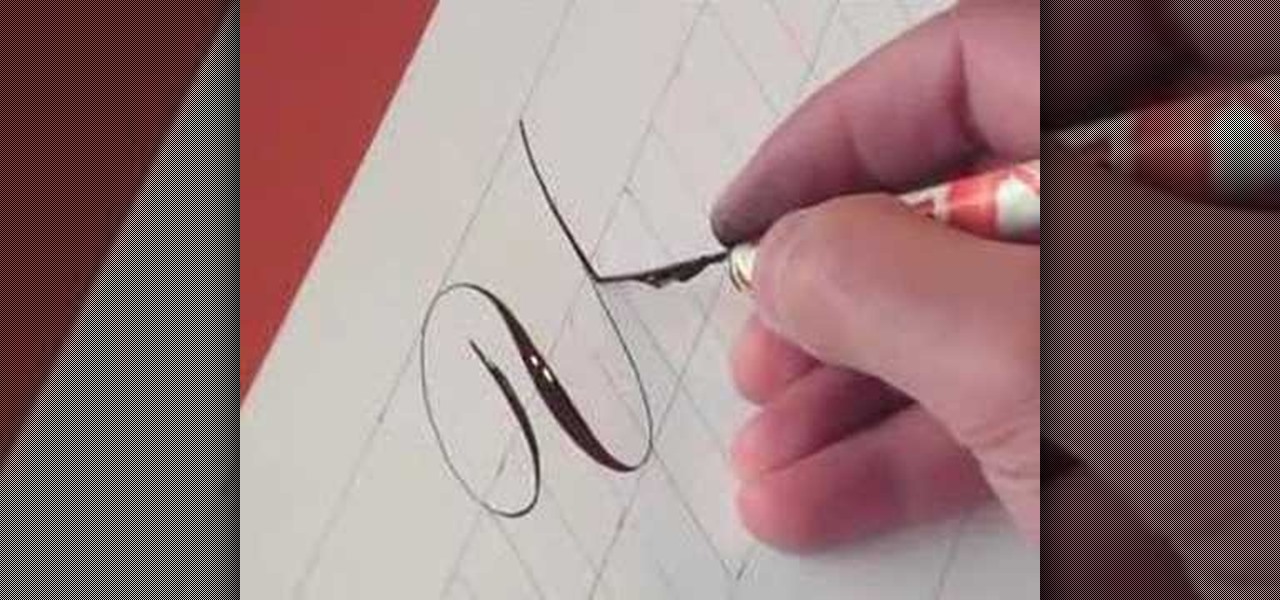
In this video, you will learn how to write the letter U in calligraphy copperplate. Capital U: Take the calligraphy pen with black ink and scaled calligraphy paper. Make a narrow, looped curve to start the "U". After the loop, make a broad brush stroke down. Narrow the brush on the up stroke and broaden again on the down stroke. Narrow the brush on the final upstroke.
In this tutorial, we learn how to write the letter Y in calligraphy copperplate. First, make a thin line with the pen, going thicker as you go down, make a loop and then come back down. Make a "u" shape, then connect a curved line to the other side finished with a dot on the bottom to complete the letter. To make the lower case letter, make a small thin hump, then drag the pen down to a thicker line. Make a new line on the other side, making a thicker line and connect it with the other shape ...
In this video, we learn how to make a ceramic slab plate. First, roll out the ceramic. After this, place the clay on butcher or newspaper and smooth it out with a plastic card. Repeat this on the other side. Next, use a paper template to help cut your design or use a circular object. Cut slits to help remove the surrounding clay. Use the excess clay to build support pieces then curve the edges of the plate up and place the support pieces underneath. Use a piece of leather to smooth the edges....
The Ghost is one of the most important vehicles in the Halo universe, allowing the Covenant forces to move quickly and dangerously across any environment. This video features detailed instructions for building a model of a Ghost yourself out of Lego blocks.
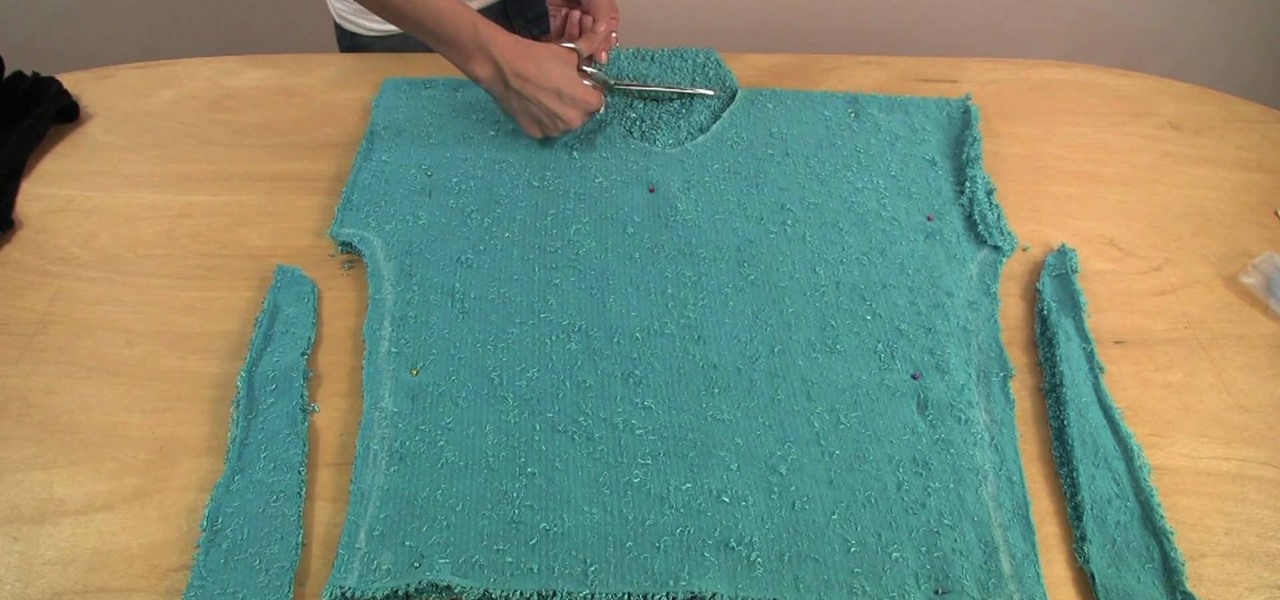
With the weather getting colder and colder this winter season, you may need to update your winter clothing with some new, warm sweaters. If the weather is just a little too chilly for your taste, then layer yourself up with this fashion tip. See how to make a lux short-sleeved sweater in this video from GiannyL.
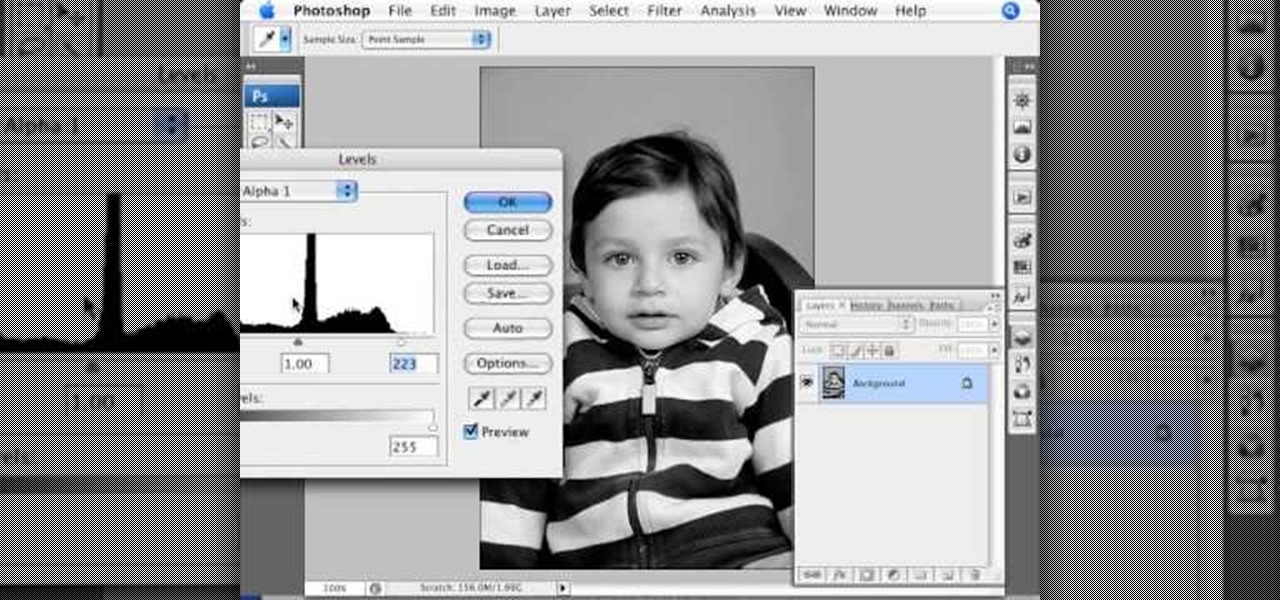
Want to digitally restore an old family photograph in Adobe Photoshop? Before you can remove noise and dust, you'll need to scan and crop it. Maximize dynamic range with Photoshop's levels and curves tool. Whether you're new to Adobe's popular image editing software or simply looking to pick up a few new tips and tricks, you're sure to benefit from this free video tutorial from the folks at Britec Computer Systems. This video offers a step-by-step guide on how to scan and crop images using Ph...
Want to restore an old photograph? With Adobe Photoshop, the process is easy. Maximize dynamic range with Photoshop's levels and curves tool. Whether you're new to Adobe's popular image editing software or simply looking to pick up a few new tips and tricks, you're sure to benefit from this free video tutorial from the folks at Britec Computer Systems. This video offers a step-by-step guide on how to repair damaged photos using Photoshop's clone and band-aid tools.
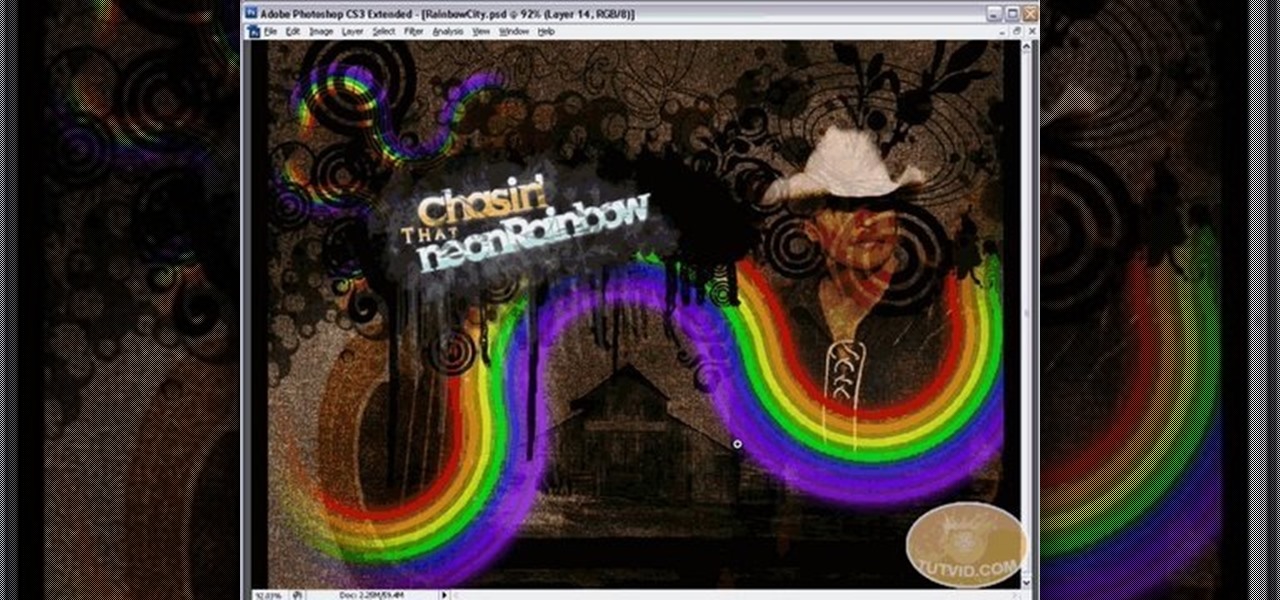
In this brief tutorial brought to you by TutVid.com, the host teaches you how to make a swirling rainbow graphic that you can use in many diverse ways. This vector images is made in Illustrator can be used in conjunction with several of the most popular photoshops. He uses several different techinques, like making a circle, cutting it in half, and recycling and rotating the image until you have a full, s-curve line. Superimposing several of these lines upon each other, he creates the finished...
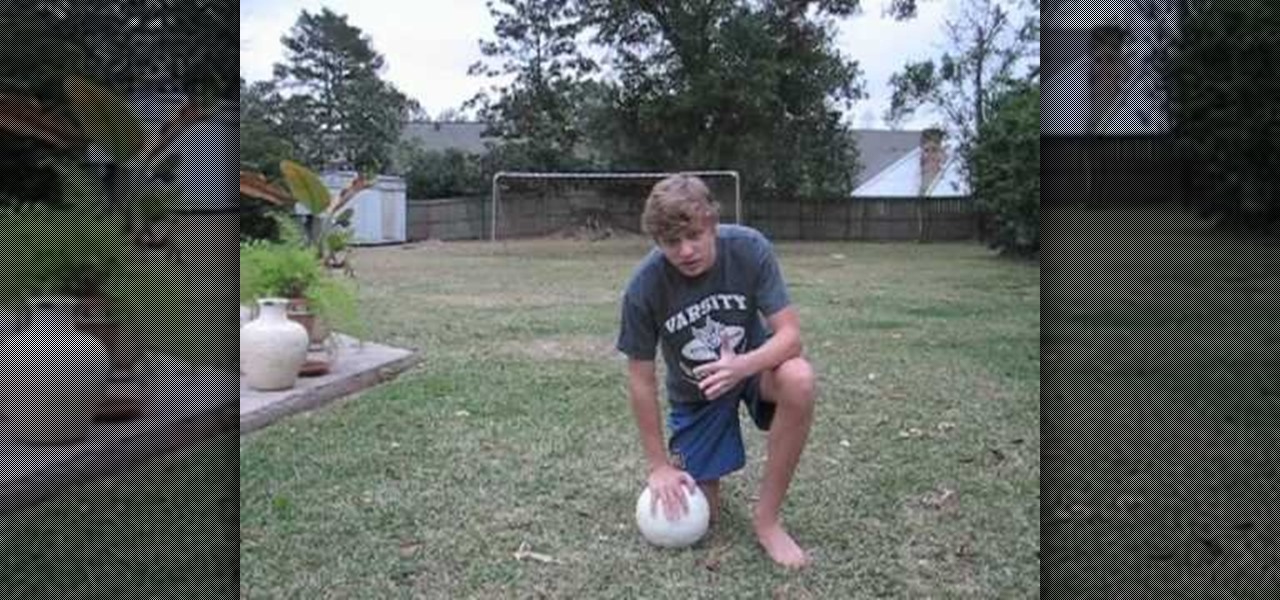
so the video is about how to knuckle a soccer ball. first of all, you need to kick the soccer ball with your foot. Do not kick the ball with the point of your foot, because you can not control the direction witch the ball is going to go. it is usually off target if you kick it with the point of your foot.
Start with an eye pin. Place a gold bead and end cap on it. Now put on a piece called a stamp, or stamping. You want to find one that is curved like a lamp. Next put on a large crystal (8mm). In this video she uses a Swarovski crystal. Find some beads you like and place them on the pin. At the end, place on a large plastic back of an earring to secure the beads and hold the "lamp" upright. Now to make the little beaded fringe at the edge of the lamp, you take another eye pin and thread on som...
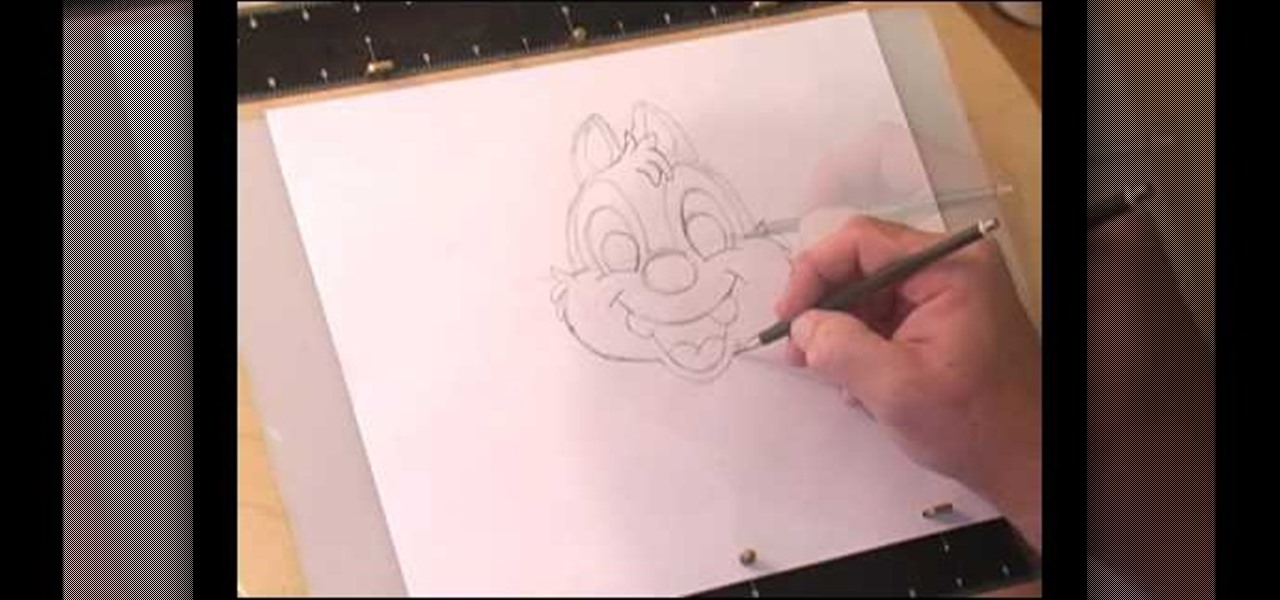
This video shows us how to draw a Dale character. First you draw a ball about the size of an orange. Insert construction lines in the shape of a cross. Starting with the small middle area, draw the mask outline and add the ears at the top. Draw in the nose under the middle line. Draw the cheeks outside the construction line on both sides. Add smile lines on each side and draw a curve between them for the mouth. Extend the lower part of the mouth outside the construction line. Insert teeth and...
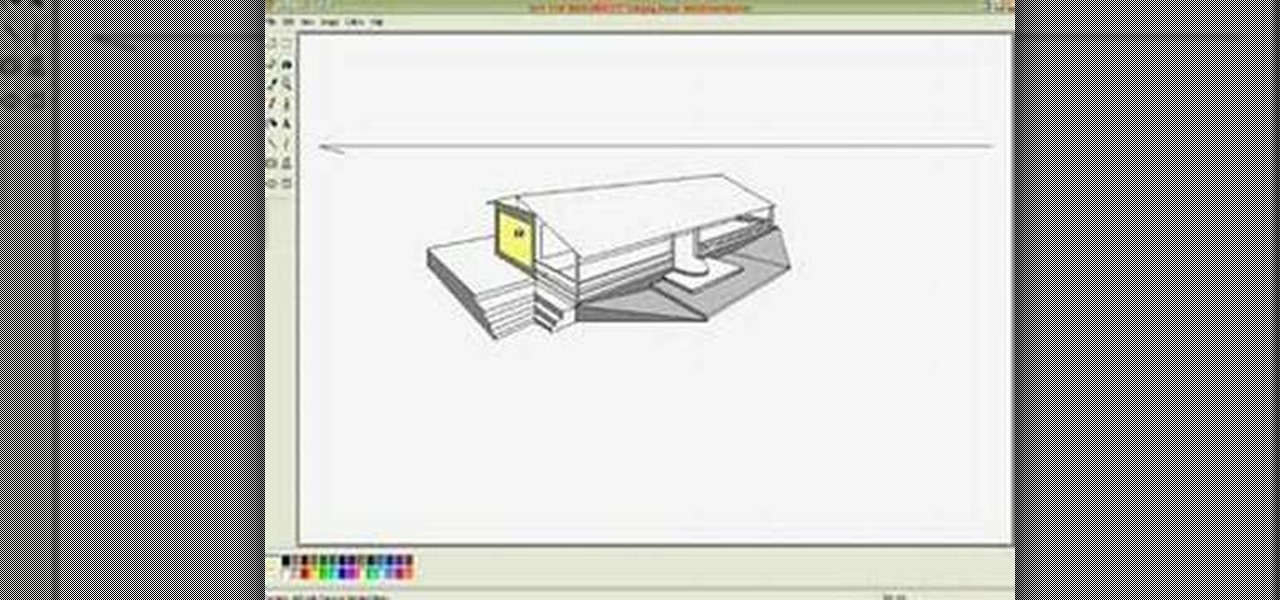
In this video, Lance Sisiolo draws a beautiful house using Microsoft Paint. He uses line tool to draw most part of the house. He uses different types of lines. He also uses curve tool to draw sky and the entrance of the house. The unwanted part of the picture is erased using erase tool. Then he uses fill with color tool and airbrush tool to paint the picture. He uses different colors to increase the beauty of sky and the house. Then some trees are added. Using airbrush tool he increases the b...
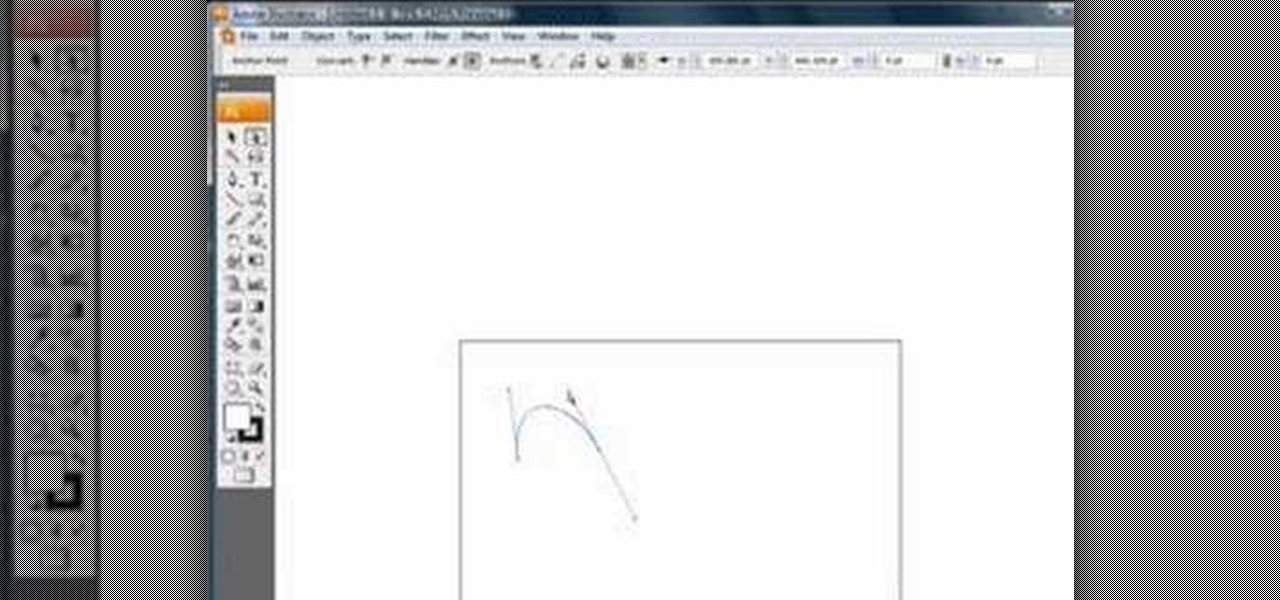
Chad Perkins shows how to use the Bezier pen tool in Photoshop, Flash, and After Effects. Perkins attempts to shed light on how the tool can be used and dispels certain misconceptions about the pen tool. The pen tool allows users to create various types of paths, either open or closed, at the most basic level of use. At the more complex level, the pen tool can be used to create professional looking curves. For better understanding of what the pen tool can do for graphics and other designs, fo...
This is how you can learn how to easily accomplish a parkour rail balance. When you first start out, use a rail that is close to the ground; you will probably fall several times while practicing. As you get more used to it you can use rails that are higher. Start out by walking across the rail slowly; keep your feet forward or curved, whichever you prefer. Eventually you will get faster and be able to jump from rail to rail. Just keep practicing and you will get the hang of it quickly.
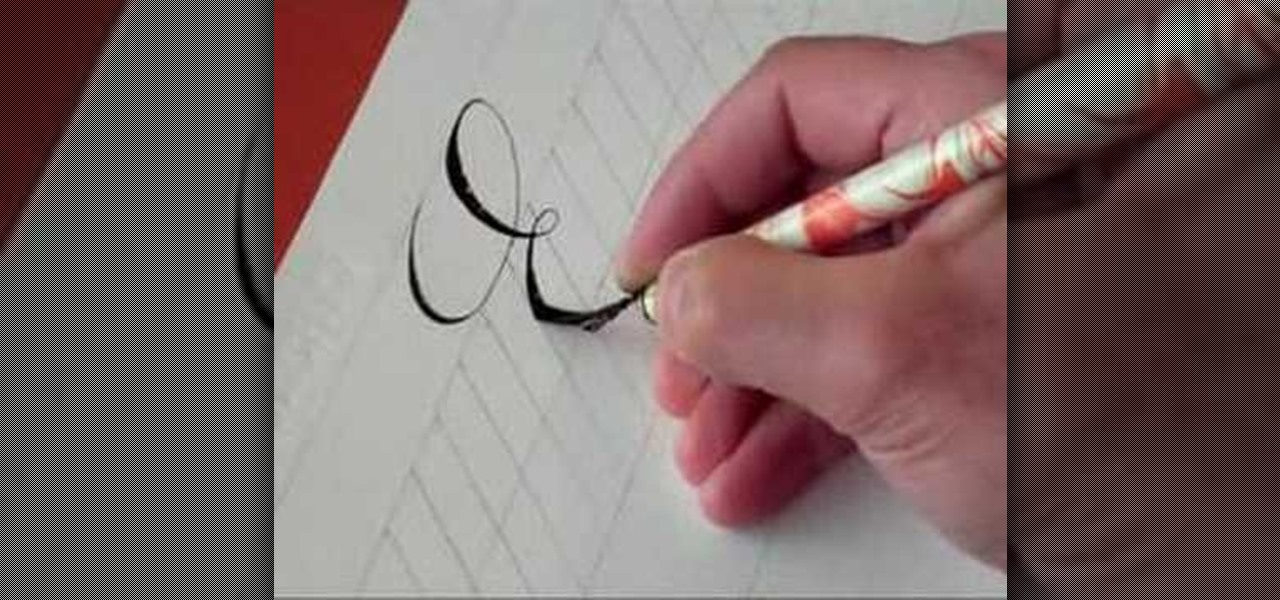
How should you write in copperplate? Hamid will show us how write E and e in copperplate. First we need a book and a pen specially to write in copperplate. This type of font has letters with narrow edges and it gets broader in the middle. For capital 'E', it will be in curved form with the font's unique style of thickness. The small 'e' more looks like a 'c' with a closed loop. It will help in improving your handwriting style and add some grace.
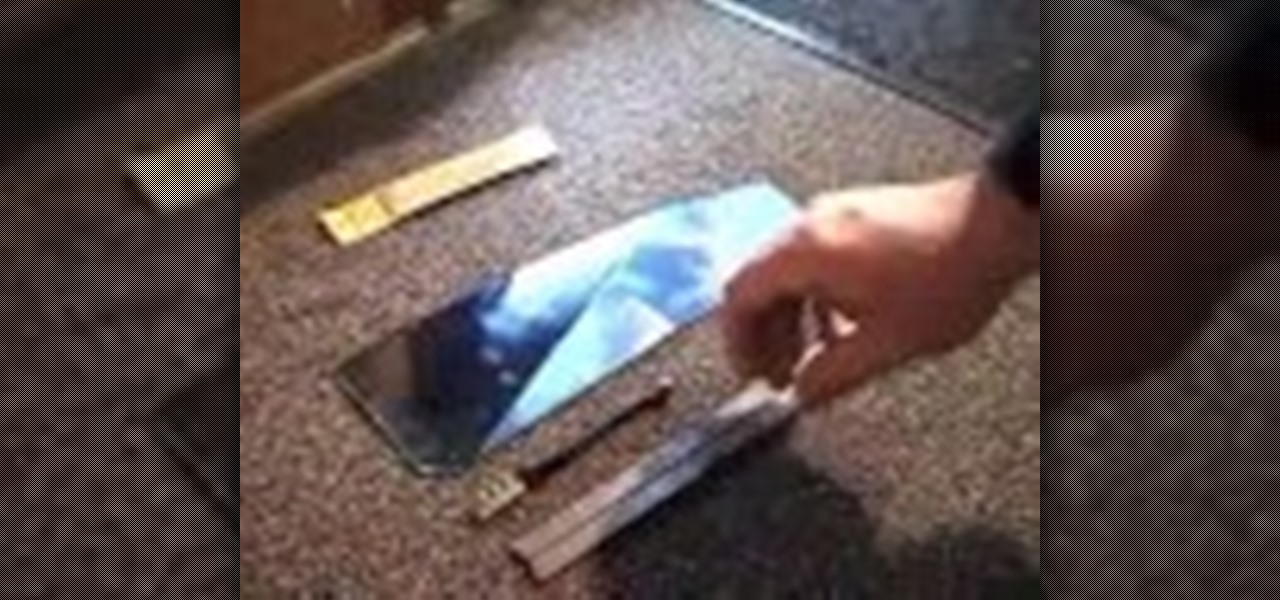
Looking to get some glass cut? Instead of taking it down to your local glass cutter and shelling out some cash, why not learn to do it yourself? In this video, learn how to cut glass using a "glass cutter".
This tutorial shows how to make tiny molded roses and leaves that you could put on cupcakes. To start you only need a few ingredients: icing sugar, water, paste coloring, fondant icing sugar, and a piping bag (optional). Mix all ingredients together, then put them in a bag so they stay soft. Make the color of the rose or petals any color you want. Knead the dough so that you will have the color you would like. Next, break off a piece of the kneaded dough and form it into a cone shape. Break o...
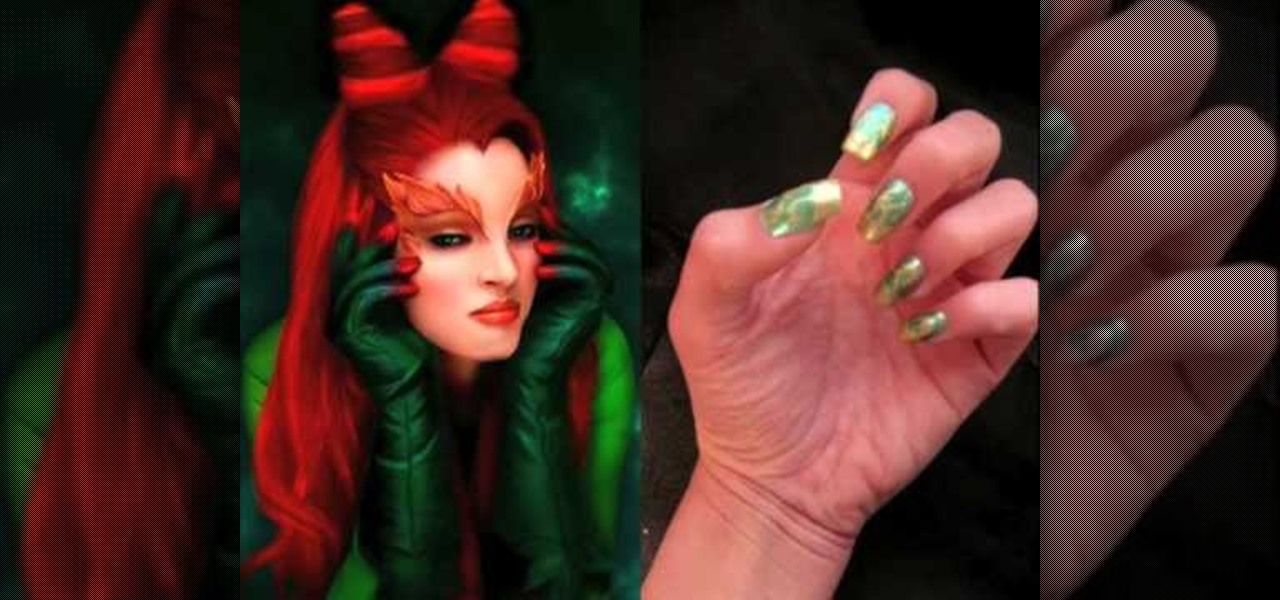
This video demonstrates how to make nail art inspired by the character Poison Ivy. You'll need a nail file, three non-fabric Band-Aids, scissors, toothpicks, green metallic and gold nail polish, and top coat. First file nails into a square shape. Cut each Band-Aid in half. Paint over entire nail with metallic green and let dry. Cover the lower part of the nail with the Band-Aids, and paint the tips with metallic gold polish, let dry, and remove Band-Aids. Create a vine design on each nail by ...
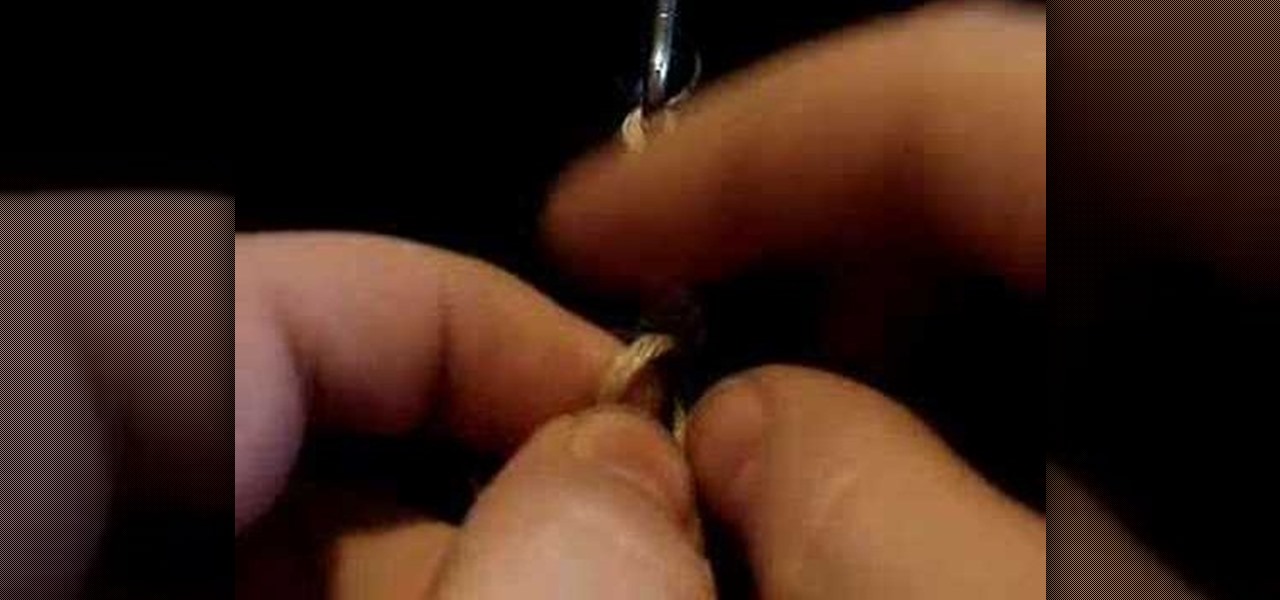
In this video, we learn how to tie a left half knot spiral for hemp jewelry. First, get two bead carriers in the center and have one strand in each hand. Then, take the left hand and place it over the bead carrier. Then, take the right hand and go over the cross section. Tie these up to the top loop tightly and then repeat doing this. This will make the spiral shape once you have created enough of the knots. As you are working it, you will have to spin it a bit in order to keep it curving rig...