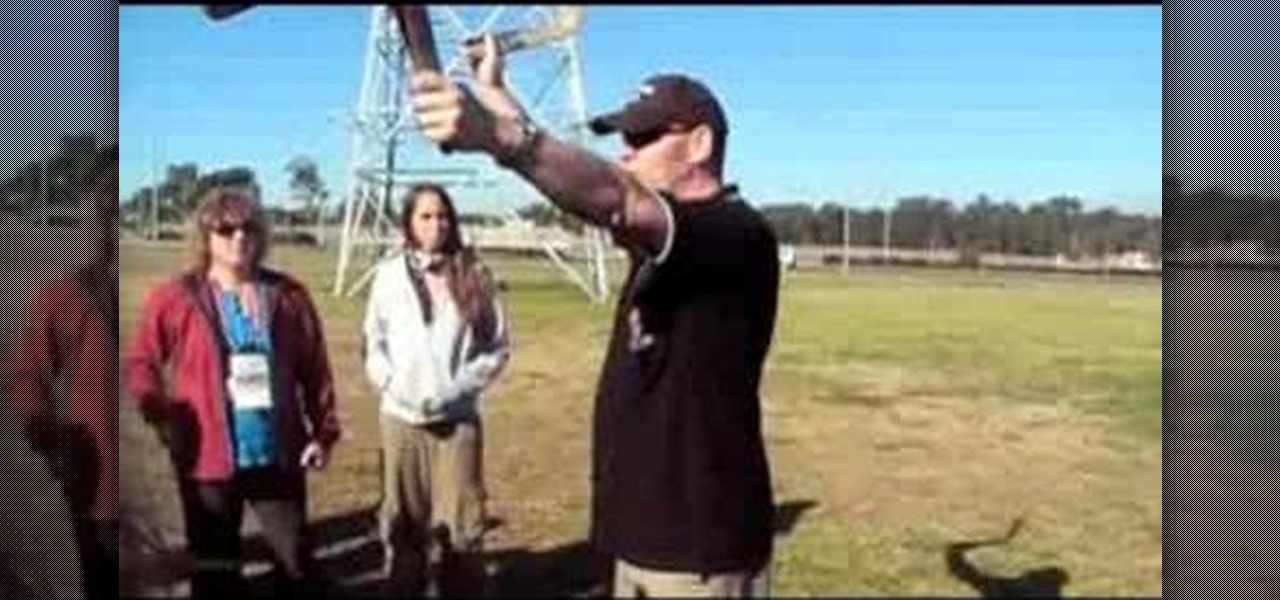
This Australian bush guide teaches the ways of the Boomerang. How to throw the Aussie weapon. Boomerangs are like airplane wings. Have the curved side with the beveled edge facing you. The more you flick your wrist when throwing the boomerang the more rotation your boomerang will have. Throw the boomerang at a 45 degree angle to the wind. Don't throw the boomerang into the wind. Throw it at a 1 o'clock angle, not 12 o clock or six. It's not to be thrown like a baseball or a frisbee. If you th...
Measure twice cut once applies to filmmaking as well as construction or any other complex process really, and that's why preproduction is they key to actually finishing your film on time and budget. This video will help you with several preproduction tasks, including storyboarding, making a shot list, lining / timing your script, and scheduling the actual production of the film.
Pre-production is a much less complex process for an indie film than a big-budget one that needs stars and permits and such, but it's still vital to shooting a good film in a timely fashion. This video will walk you through Ryan from Film Riot's entire pre-production process, including script breakdowns, free casting calls, budgeting, getting a crew and locations.
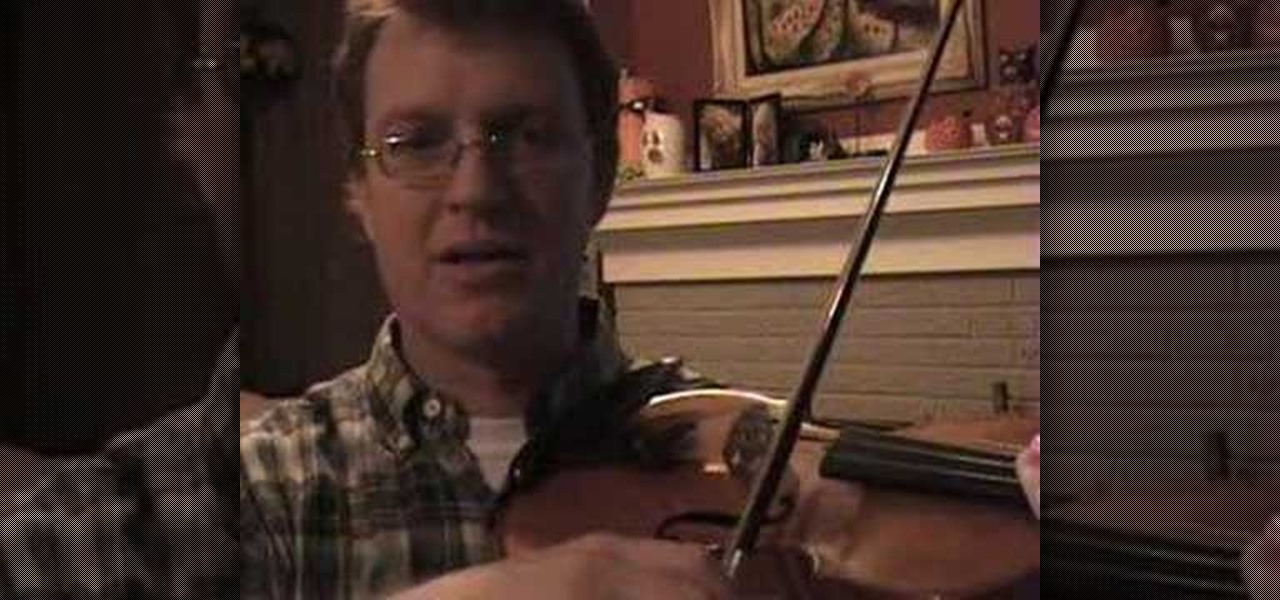
Todd Ehle talks about tonalization, and teaches some tone production techniques in this lesson.
Chiffon is one of those naturally feminine fabrics. Soft, airy, and breathable, it ruffles easily and sashays with the breeze, giving potential suitors just a peek of your sexay curves.

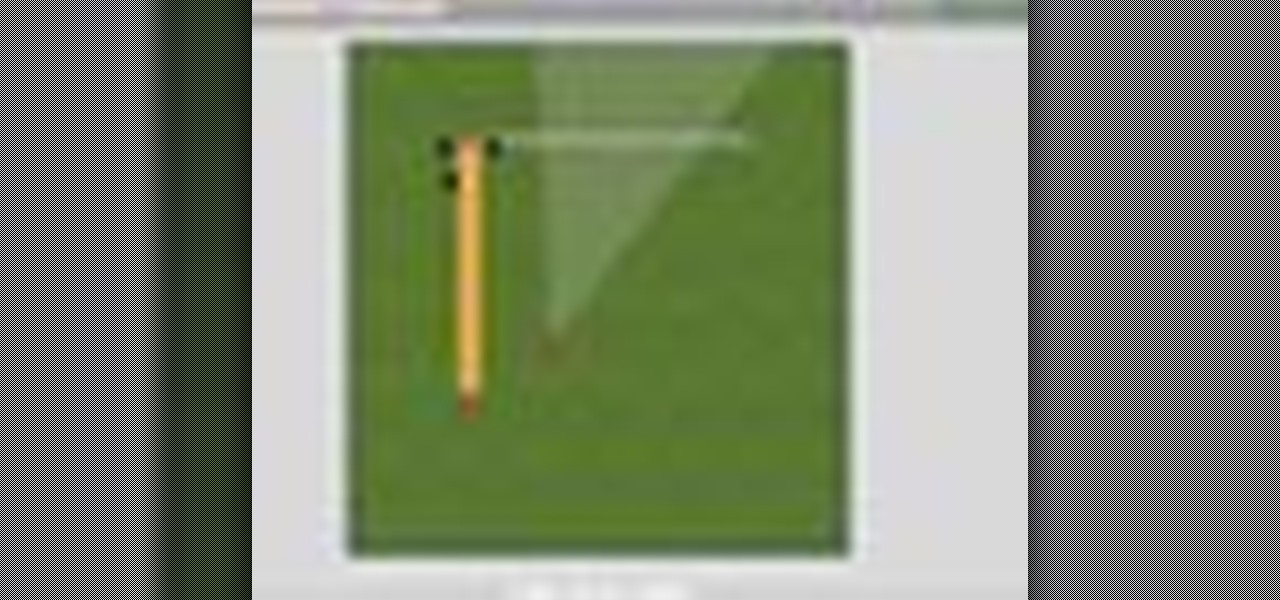
In this tutorial, we learn how to draw a cylinder. First, you will draw the sides of the cylinder and then the curves for the top and the bottom. After this, complete the circle at the top and then shade in the side with crosshatching. From here, draw some lines to shade in on the side next to the cylinder. If you want to draw a cylinder on its side, draw a box around it first and then continue to draw. Make sure all your lines are equal to each other so it evens up and looks more realistic f...

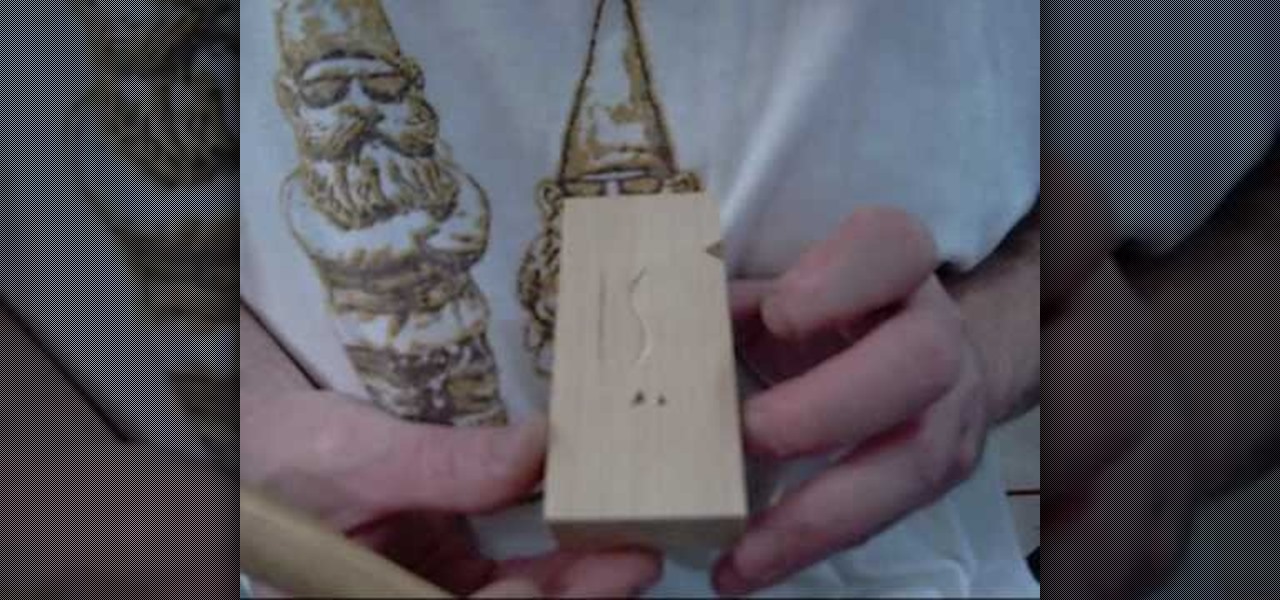
In this tutorial, we learn how to begin using a woodcarving knife. Before you go into the detail, you will want to make sure you have it carved right. The carving all starts in the block of the wood. There will be a couple initial cuts that you will do with a knife after marking the wood with a pencil. Do repetitive cuts to get the right shapes. Also do an 's' curve and hit the lines right. If you want to make this look like a v-tool then you just need to make it with your knife. Have fun and...
In this tutorial, we learn how to find the arc length of a function. All you're doing when finding arc length is finding the curve between 'a' and 'b'. Imagine this as a string you're pulling straight to see how long it is going to be. The formula says if your function is in 'y=x' you have to take one times the derivative squared. This is a basic formula that you will use to find the arc length. When you plug in your values to this equation, you will find the answer. Practice with the example...
In this tutorial, we learn how to draw a skull. First, draw the letter c with flames inside of it. After this, draw a lightning shape next to that and then draw teeth on the bottom of it. From here, you will draw in the rest of the head to the left of the side. Add in details and lines to show the bones curving and the jaw bone. After this, draw in the teeth on the bottom of the mouth on the jaw line. To finish this up, you will use your pencil side to shade in the side of the skull and add i...
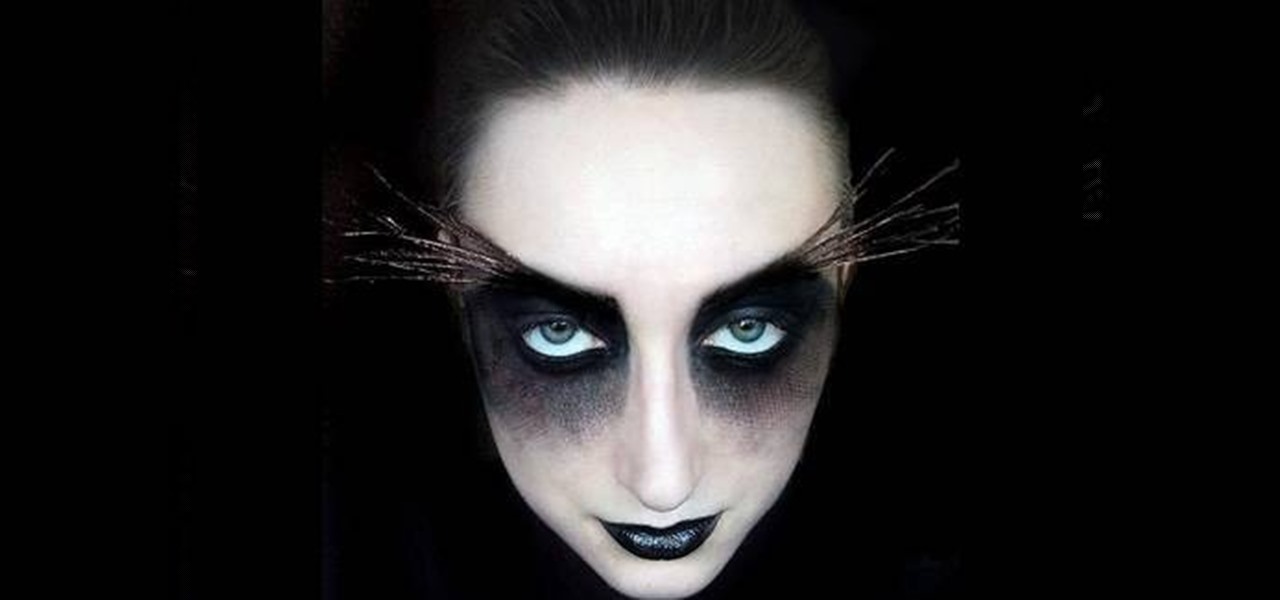
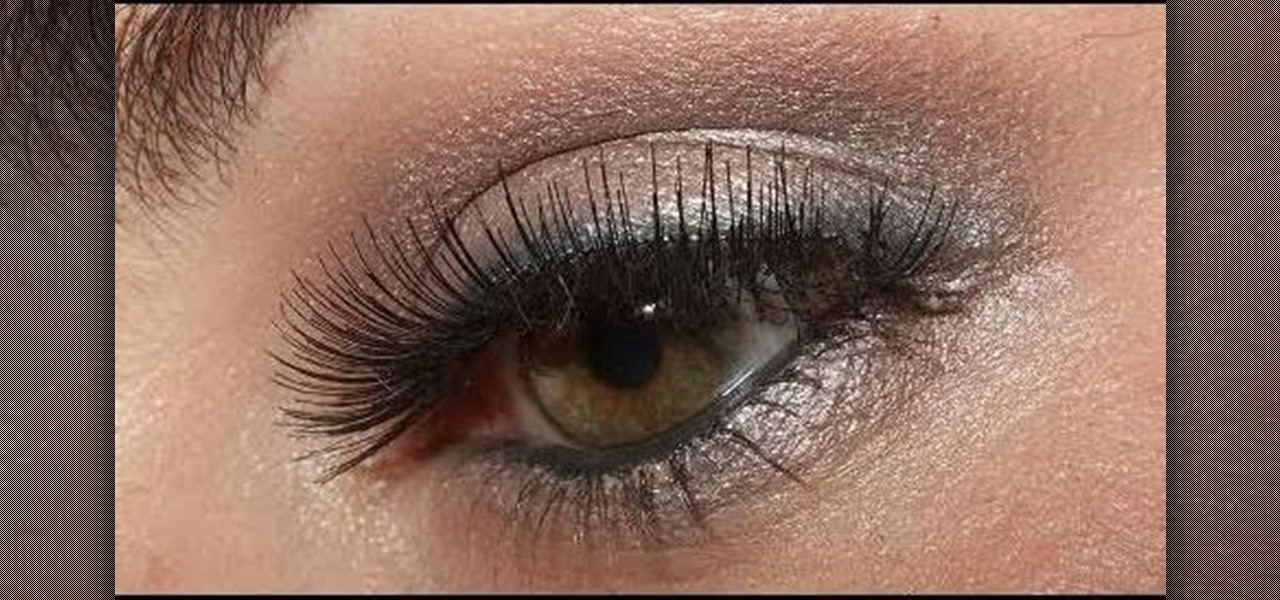
Talk about unconventional Halloween costumes. Forget hot vampires and hot werewolves; it's all about sexy moths this Halloween. But rather than going with cheesy wings and antennae, we're talking deep, sunken eyes with eyebrows that extend out into moth-like wings and black lipstick. To learn how to create this awesome look, check out the video.
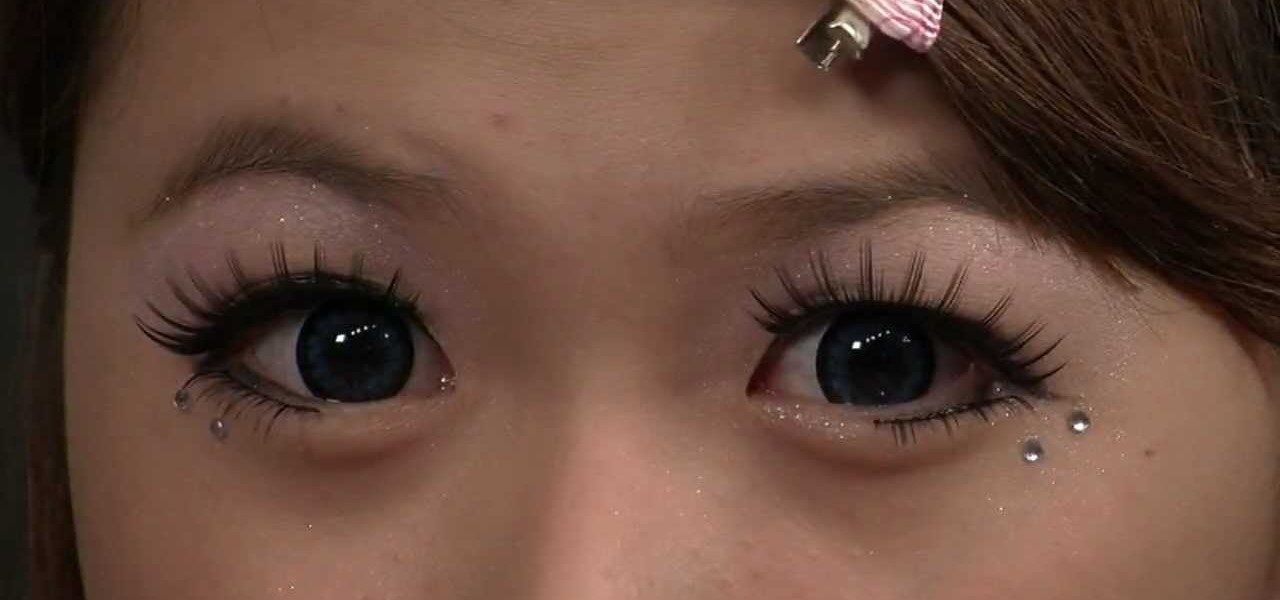
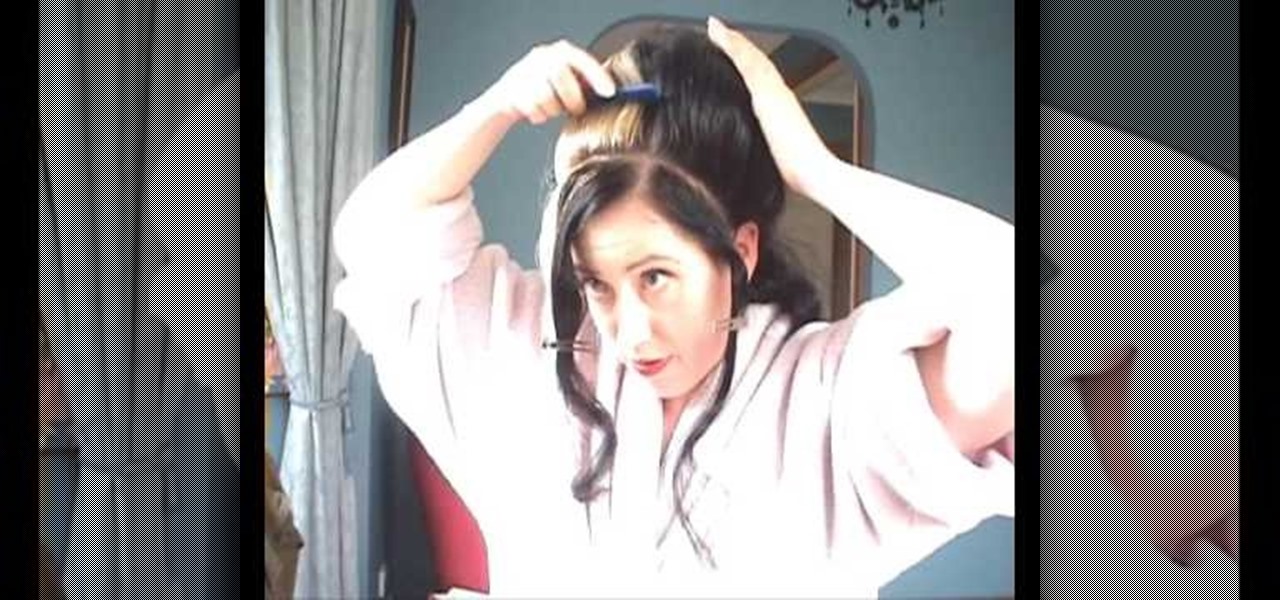
Want to look like a living doll? That's the goal of thousands of Japanese girls in the Harajuku district of Japan, where all fashion trends start. No matter what style of dress, the dolly look seems to be pretty pervasive, espcially when it comes to makeup.
In this tutorial, we learn how to make a Duct tape hat. First, grab a hat that you want to duplicate and measure it out with a piece of paper. Then use this piece of paper as reference to how you will cut your pieces of duct tape. Now, cut the duct tape and stick them together to create the top of the hat. After this, you will connect the other areas of the hat together and make the bill of the hat. This will need to be thicker than the other areas and you will also have to cut it into a curv...
In this video, we learn how to draw an eye step by step. First, draw the curve of the eye on the top and on the bottom. Then, draw in the pupil of the eye and the inner corner of the eye. Use a light touch with the pencil to make the circle in the middle of the eye. Then, draw around it with a bolder line. After this, draw the crease above the eye, then draw shading to show where the crease line is. Next, fill in the pupil and add in a circle to make the eye appear glossy or that light is hit...
In this video, we learn how to prepare a honey dew. Start off by cutting the end off of the honey dew. After this, cut the other end off of the melon as well. Next, you will take the knife and cut from the top to the bottom, curving the knife. Cut behind the white part so there is no more left over on the melon. Look to make sure there is minimal green left on the rind so you have only white showing. This will give you more honey dew that you can eat. When finished, you will cut this in half ...
In this tutorial, we learn how to draw wolf paws. First, draw a rectangle on the paper and then draw in curves inside the rectangle that will give you a base for the paw's features. After this, draw two lines coming up from the paw and then draw claws on the bottom of the paw. After this, erase the sides of the rectangles. Start to add in additional lines for the claws on the paws and then add in details for the knuckles. To finish, draw in lines for the hairs and then finish off the paw with...
Love handles, also affectionately known as saddlebags, don't look quite so cheery in a bikini or popping over skinny jeans as a muffin top. In fact, if we're going to be honest here, the only time you can get away with being adorably chubby is when you're five.
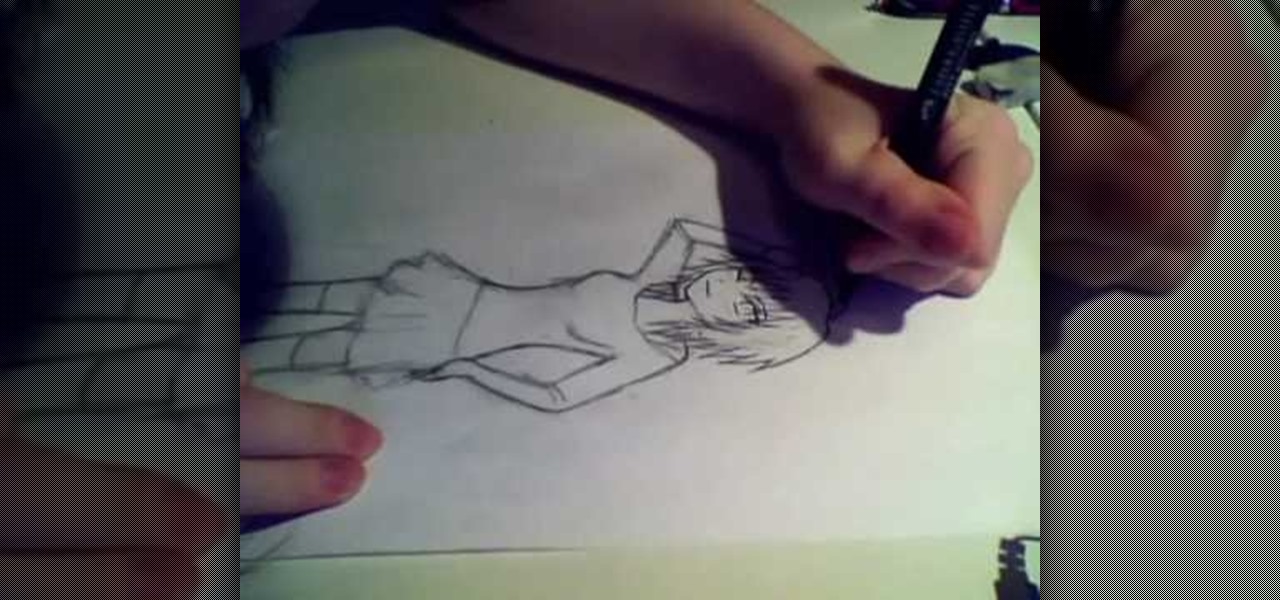
In this tutorial, we learn how to draw a manga girl. Start off by drawing the outline of the body, starting with the head. After this, draw the neck and shoulders, leading down to the rest of the body. Make sure to give the character feminine curves as you are drawing. Then, add in the features of the face and then give her bangs and short spiky hair. Next, draw a long sleeved shirt on her, that has wide shoulders on it. Continue to draw, making sure to add on lines to show contours where the...
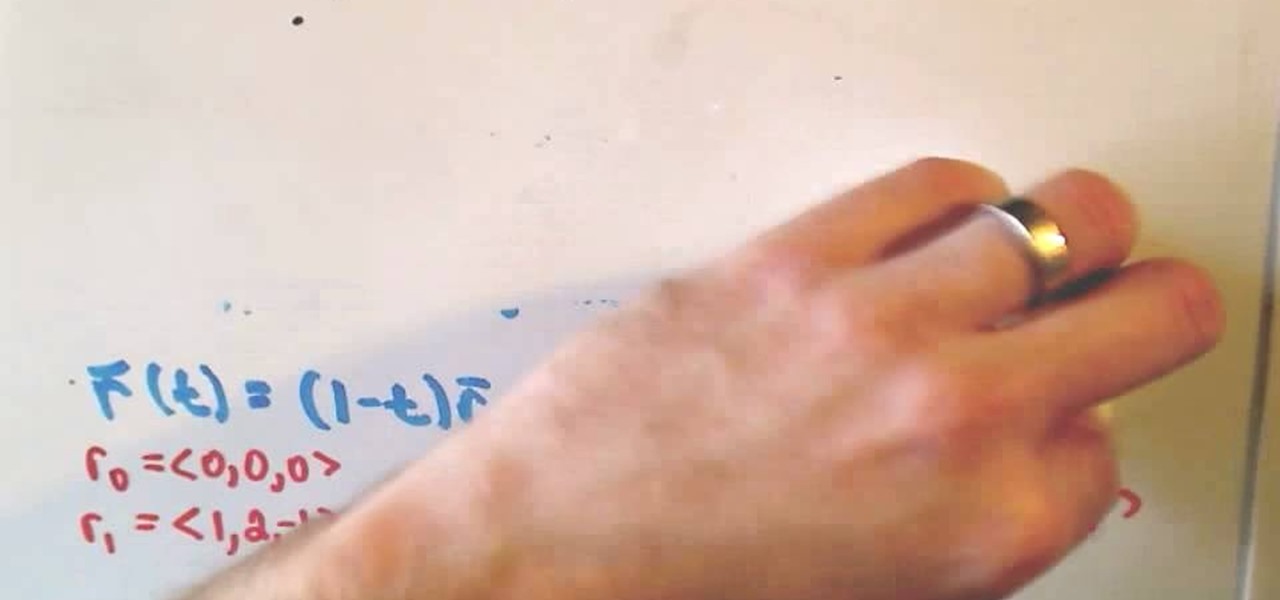
This video tutorial is in the Education category which will show you how to evaluate a line integral along a straight line segment using the definition of the line integral. This video evaluates a line integral along a straight line segment using a parametric representation of the curve (using a vector representation of the line segment) and then integrating. A vector representation of a line that starts at r0 and ends at r1 is r(t) = (1-t)r0 + tr1 where t is greater than equal to 0 and lesse...
In this tutorial, we learn how to draw a female vector cartoon character in CorelDraw X4. Start out by drawing the head of the character with lines that are curved. Then, add in the pupil and color of the eye. Don't forget to add in the lines underneath and on top of the eye, as well as the creases above them. Copy and paste this to create the other eye, then add in eyelashes and eyebrows. Then, draw in a nose and shape the face. add in additional details to the face, then add in the colors t...
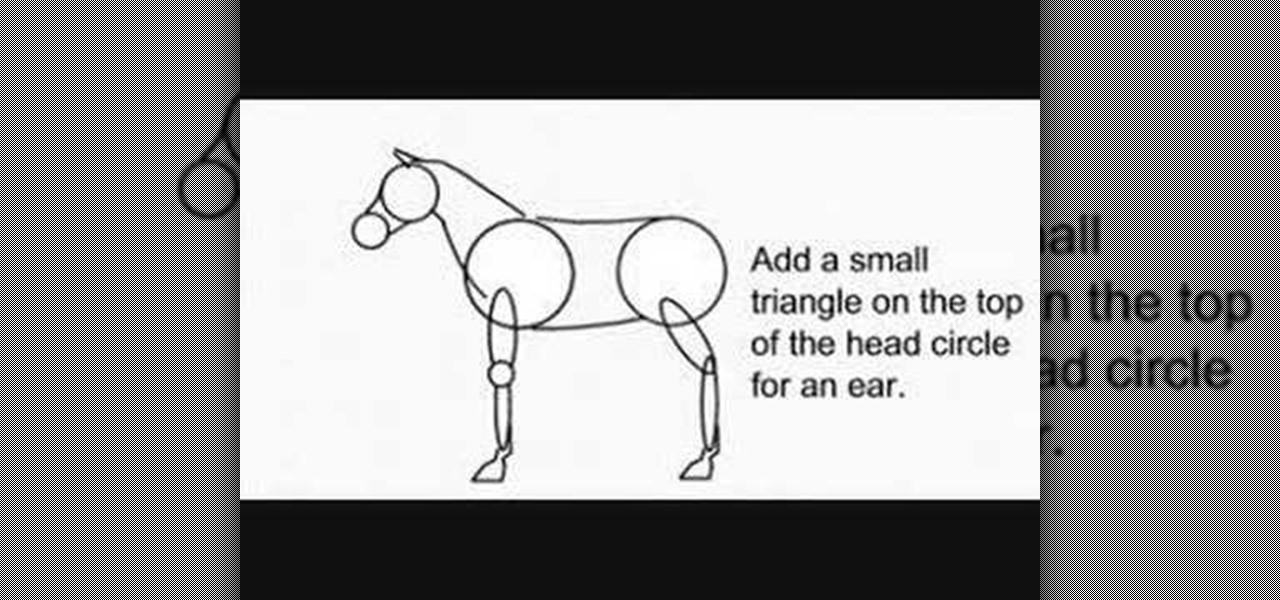
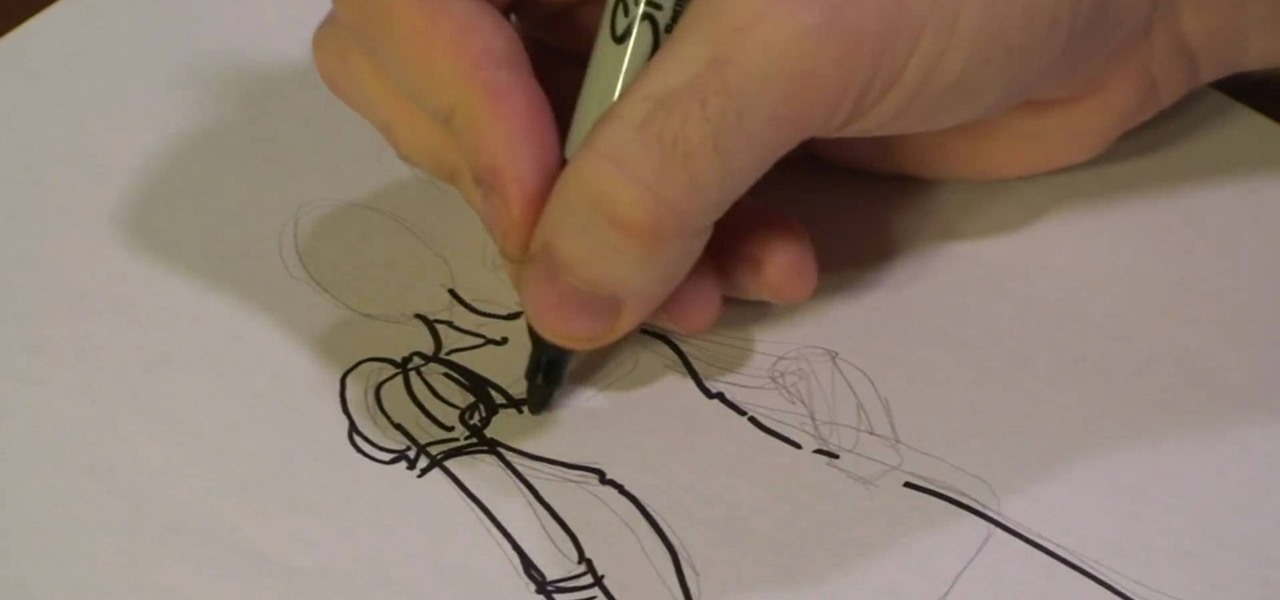
In this video, we learn how to draw a decent horse. First, start with two circles connected by two curved lines. Next, add a sausage for the top of each leg and add a small circle for the front of the knee. Then, add another for the lower part, and add two hoof outlines at the base of each leg. Then, add the back of the hooves. Next, draw two more lines that are far apart at the bottom and narrow at the top for the neck. Then, draw two circles for the top of the head and the muzzle. Join the ...
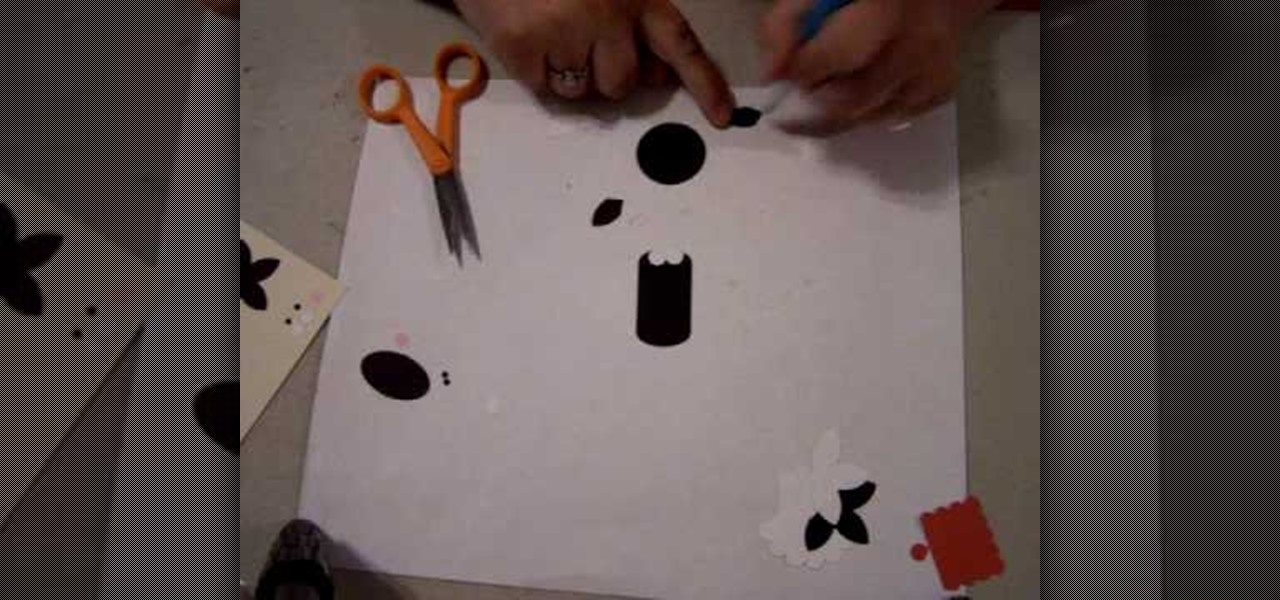
In this tutorial, we learn how to make a cat punch using Stampin' Up! products. First, you will need to use the: circle scalp punch, circle punch, oval punch (black and white), and five petal punch (black and white). You will also need two small circles each of black and pink for the eye and cheek area. Once you have all of these punched out, you will be able to assemble the head. Use the circle as the head and apply the white and black circles in the middle for the eyes. Use the flower punch...
What we love about Christina Hendricks is that the lady's got serious curves - you know, the kind that would make those cartoon cayotes howl and hearts pop out of their eyes.
Disney starlet Selena Gomez was once called "the next Miley Cyrus," but over the past year or two she's really stepped out on her own as a bonafide movie star and pop singer. With recent hits like "Naturally" and "Round and Round" to add to her long list of accomplishments, the actress is setting the curve for a new era of stars.
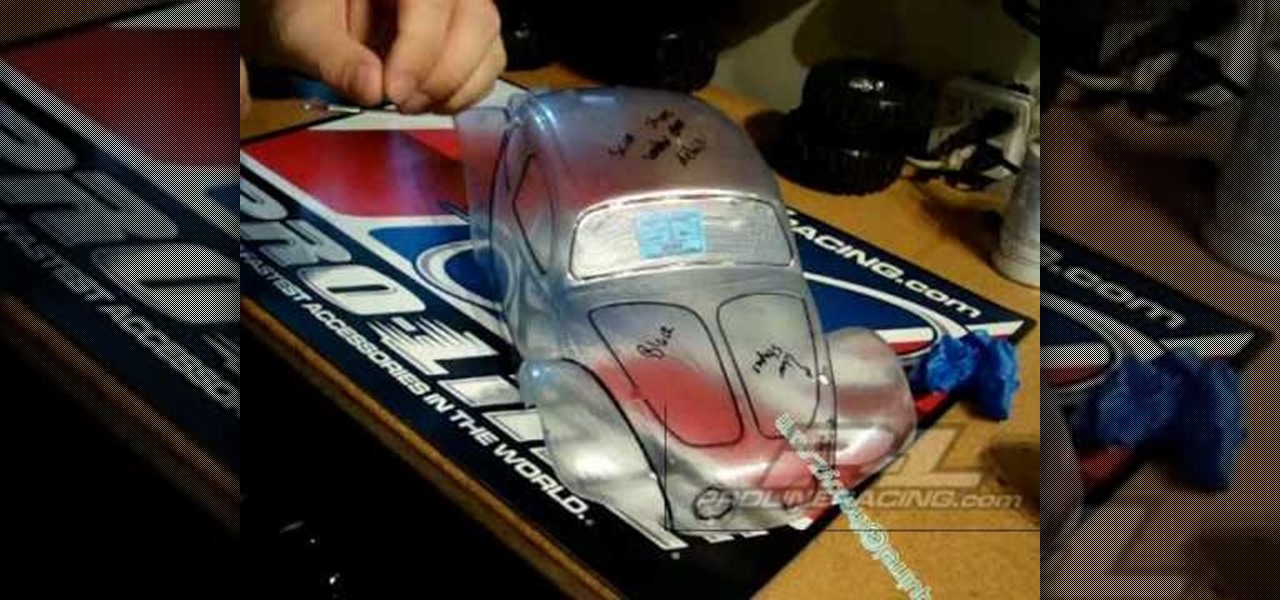
In this video, we learn how to apply stripes and add lines to RV cars. You can do curved lines or straight lines, depending on the look you want. For straight lines, you will take tape and mark from the hood to where you want the tape to end. Use different sizes to create the look you want to achieve. To get the lines straight, place the tape on a straight surface as a guide with the clear top that goes over the vehicle. Once you do this, you can paint around this to form opposite colors. The...
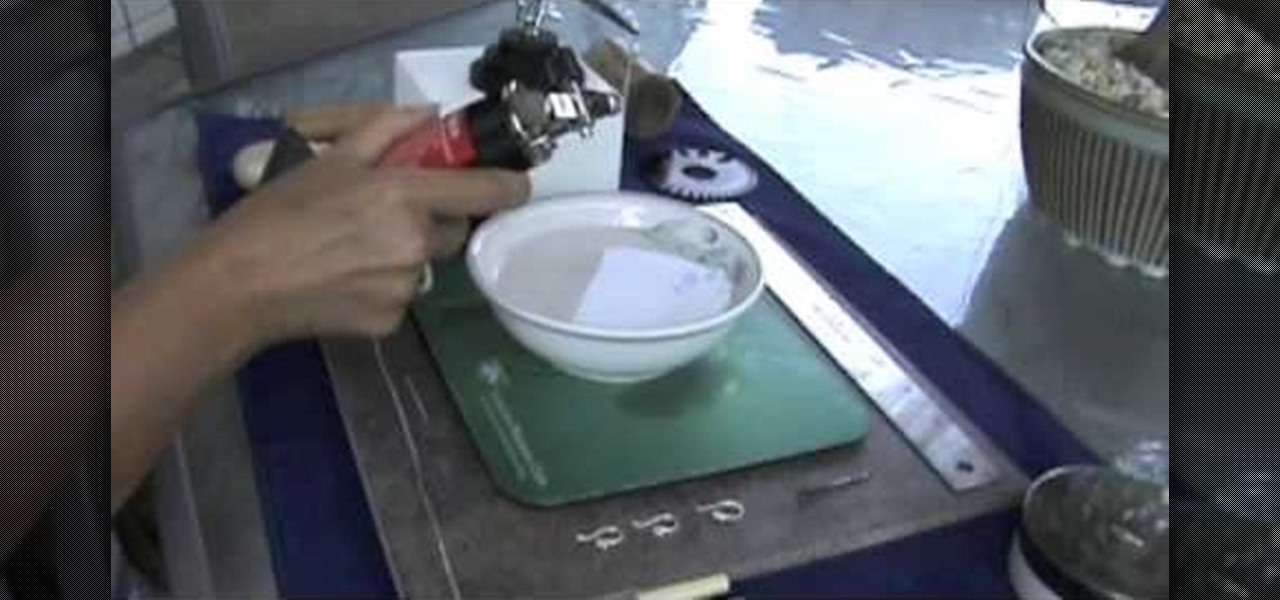
Make fine silver ball earring wires
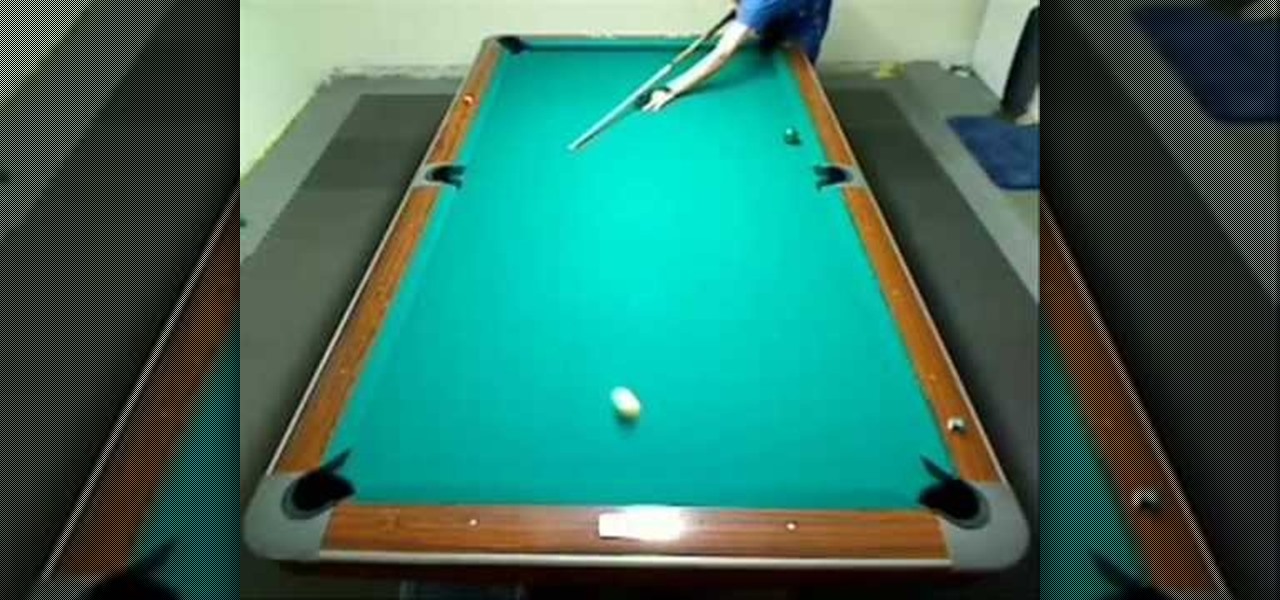
In this video, we learn how to play pool with the inside outside English drill. During this, you will pocket the balls into rotational order. The balls should be set on diagonal sides of the rail from each other. Set the cue ball in front of the first ball, then shoot using an English shot. After this, shoot from across the table using outside English to curve the ball. These will help define the skills that you have as a pool player. It may take more than a few tries to get this move done, b...
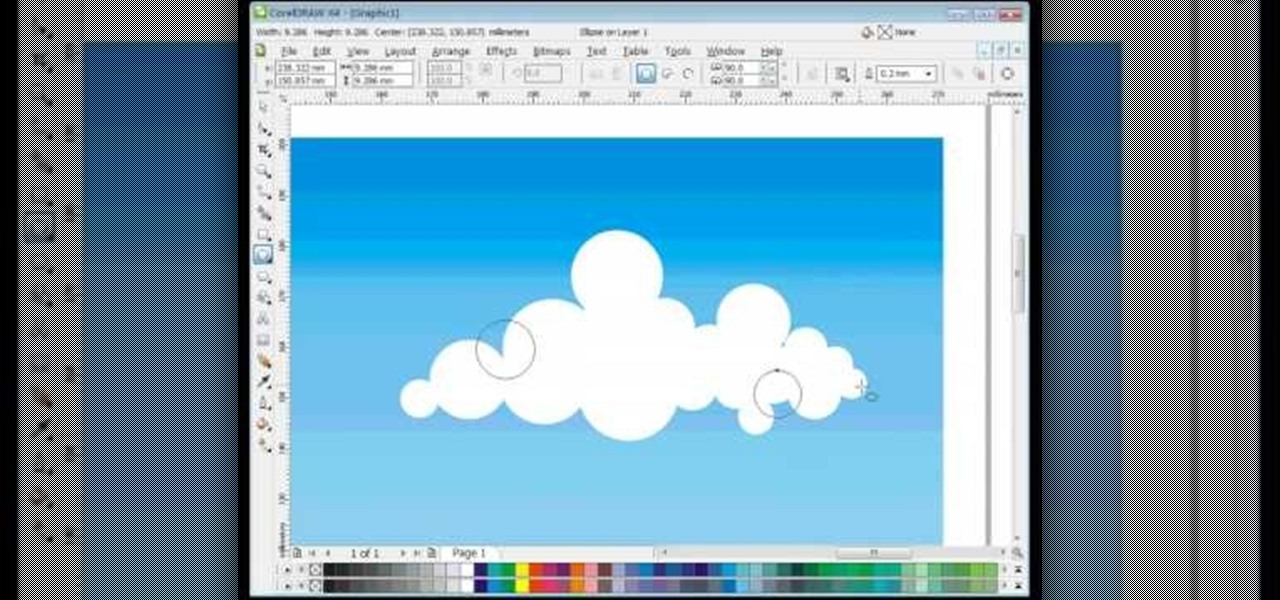
In this video, we learn how to draw vector clouds in CorelDraw X4. First, open the program and make a circle using "ctrl+shift". Make these circles touching and overlapping each other on the top of the page. After this, select all and then weld it. Next, press "ctrl+k" to break the curves apart, then erase the parts inside of the clouds. When this is done, select all, then copy and paste for additional clouds. Trim the bottom to make the clouds sit on a mountain or straight edge, then you are...
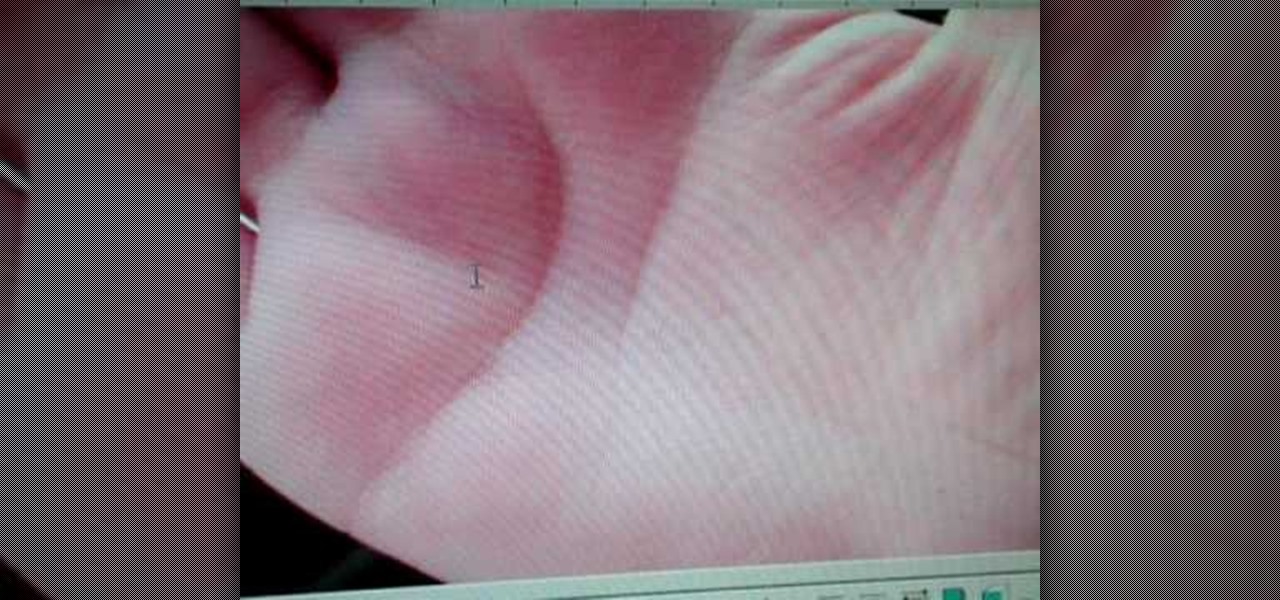
In this Spirituality video tutorial you will learn how to palm read with Peter John. If the heart line, the first line on top of the palm, is well formed and curves around towards the center of the first finger, the person is quite good and balanced. If the head line is quite long along the palm and bends towards the lower part of the palm, the person is more practical and mathematical. When you see more than one line on the mount of Apollo or the mount of Sun, the person could take more than...
Illustrator Frank Frazetta knew women. At least, he knew what men desired in the "perfect" woman physically: Sumptuous curves that made men weak in the knees with a single shake, deep-set eyes, and bombshell assets.
Tumbao is a basic beat. It is 4 4 timing. The fingers on both hands are bandaged on ring and middle fingers. The left hand looks flat, but is played in a heel, tip, heel, tip rhythm. Fingers on right hand are curved to meet the drum head. The left hand keeps the constant rhythm. Right hand does solo portion and moves from one Conga drum to another. Video is slowed down to see the exact rhythmic patterns. It also makes it easier to practice.
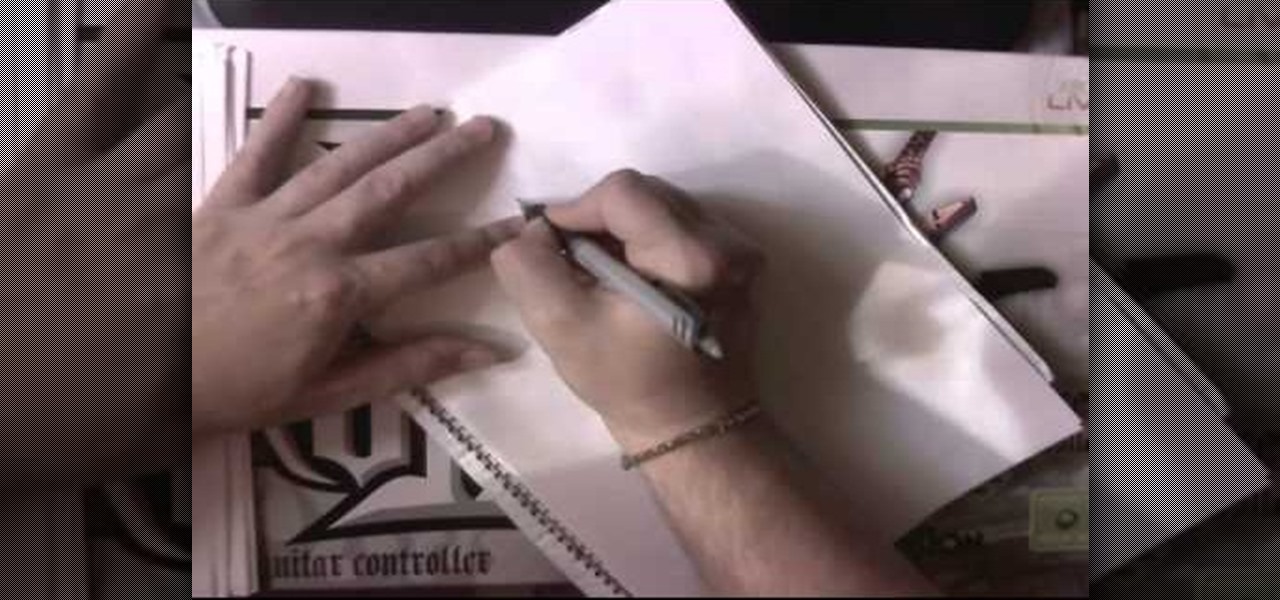
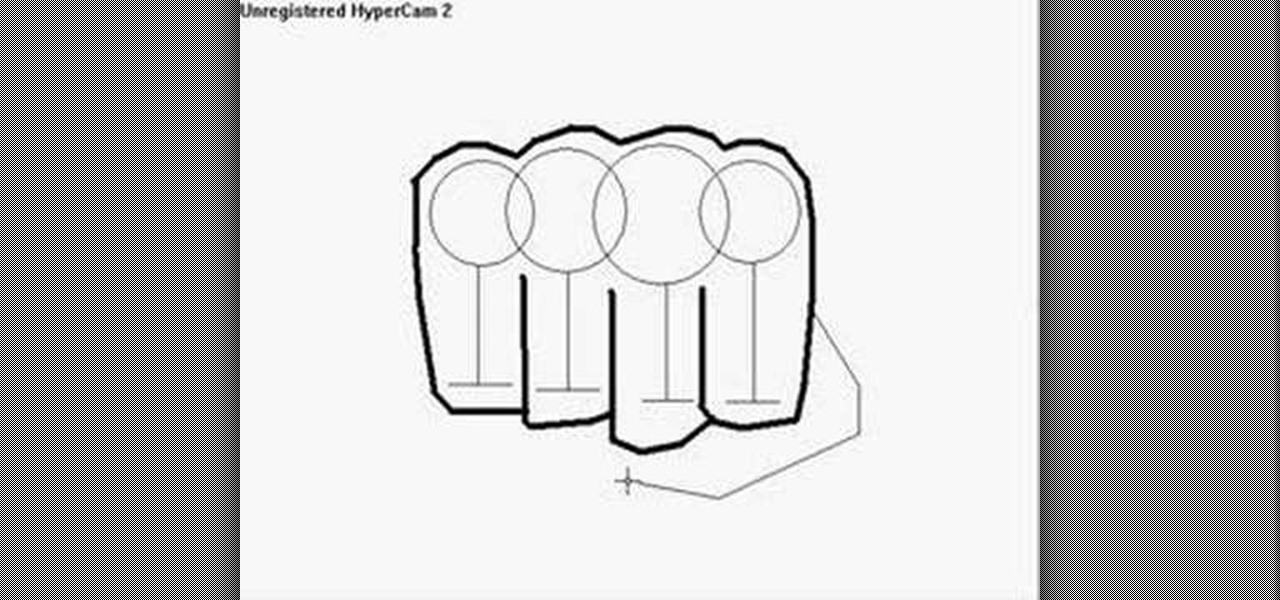
In this tutorial, we learn how to draw a fist. Start off by drawing for circles linked to each other, then draw lines coming down from the middle of each circle. Then, draw a line across the bottom of each vertical line, going horizontally. After this, use a dark line to outline around the circles and the bottom of the lines. Make sure to draw a line in between each of the individual lines. Next, add a couple of curved lines to make a thumb appear on the side. To finish, erase the original ci...
In this tutorial, we learn how to draw a palm tree. Start off by drawing the ground on the bottom, then draw the base of the tree. Make it curved, so it looks more realistic. Two lines will be going up until you start to draw the leaves on the tree. After this, you will want to start in and shade one side of the tree that the sun will have touched more than the other. Add lines to the tree as well, so you can see the textures that are on it. When drawing the leaves, make sure you are drawing ...
In this video, we learn how to draw a wolf step-by-step. First, draw out an outline of the body using circles and lines to show where the legs will go. Next, make the snout for the nose and then draw in the ears and the eyes. Next, draw in lines around the outside of the wolf to show that it has fur. Next, use a darker pen to outline the wolf, then add in details to the legs and the rest of the lower body. Add in a tail that is curved but not high in the air. When you are done, you will have ...
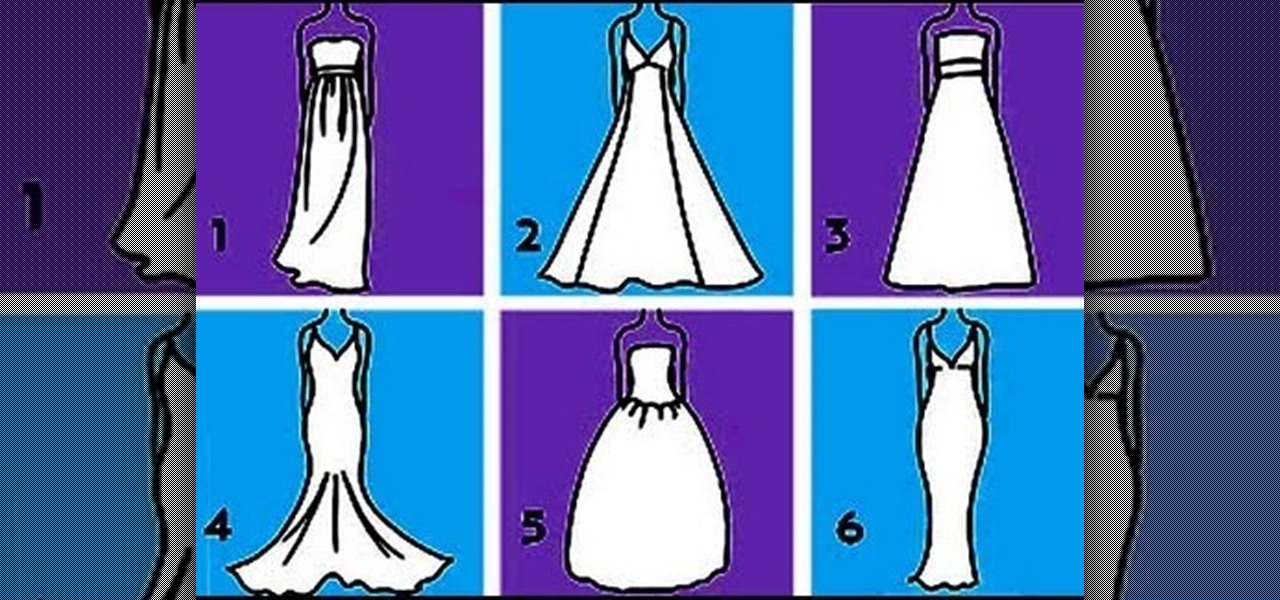
In this tutorial, we learn how to draw couture dresses. First, sketch the body onto the paper and then outline it with a black permanent marker. Make the lines soft and outline the body to have curves like a real woman. After this, start to add in the details of the dress, making the shoulders poof and adding accents to the side shoulder. Next, start to polish up the drawing by defining any lines and making different shapes. Make sure to draw the dress exactly how you want it, showing how it ...
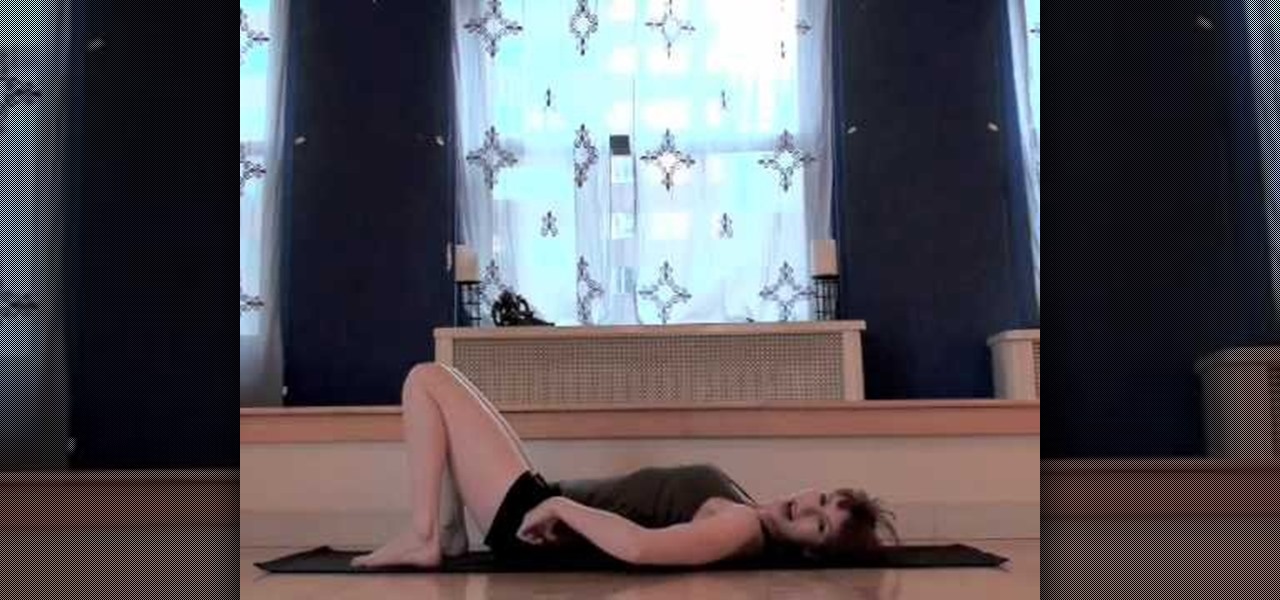
In this tutorial, we learn how to understand Full Wheel alignment. This is a very difficult move to do, so make sure you set up properly before you do this. Your body needs to be warmed up before you attempt to do this. Prepare for the post by laying down on a mat, then placing a couple blocks underneath your rear end. This will help stretch your body out. When you're done, curl your tailbone up and now your body will want to curve into the wheel. From here, push the hands down by the shoulde...
What's the difference between Kim Kardashian and January Jones? Both are clearly gorgeous women who have men drooling over them wherever they go, but these two starlets have very different body types.
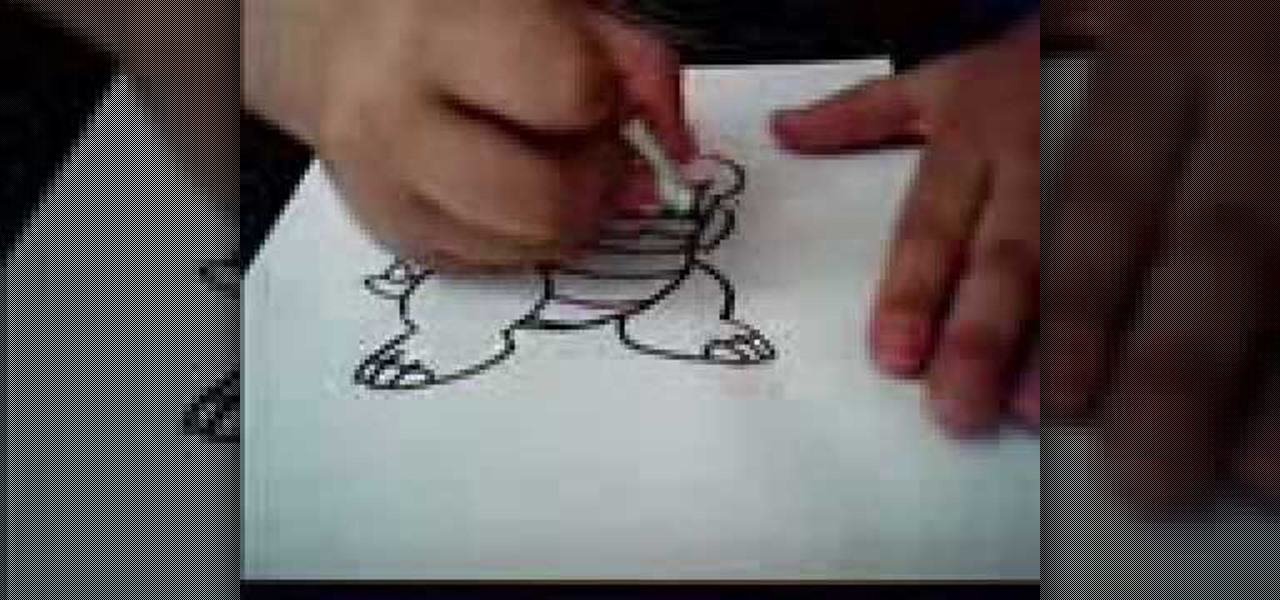
In this video, we learn how to draw Paper Bowser from Mario. Start off by drawing the legs and feet. Make sure you draw claws instead of toes and make three large toes with nails. Next, draw the belly of Bowser in the middle of the two legs, with stripes on it. Next, draw upwards and make a curve for the back and draw spikes onto it. Also, draw a tail with a spike on it coming from around the thigh by the foot. Once you are at the top, draw the head and all the facial details in. Make sure to...
In this video tutorial, viewers learn how to draw a vampire. Begin by using the paint bucket tool to fill the entire background in black. Then start drawing the vampire in transparent blue. Sketch the outlines of the face and draw curves for the guidelines of eyes, nose and mouth. Now erase half of the face and fill it in black. The other half of the face is filled with tints of blue and purple airbrush. Finish by adding the details with opaque shades of blue, purple and white pencil lines. T...
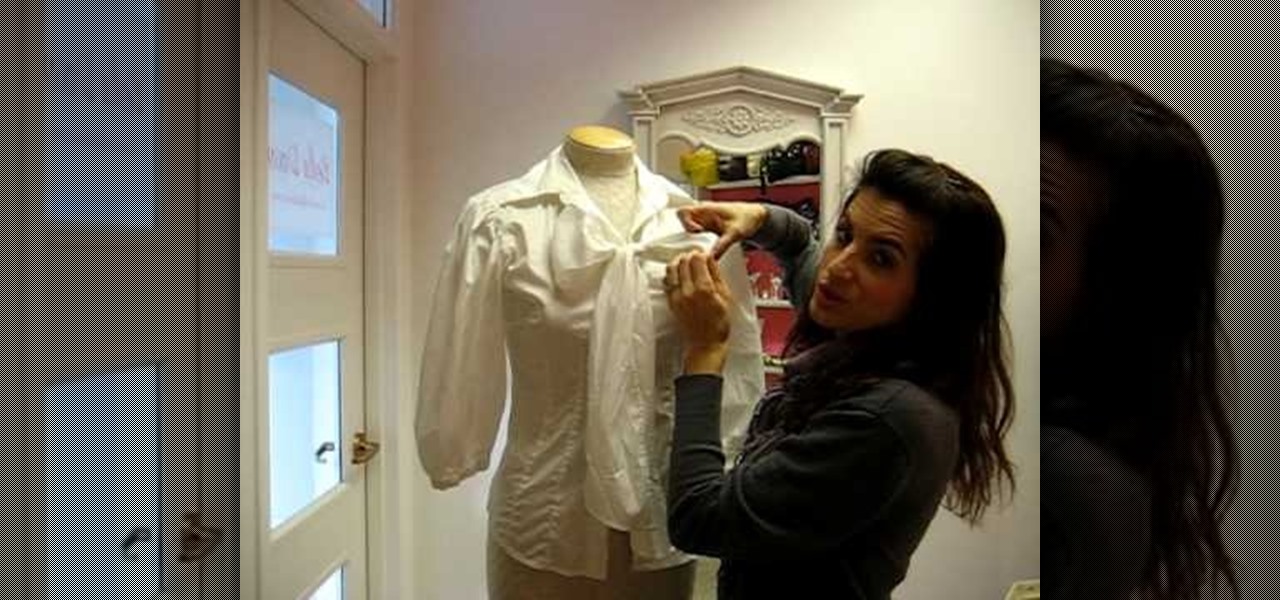
In this tutorial, Dawn teaches us how to wear a classic button down blouse. The first blouse you can have has a round collar with a ruffled sleeve and a pleated front. Look for something that has more detail which gives it a more feminine look. Also, look to find a shirt that has an extra panel on the side so you can't see your skin in the middle of the buttons. Also, make sure shirts have a little bit of stretch in them so they fit and contour to your curves. This type of shirt can be worn w...
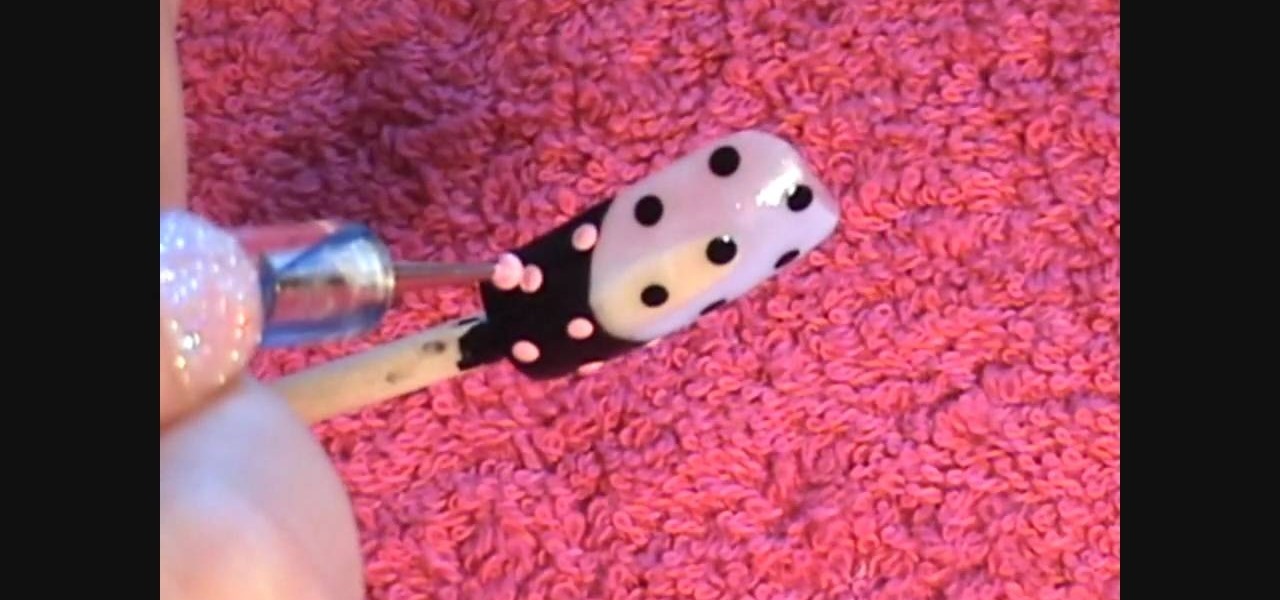
In this Beauty & Style video tutorial you will learn how to create cute polka dot acrylic nails. For this you will need acrylic paint and acrylic nails. First paint the lower part of the nail with black paint in a curved manner. Then you put three black polka dots in the unpainted area along the centerline of the nail. Now put two more black dots on either edges of the nail. Then you put light pink dots over the painted area in line with the black dots. Paint the smile line and the bow with l...