
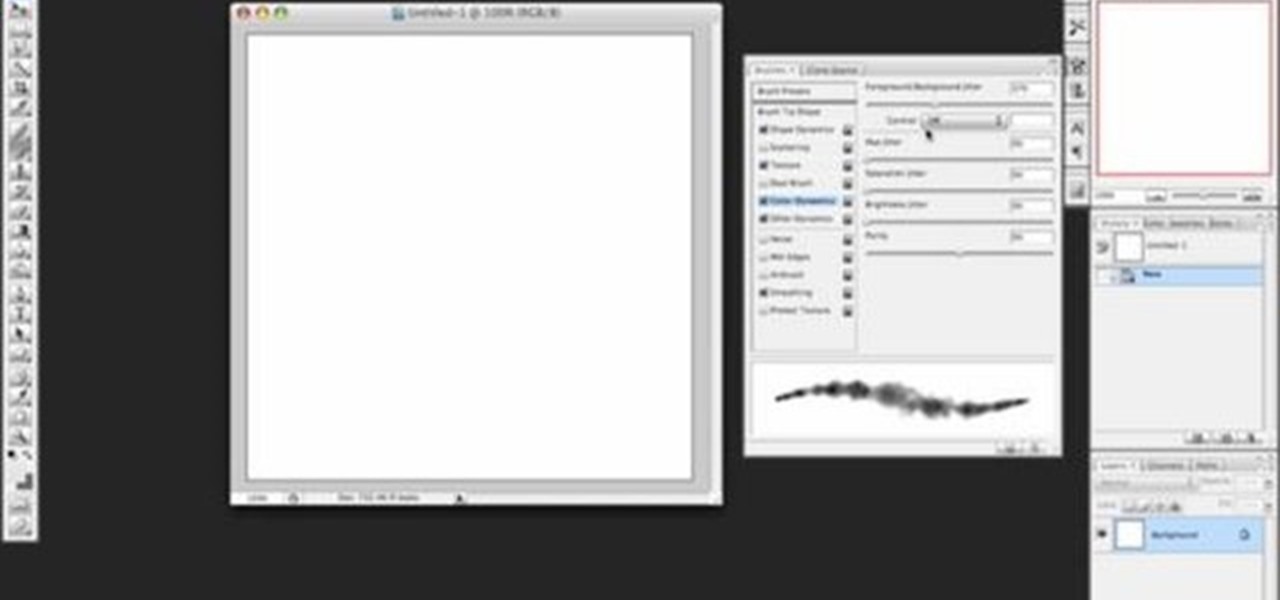
How To: Create smoke in Photoshop
If you've ever wanted to make smoke using Photoshop you'll be able to watch this software tutorial and find out how. This smoke effect won't help your movie career but it will help you create cool photos.

If you've ever wanted to make smoke using Photoshop you'll be able to watch this software tutorial and find out how. This smoke effect won't help your movie career but it will help you create cool photos.
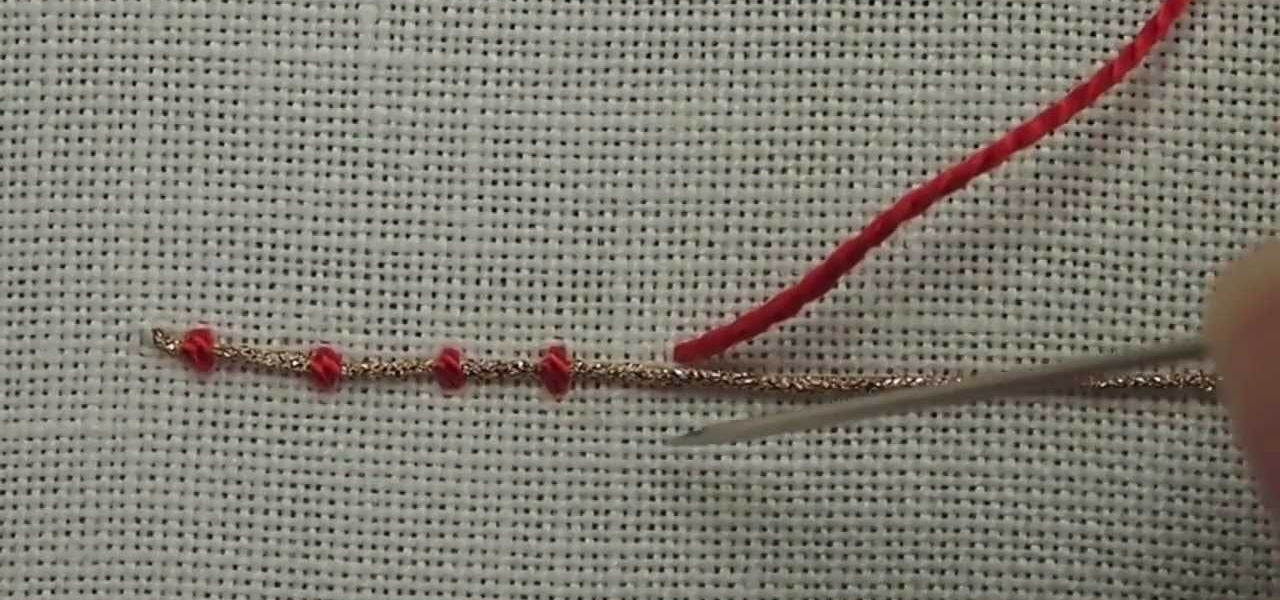
Couching is another easy embroidery stitch in hand embroidery, and a great way to create decorative line stitches that scroll and twirl about. It's also widely used for filling areas, and historically was used to great effect during the Middle Ages and Renaissance in a technique called Or Nue. Here's a video from Needle 'n Thread that demonstrates couching a single thread for an outline.
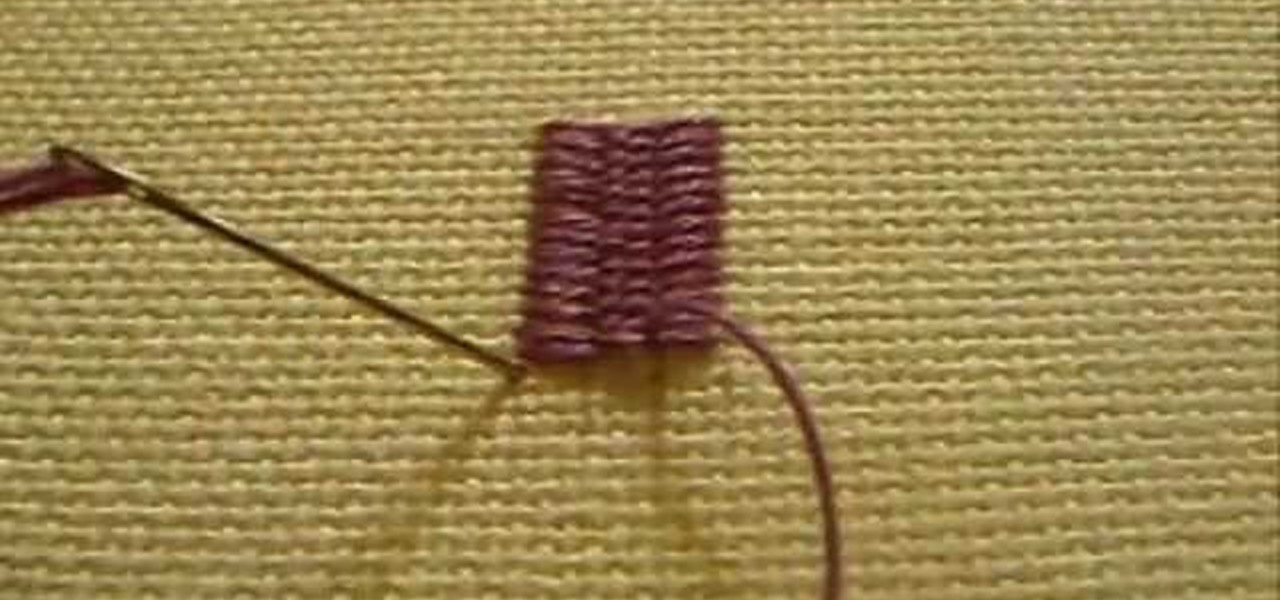
The cretan stitch is used in hand embroidery to create bands, to fill (any shape - leaves, for example), and it can be worked closed or open, depending on the effect you want. Watch this video from Needle 'n Thread to see how it's done.
This episode discusses the four causal aerodynamic factors leading to the overall left turning tendency that an aircraft experiences during flight. Join Scott Ludwig and Seth Hardley as they teach about Torque Effect, Spiraling Slipstream, Gyroscopic Precession and P-Factor and how these principles will affect your aircraft on your next training flight. During the takeoff roll, remember to maintain centerline at all times and don’t get lazy feet.
Effect: Your friend beats his head on the bar repeatedly, to everyone's delight. All you need is a quarter or other coin and some good acting skills. Cool prank.
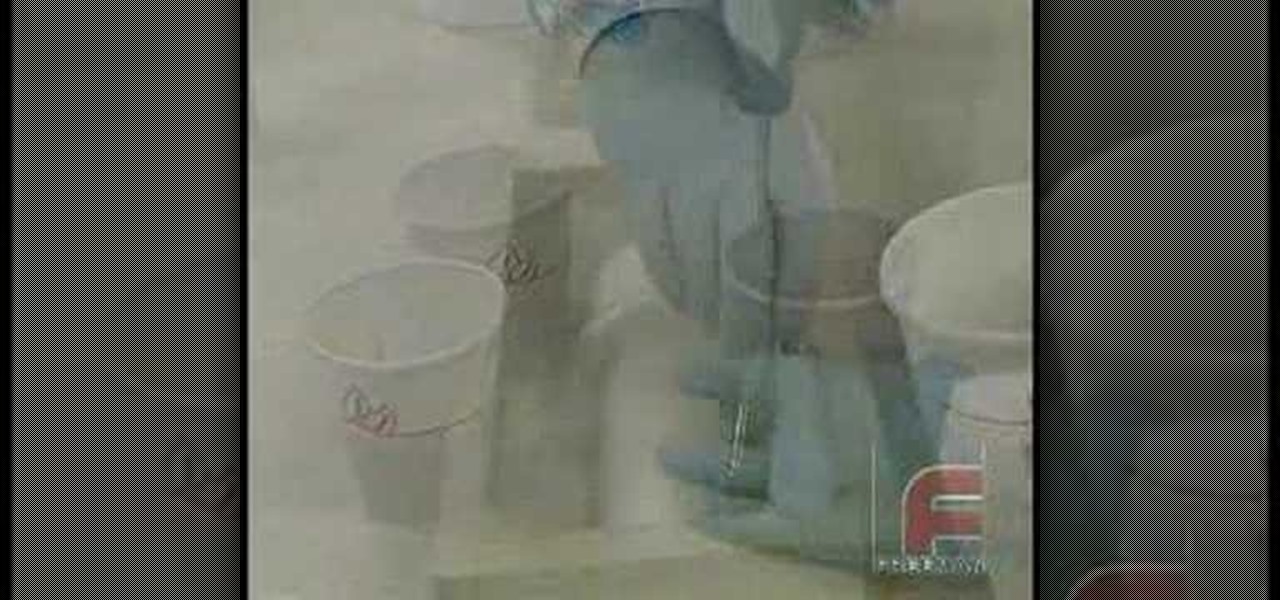
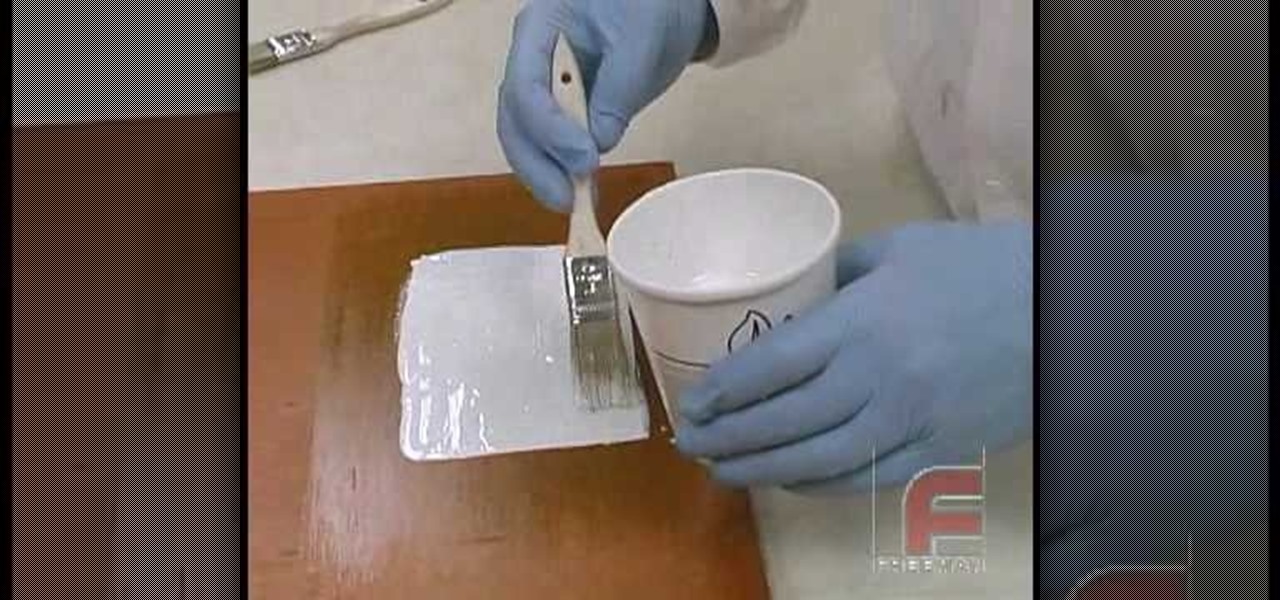
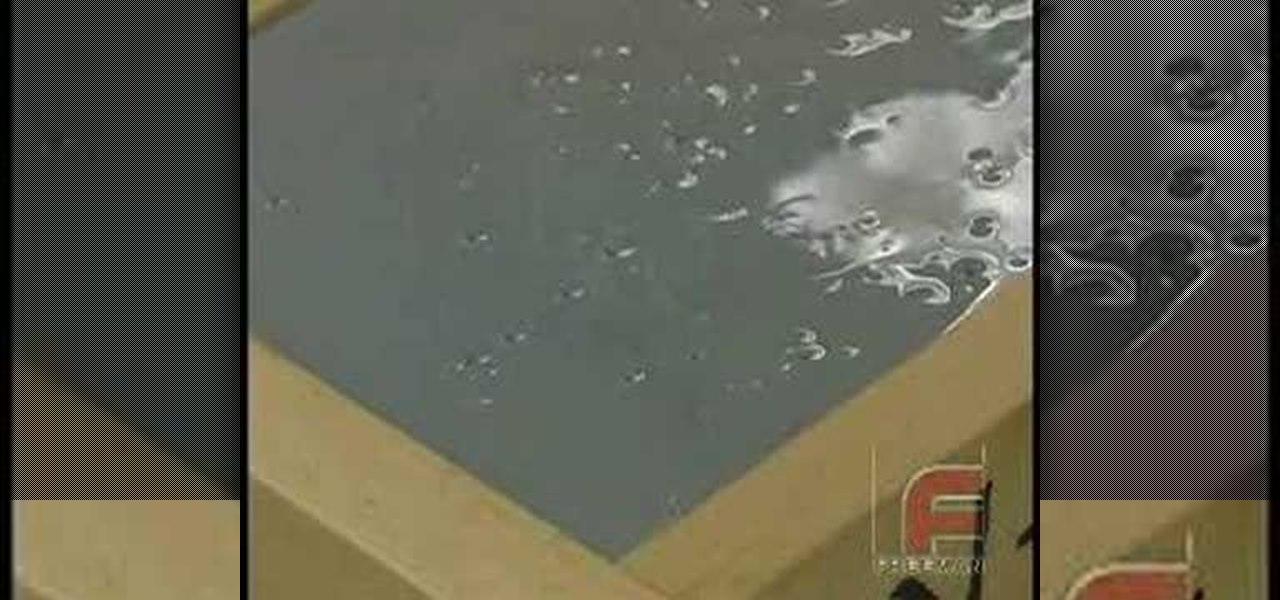
Check out this video for creating a one piece mold using a repro laminating system. This is a professional video not for beginners. The repro laminating system is ideal for working on medium-sized projects, this process is easier, faster, and more economical than the epoxy laminating system. This process can be used in automotive, mechanical, fine art and film special effects uses.
Check out this video to learn how to make a professional epoxy fiberglass layup and epoxy laminating systems. This process is ideal for working on larger projects, a typical 'fiberglass layup' is a popular process for those who need a large, strong, and lightweight tool.This process can be used in automotive, mechanical, fine art and film special effects uses.
Check out this video for how to create simple one piece silicone rubber molds. This technique is ideal for smaller projects (less than 12" x 12"), this is the easiest process for creating parts, patterns, tools, & molds. We demonstrate creating a silicone rubber mold and then the casting of parts with Repro, epoxy casting resins and polyurethane elastomers. This process can be used in automotive, mechanical, fine art and film special effects uses.
Here's how to make a fake blood packet, or squib to make it look like somebody got shot. It will explode when the bullet would hit. Cool special effect.
In this video tutorial you will learn to use Photoshop to create your own skull face optical illusion. After you have completed, ask your friends to stare at the middle of the image for about 30 seconds. When they look away, the skull will appear before their very eyes on the wall!
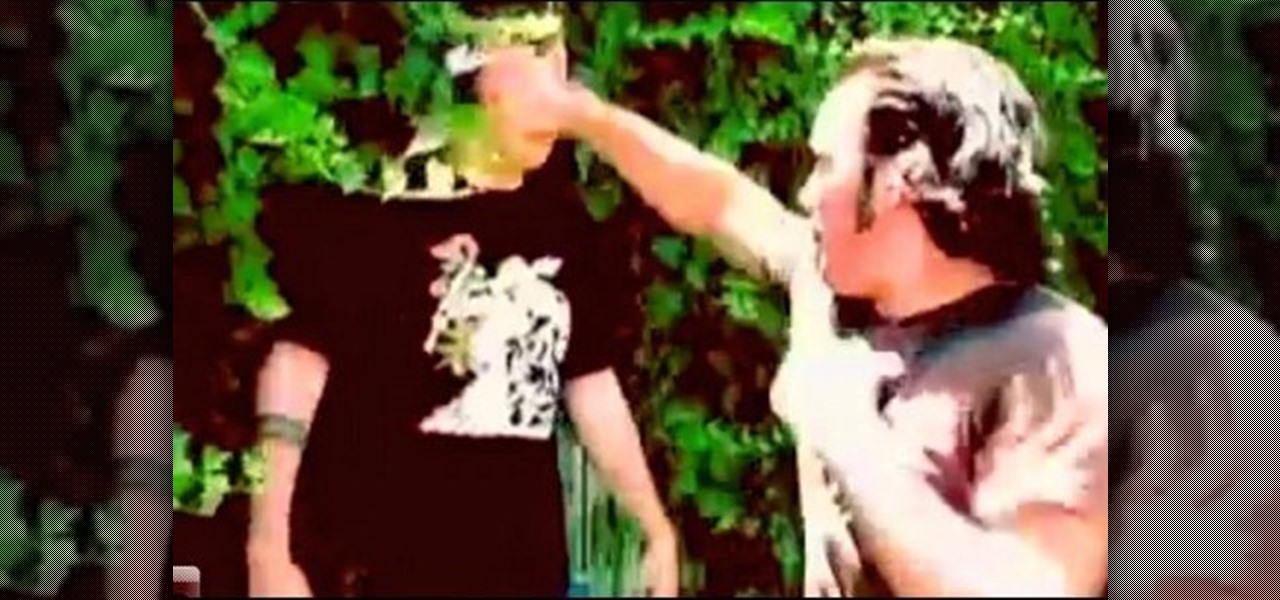
In this week's episode of Backyard FX, Erik visits the Indy Kung Fu Masters of West Haven Brook to learn some awesome tips for movie fight scenes. They talk about the counting, sound effects, pull backs and camera movement necessary for orchestrating a great fight scene.
Erick Beck from Indy Mogul shows you how to create limb tear special fx for your horror movies for cheap ($35 or less).

Erik from Indy Mogul teaches you how to build a miniature space ship for your films for under $20. Also covered, are using green screen to create background effects for your UFO film.

Do you need that special human touch to your special fx? Indy Mogul's Mike Johnson shows you how to make ballistics gels to create flesh and gore effects for your films.
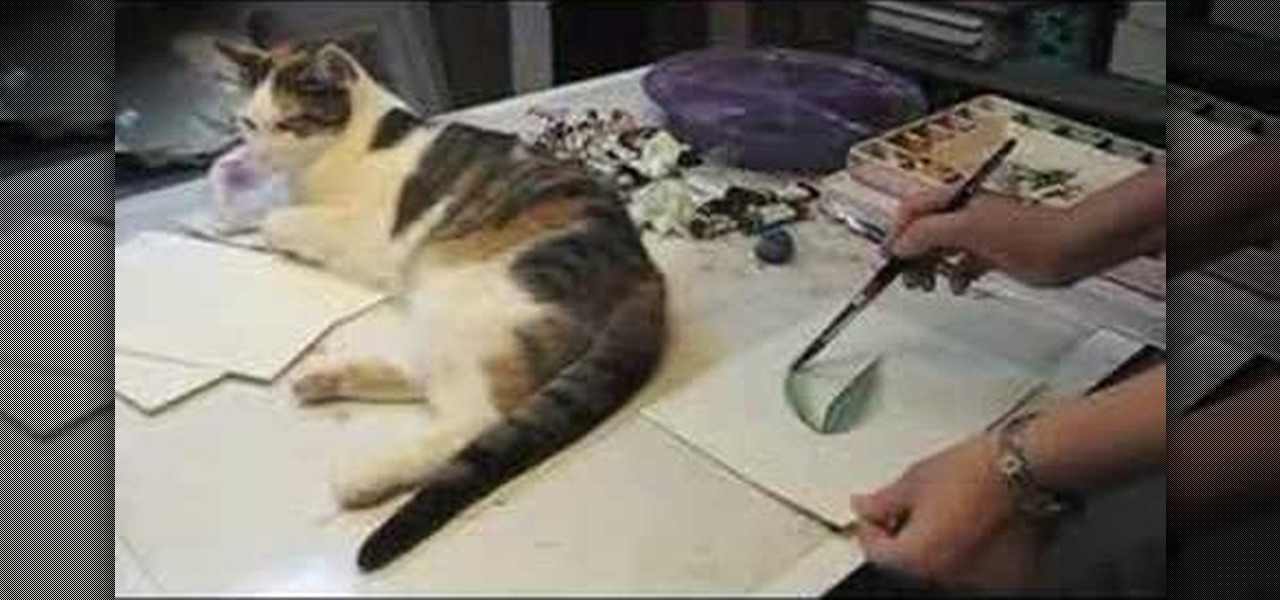
In this tutorial, we learn how to use the cold pressed watercolor paper technique. Start out with one leaf, then use your brush to apply more color above it. Continue to apply the paint and try to blend it. It will be difficult to blend and get a smooth effect, but it will look great. You can also add your paint to the dry paper by brushing on more paint and creating different layers with your brush. Once you apply enough, you will get the smooth look with the paint and it will look great. Ei...

In this tutorial, we learn how to paint nails with a black and gold fading effect. First, polish a sponge and dab this onto your nails. Then, apply black on the bottom of your nail and gold on the top of our nail. Apply a gold glitter polish to the top of the nail and wait for it to dry. Next, you will apply gold rhinestones onto the gold and the black from the top to the bottom of the nail. When all of the polish has dried, apply clear gloss to the nail and wait for it to dry to finish this ...

In this tutorial, we learn how to add 3D effects and shading to graffiti letters. To start, you will draw a simple letter with a pencil. Then, take one point under the letter in the middle and draw a darker outline. Next, you will draw an outline around the first outline to make it look 3D. Next, you will shade in the area in the middle of the letter and anything that is in between the first letter and the second. After this, you will add in lines and additional detailing to make the letters ...
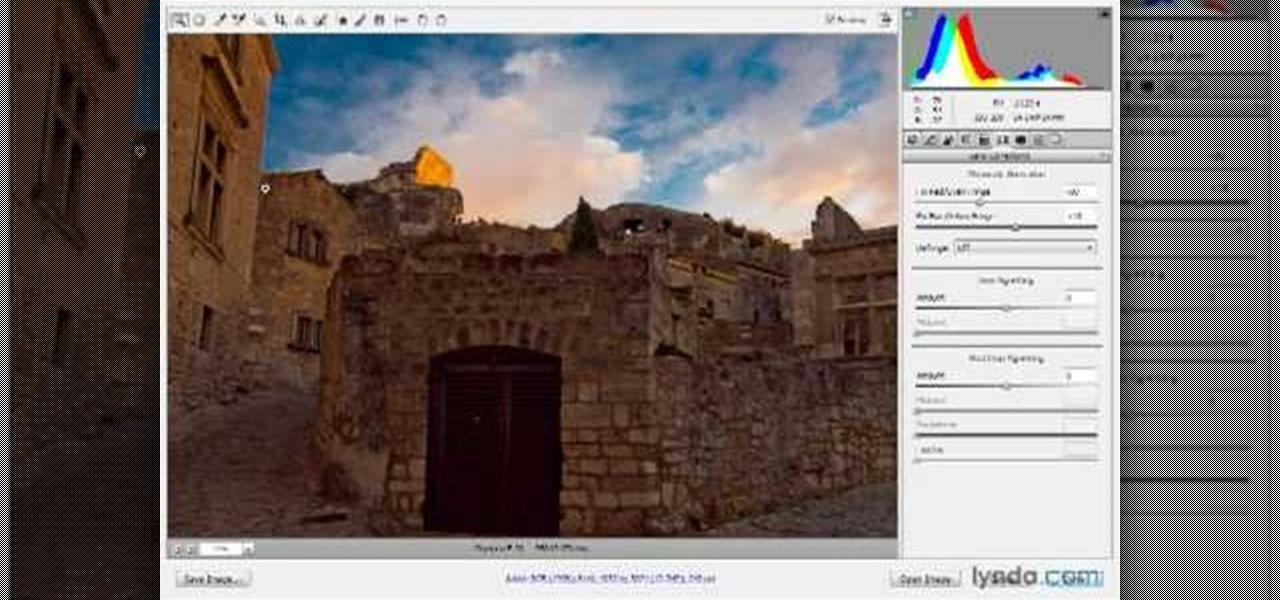
In this video, we learn how to use Camera Raw in Photoshop. This is a great program to use with your SLR digital camera that will make your photos come through more clear than ever before. After you have downloaded this application, you will load your photos to it and open up your desired on to edit. On the right hand side you will see a toolbar allowing you to edit and change different effects on the photo. Move the bars from left to right to edit how the photo looks to your liking. On the t...

In this tutorial, we learn how to do a side by side video effect in Sony Vegas. First, open up Sony Vegas and open up a couple of clips to your time line. After this, make the two clips the same length by pressing down on the control key and moving them with the mouse. From here, return the videos to the start and then right click the track motion button. Reduce the width and the height to half of what they were before. Then, move the X position of one to -180 and the other to 180. Now both w...
In this tutorial, we learn how to simulate teleportation w/ film effects & camera tricks. First, take a shot of your actors moving and doing something active. Then, take a shot of the frame without the actors. After this, go frame by frame masking the actors out of each of the frames. Use radio blur to make them leave the shot, then add in evaporation. From here, you can play the clips of the background on the scene so it looks like the have been sent somewhere else. Smooth out the background...
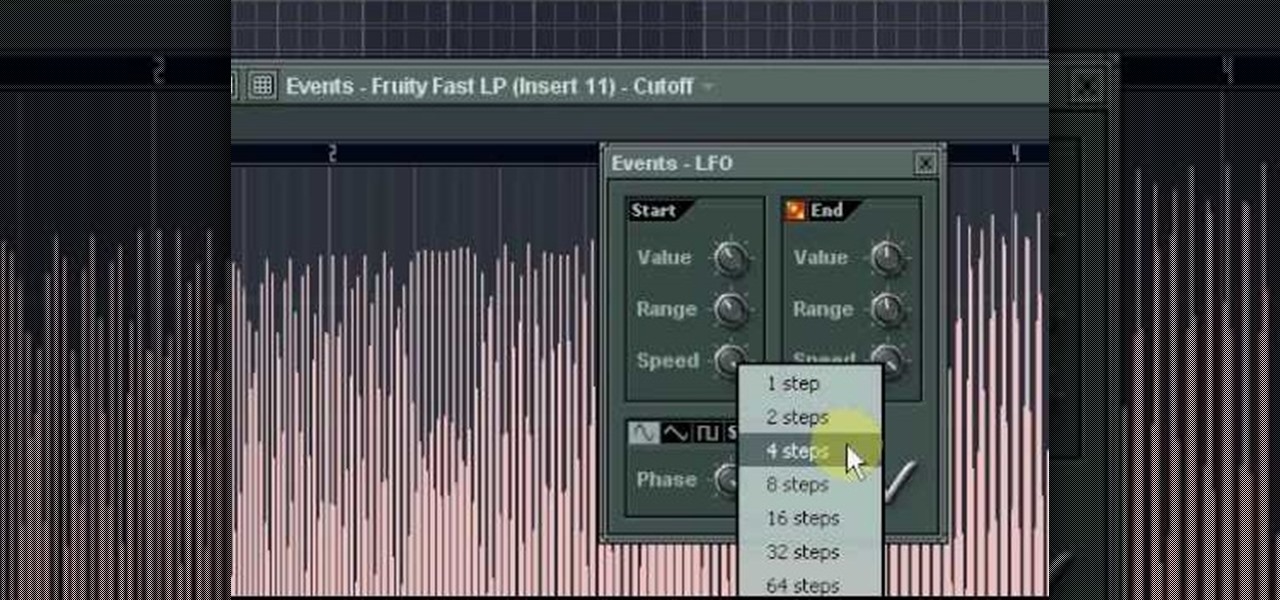
In this video, we learn how to make an effective dub bassline in FL Studio. Use a normal bass and add effects to make this. Add in different effects on the bassline, then go through the drop down menu to add in Fruity Loops fast LP. This will enable you to change the wobble on the beat as well as the cutoff. When you change this, you can control the sound by editing the knob until it's how you like it. After you edit the events, you can create the beat how you want it, then save it and use it...
In this tutorial, we learn how to blast effect a picture in Adobe Photoshop. First, open up a picture in Photoshop, then go to filter, then blur, and radial blur. Change the amount to 77, the blur method to 200m, and the quality to best. After this, hit "ctrl+I" to invert the colors. When you are done with this step, the picture will look like it has been blasted! To make this more different, you can change the colors on the picture or add in any other settings that you prefer. When finished,...

In this tutorial, we learn how to make a cool neon text effect using Photoshop. First, type your text using a big and simple font. After this, right click on the text layer and click on "rasterize type". Now, press the control button while you click the thumbnail of the text layer. After this, grab the lasso tool and click "select inverse". Then, set it on 12 pixels in the toolbar. Now, use the magic wand too and select each of the letters by holding shift. Next, create a new layer and click ...

Want to know how to quickly create a reflection effect in Photoshop CS4 or CS5? This clip will teach you what you need to know. Whether you're new to Adobe's popular raster graphics editing software or a seasoned professional just looking to better acquaint yourself with the program and its various features and filters, you're sure to be well served by this video tutorial. For more information, including detailed, step-by-step instructions, watch this free video guide.

Want to know how to create multi-colored iris effect in Adobe Photoshop CS5? This clip will teach you what you need to know. Whether you're new to Adobe's popular raster graphics editing software or a seasoned professional just looking to better acquaint yourself with the program and its various features and filters, you're sure to be well served by this video tutorial. For more information, including detailed, step-by-step instructions, watch this free video guide.
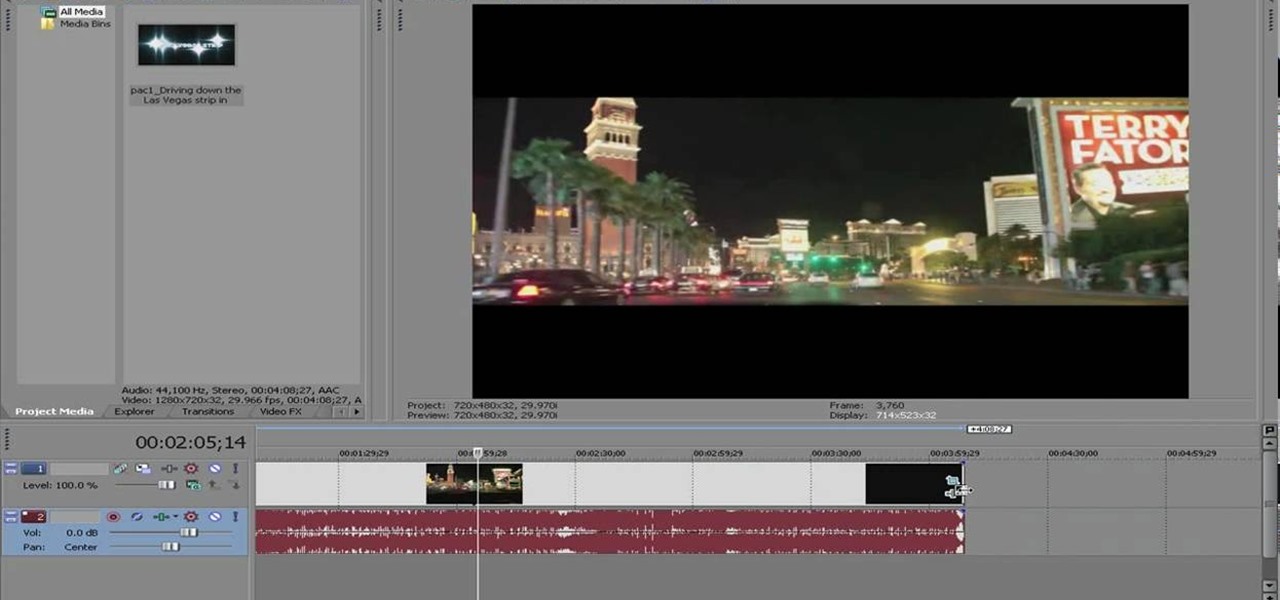
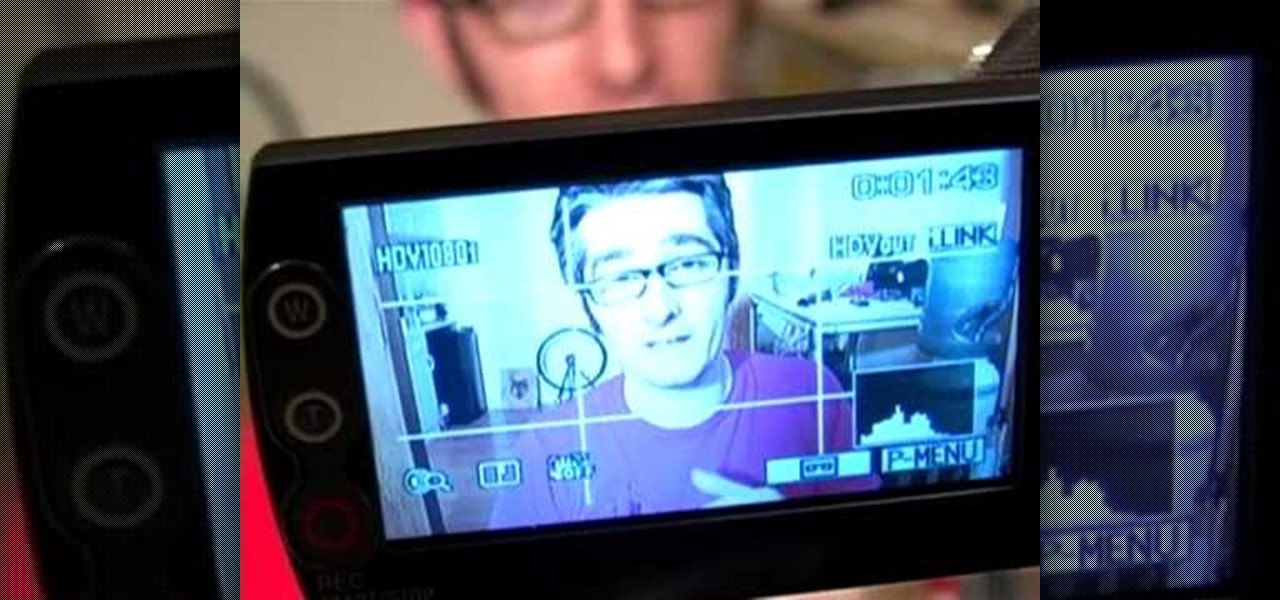
In this tutorial, you'll see how to create a widescreen letterbox effect, removing and company logos or TV icons which appear at the bottom of the screen. This technique also comes in handy to remove any unwanted element or to zoom in on a particular object. Whether you're completely new to Sony's popular nonlinear editor (NLE) or are a seasoned digital video professional simply looking to pick up a few new tips and tricks, you're sure to be well served by this free video software tutorial. F...
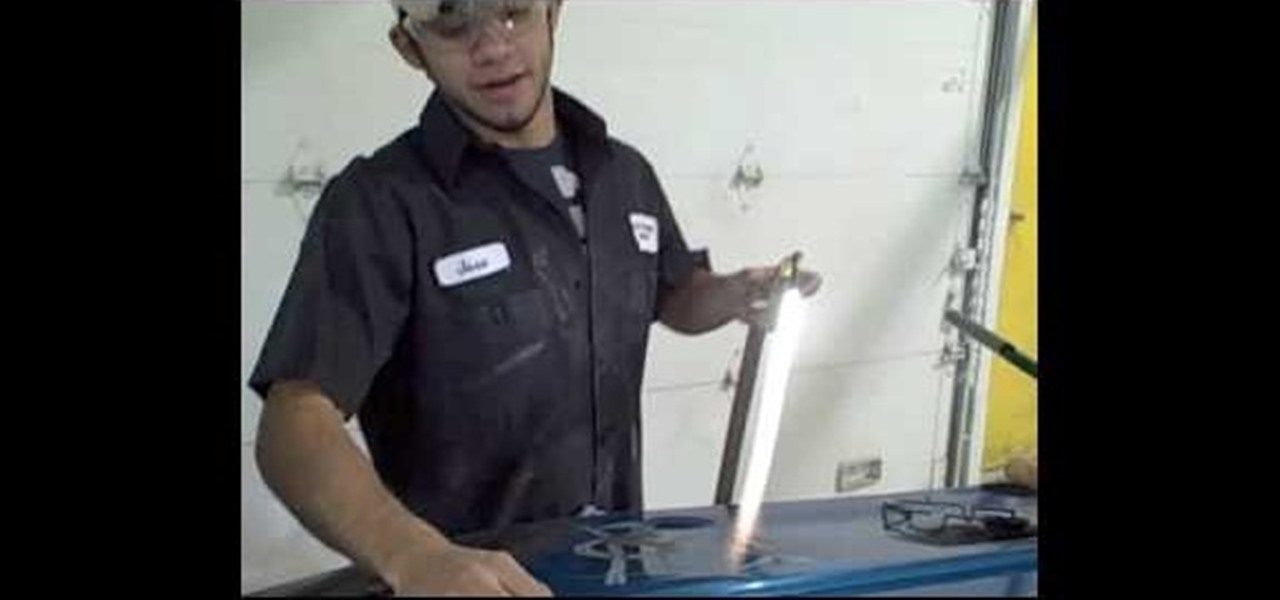
This video tutorial is in the Autos, Motorcycles & Planes category which will show you how to heat shrink metal with oxy/acetylene. A stud nail gun or a heat inductor may also be used for heat shrinking. Metal popping in and out is called oil can effect, which is caused by stretched metal. You got to shrink that part of the metal to remove this defect. For doing this, first you set up everything correctly, light the flame and adjust the gas flow so that the flame is of blue color. Heat an are...
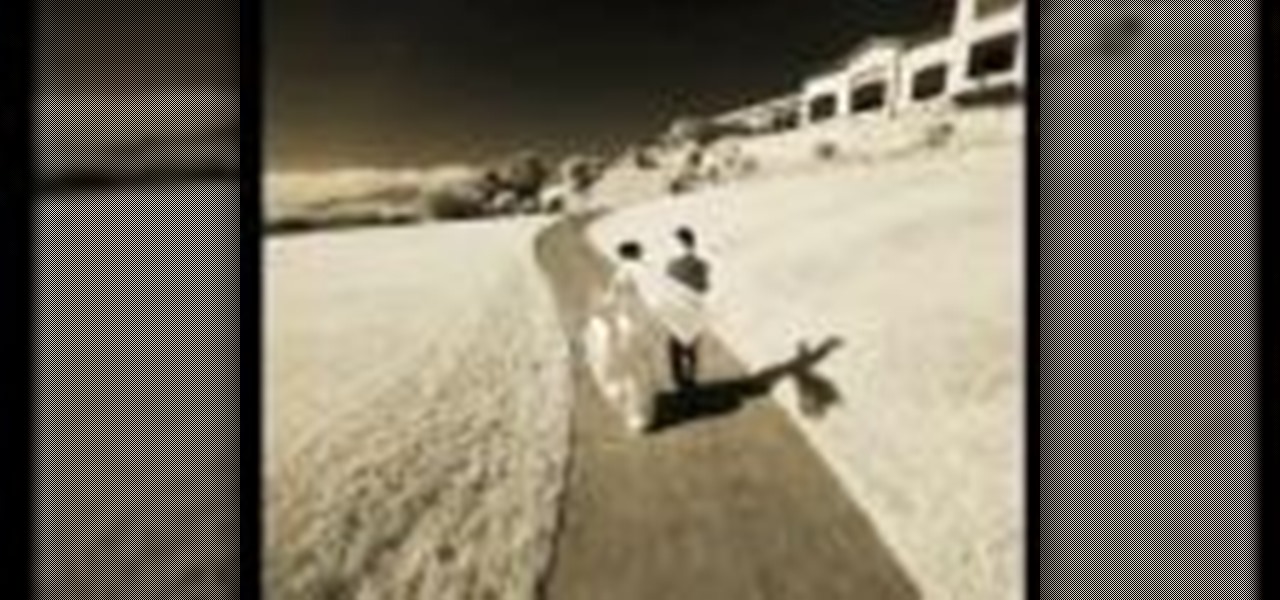
In this video tutorial, viewers learn how to photograph with infrared. Infrared photography is photography the infrared spectrum of light, rather the visible spectrum of light. The main effect are to turn the sky darker, smooth out skin and turn foliage white. Users will need a camera that is converted into infrared. Then simply take a picture with the infrared camera and all the photos that are created by the camera will be in infrared. This video will benefit those viewers who are intereste...
In this video tutorial, viewers learn how to build a green screen. The materials required for this project are: two 10 ft long PVC pipes, measuring tape, saw, duct tape and pipe elbows and couplings. Begin by marking the two PVC pipes with 6 ft on one side and 4ft on the other. Then cut the PVC pipes in half. Now connect the frame together with the pipe elbows and couplings. Build support to the fame by adding some duct tape. Finish by attaching the green cloth on the frame and tape it at the...
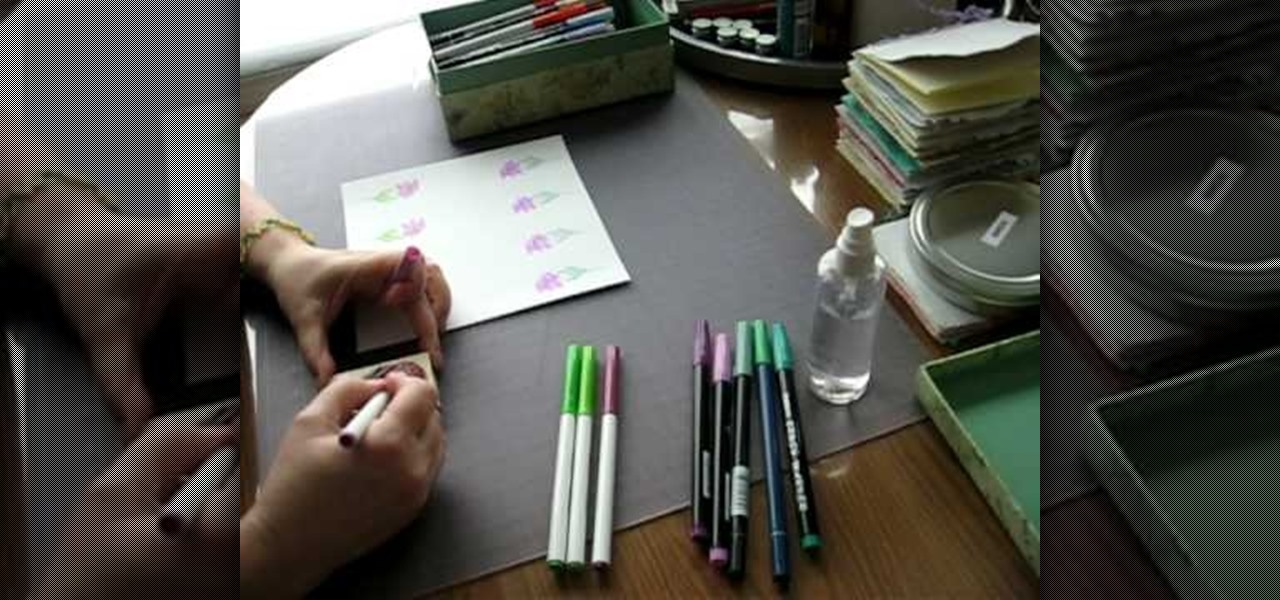
Even as early as first grade art class, you learn that watercolor/painting is an entirely different category from stamping, which basically requires a stamp pad and rubber stamp. But this tutorial blurs the line between the two art forms in the most attractive way possible.

Learn how to create a motion blur effect with Mental Ray in 3ds Max 2010 or 2011. See how to control the camera's shutter speed, the quality of motion blur, and how to decide if a single mesh has motion blur or the entire scene. You'll also take a look at fast motion blur option using Scanline Fast Rasterizer option. Whether you're new to Autodesk's popular modeling software or a seasoned 3D artist just looking to better acquaint yourself with the application, you're sure to be well served by...
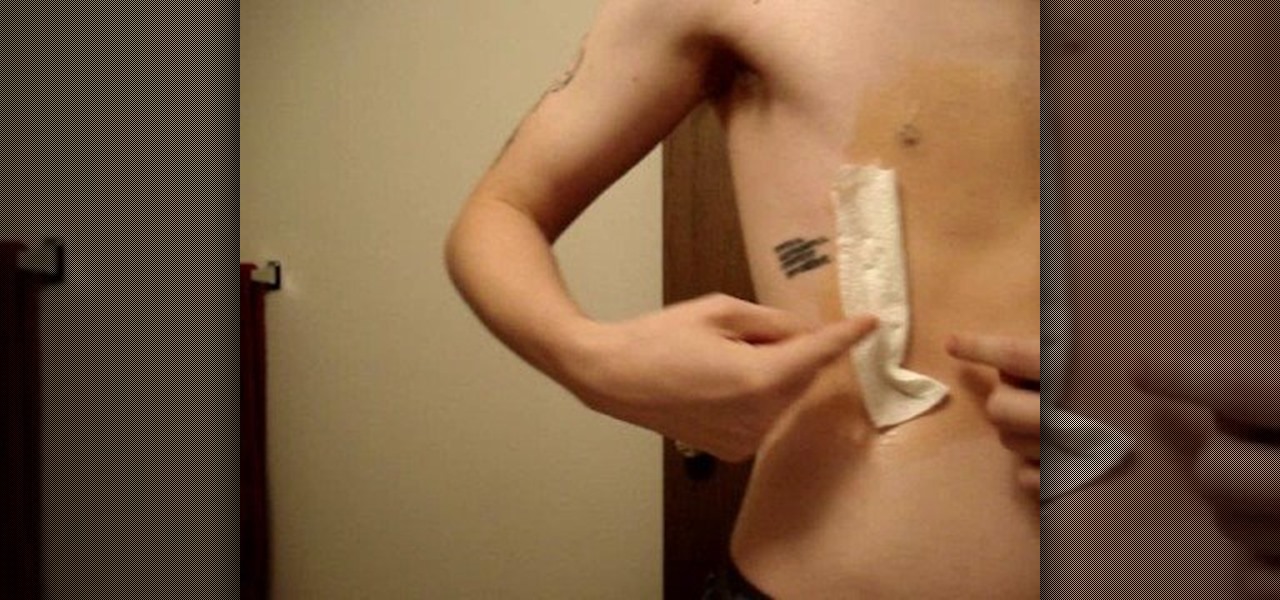
There is no such thing as a sucking chest wound. All chest wounds suck. Except perhaps for fake ones, which are essential to making a really gritty, gory film in most cases. This video features detailed instructions on how to make a fake chest wound out of latex and other special effects materials. Since it is a prosthesis, it can even be reused! It is a little complicated, but the end result looks great, so try this out in your next movie!

In this Autodesk 3ds Max video tutorial, you'll learn about a cool plugin that can create cloth-like animations. 3ds Max does have a built-in cloth simulation, but it's rather complicated to work with. The alternative to using the built-in feature is using the plug-in SimCloth 3, a free modifier. It works very easily and creates a smooth flowing cloth effect. This video is specifically working with a cloth cape on a superhero (if you could call it that). But this cloth-like effect could be ap...

Want to to blow up a subject to Brobdingnagian proportions in Final Cut Pro? Learn how to create a giant effect with masking in this clip. Whether you're new to Apple's Final Cut Pro non-linear video editor or just want to better acquaint yourself with the Final Cut Pro 6 workflow, you're sure to benefit from this video tutorial. For specifics, including a step-by-step overview of this great post-production trick, watch this FCP lesson.

Warrior Cats is a series of children's novels featuring, you guessed it, warrior cats. This art tutorial from Drawing Now teaches you how to draw one of the cats from the stories. Here are some instructions from the artist:
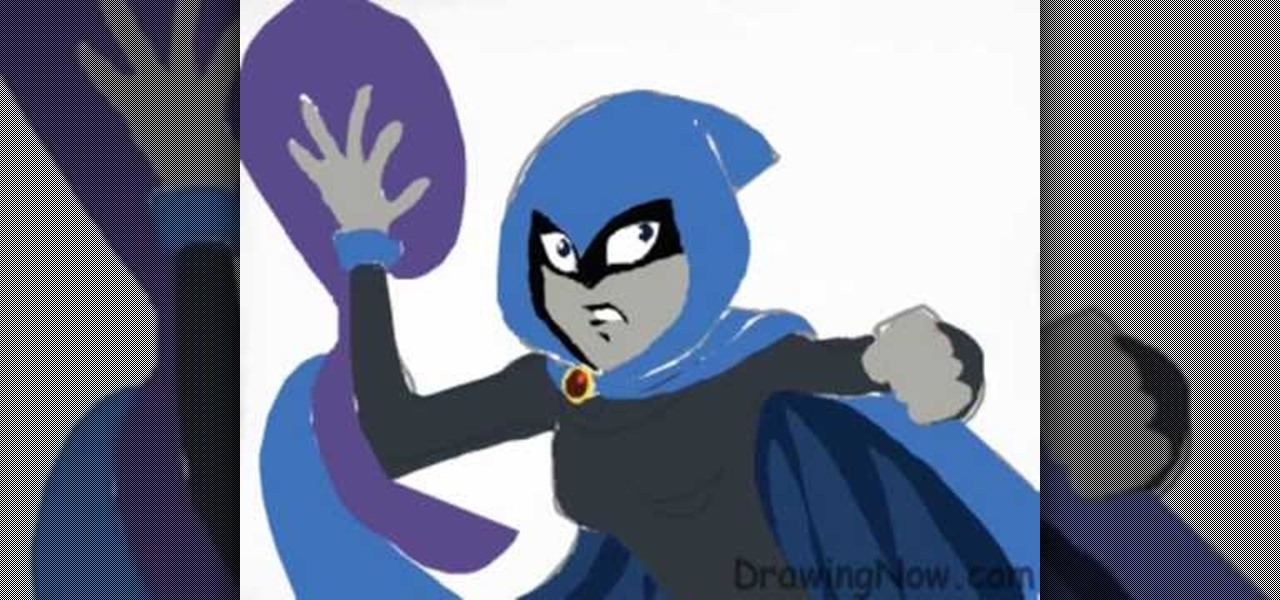
Teen Titans is one of the most tragically underrated American children's cartoons of all time. Fortunately, Drawing Now one of our favorite art instruction groups, has created this video tutorial on how to draw one of the shows iconic characters, Raven. Here are the artist's step-by-step instructions:
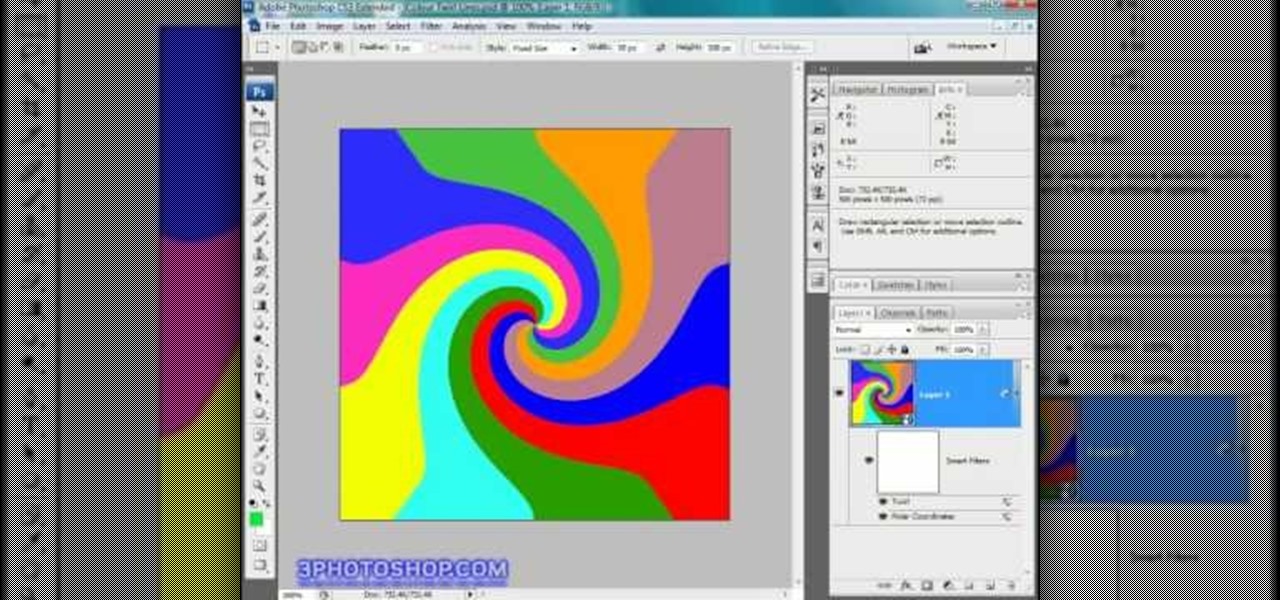
You can create such beautiful, creative pieces of work using Photoshop the only way to do so is by using your imagination. With it, you can use various tips and tricks to create pieces that would make most people go, "wow." This is one of those tutorials. In this video, you'll find out how to create a cool color twirl effect using this excellent piece of software. It's easy to do and once mastered can be used to make all sorts of designs. Enjoy!
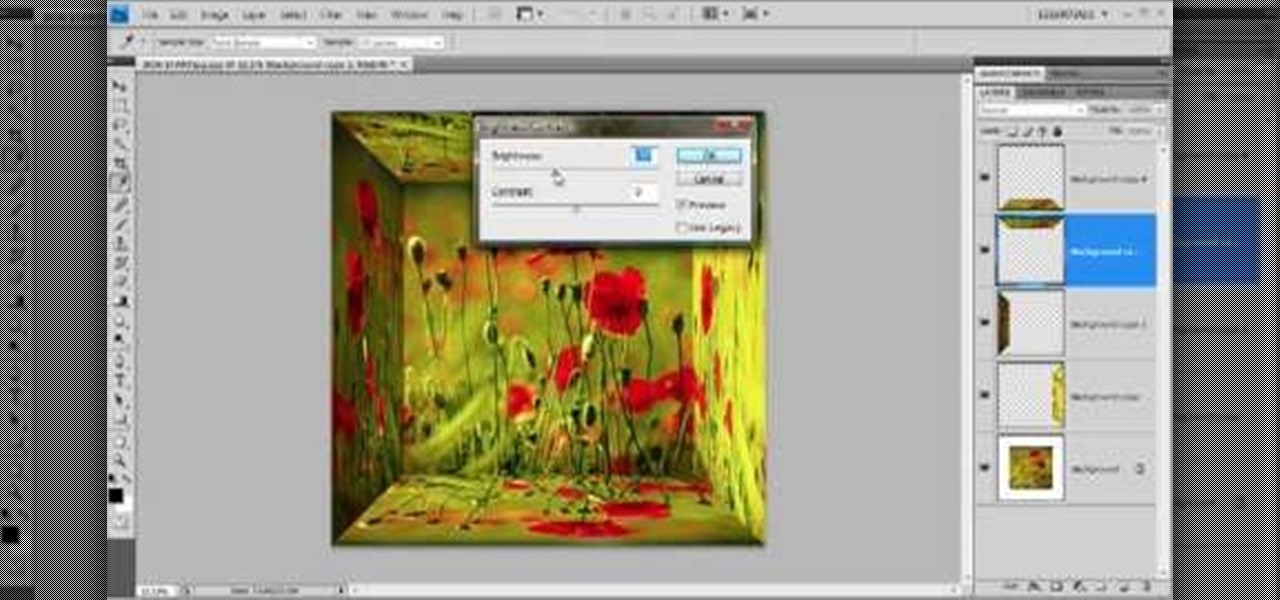
Since the introduction of Photoshop, people have embraced the many different elements that it has to offer. Not only can you take away blemishes and body fat in a matter of seconds, but you can also add other things that you could only achieve by using simple camera tricks. In this tutorial, you'll find out how to make a mirror box effect using the software. It's easy to do and really cool to look at. Enjoy!
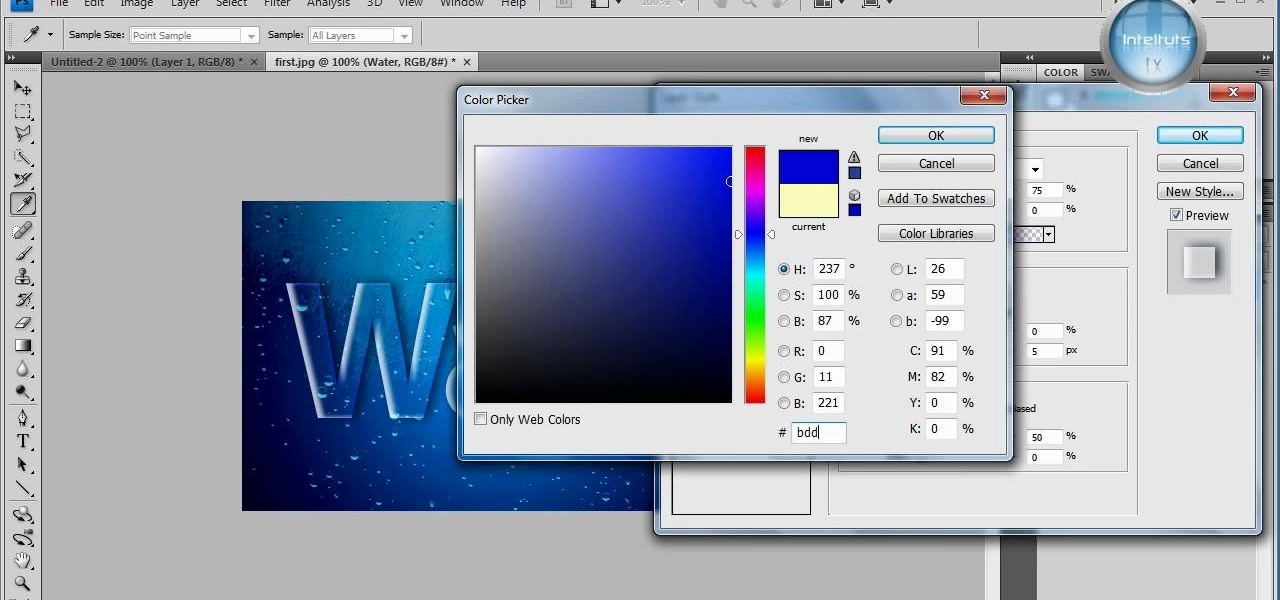
In this tutorial, learn how to make a very cool wet writing effect that you can use for graphics and logos. You will be creating this effect in Photoshop CS4. In this video, you will learn how to take tons of different layer styles and transform a basic text layer into a majestic piece of artwork. You will be shown the process step by step from the very beginning. This tutorial also shows the use of gradients and color corrections tools to optimize the full piece of work.
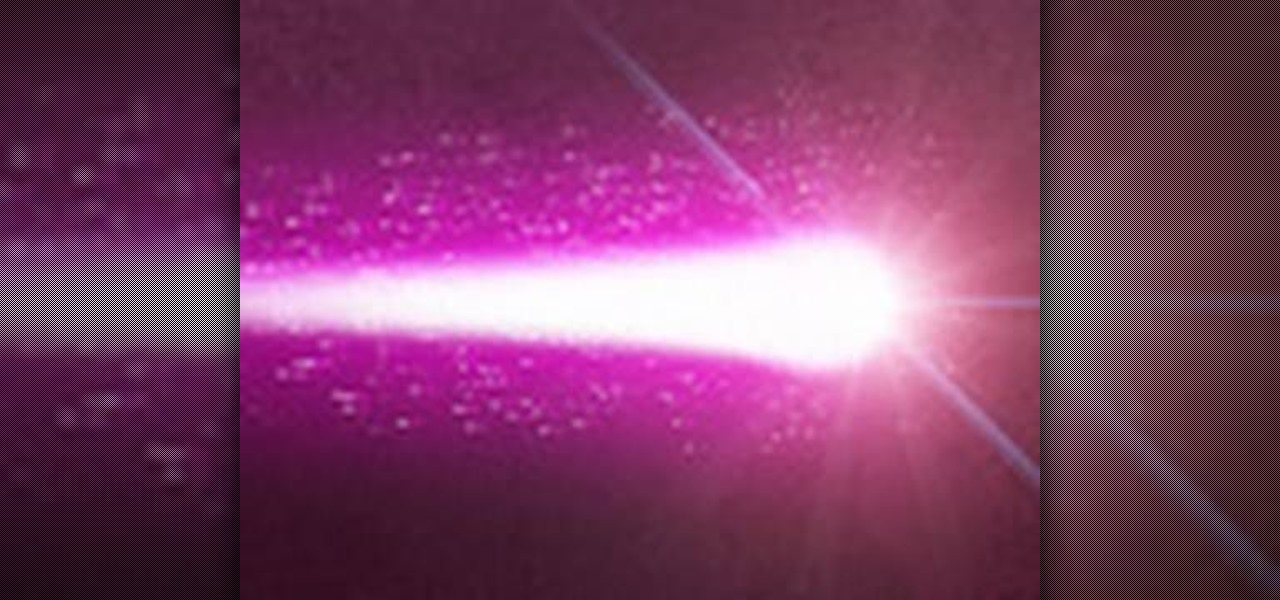
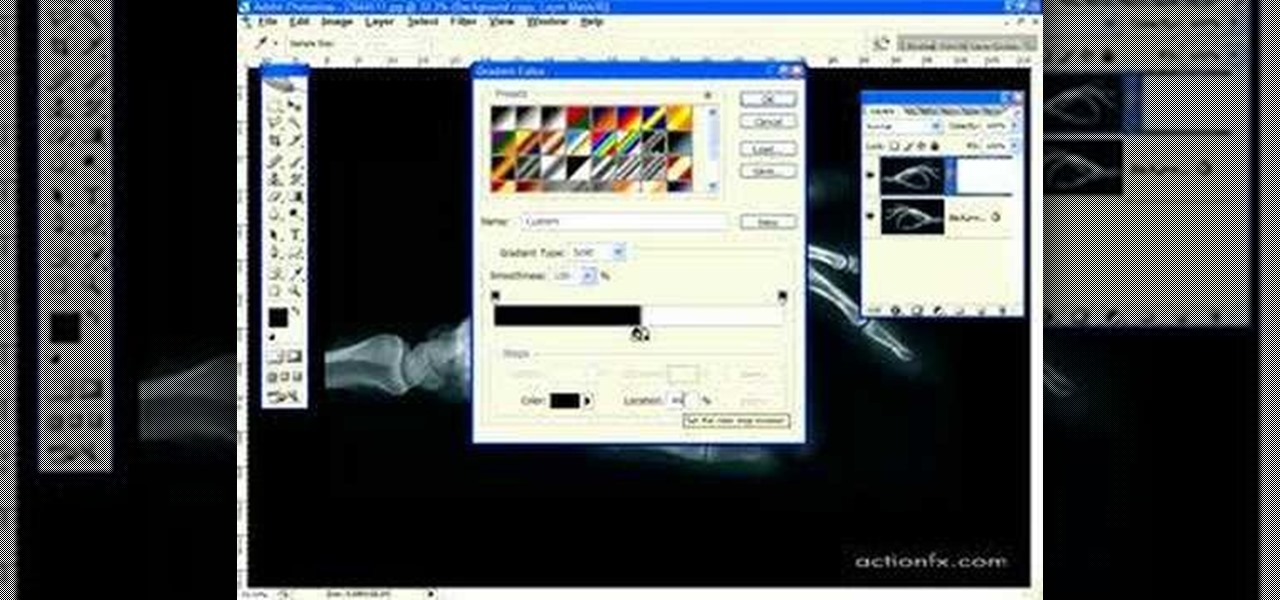
There aren't any words in the silent instructional tutorial video, but if you watch carefully, you'll learn the exact steps necessary to create a phenomenal looking shooting star or comment with nice looking special effects that are achievable in Photoshop. First you'll select a circular region with the selection tool, then you fill it with white. Next you'll use brush settings to create a brush stroke that straight and fades over time to create the comet's tail. Then you'll use Photoshop's l...