Compositing and color correction are important and integral steps in processing a 3D render after it is generated in Cinema 4D, 3D Studio Max or any other 3D package. Compositing transforms simple renders and provides them with life, vibrancy and atmosphere. In this demonstration, Greyscale Gorilla breaks down a 5 second project from Rich Hinchcliffe and demonstrates how Rich uses Adobe After Effects, color correction, blurs, ReelSmart Motion BLur, Frischluft Lens Care and Lens Flares to tran...
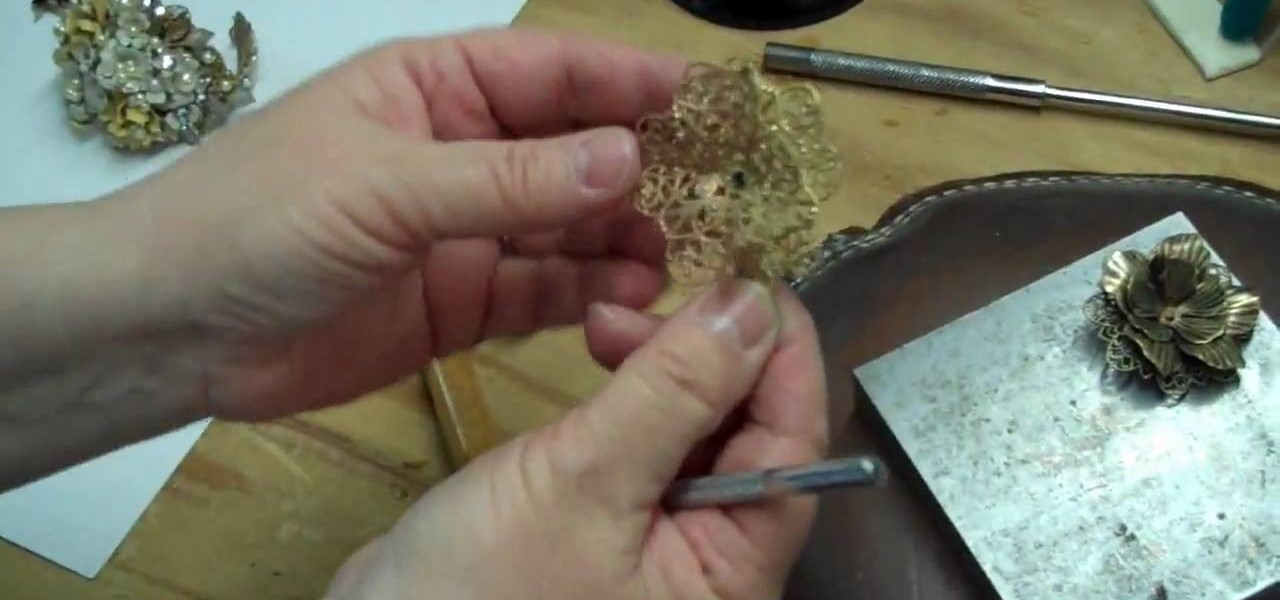
Brass stampings add that perfect metallic touch to any jewelry project you're working on. While brass stampings are usually made into filigree shapes, they can also be manipulated into pretty floral designs.
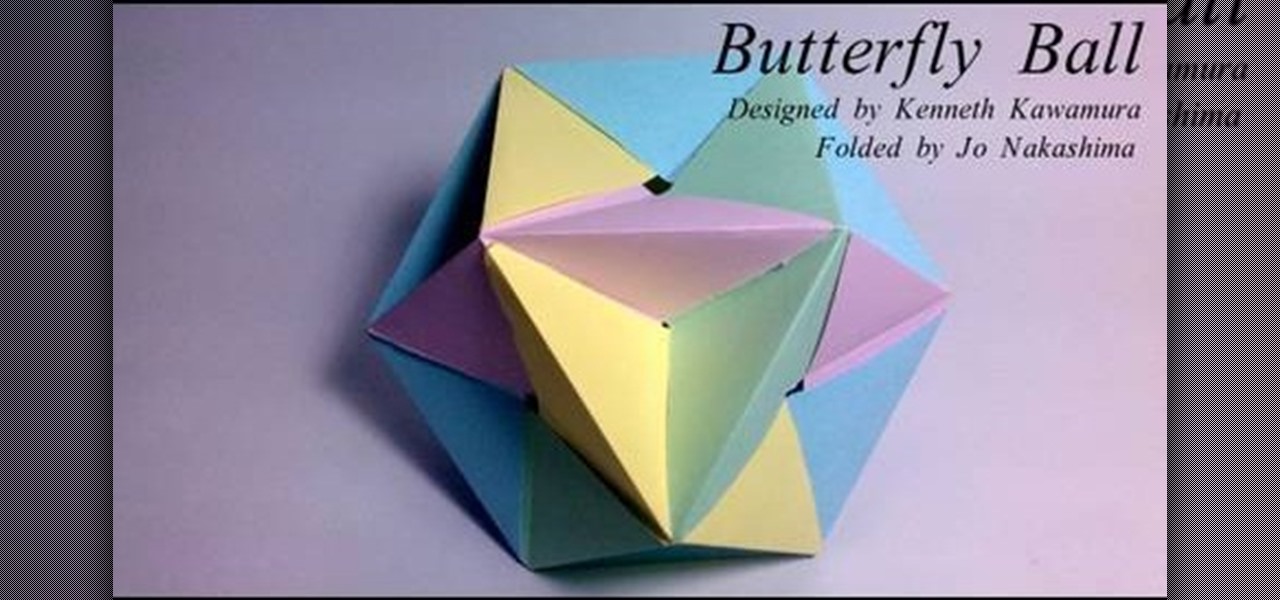
First of all, we're not going to lie: This butterfly ball origami project is not a simple one to fold. In fact, you should only attempt it if you're an intermediate or advanced origami student. Second, we have no idea why this star-like object is called a butterfly ball (perhaps because it looks like a cacoon?), but either way it's a very cool modern shape.
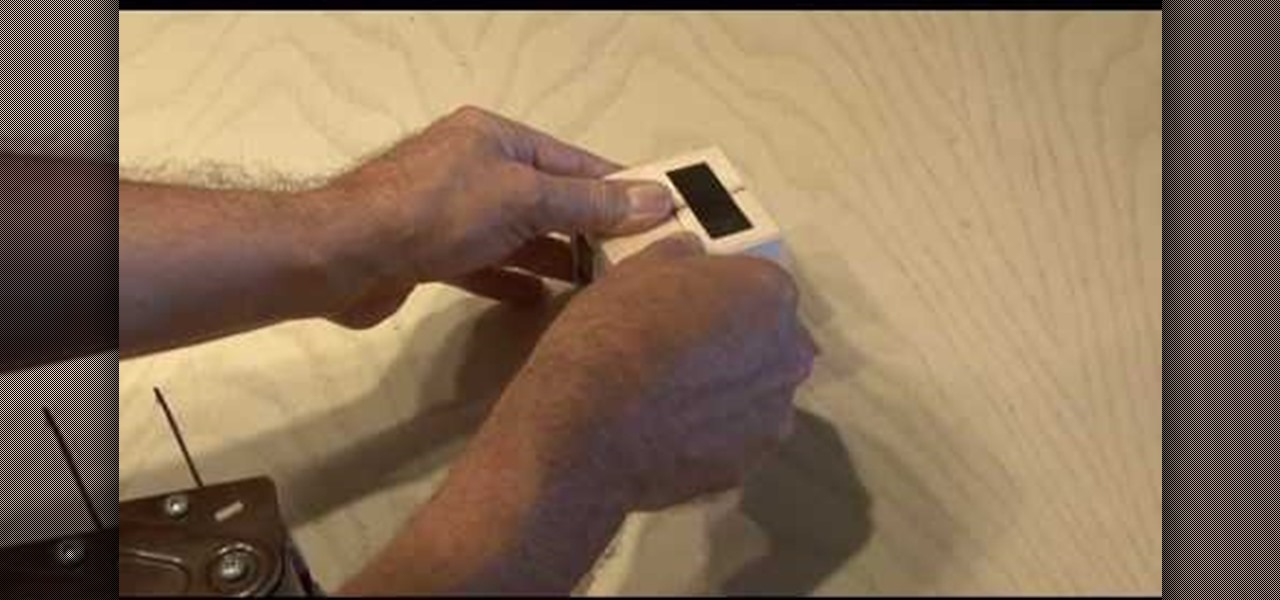
In this tutorial, we learn how to make a photo cube. This project can be done in a couple of hours and only costs a couple of dollars! To start, you will first get an exact measurement of the width of your wood. After marking these, you will cut the wood using a band saw. After the eight blocks are finished, line them up in a cube and use clear packing tape to secure them together. Use a sharp blade to trip the tape. You can then open up the cube to show six different sides and tape your phot...

Who said that you couldn't have a trick and a treat at the same time for Halloween? When you first take a look at this project, you just see a folded and pleated piece of paper. But upon closer inspection, you'll find that this is no ordinary piece of paper but an evil green witch complete with pointy hat and crooked nose.
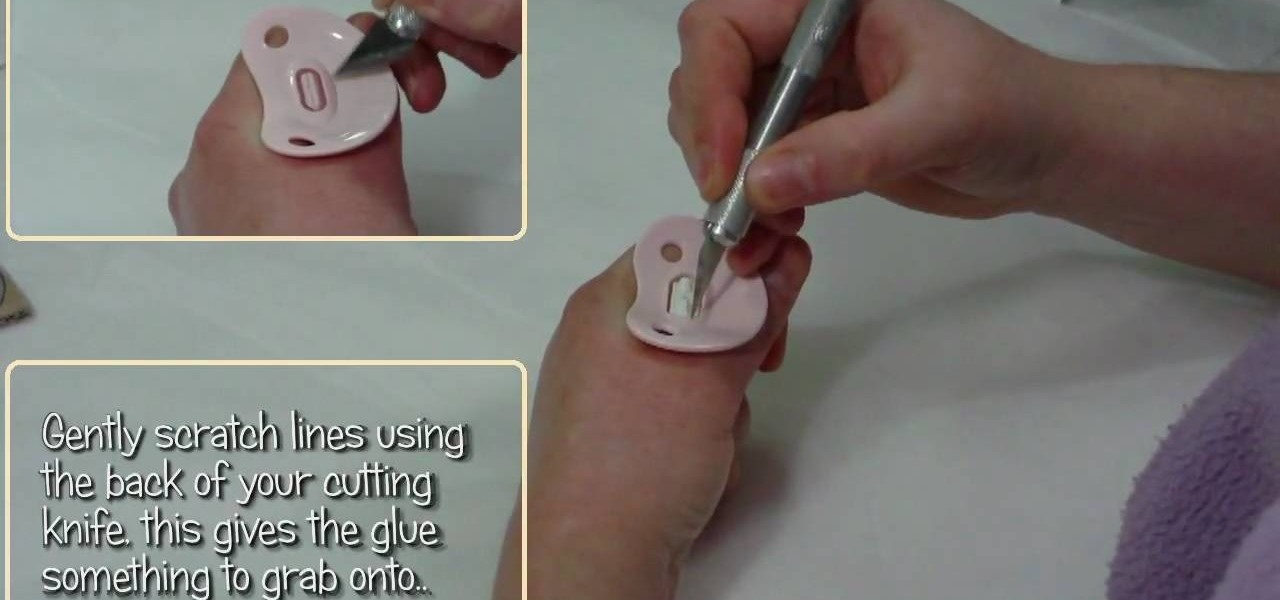
In this tutorial, we learn how to glue a magnet onto a dummy/pacifier for a reborn doll. First, gather all the tools you need to do this project. After you have these, remove the teeth from the pacifier. Next, scratch lines using a cutting knife so the glue grabs onto the center better. After this, apply the glue and the magnet, then place it on the dummy and press it there for several seconds until it is firm in the right place. After this, glue the surface of the pacifier onto the baby, the...

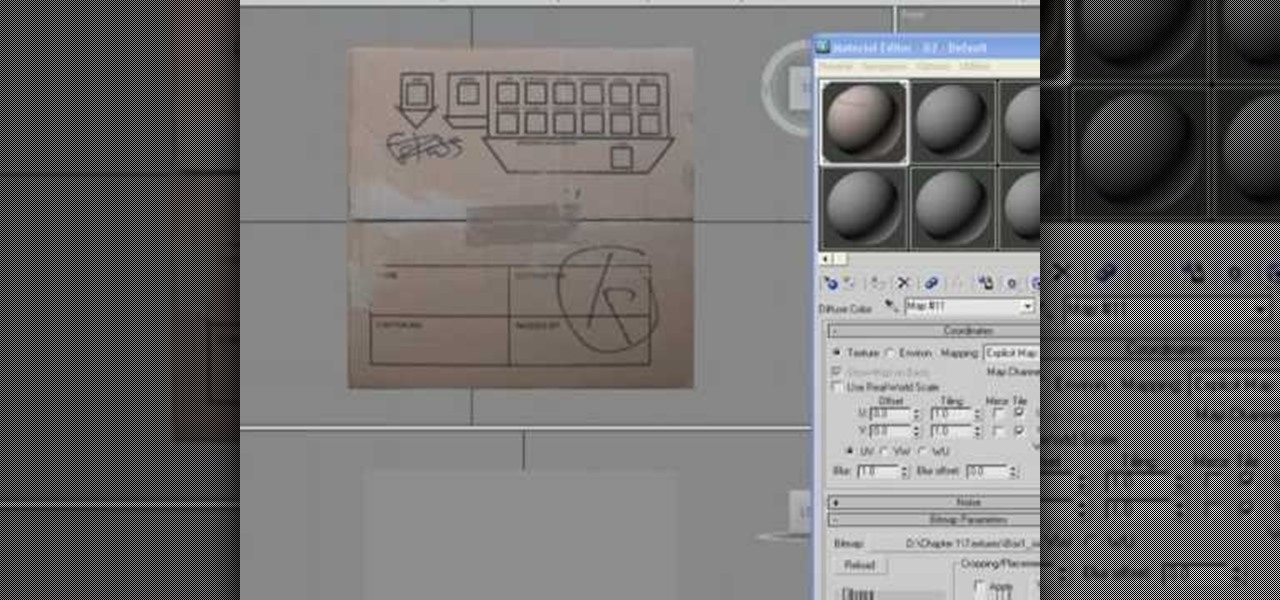
This very simple tutorial is ideal for a beginner to Autodesk 3ds Max. Start your project by creating a simple cardboard box. Then apply texture mapping, add graphics to the face, and then set the animation so your box behaves like a real one would!

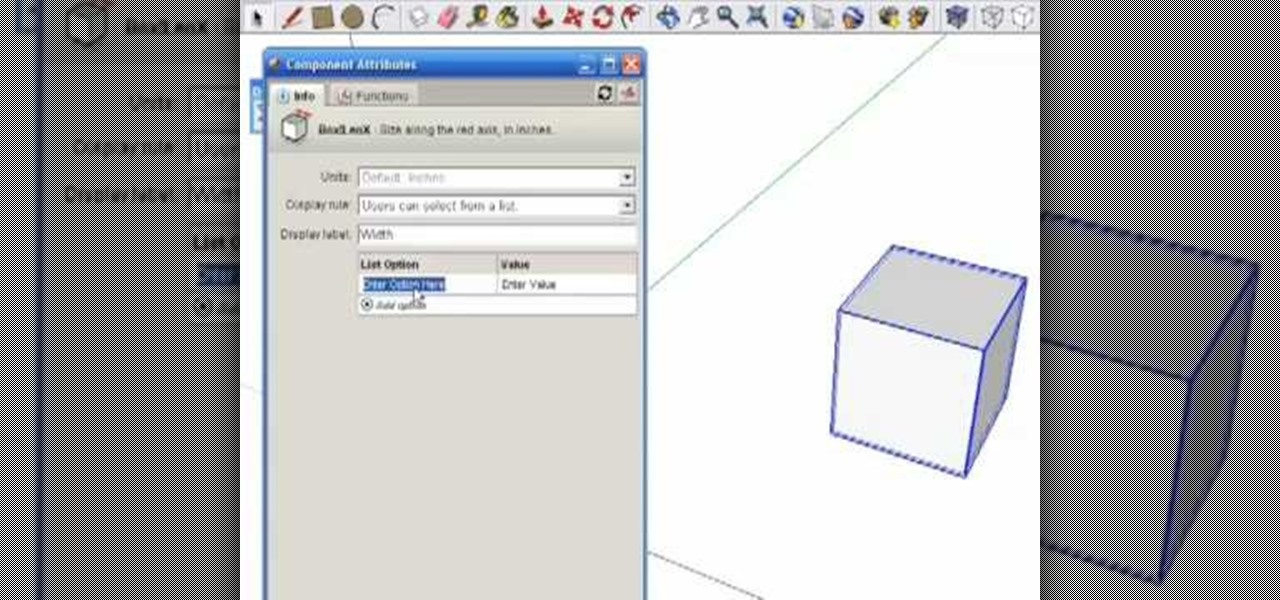
Google SketchUp offers a new feature in the most recent version of their program - dynamic components. Dynamic components add a certain intelligence to objects within your project, as well as make interactivity easier. This series shows you how to alter your component and take full advantage of the dynamic component feature.

In this tutorial, we learn how to extract audio from CD with Vegas Movie Studio. First, open up Vegas Movie Studio and open up the audio from the drive you prefer by going into "project" then "audio cd". Once you do this, a new window will pop up showing all the different audio tracks that you can open. Play them before you open them, then when you find it click "ok" and then save it to the place it suggests. Now that selection will show up in your media pool, put this on your timeline. After...

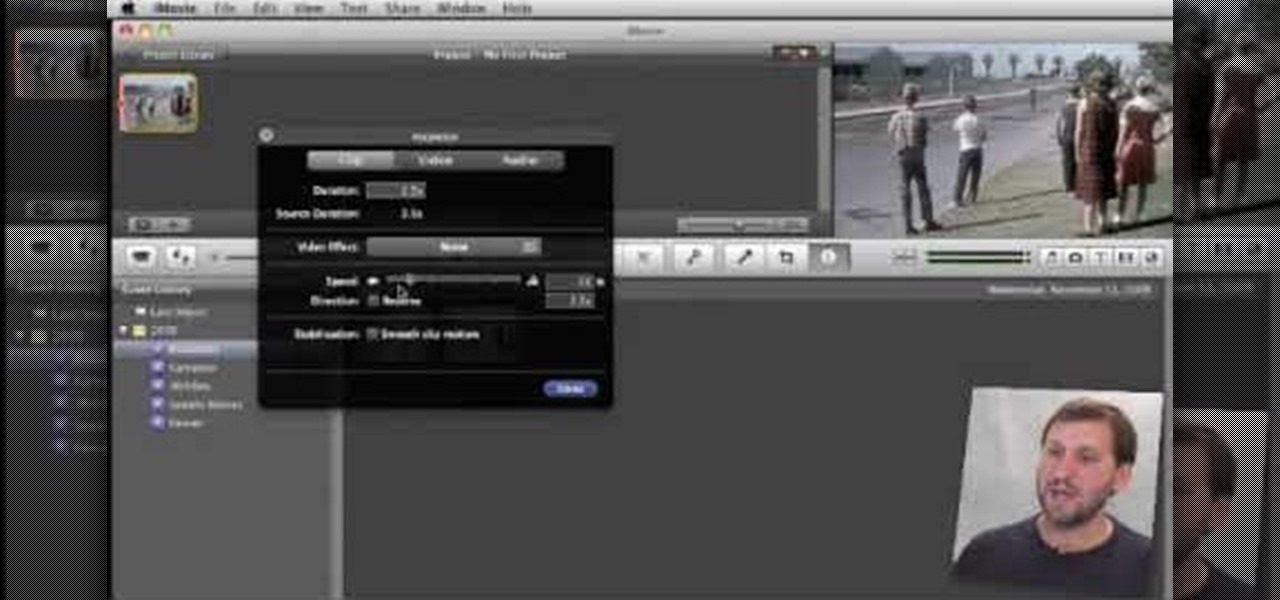
In this tutorial, Gary teaches us how to speed up and slow down in reverse in iMovie 09. First, open up iMovie on your computer and set your preferences so the advanced tools are turned on. Now, open up your project and play it back at normal speed. Next, go to the information for this clip by selecting the "i" button. Click on the speed and then click "convert entire clip" so you can control the speed of the clip. After this, you can move the lever on the gauge to make it faster or slower. W...

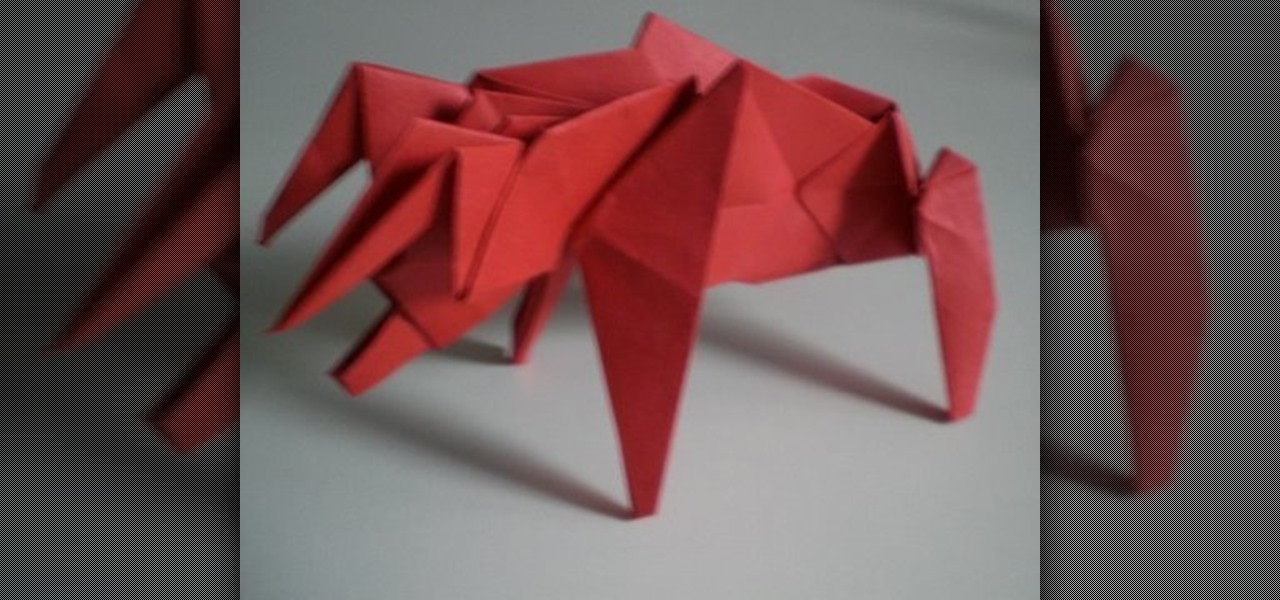
The basic tenet of origami is to create an object - a bird, cube, monkey, etc. - using a single piece of paper. And while for the most part this is possible, there are notable exceptions, including modular origami and this menacing red bull.

After Effects makes it easy to create wonderful designs and great looking material, and this tutorial makes it even easier! Watch and learn how to create a really quick carbon fiber (or carbon fibre for all you British folks) effect using After Effects. Carbon fiber is a great-looking material, and you can used the standard toolkit in After Effects to create an instant carbon fibre texture in seconds. Great for your next extreme sports car and high-tech driver video intro title sequence! Get ...

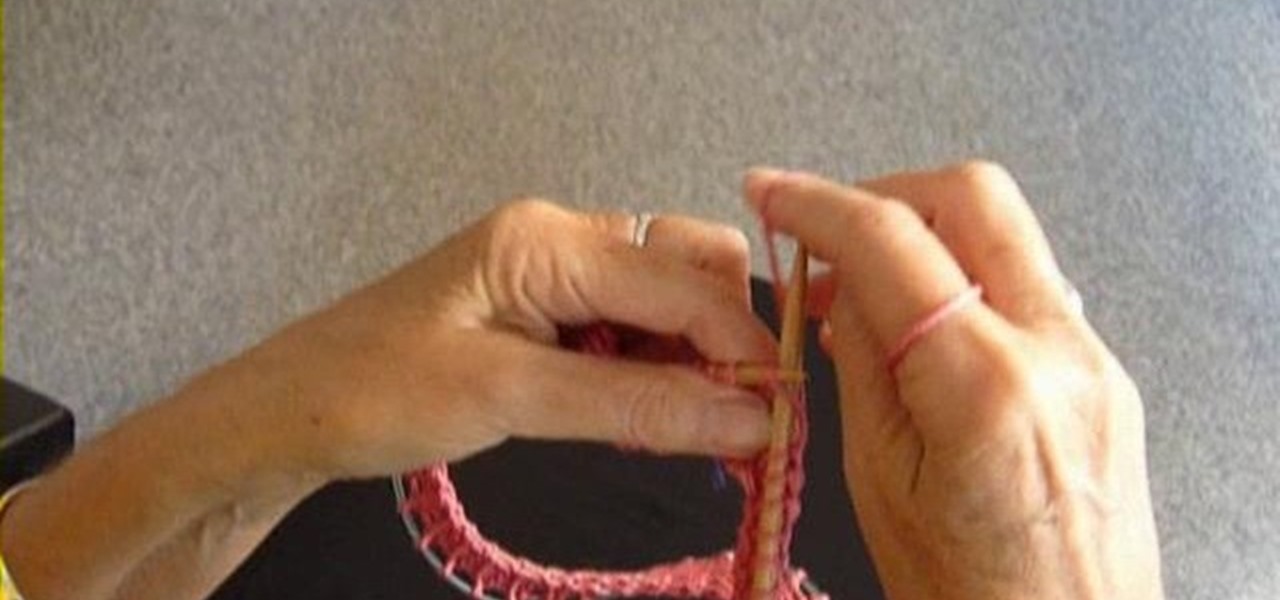
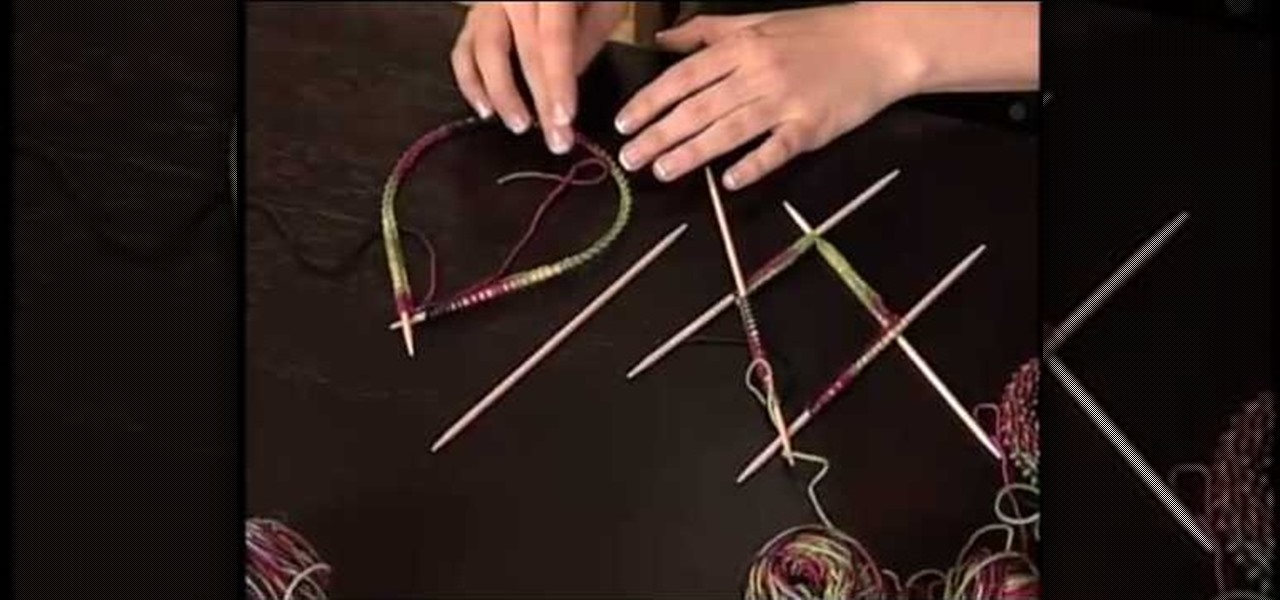
Bind offs, also known as cast offs, are useful tools in knitting because they help you keep one area of your project in place while you work on another section. Bind offs on a circular needle work basically in the same way that bind offs work with straight needles.

This crafty project is inexpensive, it's easy to do and it's really handy for attaching things like letters, photos and to-do lists. This isn't like a cork memo board, because you won't need any push pins or cork pins! Watch and learn how to make this French memo board. This is the pretty alternative to drab store-bought memo boards.

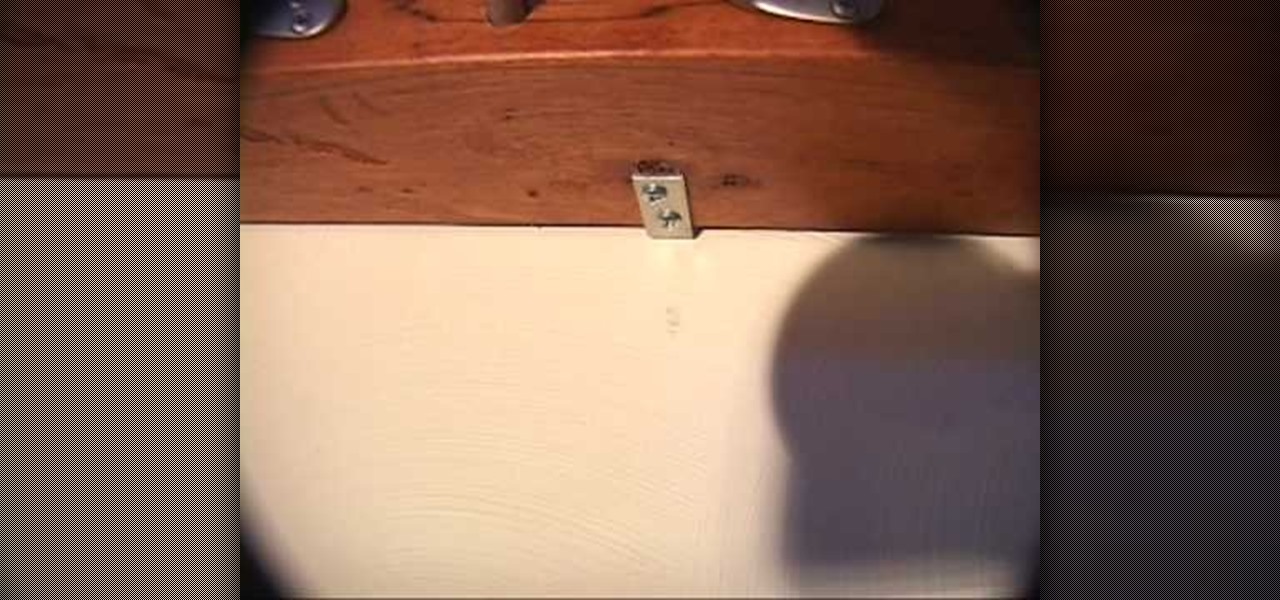
In this video tutorial, viewers learn how to make a juggling prop rack. The materials required for this project are: 2x4 pieces of lumber with proper length and space for the props, L-brackets, drawer pulls and trim. The 2x4 pieces of lumber are the shelves that will hold up all of the props. The L-brackets will mount the racks onto the wall. The drawer pulls will specifically hold clubs. The trims will decorate the shelf and provides re-enforcement. This video will benefit those viewers who ...

Think you're done with your ceramics project because you've thrown your vase and fired it in a kiln? Think again. While you've done great so far, firing a pot is only half the battle. In order to make a piece of pottery truly spectacular and professional looking, it's vital to add a coat or two of glaze.

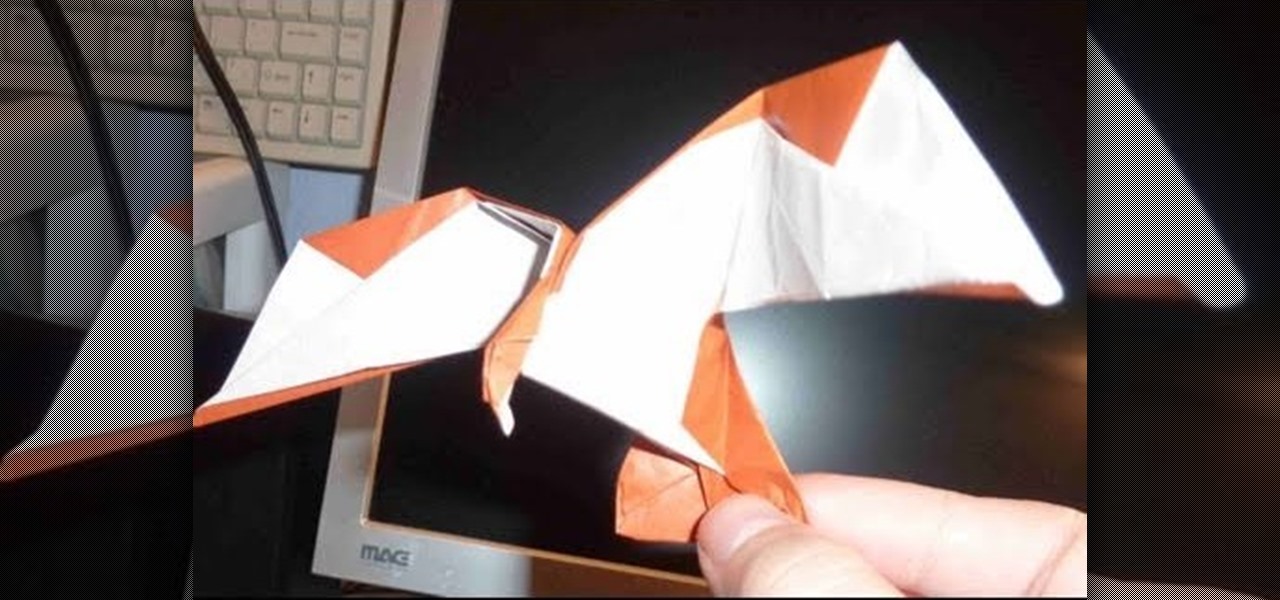
Eagles are the most effective of the predator birds. With eyesight like nobody's business, a huge wingspan for excellent air foil control when flying and diving down for a yummy little mouse, and a strong, muscular body, it seems eagles were designed to, well, kill.

Well this is quite the alternative crochet project. You've probably already knitted a light, hole-y Afghan, and even a long, thick crochet scarf for the winter months, but we can bet you've never even thought of crocheting your own earrings.

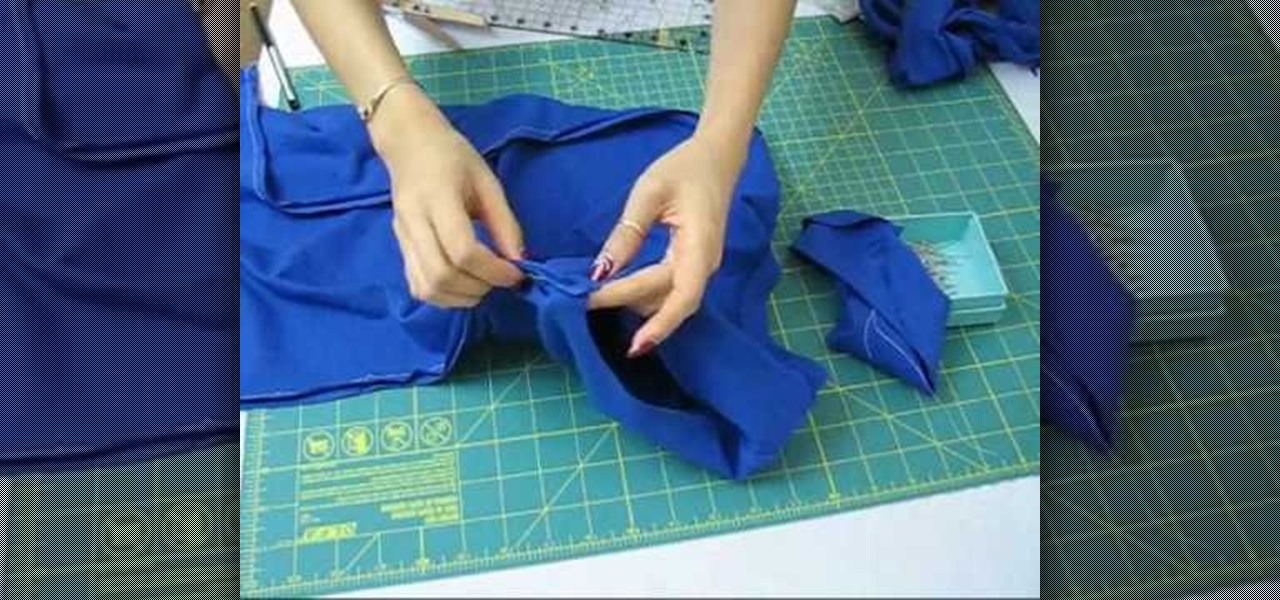
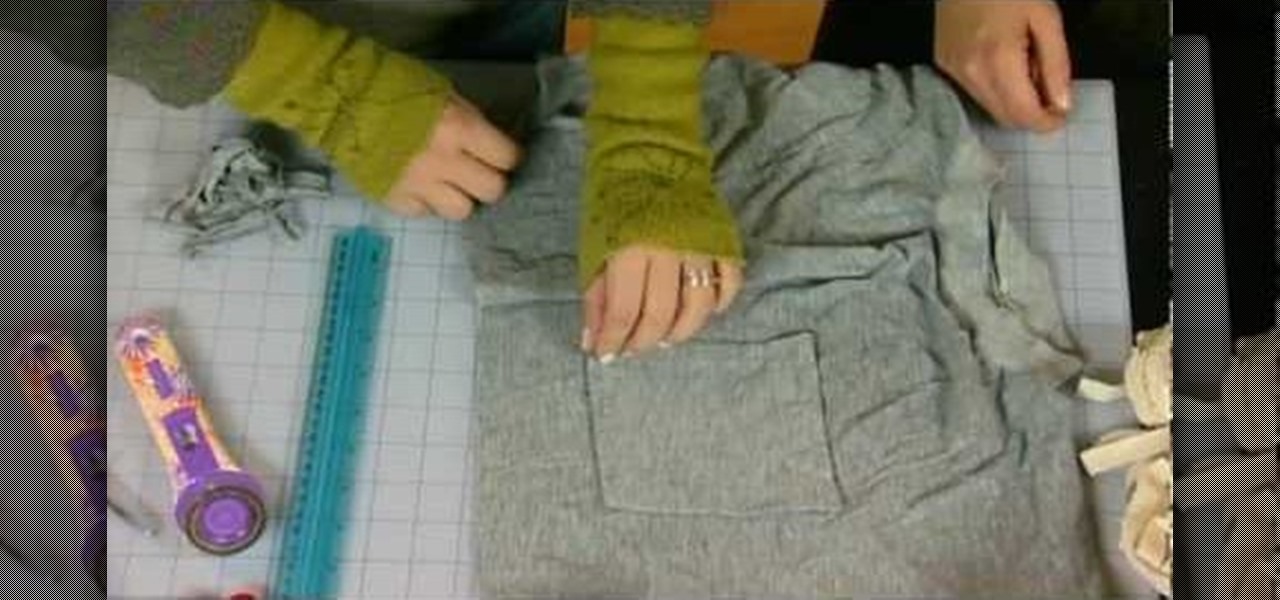
Upcycling a too large t-shirt doesn't require that you have a degree from a fashion college or are an expert with the needle and thread. In fact, you don't need any needle at all to create the t-shirt project presented in this video. All you need to do is pick up a pair of scissors and press "play."

What's so genius about this project? yeah, it may just seem like a plain white piece of paper that you fold a bit to stand up, but you're actually getting two beginning origami projects for the price of one. That is to say that if you learn how to make the origami tent in this video, you'll also be learning how to make a pyramid.

If you think about it, beds are a divine resting place. Free of outside distractions (we're hoping you don't bring your iPad and Blackberry into bed), warm, and cozy, a bad is the perfect place to just unwind, relax, and recharge.

If you're a habitual knitter, then you probably go through spools of yarn faster than you can buy them. And while rolls of yarn aren't all too expensive, purchasing many of them frequently does take its toll on your wallet. So why not opt for a cheaper and more eco-friendly approach to your knitting?

If you're a knitting beginner who wants to challange yourself with an impressive looking project, then you've hit the right how-to video. While there are many different ways you can knit a hat, the method presented in this tutorial is one of the simplest. You can simply vary the yarn color to produce different effects.

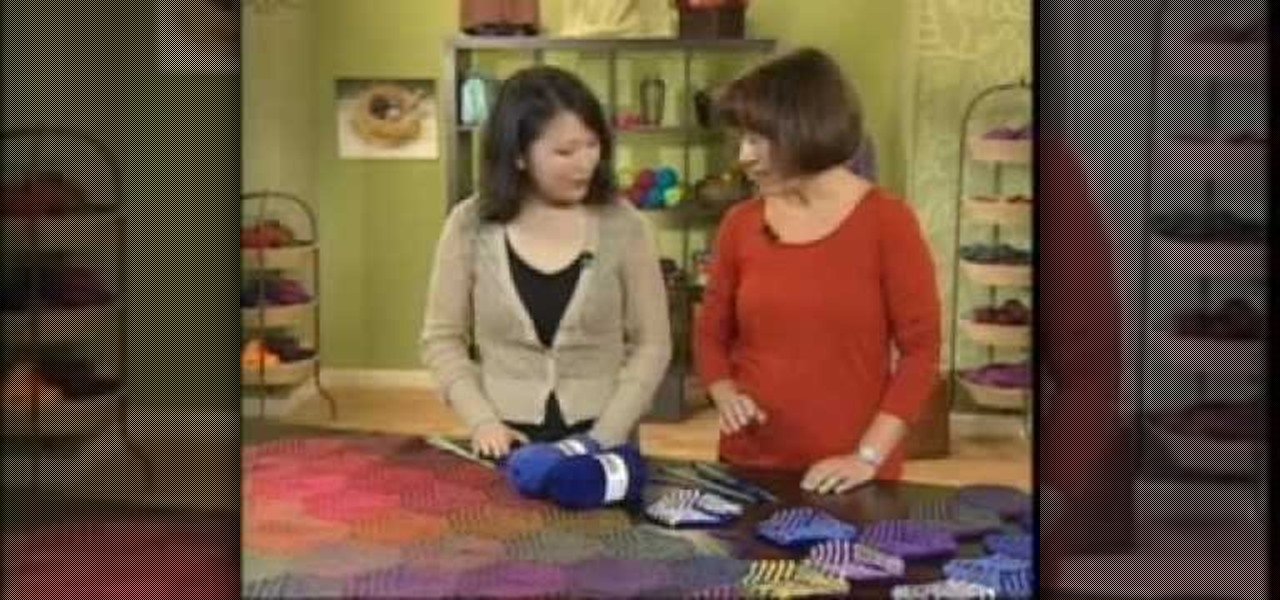
Want a knitting project that looks really impressive and complex but is actually much simpler than it appears? Then this hexagonal illusion cube blanket, made with an array of variously colored hexagons. The blanket is made of 100% wool, so it's perfect for covering up and then snuggling with your partner during cold winter nights.

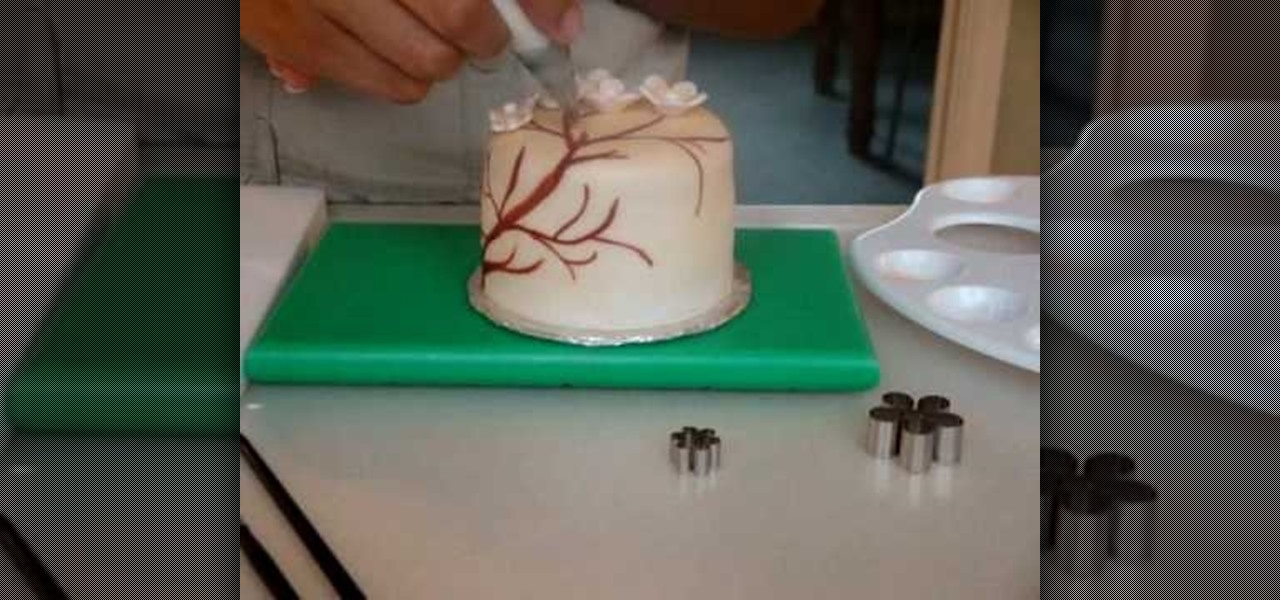
Painting on a cake may seem counterintuitive, since the paint that most of us are familiar with is acrylic or watercolor paint, both of which are way toxic. But the project in this video uses an entirely different type of paint: cake paint. Cake paint is edible and comes in a variety of finishes to aid bakers who want to make their cakes into artistic masterpieces.

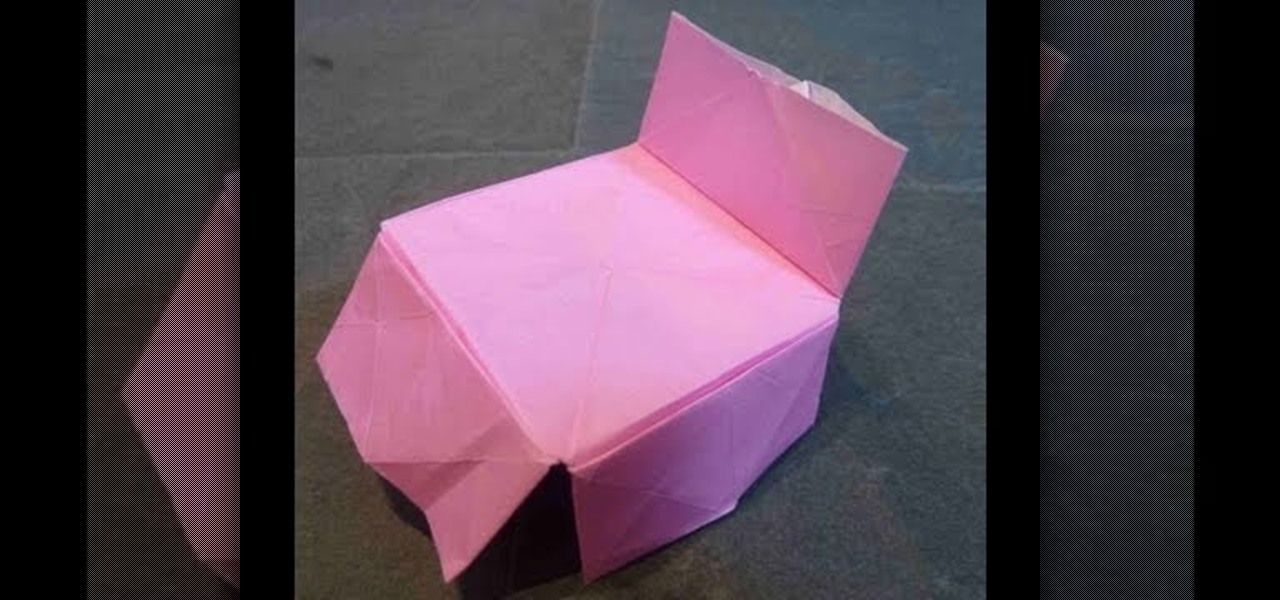
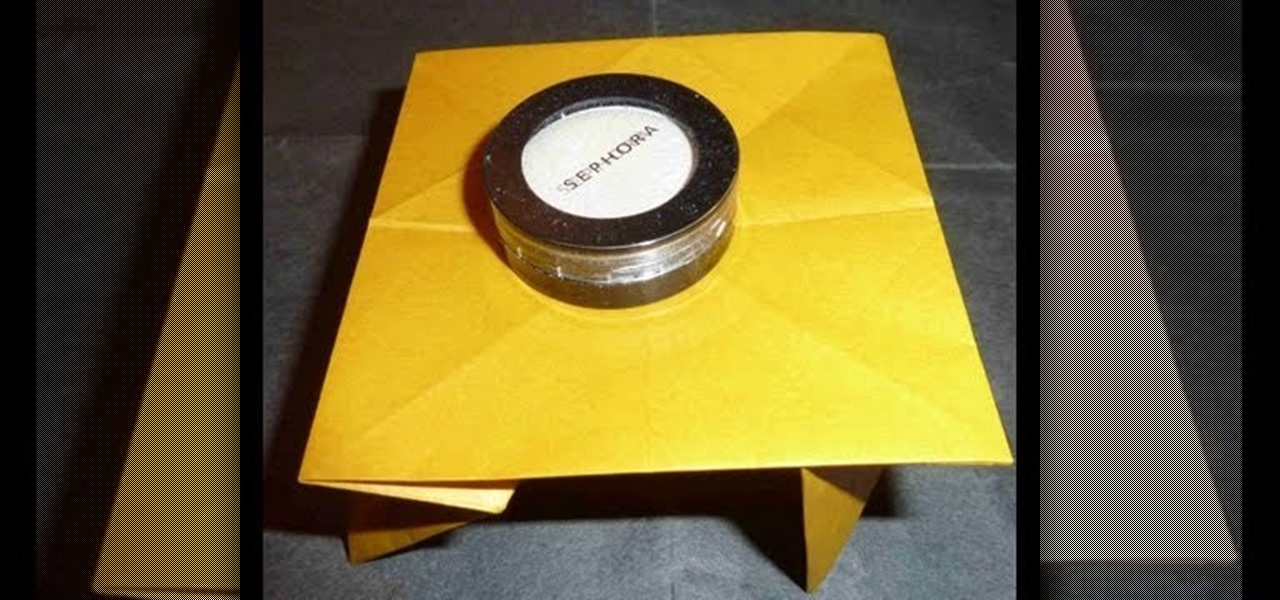
Got a niece who loves playing make believe in her doll house? Then she'll get a kick out of this project. After all, every doll house needs a set or two of furniture. Make her a furniture piece that's unique and can actually hold a few light objects (like fake food) by watching this origami tutorial.

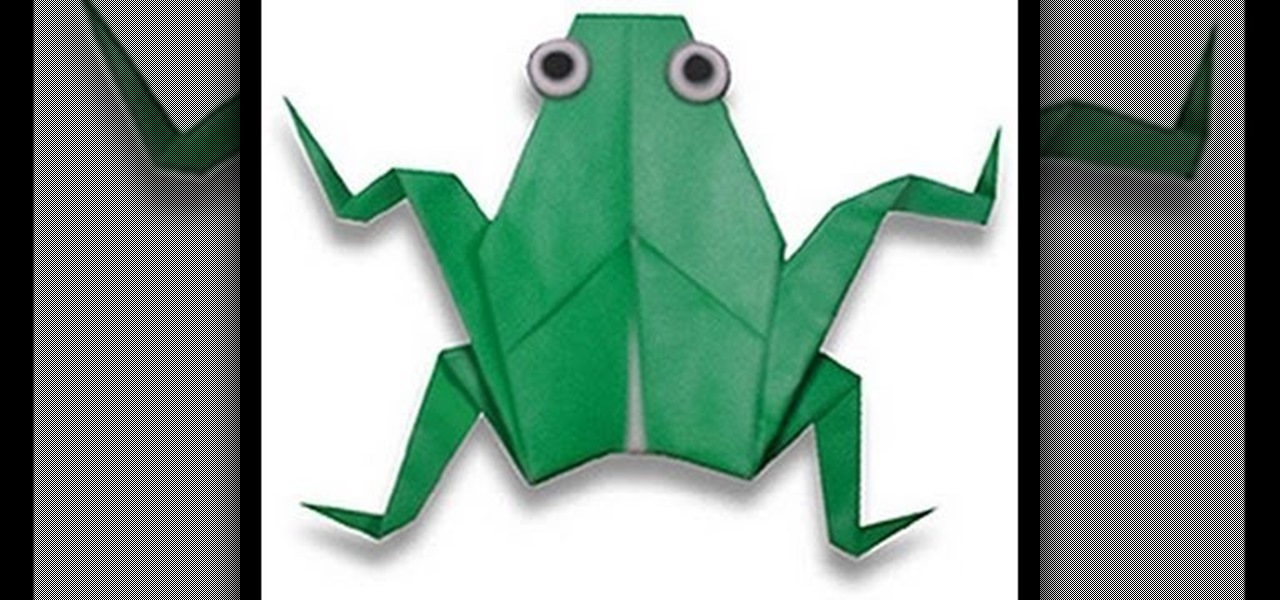
Psst. Want to know a little secret? When it comes to beginner origami, if you know how to fold a crane then you can fold a variety of other animals/creatures, including a frog. By adding one extra step, you'll be able to turn a crane into a cute frog that stands on its own.

Just as night follows day, the summer and fall baby season follows wedding season in the spring. Lots of cute young ones seem to get popped out by the dozen during the summer, often prompting baby showers and other baby-themed events.

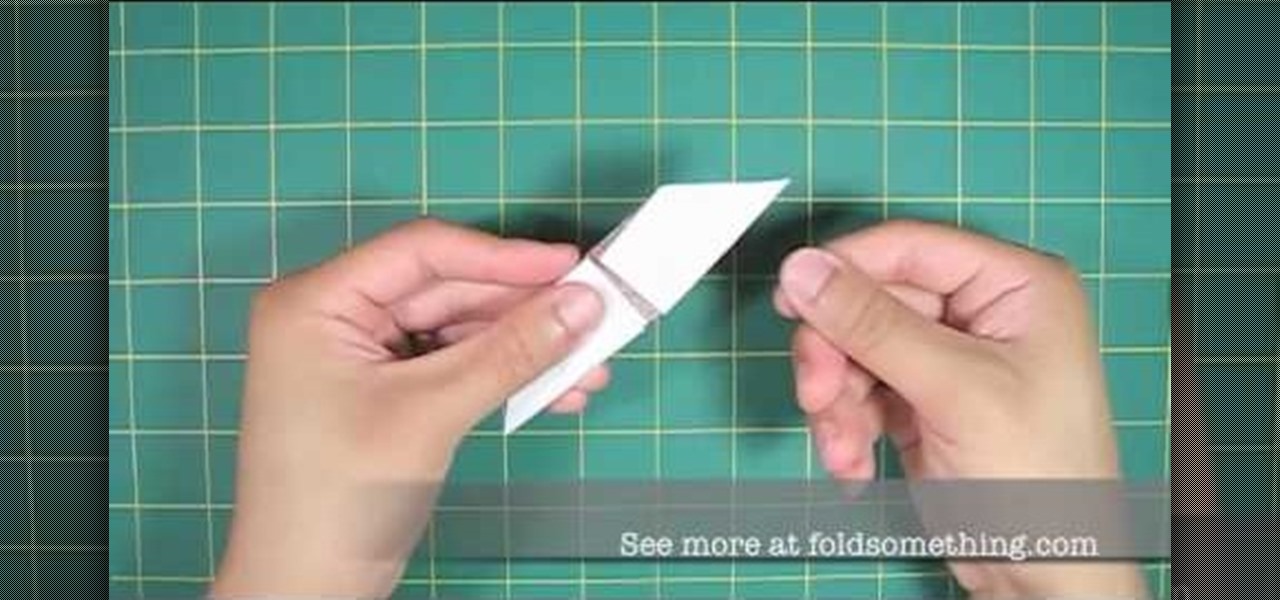
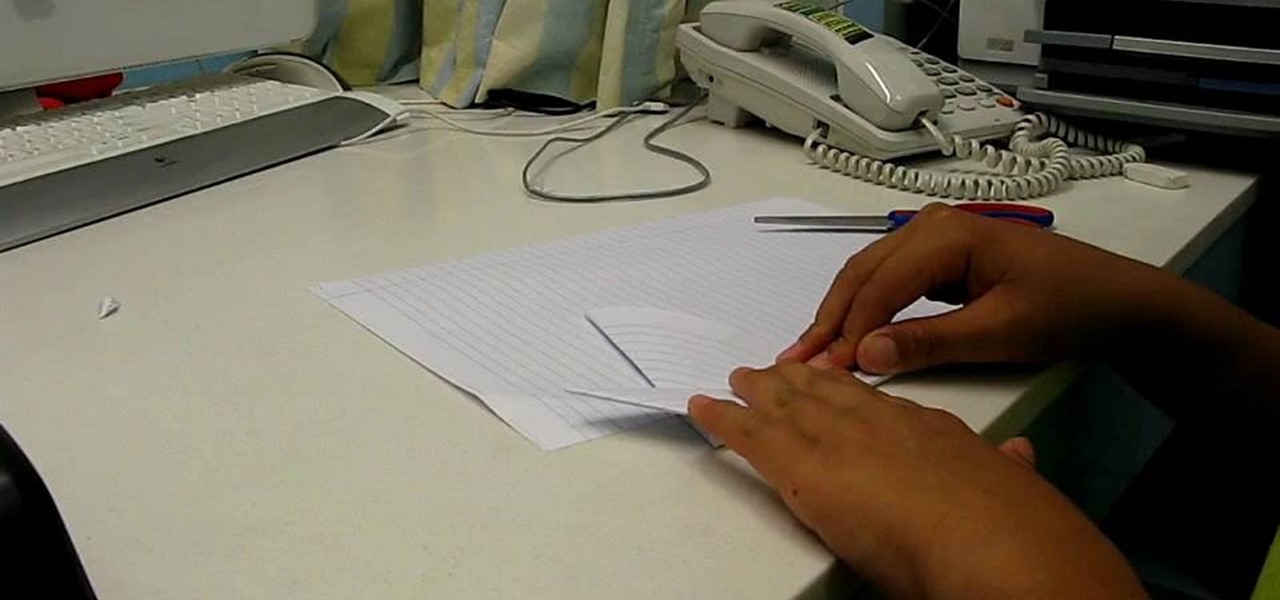
Wolverine's claws are the most well-known hardware in all of comics, and making replicas of them for Halloween costumes and film shoots is a popular vocation. This video will show you one easy way to do it using only paper. They look pretty cool, although if you want them to look more real a little bit of paint would probably go a long way. Either way, this is a cheap and easy project that will make you Wolverine costume much more achievable.

Do you have a cupcake fan in your house who's having a birthday soon? Then he/she will just die over these cupcake cakes, each of which contains not just one, but three cupcakes stacked high and proud to form a multilayered "cake."

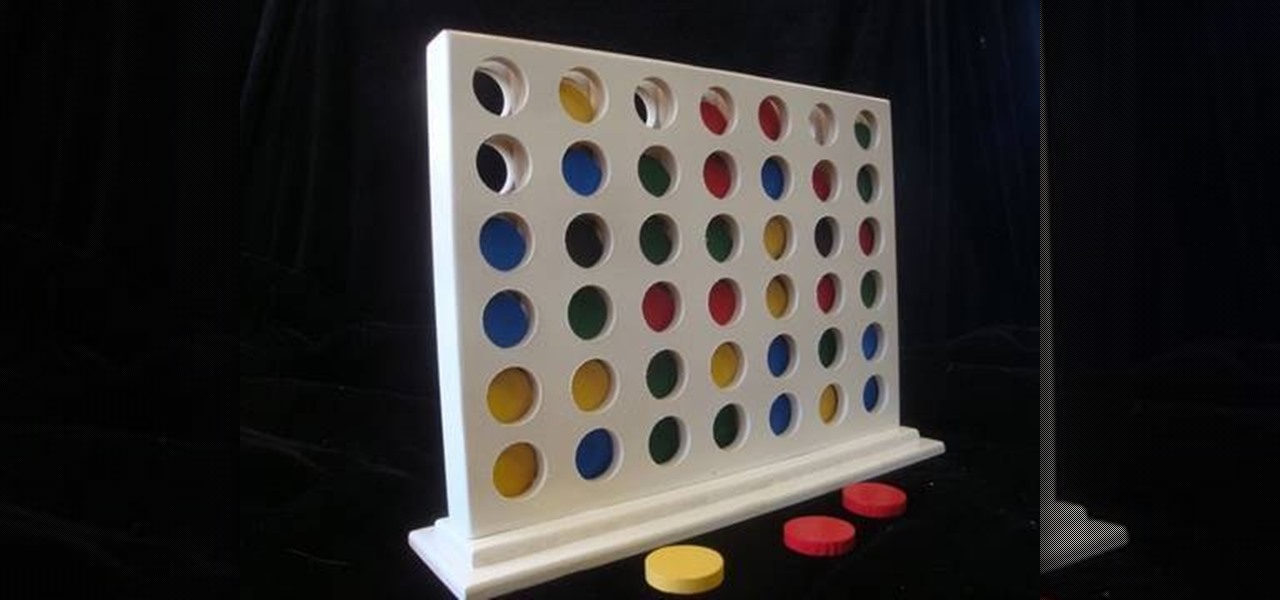
In this next woodworking tutorial, you'll find out how to make a favorite game using, of course, wood!

Origami seems super complicated if you're just starting out. After all, with projects like 30-sided modular spheres and magic cubes, it's easy to find your beginner level crane a bit pathetic.

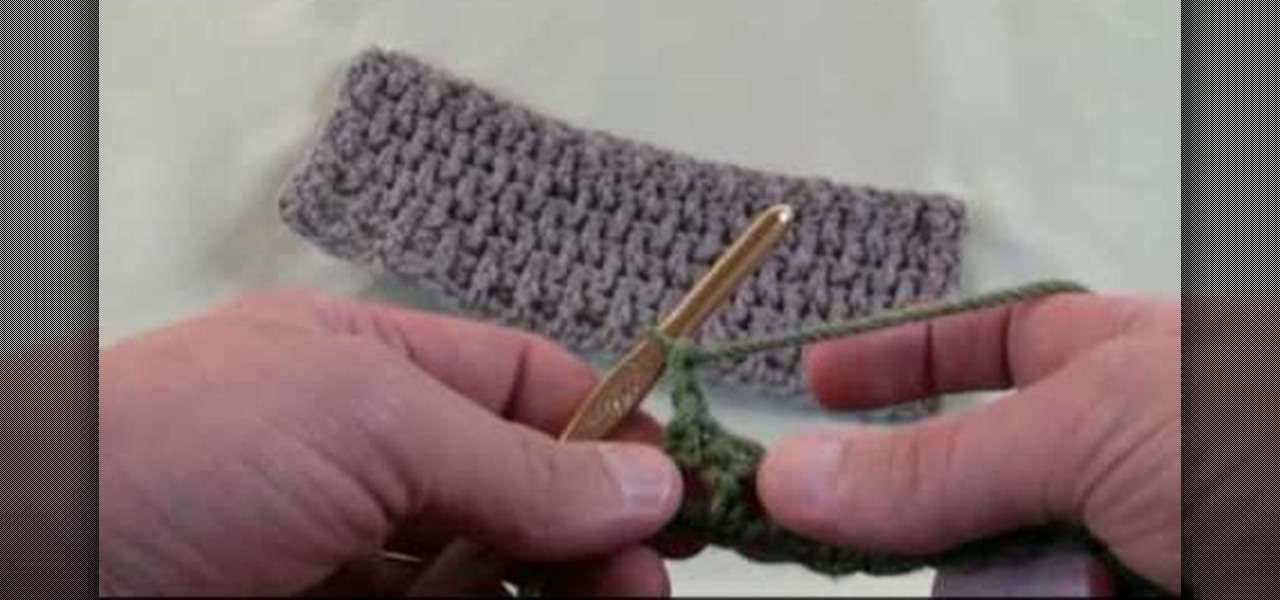
Expand your crocheting repertoire by learning how to crochet a crinkle stitch, which does indeed replicate fabric crinkles. With very hole-y yet tightly woven vertical lines of yarn intersection with horizontal ones, this type of stitch creates excellent warm fabric for scarves and cold weather gear.

In this video tutorial, viewers learn how to create a tessellation. The materials required for this project are: index cards, scissors, pencil, large paper and coloring utensils. Begin by preparing a shape. Cut the index paper to a desired shape. Then place it on the right side of the large paper and tape it. Now trace the shape onto the large paper and continue transferring the shape until the page is filled. The shapes should fit together like a jigsaw puzzle. This video will benefit those ...

When you hear the word "watercolor," the image of Monet sitting in his garden in Giverny slowly whittling monumental versions of his garden's lillies on canvas probably comes to mind. But you don't have to be a superstar painter to be able to create beautiful watercolor prints.

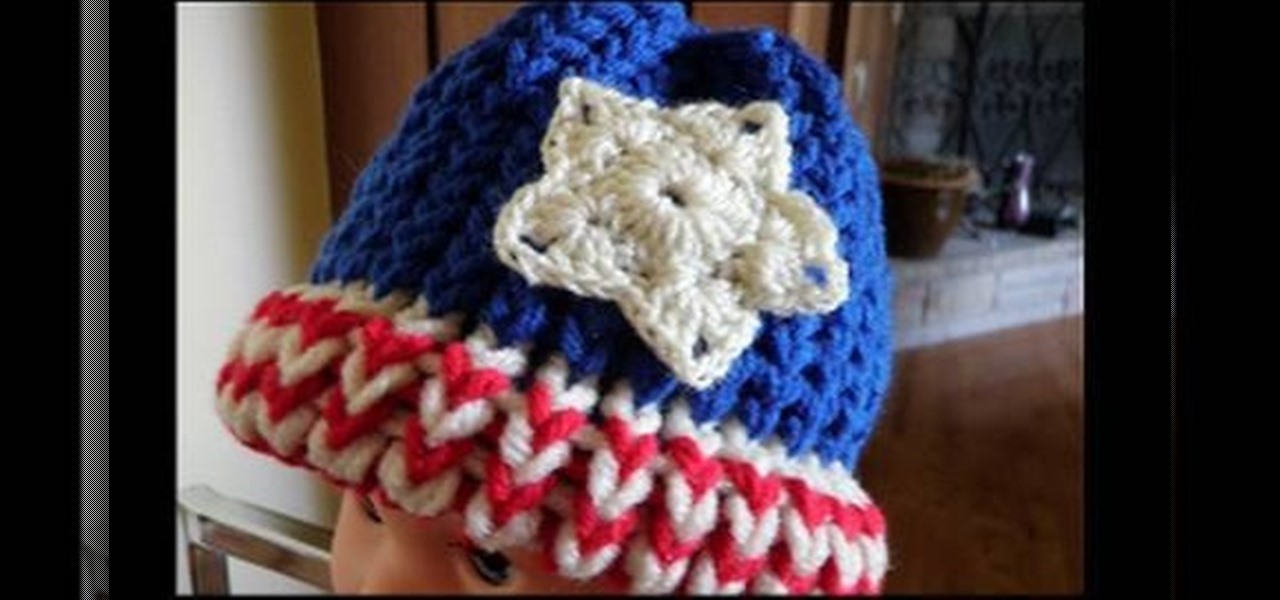
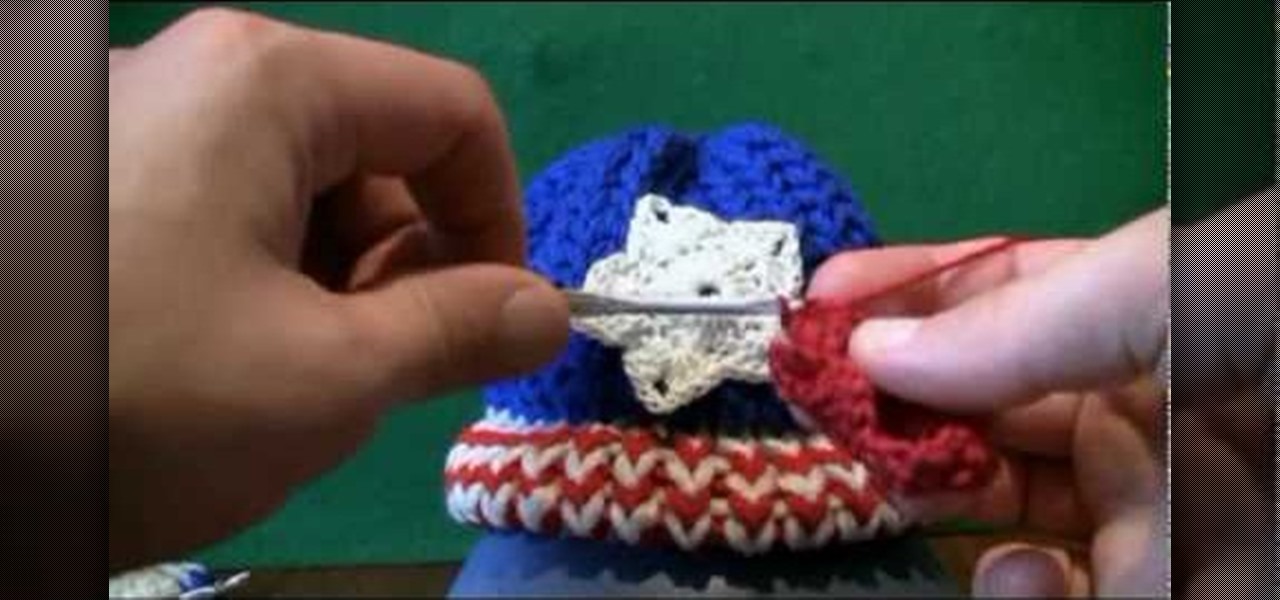
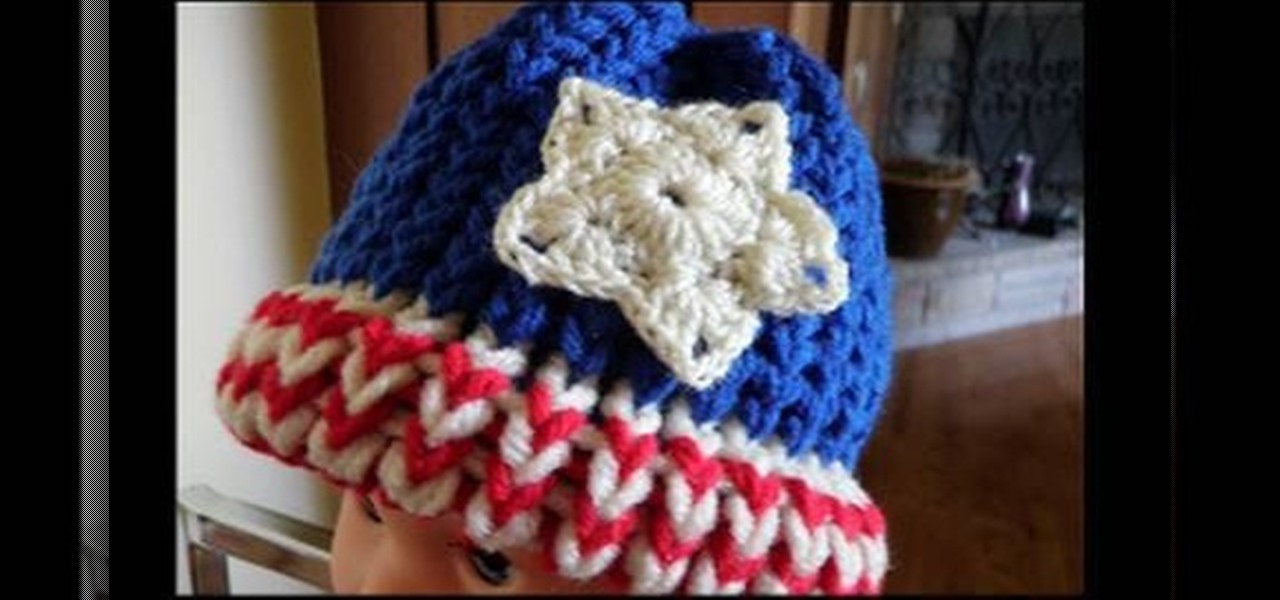
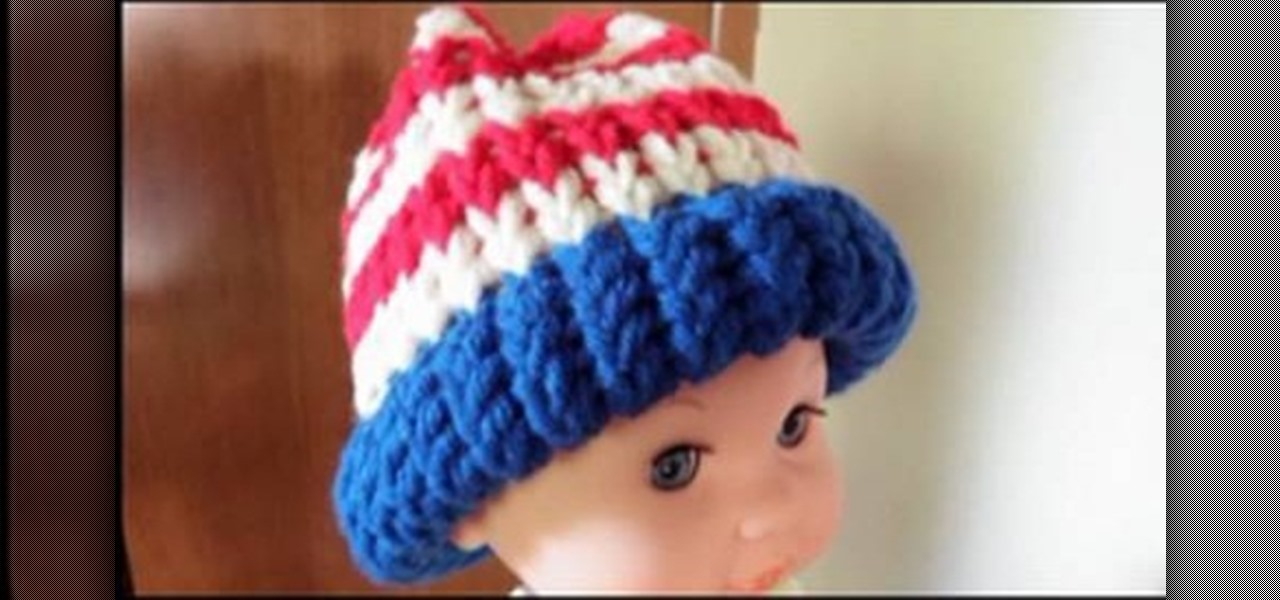
Fourth of July is coming up this weekend, and if you consider yourself any kind of patriot (and also happen to love crafting) then you're no doubt going to be honoring the all-American holiday with crafts festooned with vestiges of red, white and blue.

Fourth of July is coming up this weekend, and if you consider yourself any kind of patriot (and also happen to love crafting) then you're no doubt going to be honoring the all-American holiday with crafts festooned with vestiges of red, white and blue.

Fourth of July is coming up in just a few measly days, and while we're sure you've probably already fired up the grill and purchased aquarium-sized packs of hot dogs, ground beef, cole slaw, and potatoes for your potato salad, you can show your patriotism through more ways than just food.

Fourth of July is coming up in just a few measly days, and while we're sure you've probably already fired up the grill and purchased aquarium-sized packs of hot dogs, ground beef, cole slaw, and potatoes for your potato salad, you can show your patriotism through more ways than just food.

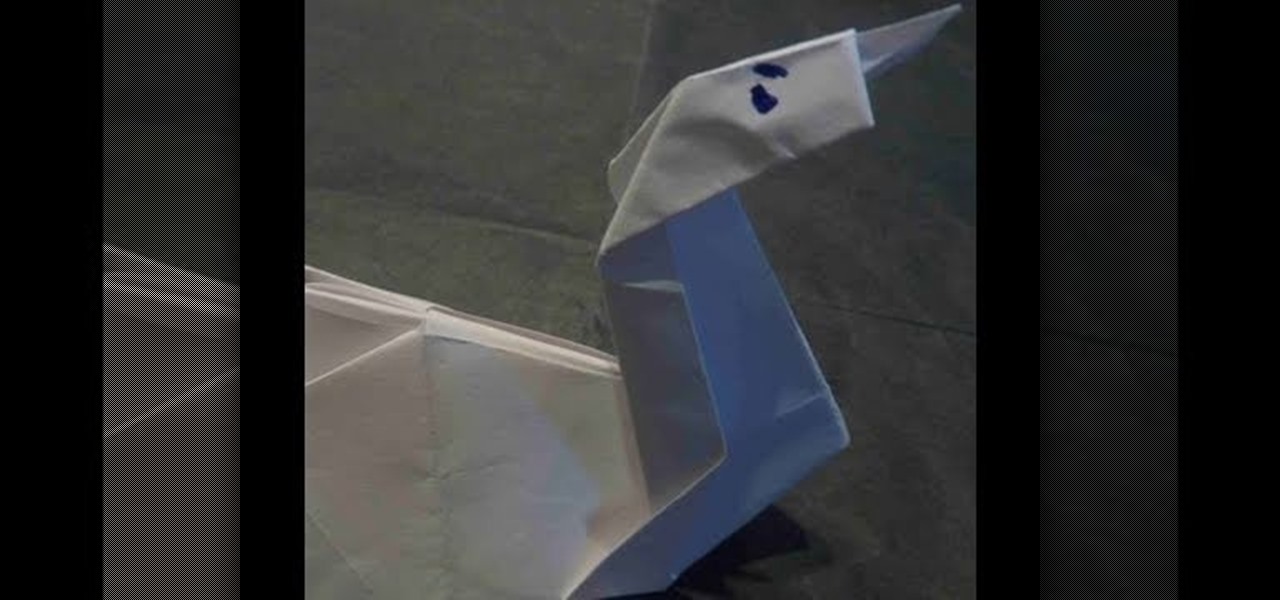
Remember that uber romantic scene from Nicolas Sparks' tearjerker, "The Notebook," where Noah takes long lost and then found love Allie out on his boat and then find themselves in a small enclosure full of swans? You can recreate that magically romantic moment (sort of) by folding this swan origami project!


