In this tutorial you will be walked step-by-step through how to make a super easy pin cushion bracelet using a bottle cap. This project DOES NOT require a sewing machine. The only stitching involved is a few hand stitches.
No matter how often you sew or how many projects you complete, you can't possibly find a use for EVERY single scrab of fabric lying around. Your first thought is probably to throw them away, but there is indeed a project you can do that only requires the smallest of fabric scraps.
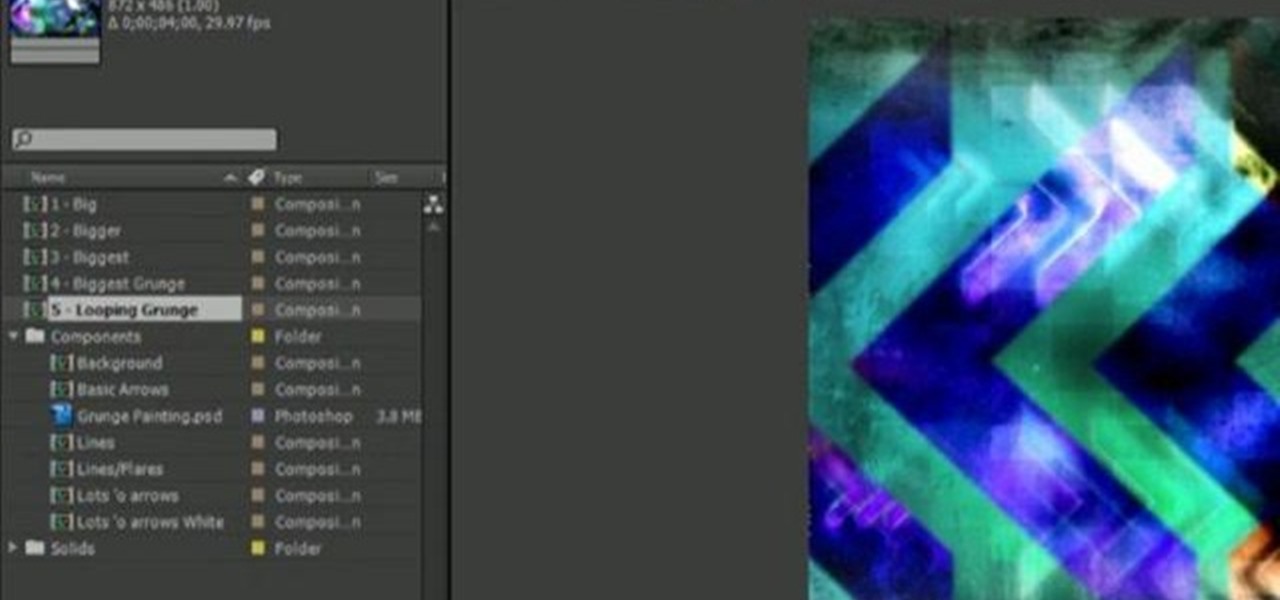
Discover how easy it is to harness After Effects to create compelling, deep motion graphics with very little thought. In this episode, Dennis of the Genesis Project walks through how a single element can be combined and reused to create a nice background element. Whether you're new to Adobe's popular motion graphics and compositing software or a seasoned video professional just looking to better acquaint yourself with the program and its various features and filters, you're sure to be well se...
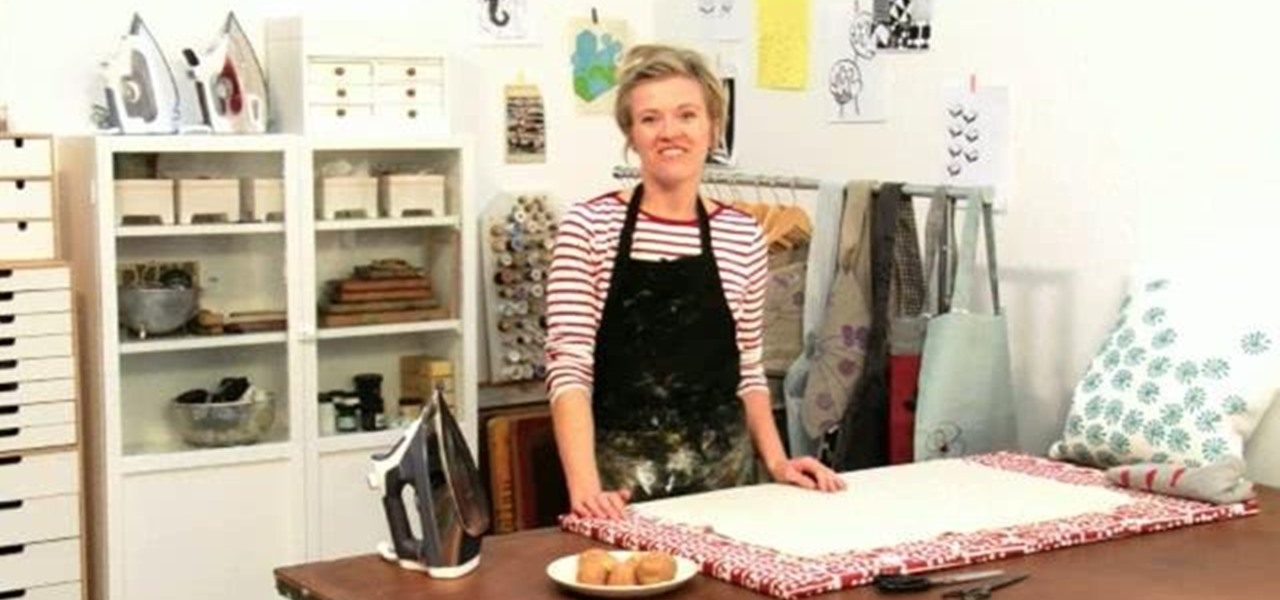
Crafting guru Lotta Jansdotter shows you how to create some artsy, hand-printed accessories in this step-by-step guide. There's no printing tools or skills required! Only some ink and… a potato! It's called potato printer.
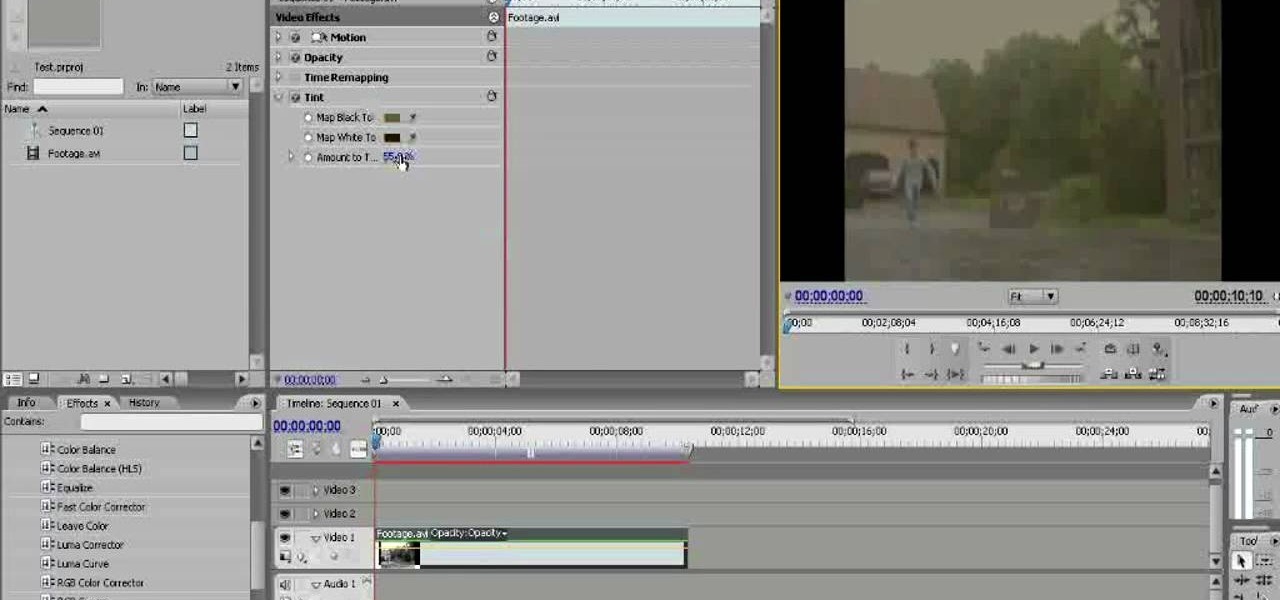
Old TV's were not famous for their high-fidelity color, but the brown-saturated look they made standard now evokes a lot of nostalgia among viewers. Because of this, it may behoove you, the filmmaker, to know how to simulate that color effect without having to actually use crappy cameras or televisions. This video will show you how to create an old TV effect while editing using Adobe Premiere Pro CS3. Embrace the nostalgia!

Creating cool background for videos is just one of the many awesome things that you can do using Adobe After Effects to do your effects editing. This three-part video will teach you how to create animated backgrounds and add additional text with flare. The results look very cool, as will your video after your apply these lessons.

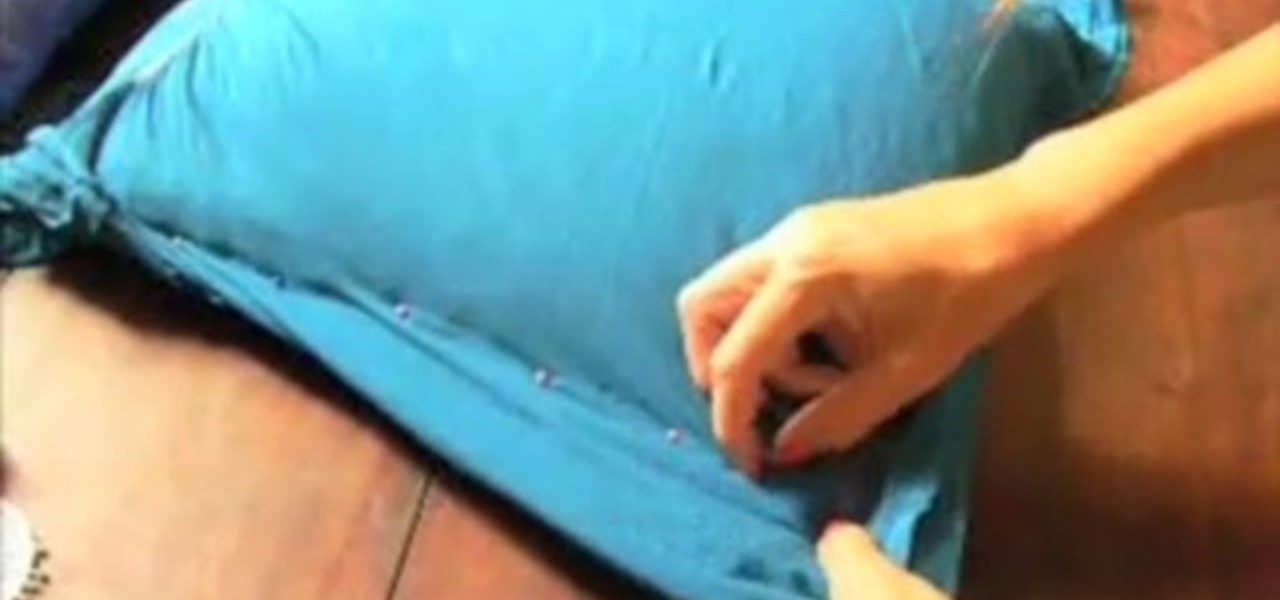
In this video tutorial, viewers learn how to turn a t-shirt into a pillowcase. The materials required for this project are: a pillow, a shirt (that fits over the pillow), pin, needle, thread, decorative trim and a sewing machine. Begin by flipping the shirt inside out and slip in the pillow. Position the pillow to how you want it and pin down along the sides to hold it. Now stitch the shirt together along the pin points. Trim off the extra fabric, leaving a 1/2" at the seam. Fold the bottom a...

This video is a do it yourself project which will show viewers how to fix a leaking kitchen faucet which is leaking water from around the base of the handle. This problem is most likely caused by a broken cartridge, a Moen 1225B cartridge is used to replaced it. The first step which should be taken is to shut off the flow of water from the sink using the shutoff valves under the sink. Then, remove the handle and its adapter depending on the style of the handle which is leaking and remove the ...

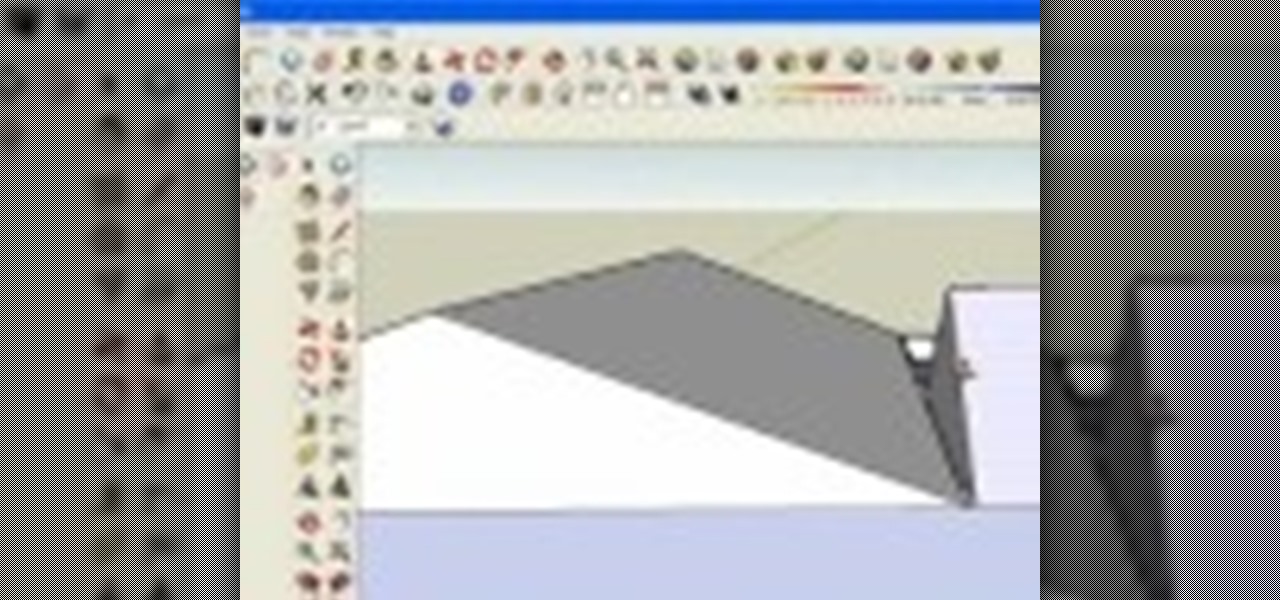
In this Computers & Programming video tutorial you will learn how to intersect roofs on Google SketchUp house. This demonstration tutorial opens up a project where the building is already constructed and slanting roof is to be added. The building is in 'L' shape. Hence, the slanting roofs are in different directions and both have to intersect at one point on the center line. First the roof of the longer section of the house is made. Then that of the shorter section is made with a gap between ...

It's time to go racing! Well, not exactly. But in this next tutorial, you'll be finding out how to install a supersprint race muffler to a BMW E46 M3. This can not only improve the performance of your vehicle, but make it sound like a beast on the road. It's a fairly difficult project to tackle but can be done with the right tools and know how. So check out the video and good luck!

Some people may not realize it, but epoxy can do wonders to a garage floor. Not only does it make it more sturdier, but it makes it much safer for people to work in by offering a slip free finish. This tutorial will show you how to apply an epoxy sealer to your garage floor today. It can be an easy project to complete, but requires time and dedication. So good luck and enjoy!

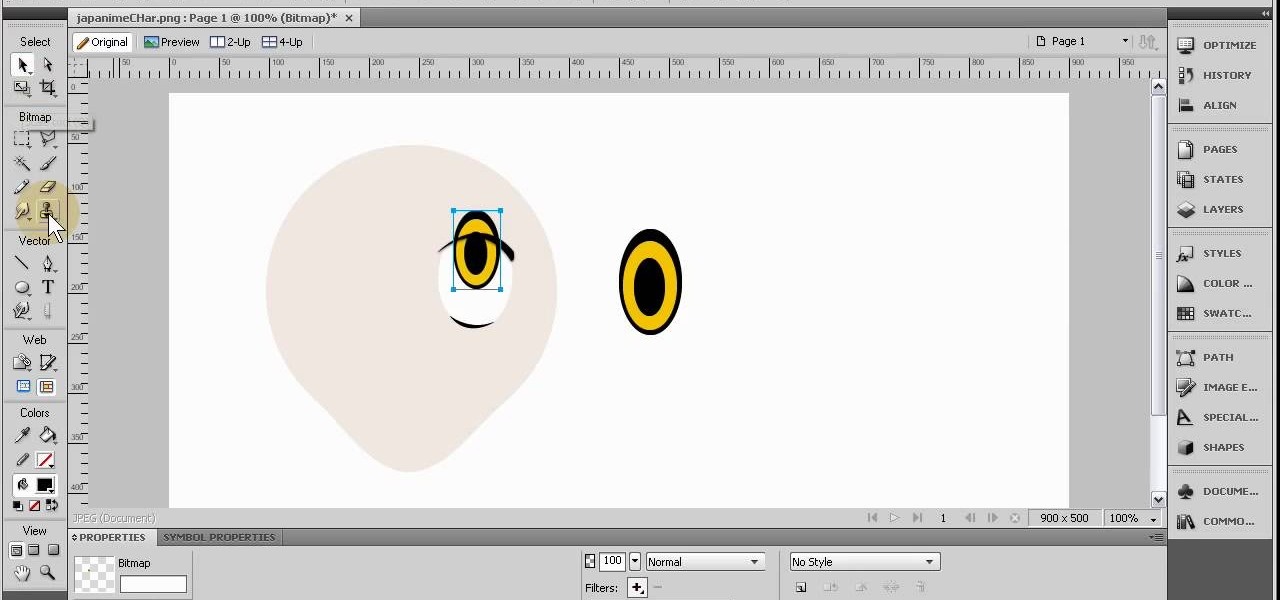
Interested in creating anime-style characters within Fireworks? See how it's done. Whether you're new to Adobe's popular bitmap and vector graphics editor (formerly known as Macromedia Fireworks) or are a seasoned web design professional simply looking for a fun project, you're sure to benefit from this free video software tutorial. For more information, including detailed step-by-step instructions, take a look.

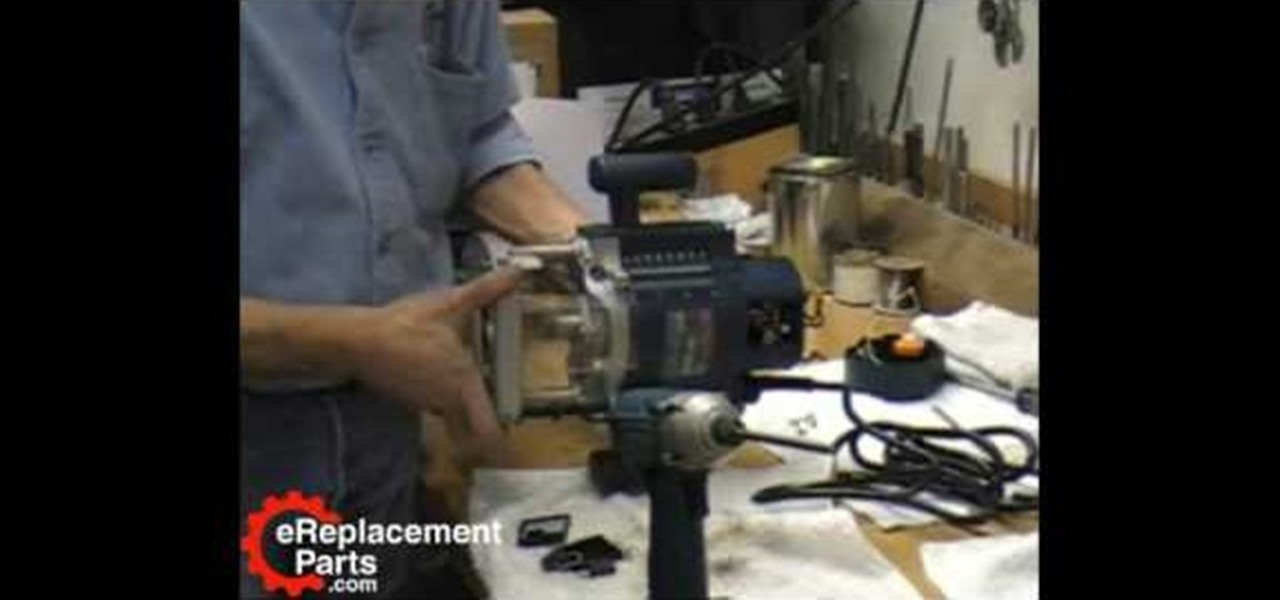
Knowing how to use a tool and how it works, is important for any handyman or contractor. This is important, because if anything happens, they'll be able to diagnose what the problem is and find a quick solution for fixing it. In this tutorial, you'll find out how to remove the bearings to a Bosch 1611 and 1615 router in case you need to. It's a tough project that requires you know how to remove certain parts and then know how to put it back together again. So good luck and enjoy!

Making a round clay vase on a wheel that will hang properly in a corner may sound like a challenge, but with Simon Leach to teach you, even an amateur at-home potter should be able to complete this ceramics project. If you want to avoid griping like he does throughout this video, make sure not to use a plastic bat!

Looking for a geeky craft project? With this guide, you'll learn how to make a paper X-wing fighter with origami, the traditional art of Japanese paper folding. These instructions are based on diagrams by Philip Schulz. You'll start from the origami frog base which you can find in another video. See how to origami a Star Wars X-wing Fighter. For more information, including a step-by-step overview of the folding process, as well as to get started making your own paper Star Wars X-wings, watch ...

Wondering what to do with all those pine cones that are building up around your yard? Well, in this tutorial, learn how to take those cones and turn them into a truly unique decoration for your home.

Is there anything cooler than a water rocket? These things are super easy to make and can shoot distances of up to 50 meters away!

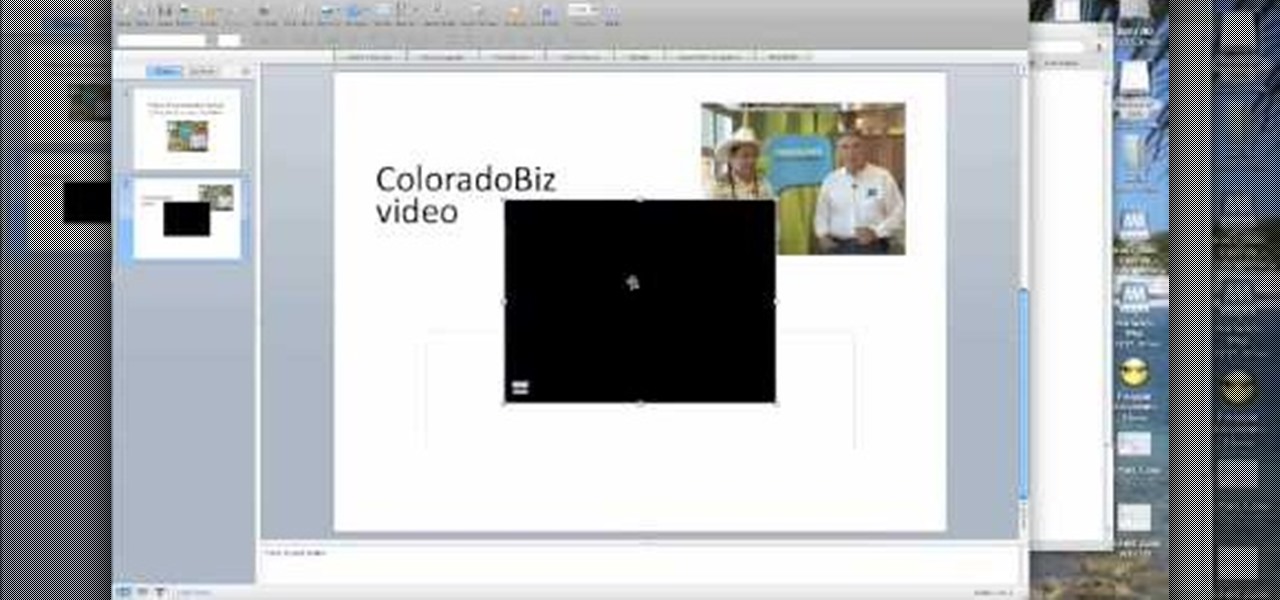
One of the best ways to get your point across during a PowerPoint presentation is to use video. This way, you can not only tell your classmates, students or coworkers about your subject with words and images, but you can actually show them with real footage.

What are you doing this Cinco de Mayo? If you are celebrating this tequila filled holiday, you will no doubt have tons of fun with these maracas.

Funky Foam? This product is for kids and can be found in any arts and crafts store, and it's the key to making homemade stamps in this video crafty project. See how to make your own stamps with funky foam! It's cheeps and oh so simple. You can either create your own designs or convert your die cutters into coordinating stamps for embossing, etc. Quick, easy, and super cheap stamps!

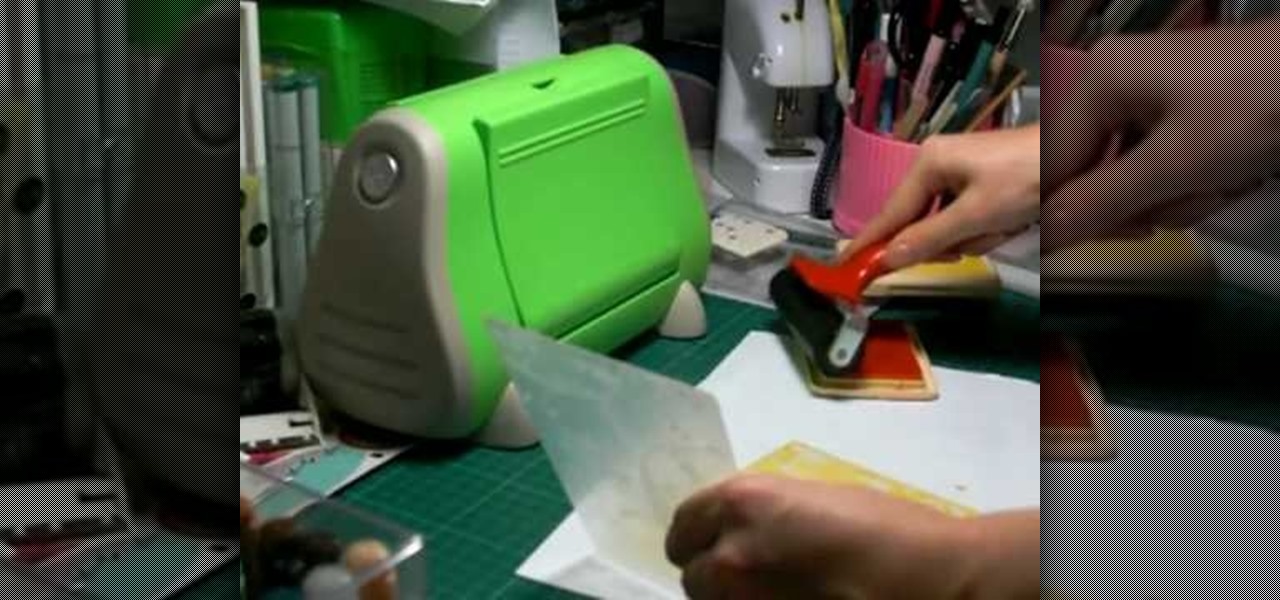
In this Arts & Crafts video tutorial you will learn how to do the Cuttlebug 'smoosh' technique. For this project you will need a brayer, ink pad, an embossing folder and a Cuttlebug. Ink the brayer well and with it apply the ink on the embossing folder. Make sure the ink is applied thoroughly on the whole surface. Get the Cuttlebug ready, place the card stock inside the embossing folder, place a couple of ‘C’ plates in the Cuttlebug, put the embossing folder with one more ‘C’ plate ab...

Are you looking for a unique type of flower that will never wilt or die? Check out this tutorial for a cool, homemade alternative to the silk variety. All you need to make these flowers is some funky colored paper.

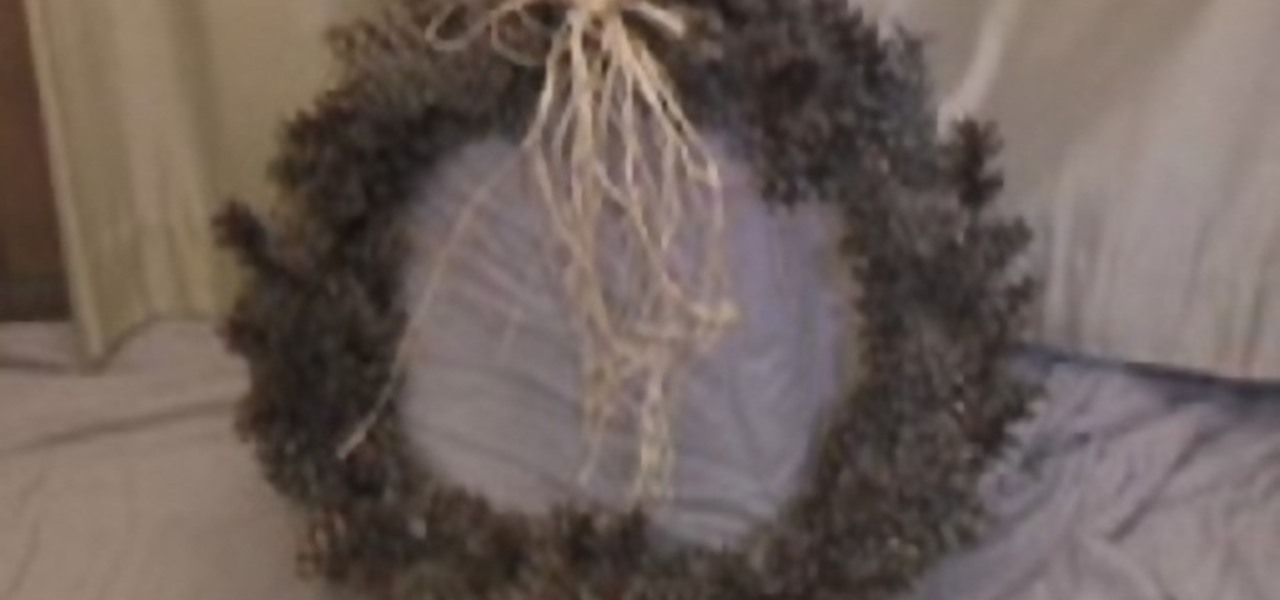
Do you own a bunch of old looking books and have no idea what to do with them? Are you looking to spruce up a door in your home with some kind of decoration? Do you enjoy arts and crafts and want to tackle a project that is easy to make and results in something cool to look at? Have you done the math yet? Well if not, this video tutorial will show you how to make a awesome door wreath using old book pages. Enjoy!

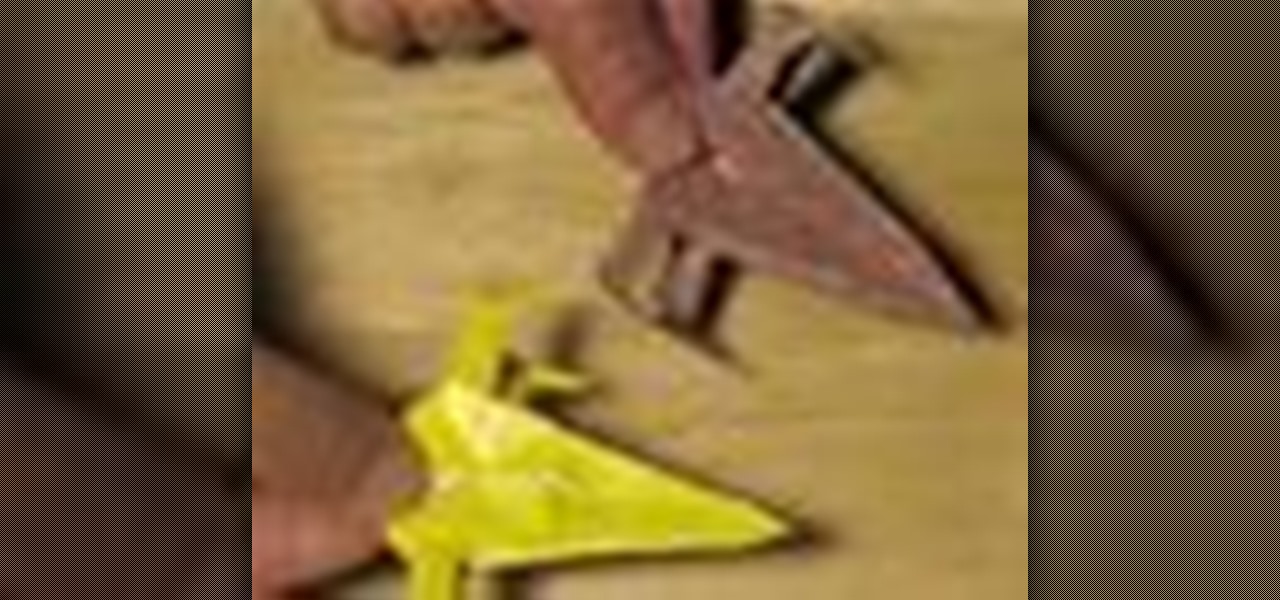
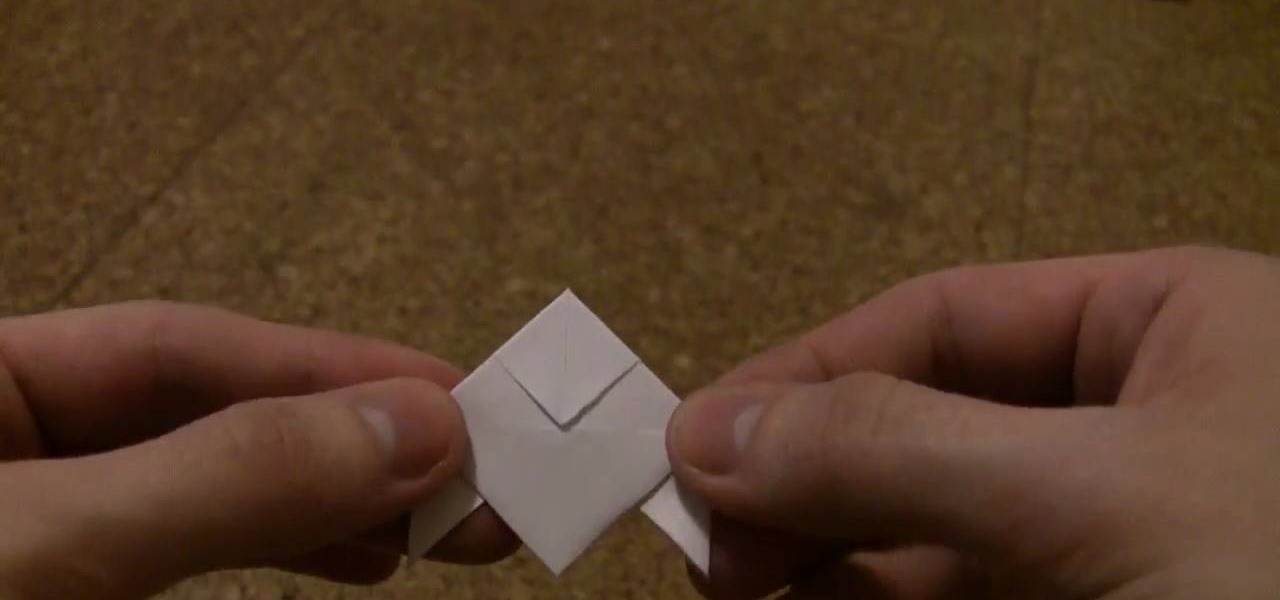
In this Arts & Crafts video tutorial you will learn how to fold a Heavy Rain-style paper origami bird. For this project, you will need a square sheet of paper. Fold it diagonally across both diagonals. Open it up and fold one corner up to the center point of the paper. Flip it over and fold the other three corners to the center point. Now fold all the four corners to the center point. Flip it over and now fold it in half as shown in the video. Then you pull out both ends from the center and w...

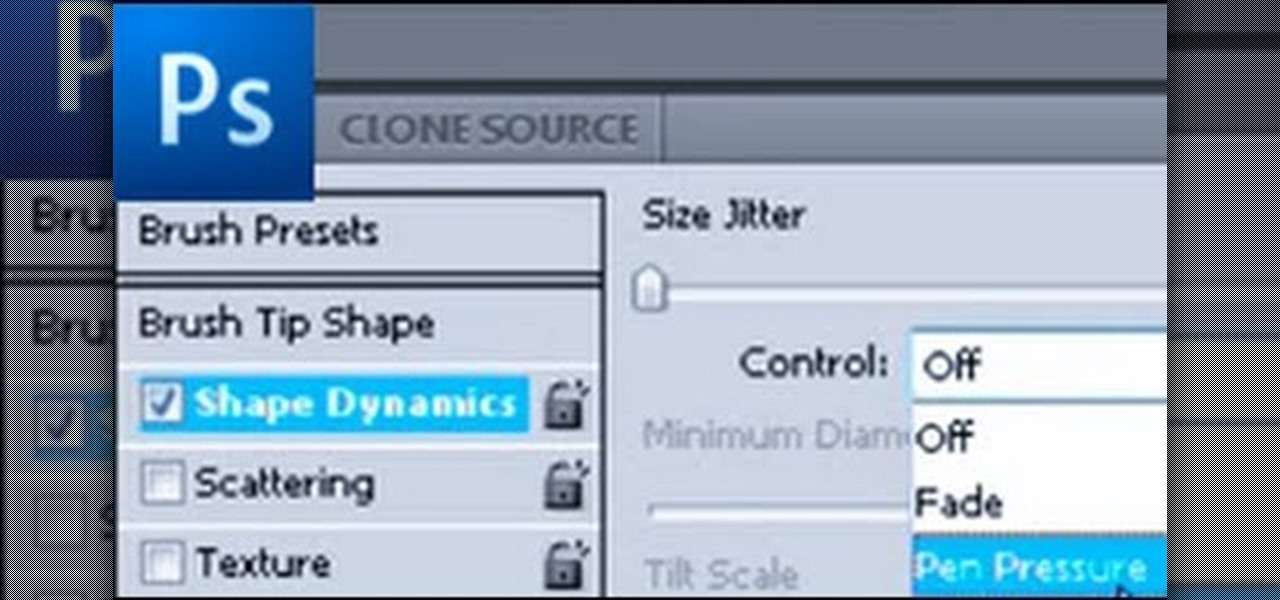
In this brief instructional video sponsored by River City Graphics, the host teaches you how to use the Whack-em Bamboo drawing tablet with Adobe Photoshop software. He begins by showing you how to change your pen's pressure, allowing you to get a thicker or thinner line depending on how how you push down on your pen. He also shows you how to change the color and make your pen give your project a beautiful color gradation, also depending on the pressure you apply to your pen. This video is ve...

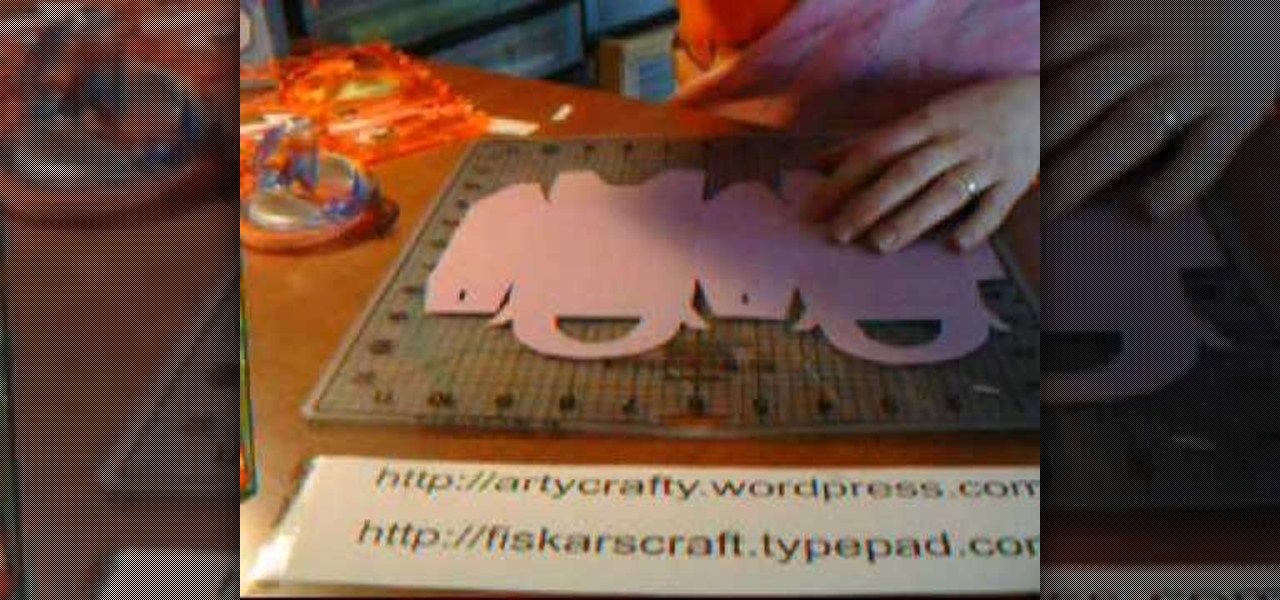
In this Arts & Crafts video tutorial you will learn how to make handmade treat boxes. Materials needed for this project are trimmer with scoring blade, PDF template, cardstock, scissors, Fiskars fingertip craft knife, Fiskars templates, Fiskars ultra shape Xpress, decorative scissors and embellishments. Download the PDF template from http://artycrafty.wordpress.com, print it out on a cardstock on the non-decorative side and cut out the shape along the thick line. Then score along the dotted l...

In this Computers & Programming video tutorial you will learn how to update a website with an FTP client (v† la FileZilla). Download FileZilla client from www.filezilla-project.org. Find your server IP address from your web host, which will be found in the hosting control center. In the video, it is GoDaddy.com. Open your filezilla client and put in the IP address of your web host and your username and password for your hosting account. Then click ‚Äòquickconnect‚Äô. This will connect you to ...

Make your video look like a Hollywood film in 3 simple steps

In this Arts & Crafts video tutorial you will learn how to make a folded paper ostrich with origami. For this project, you need a square sheet of paper. First you fold it diagonally across to form a triangle and cut it off in two. Then take one piece, fold it in half to form a smaller triangle, open and fold down along the centerline from the top of the triangle. Open it up and again fold along the centerline from the base of the triangle. Now fold from one of the corners up to the intersecti...

In this tutorial, Bonnie shows you how to make a super fun new craft project for use in your home or dorm room. For this video, Bonnie makes a super cute little bulletin board with a twist. This board is magnetic! No need for push pins, now you can simply display messages and important papers with magnets and avoid all the holes.

In this Fine Art video tutorial you will learn how to make your own duct tape dress form. This video is from www.thunderlily.com. The materials you will need for this project are an old t-shirt, duct tape, strips of fabric to put around your neck and arms and a pair of gloves. Wear the old t-shirt and stand upright. Tape around the chest and waist to keep your shape as shown in the video. Add extra fabric around the neck. Then tape all over the t-shirt and cover the entire t-shirt. Then remov...

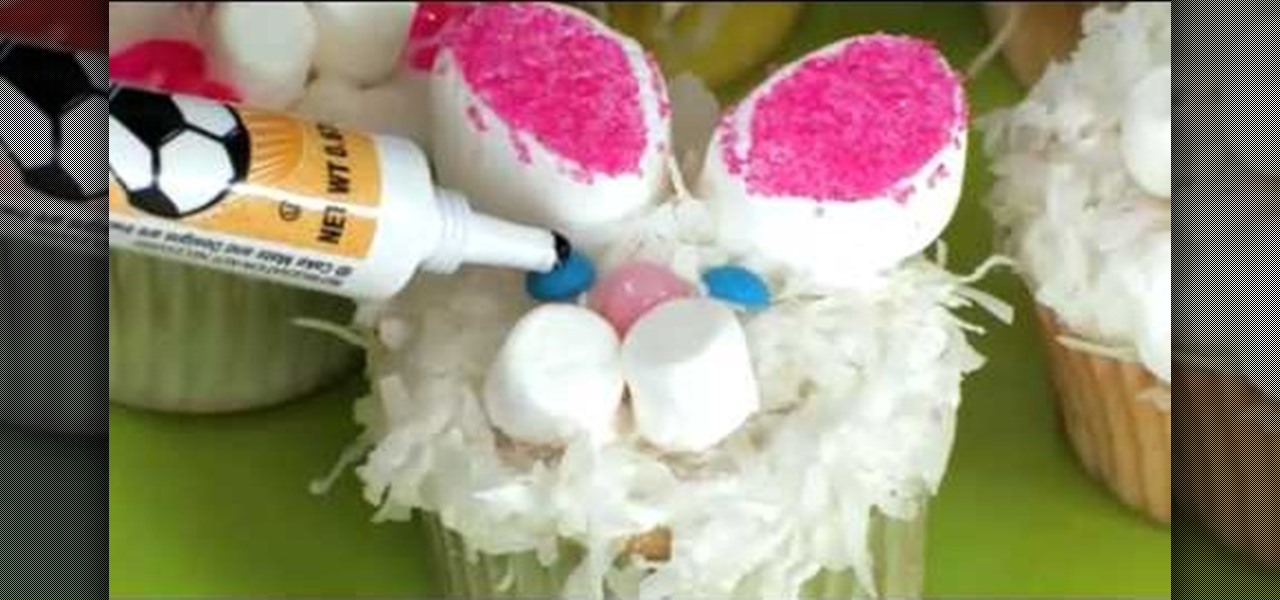
This Family Fun video shows how to make very cute Easter Bunny cupcakes. This is a great project to do with kids. You will need some cupcakes, white frosting, shredded coconut, pink decorating sugar, pink jellybeans, small round blue dot candies, marshmallows, and pink and black decorating gel.

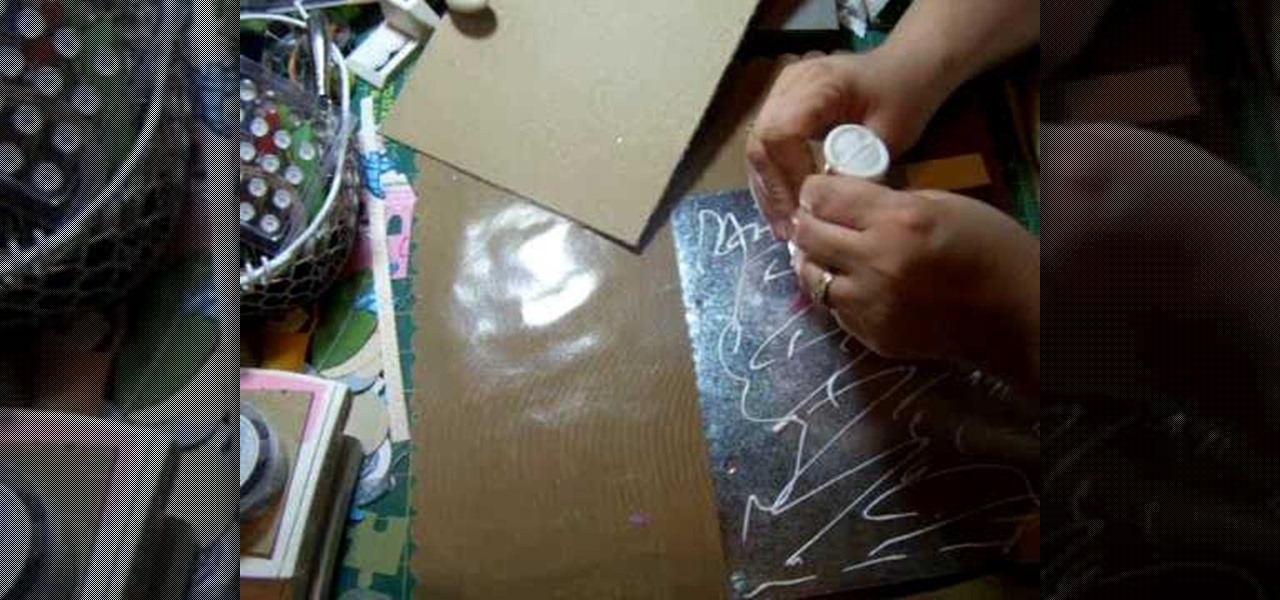
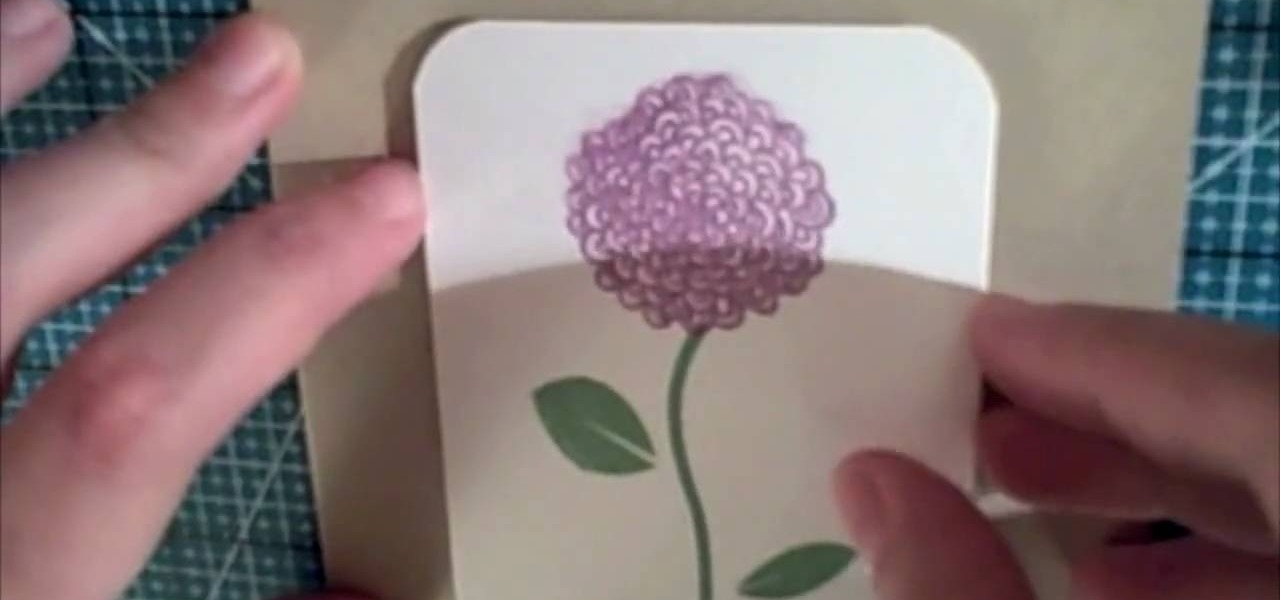
In this Arts & Crafts video tutorial you will learn how to use clear stamps & make a card. You will need acrylic stamps for this project. The products used in the video are from papertrayink.com. The stamps are clear and have a sticky back with which you can attach them to an acrylic base to make the stamp block. Then ink the stamp and stamp it on the paper. Since, it is clear, you can ass and align it properly on the paper. The other cool thing about acrylic stamps is that you can take more ...

Placemats are an important piece when it comes to setting the table. Not only can it add a certain sense of style to the table, but it can help keep your table top nice and clean! Usually placemats have only one particluar side where it is going to be used the most. In this video tutorial, you'll find out how to make reversible placemats so you have another option to choose from. Enjoy!

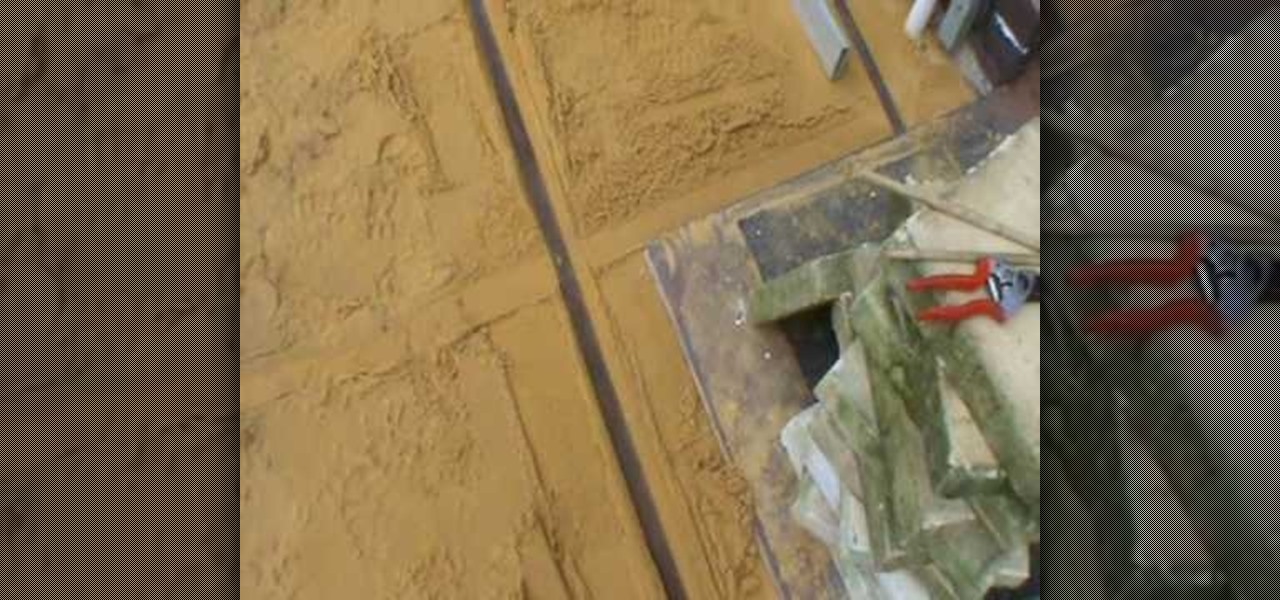
The Gardening Guru demonstrates how to prepare and lay pavers in a multi-level adjoining area. First, get a garden stake use it to measure the evenness of the terrain and to set the height. Put the leveling tool on top of the pavers to even out the dirt. Then, lift out the rails. Once the rails are removed, you can then set the pavers directly on the dirt. If you prepare your area correctly, you will save a lot of time when you execute the actual project. This technique is useful when dealing...

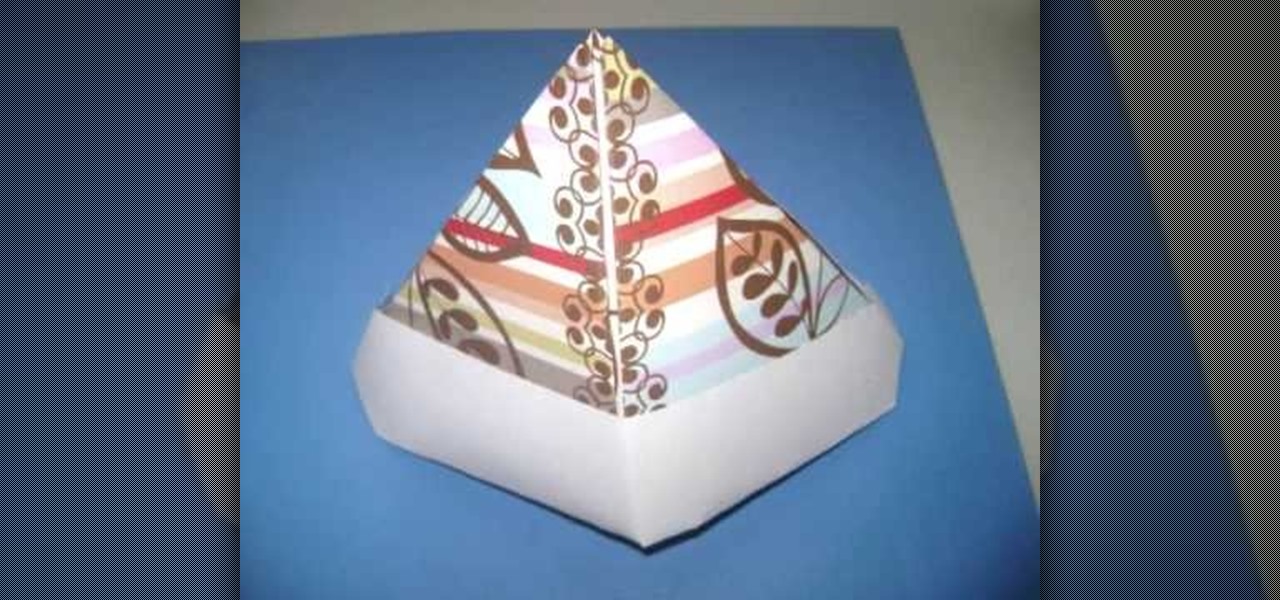
Looking for a fun activity for your kids birthday party? In this tutorial, learn how to origami a paper hat with your kids. The benefit of using these hats is two fold! Not only do they make great party favors, they also provide an arts and crafts project to keep the kids entertained for a while.

So, you want to be a hip hop dancer? Well, you need two things according to this expert: swagger and confidence. It's important to project these two qualities when hip hop dancing. Find out what else is takes to dance hip hop style with guidance from these two pros: Bliss & Zetta are professional hip-hop dancers and choreographers. Learn more dance moves from these two by searching WonderHowTo! You're only practice time away from ruling the dance floor.

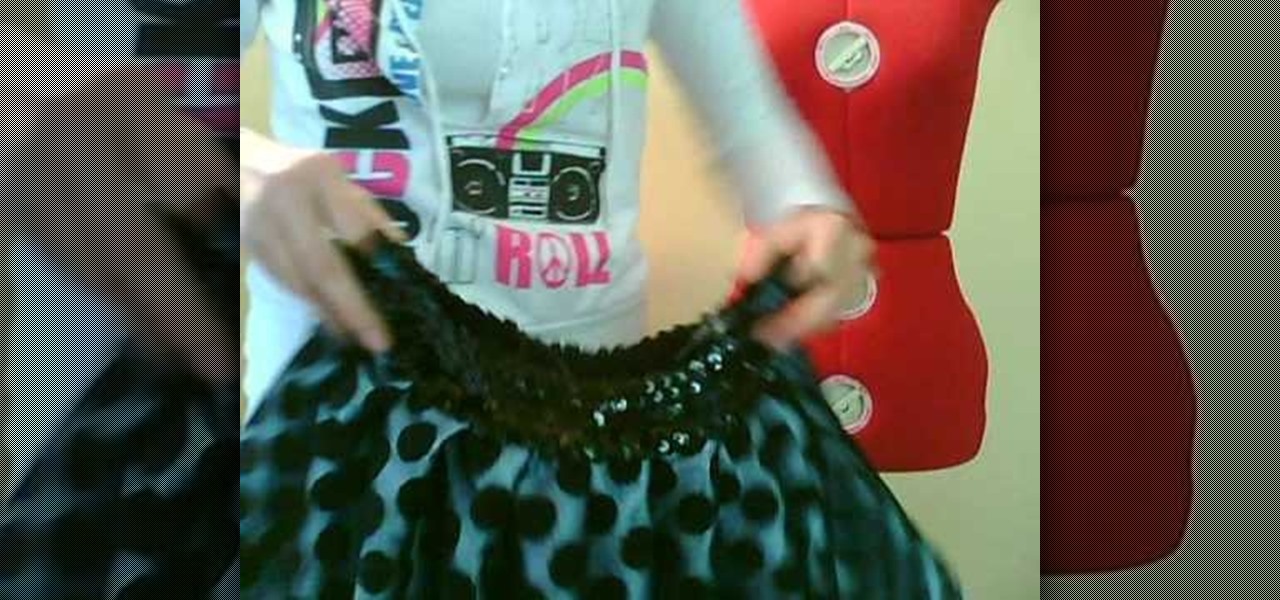
The bubble skirt is very 'in' right now, but who knows for how long it will last. Trends come and go, so why not make your own skirt instead of heading out to the mall?

Why use a regular wall clock when you can have an awesome clock make out of spoons that you make yourself? Let your character show through or make a cheeky gift with this clock. You will have to buy a basic boring wall clock. Use the battery of the clock and attach it to a great metal strainer as the mount. Then use cut out a picture for the front ant but the hands back on. Glue some spoons on the back to complete the look, add a mount and your ready to enjoy telling time in a whole new way. ...

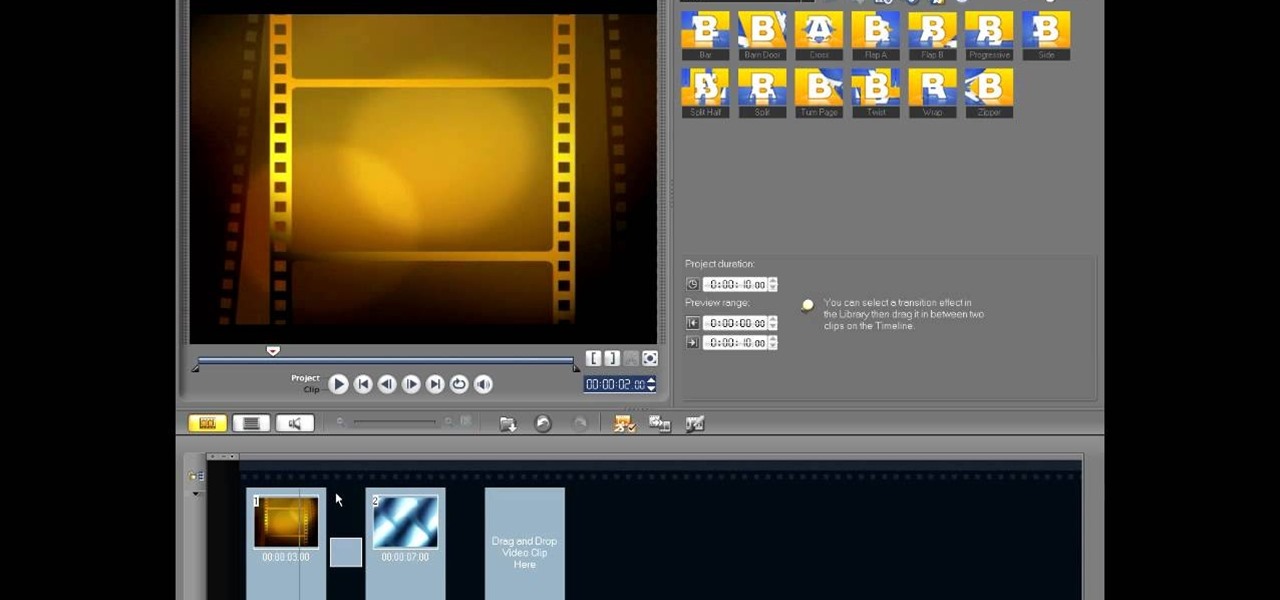
In this video tutorial, viewers learn how to edit in storyboard mode in Corel Video Studio. The storyboard mode is an alternative view for the time line. To switch to storyboard mode, click on the film strip icon above the time line. Storyboard arranges your project by element. To add a new element or transition in storyboard mode, click on the Edit tab and select the element or transition that you want by dragging it to the storyboard. This video will benefit those viewers who use Corel Vide...


