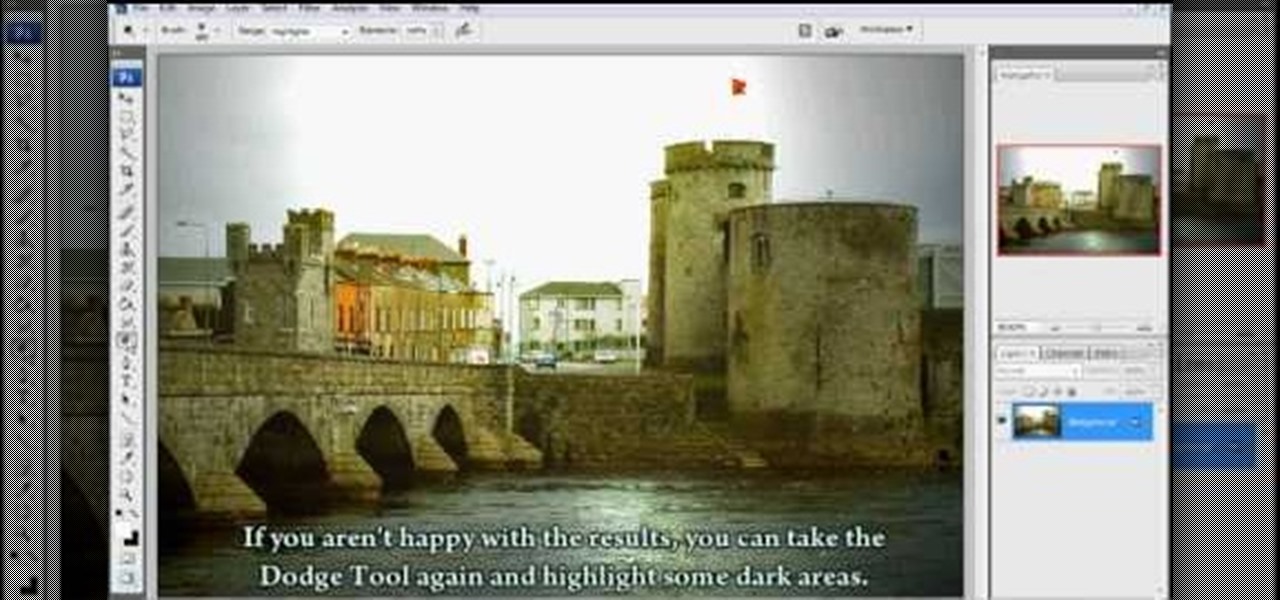
Clicks are made on "Image",then "Adjustments", followed by "Brightness/Contrast" ; contrast is set to 30 and brightness is set to 60 to add more light to the picture. "Adjustment", "Variations" are clicked in that order and both yellow and red are increased. "Filter", "Render", "Lightening Effects" are chosen in that order and a new window appears; within which the style is set to "Soft Omni". The brightness is decreased ;similar to the way it was increased, and contrast is increased to 60. T...
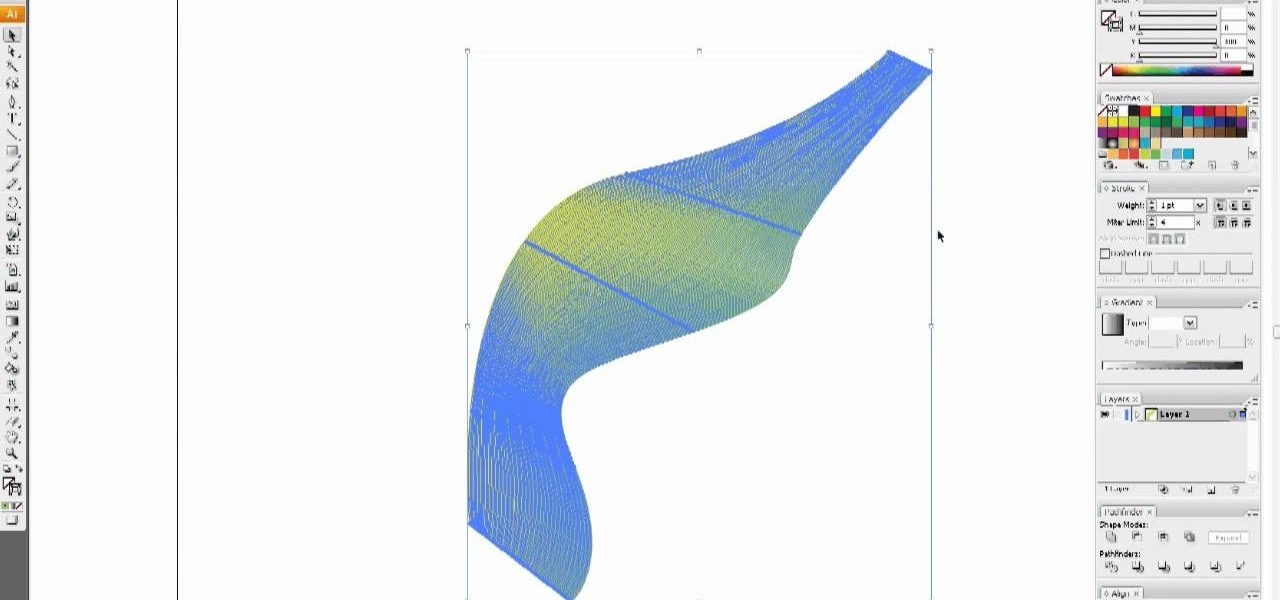
In this video tutorial, viewers learn how to use the blend tool in Adobe Illustrator. The blend tool will allow users to create objects between two strokes or filled objects. When you double-click on the blend tool, there will be 3 options to select from. Select the spacing and press OK. The three spacing options are: Smooth Color, Specify Steps and Specified Distance. Users are also able to select the amount strokes between the two objects. Now select the points of the two objects and it wil...
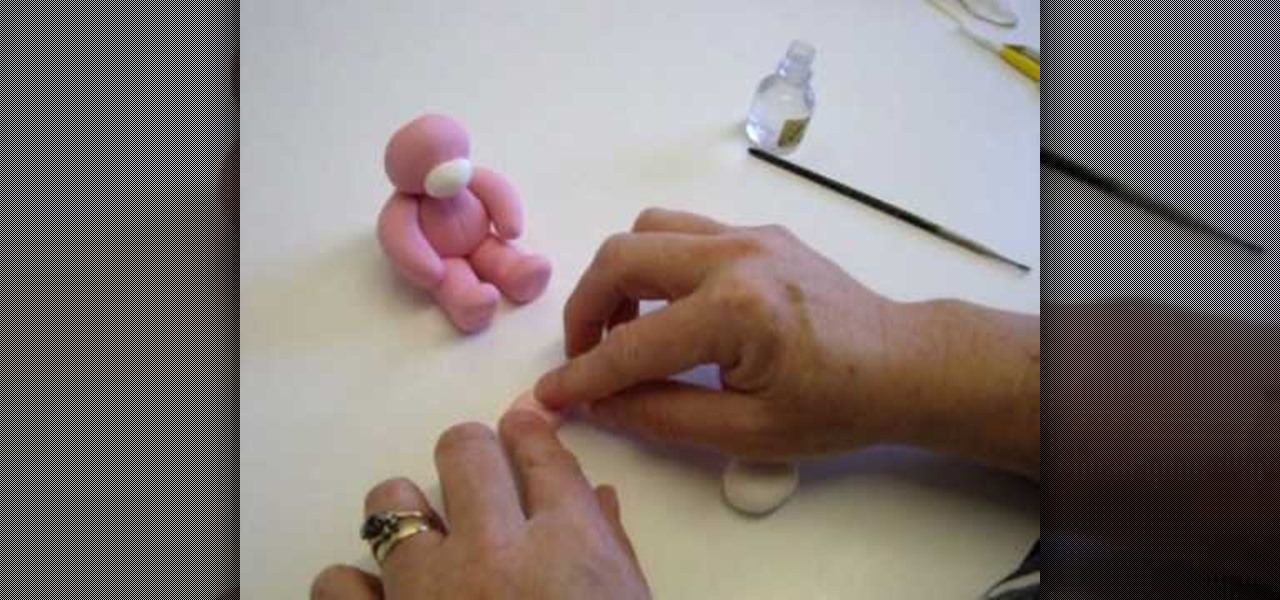
Barbara Wilson of BarbraEllin Cakes demonstrates how to make an edible Teddy Bear out of flour paste icing. You will need some edible glue, spaghetti, a knife tool, a small brush, a sharp craft knife, a mouth tool and a stitch tool.

In this Software video tutorial you will learn how to Use Daemon Tools Lite to make a virtual CD. By making a virtual CD of a game, you can play the game without the CD. Do a Google search for daemon tools, click the first link, go to downloads, download and install the program. Then you can go to thepiratebay.com, search for a game and download it. Then you launch Daemon Tools Lite, find the file you downloaded and click ‘Play’ and it will play it. You can alternately drag and drop the f...

1. First of all select 'filter' at the ‘top tool bar’. Now select the 'artistic' from the ‘drop down’. Then select 'fresco' and then click 'ok'.
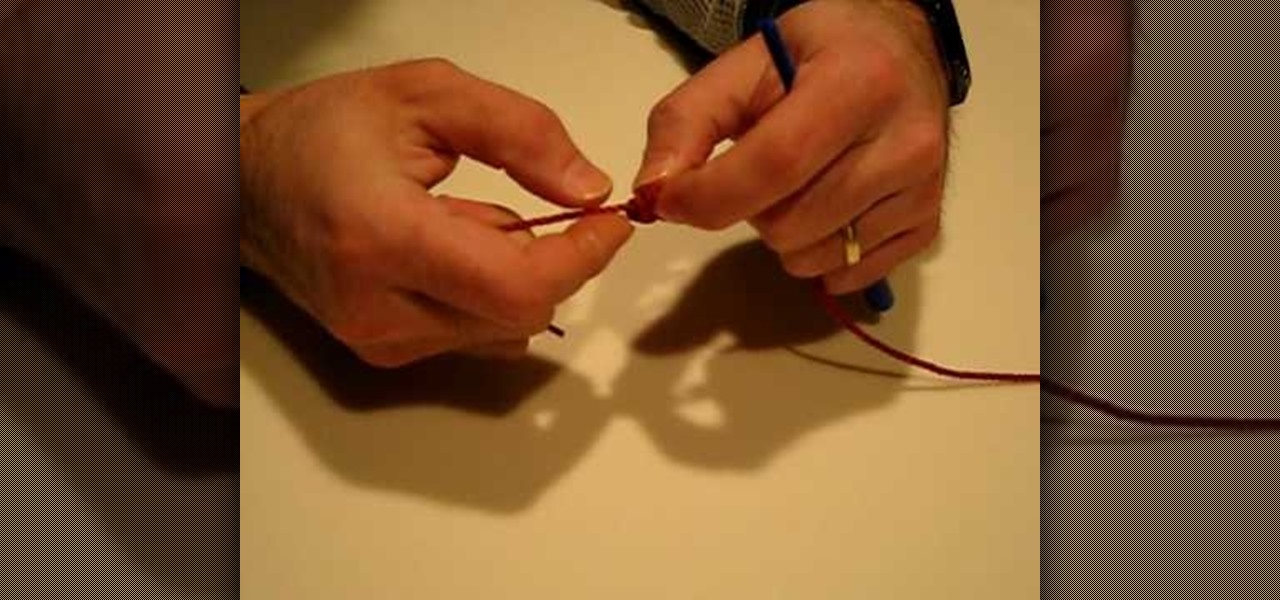
This video tutorial in Spirituality category will show you how to make a rosary bracelet. Jim Horn from real life rosary presents this video. For this you will need a nylon string and a bead making tool. With the string take three turns around the end of the bead making tool and pass the end of the string through the slot in the tool so that it passes through the three turns and tighten it to make a knot which makes a bead. Like this you make nine beads and then the father and the beginnings ...

First of all check how far your smaller dread comes down towards your larger one. Then you have to put the tool all the way in and grab the tip of the smaller dread and then pull back here. Use the dread tool which has a point at the tip. Use this to poke inside the dread to make way. Poke around and you shall find some loose hair that shall make way for your tool to come out at the top. If you find any dead-end then just put the tip a little higher and start again. When the tip pops out, the...

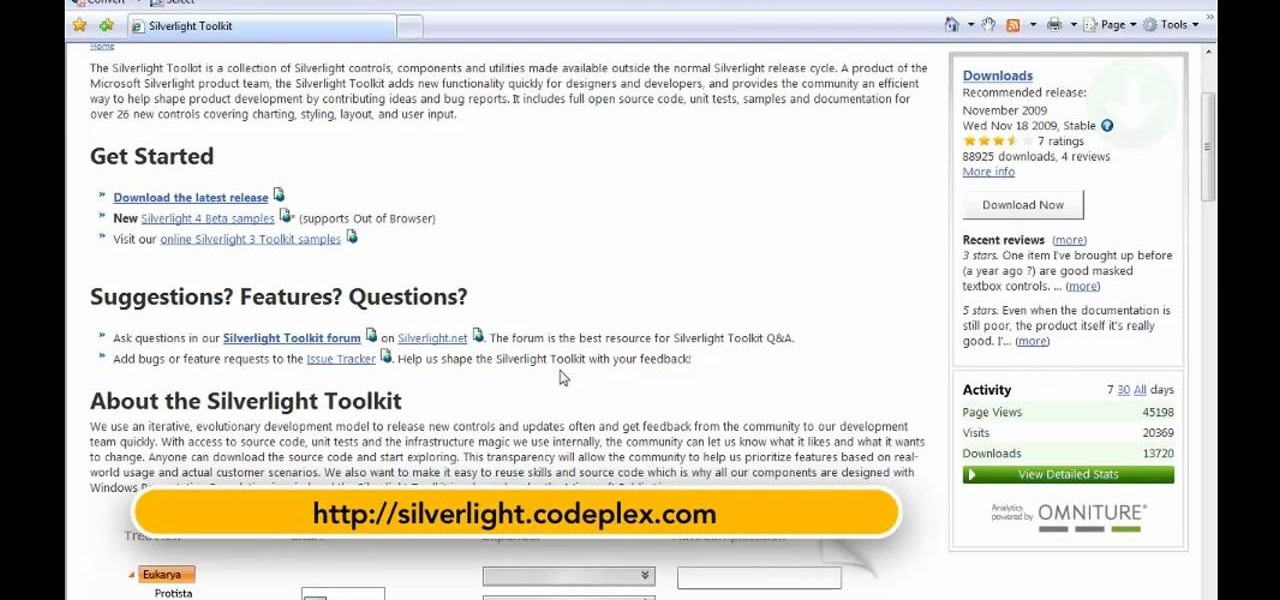
This is a Computers & Programming video tutorial where you will learn how to set up your developer computer for Silverlight applications. First you need to install some tools on your developer computer. The premier developer tool from Microsoft is Visual Studio. If you don’t have a license, install Visual Web Developer Express which is free. It is installed via the web platform installer. Then you need to install the Silverlight toolkit. Go to Silverlight codeplex and you will find a complete...

Have you downloaded a file with the extension .ISO and are you unsure what to do with it? Follow the step-by-step instructions in this video to learn how to deal with this file-type.

Learn how to draw a flower in MS Paint in this video tutorial from Shannon. In the first step, you will need to draw a circle with the shape tool. To create the petals, you will need to draw additional circles surrounding the first circle. Use the paint brush tool in green to create the stem and leaves, which you will draw free-hand. Using the bucket tool, fill in the leaves and the petals of the flower. Shannon also shows in this video how to draw a bird next to the flower with the paint bru...

This video shows the way to work with 3D in After Effects. The video basically teaches three things. Firstly, it teaches the way to change the anchor point of the image. This is done by pressing the PAN Behind Tool icon. This changes the anchor point to the desired location. Secondly, the method to change the view is taught. This is done by clicking on the camera tools and selecting the XY Camera Tool or Z Camera Tool. This changes the view of the given image. Thirdly, the video teaches to ha...

This video demonstrates how to draw eyelashes using Adobe Photoshop and a graphics tablet. You need three tools to draw eyelashes: Soft Round Brush, Smudge Tool, and Eraser. Create a new layer. On the upper eyelid, draw each eyelash with Soft Round Brush (color: black, width 17px, opacity 100%). Use Smudge Tool (width 45 and straight 25%) on the eyelashes to straighten them. Use Eraser (width 65 and opacity 100%) if necessary. Create a new layer and use the same tools for the bottom of the ey...

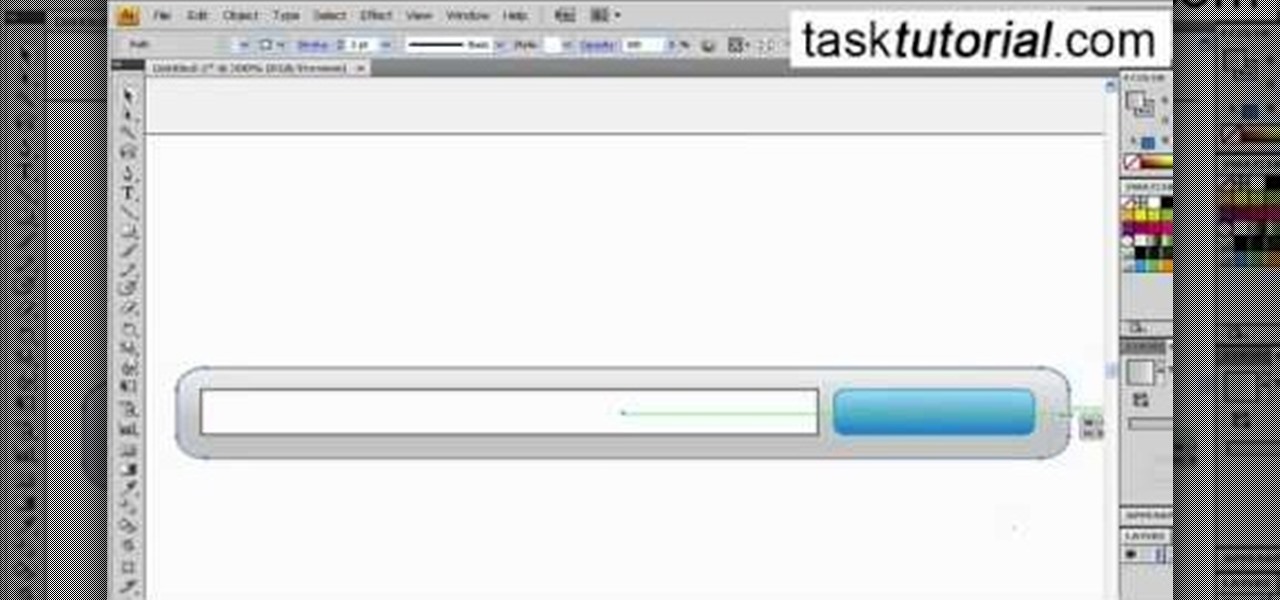
In this video tutorial by Tasktutorial ,shows you how to . Select the rectangle tool and set the corner radius to 15px and draw a rectangle. Select gray stroke color and the stoke weight as shown. Select the gradient fill and set the angle to 90 degrees as shown. Resize the rectangle as desired, select the rectangle tool with white fill color, 1px stroke weight and draw the rectangle as show. Select the rectangle tool again with the corner radius of 5px and draw a rectangle as shown. Apply th...

Brenda shows us how to use a jump ring tool as a part of beading techniques. The jump ring tool can be used in place of two pairs of pliers to easily open and close the jump rings. First place the jump ring tool on the index finger of your non-dominant hand. You will notice that there will be more slots and you need to choose the best one that fits the jump ring that you are using. Use a pair of pliers to position the jump ring on the slot on the tool with the opening of the jump ring just ou...

In this tutorial the author shows how to make a simple JavaScript image gallery. In this video the instructor shows how to set up a Lightbox tool. Lightbox is a simple image or photo gallery script which you can use on your website. It is a free tool and it is very easy to setup on your website. This tool has many features like when you click on an image the image enlarges and the rest of the background is darkened focusing your view on the image. Now the author shows the links to the Lightbo...

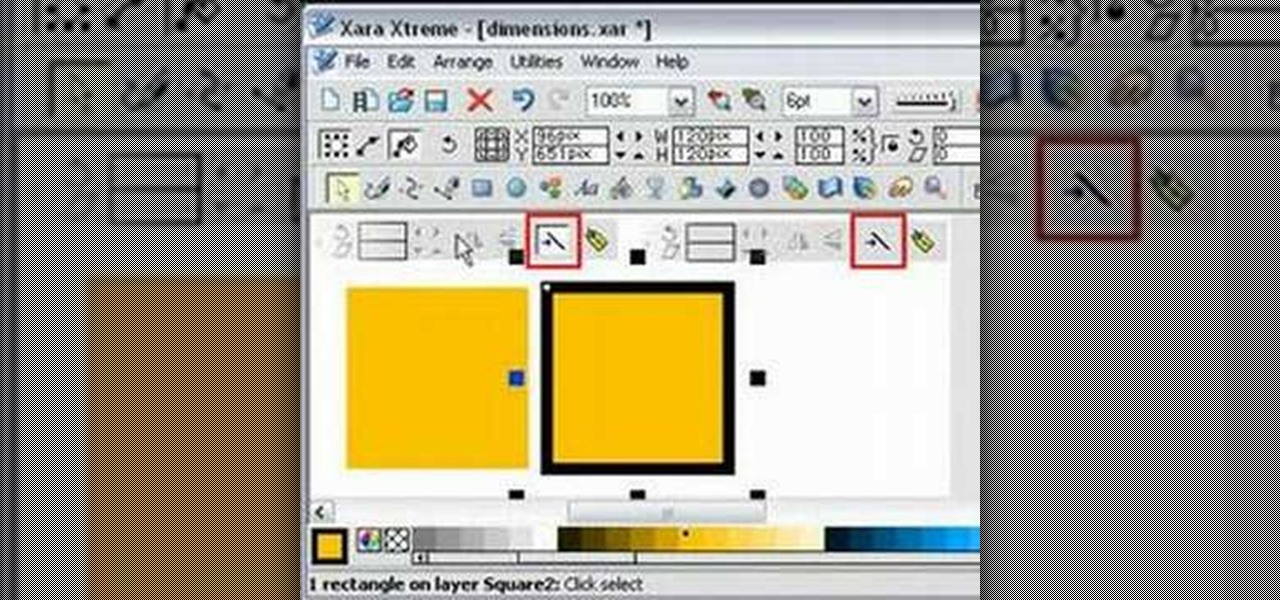
In this tutorial the author shows how to work with dimensions in the Xara Xtreme tool. This is basically a complex concept. Now open the tool, go to window and open dimensions. Make a square. You can see the details of the square on the tool bar which shows the width height and X,Y dimensions of the image. Here the image is straight forward. Now you can add the borders to the square and see the changes in the dimensions of it. This video shows the different changes that are taken place and al...

This video explains how to delete cookies in Windows XP, Mozilla Firefox, Internet Explorer and Opera. To delete cookies in Mozilla Firefox, choose the "tools" option from the tool bar, then choose "options", then choose "privacy". Many options will be given under the "privacy" menu, but make sure to choose the following options- "accept cookies from site" and "accept third party cookies", then choose the option "I close Firefox option" under "keep until" then choose "ok" to delete the cookie...

This video shows you how to draw a cartoon smiley head in Inkscape: Open a new page.

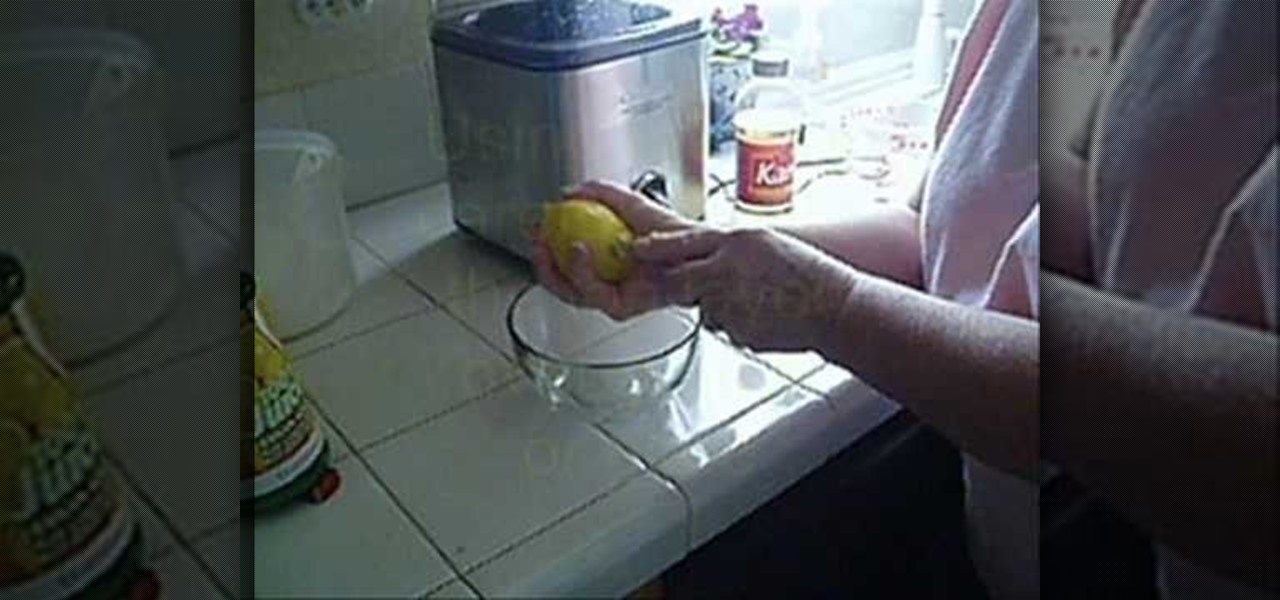
Making lemon zest isn't hard and doesn't take a long time, especially if you have a lemon zester. A zesting tool is the number one preferred way to get that lemon zest with no mess and no fuss. So, in the first video tutorial, see how to make lemon zest with a zester. Use a zesting tool for the peeling, and make sure to wash the outside of the lemon thoroughly to remove dirt and residue. Then zest away!

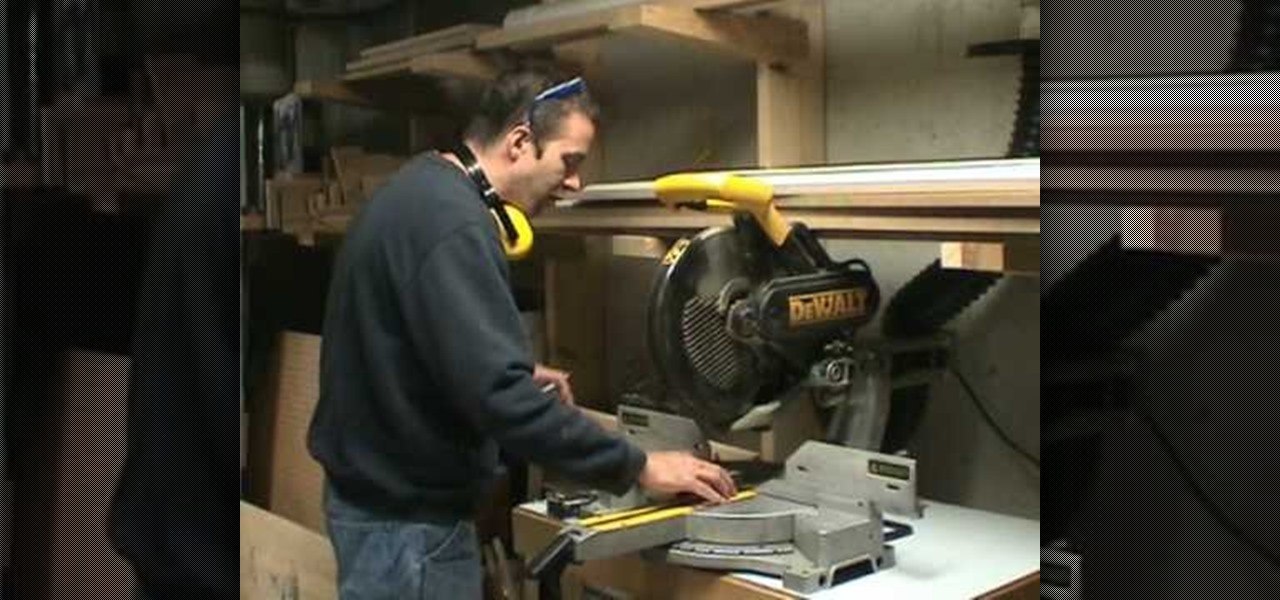
Eagle Lake Woodworking, hosted by John Nixon, offers great do-it-yourself guides for building your own furniture, especially in the American Arts and Crafts style, and turning your garage into an amateur woodshop. Search Eagle Lake on WonderHowTo for more carpentry tutorial videos. From Eagle Lake Woodworking on this specific lesson:

This video tutorial will show you how use the 3D rotation tool in Flash CS4. The 3D rotation tool in Adobe Flash may be a bit tricky for people that are new to Flash, because if you just draw a square, you're not going to get anything. See exactly how to use the rotation tool.

Go beyond the traditional 3D workflow to an immersive creative experience with the software Modo, created by Luxology. Modo is the next evolution of 3D modeling, painting and rendering for Mac and PC. Modo includes 3D sculpting tools, animation and network rendering, and advanced features such as n-gons and edge weighting.

Developed by the same team of engineers responsible for LightWave 3D, modo, lowercase, delivers the next evolution of 3D modeling, painting and rendering in a single integrated and accelerated package for the Mac and PC. And now, modo is a true end-to-end solution that includes true 3D sculpting tools, animation and network rendering! More than just features, modo is a truly elegant integration of technology, raw horsepower and refined workflow. With such a wealth of inbuilt features, however...

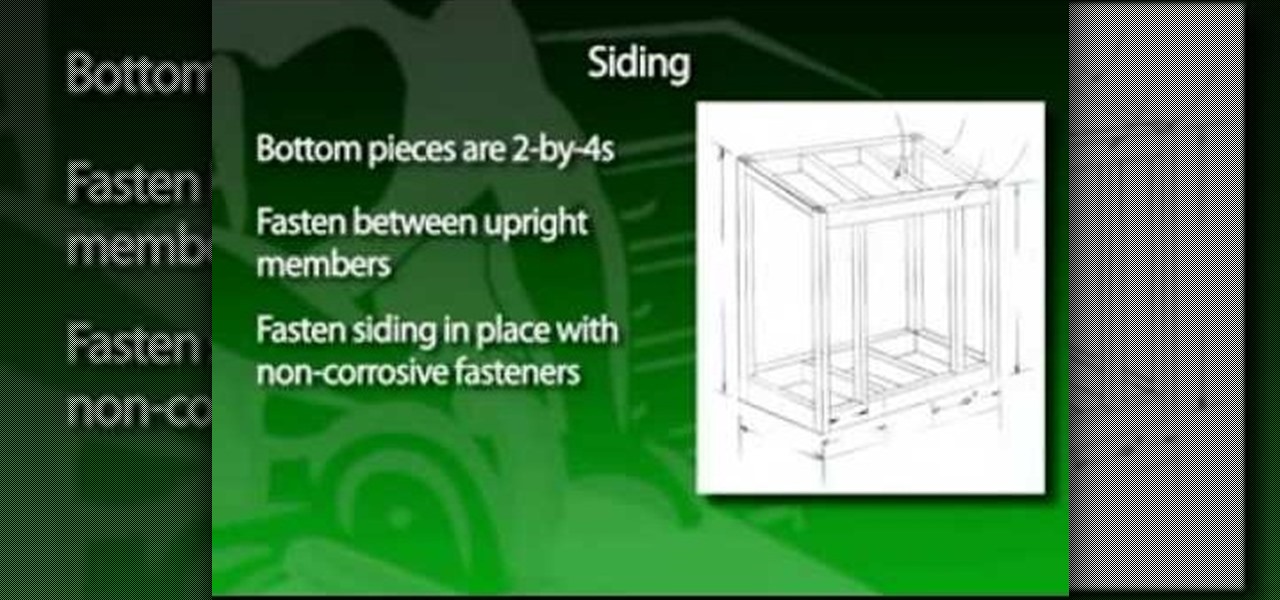
he age-old “shtick” about a rake handle smacking you in the face when you step on the teeth isn't funny. It's happened to me more than once. One of the problems is improperly storing rakes, hoes, shovels and other long-handled tools. They can be hung up in a garage or garden shed, but usually end up right at the door, where they fall down, and again become a dangerous problem. The garden tool shed shown solves the problem of long-handled tool storage and at the same time provides a separate s...

Take a look at this instructional vidoe and learn how to use the paint bucket tool in Google SketchUp. Selecting the paint bucket tool will open the materials browser. The materials browser is different for windows and mac users. On windows, the browser has two main tabs to select and edit materials. On the mac, you have several tabs giving you different ways to paint colors into your model. To start using the paint bucket tool, simply pick a material and choose a surface to paint it into you...

Use these tips to learn how to adjust the "Zip Bind Tool" for your binding width. The zip bind tool will allow you to keep perfectly even bindings from start to finish without using a ruler or doing a lot of measuring. Sewing a neat binding can be one of the most difficult challenges in beginning quilting. Here are two tips for using your zip bind tool correctly.

In this Bender software tutorial you will learn how to use the extremely powerful sculpt tool. The sculpt tool allows you to model meshes more artistically and "paint" the surface of the object. Using the sculpt tool in Blender is a great way to master modeling in Blender.

Learn how to properly use a import slide tool on the older Playstation 2 console in this instructional video. With this tool, you'll be able to play those import games that never made it to the US. Keep in mind that the slide tool can break your disk tray if its used improperly.

In this video tutorial, Chris Pels will show how to deploy a web site using the Copy Web Site Tool in Visual Studio. First see how to connect to a remote web site and deploy an entire site to the target location. Next, learn how to synchronize an entire source and target web site. In addition, see how to copy and synchronize individual or groups of files including how the Copy Web Site tool provides status indicators of differences between files. As part of this process see how the tool provi...

Surprisingly, in single layer mode the Eraser Tool doesn't really erase. Part one of this Photoshop podcast covers Eraser Modes and Background Colors. Part two covers the other Eraser Tools include the Magic Eraser and Background Eraser. And these eraser tools really do erase.

This guy has a lot to say about using the text tool in Photoshop, so he put it all into a 4 part video. Part one covers create, select and edit Text, Point Text and Paragraph Text options. Part two covers Options bar, Great Shortcuts, Character Pallet and Resets. Part three covers Text align, Paragraph palette, Hyphenation and Justification. Part four covers Text for Web, Text Wrap, Text Masking.

The extract tool in Photoshop is one of the most frequently used - and useful - tools you'll ever learn to use. Extracting allows you to remove a picture from its background or even filter away flyaway hair.

In this video, Chad West shows you some more precise color correction methods and explains a little bit about the dodge, burn and sponge tools. Those of you who already know your way around Photoshop should probably not waste your time watching this video. It's meant for beginners.

We're still weeks away from a probably HoloLens 2 release, but Microsoft's immersive computing team is still hard at work on other aspects of its "mixed reality" ecosystem.

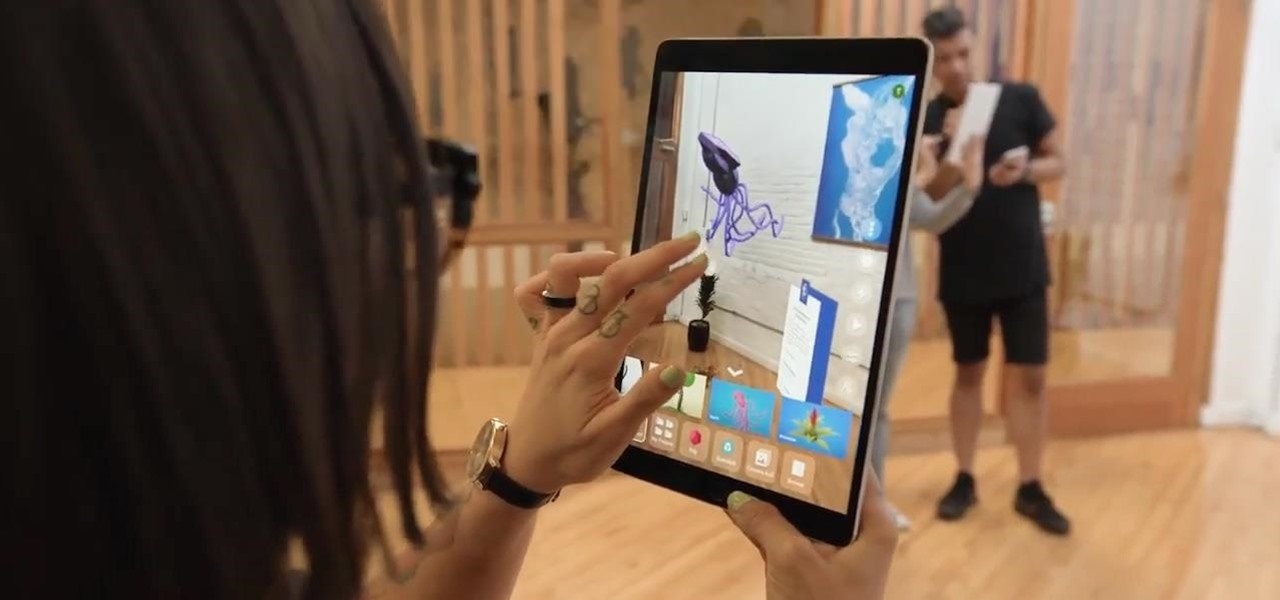
Augmented reality experiences for consumers, for the most part, are relegated to mobile devices at present, but creation and development of those experiences is still a province of desktop computers.

One inventor wants to bring augmented reality to internet radio and home audio speakers. Meanwhile, a leading consumer electronics company has opened up access its deep learning tools for building augmented reality apps. In addition, analysts examine how augmented reality will impact the design and construction and profile the top developers in augmented and virtual reality.

With all of the bare-bones setup out of the way in our Mac for Hackers series, your Apple machine should be ready to run a significant amount of pentesting tools. We can pull tools from GitHub and compile them, we can pull dependencies or tools from Homebrew, we have both Python and Ruby. Everything is ready to go and now it's time to start building a toolbox on our local host.

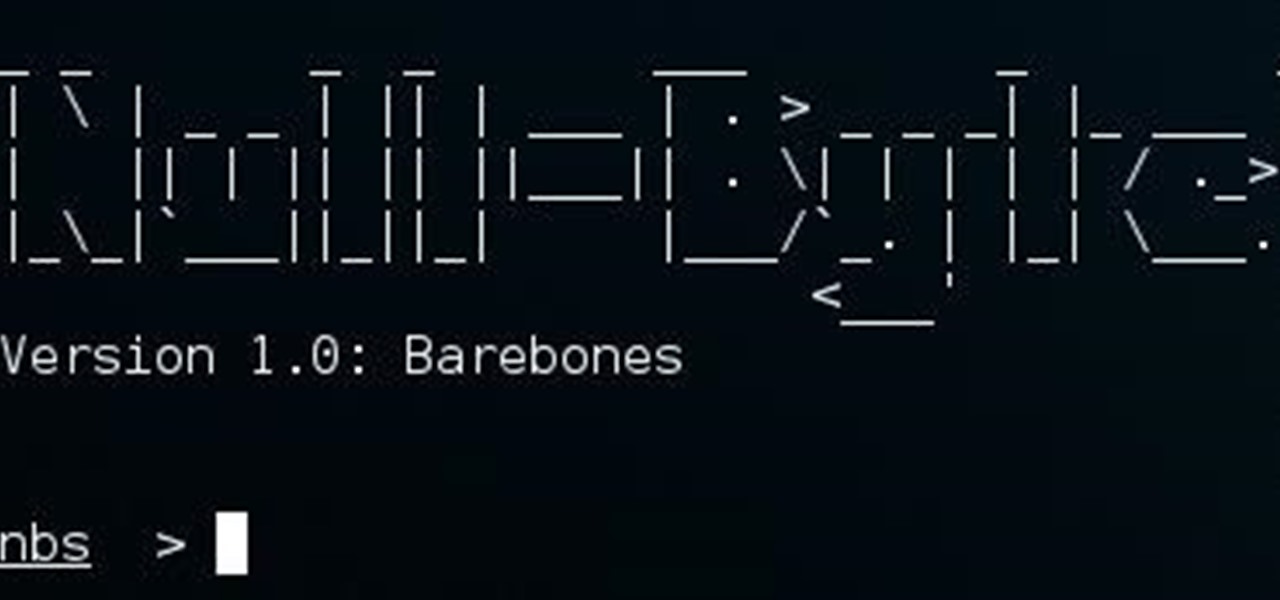
Hello, everyone. If you've been following my recent articles, you'll know that I've been rather busy lately working on a project, a rather large one. I've been working with Pheonix750 and Ciuffy to build the Null Byte suite of tools! I got the green light from our admin a while ago, and we've been developing like mad ever since! I'm very excited to launch this project. So, let's start by explaining what it is...

Use the Xara Web Designer 7 Premium Mould tool to mould, re-shape and change perspectives of objects. The Xara Web Designer Mould tool will allow you to create some very interesting effects to make your website stand-out and have depth. Even the thumbnail shown for this web design video tutorial was created with the envelope tool. If you have ever seen the software boxes shown on various those are usually created with an envelope tool to give the box its perspective.

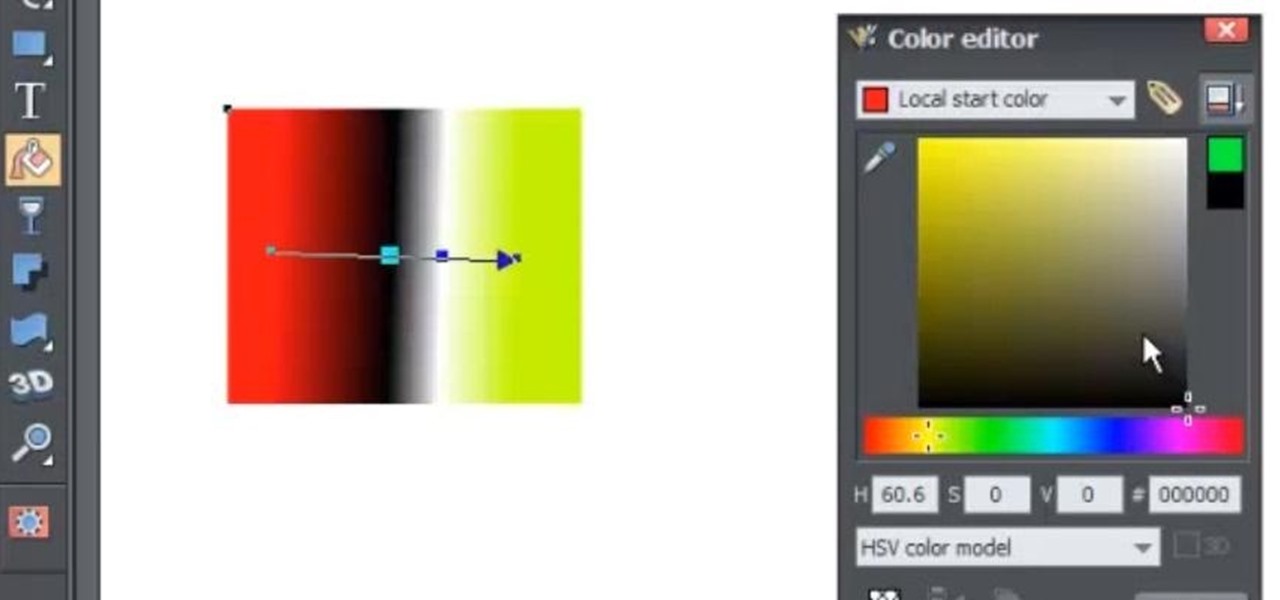
The fill tool will allow you to alter the appearance of objects in your web design document and can be very useful for marketing purposes. The fill tool can be used to give objects one solid color for simple designs.


