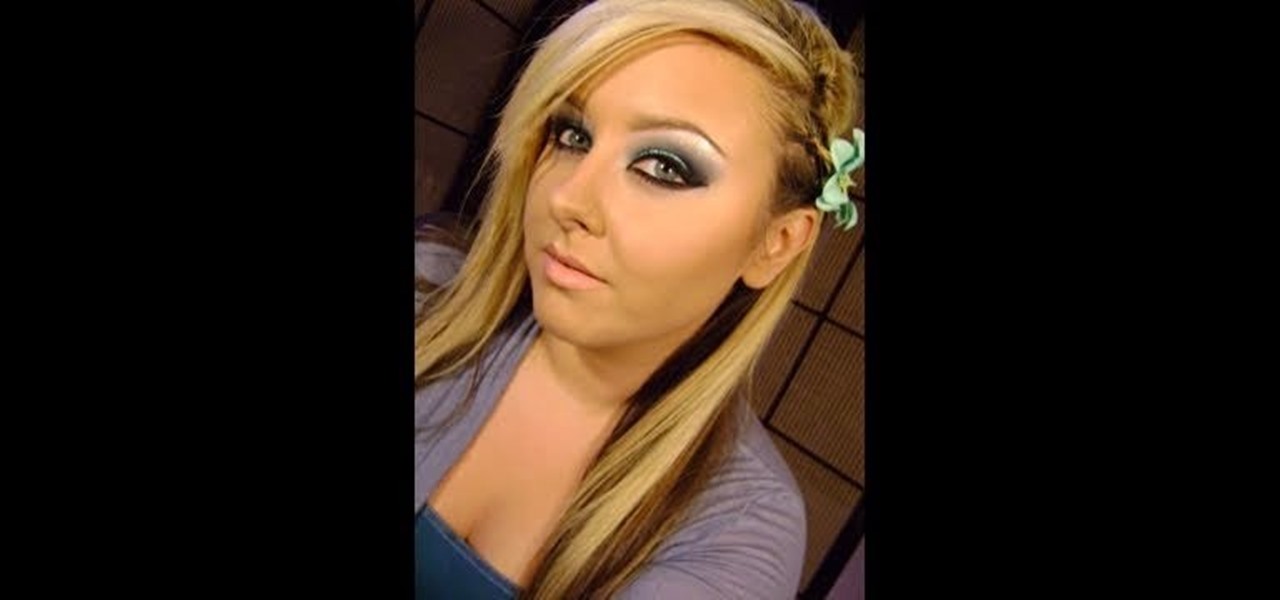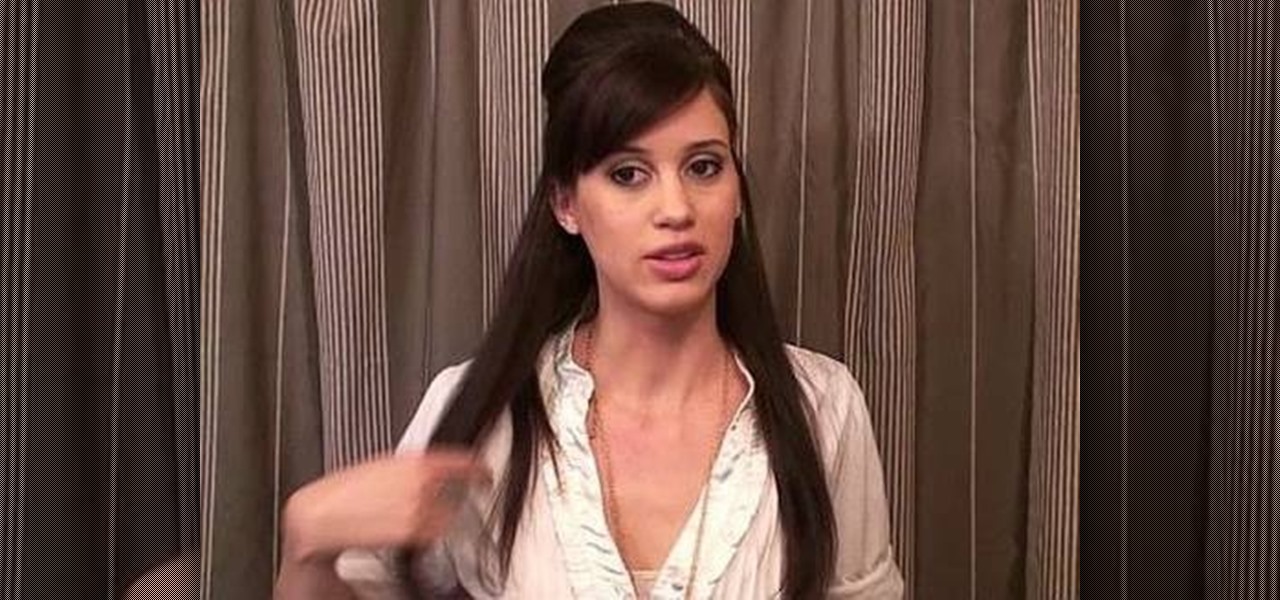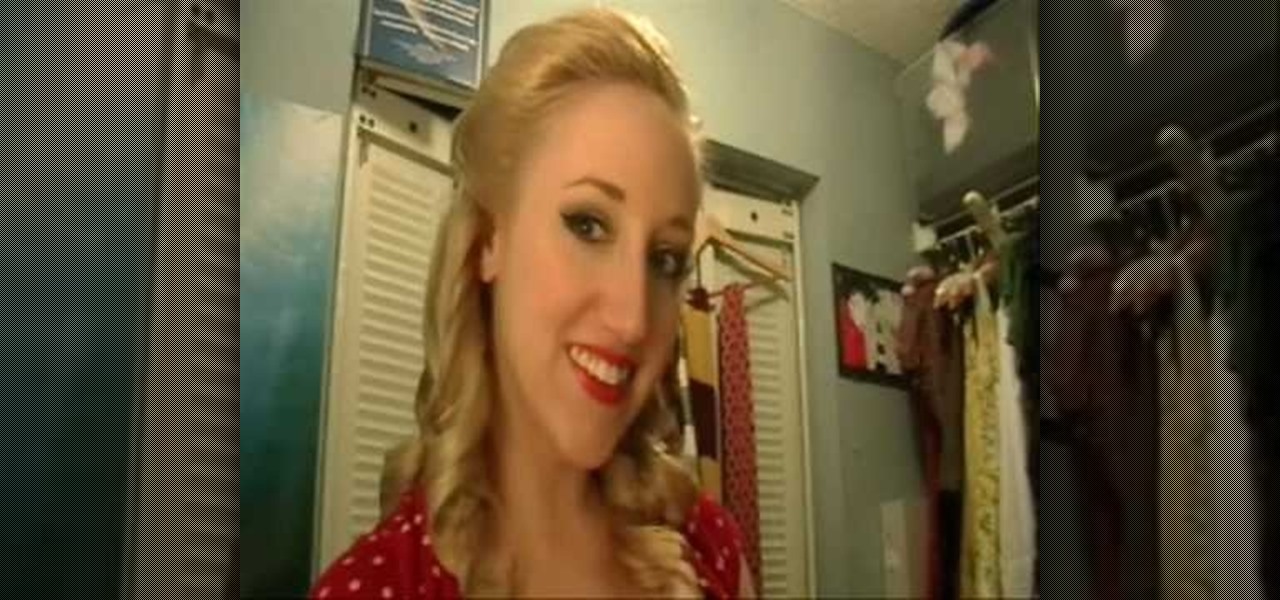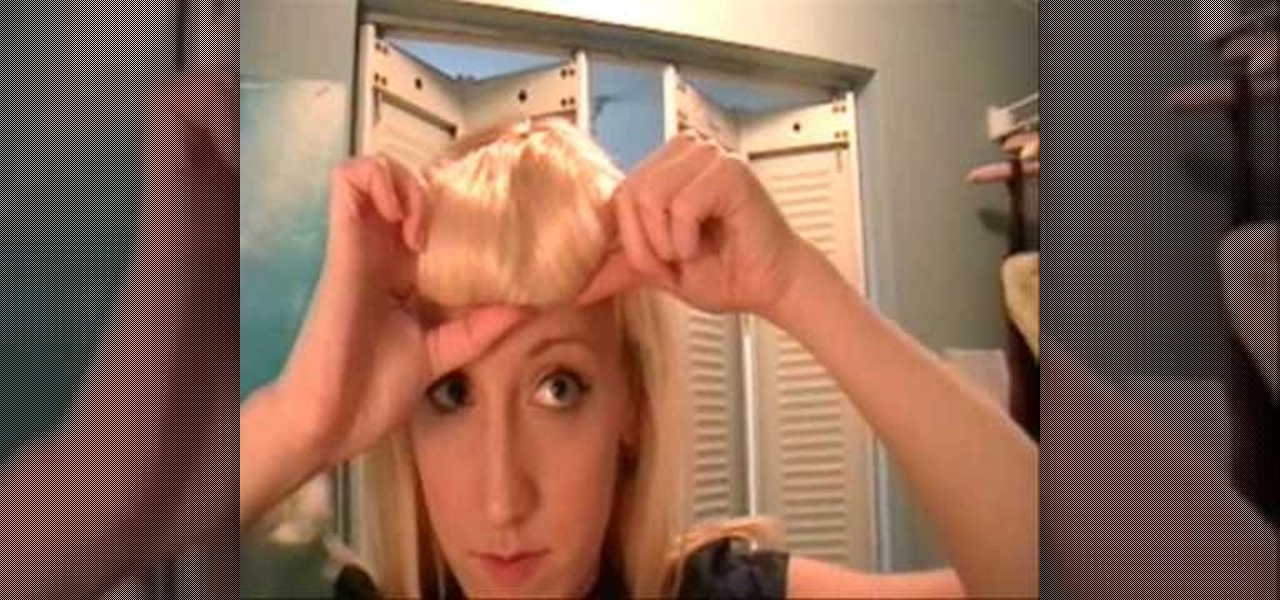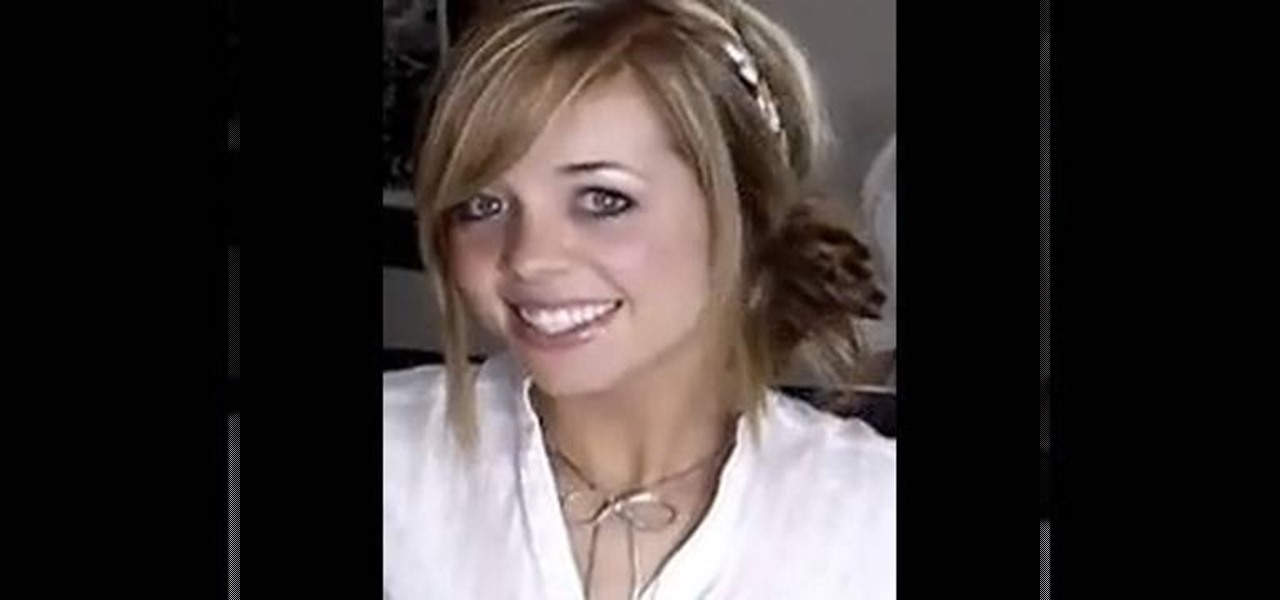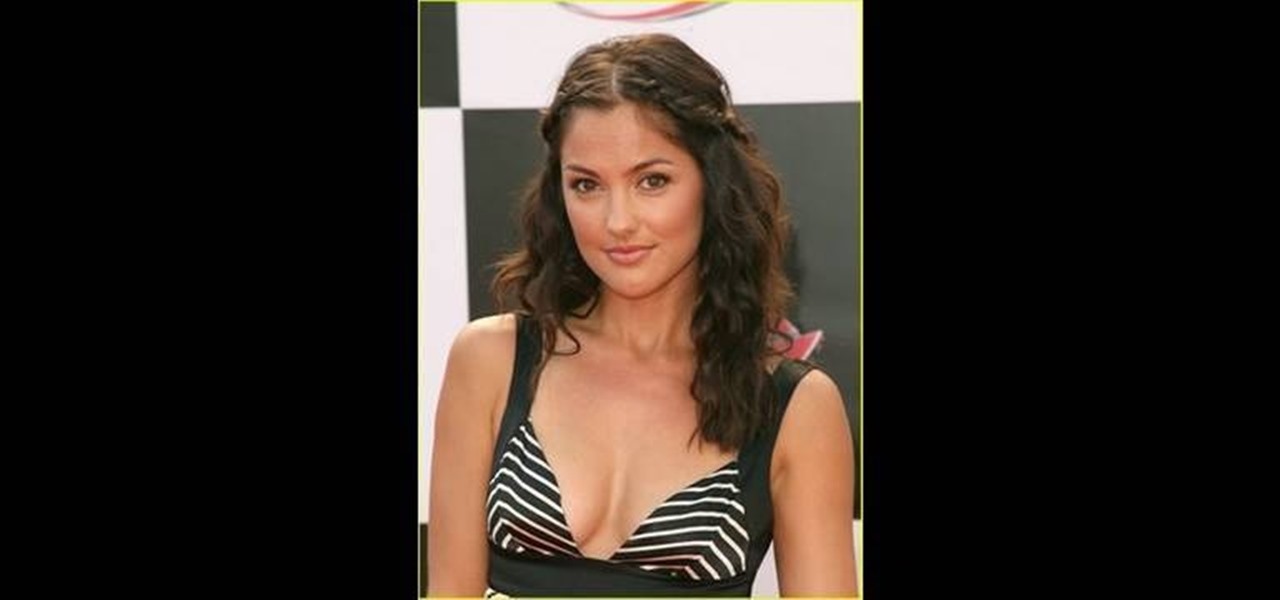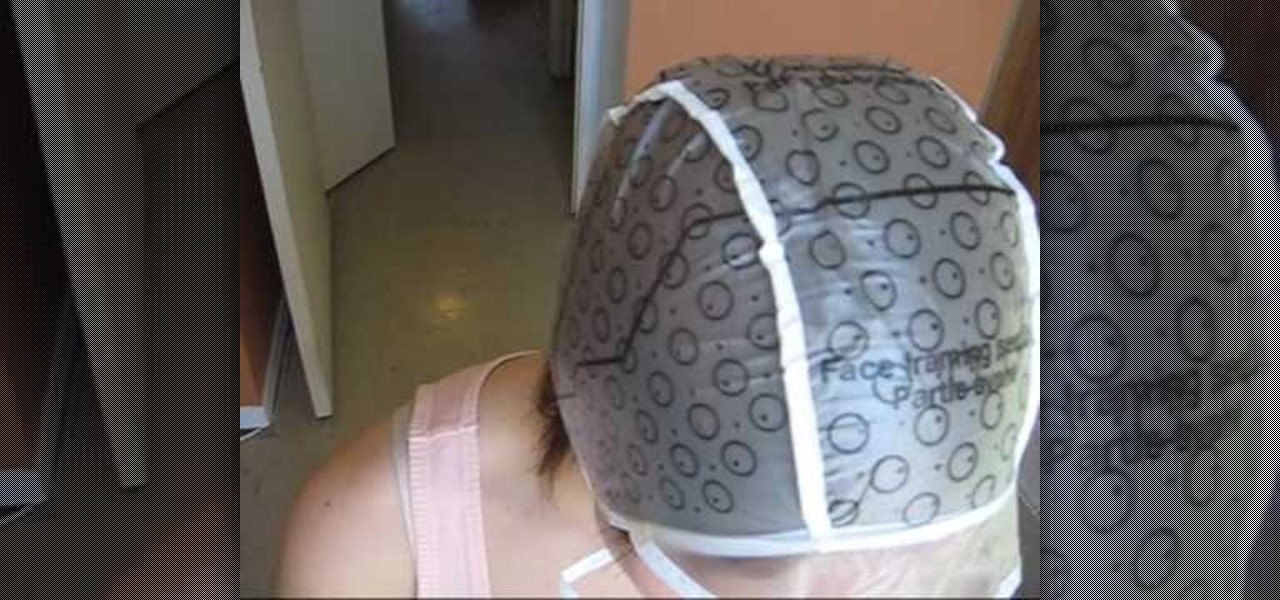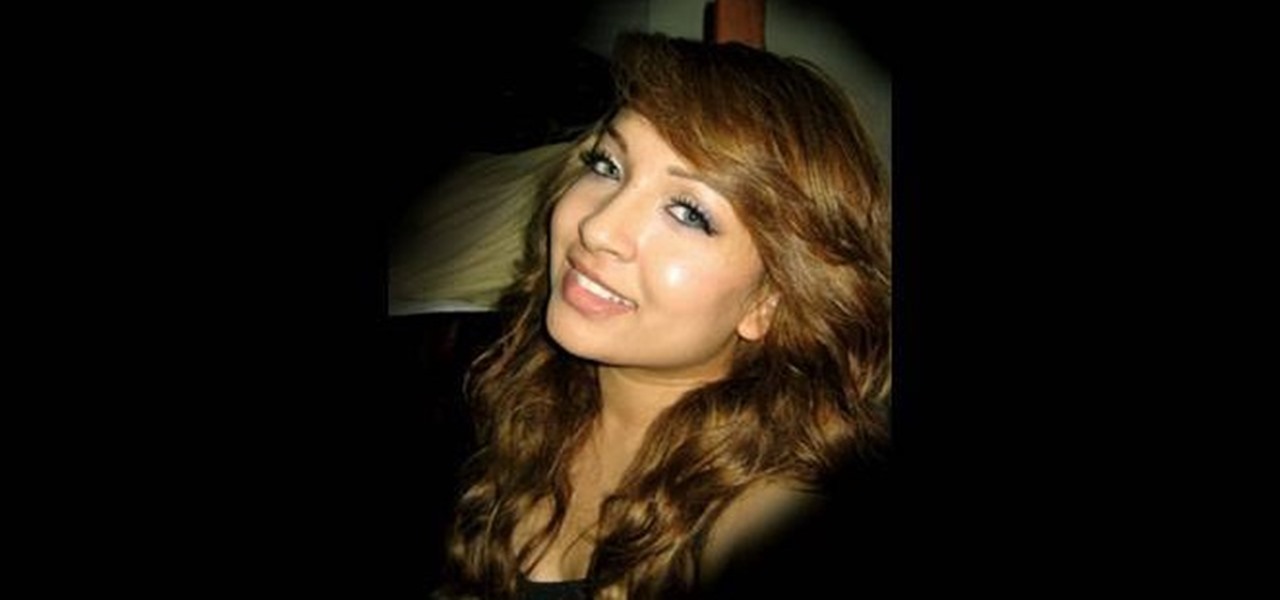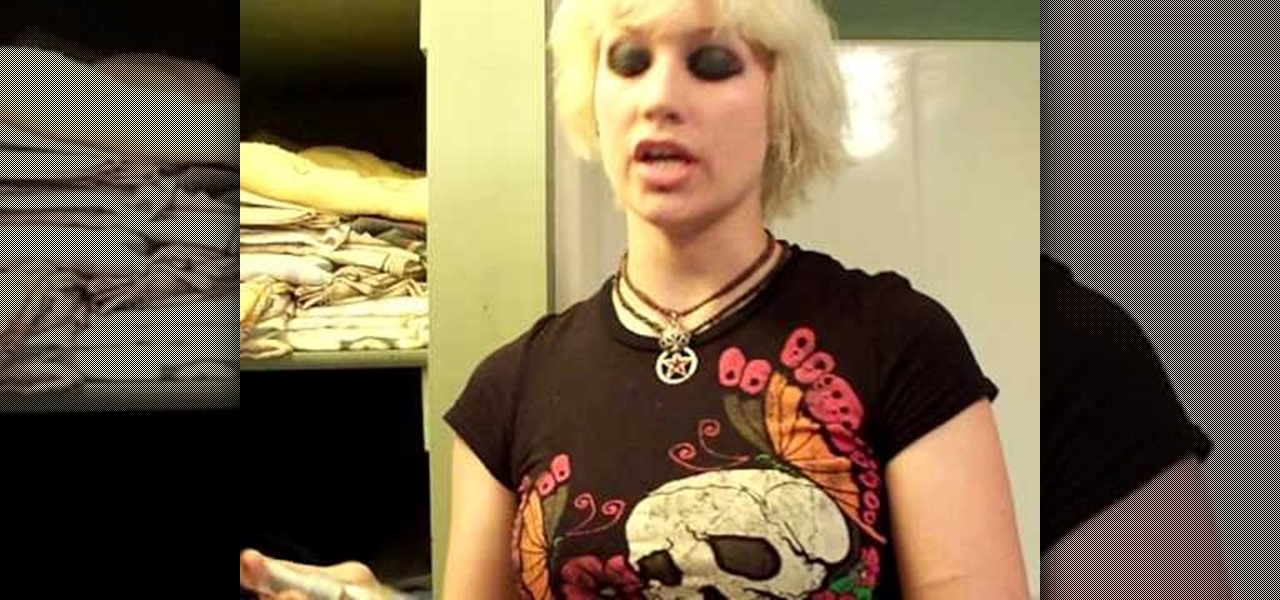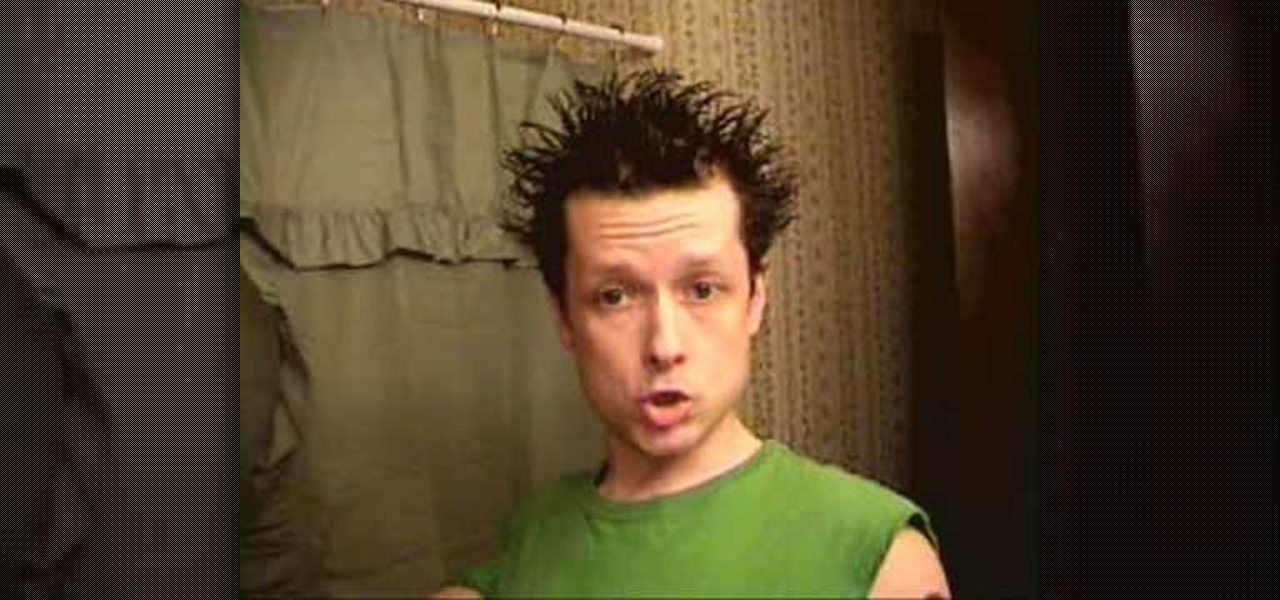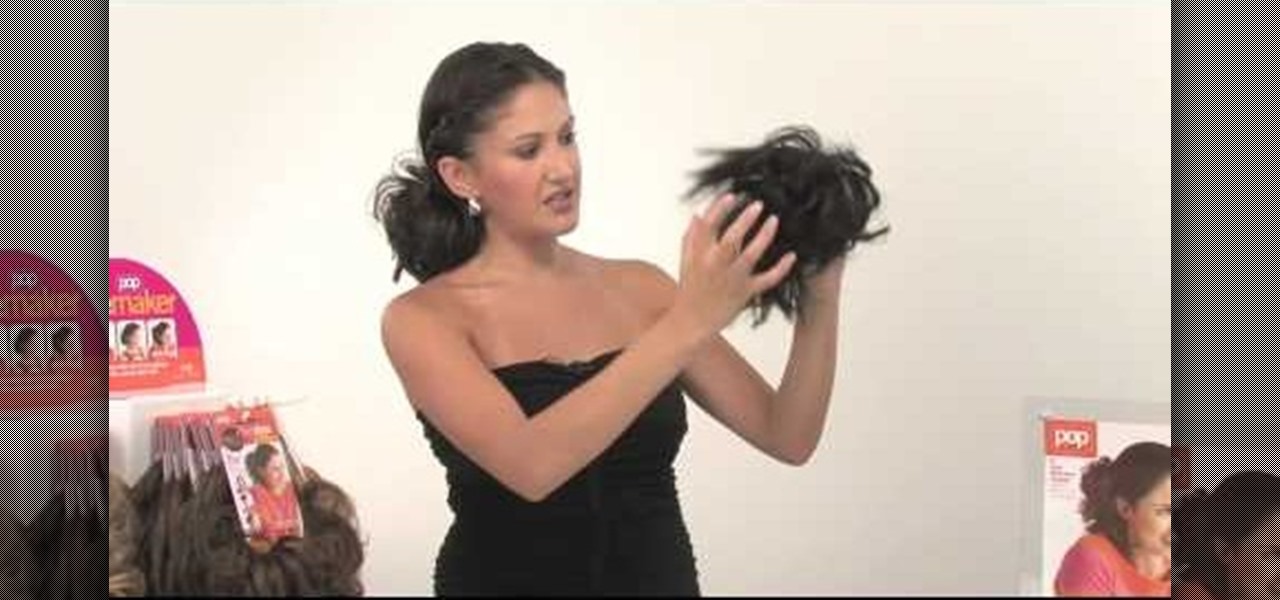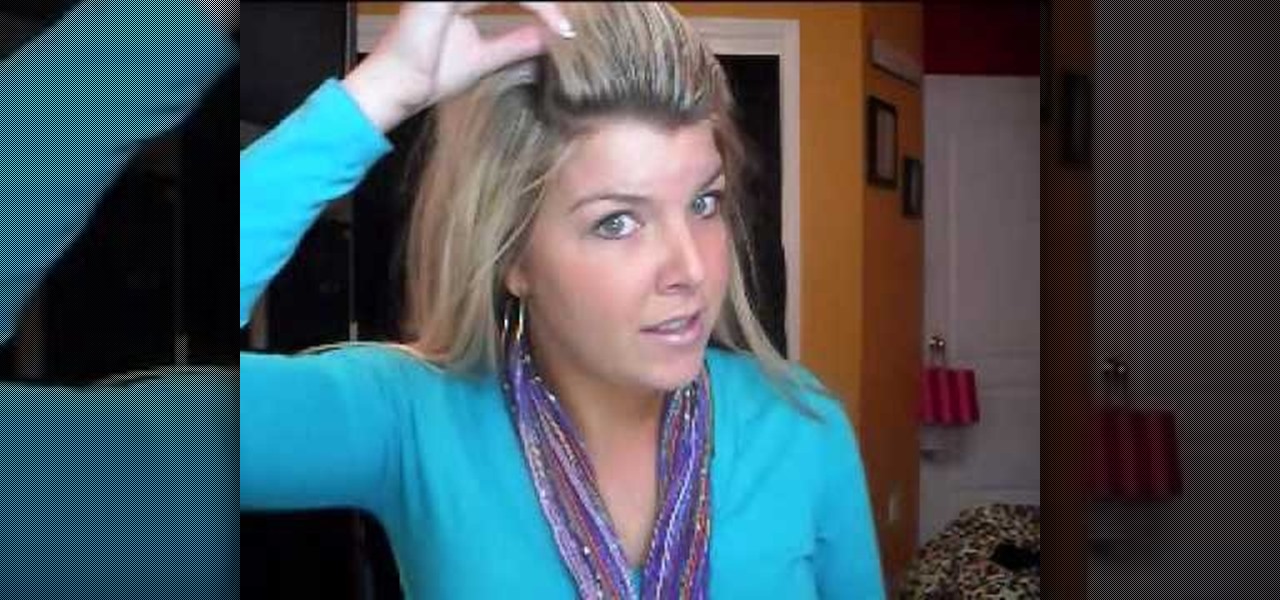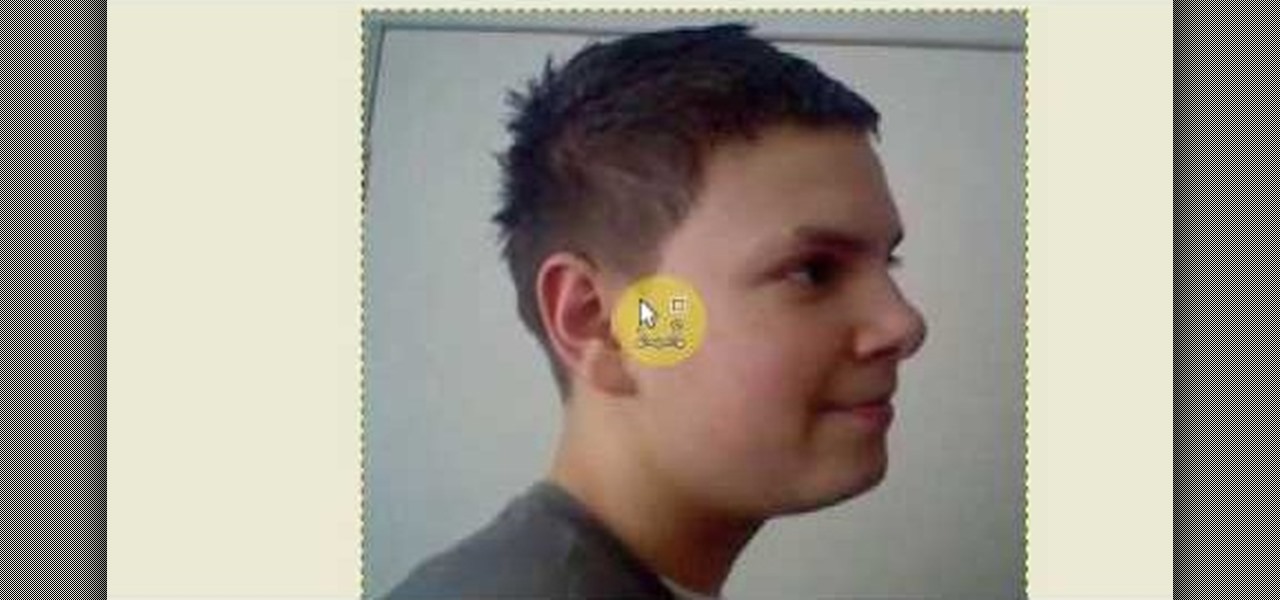
In this tutorial, we learn how to style short hair for an edgy look. You will need to apply a heat protector on your hair first and then blow dry it. Blow dry it against the grain so you get greater volume and it sticks up more on the back of your head. For the front, blow dry your bangs to one side and then use a straightener to pull them to a side. If you want an even more edgy look, you can make a fauxhawk with your hair, which would involve putting gel in the bangs so it holds up in the a...

In this video, we learn how to do a cute hairstyle on an American Girl with layered hair. First, brush the hair back until it's smooth. Then, pull the front section of the hair back, going off from where the eyes end. Then, you will pull it up into a ponytail. After this, you will take a section from the side of the head on both sides. Then, you will bring these together in the back of the head and tie together with a ponytail holder. Now, take another section lower down on the had and repeat...

In this video, we learn how to do wrapped pigtails on your American Girl doll. First, separate the hair from side to side. Then, take a small section from the front of the hair and put it aside. After this, you will need to comb the hair back into a ponytail and secure with a rubber band. Secure the other side into a ponytail as well, but put all the hair back into it. After this, you will take the front from the other side and wrap it around the ponytail. Clip it into place and then you will...
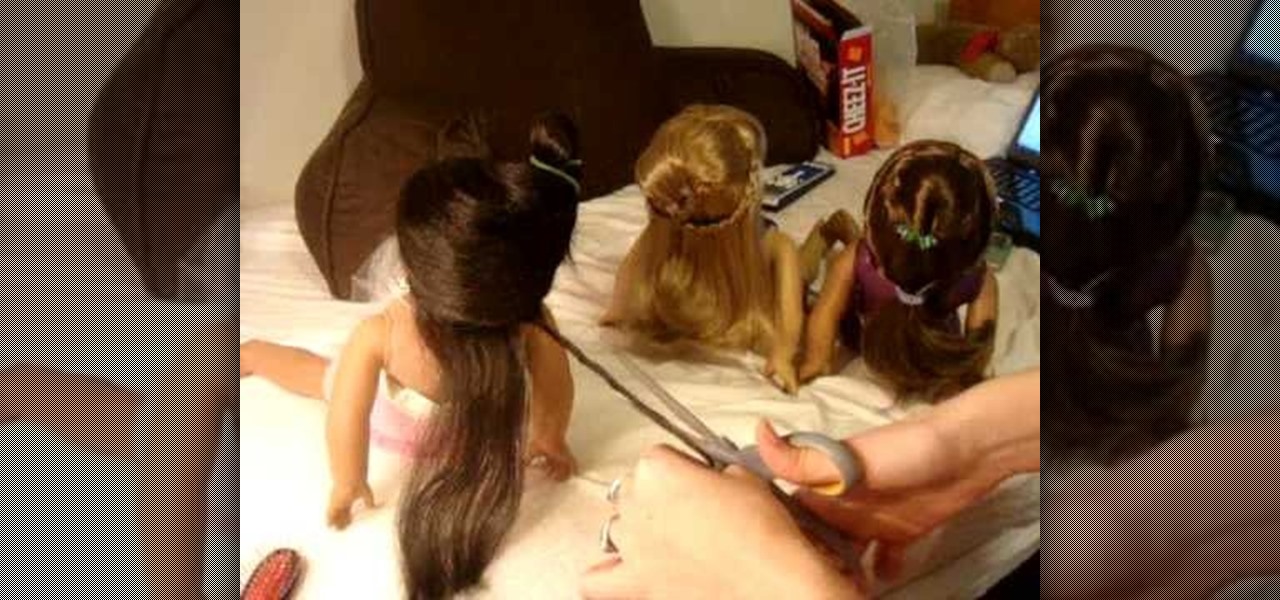
In this video, we learn how to fix your American Girl doll's frizzy hair or split ends. If the ends are frizzy or split, there is a way to fix it. First, you will need to wash the doll's hair the night before and brush it out. After this, take some scissors and start to cut small sections of the hair that have frizz on them. After this, you will cut the bottom of the section to make sure it's completely evened up. To make it easier, you can go section by section until you have it right!

In this tutorial, we learn how to do a Y braid on your American Girl doll. First, brush your doll's hair out and then put the hair in pig tails. From here, you will split the tail in half on both sides. Then, you will combine the two middle pieces and start to braid the hair like normal. Do this all the way down until you reach the bottom of the hair. When finished, tie the end with a rubber band to keep in place. This will finish the Y braid look for your American Girl doll, enjoy! Decorate ...
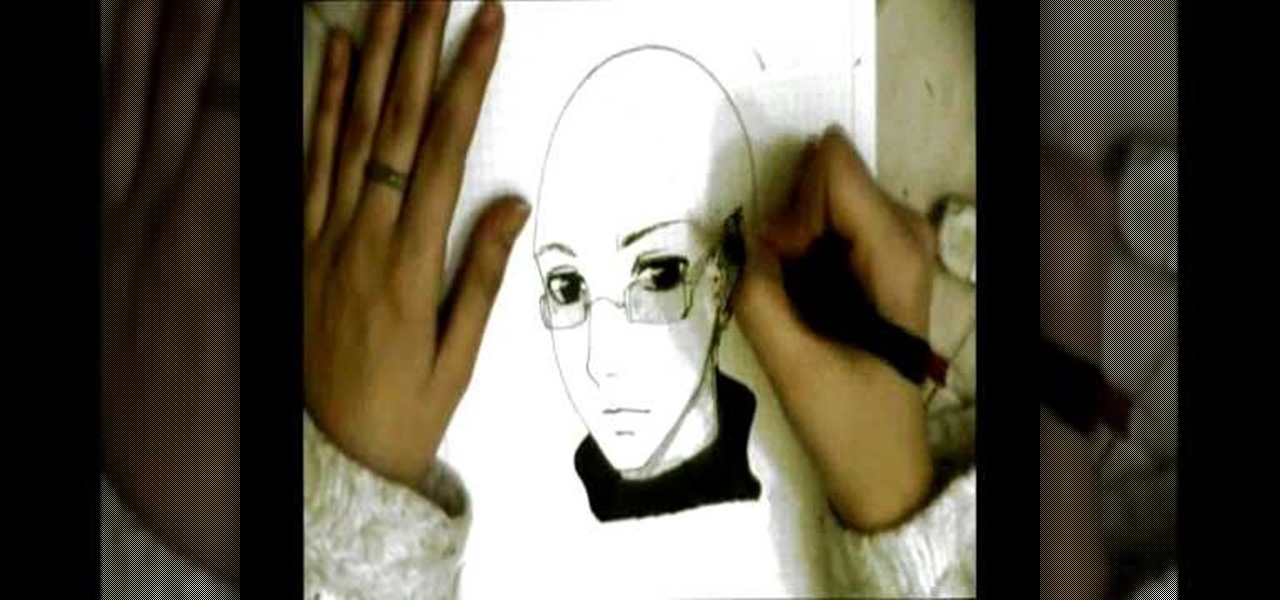
In this tutorial, we learn how to draw wavy manga hair. Start off with your manga face shot and then grab a pencil. Draw in strands of hair on the forehead and create bangs across to the eyebrows. After this, draw down hair on the head going down around the ears and throughout the rest of the head. Use a light touch of the pencil to create most of the strands coming from the root of the head, then use a darker line to create different types of strands. When finished, add in additional details...

We're all for straight hair on an everyday basis, but there's something about long, curly hair that makes us willing to put in that extra effort to look va va voom. Maybe it's because long curls make us look and feel like a princess, or maybe it's because it's super dramatic and girly.

Elaborate hairstyles are great for those days when we want to feel glam, but what about mornings when you're running late and low on time or you just don't want to wake up earlier in the morning to insert velcro rollers in your hair?

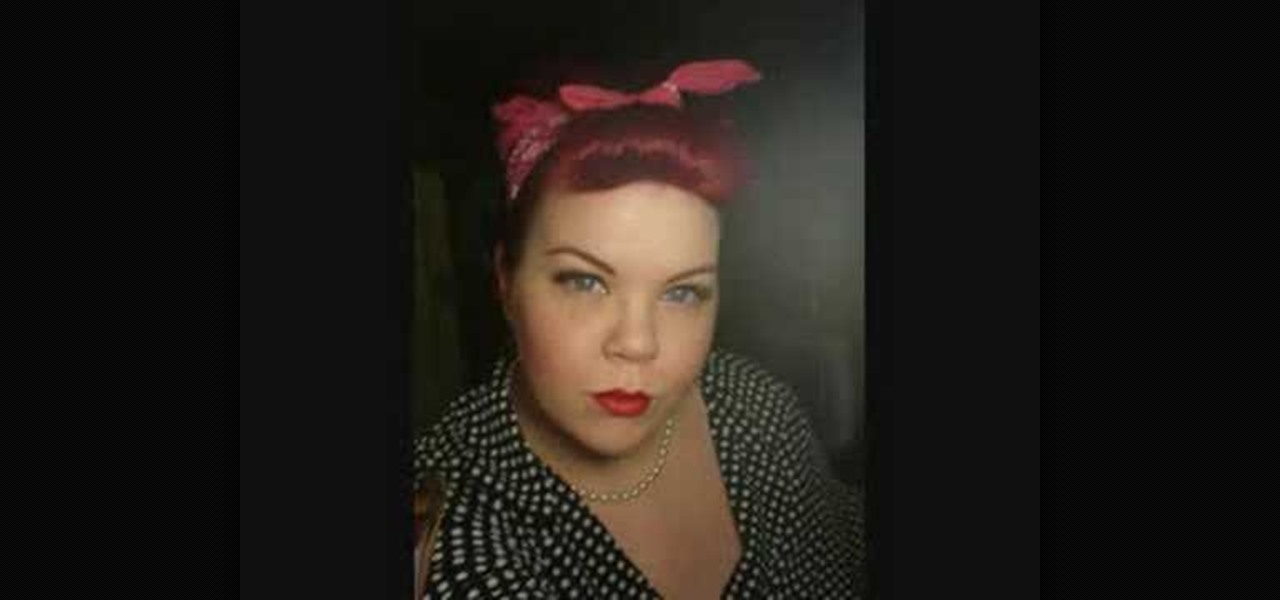
In this video, we learn how to style a pin-up rockabilly hairdo. First, brush all your hair back except for your bangs, then curl your bangs so they sit on your face across your forehead. Now, wrap a handkerchief around our head, then pull the bottom flap up to the top. After this, tease your hair that's inside to give it shape and thickness. After this, position the hair into the handkerchief so it lays down and looks flat. Hair spray if you need to, then curl your bangs once more so they ar...

Simplicity is best, especially when it comes to styling your hair at 5 AM in the morning before you dash to school with a cup of espresso in your hand. If you care about making your hair look presentable but don't care for spending half the morning teasing and primping it, then check out this video.

Compared to ladies of the '40s and '50s, we are damned lazy ladies today. Most of us wouldn't flinch to pull on some sweatpants to go the grocery store or even to go to school. And while we totally dig comfort, which is a good thing, it's nice to "put on your lady face" every once in a while an dress up a bit before you go out.

Now, rolled-up bangs may not be a good choice for going clubbing (at least not if you're trying to catch a cutie's eye in a positive way) or for work, but work great for Halloween if you're dressing up as a movie star or teeny bopper.

You've probably heard of cheetah print nails and even cheetah print eyeshadow (think the eyeshadow "rub-ons" at Sephora), but we can bet you've never heard of cheetah print hair. Your first question is probably whether or not this is even possible, but trust us, with a compressor doing cheetah prints on your hair is as easy as pie.

In this tutorial, we learn how to do a side headband braid with ribbon intertwined. First, grab a ribbon that is around 32 inches and any color you want. Now, take a chunk of hair on the side of your head, and place the middle of the ribbon underneath it. Now, separate your hair into three sections, then start to braid by connecting the ribbon in with the strands. Once you finish this, tie off at the end. Now, make a messy bun in the back of your hair with the braid on the side still. After t...

In this tutorial, we learn how to do a quick J-rock hairstyle. To start, you will want to start off by brushing out your hair and straightening all of your layers. After this, do your makeup with thick black eyeliner all around your eyes. Next, hairspray the hair while holding it up, then tease it so it has extra volume, but don't brush it back down. Do this throughout the entire head, leaving the bottom of the hair flat and straight. Next, apply wax and gel to the hair and finish styling it ...

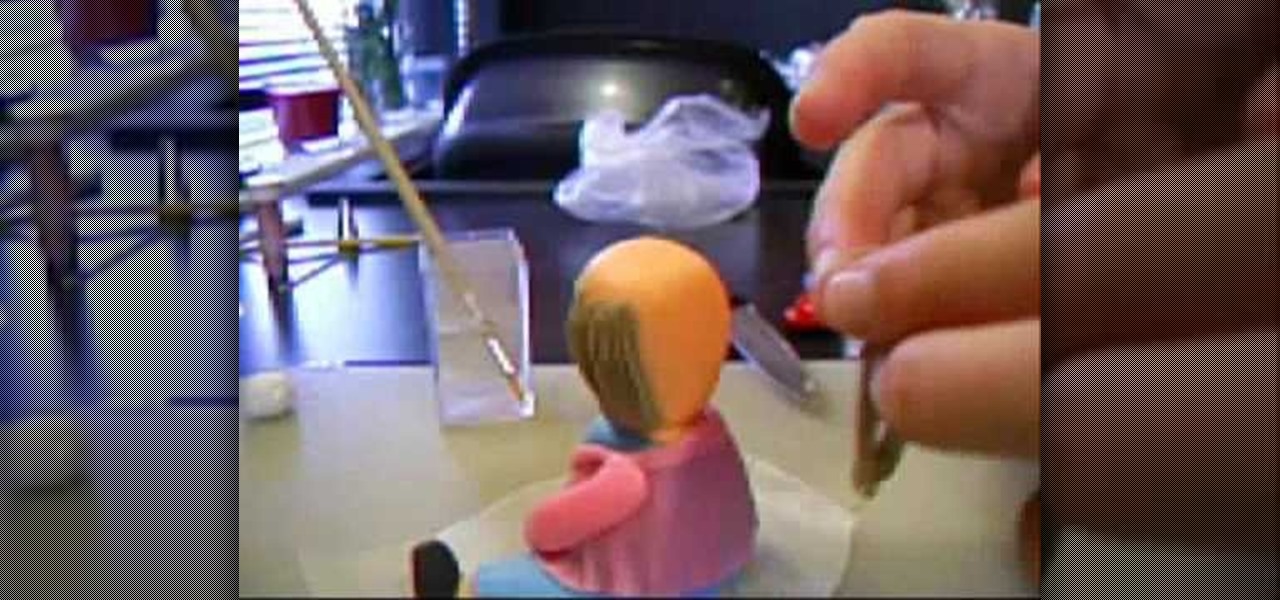
It's a little known fact that fondant men too face male pattern baldness. Luckily, bakers aware of this sad issue have created fondant toupes to solve this ever-growing (or un-growing) problem.

With all the pool-treading you'll be doing this summer, your hair will at one point get sick of being bunned up, capped up, and tied messily into a ponytail to get it out of the way for you to play.

The best way to keep your straight hairstyle is to wrap it while you sleep. If you do not like to straighten your locks every morning, or have difficult to maintain hair, watch this instructional video and learn how to wrap it so it stays in place. This is especially useful for African American women with longer hair. So, if you do not want to wake up with wavy frizz, follow the step by step presented in this video for the best way to keep your hair in order, no matter where you lay your head.

In this tutorial, you will learn how to dye your hair like a pro. Get tips and tricks on dying your dark brown or black hair to a nice blonde color without going orange. In addition to learning to lighten your whole head, you will also receive tips on how to use a hair cap to highlight your locks. By highlighting you will create a defined, multi faceted look that will look great and unique. So follow along and get ready to give yourself a professional style makeover.

We all know that henna ink can dye your skin, but did you know that you can use it for your hair as well? Henna is an inexpensive and unique way to darken your locks. If you are thinking of going brown, and want to use Henna to do so, follow along with this tutorial. This video will show you step by step how to go about this dye job and look beautiful.

The darker your hair is, the harder it is to lighten it. If you are not keen on stripping your hair with bleach but want to avoid that orange look of poorly dyed tresses, check out this tutorial. In it, you will learn how to take your dark brown hair to blonde without any bleach at all. This is a much healthier method for your hair and you will be thankful you chose it in the long run. Avoid the frizz and fry that come with bleaching and follow this step by step for lighter locks.

They say blondes have more fun, so why not go as blonde as possible? In this tutorial, learn how to use bleach to create a white blonde look, no matter what color your original hair is. If you are ready for this dramatic change, this tutorial is here to show you how to use the bleach, step by step, so that you safely dye your hair without burning yourself or ruining your locks. This process will strip all of the color from your tresses, so make sure you are ready for it before you start.

If you want to spike you hair like Sum 41. You should get some Got 2 B hair gel. First, you need to make sure your hair is dry before you sure you use the gel. Next, put a handful of the gel in your hands and slick the gel through your hair. Make sure you spread the gel around. Move your hands up through the back so it gives it a spike from the back. It does not take much to spike it. Just take your finger tips and pick at your hair into spikes. If you want big individual spikes, take a secti...

Nightcaps are something that will never get old and have been around for years and years. Originally, nightcaps were invented around the Middle Ages and were used as a way to help prevent head lice. As the years passed by they became more useful in other ways, especially when it came to keeping ones head warm. For women, they were also used to keep not only their head warm, but also to protect the hair from any kind of damage. This video tutorial will show you ladies how to make a hair bonnet...

Use three tools to create a simple ponytail. Use a hairbrush, a bobby pin, and a bungee band holder for this look. Using a bungee band instead of a standard ponytail holder eliminates some of the issues typically caused by pulling hair through ponytail holders. Start by using a bristled brush to brush the hair to one location on the head. Secure one hook of the bungee band in the ponytail and wrap the tail around the rest of the hair. Wrap it around again, and secure the other bungee band hoo...

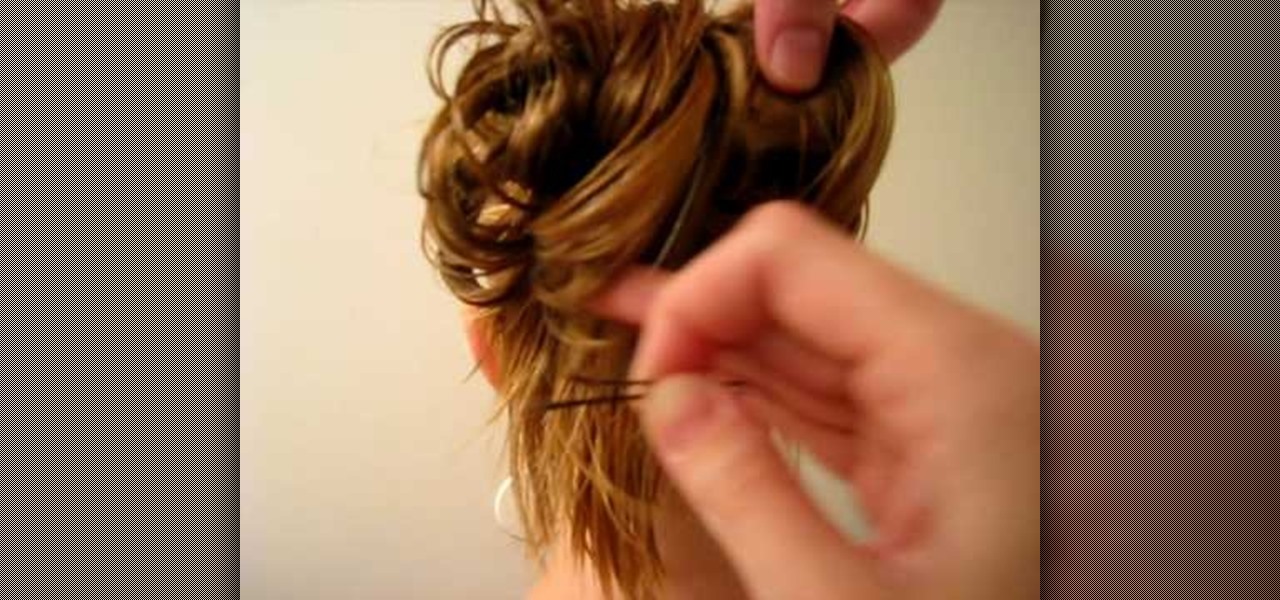
This video here is about making a messy hair bun. First the hair is drawn into a ponytail. Then, using a thick rubber-band, insert the the middle of the ponytail partially into the rubber-band so as to make a loop. Then spread the hair strands of this loop to make it look messy. Now from this spread loop, take bunches of strands and lift it slightly upwards and fix it using a hairpin. Fix the hairpins firmly so that they stay in the place. Spread out this bun from the middle. Curl up or tuck ...

First of all you have to start with the bungee band pony tail at behind. You can use the brush on your back hair to make it appear bigger. Use your brush on the underneath of the back hair to make it appear wider and it should appear to have a body. Pick small locks at the back and brush it outwards so that it looks that you have more hair than actual. After this you have to gather all the hair at behind. Now you have to wind it and bring it all towards your head. Now use a hair pin to grip y...

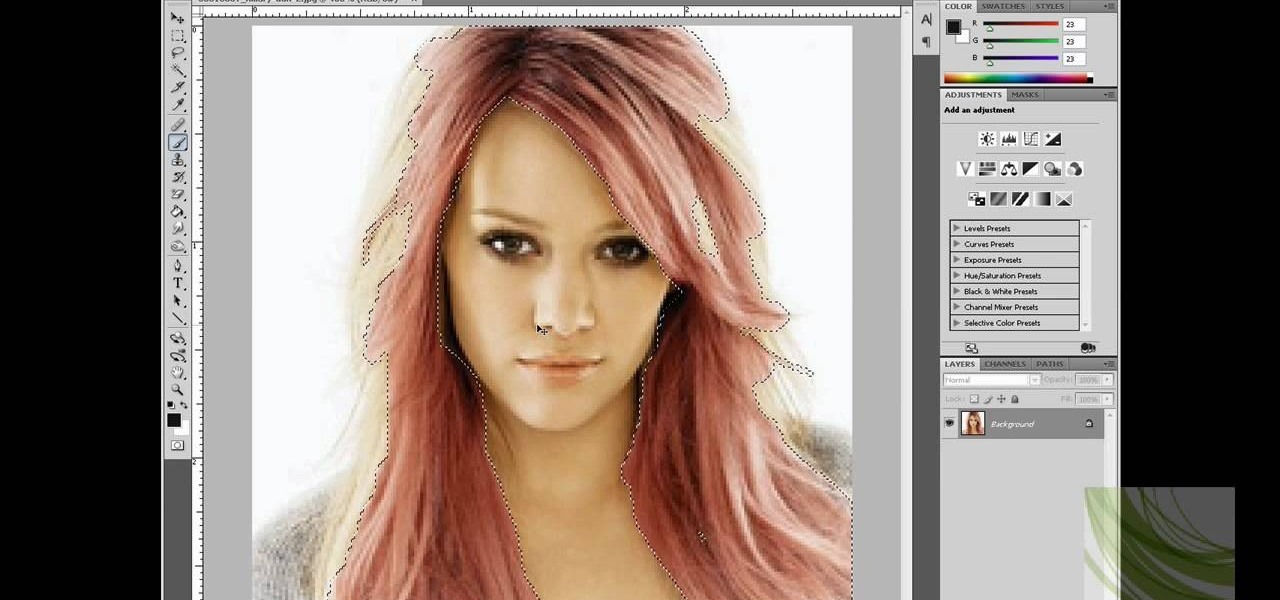
Photoshop is an amazing tool to use to edit your photos. If you would like to see what you or someone else would look like with a different hair color then Photoshop is the place to do it. Try out something realistic or add a funky color to your favorite celebrity’s style.

In this how-to video, you will learn how to tie a slipknot on micro braids. First, braid the hair to the desired length. It is good to braid it close to the end, unless the hair is permed. Now, hold the braid and fix it so that it can be nice and neat. Take a few strands of hair and tie it around the rest of the hair. Now loop it around the finger holding it and put your thumb inside. Make sure to tie it up. Do the same thing about three or four times. Once this is done, take part of the same...

Jennifer Pompa, from the Hairtalk TV Show, describes, "Pop", the company who makes the "StyleMaker" who has the great new "Put on Pieces", which is made of a lot of gorgeous hair on a rubber band that is strong and durable.She says "It's a heat friendly synthetic fiber that you can wear it straight or curly, you can blow dry it to accessorize your look and treat it like your own hair."For a chignon, you can twist your hair into a pony-tail and use the POP as a lovely chignon by twisting it ar...

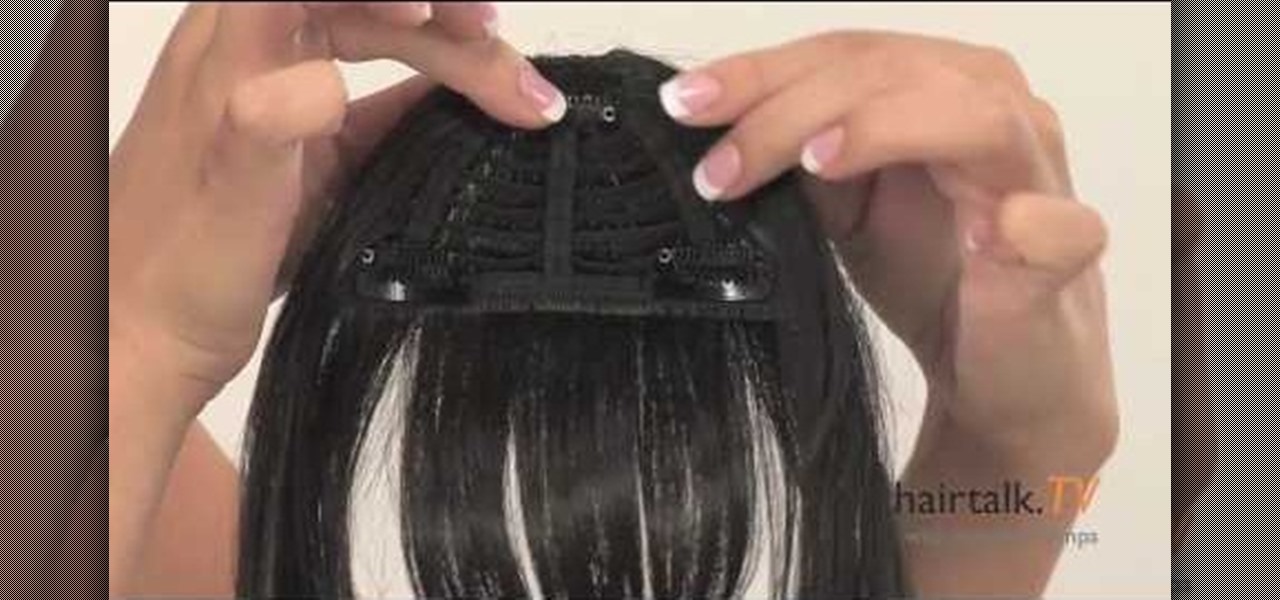
In this video, we learn how to use the new clip-in bangs created by Hairdo. These bangs are made of synthetic fiber and will mix right into your hair, there are several colors available so you can match the piece to your existing hair color easily. The piece has three clips, one on top and two on the side that will slide right into your own hair without causing any damage. All you have to do is clip the hair in and make sure it's secured. Once you you've done this, you can clip them and style...

This video illustrate how to do Taylor Swift curls with low heat curlers.Here are the following steps.Step 1: First of all pick a very good hair styling kit, Now wet your hair lightly.Step 2 : Now take low heat curlers and part your into half inch partitions.Step 3: Now take each partition and roll it around the curler back to half of the hair strand, fold the roller to hold it into place.Step 4: Now complete the rest of the partitions in the above manner.step 5: Now blow dry the hair lightly...

Follow along as we are given instructions on how to style a messy ponytail with a bump for a quick on the go look.

Brittany Black Rainbow demonstrates how to draw an emo boy. Begin with the back ground of hair, draw it like an inverted cone, assuming like one eye is covered by the hair. Draw the second eye and brows, and now draw the nose and mouth. Complete the face. Just draw the neck and the body with a round neck T – shirt with half sleeves and the hands. Now complete the hair. It’s like thorny bush, just draw all these lightly. Give black shade to the hair with pencil itself. Now darken every thing, ...

Criss-cross corn rows are a stylish way to maintain your hair. This video tutorial demonstrates how to braid hair with criss-cross corn rows. Begin by dividing the scalp into four parts, with one line extending from ear to ear, and the other crossing down the center of the head. To complete the hair style, continue to divide each section in half until you reach the desired amount of hair segments.

Rather than spending money at a professional salon, learn how to get inexpensive highlights at home. This technique will give you a very natural look with no orange tones. You need a product called Jolen. Mix about 1/4 teaspoon of this powder. Pull your hair back and take small sections about 1/4 of an inch thick and apply product to that section. You should make sure to wear regular gloves as you are applying the product. It is okay if the product mixes with other products. Continue this wit...

This video is about how to easily trim side swept bangs at home. You will need a plastic grocery bag, a spray bottle, a clip or ponytail holder, a comb and some sharp scissors. First put your hair behind your ears so you can see where your bangs start and comb your bands straight down and comb the rest of your hair back and clip the back of your hair back. Get the bangs wet with your water bottle. Decide what length you want. Make sure to cut them a little longer than you want them to be beca...

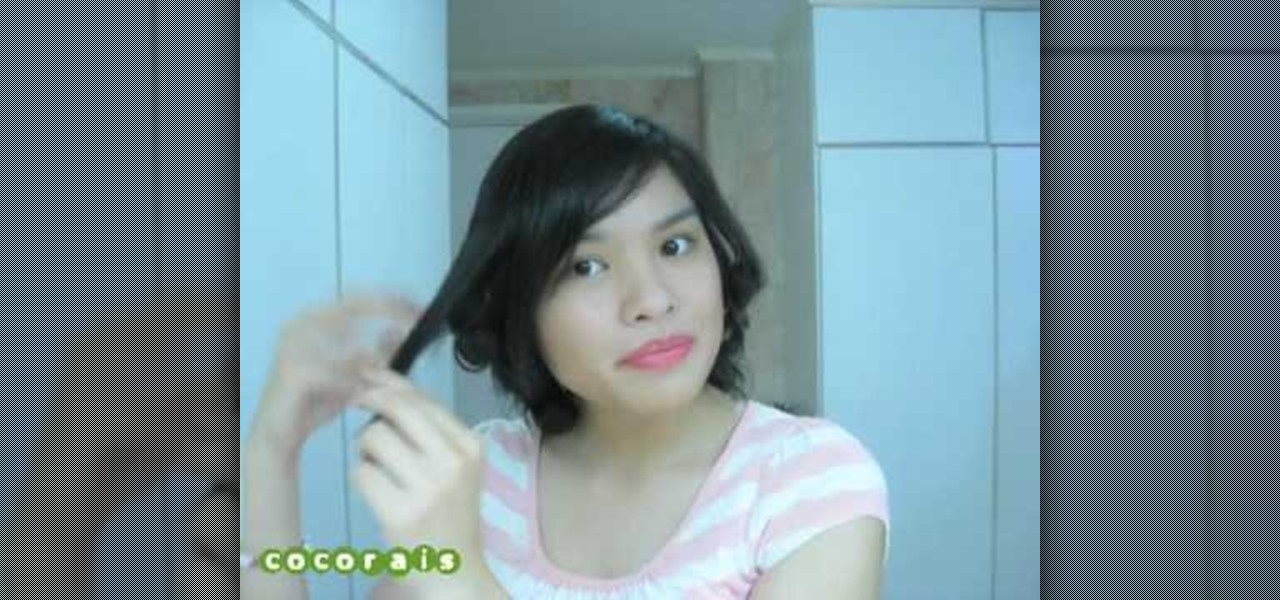
Cocorais wants to show you how to do a short hairstyle inspired by Disney's Snow White. You'll need: heat-protecting spray, curl-boosting spray, a flat-iron, a rag-tail comb, hairspray, and sectioning clips. Turn on your iron and apply your heat-protecting spray. Section off your hair using the clips and iron it (section by sections) flipping it inwards at the end. The thinner the sections, the more scattered it will look. Varying degrees of thickness of the sections and randomness will also ...

Open up the GIMP on your computer, and then proceed to open up the photo you wish to modify. Now, select the scissors tool from your Tool palette or by clicking "Tools" on the menu bar, then click "Selection Tools," and also click "Intelligent Scissors." Use this tool to outline the person's hair in the photo by clicking along the hairline at about 1/4-inch intervals until you return to the first place you clicked.

Kristina tells us the key steps to making a cheerleader styled hair bow. All you need is one simple thin strip of material, of whatever color or pattern you might want, there being a huge variety to choose from, thread and a needle, and the hair tie that you will then be attaching the created bow to. You make a simple "breast cancer sign" with the material, then further twist it into a bow, then thread the center to hold it together. The last step, of course, being to glue the aforementioned ...


