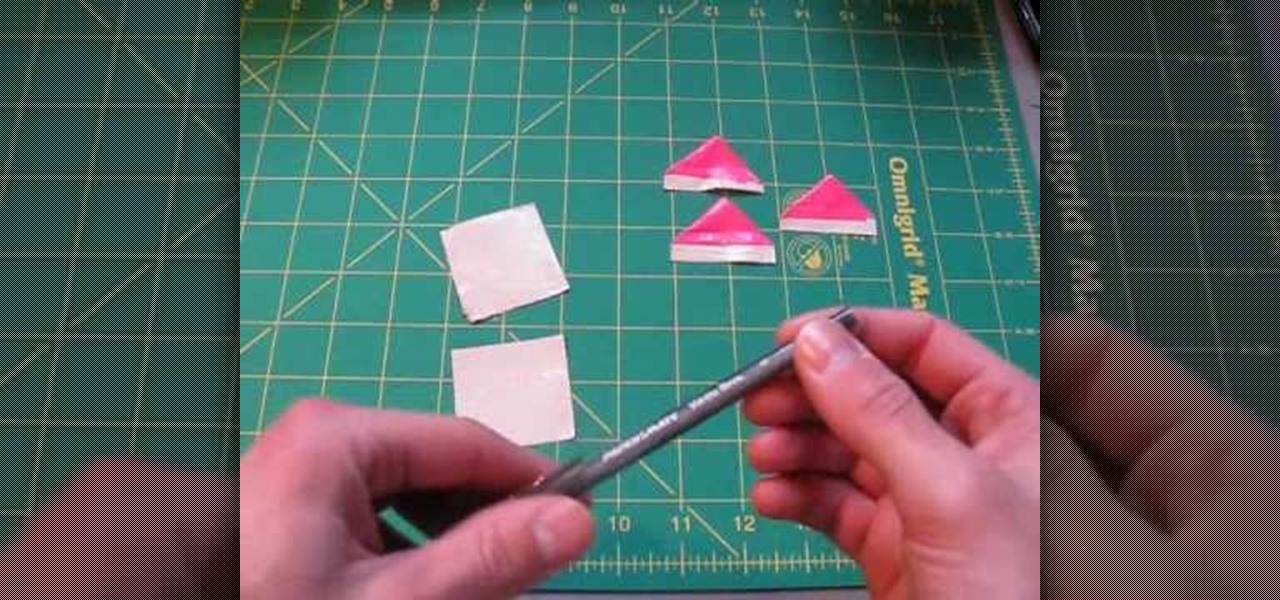
In this tutorial, we learn how to make a duct tape flower pen. First, make three triangles the same size out of pieces of duct tape. Leave a sticky part at the bottom and color the rest of it red. You can also purchase red duct tape if you find it available. Now, wrap the pieces of tape around the bottom of the pen where there is no ink. As you wrap this, you will see a flower start to shape with the more tape you add. Continue to do this until you have no tape left, then you will end with a ...
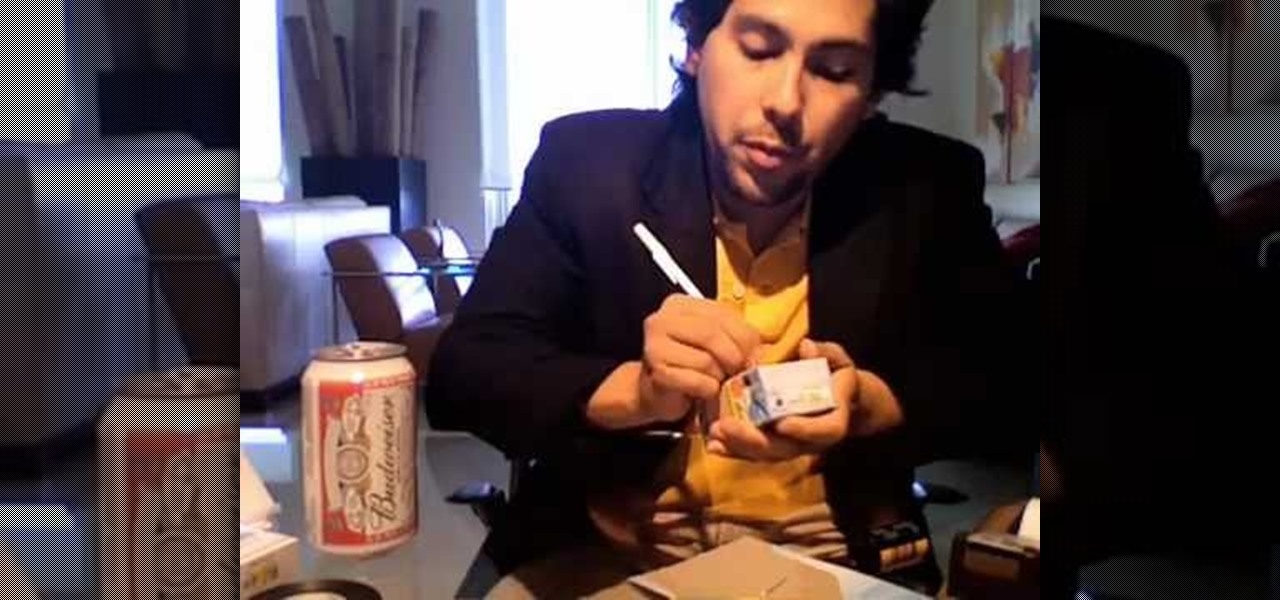
Want to create your own camera? The simplest one that you can create is a pinhole camera which can be constructed from everyday household items.
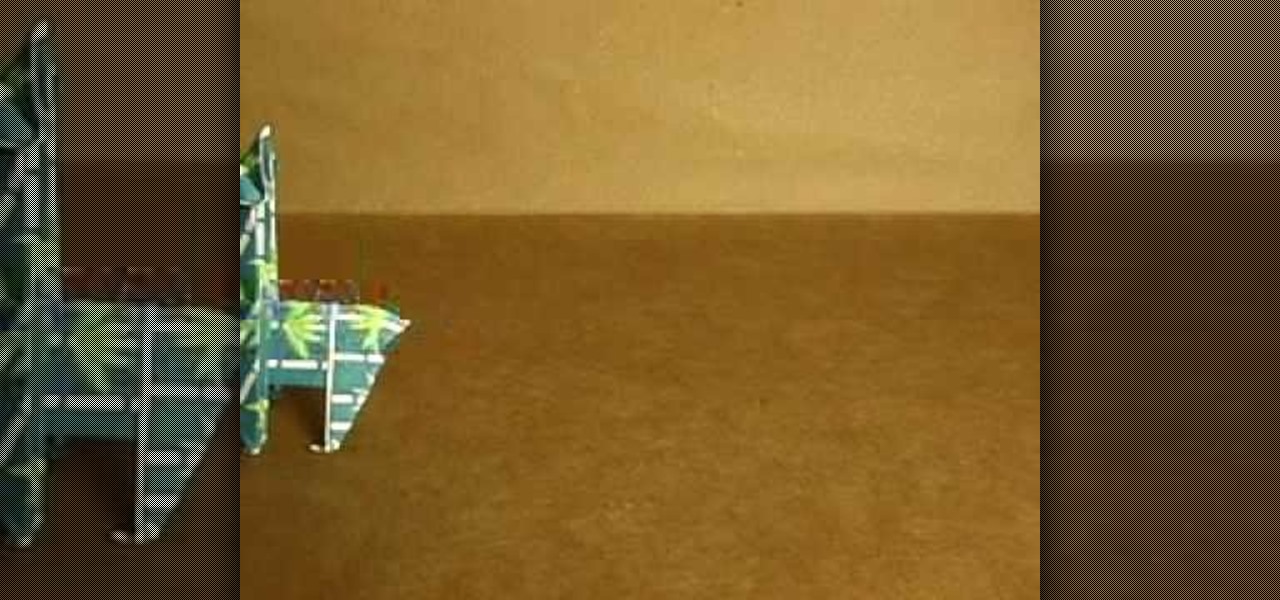
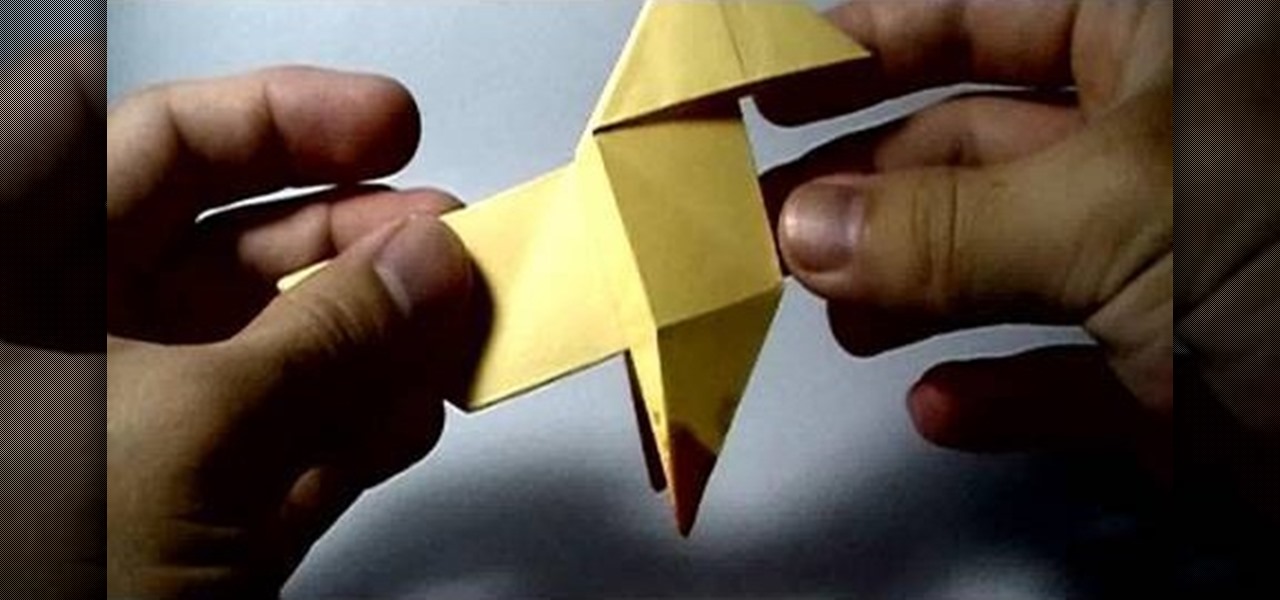
This is a video tutorial in the Arts & Crafts category where you are going to learn how to make origami llamas. Take a square sheet of paper and fold it in half. Open the fold and then fold each half further in halves. The sheet is now divided in to 4 parts. Next fold the outer flaps inwards so that they meet at the center. Flip the folded sheet and fold it in half to make it a square size. Next you fold the top back over itself in a triangular shape. Open up the last fold and watch the video...
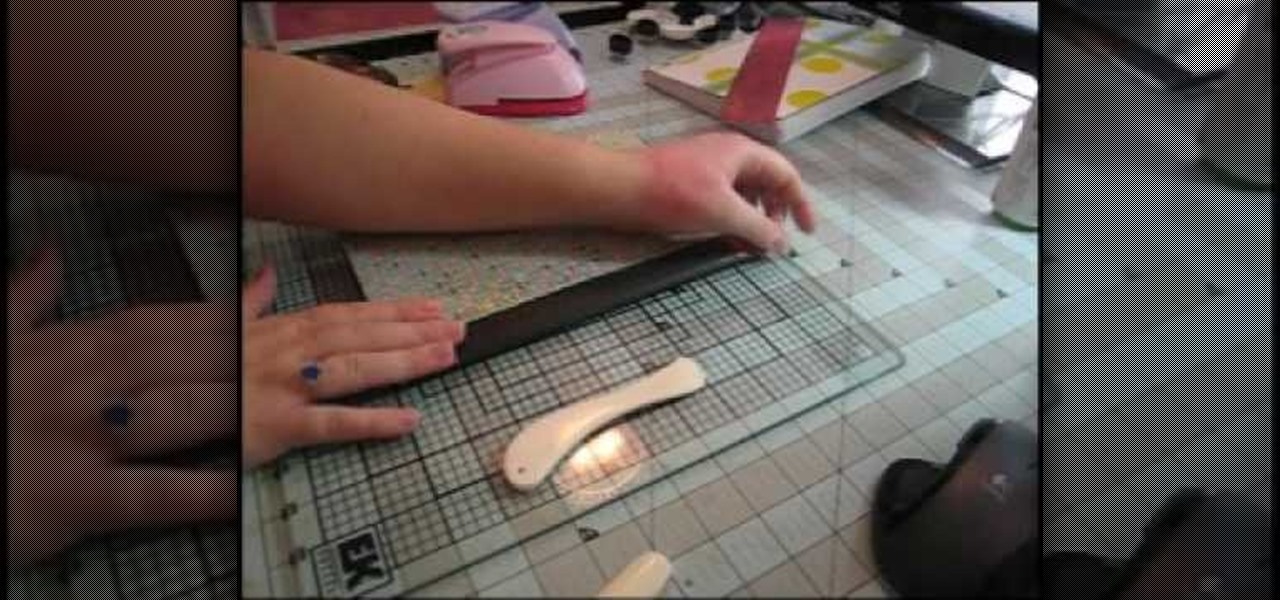
In this video, we learn how to turn a composition book into a decorative notebook. First, measure your composition book, then measure out that same size on a piece of decorative paper. Next, put adhesive on the back of this on all four edges, then diagonally. Now, you will have a solid attachment for the paper to be placed on top of the composition notebook. Use a straight edge to push it down and it's completely flat. Then, use scissors to cut any excess paper off of the edges and corners. Y...

In this video, we learn how to get the perfect shooting arc in basketball. When you are shooting, the arc is how you will get the ball into the hoop. You should first know the size of the basketball and basket in relation to how far away you are from the basket. Make sure the ball is going to reach the apex on its arc so it can reach the basket easiest. You will need to pay attention to the height of the basket so you know how angled your feet need to be when you are shooting. After you have ...

We have loads of issues to take up with Barbie (like how the Christina Hendricks and Rosie O'Donnell versions are the same exact size as the usual barbies and are not at all representative of the women's real bodies) but we have to admit we would die for her hair.

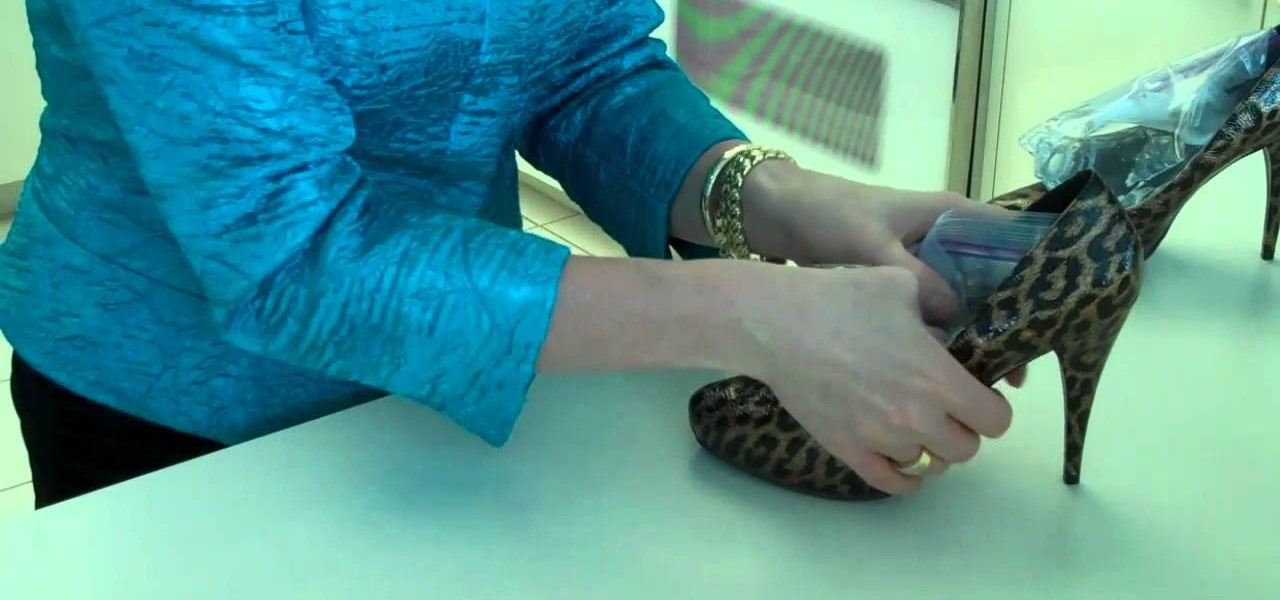
Are your shoes a little too tight? Don't toss them away, there's hope for them yet, and it involves one of the most basic elements on Earth— water. By packing your high-heeled shoes with plastic ziplock bags filled with water, then storing your shoes in the freezer, you'll have newly revived footwear that will accommodate your large feet— just kidding. Sometimes you just can't pass up a good shoe sale, and if they don't have your size, this is your fix.

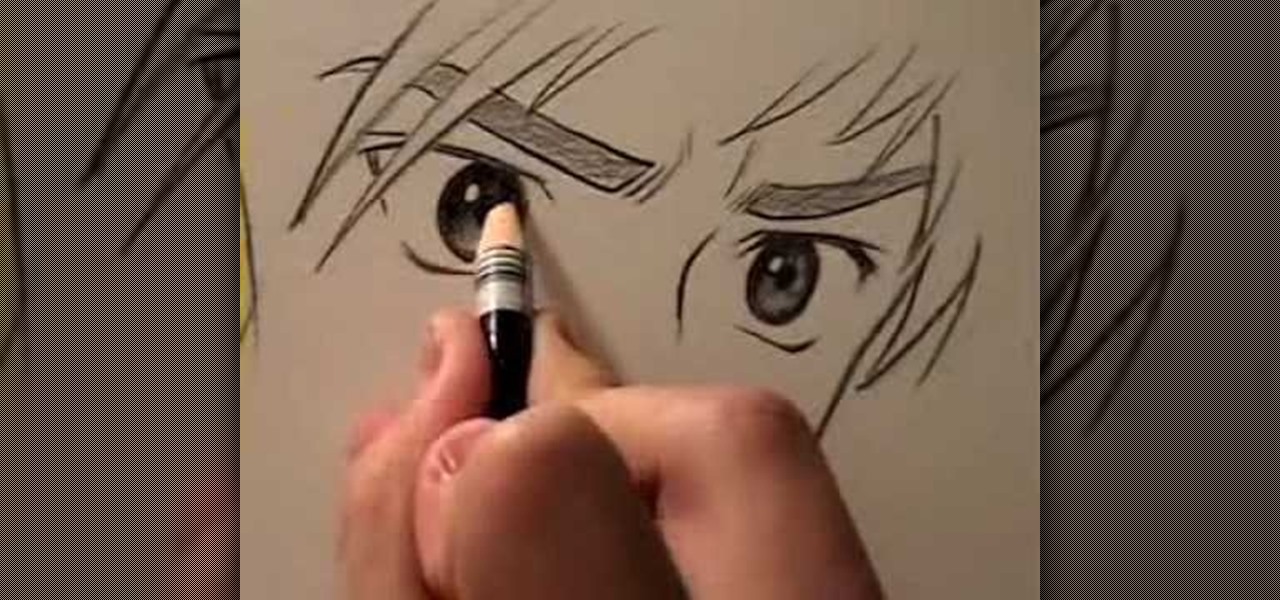
In this video, Mark Crilley presents viewers with four ways to draw anime eyes. The first set of eyes has an intense look to the them, with the face tilted slightly while the eyes are staring at the viewer. Eyebrows are added in a sloping manner in order to create a more dramatic effect and drawing attention to the eyes. The next set of eyes are more hexagonal in shape and look downwards while wide open, creating more of a surprised expression. Thick eyebrows framing the eyes also bring atten...

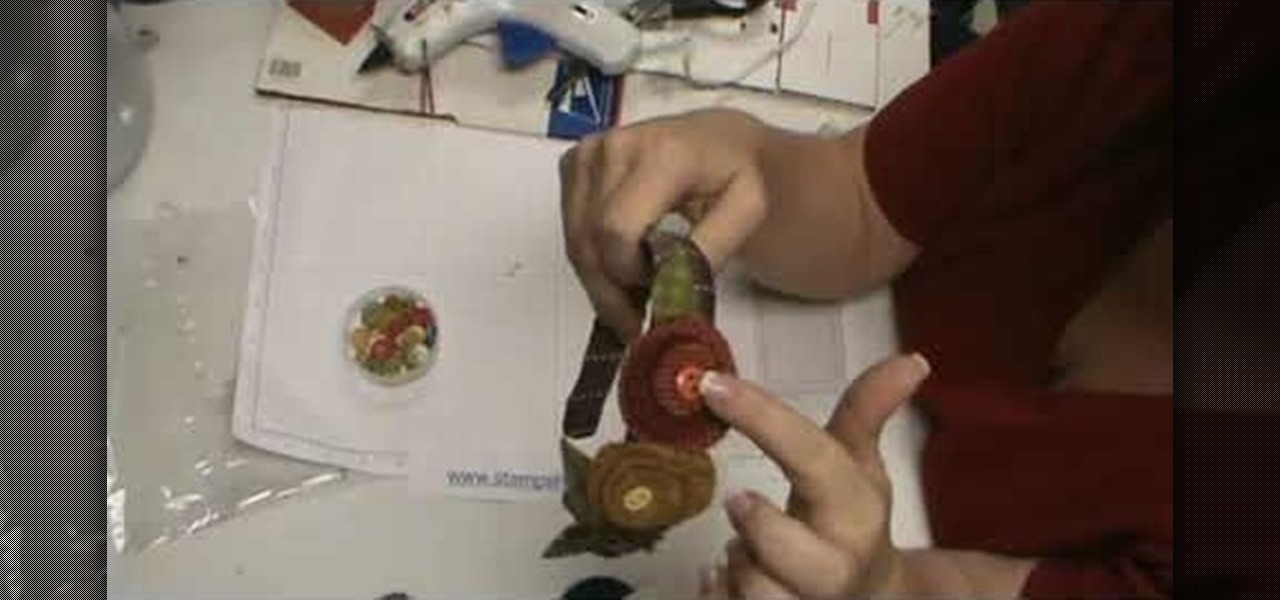
In this video, we learn how to make lollipop flowers out of fabric. First, start out with dye that has four circles in different sizes. You will also need the Big Shot to cut out the circles and wool cut out to fit on the cutting board. Put the board through the machine and your circles will be cut out. After this, start with the largest circle and start to add the other circles on top with a hot glue gun. Now, add a button to the middle of the top smallest circle using a hot glue gun. Add a ...

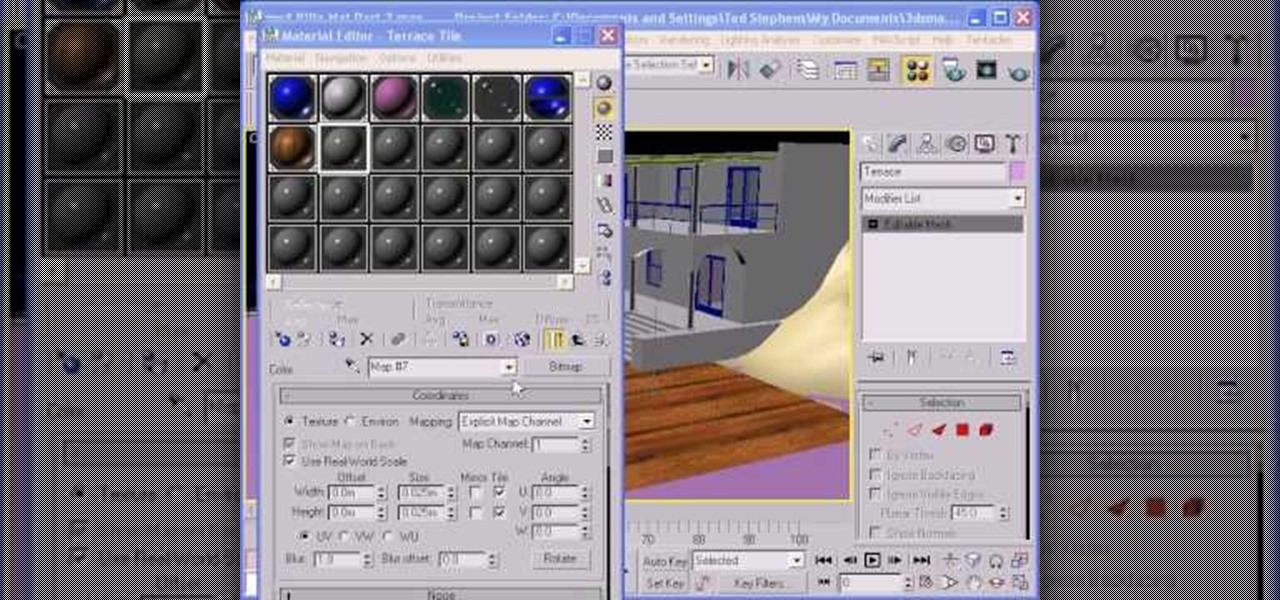
In this video, we learn how to use custom map or UVW map in 3D Studio Max. First, go to the material editor and add a custom map to it using a hardwood deck. Change the material to cedar fence, then change the size as you would like it. As you continue to edit the different surfaces in the picture, it will preview it for you in the main screen. You will be able to see it customized how you would like it to be as you edit it. The material editor can be changed in design and renamed to help you...

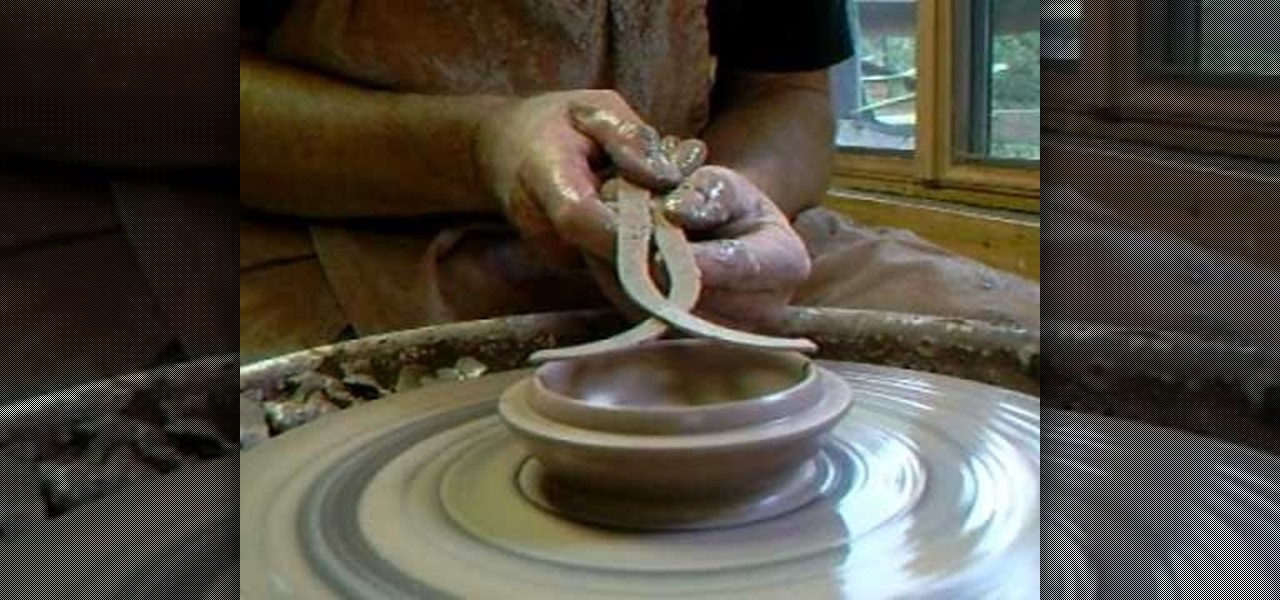
In this tutorial, Simon Leach teaches us how to make lidded boxes. First, grab your pot and dip the top of it into water to get it wet and soft. Now, grab a small amount of clay and set it on your spinning table. After this, get your hands wet and start to craft a lid out of the clay. Make an inner base as you are spinning the clay by carefully placing your finger on the side of the top. When finished spinning, place the top down and see if it's the correct size for the pot, then glaze and fi...

Simon Leach teaches us how to put handles on your ceramics in this tutorial. The key thing is to never let the handle fall as you are adding it to a cup, always keep it supported. Look at the handle as you are placing it on and think about proportion and size. If it's sticking out too far it's going to get knocked off. You need to have an elliptical shaped handle when you are shaping them so they can be gripped properly. Don't score the bottom part when you are joining the handle to the botto...

To do the Presto Printo Card Trick, you need to begin with a deck of standard cards and a deck of plain white cards, which have been cut to the same size as standard cards. You will need to print the effects that you want to achieve on the cards in advance. You will need extra blank white cards to conceal.

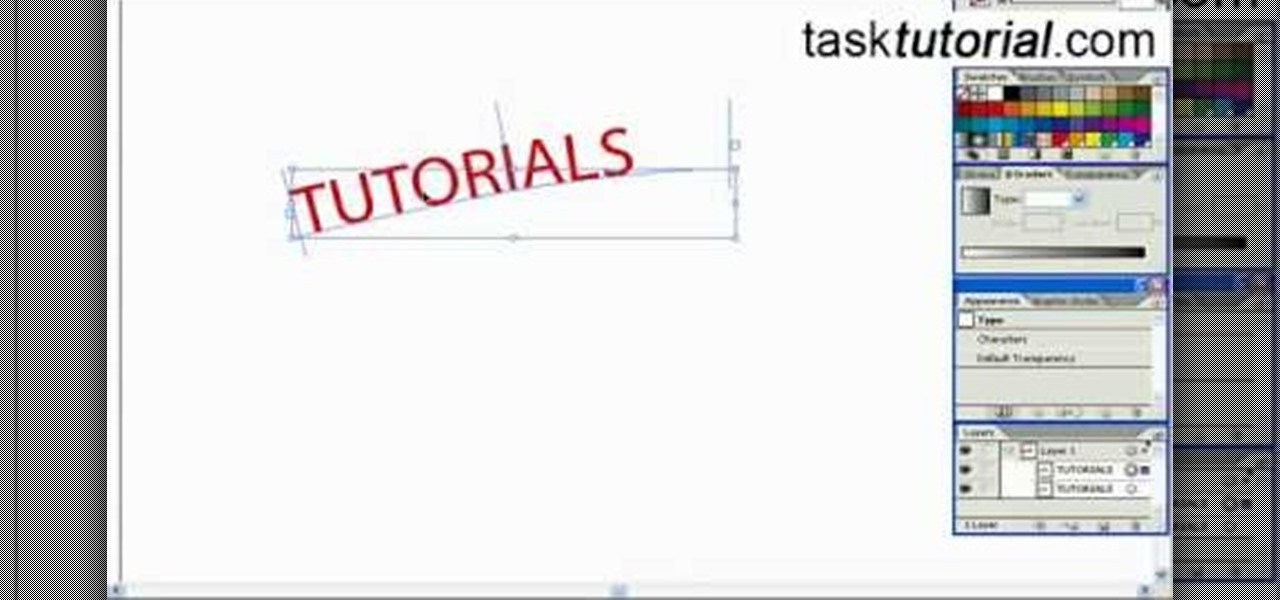
In this tutorial, we learn how to create a cool blend text effect in Illustrator. First, open up Illustrator and draw a path, then change the color to black. After this, click on the line and type in your desired text. Increase the font size to 36 points, then select the red color. After this, copy your path and select the duplicate button. Now, move the duplicated path and change the background color to yellow. Now, scale the path and resize, then place on to of the red path. When finished, ...

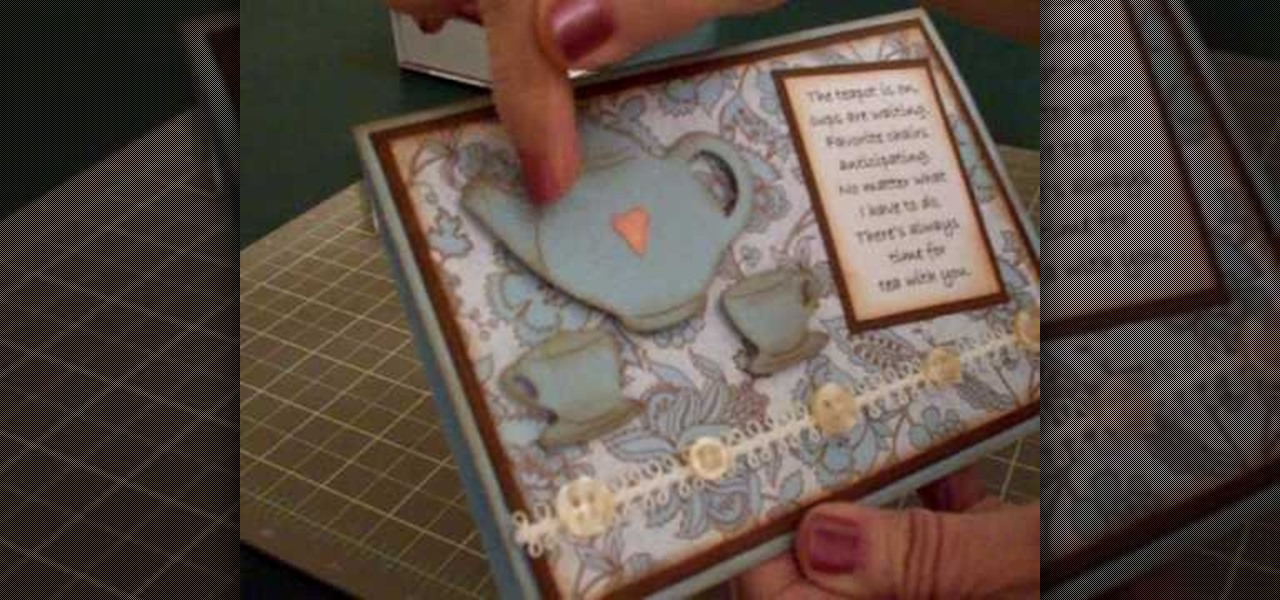
In this video, Mary shows us how to make a teapot card using Cricut everyday paper dolls. First, print out a sentiment that has to do with teapots and fade the edges of the paper. After this, cut out a teapot and cup from the everyday paper dolls on page 43. Cut the teapot and cut twice, then chop them so you can see the details of them. Place this on a paisley or flower background for the card, along with old buttons on the bottom of the paper. Make the card the size you would like, using yo...

Matches may not be the ubiquitous part of every person's going-out equipment that they once were, but they are still useful both for lighting fire if you don't have a lighter and for pulling these two hilarious bar pranks. The first is a simple counting game where you manipulate your victim into making piles of matches of sizes you guess correctly, because you rigged the game. The second involves challenging the victim to make six equal half of eleven using a pile of matches. Both are funny, ...

Every little girl wants to look like Barbie (not a particularly good thing, but bear with us here). And while all of us grow up and realize we come in all sizes and colors, it's always fun to reminisce a bit about our childhood and Barbie, one of our most beloved dolls. While we don't advocate you really look like Barbie by starving yourself and getting implants, it may be fun to dress up like her for Halloween.

In this video, we learn how to create a web logo with Photoshop Elements. First, go into Photoshop and select the text tool to enter in your logo words. Now, put your picture logo underneath it and change the font and size that you want for your text. Change the colors as you prefer, then place the logo in the background of your image and create a new layer. Place the icon behind the text so that the text is what stands out the most. Now, use FTP to place this logo up onto your website and sa...

Don't get us wrong: We adore gift boxes, as they let us both conceal a gift and make the gift look more appealing by wrapping up the box in pretty wrapping paper and smacking a bow on top, but there's one big gripe we have about them. They either come in Small, Medium, or Large. So if your gift doesn't exactly fit one of those predesignated sizes, then the box is either too small in areas or too large, which is a pain.

Most of you probably don't even know what gyaru means. It's a Japanese transliteration of the English word "gal". If you're not sure what transliteration means, you'll have to look that one up yourself.

Here in America, we have this idea that the bigger, the better. Why purchase large fries when you can get them supersized for just $40 extra, for instance, and why not buy the value pack of salsa to save some money when compared to buying individually?

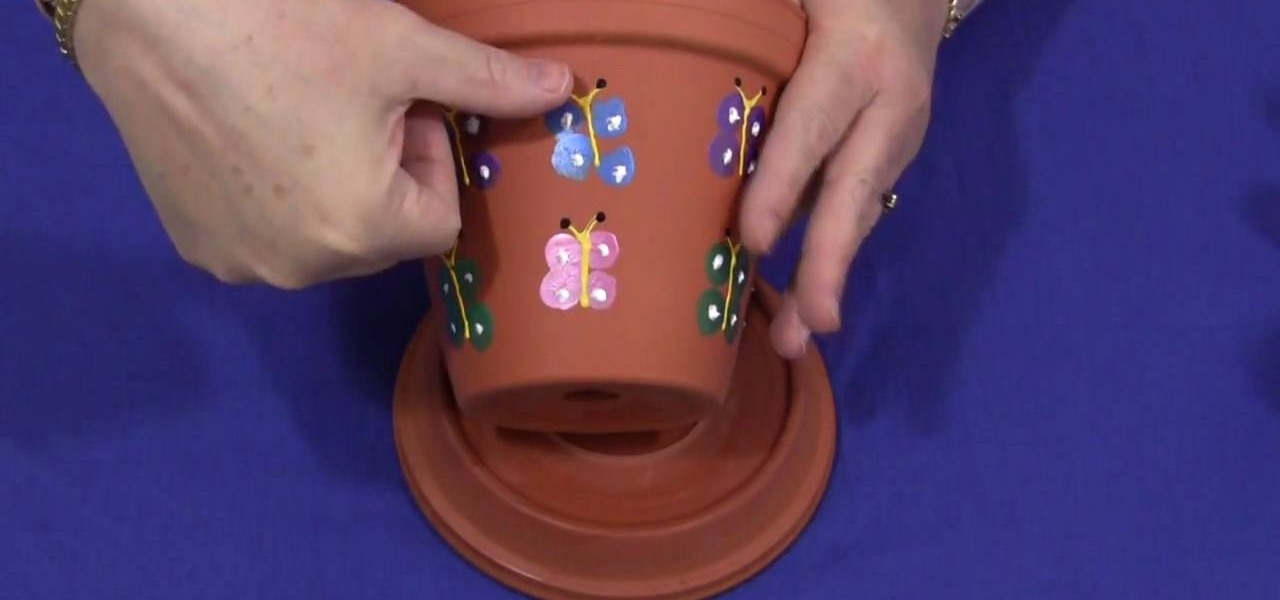
Shelley Lovett teaches us how to make a thumbprint butterfly clay pot in this tutorial. First, start off with a medium sized clay pot and several different colored paints. To make the butterflies, have your kids dip their thumbprint into paint and make a butterfly. Make two thumbprints on each side of the butterfly body. Use a paintbrush to paint in the body and head of the butterfly. When finished, use a sealer to secure the paint on the pot, then let dry completely. You can now use these po...

In this tutorial, we learn how to make a pig out of punches. First, you will need to have white paper, pink paper, and black paper. You will also need punches that are in star shapes, different circle sizes, oblong shapes, and a flower shape. TO put this together, first glue a small heart shape to the bottom of the oblong shape and set to dry. Next, take a large pink circle and place two white dots and black dots on top to make the face. Next, draw two black circles onto a smaller pink circle...

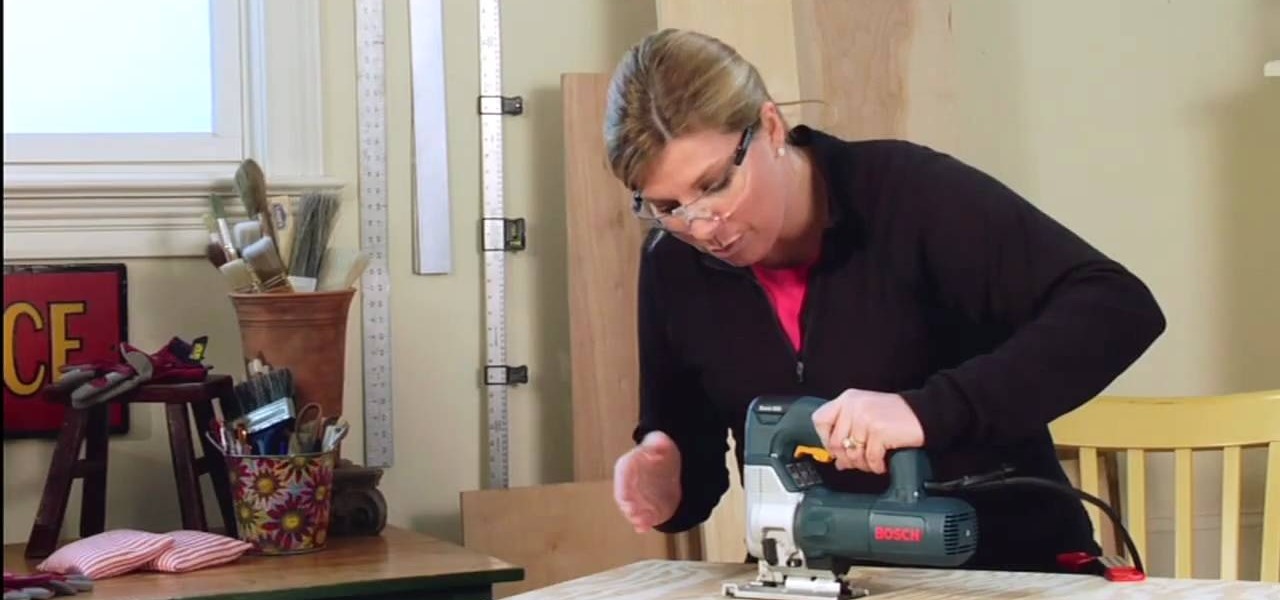
In this tutorial, we learn how to use a jigsaw. First, measure and mark the size of the circle you need to cut. You can use a compass or trace around a round object. Now, place your wood off of a table and clamp it into a place. Now, drill a starter hold inside the circle and put on your protective glasses. Now, place the saw in the starter hole and saw half way up, or to where you feel comfortable. After this, reposition yourself, then continue on. Make sure you don't force the saw, just let...

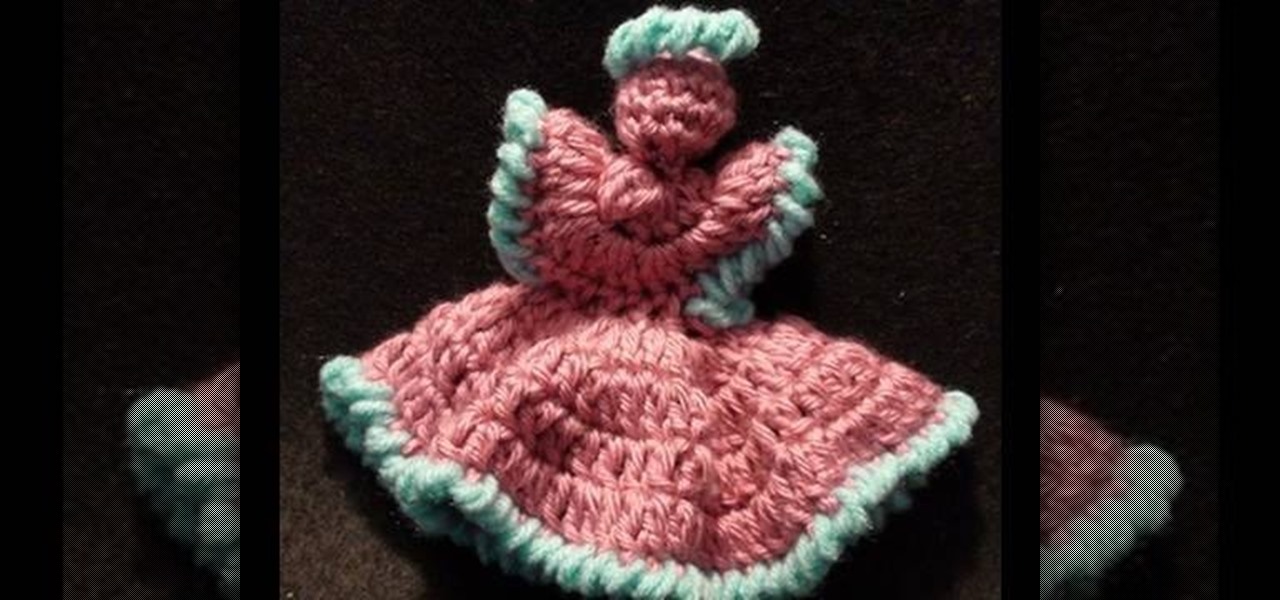
In this video, we learn how to crochet a left handed dainty angel. Use a size H 5mm crochet hook. Add a slipknot to the crochet hook, then chain three, join, and chain one. After this, work 6 single crochet through the center of the chain three. Next, join two single crochet for each stitch around for a total of 12.Now do 12 more single crochets and work an additional round with the single crochet. Continue this process until you finish, then create the dress by doing the same type of crochet...

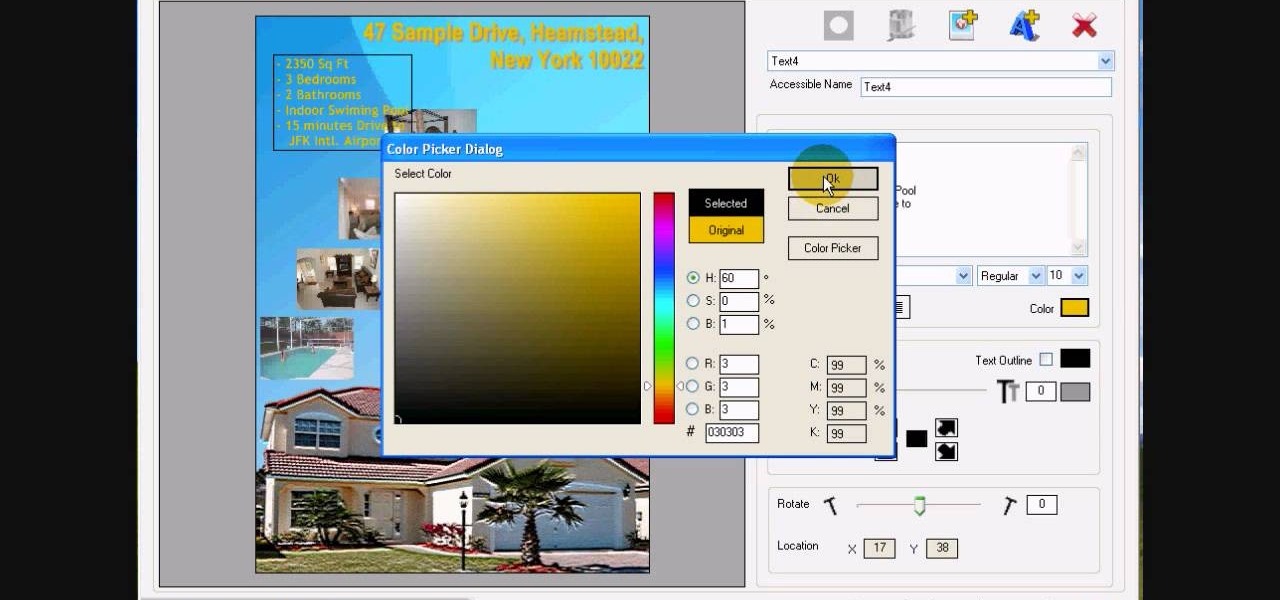
In this tutorial, we learn how to design custom flyers using Easy Flyer Creator. First, start a new deign in the software, then delete all graphics so the page is blank. Next, add in a background to the flyer and resize it to fit onto the entire page. Now, right click on the picture and choose 'set as background'. Now, add another picture on the page, then move it to your desired location to fit on the bottom of the page. After this, you can edit the picture further, if needed. When you are d...

In this tutorial, we learn how to change your logo image in Joomla (1.5). First, clear out the cache on your web browser and load your logo onto Joomla. Now, open up the CSS file of your logo, and you will be able to see the template information listed. Change the font size or color, depending on what you want it to look like. After this, save this as a new file, then refresh your page to make sure your logo looks different on your website. When you are done, your new logo will appear and you...

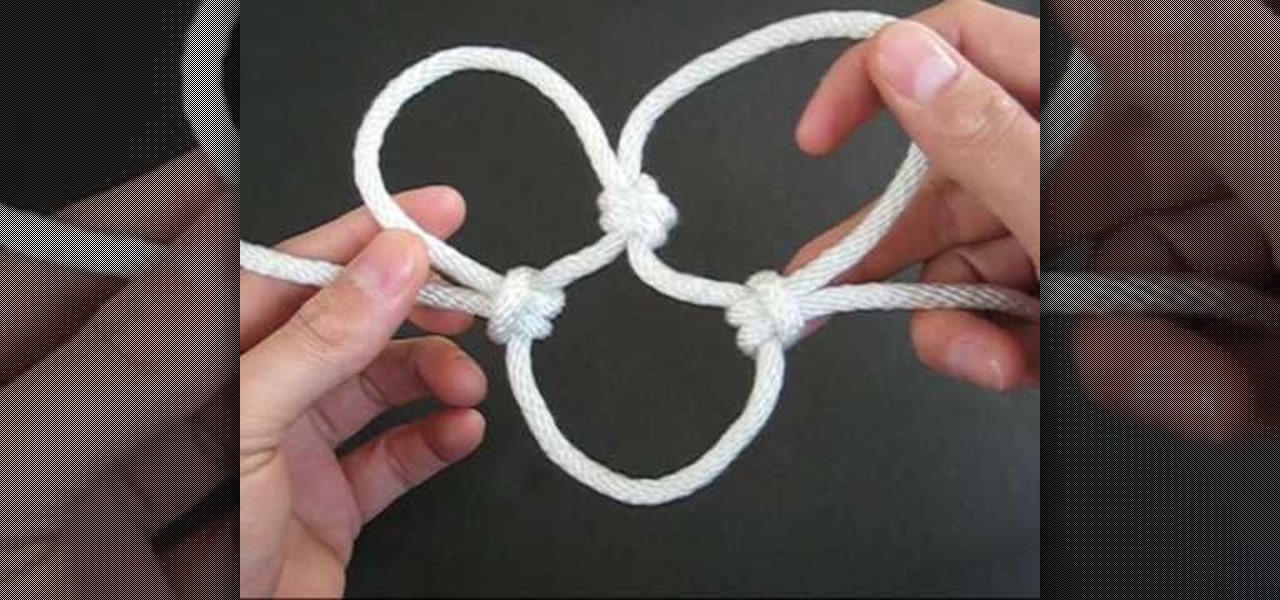
In this video, we learn how to tie the basic knot design of a cargo net. First, tie a double overhand knot on a rope bent into two. After this, make cow hitching on the first loop that you created. Next, make a second double overhand knot followed by cow hitching the second loop. After you do this, you will be able to size up for use! To make this, you must have some prior knowledge of how to tie different knots. If you don't, you won't know how to make the shapes. Use a picture as a referenc...

Whether they exist or not, people believe in the spiritual power of angels. That's why, if you walk into any Spencer's Gifts or novelty store, you'll always manage to find tiny wallet-sized "guardian angels." You apparently slip these in your wallet to feel guided and protected.

In this tutorial, we learn how to craft a duct tape wallet. First, tear out a 7 inch piece of duct tape and fold it so there is a sticky side just overlapping it. Next, tear out another piece of tape and fold it just over the sticky side of the other piece of tape. Continue to do this for around 10 pieces of tape, or until you have enough to make a decent sized wallet. When you reach the end, fold the bottom over itself, then cut off the sides and seal with another piece of tape. Then, measur...

In this tutorial, we learn how to use card view on the Palm Pre. To use this feature, you want to flick up or press the center button on the phone. After you do this you can move between cards by sweeping left to right. Maximize an application by flicking down and return to card view by pressing on the center button again. To reduce the size of cards, tap while holding the screen. To reorder the cards, drag them to different destinations along the card line up. doing this will help you work y...

In this Fine Art video tutorial you will learn how to draw with basic shapes and apply them. The four basic shapes are spheres, cubes, cylinders and cones. A sphere is a three dimensional circle. On paper it will look flat without shading. Make sure you practice all kinds of circles. A cube is a three dimensional square. You can make a basic cube by drawing two squares and then join the corners. Cylinders are tubes or pipes. Draw two ellipses and join them by lines. If you are just starting o...

In order to insert a movie into a PowerPoint 2007 presentation, you will need to create a placeholder for the insert, in your presentation. Click on the media center. A window will pop up, which will allow you to open your movie. If you have already have your presentation, but you haven't left a placeholder, you can add your movie by going to the point where you want to add the movie, in your presentation. Then, click Insert. Go to Media Clips group. Choose an option from the drop down menu t...

In this Arts & Crafts video tutorial you will learn how to use non-standard page protectors when scrapbooking. It is a tip on getting a large number of photos in an album without taking up too much space or using too many supplies. You can get 12 x 12 page protectors in terms of size but with pockets for 4 x 6 photos. This way you will have 6 photos on each side of the protector. Or maybe you put 5 photos and a card on one side. If you don't want to mess around with extra page protectors, you...

Don't worry, while this episode of "Whitney Sews" does indeed teach you how to create a bubble skirt, we're not talking about the haute couture kinds featured on Alexander McQueen's last runway show (God rest his soul) and on other catwalks, ballooned out like a pure sphere and making even the skinniest size 00 models look like they're packing some in the back.

In the PlayStation 3 video game Heavy Rain: The Origami Killer, four protagonists are on the hunt for a serial killer who murders young boys and leave behind his calling card… an origami animal. One of those animals, and the one prominently displayed on the cover art and poster art for the game, is the pajarita. Pajarita in Spanish for little bird (or even just origami in general).

Forget dogs - tripods are a man's best friend (well, if he's a photographer). Eliminating many of the factors that create crappy photos, including the instability of holding the camera up by hand, photo blurs, and general strain of weilding those hulking digital SLRs, tripods are always there to lend a helping leg. Or three.

In this video tutorial, viewers learn how to grow tomatoes. Begin by some tomatoes at a supermarket. Then extract the seeds from the tomatoes and wrap them into a paper towel. Then place the seeds in between the pages of a phone book to quickly dry them. Now plant about 8-10 seeds into a small pot with soil. The seeds should be planted 25 inches deep into the soil. As the plants grow larger, change the pots to a larger size. This video will benefit those viewers who enjoy gardening and would ...

The iPhone has some pretty awesome video capabilities. Whether you are working with Cycorder from a jailbroken 2G or 3G, or Apple's own video camera in the 3GS, you will get pretty great picture resolution in a handy pocket size. In this tutorial, learn how to create your own tripod, on the cheap, for use with your otherwise handheld device. This will help you keep your image steady and stable and take great shots.

In this tutorial learn how to get a messy, low updo in the style of boho queen Nicole Richie. Nicole has always been true to herself when it comes to style - whether she is traveling on "The Simple Life", partying in Los Angeles nightclubs or raising her two adorable children, Nicole is never anything short of chic. This updo is easy to do and you will have so much fun wearing it everywhere you go. So, if you are a fan of Nicole, or at least a fan of her hairdo, check it out and try this styl...


